
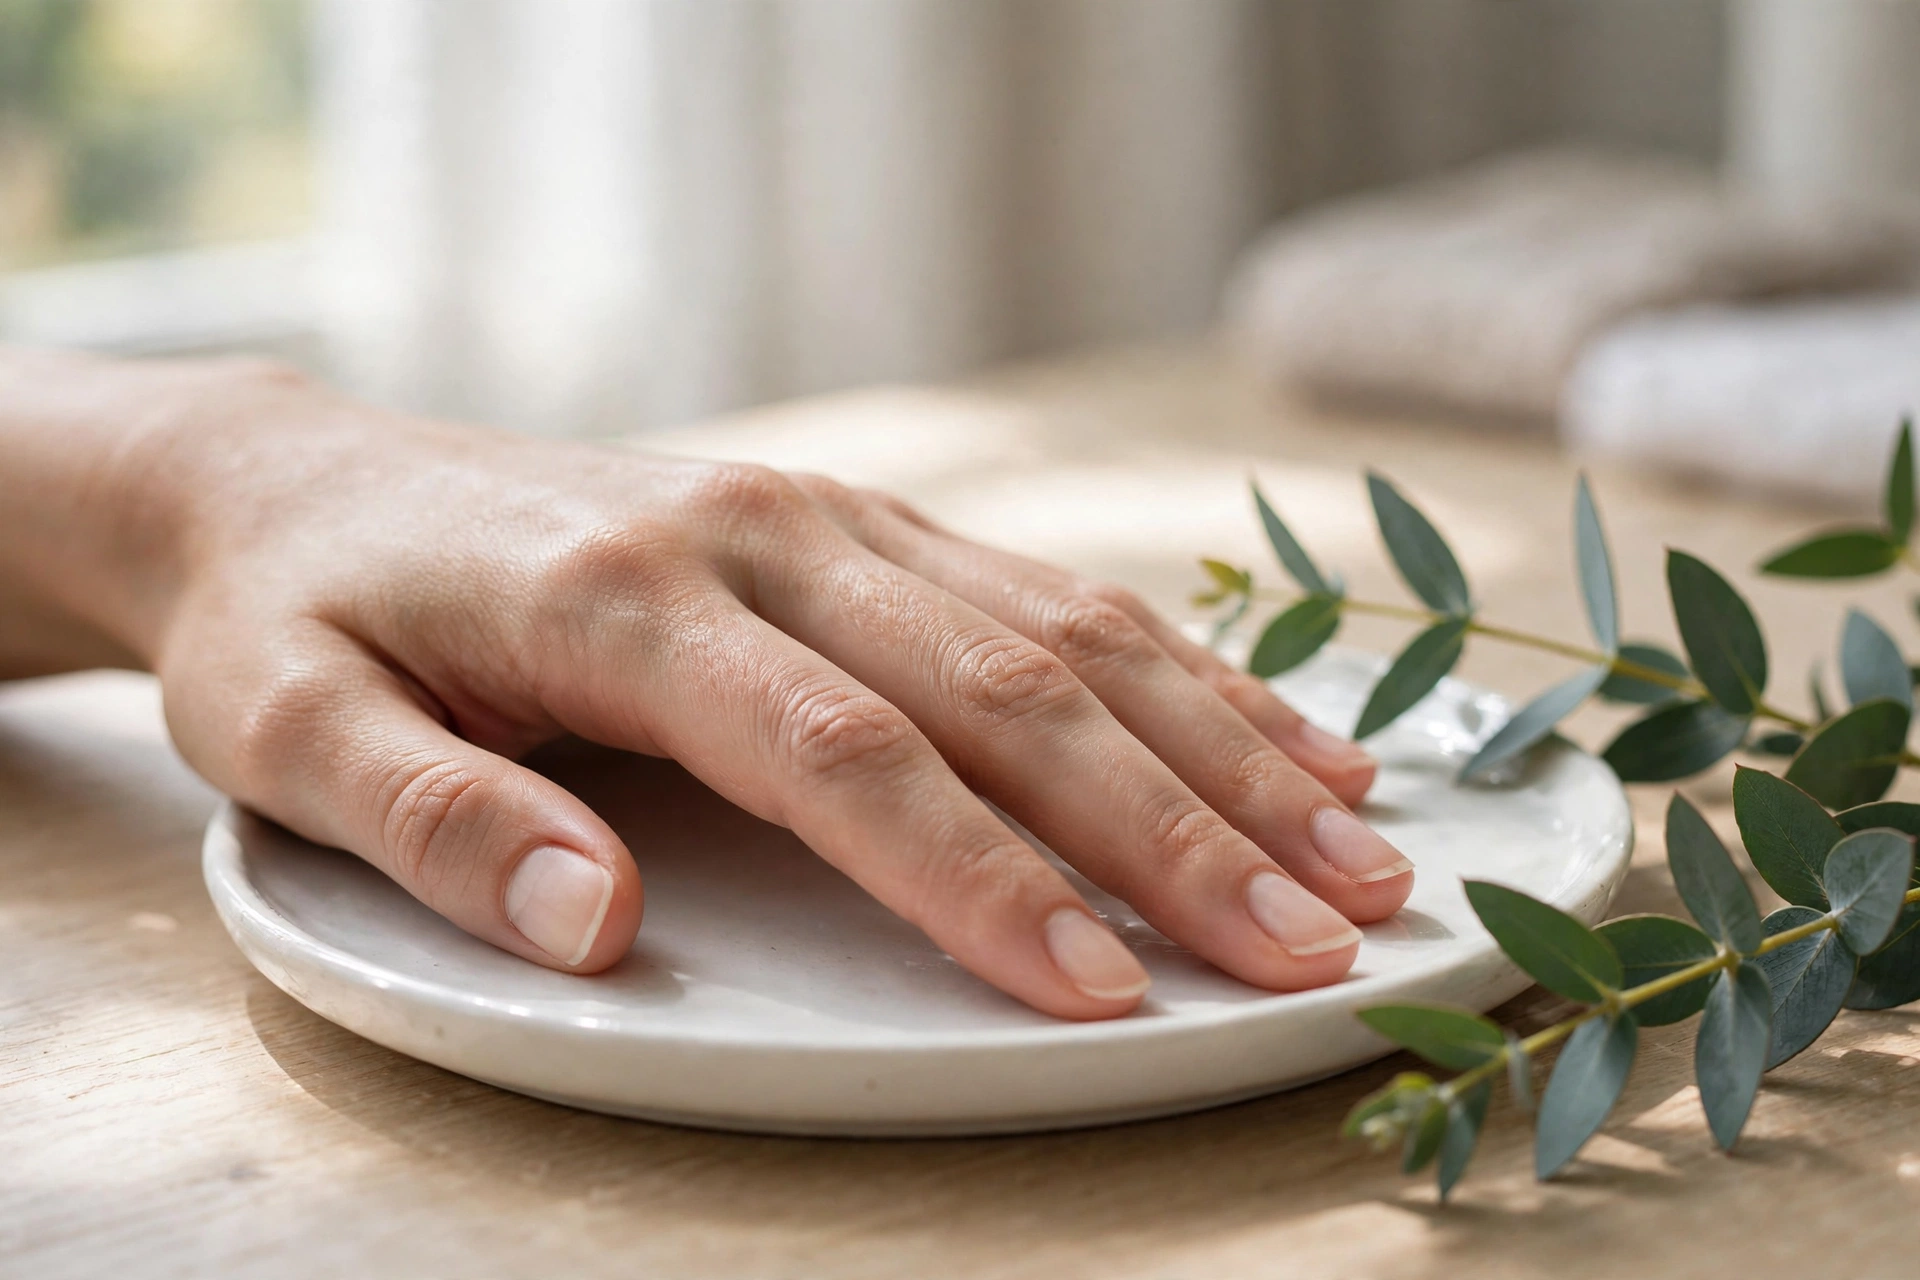
18 Minimalist Nail Designs for a Clean, Office-Ready Look
Minimalist nails are manicures built from restraint: one dot, one line, a hairline tip, or a finish so sheer it barely reads as color. The point is polish that looks intentional without looking decorated, which is exactly why these designs dominate offices, interviews, and weddings. Below are 18 minimalist nail designs organized by the single small element each one uses, so you can pick your signature detail and wear it for weeks.
What Makes a Nail Design Truly Minimalist?
A minimalist nail design uses one small, deliberate detail on a quiet base and leaves most of the nail empty. That is the whole definition.
In practice, four rules keep a manicure minimal instead of merely plain. Use one or two colors at most. Give the eye a single focal point: a dot, a line, a hairline tip. Protect your negative space; the bare part of the nail is part of the design, not an accident. And execute it cleanly, because a wobbly line does not read as minimal, it reads as messy. If you want polish that works for a 9-to-5 and a weekend in the same week, this is the lane.
Tiny Dots
One dot is the smallest possible design decision, and often the chicest. Dots are also the most forgiving nail art there is: a round dot tool makes every dot identical, so even beginners get salon-clean results.
1. The Single Cuticle Dot
One tiny black dot placed just above the cuticle on a sheer nude base is the minimalist classic, and it takes seconds per nail.
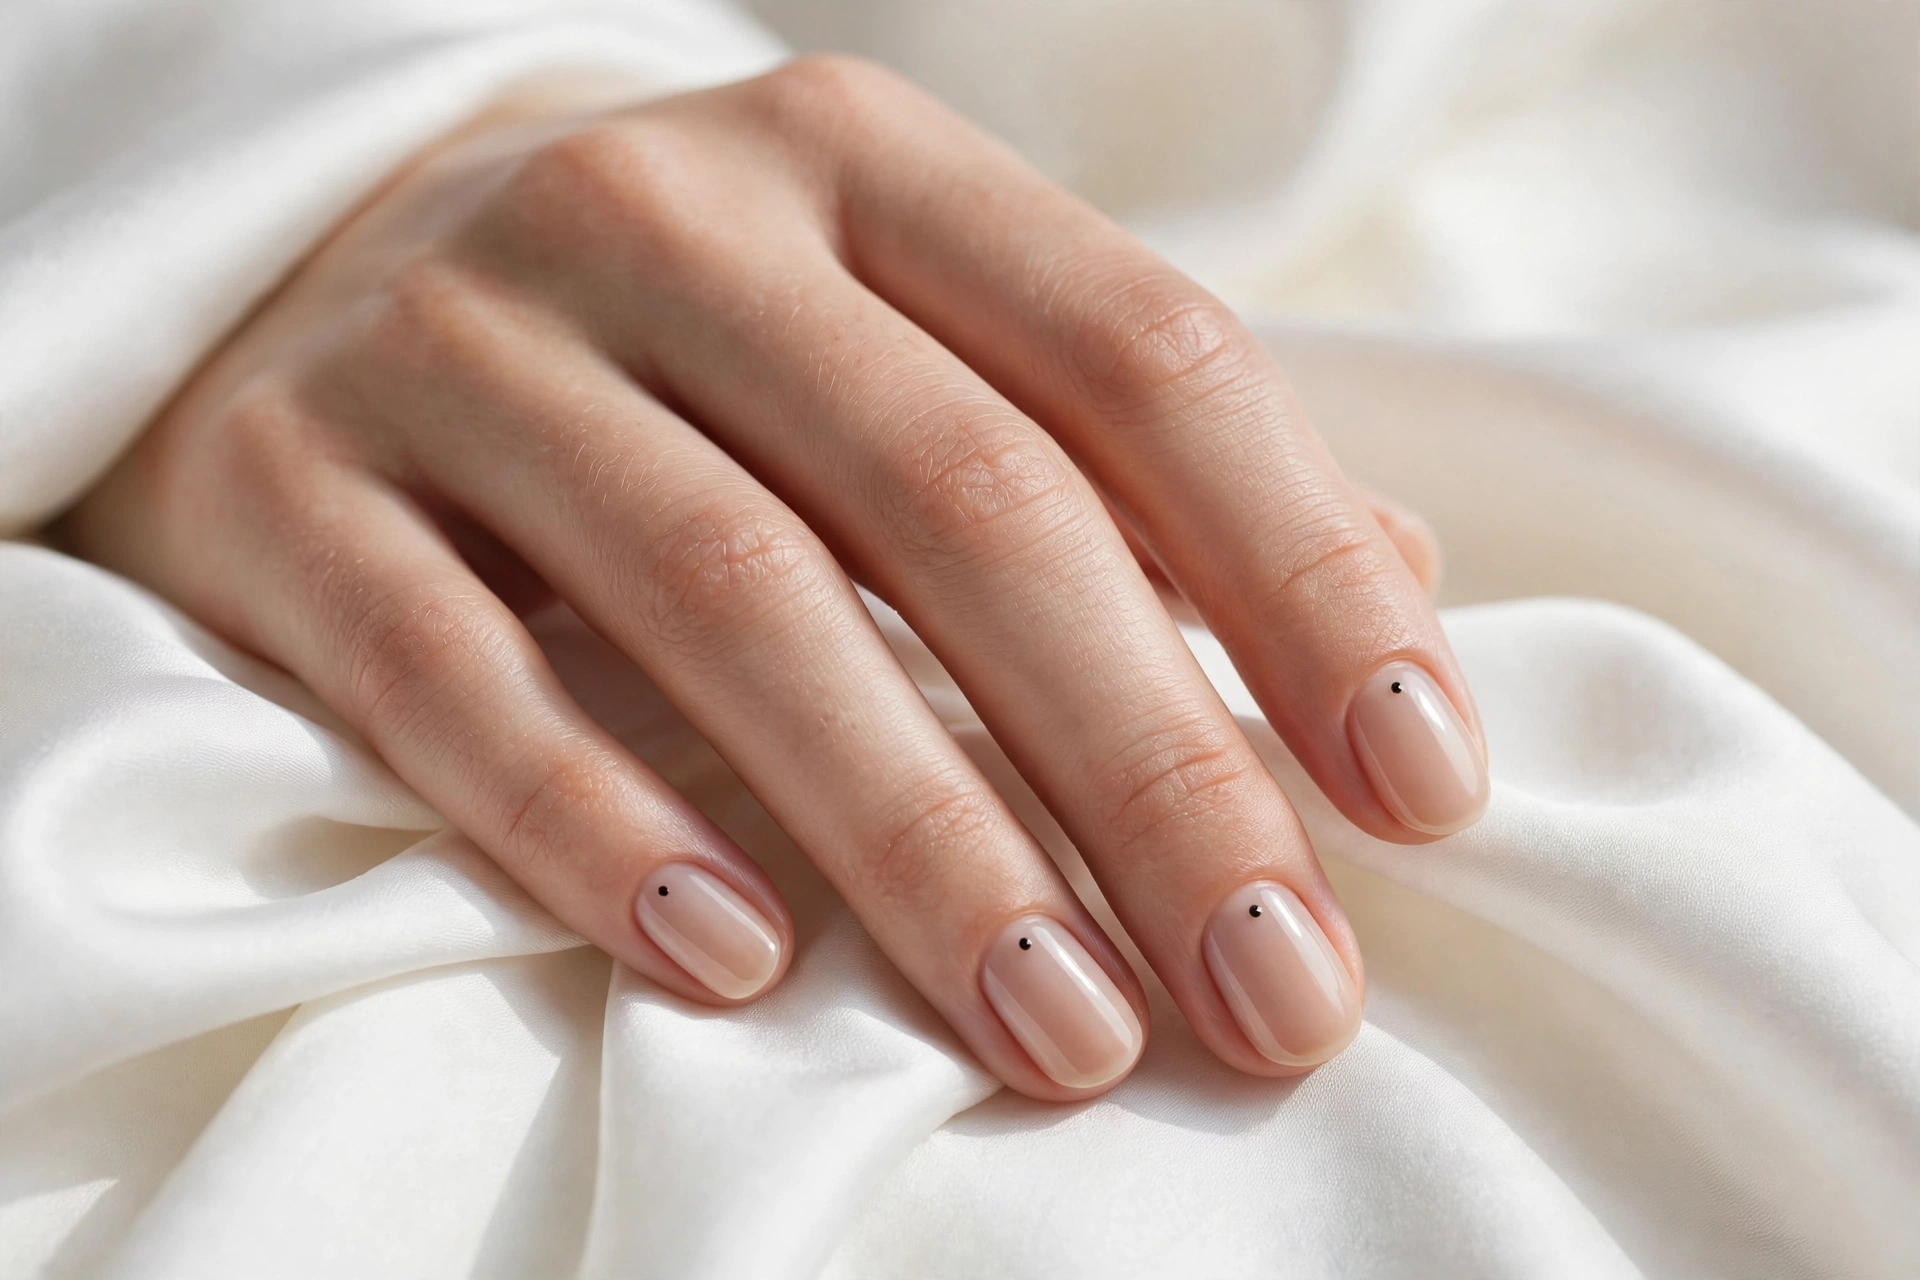
The contrast does all the work: the dark point against the pale base draws the eye without covering anything. Use a dotting tool, a bobby pin, or even a toothpick dipped once in black polish. Dip lightly. A dot that is too large stops looking minimal, so aim for about a millimeter across. This works on any nail length and shape, and it wears well because there is almost nothing to chip.
2. Gold Dot Accent
A micro gold dot near the cuticle adds quiet luxury to warm beige nails without crossing into jewelry territory.
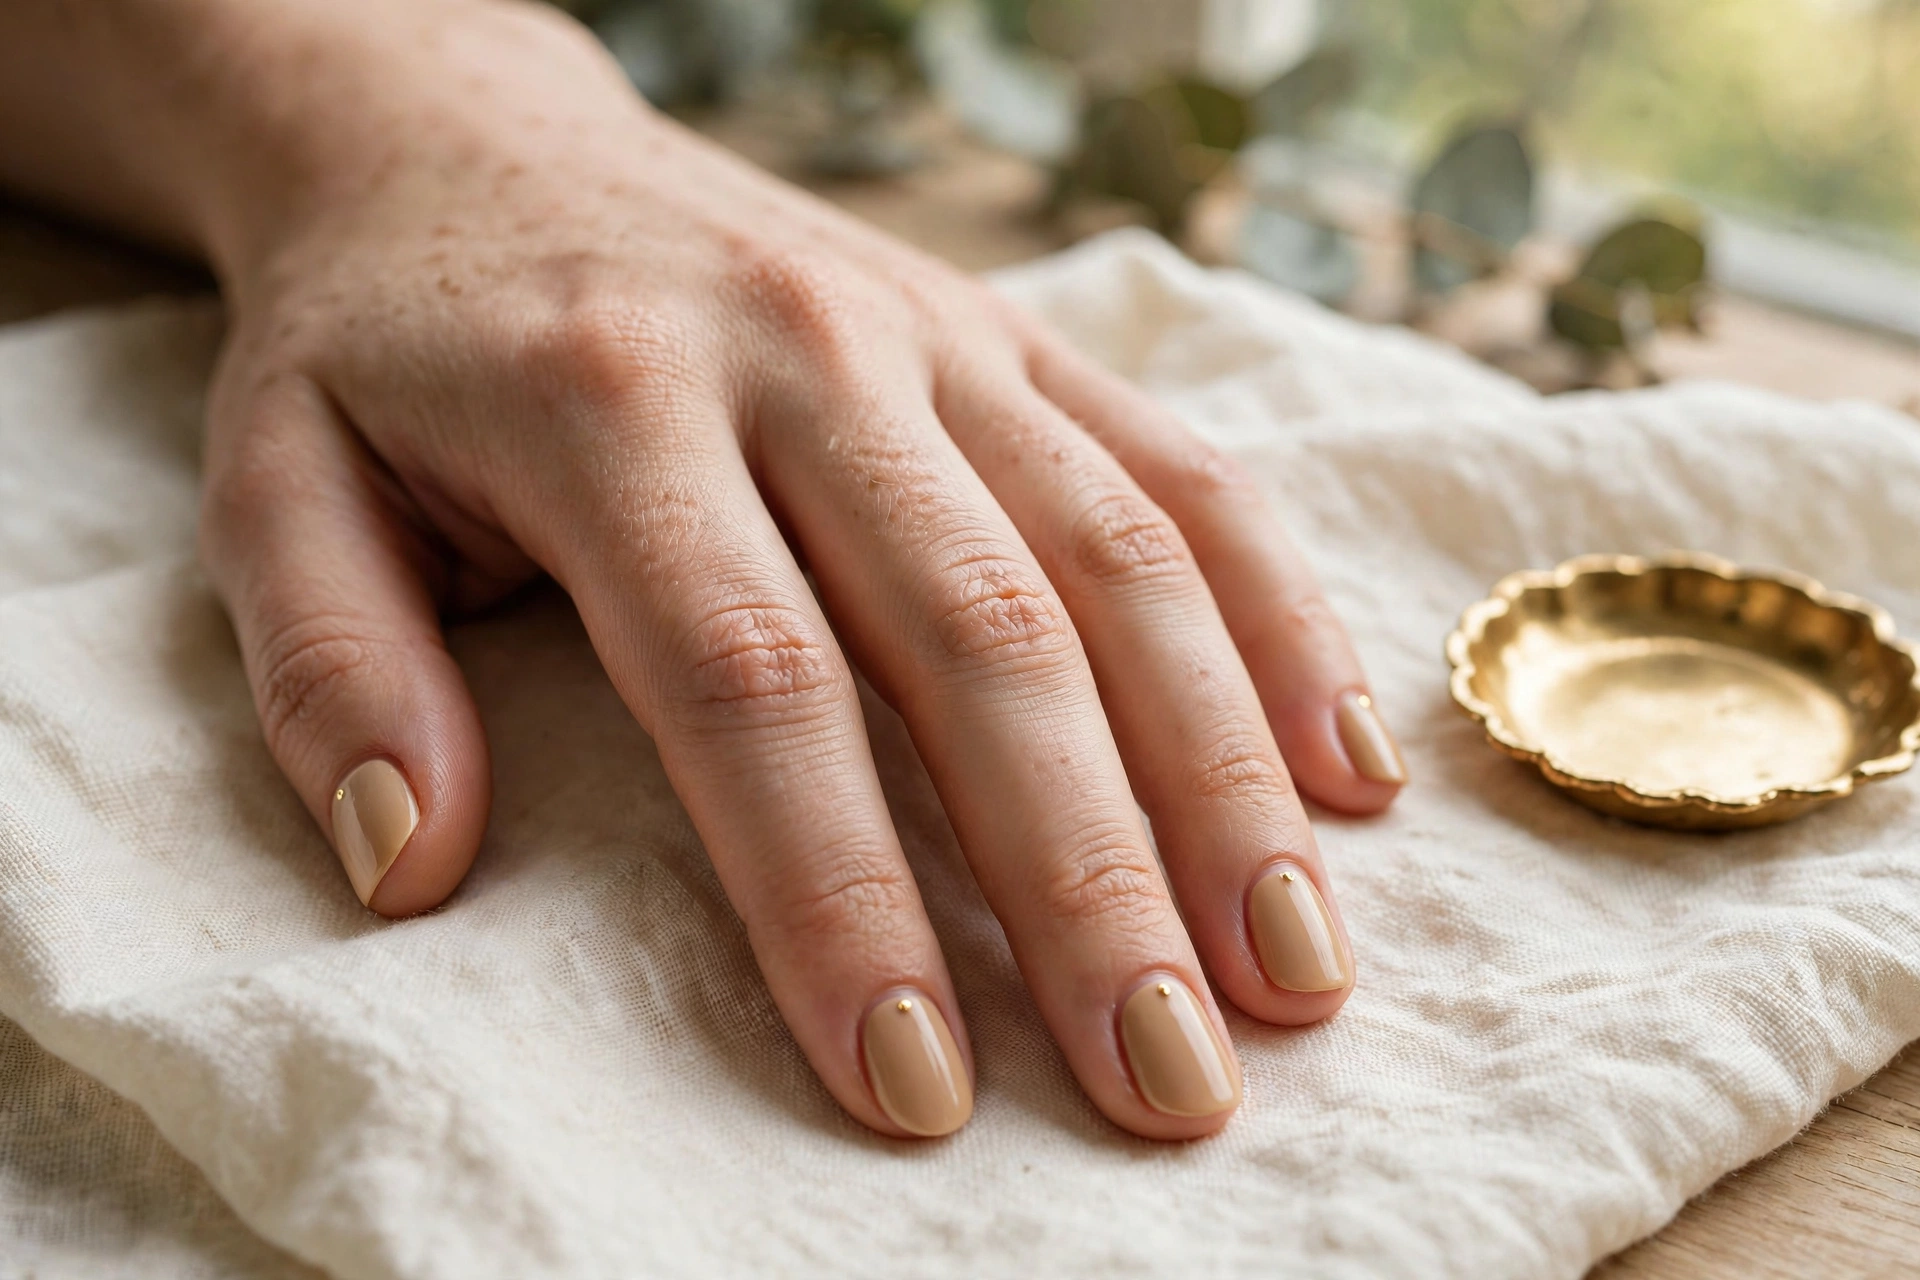
Metallic gold reads dressier than black, so this is the dot to pick for dinners, interviews, and events. Place the dot while your base is still slightly tacky so it embeds, or dot it on dry and seal with top coat. One dot per nail is the rule; two starts to look like a pattern, which is a different design. Keep the base a warm beige or latte shade so the gold has something to glow against.
3. The Dot Column
Three tiny dots in a vertical row turn milky translucent nails into a piece of graphic design.
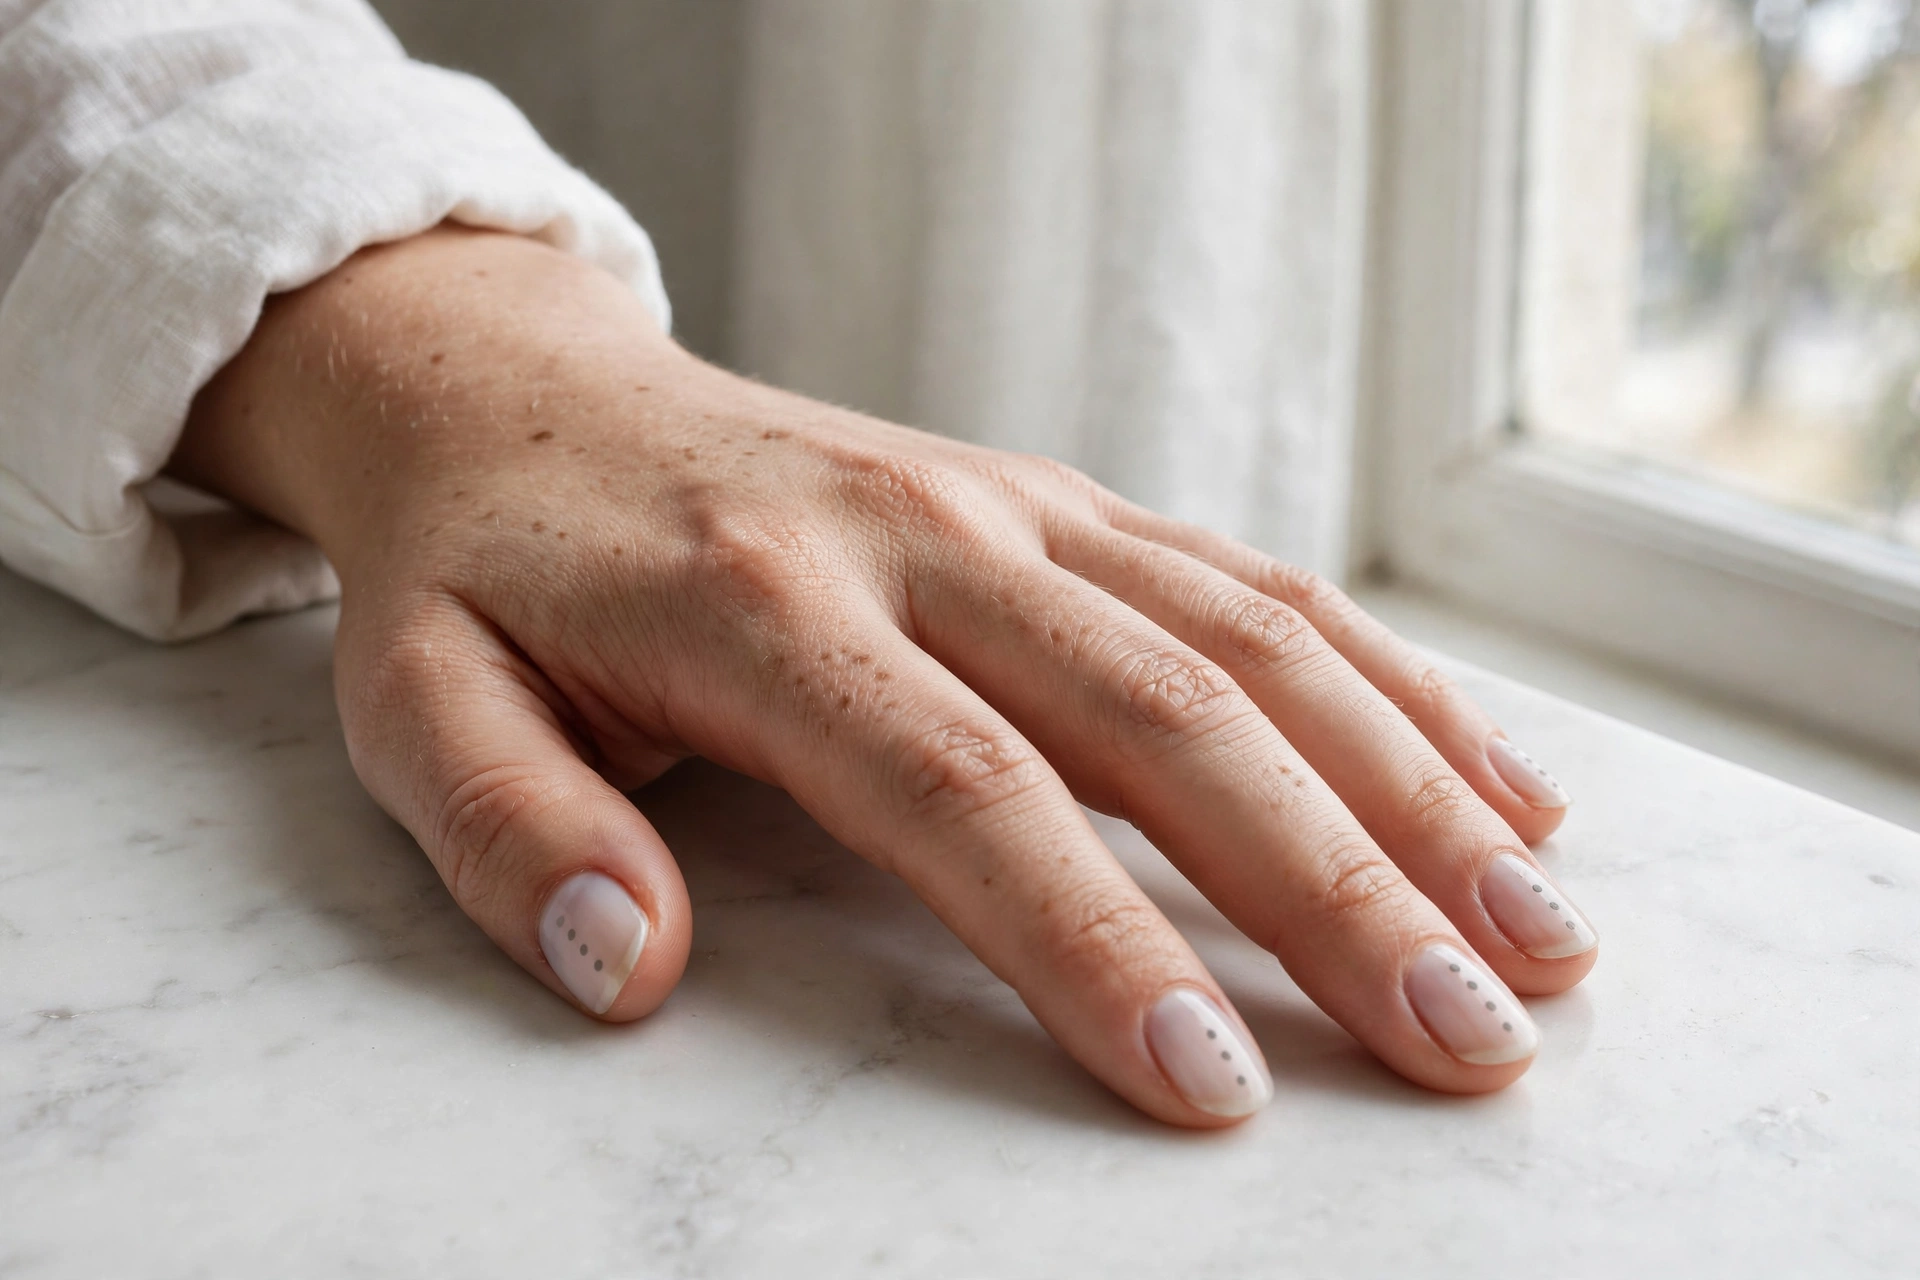
Even spacing is what makes this work, so paint the center dot first, then flank it. Grey dots on a milky base are softer than black and read almost like a shadow, which keeps the whole thing whisper-quiet. Longer nails show the column better because the row has room to breathe. If your dots drift off-center, the design collapses, so take a breath and line them up along the nail’s middle.
4. Corner Dots
A small white dot tucked near the nail’s edge is the shyest design on this list, visible mostly to you.
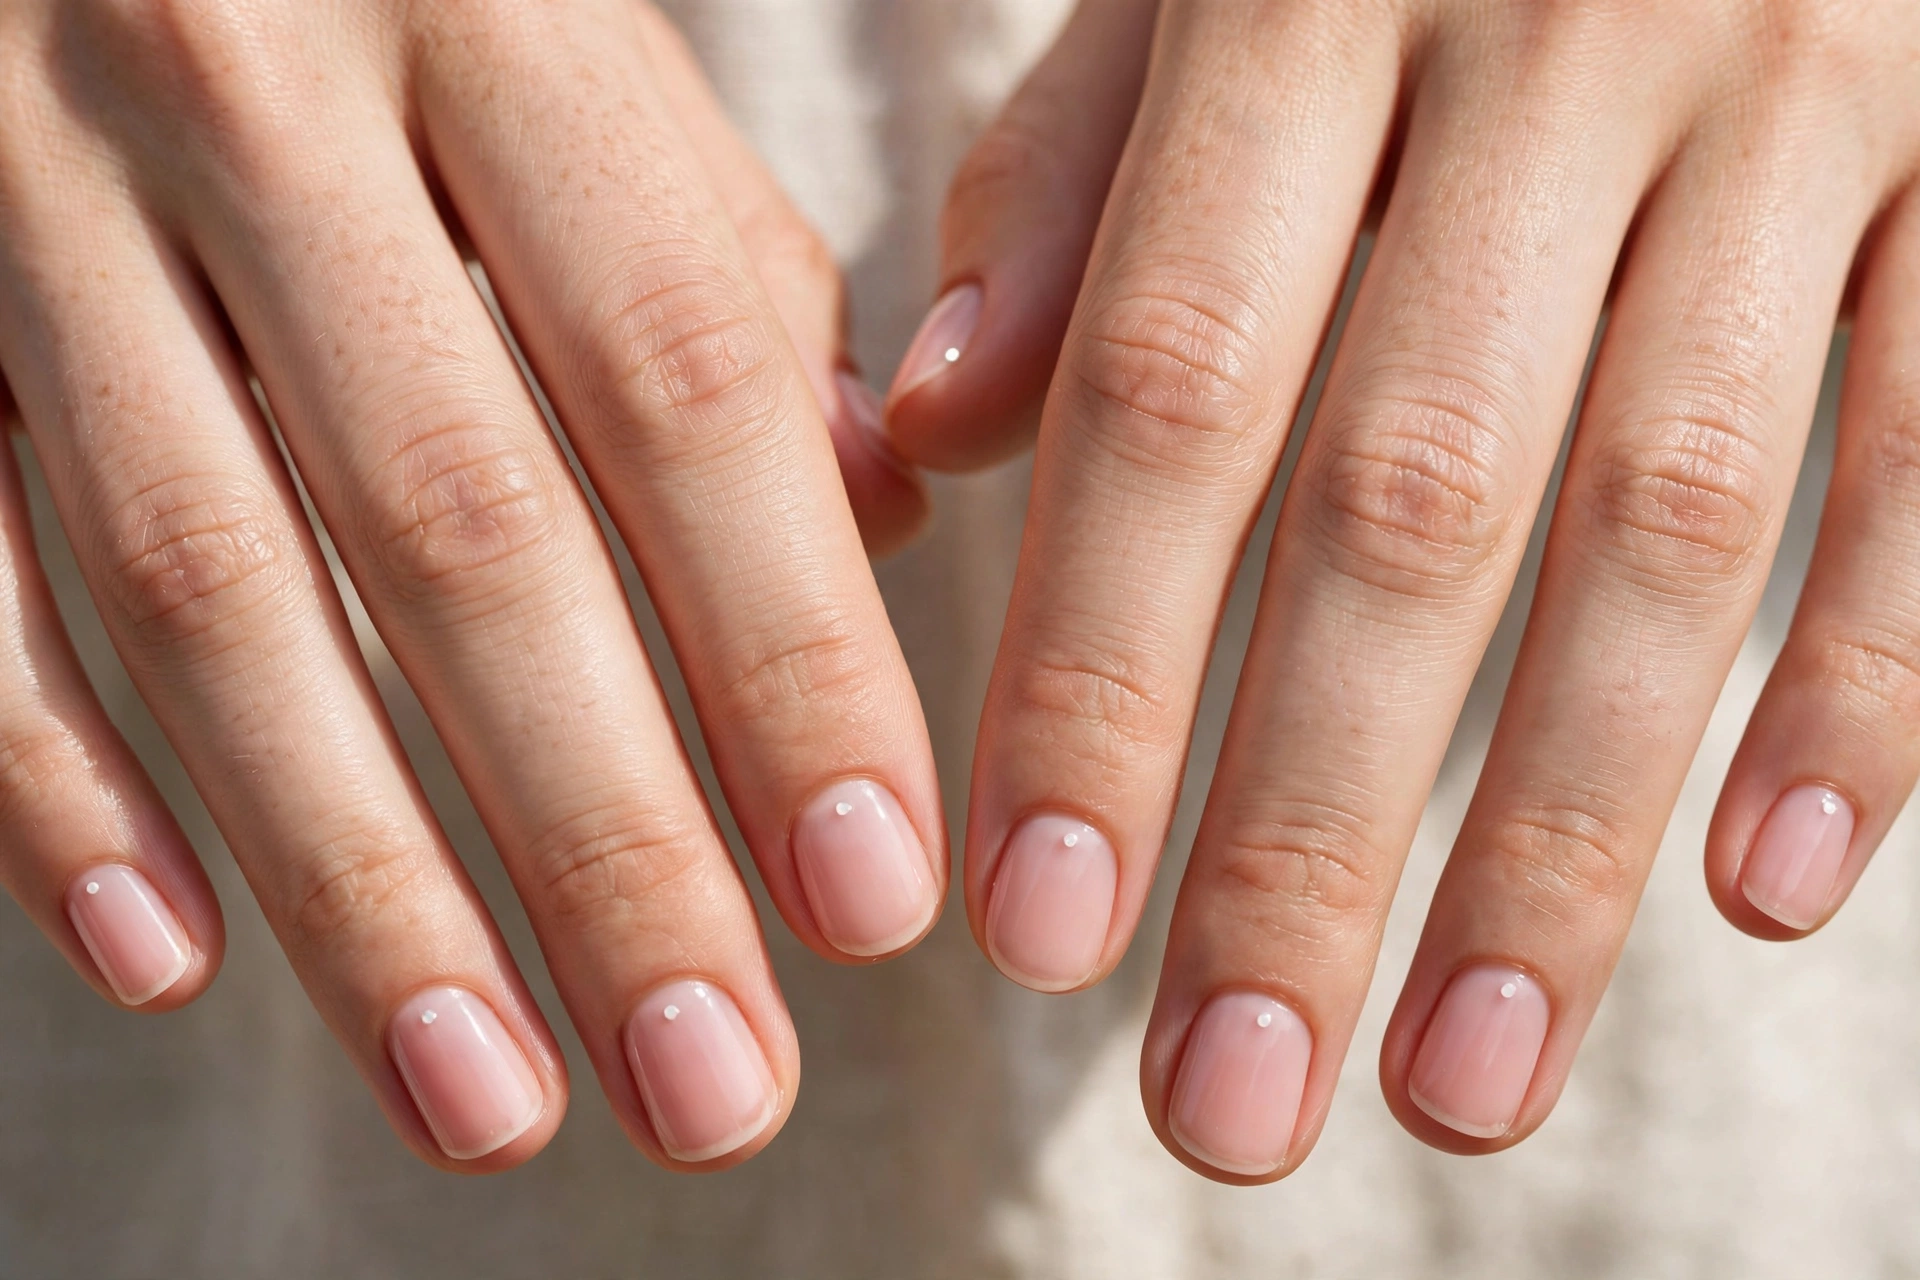
This one borrows its charm from asymmetry: the dot sits off-center, near a corner, instead of in the tidy middle. Sheer blush pink underneath keeps it delicate. Corner dots suit short nails especially well because the small canvas makes the placement feel deliberate rather than lost. If you type all day, tuck the dot near the base corner where it is protected from wear.
5. Scattered Micro Dots
A sparse constellation of taupe dots keeps nude nails interesting without settling into any real pattern.
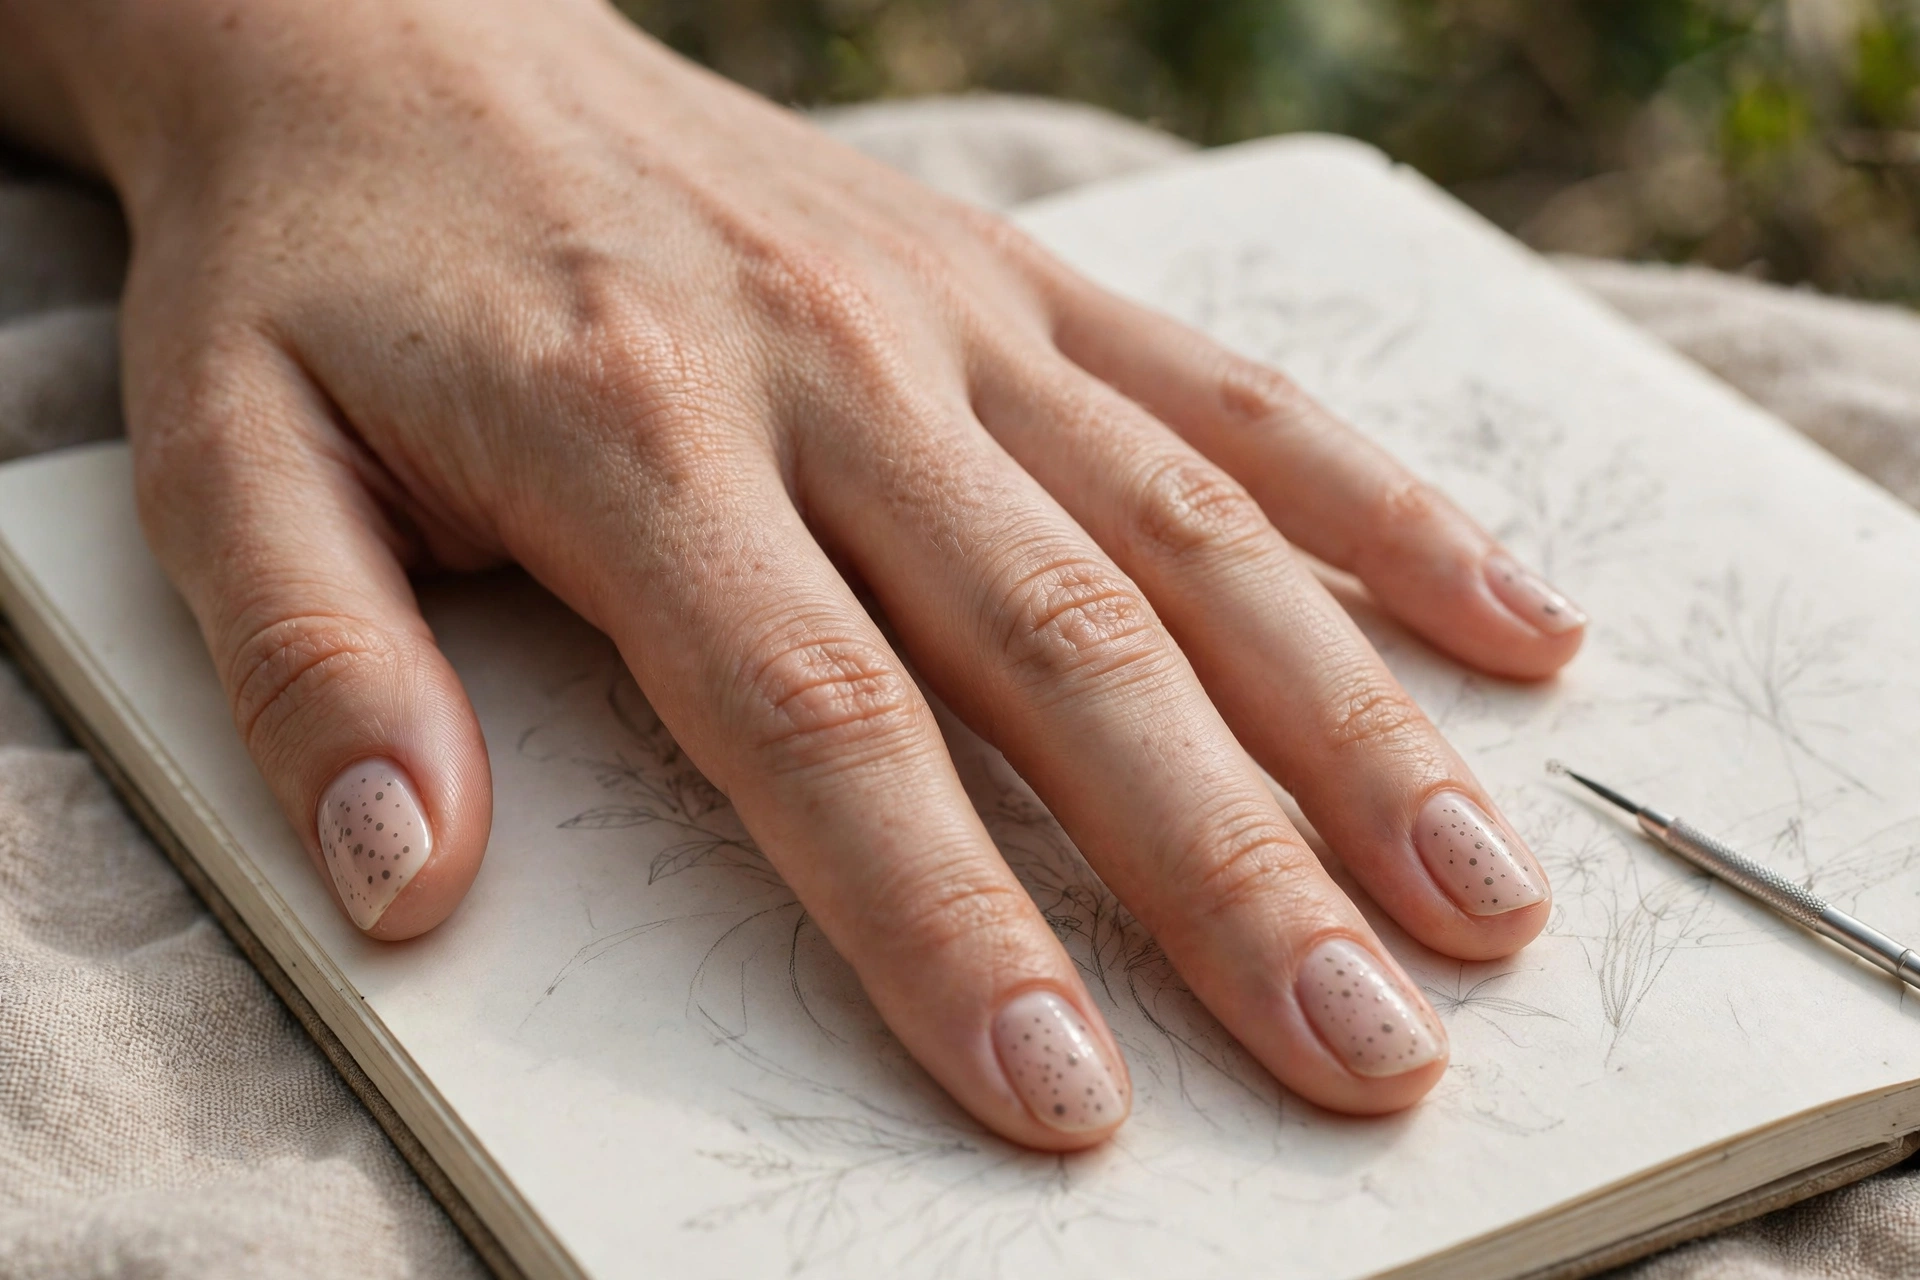
The trick is controlled randomness: place five to seven dots per nail in mixed sizes, but keep wide gaps between them so the nude base stays the dominant color. Tone-on-tone dots, a shade or two darker than the base, give texture you notice on second glance rather than first. This is the most forgiving dot design of all, since there is no symmetry to get wrong.
Single Lines
One straight line is the design that separates a clean manicure from a plain one. Lines ask slightly more skill than dots, but a striping brush or a steady pull turns most people into line painters within one attempt.
6. The Center Stripe
One thin vertical black line running down the exact center of a sheer nude nail makes fingers look longer and the whole manicure sharper.
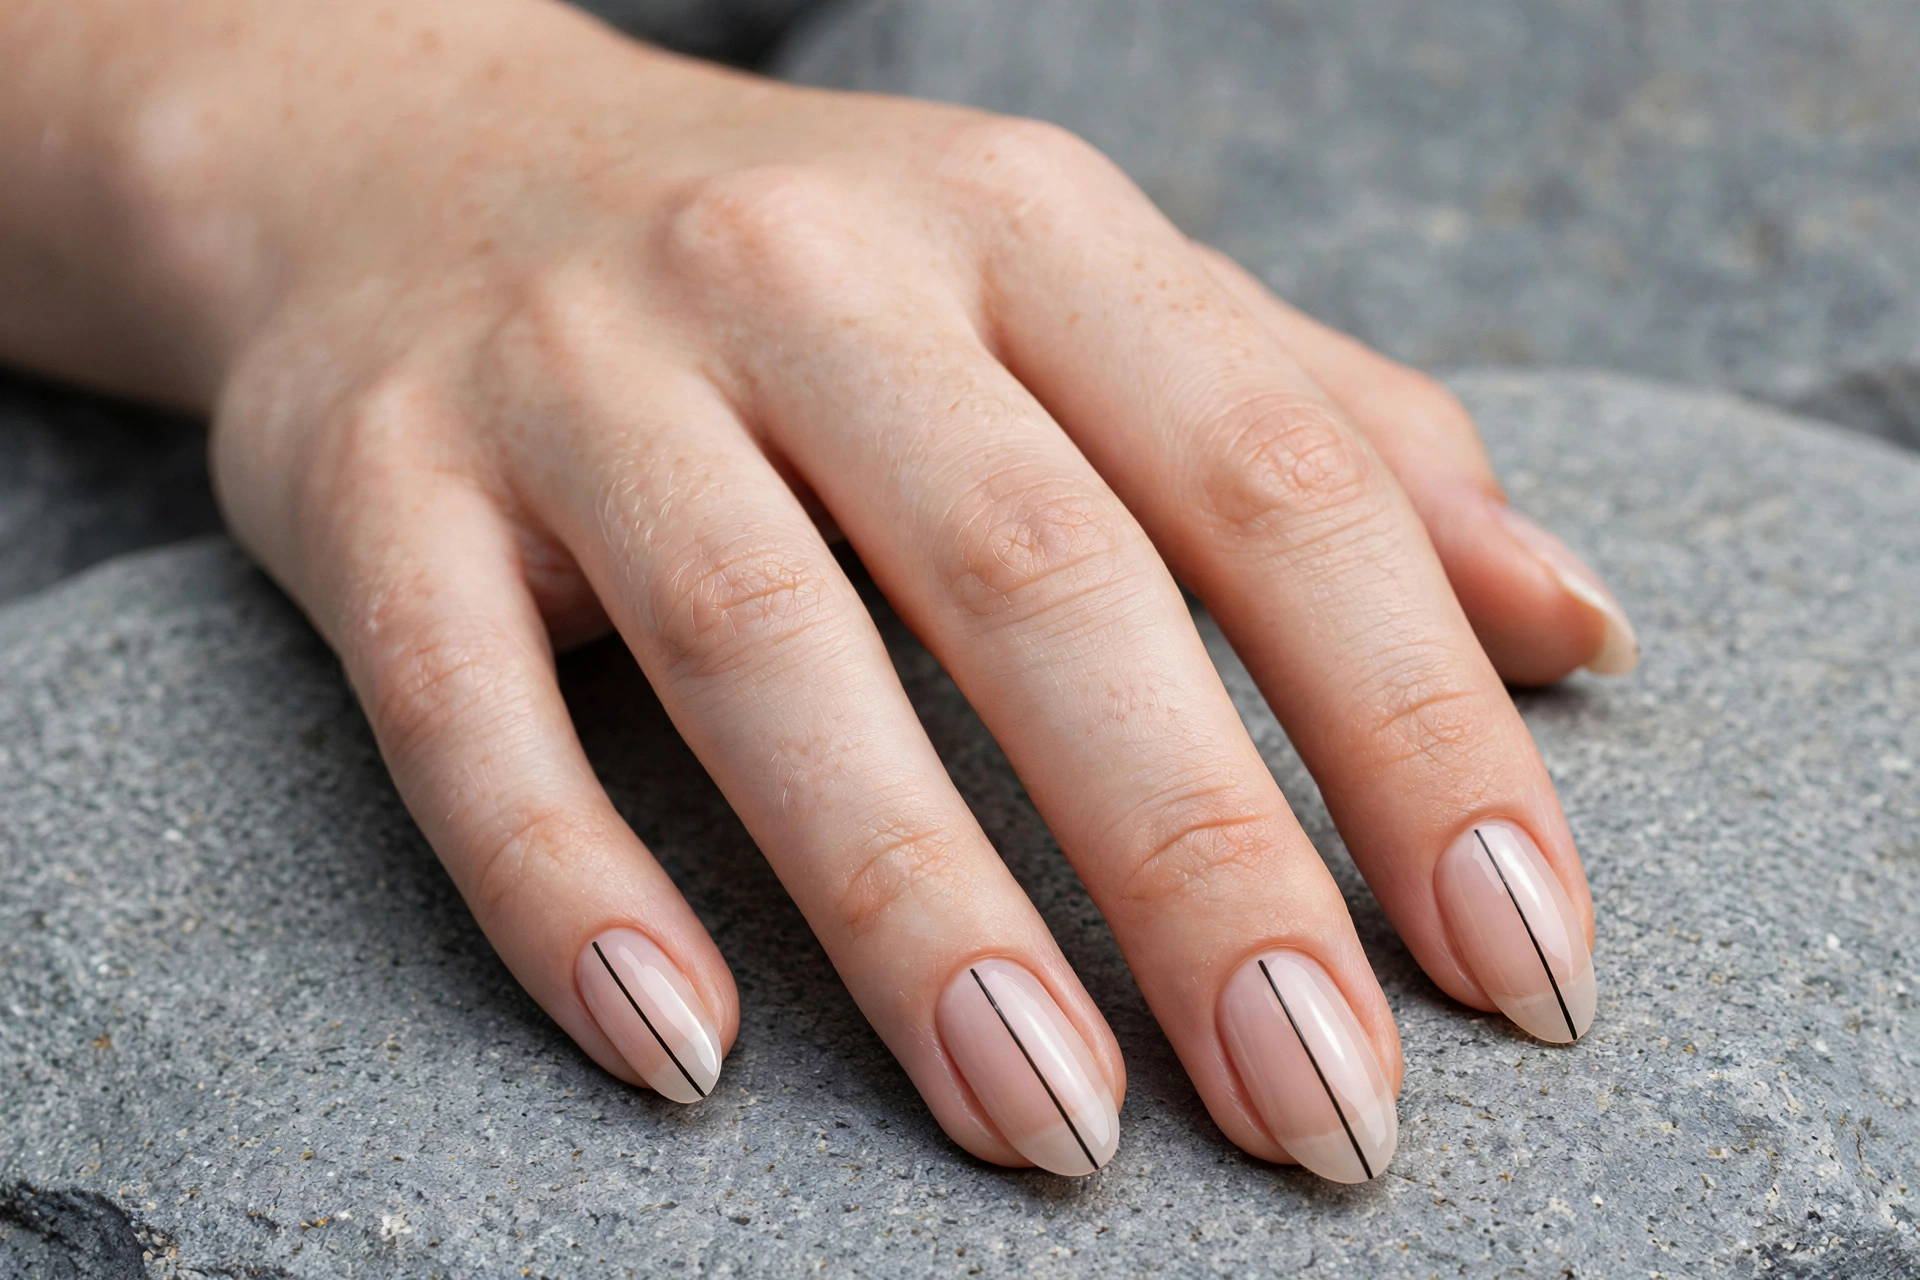
Almond and oval shapes carry this best because the stripe follows their natural axis. Load the striping brush thin, rest your painting hand on the table, and pull the line toward you in one motion instead of pushing it. Starting and stopping mid-line creates blobs, which is the one way this design goes wrong. Matte top coat over it gives a modern edge; glossy keeps it classic.
7. The Gold Cuticle Halo
A hairline gold line tracing the curve of the cuticle reads like jewelry for your nails, minus the hardware.
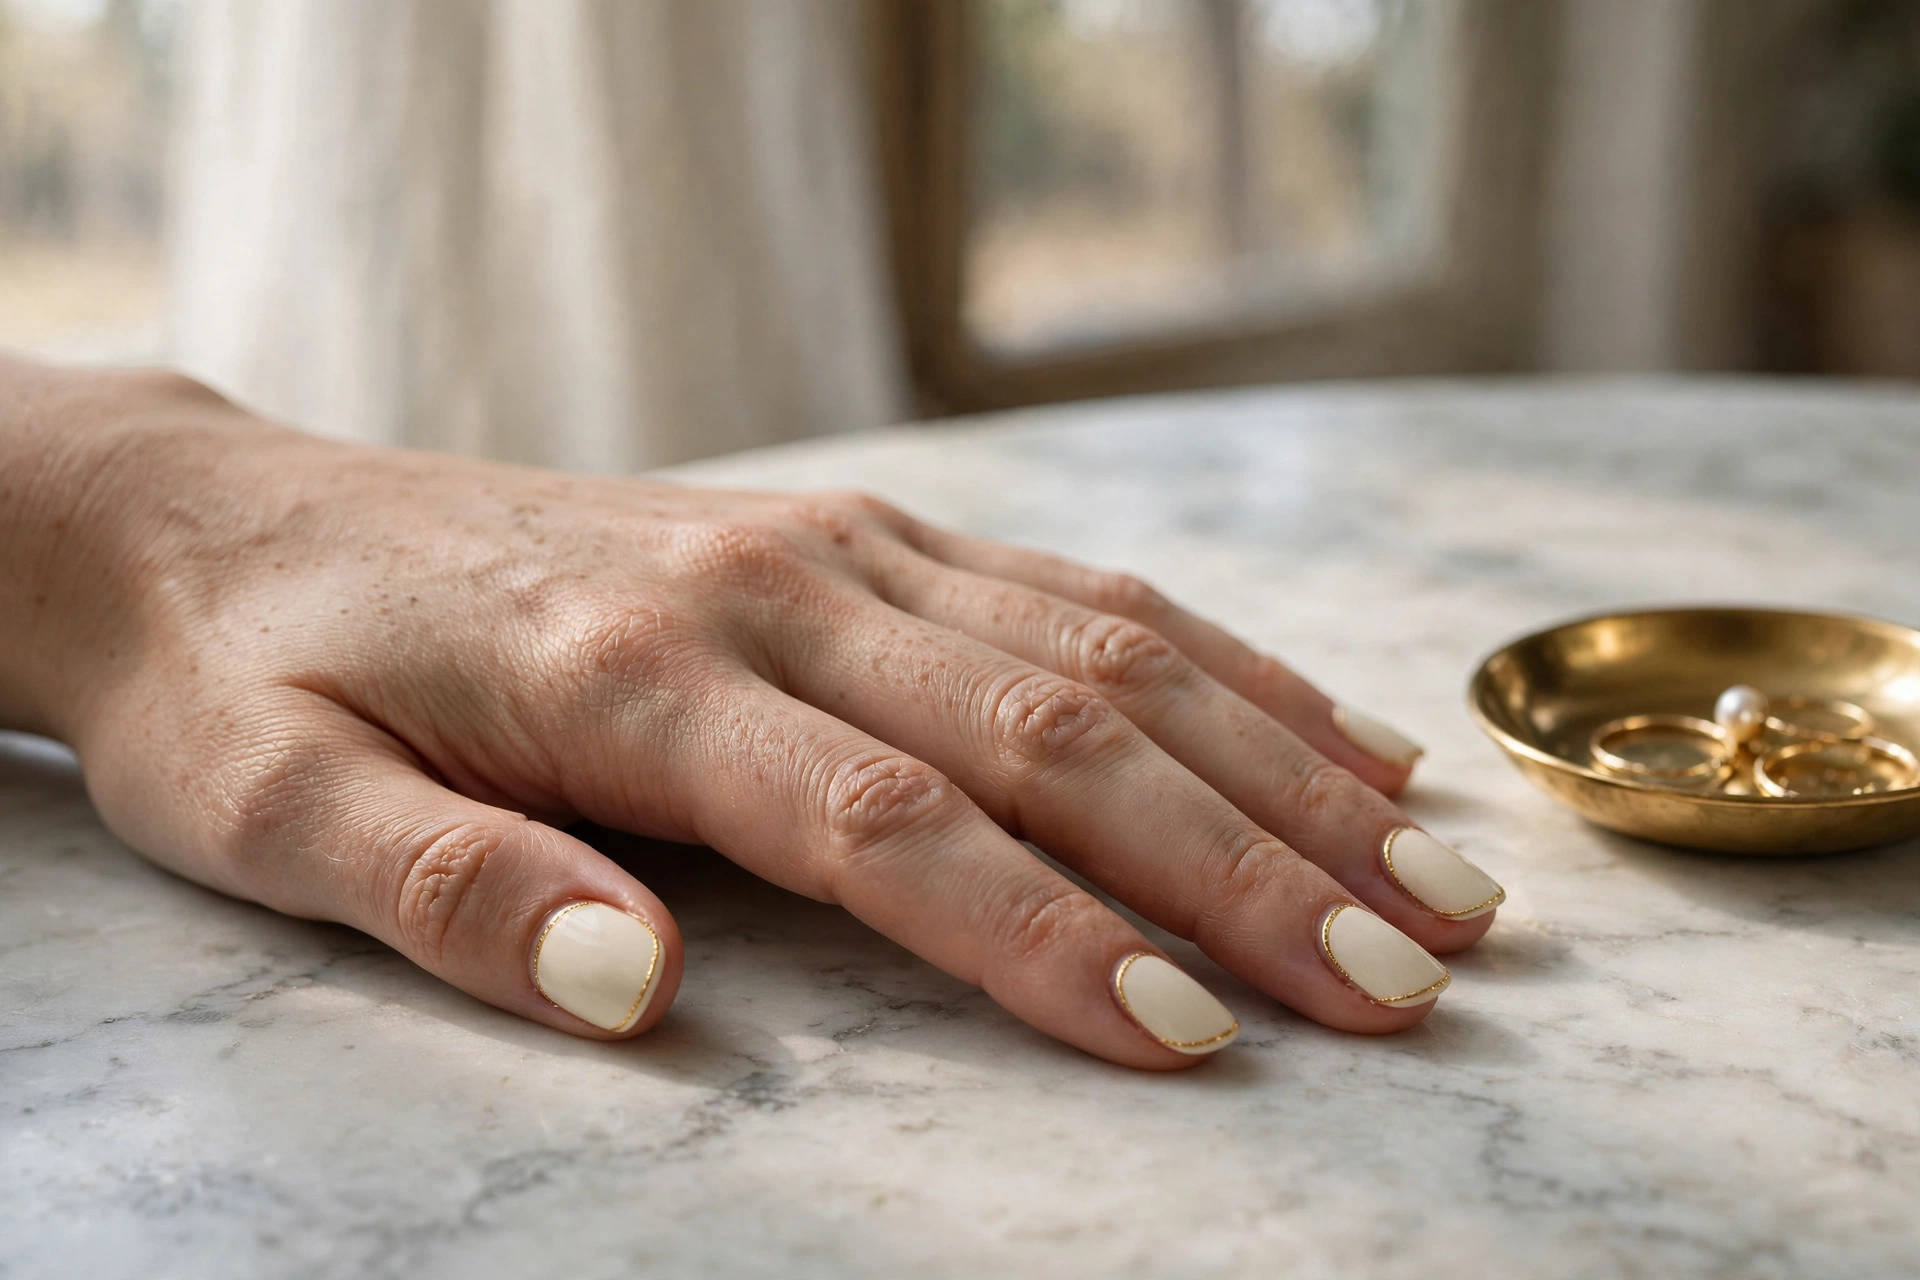
Cream or ivory bases let the metallic line read as a crisp ring of light. The base must be fully dry before you paint the halo, because a striping brush will drag through tacky polish. Metallic liner polishes, sold in pen-style bottles, make this dramatically easier than freehand. Wear it when you want the gold-dot idea’s polish with a little more presence.
8. Negative-Space Diagonal
A single diagonal white stripe across an otherwise bare nail is the boldest minimal look here, and it uses almost no polish at all.
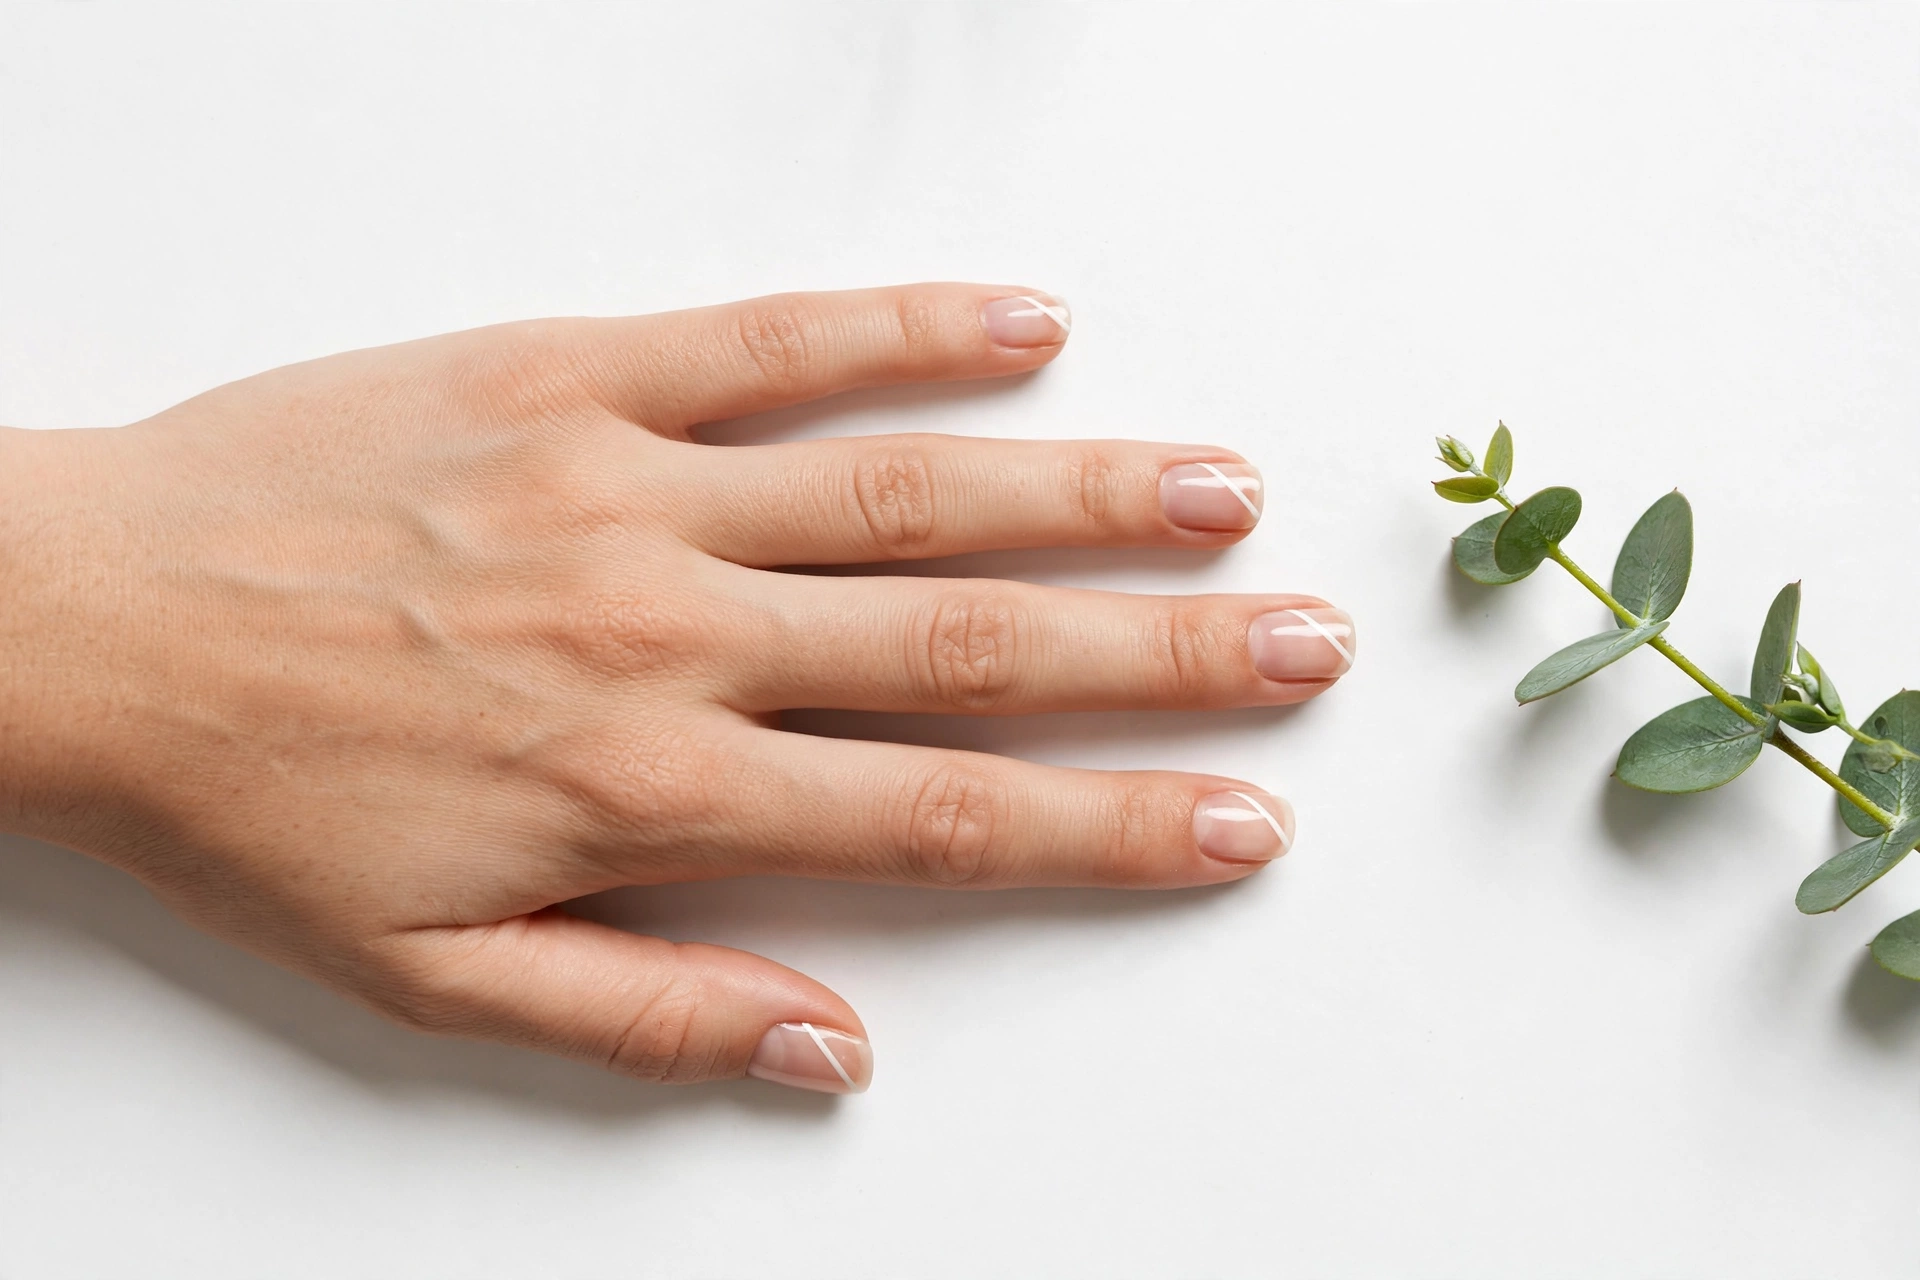
Leaving most of the nail bare is the entire point, so start from clean, buffed natural nails or a clear base. Nail art tape gives the crispest diagonal edge: lay the tape, paint the stripe, peel it while the polish is still wet. Angles matter, so keep every stripe slanting the same direction across all ten nails or the set looks accidental.
9. The Equator Line
A thin horizontal gold line crossing the middle of each nail is symmetrical, calm, and the easiest line to place.
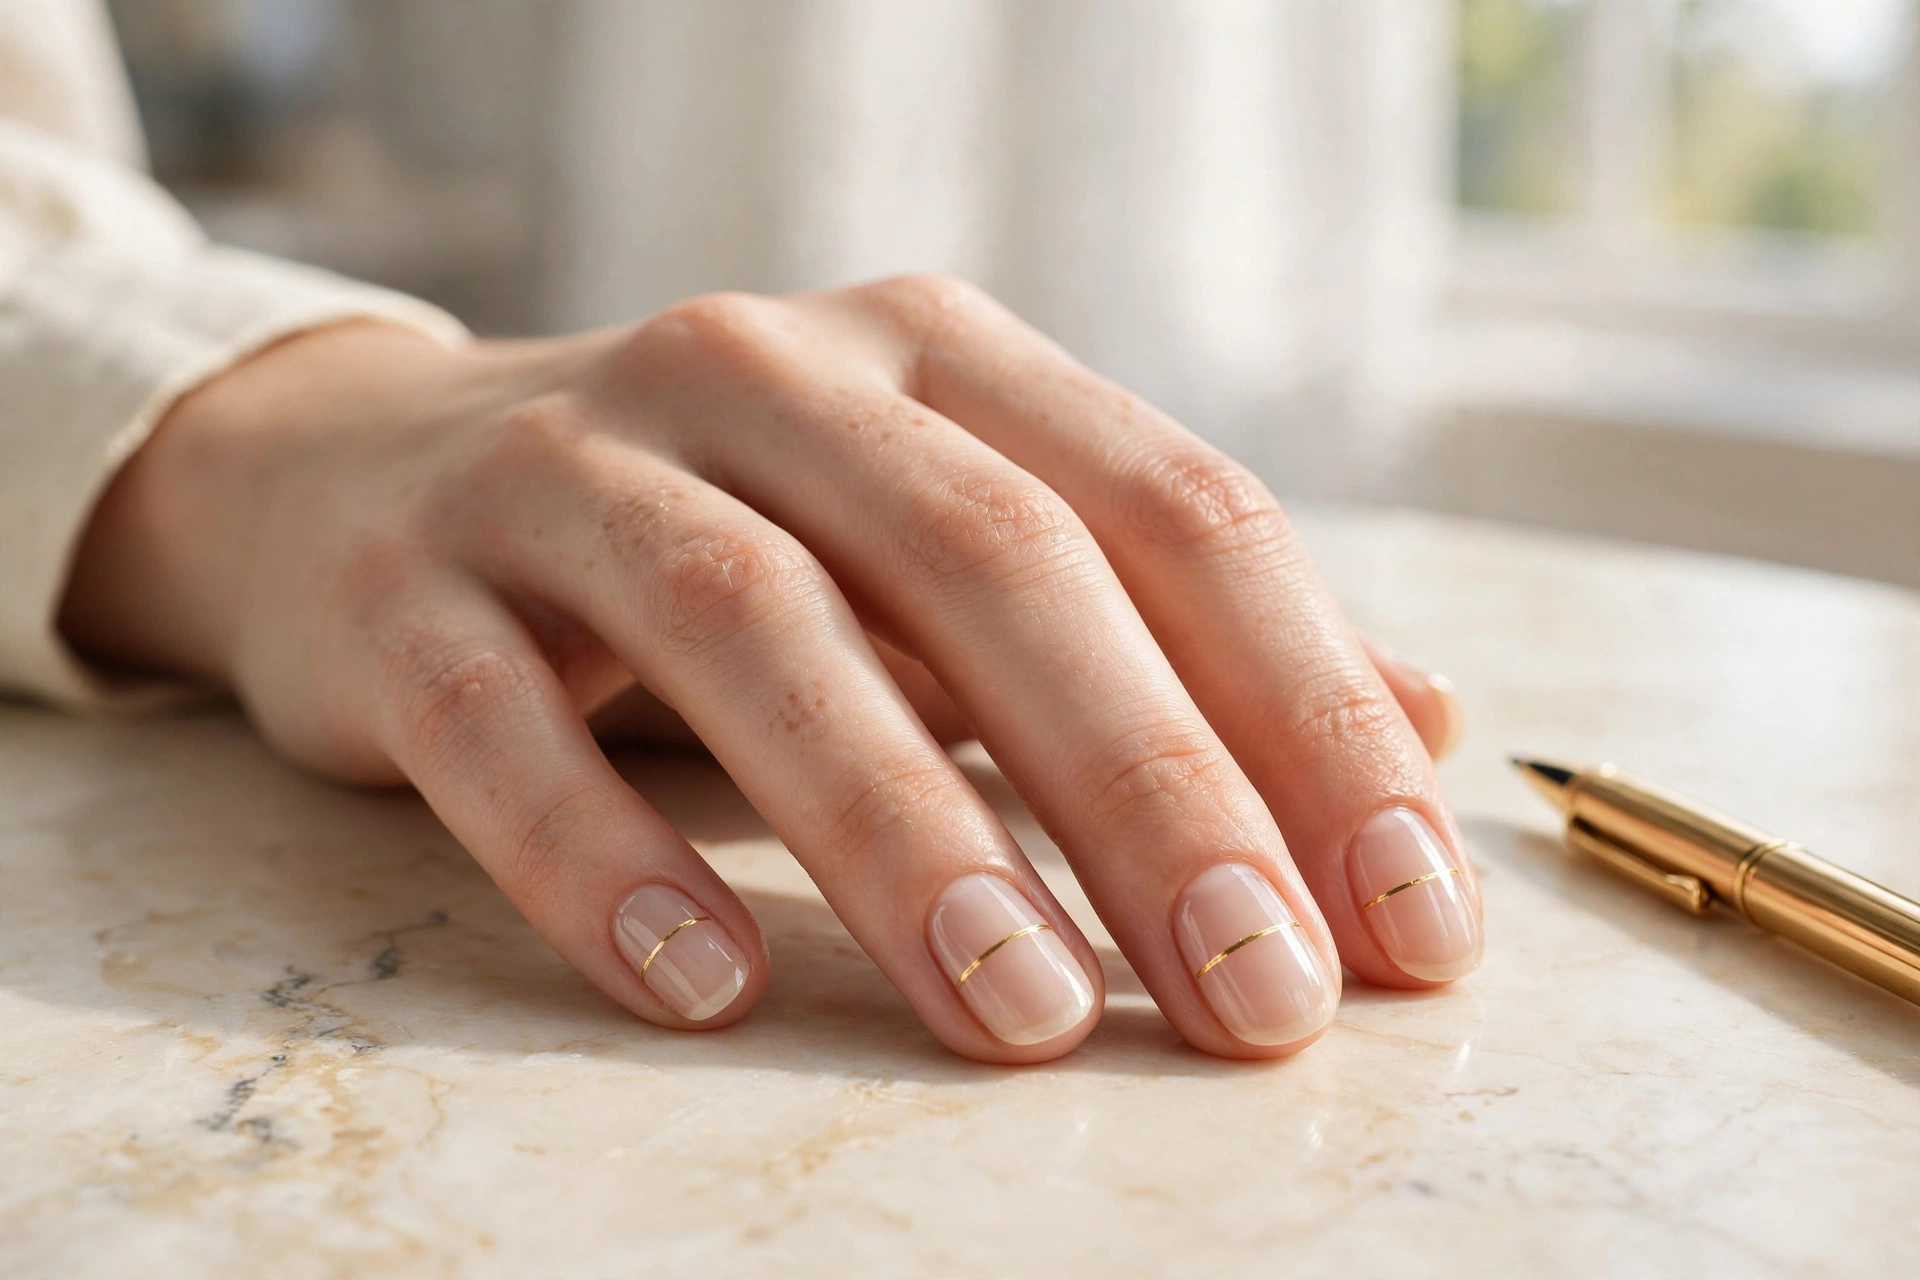
Horizontal lines flatter wider nail beds because the eye reads across rather than up. Find each nail’s midpoint by eye, not by ruler; slight differences between nails are invisible once worn. Gold on sheer nude is the office-safe pairing, while black on the same base reads more graphic. This is the line design to attempt first if you have never painted one.
10. Parallel Double Lines
Two whisper-thin dark lines near the tip double the detail without doubling the fuss.
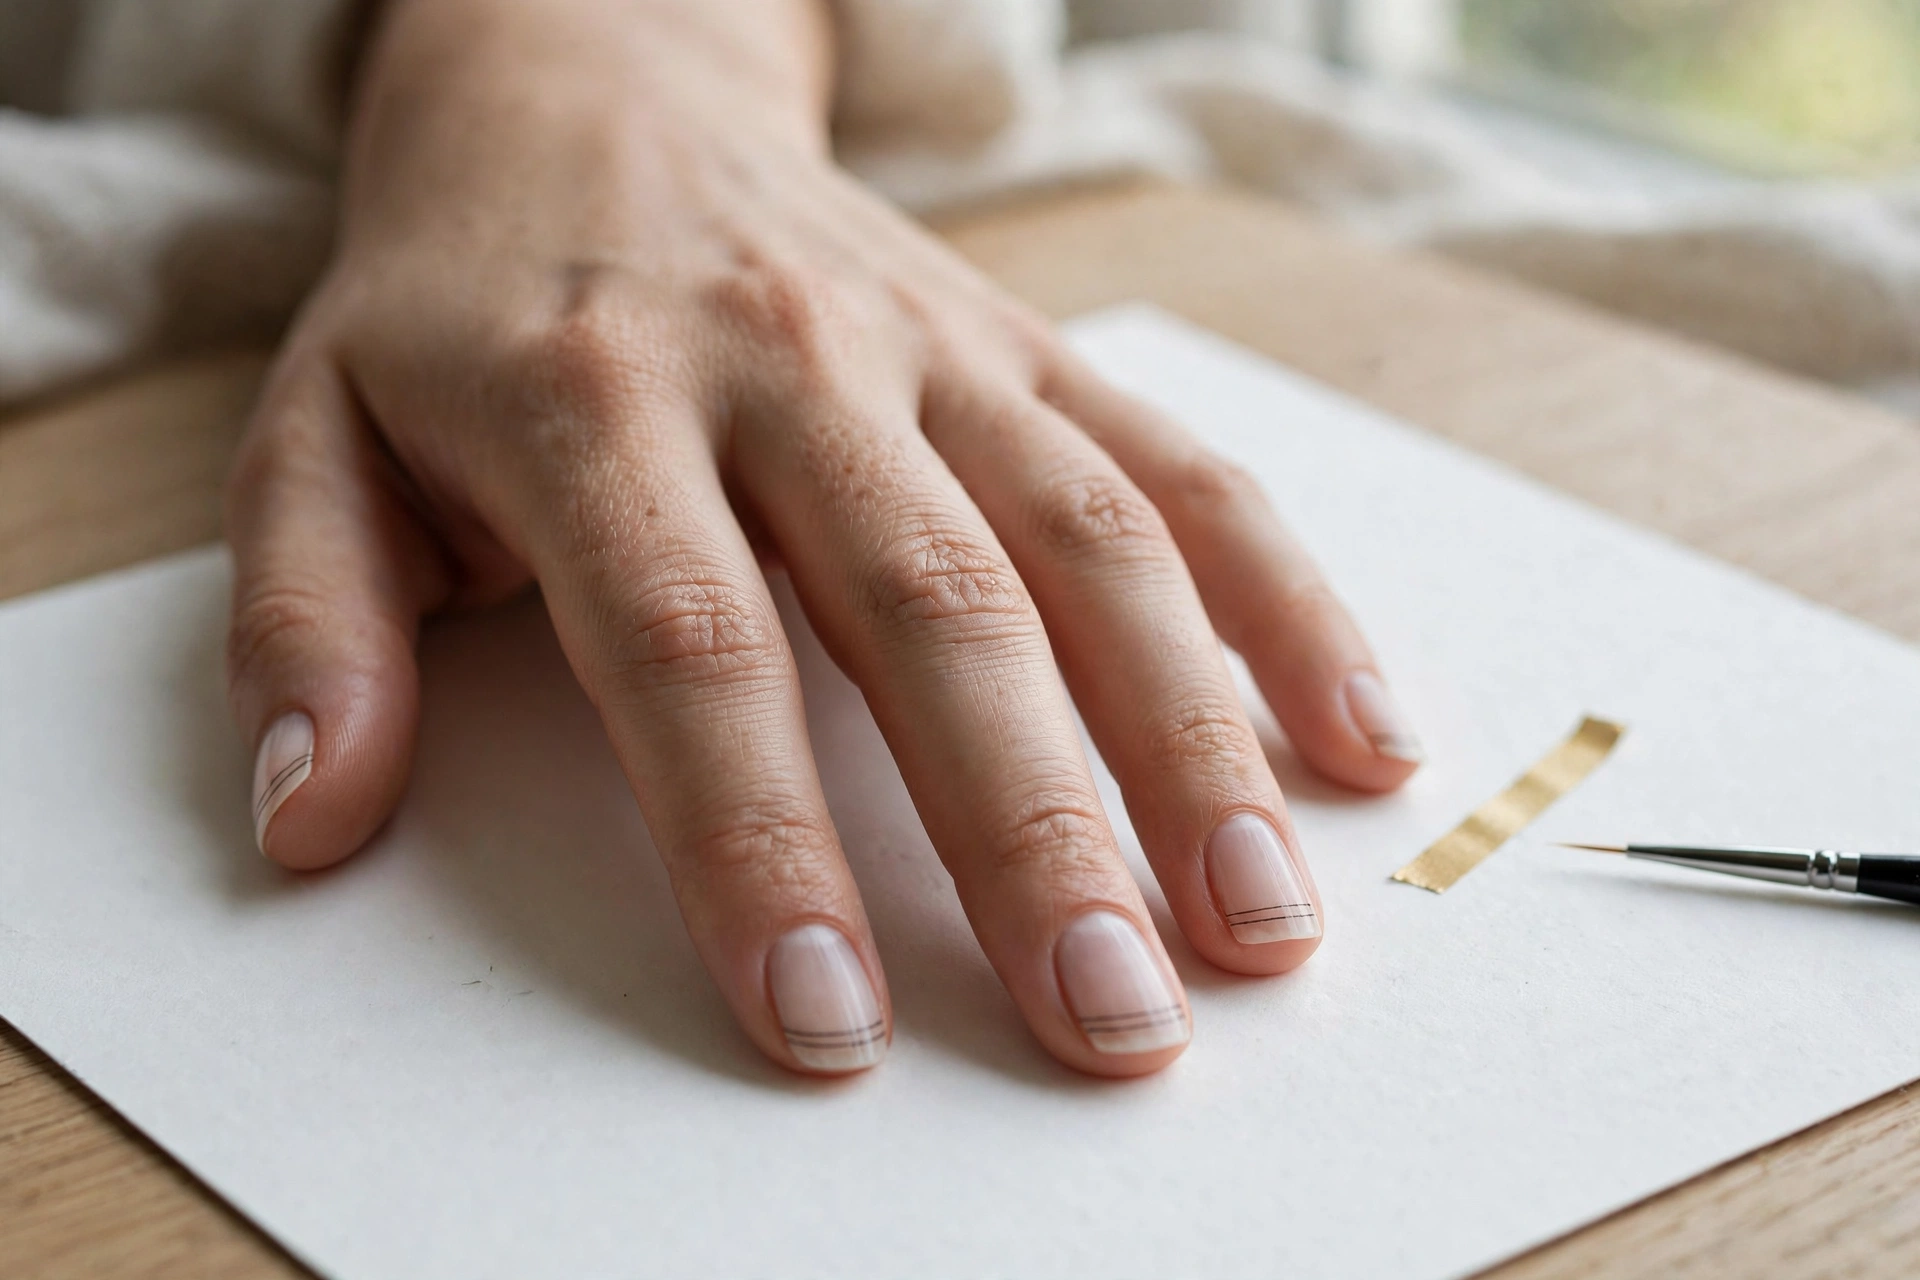
Keep the two lines evenly spaced and parallel or the design looks nervous; a strip of tape laid across the nail can guide the second line. Milky sheer bases give the lines a soft backdrop that keeps them gentle. If this kind of precision appeals to you, our geometric nail designs gallery takes the same line language further.
Micro French
The micro French shrinks the classic tip to a hairline, which is why it looks modern instead of retro. Everything you like about a French manicure, the clean edge and the elongated look, survives at this scale; the dated thickness does not.
11. Classic White Micro French
A hairline white line hugging the very edge of a sheer pink nail is the French manicure distilled to its essence.
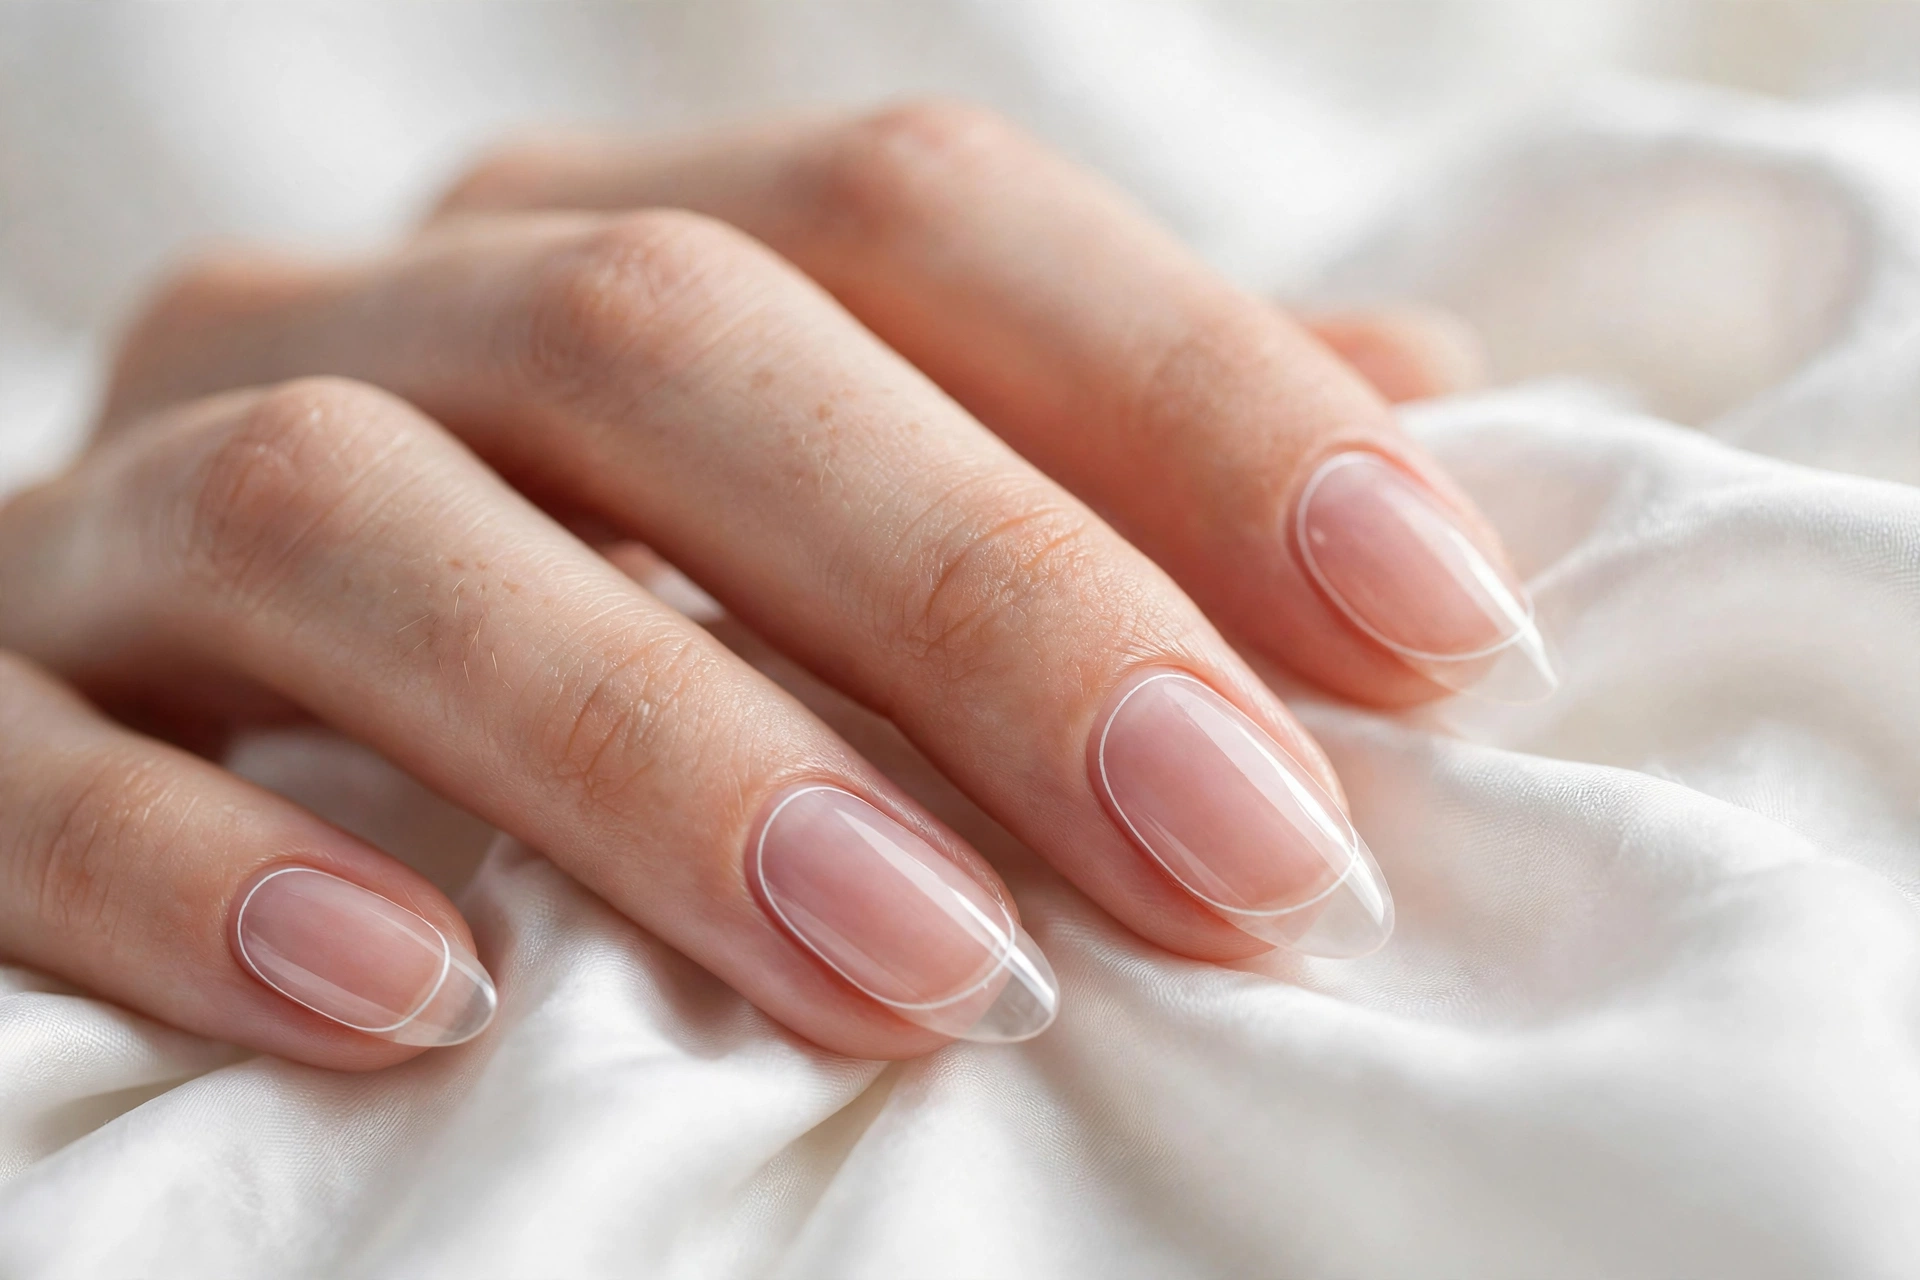
The line should be about a millimeter wide. Any thicker and it becomes a regular French tip, which is a different design with a different reputation. Paint the tip by sweeping the brush horizontally across the free edge rather than trying to draw the smile line freehand. This suits every nail length, and on short nails it is one of the few French styles that does not visually shorten the nail further.
12. Black Micro French
Swapping white for black keeps the silhouette classic but changes the mood entirely.
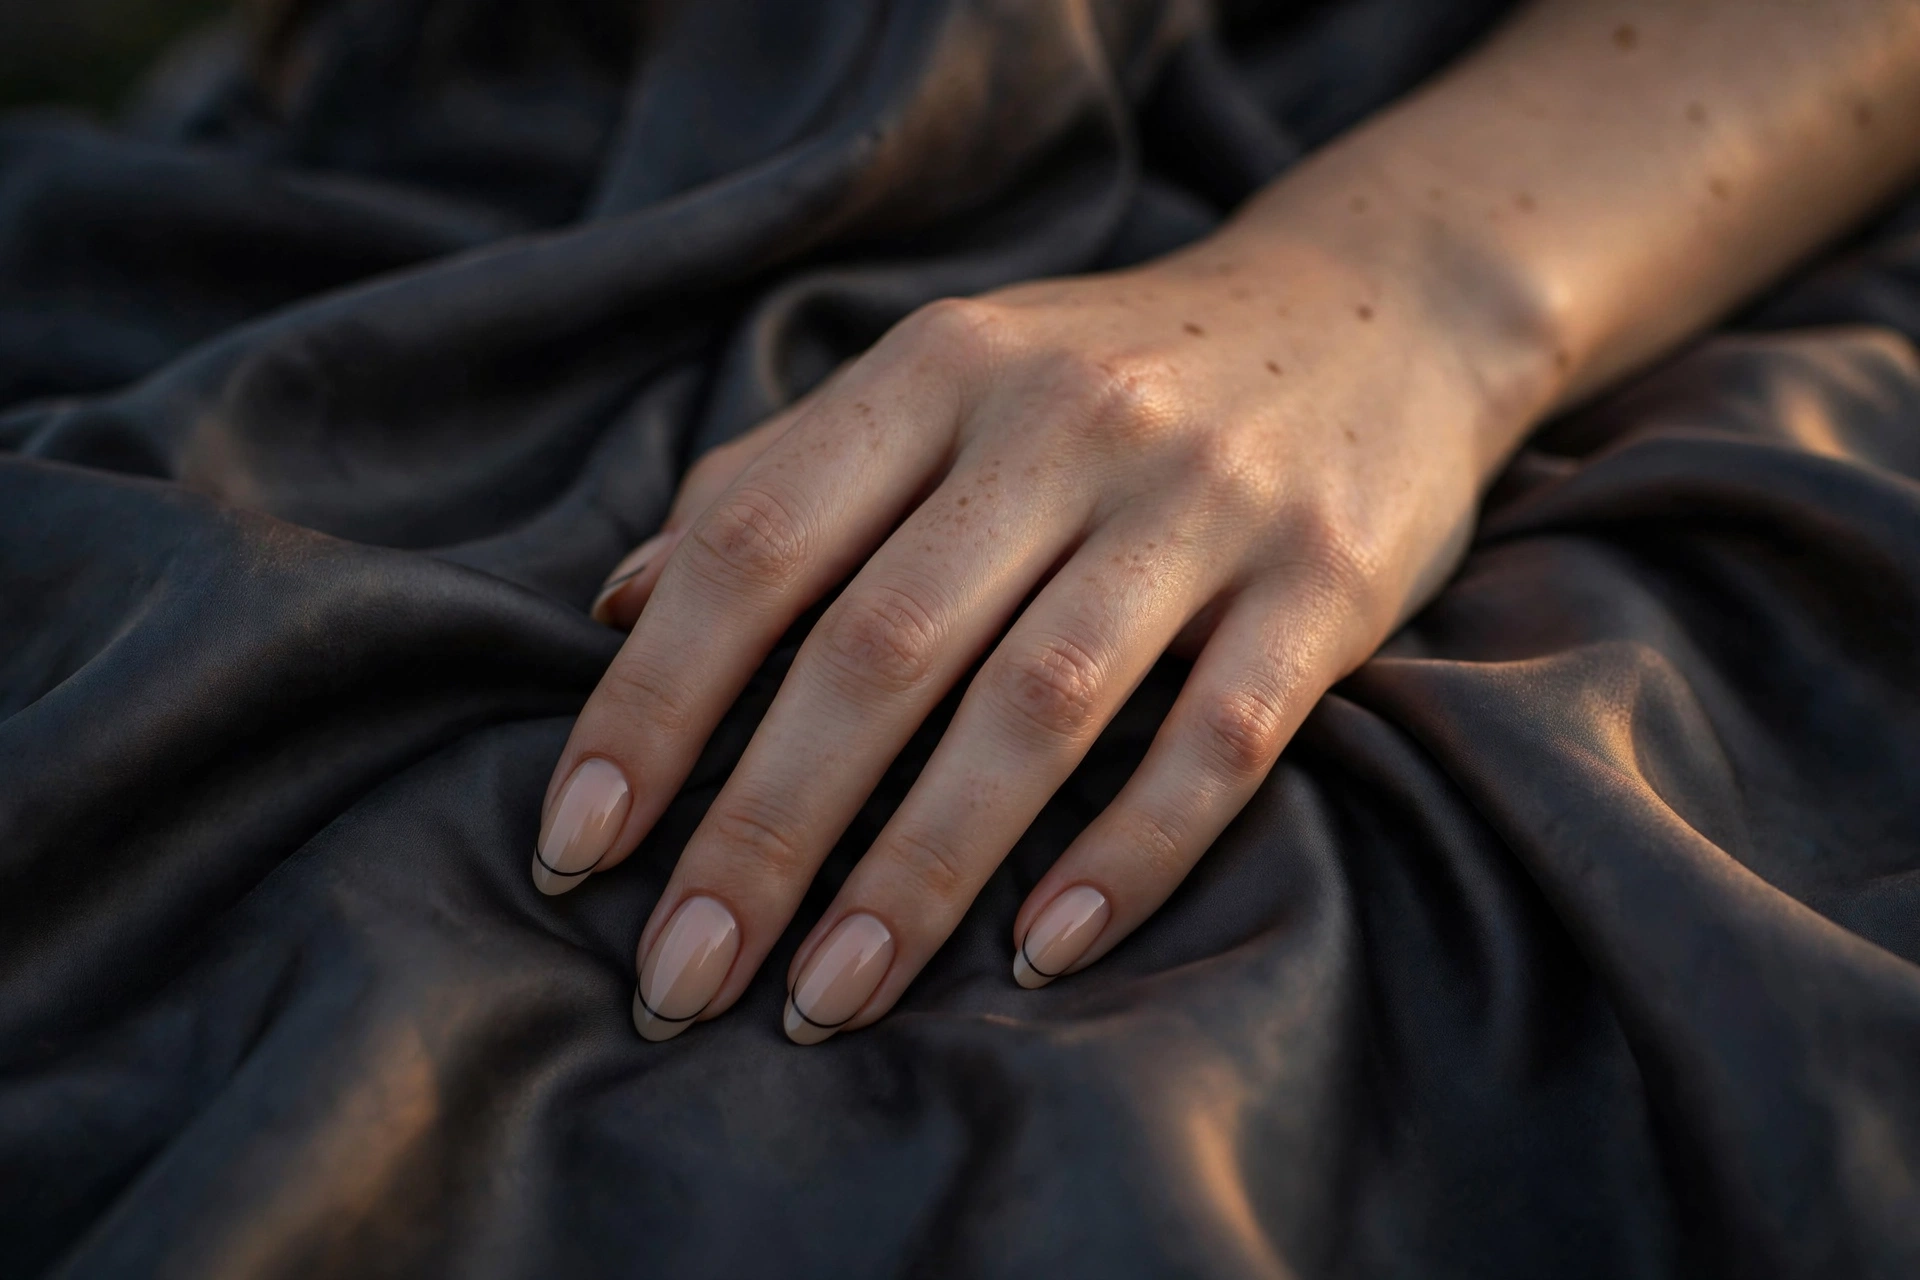
This is the micro French for people who wear black eyeliner: sharp, a little edgy, and still perfectly tidy. Nude beige underneath keeps it wearable day to day. Black shows every wobble, so this is worth doing over a fully dry base with a fresh striping brush. Evening light loves this design, and it photographs beautifully.
13. Sage Micro French
A muted sage green tip is the colored micro French that still reads as neutral.
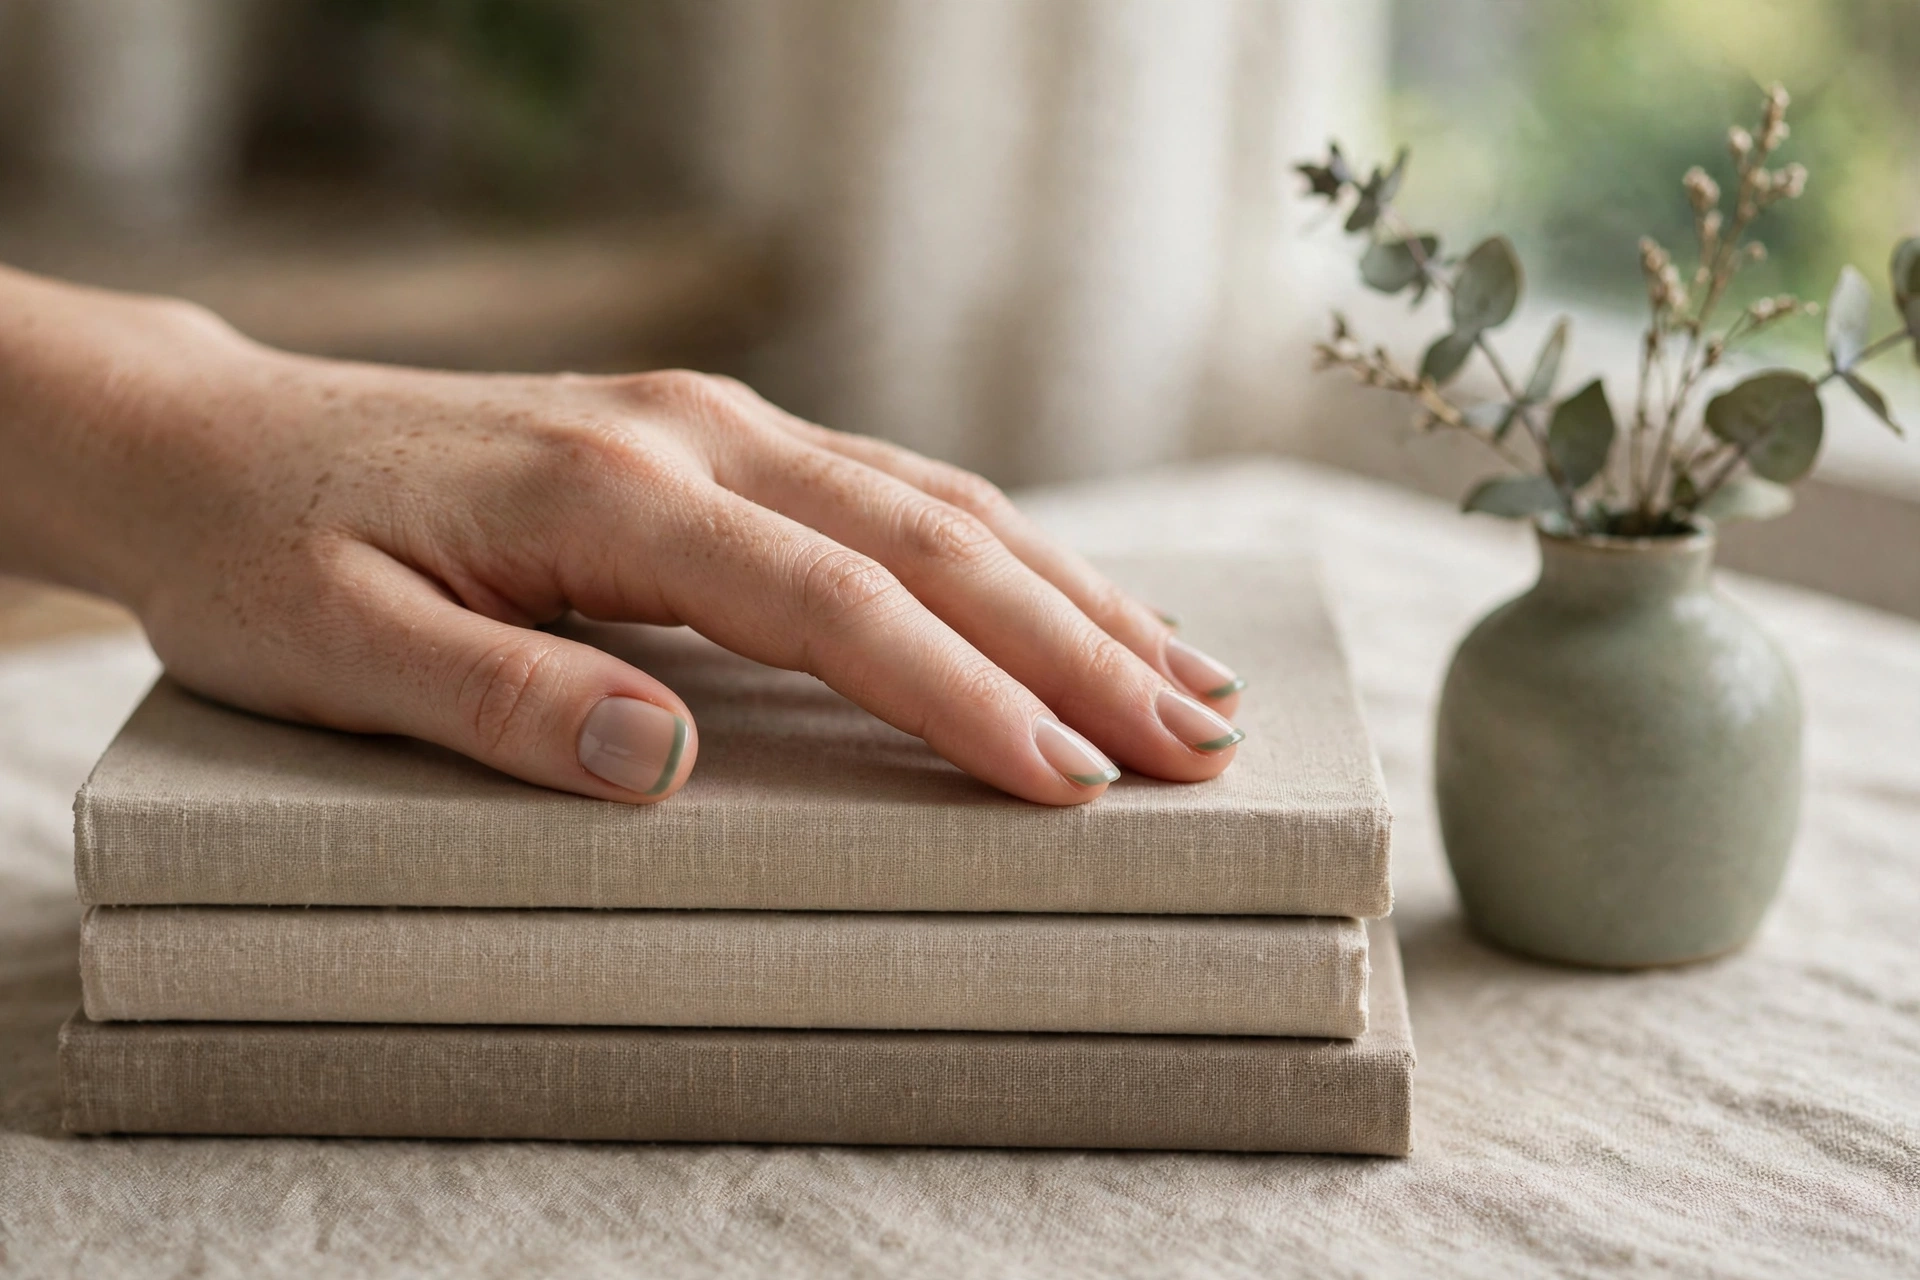
Soft, desaturated colors are the only colored tips that stay minimalist; bright shades tip the design into statement territory. Sage sits between grey and green, so it pairs with almost any wardrobe. This is the micro French to try when white feels too bridal and black feels too severe. It looks especially good on short oval nails.
14. Double-Line Micro French
Two thin charcoal lines tracing the tip edge add quiet architecture to an otherwise bare nail.
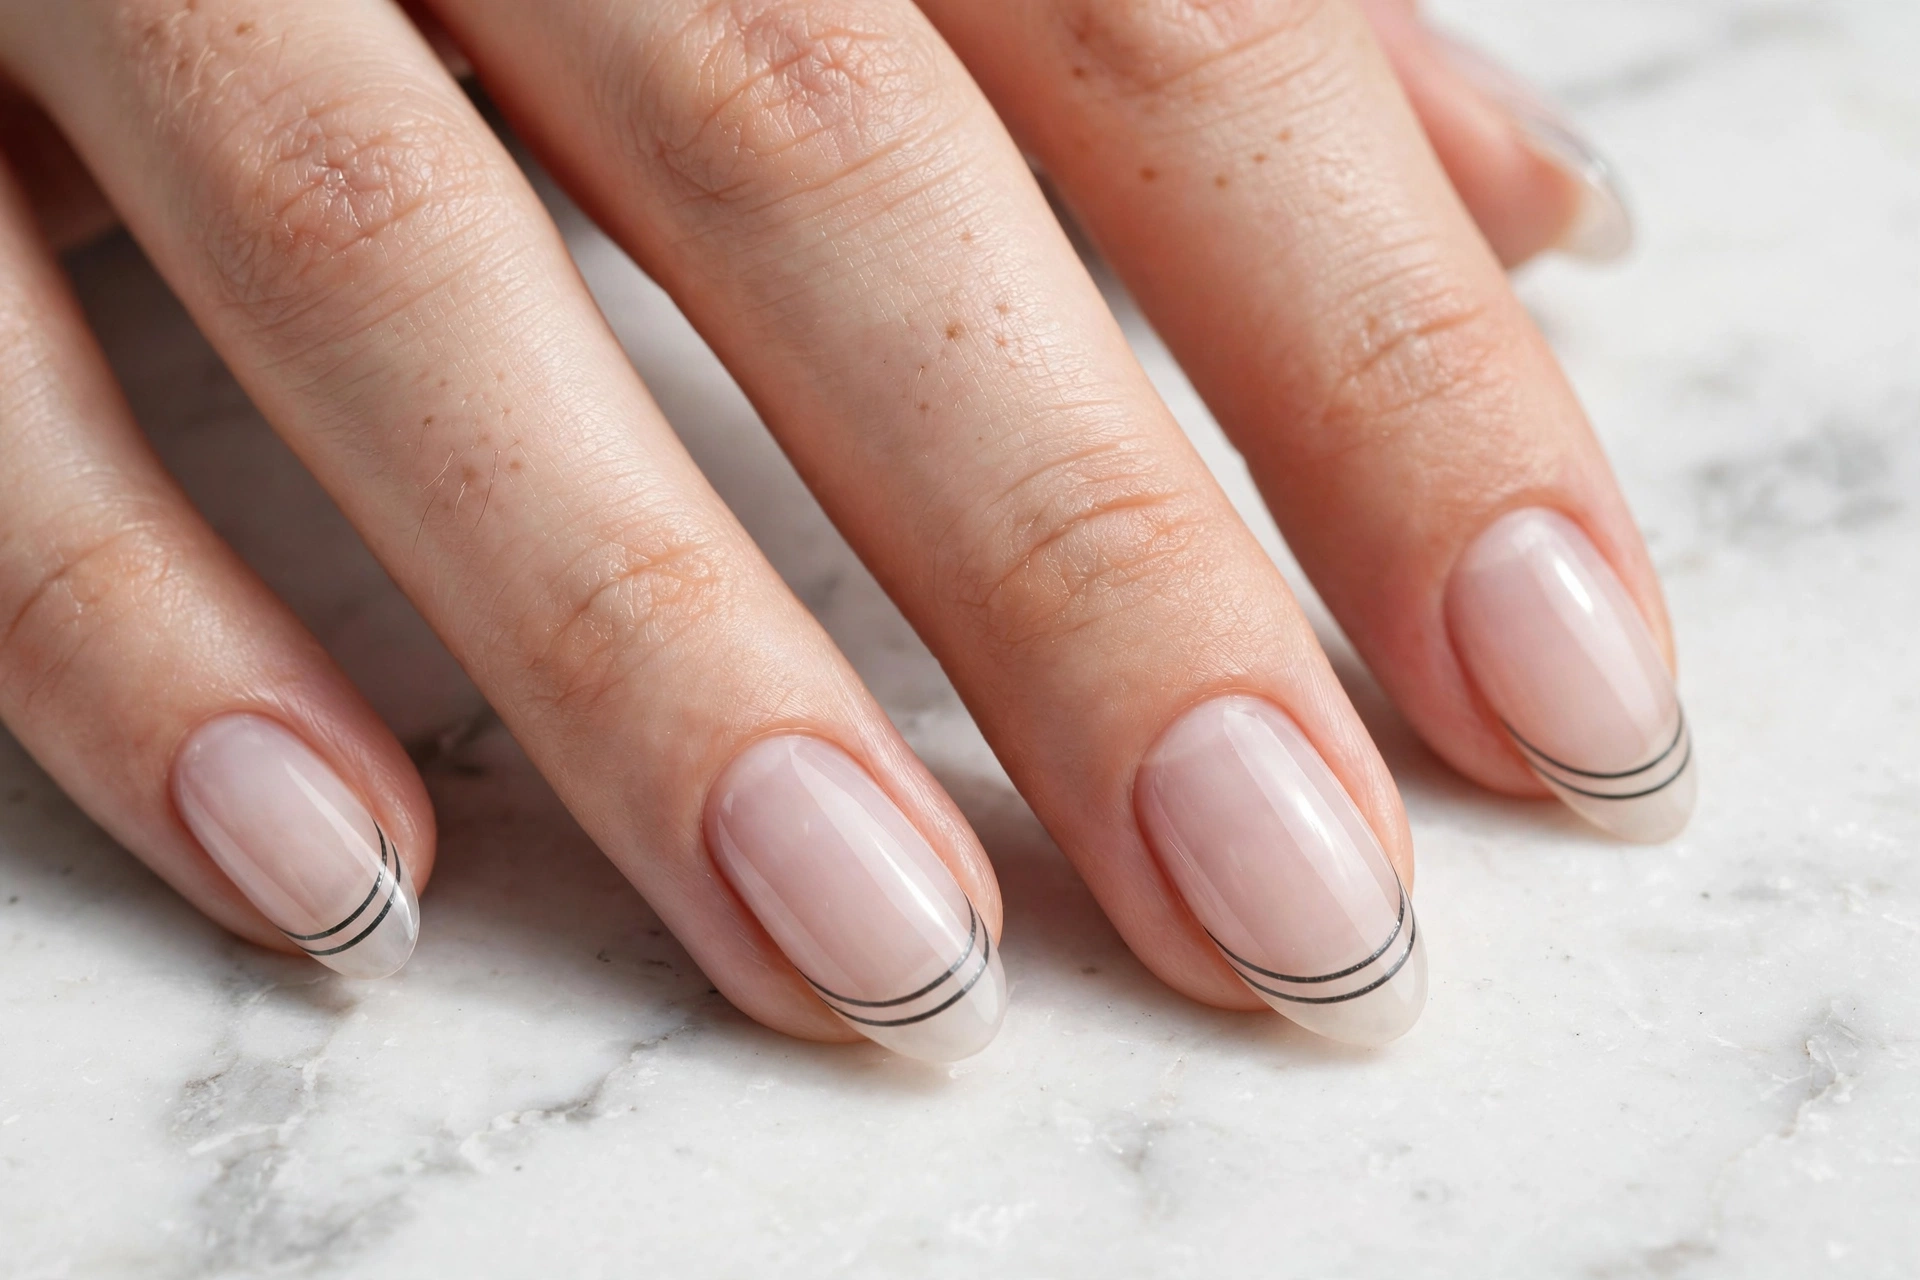
Think of it as the French tip with an echo. Milky sheer bases give the double line a cloudy backdrop that softens the charcoal. Keep the gap between the two lines tight and even across all ten nails. This is the most detailed micro French here, and even so it stays firmly in minimal territory.
Barely-There Sheer
When the finish is the design, sheer polishes that let the natural nail show through are the entire point. These four need no nail art skill at all, just good prep and the right shade.
15. Milky Sheer Wash
A translucent milky white wash that lets the natural nail show through is the minimalist finish everyone keeps coming back to.
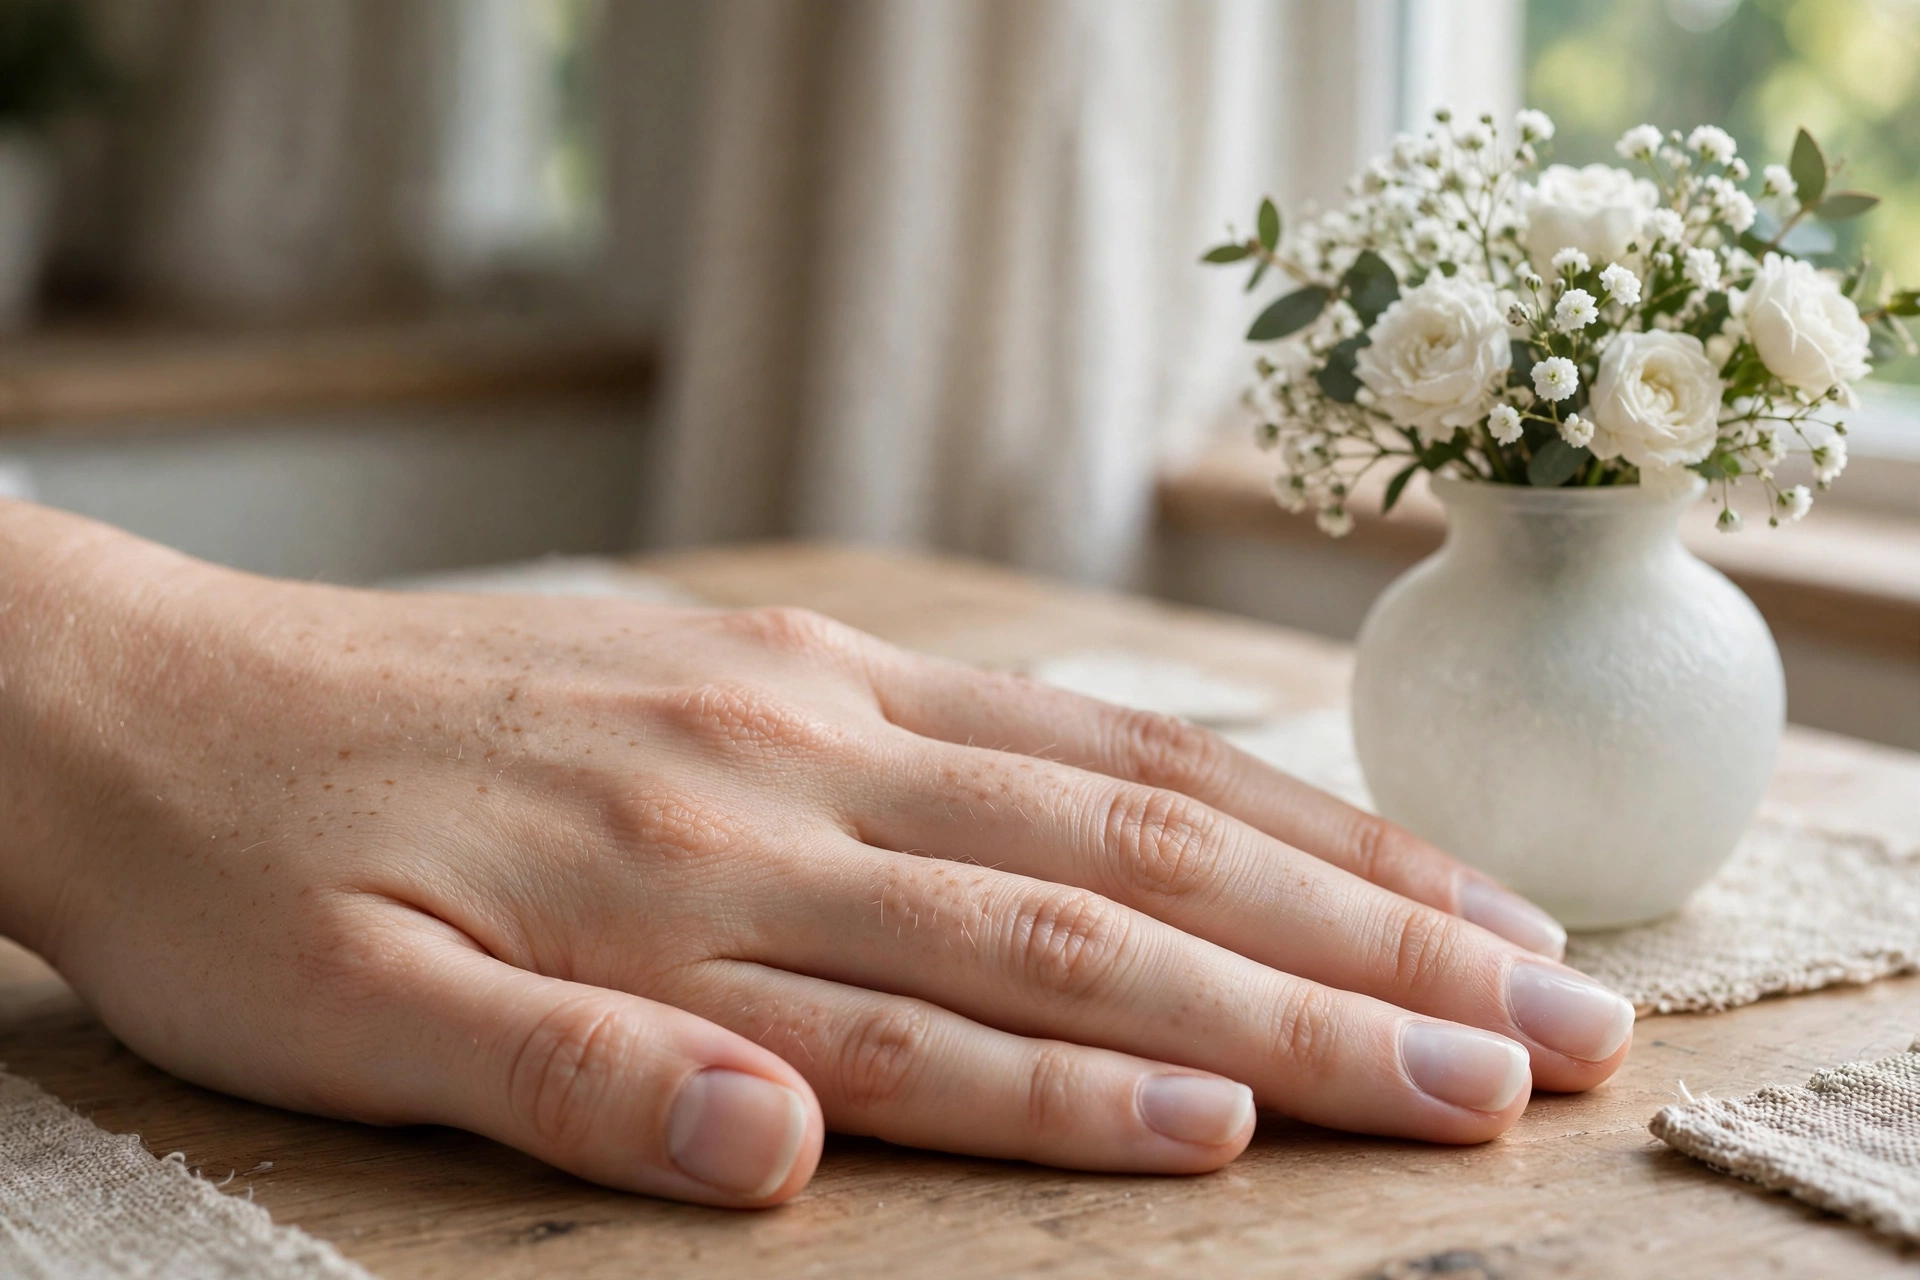
One to two thin coats give a soft cloudy veil; three coats turn it opaque, so stop early. Milky sheers blur ridges and even out tone, which is why they photograph like a filter. We cover this exact finish in depth in our milky nail designs guide if you want shade comparisons and layering tips.
16. The Soap Nail
Clear gloss over a well-shaped, well-cared-for nail is the cleanest manicure that exists.
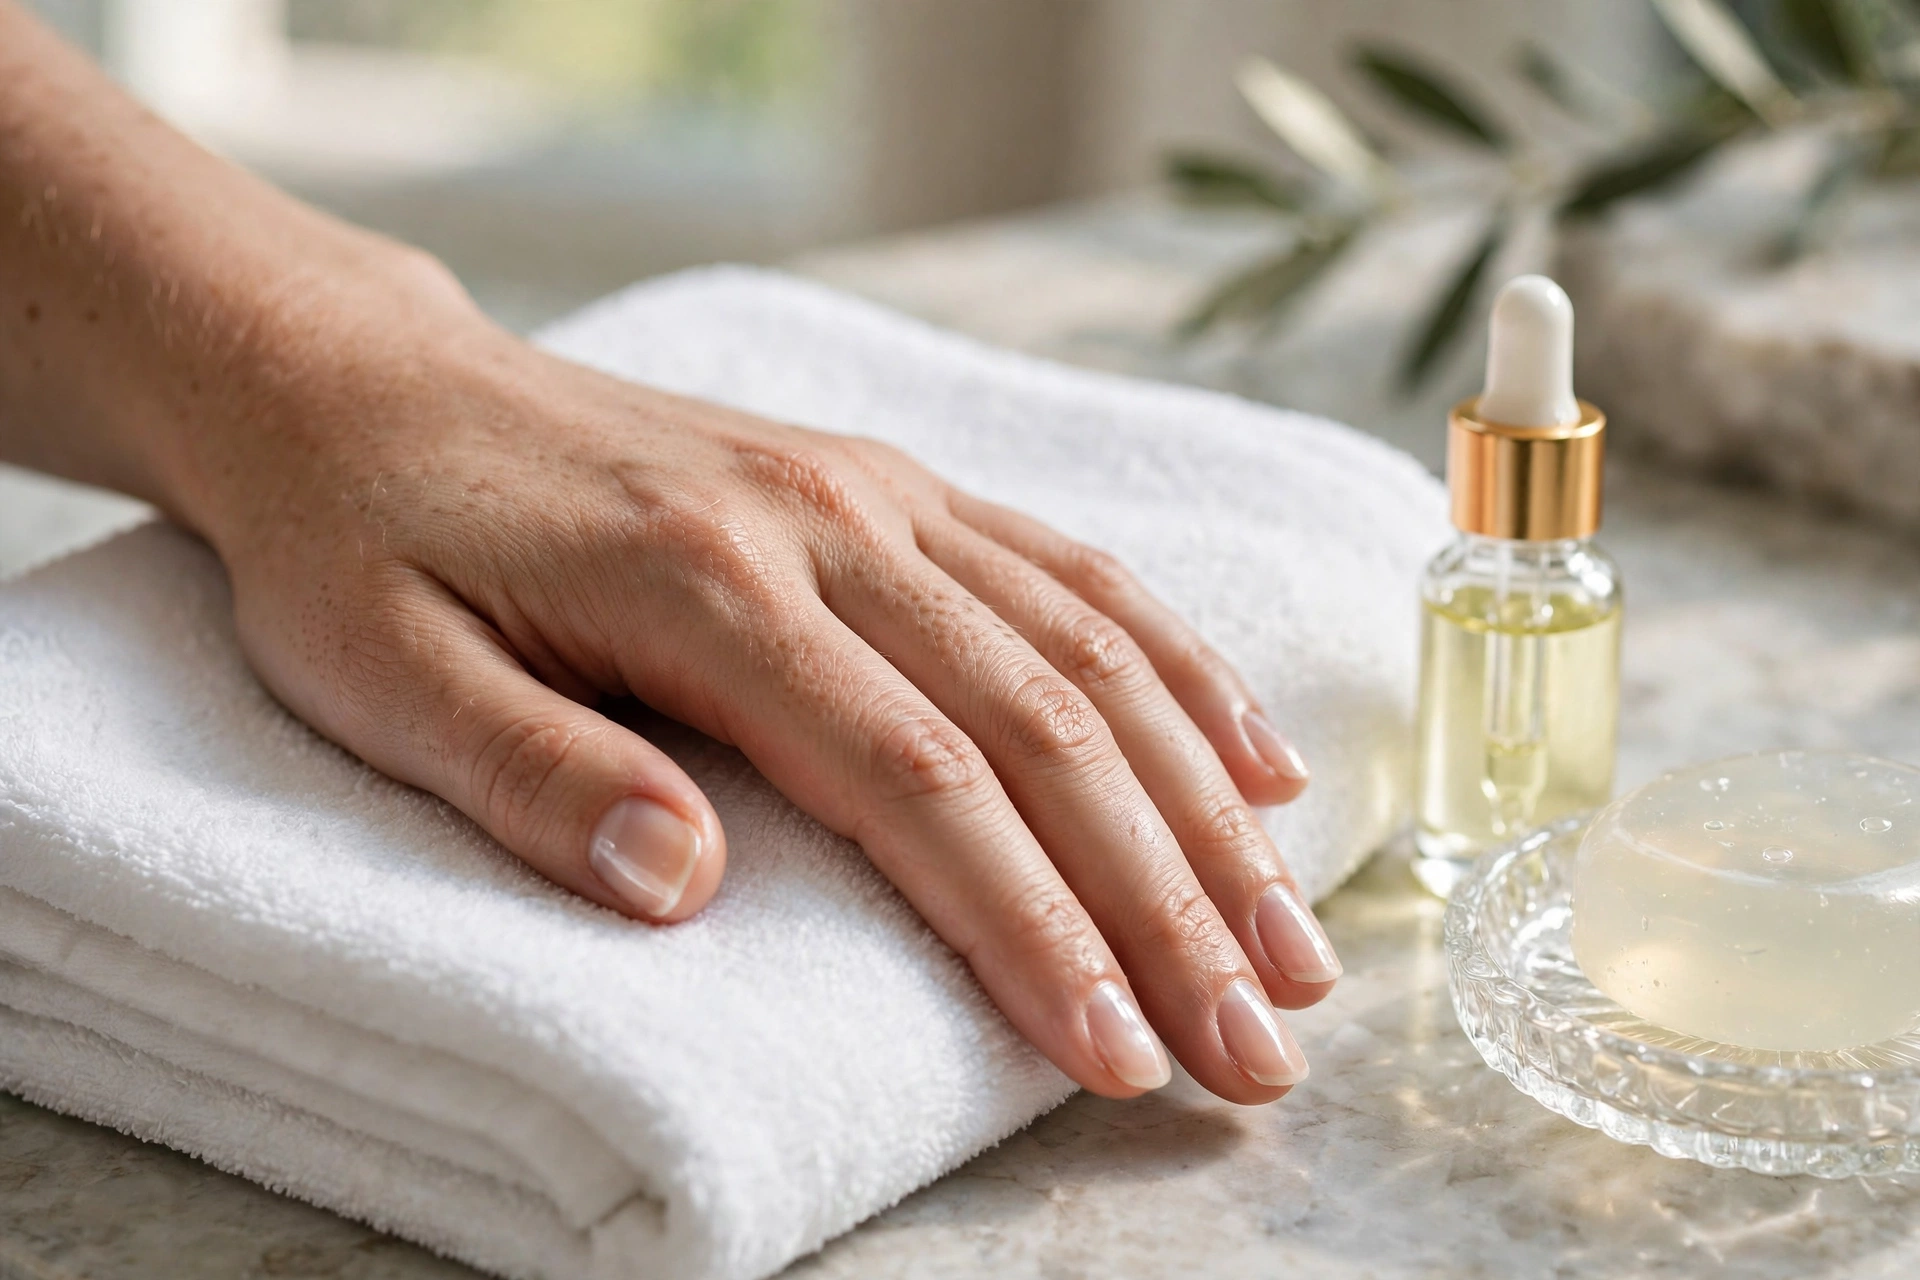
With no color to hide behind, prep becomes the design: file to a smooth shape, push back cuticles, buff the surface lightly, and finish with cuticle oil. When shape is everything, it pays to get it right, so see our nail shapes guide before you file. Two coats of a high-shine top coat give the wet, just-washed look that gives this style its name.
17. Sheer Blush Tint
A barely-there pink wash looks like healthy nails, only better.

This is the shade to pick when milky white feels too cool against your skin. One thin coat over a ridge-filling base gives an even flush of color, then seal with glossy top coat for the lit-from-within finish. It flatters every skin tone because it is essentially your nail’s own pink, amplified. Regrowth is nearly invisible, so this is the lowest-maintenance design on the list.
18. Matte Nude Veil
A flat matte nude removes every reflection and leaves pure, quiet color.
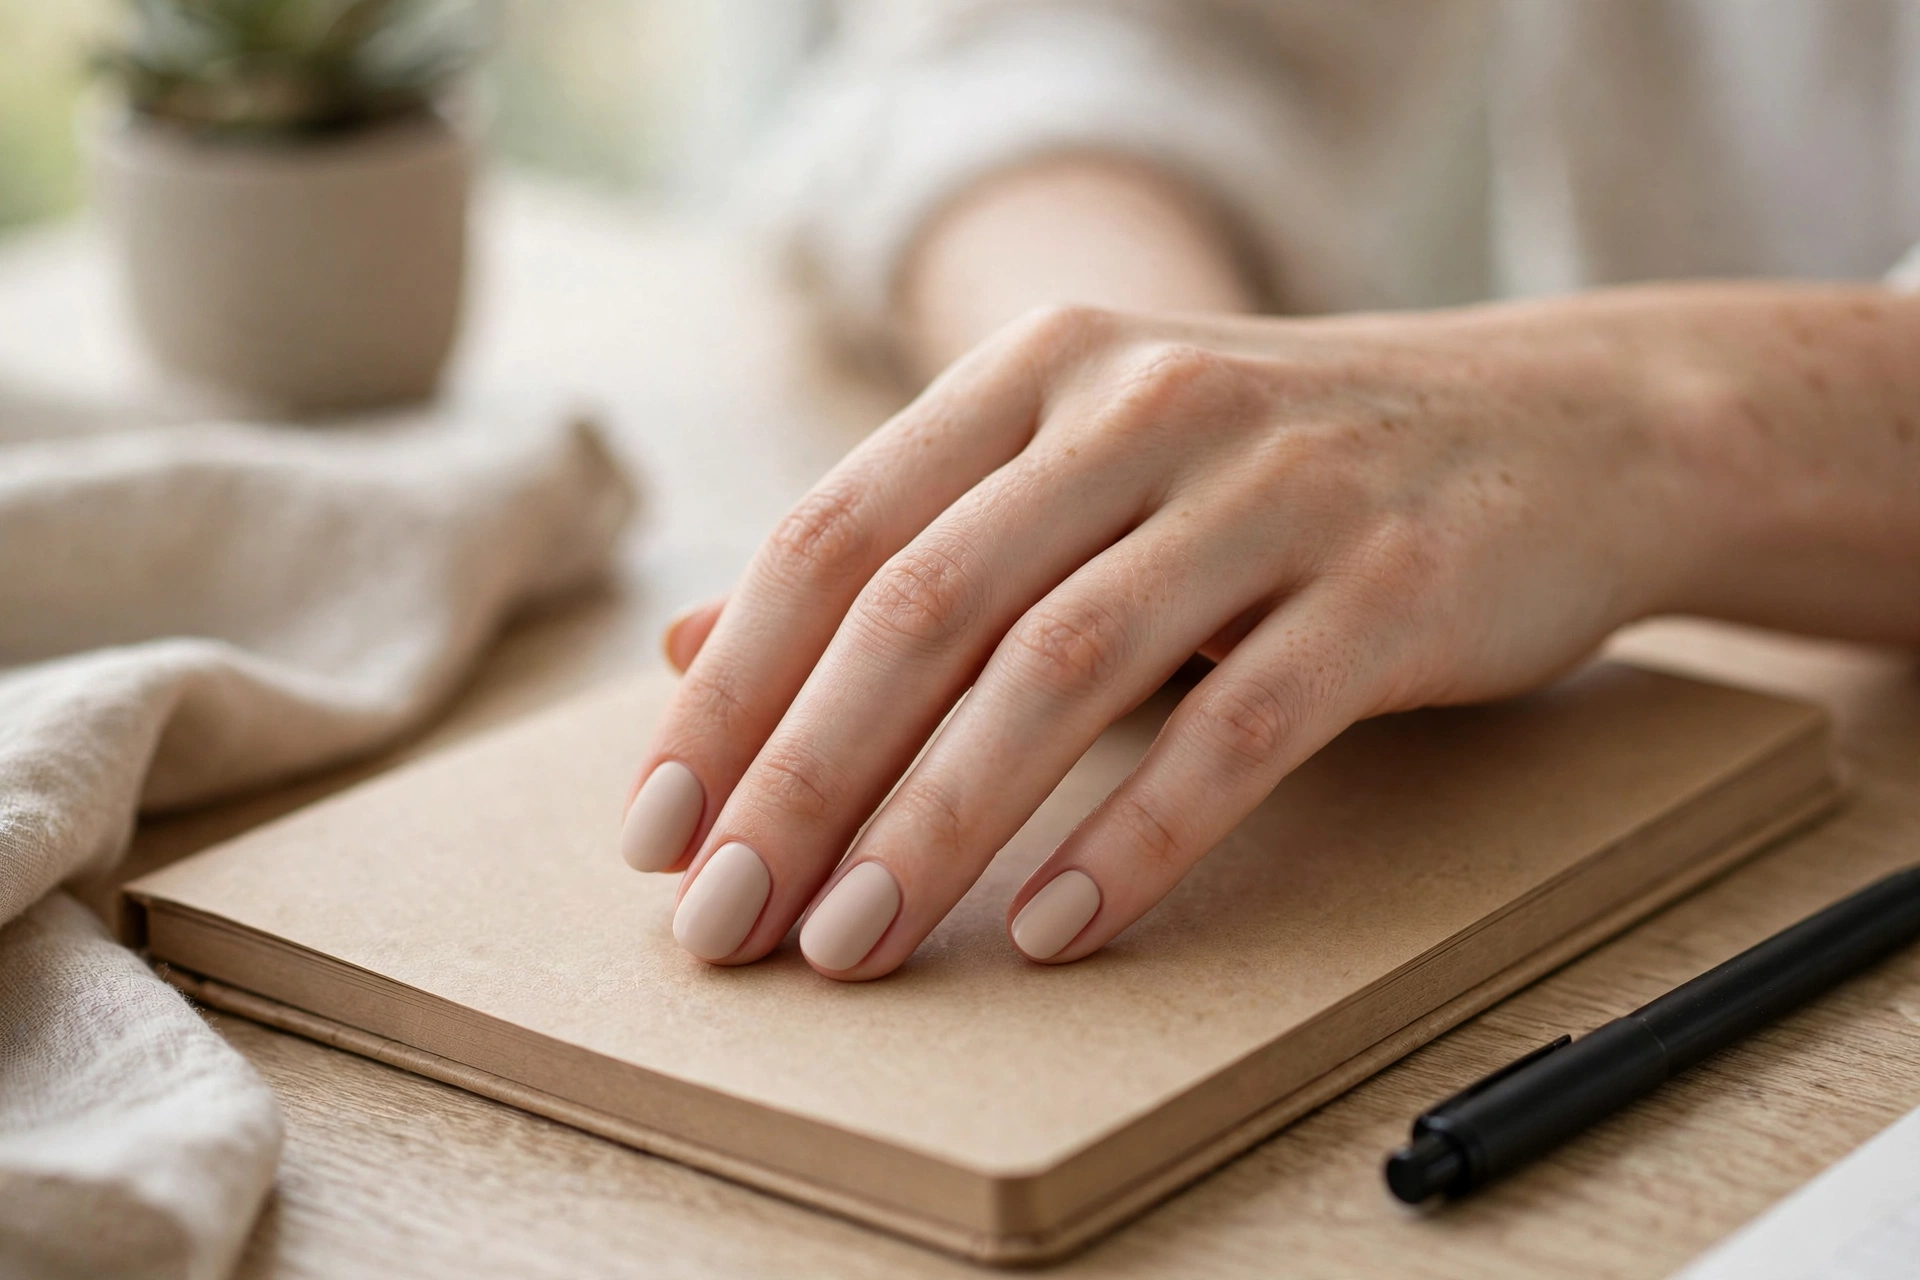
Matte finishes hide nothing, so apply two thin, even coats and let each dry fully; streaks show in matte that gloss would forgive. Beige and greige nudes look most expensive in matte. A matte top coat over any nude you already own creates the same effect without a new bottle. Our matte nail designs article has more shades and wear tips if you want to explore the finish.
The 2026 Update: Cashmere Nails and the Pearlized Sheer
The newest minimalist finish is not a design at all, which is exactly why it belongs in this list. Cashmere nails pair a sheer nude or milky base with a soft pearlescent sheen, so the nail looks lit from within instead of decorated. The look ran the October 2026 Victoria’s Secret runway, where the models’ manicures were kept to cashmere neutrals, and it has been the most requested minimalist finish since.
Think of it as a member of the Barely-There Sheer family above, one step past the milky wash. The base does the same job, blurring ridges and evening out tone, and the pearl finish replaces gloss as the detail. Because the shimmer is a finish rather than an object on the nail, it never breaks the one-focal-point rule, and regrowth stays nearly invisible.
To do it at home, apply your usual sheer base in two thin coats, either milky white or blush. While the final coat is tacky, rub a small amount of pearl or iridescent chrome powder over the surface, or skip the powder and use one coat of a pearlescent top coat instead. Seal with glossy top coat. Keep the shimmer fine: if you can see individual glitter pieces, it has crossed into party territory. At the salon, ask for a milky sheer with a pearl finish, and bring a photo, because “cashmere” still means slightly different things to different technicians.
How to Paint Clean Minimalist Lines and Dots at Home
Thin lines and tiny dots need three things: a fully dry base, the right small tools, and a hand that rests on the table instead of floating. Here is the method manicurists use for crisp minimal work.
- Prep the canvas. File nails to matching shapes, push back cuticles with an orangewood stick, and lightly buff the surface. Minimalist designs sit on bare-looking bases, so uneven edges show.
- Apply your base and let it dry completely. A sheer nude, milky white, or cream, in two thin coats. Touch a nail gently; if it dents, it is not ready. Painting detail over tacky polish drags the base and ruins both layers.
- For dots: dip a dotting tool once in polish, wipe the excess on the bottle rim, and touch it straight down on the nail without pressing. Lift straight up. A fresh dip per dot keeps sizes identical.
- For lines: use a striping brush or a liner brush with long, thin bristles. Load it thin, rest your painting hand’s wrist on the table, and pull the brush toward you in one steady motion. Do not stop mid-line.
- Clean up immediately. Dip a small angled brush in polish remover and trace around the cuticle and sidewalls. Minimalist designs live or die on clean edges.
- Seal with top coat. One thin layer, capped over the free edge. It locks the detail in place and smooths any slight texture from the dots or lines.
5 Mistakes That Ruin Minimalist Nails
Minimalist nail art is unforgiving in exactly five ways, and every one of them is avoidable.
- Lines that are too thick. A line over two millimeters wide stops being a detail and becomes a stripe. Wipe the brush on the rim until it is barely loaded.
- Painting detail on a wet base. The number one cause of dragged, muddy lines. Wait until the base is fully dry, not just touch-dry.
- Skipping cleanup. A perfect center stripe with polish flooded into the cuticle is not minimal, it is sloppy. Clean as you go.
- Overloading the brush. Too much polish on a dotting tool makes dots that spread and merge. Less polish, more control.
- Adding one more thing. The hardest rule: when a minimalist design looks good, stop. Every extra dot, line, or glitter flake pushes it into maximalist territory.
Minimalist Designs in Gel: What Changes
Every design on this list works in gel, and a few of them work better in it. Gel removes the dry-time problem entirely: you paint a dot or a line, cure it, and it cannot drag. That makes gel the forgiving formula for the Center Stripe, the Dot Column, and the double-line designs, where a wet regular-polish base is the usual point of failure.
Three technique adjustments matter. First, flash-cure dots for about ten seconds right after placing them; uncured gel dots slowly spread, and a spread dot is no longer minimal. Second, use a liner gel or art gel for lines rather than regular gel color, because art gels are pigmented enough to read in a single hairline pass. Third, keep layers thin. Gel adds visible thickness, and a thick sheer looks cloudy instead of clean, which defeats the purpose of the milky and soap finishes.
Expect two to three weeks of wear, with one minimalist advantage: sheer and nude regrowth barely shows at the cuticle, so a gel set looks tidy for most of its life. When it is time, soak gel off properly and never peel it, peeling lifts layers of natural nail with it. Our gel nails at home guide covers safe application and removal step by step.
What to Ask for at the Salon
Minimalist designs fail at the salon in one predictable way: the detail comes back bigger than you pictured. The fix is to describe sizes, not just shapes. Bring a photo of the exact design, then say the quiet parts out loud: “sheer milky base, two thin coats,” and “one black dot at the cuticle, about a millimeter wide.” A millimeter is a size a technician can execute; “tiny” is an opinion.
Decide before you sit down whether the detail goes on all ten nails or only as an accent, and say which. The two looks cost different amounts of time. Most salons treat micro art as a small add-on rather than full nail art, and a single dot or line per nail typically adds ten to fifteen minutes to the appointment. If your technician reaches for a standard polish brush to paint a line, it is reasonable to ask for a liner brush instead; nobody can pull a hairline with a brush that is wider than the line itself.
Which Minimalist Finish Should You Choose?
Pick your finish by occasion and skill level. Glossy cremes look the most polished, sheer washes are the most forgiving, and matte reads the most modern.
| Finish | The look | Best for | DIY difficulty |
|---|---|---|---|
| Glossy creme | Sharp, reflective shine | Office, interviews, events | Easy |
| Sheer wash | Natural nail showing through | Everyday wear, short nails | Easy |
| Matte | Flat, soft, modern color | Statement minimalism | Medium: streaks show |
| Clear gloss (soap nail) | Wet, just-washed shine | Minimal effort, maximum cleanliness | Easy, if prep is good |
Choosing a Nude or Sheer Base for Your Skin Tone
“Flatters every skin tone” is the claim every nude polish makes and the reason so many bottles disappoint. Sheers and nudes are not universal; they are matched. Two minutes of matching beats a drawer of almost-right shades.
Start with your undertone. Look at the veins inside your wrist in daylight: mostly green reads warm, mostly blue or purple reads cool, a mix reads neutral. Warm undertones glow in beige, latte, and peachy sheers. Cool undertones suit blush pink and rosy milky shades. Neutral undertones can wear either, which is why the classic sheer pink works on so many people.
Depth matters as much as undertone. On fair skin, pale milky sheers look fresh, but a white-leaning base can wash out very pale hands; a blush tint adds life back. On medium and olive skin, grey-leaning nudes can read dull or ashy, so lean warm: caramel beige and rose-brown sheers keep the hand looking healthy. On deep skin, many sheer whites turn grey and chalky after two coats. Choose warmer, rosier tints, apply one coat fewer than the bottle suggests, and let your own nail bed supply the depth.
Finally, check the detail color against your base. Black and gold dots read clearly on every skin tone. White dots and white micro French lines can disappear against pale nails unless the base underneath is pink enough to give them contrast. Hold the two bottles together in daylight before you commit; the pairing, not either shade alone, decides whether the design shows up.
Frequently Asked Questions
What are minimalist nails?
Minimalist nails are manicures that use one small, deliberate detail, such as a single dot, one thin line, a hairline French tip, or a barely-there sheer finish, on an otherwise quiet base. Most of the nail is left empty, and the look relies on clean execution rather than decoration.
Do minimalist nails look good on short nails?
Yes, short nails are ideal for minimalist designs. Small details like a single cuticle dot, a corner dot, or a micro French tip do not need length to read clearly, and sheer finishes flatter short nails because they do not visually shorten the finger. Avoid designs that need space, like long dot columns, on very short nails.
What colors work best for minimalist nail designs?
Sheer nude, milky white, blush pink, cream, and soft beige make the best bases because they keep attention on the small detail. For the detail itself, black, white, metallic gold, and muted tones like sage or taupe stay minimalist. Bright or neon colors push the design into statement territory.
How long do minimalist manicures last?
About the same as any manicure in the same formula: roughly five to seven days for regular polish and two to three weeks for gel. Sheer and nude designs have one advantage: chips and regrowth are far less visible than on dark or bright colors, so they look tidy for longer.
Are minimalist nails appropriate for the office?
Yes, they are one of the safest manicure styles for professional settings. Nude bases with a single dot, a thin line, or a micro French tip read as polished and groomed without drawing attention. The matte nude veil and the soap nail are the most conservative choices on this list.
How do I draw a straight thin line on my nails at home?
Use a striping brush or liner brush, load it thinly, rest your wrist on the table, and pull the brush toward you in one steady motion over a fully dry base. Nail art tape laid across the nail also gives a crisp edge for diagonal or horizontal lines; peel it while the polish is still wet.
What nail shape suits minimalist designs best?
Oval and almond shapes suit minimalist designs best because their soft curves echo the restrained aesthetic, and a center stripe or micro French follows their natural axis. Short squoval nails work well too, especially for dots and sheer finishes.
Matte or glossy: which finish is better for minimalist nails?
Neither is better; they serve different moods. Glossy finishes look polished and classic and forgive small application flaws. Matte finishes look modern and soft but show streaks and chips more readily, so they need careful application and a fresh matte top coat.
What are cashmere nails?
Cashmere nails are a minimalist finish: a sheer nude or milky base topped with a soft pearlescent sheen, so the nail looks polished and lit from within with no visible design. They became the most requested minimalist manicure after appearing across the October 2026 Victoria’s Secret runway. Because the shimmer is a finish rather than nail art, cashmere works on any nail length and in any setting where minimalist nails work.
How do I choose a minimalist nude polish for my skin tone?
Match the base to your undertone: warm skin suits beige, latte, and peachy sheers; cool skin suits blush pink and rosy milky shades. If a sheer turns grey or chalky on you, it is too white-leaning for your depth, so switch to a warmer, rosier tint and apply one coat fewer. Test the bottle against your fingertips in daylight before buying.

4 Comments