
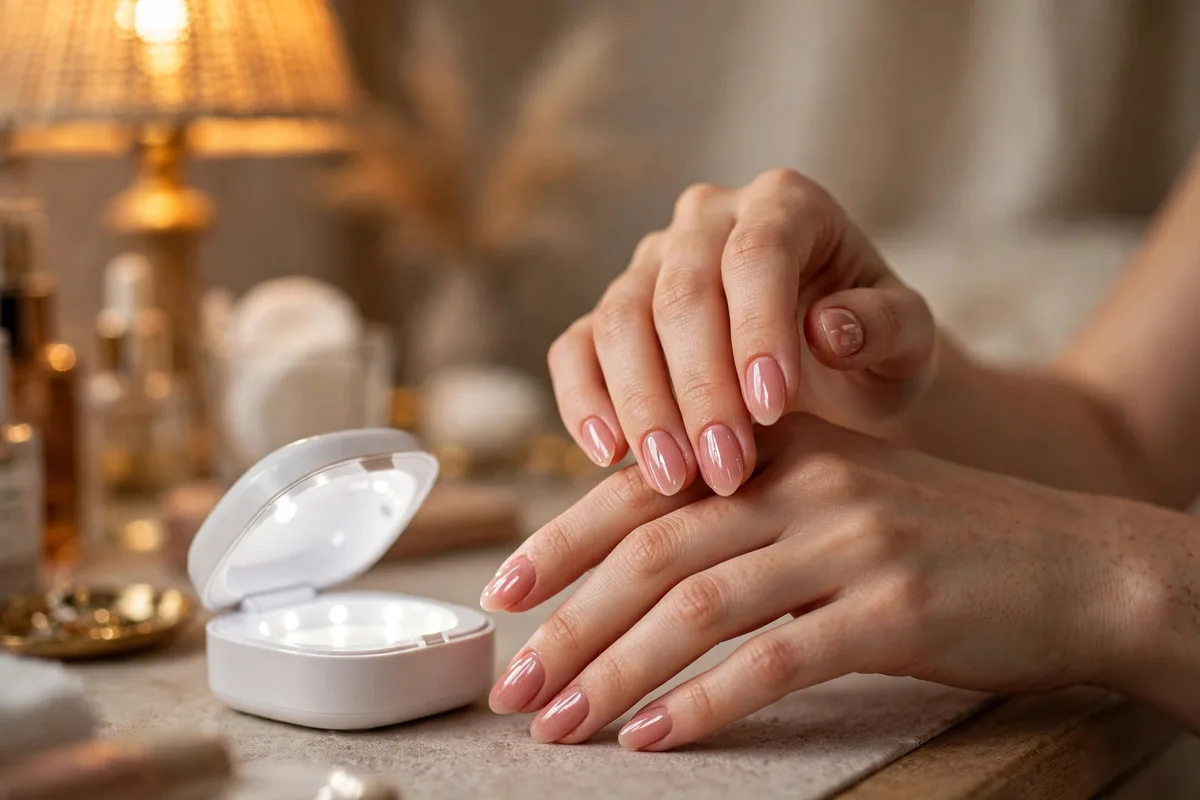
How to Do Gel Nails at Home: A Beginner’s Step-by-Step Guide
Yes, you can do gel nails at home — and get a glossy, chip-resistant manicure that lasts two to three weeks — with a basic starter kit, a UV or LED lamp, and about an hour of unhurried work. This guide walks you through the full process: what to buy, how to prep, the six application steps in order, the safety facts nobody should skip, how to remove gel without damage, and how to fix the most common beginner mistakes.
Is Doing Gel Nails at Home Right for You?
DIY gel suits you if you are patient, comfortable following product instructions, and willing to buy a lamp and a small kit. It is not for everyone. Go to a salon — or talk to a dermatologist first — if you have very thin, damaged, or splitting nails, a history of skin allergies or eczema around your fingers, or you take medication that makes your skin sensitive to light. This guide is honest about the risks, starting with the safety section, because a good result means nothing if it costs you your nail health.
What You’ll Need: The Beginner Kit Checklist
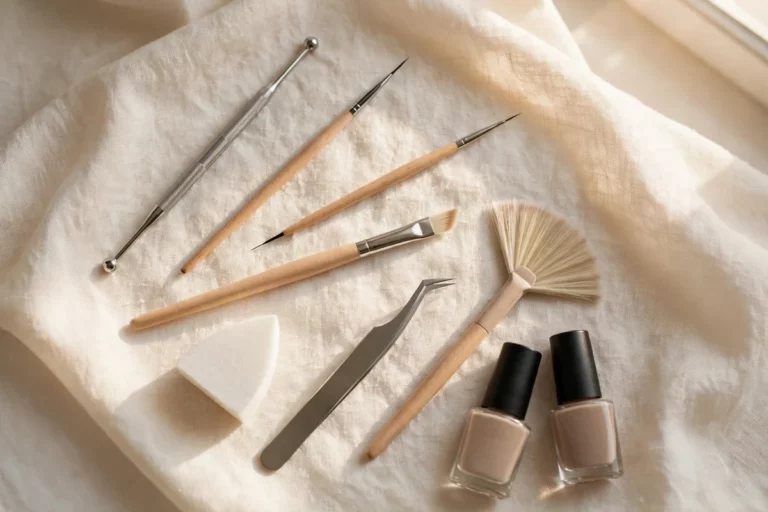
You need fewer products than the giant kits suggest. This is the complete minimum for a proper gel manicure at home:
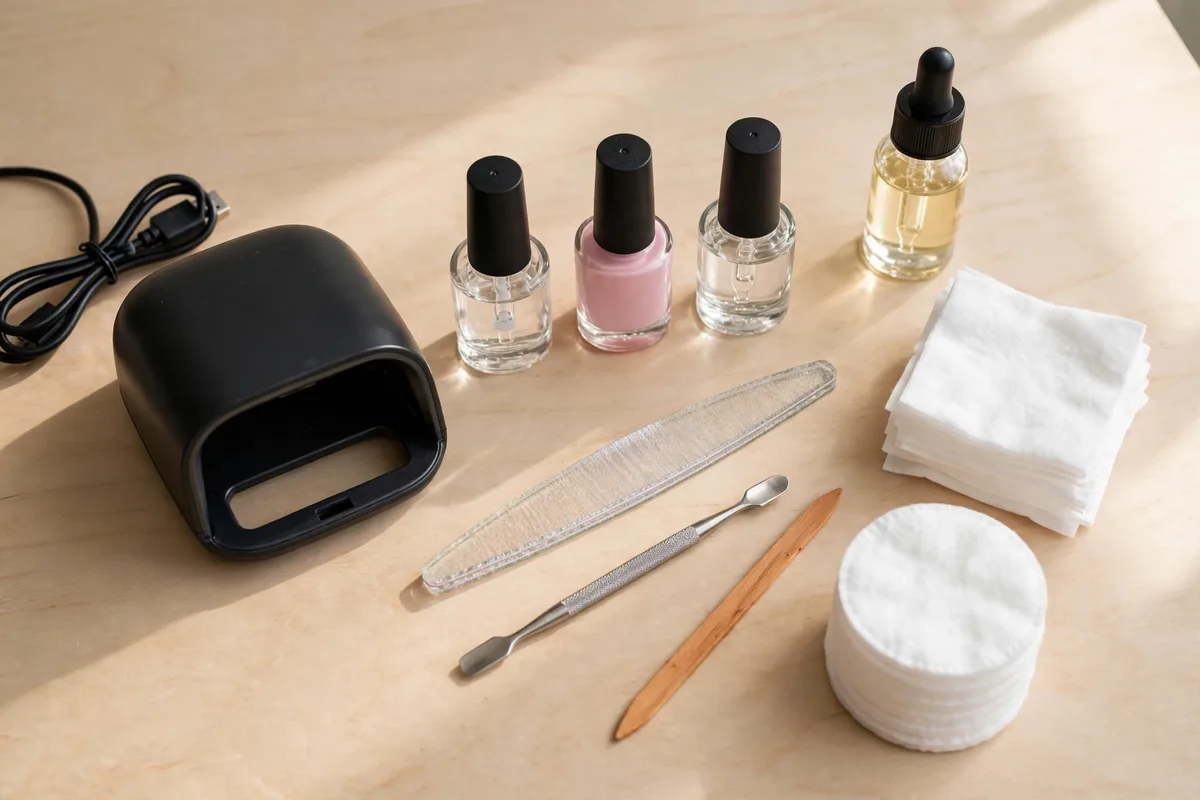
| Item | What it does | Notes for beginners |
|---|---|---|
| LED or UV nail lamp | Hardens (cures) each gel layer | LED cures in 30–60 seconds per coat; UV takes about 2 minutes. Either works — follow the times printed on your bottles. |
| Gel base coat | Bonds the color to your nail | Skipping it is the fastest route to peeling. |
| Gel color polish | The color layer | Start with a sheer pink or nude; light shades hide small mistakes. |
| Gel top coat | Seals everything and adds gloss | Check whether yours is wipe or no-wipe (no-wipe skips the sticky layer). |
| Nail file and buffer | Shapes the nail and removes surface shine | A fine-grit file (180+) is gentler on natural nails. |
| Cuticle pusher or orangewood stick | Pushes back cuticles and cleans edges | Push gently — never cut living cuticle skin. |
| Lint-free wipes + rubbing alcohol or nail cleanser | Removes oil, dust, and the sticky inhibition layer | Cotton balls shed fibers that get trapped in gel; lint-free wipes are worth it. |
| Nail dehydrator + acid-free primer | Removes the last traces of oil and moisture so the base coat can grip. | Skipping this step is one of the most common reasons home gel lifts within days. |
| Acetone (100%, not remover) | Soaks off gel for removal and cleans up mistakes | Needed for safe removal later — buy it now. |
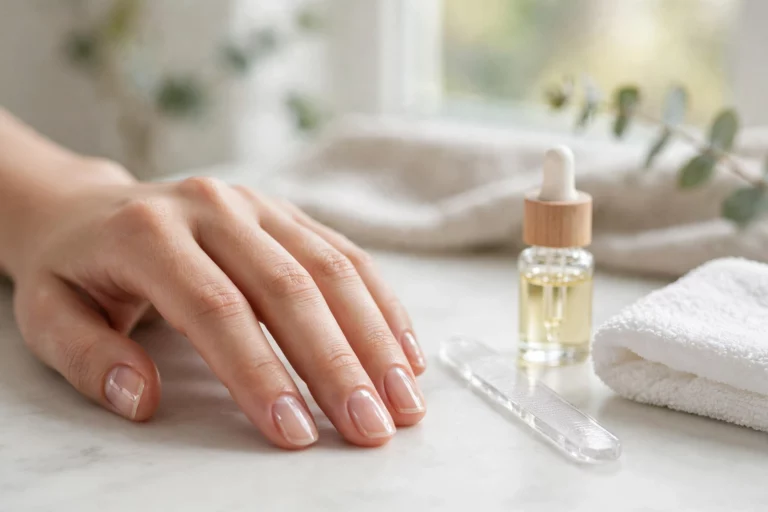
| Cuticle oil | Rehydrates skin after the manicure | Use it daily, not just on manicure day. |
The Six Steps, in Order
Set aside 45 to 60 minutes your first time. Work one hand at a time, and cure each coat fully before moving on — most problems beginners hit trace back to rushing this sequence.
Step 1: Prep your nails
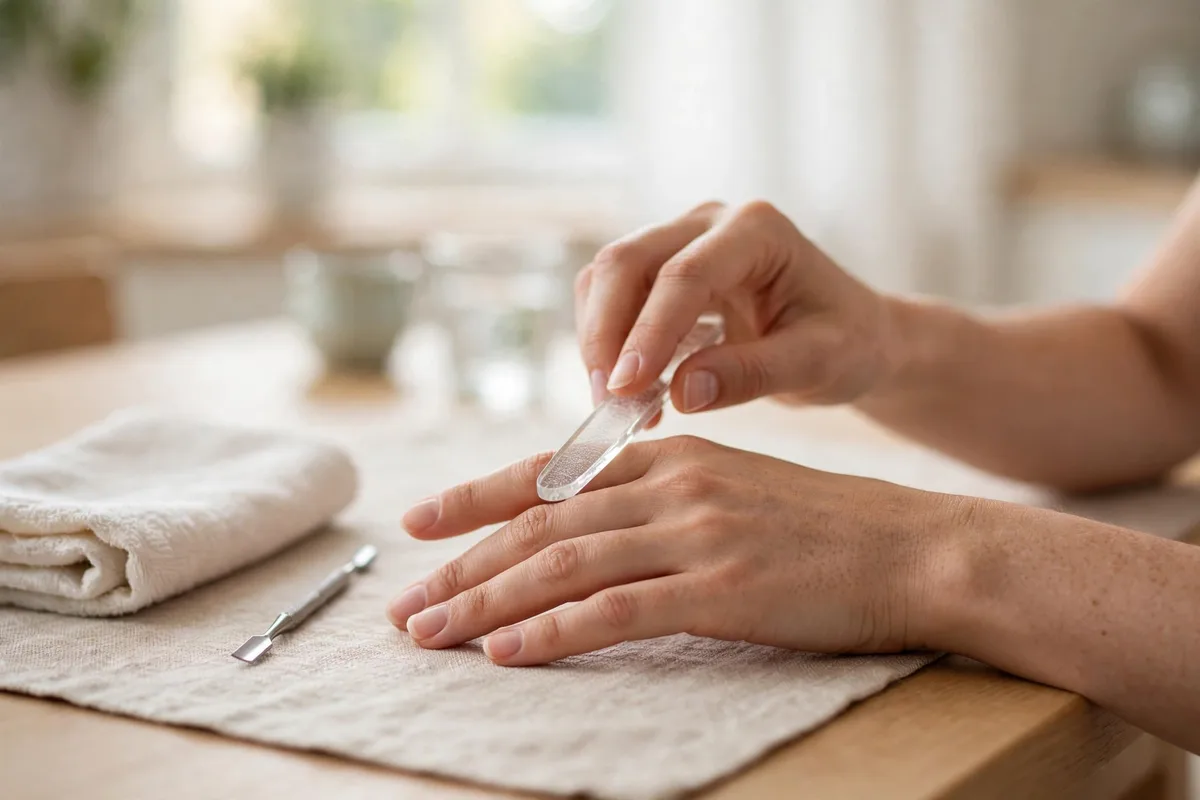
Good prep decides whether your gel lasts two weeks or chips in two days. Remove any old polish, then file each nail into your shape — if you are undecided, our nail shape guide walks through which shapes suit different hands. Gently push back your cuticles with the pusher, then lightly buff the shine off each nail plate with the buffer using almost no pressure. You are removing the glossy surface, not thinning the nail. Finish by wiping every nail with a lint-free wipe dampened with alcohol to remove dust and oil.
After the alcohol wipe, apply nail dehydrator to each nail, then a thin layer of acid-free primer on the nail plate only — keep it off the skin and cuticles. Let it air-dry completely; it should look matte, not wet. This 60-second step removes the invisible oil film that causes most early lifting.
Step 2: Apply a thin base coat
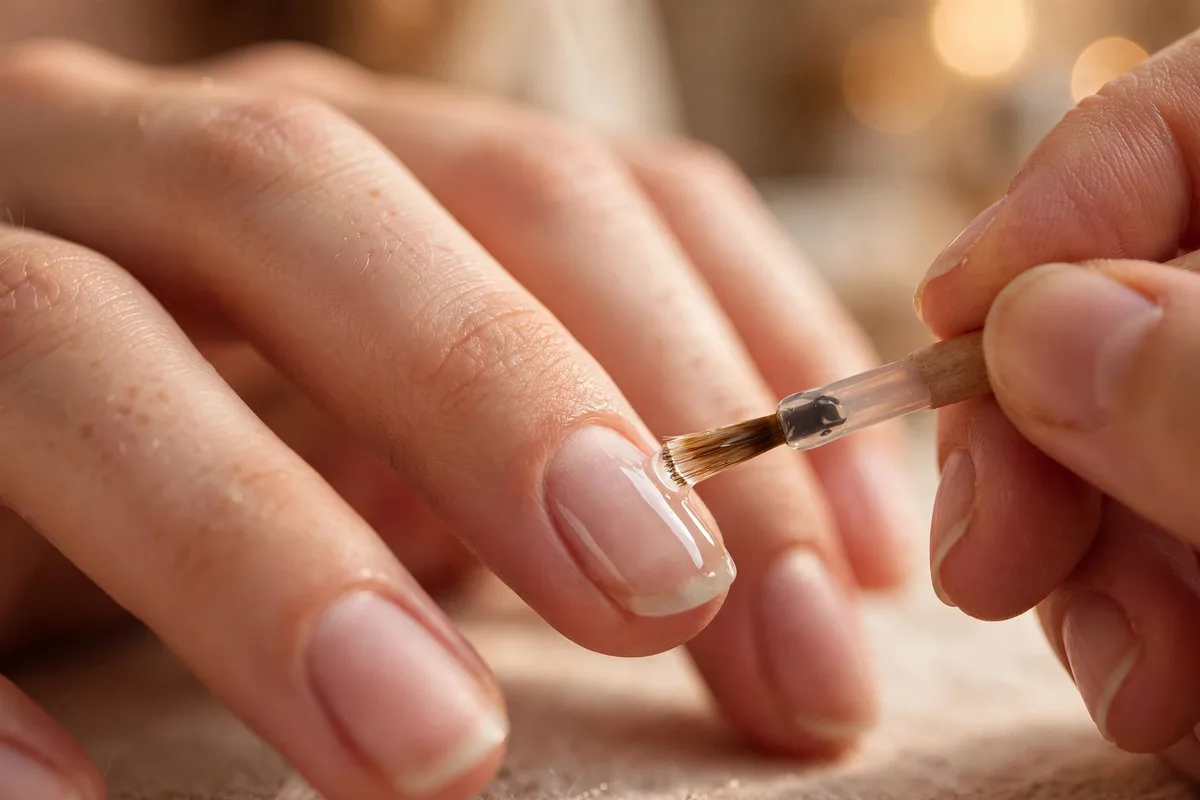
Brush a very thin layer of gel base coat onto each nail, keeping it off the skin and cuticles — gel that touches skin and gets cured is a prime cause of lifting and irritation. Run the brush lightly along the tip of each nail to “cap” the free edge; this seals the edge against chips. If any gel floods a cuticle, wipe it away with an orangewood stick dipped in alcohol before curing, never after.
Step 3: Cure the base under the lamp
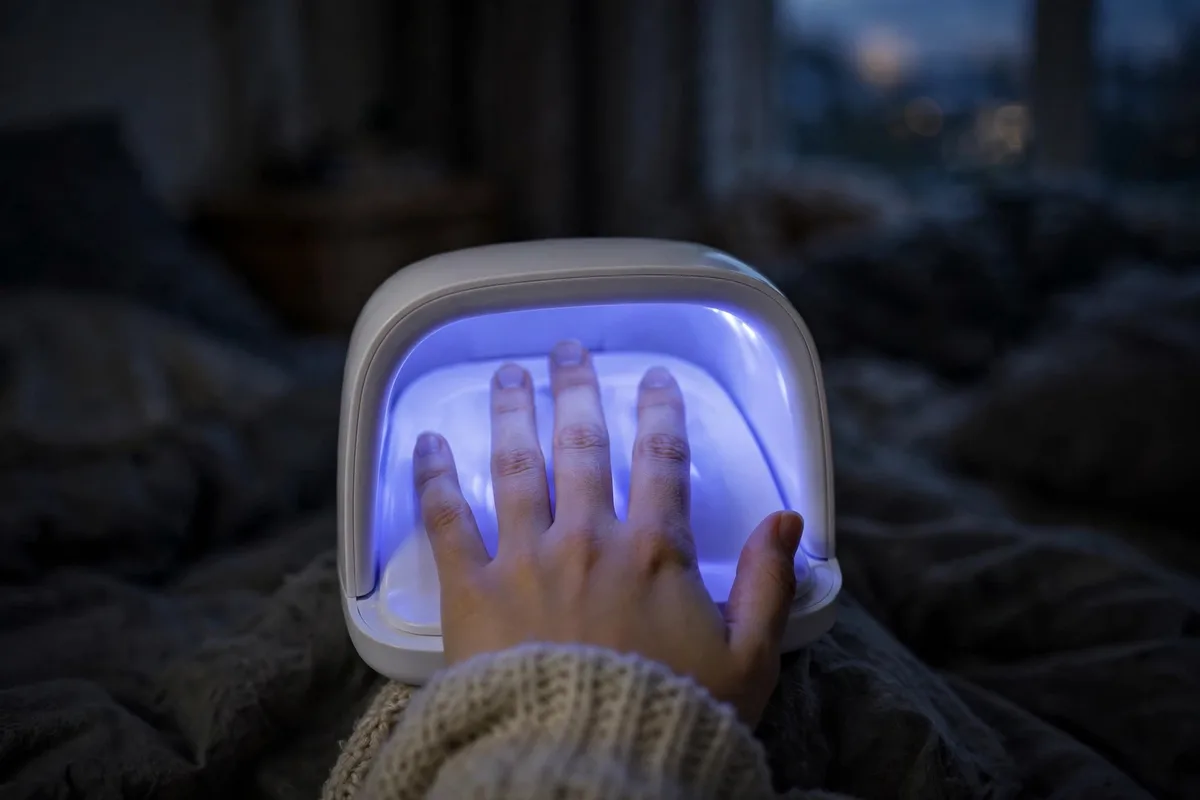
Place your hand in the lamp, fingers spread and flat, and cure for the time your base coat bottle specifies — typically 30 to 60 seconds under LED or about 2 minutes under UV. Do your thumbs separately if your lamp doesn’t light them evenly; crooked thumbs are a classic beginner flaw. If you feel a sharp burning sensation (a “heat spike”), pull your hand out immediately, let the nail cool, then cure again in shorter bursts.
Step 4: Apply color in thin coats
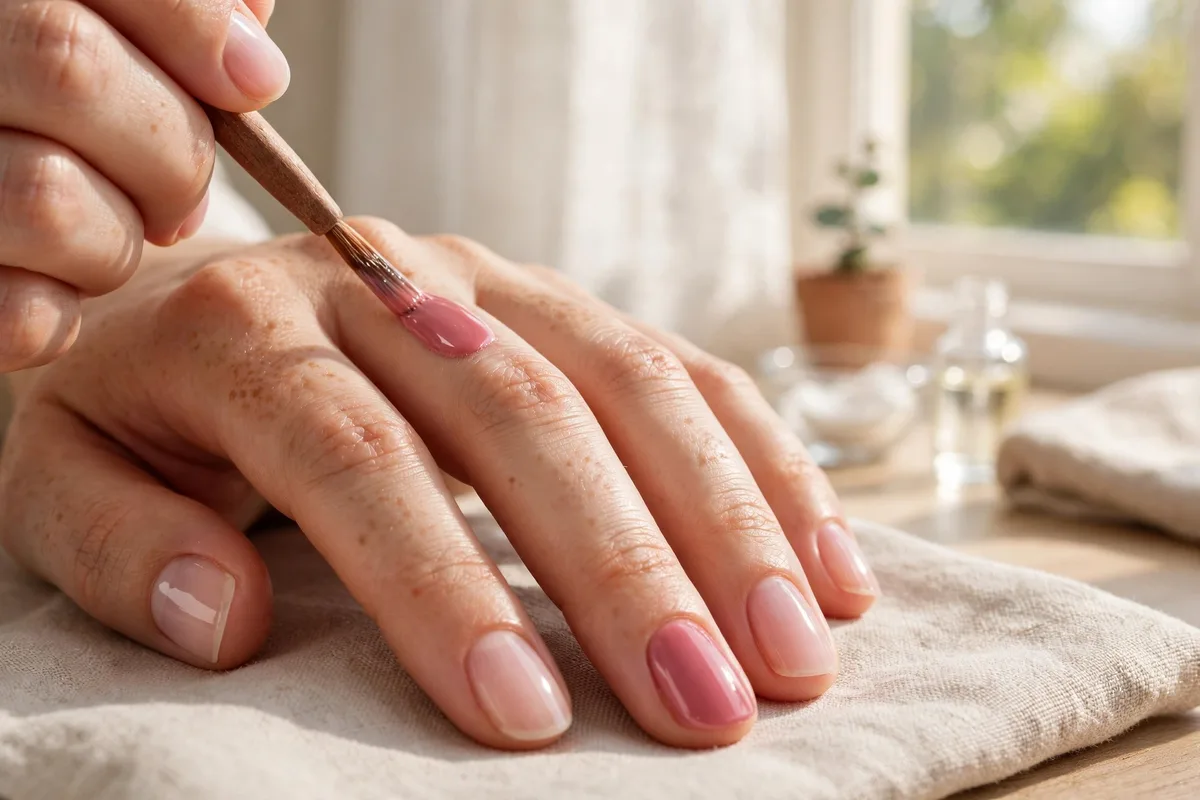
Brush on a thin coat of gel color. It will look slightly sheer — that is correct. Cure it, then apply a second thin coat and cure again. Two thin coats beat one thick coat every time: thick layers stay soft underneath, wrinkle under the lamp, and peel within days. Most shades reach full opacity in two coats; very sheer or neon shades sometimes need three. Once your technique is steady, browse our gel nail designs for colors and finishes worth trying next.
Step 5: Seal with top coat
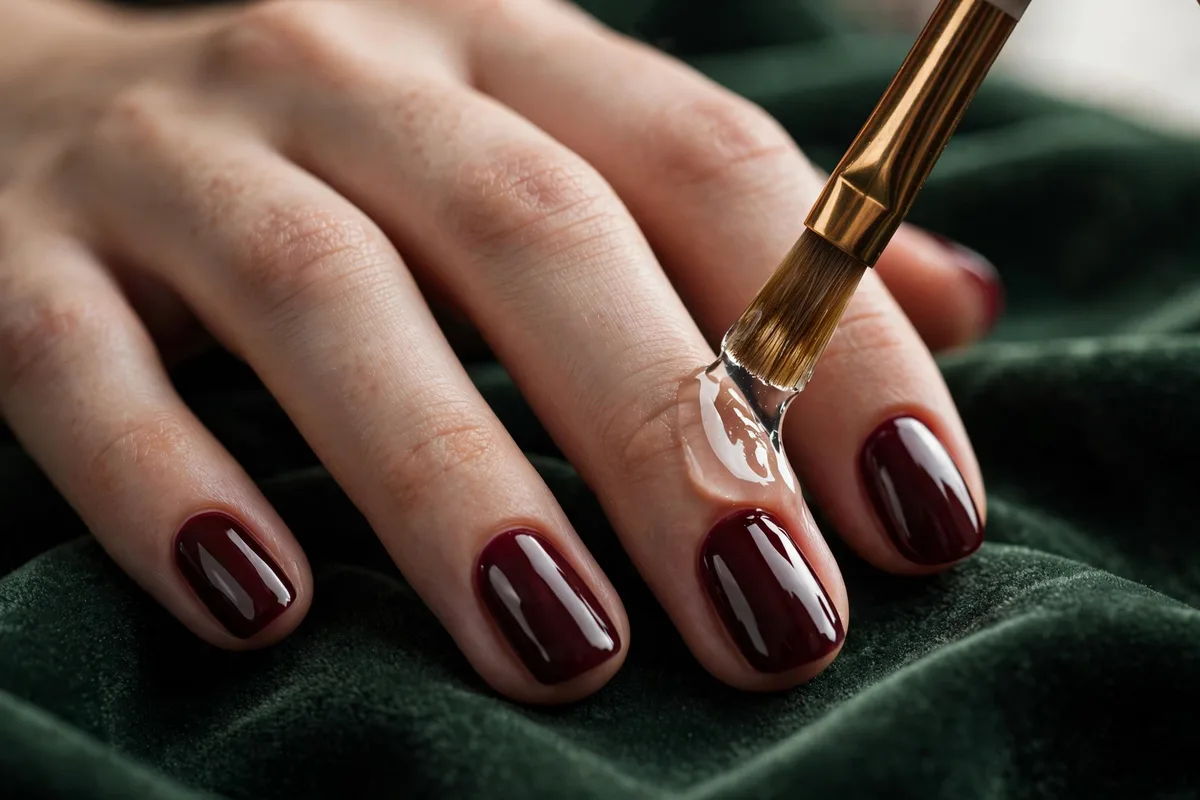
Apply a thin layer of gel top coat over the color, capping the free edge once more. Cure for the full time on the bottle — under-cured top coat goes dull and scratches. The top coat is what gives gel its glassy finish and most of its chip resistance, so don’t skimp on this layer’s cure time even if the color coats felt fine.
Step 6: Clean up and finish
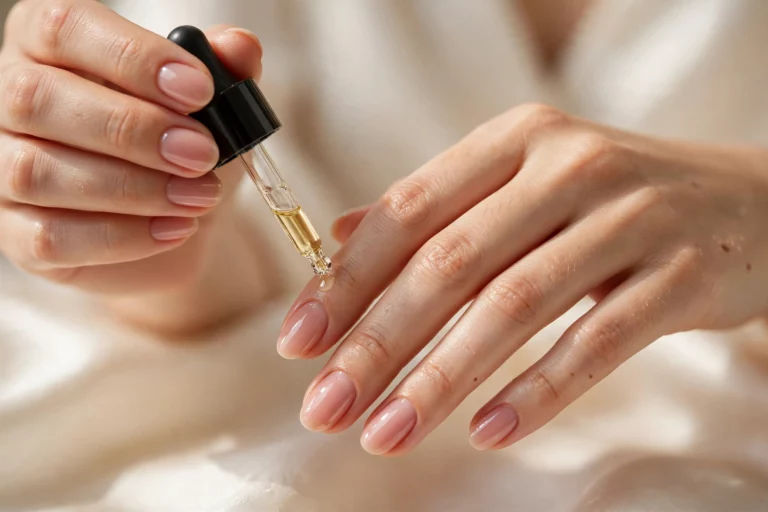
If your top coat leaves a tacky film (the inhibition layer), wipe each nail with a lint-free wipe and alcohol until smooth. No-wipe top coats skip this step. Then massage a drop of cuticle oil into each cuticle and the surrounding skin. Your manicure is fully dry the moment it leaves the lamp — no waiting, no smudging.
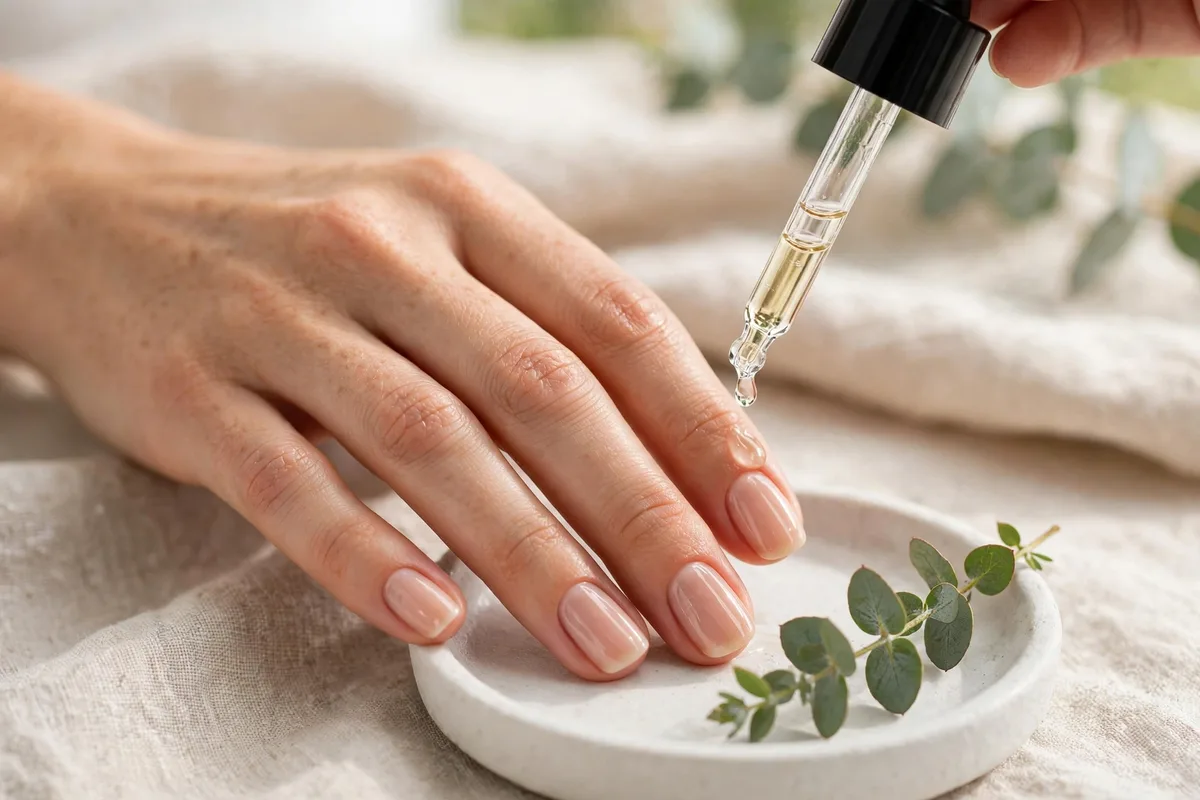
Aftercare in one paragraph: oil your cuticles daily (dry cuticles cause edge lifting), wear gloves for washing up, and don’t use your fresh nails as tools — especially in the first 24 hours while the gel fully settles. When regrowth shows at the cuticle, that’s normal maintenance timing, not gel failure: most redos happen because nails grow, not because the product quit.
Safety First: UV Lamps, Allergies, and When to Stop
Gel nails are safe for most people when the products are used as directed, but two risks deserve your full attention before you start: UV exposure and chemical allergy. Here is what dermatologists actually say.
UV lamp exposure
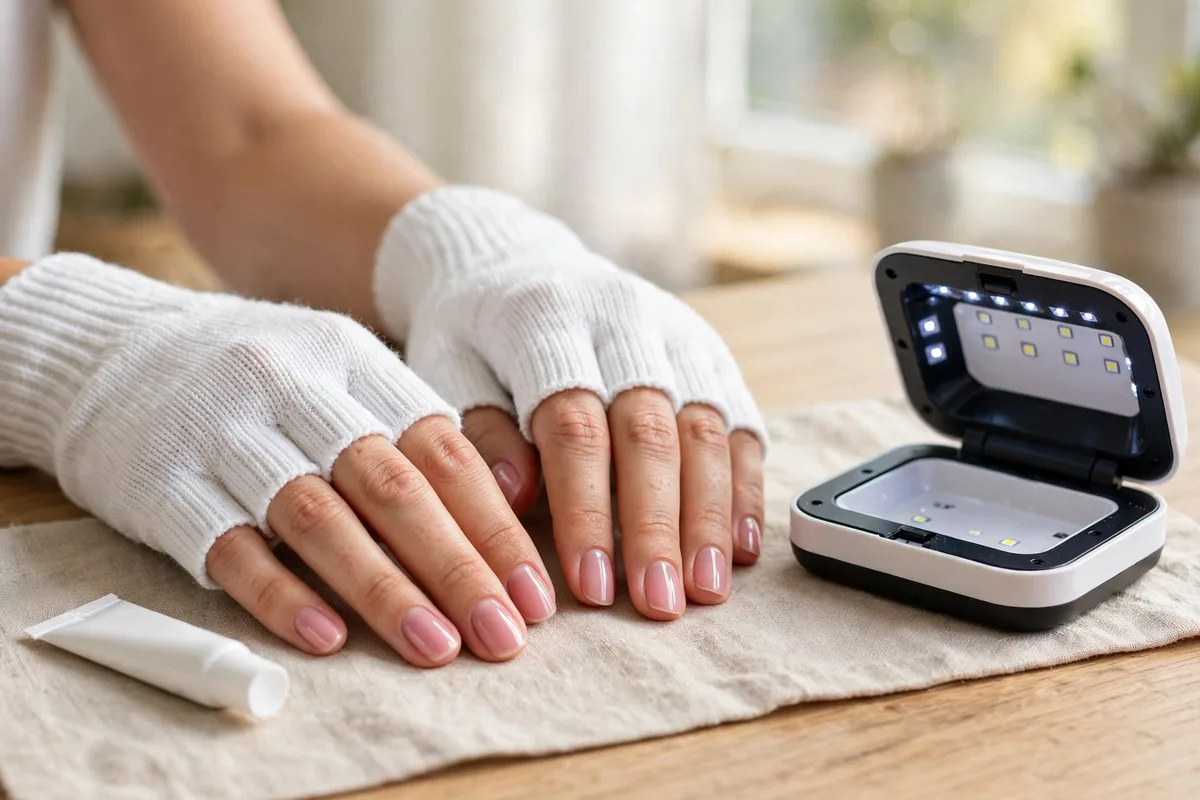
Nail lamps emit UVA radiation — LED lamps included, so “LED” does not mean UV-free. The U.S. FDA classifies nail curing lamps as low risk when used as directed. A 2023 laboratory study (published in Nature Communications) found that UV nail dryers damaged DNA in cells grown in a dish, with a single 20-minute session killing 20–30% of exposed cells. That sounds alarming, but dermatologists are careful to note the gap: cell damage in a dish is not the same as proven skin cancer in people, and no direct link between nail lamps and skin cancer has been established. The honest position is that repeated, long-term exposure plausibly adds up, and less exposure is better. Reduce yours by: applying broad-spectrum sunscreen to your hands about 20 minutes before curing, wearing fingerless UPF-rated manicure gloves with only fingertips exposed, and keeping gel manicures occasional rather than back-to-back year-round if you are concerned. People who are older, fair-skinned, or take light-sensitizing medication (some antibiotics and oral contraceptives, among others) should be the most cautious.
Gel allergy (acrylate allergy)
Gel polishes contain acrylates, which are a well-known cause of allergic contact dermatitis. Warning signs: itchy, swollen, or blistered skin around the cuticles a day or two after a manicure, sometimes spreading to the eyelids or face from touching your face with uncured product on your fingers. Here is the part to take seriously: once you become sensitized to acrylates, the allergy is permanent, and you may then react to acrylates in other products — dental work, lash glue, even medical adhesives. If you develop these symptoms, stop using gel products and see a dermatologist. This is also why keeping uncured gel off your skin during application matters; it is not just about lifting.
Stop and remove the product if
- Your nails burn sharply under the lamp (heat spike) — pull your hand out and let it cool.
- Itching, swelling, or blisters appear around the nails within a couple of days.
- A nail lifts with pain, throbbing, or a greenish discoloration underneath — that can signal infection, and it needs professional care, not another coat.
DIY Gel vs Salon Gel vs Regular Polish vs Press-Ons
Gel is not the only way to a lasting manicure. Here is how the four realistic options compare, so you can pick honestly:
| DIY gel | Salon gel | Regular polish | Press-on nails | |
|---|---|---|---|---|
| Typical wear | 2–3 weeks | 2–4 weeks | 5–7 days | A few days to 2 weeks |
| Upfront cost | $30–60 one-time for a starter kit plus lamp, then pennies per manicure. | $40–70 per gel manicure. | Lowest | Low per set |
| Time per manicure | 45–60 min (longer at first) | 45–60 min in the chair | 20–30 min + drying | 15–30 min |
| Skill needed | Moderate — technique matters | None on your part | Low | Low |
| UV exposure | Yes | Yes | None | None |
| Allergy risk | Yes (acrylates) | Yes (acrylates) | Very low | Low (adhesive) |
| Nail damage risk | Moderate — mostly from bad removal | Low–moderate | Minimal | Low if removed gently |
| Best for | Regular wearers who want salon gloss on a budget | Special occasions or anyone unsure about chemicals | People who change color weekly or want zero UV | Events, photos, trying a length before committing |
The kit pays for itself after roughly two manicures.
If you are still deciding on a look, natural nail designs are the most forgiving first project: sheer nudes and milky finishes hide small flaws and grow out gracefully.
How to Remove Gel Nails Without Wrecking Your Nails
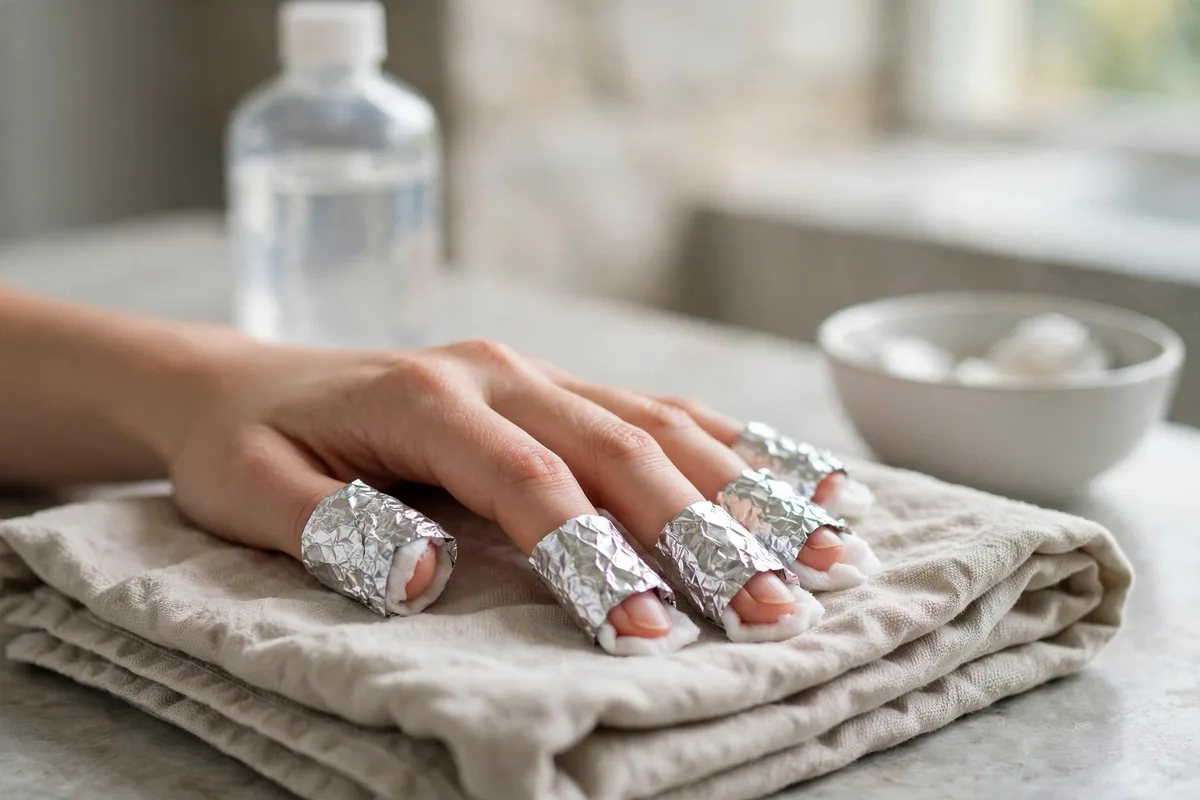
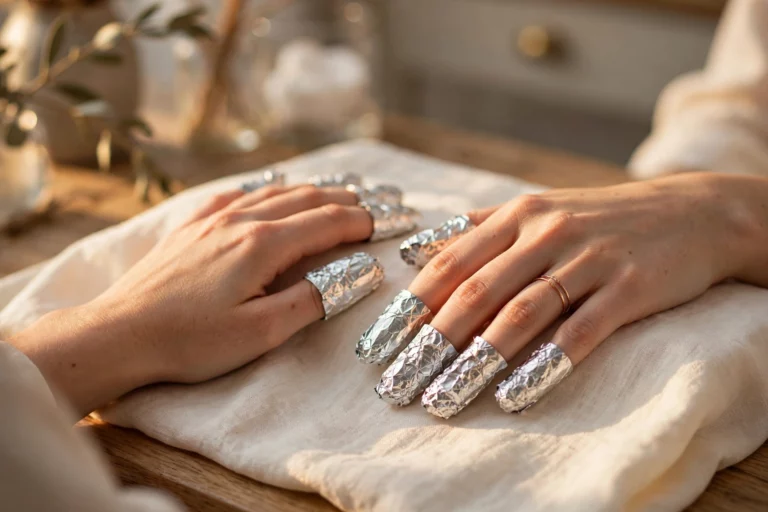
Most gel damage happens at removal, not during wear. Never peel gel off — peeling tears layers of your natural nail plate with it. The safe method: gently file the shiny top layer to break the seal, soak a cotton pad in 100% acetone, place it on the nail, wrap the fingertip in foil, and wait 10–15 minutes. The gel should crumble or slide off with light pressure from an orangewood stick. If it resists, re-wrap and soak longer rather than scraping. Wash your hands and apply cuticle oil afterward, since acetone is very drying. Give your nails a rest between sets — dermatologists recommend periodic breaks from gel manicures to let the nail plate recover.
Fix Mistakes Before You Cure
Gel stays completely workable until it goes under the lamp — so clean up every flood and wobble before curing, not after.
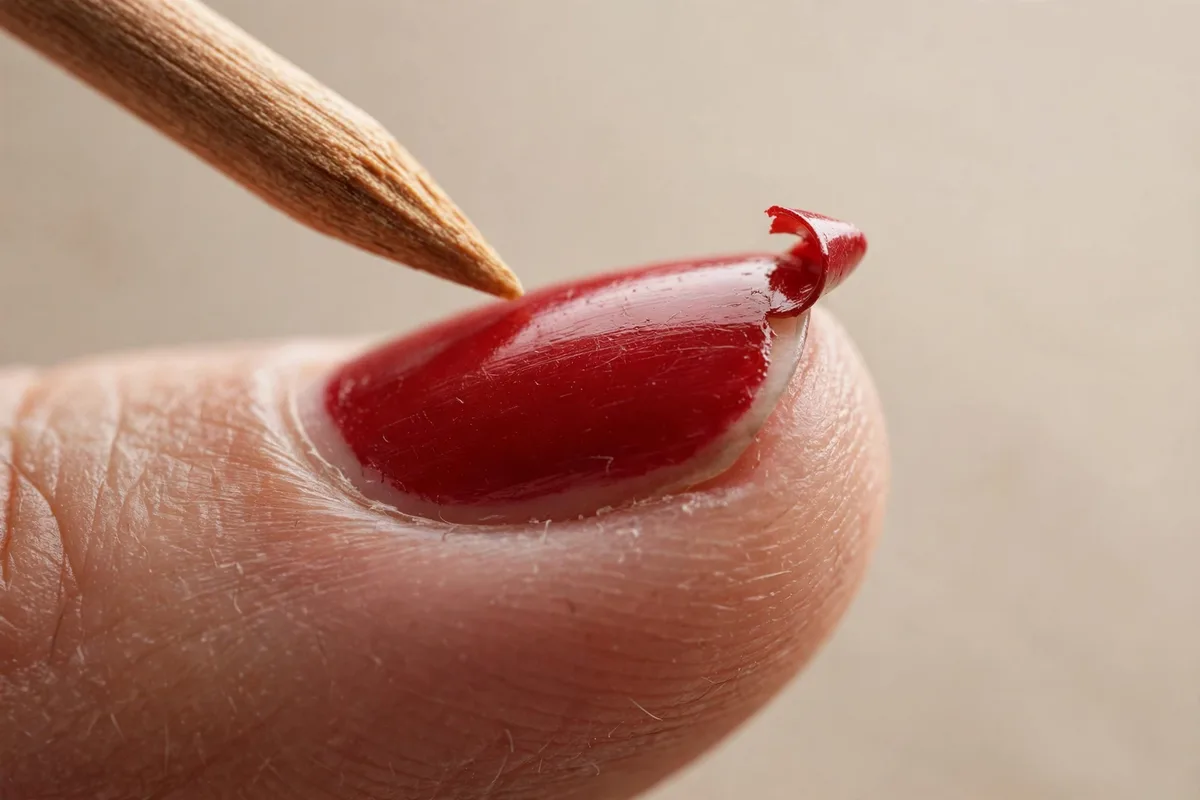
If polish touches skin or floods the cuticle, wipe it away with an orangewood stick wrapped in a lint-free wipe dampened with cleanser, before that hand goes under the light. Cured gel stuck to skin always lifts — and worse, repeated contact with uncured gel is exactly how acrylate allergies develop. The lamp is the point of no return; everything before it is draft mode.
Troubleshooting: Peeling, Lifting, Bubbles, and Wrinkles
Nearly every beginner problem has one of a few causes. Diagnose yours here:
| Problem | Likely cause | Fix |
|---|---|---|
| Peeling within days | Coats applied too thick, or base coat skipped | Remove and redo with thinner coats; never skip base. |
| Lifting at the cuticle or tip | Gel touched skin, or the free edge wasn’t capped | Clean edges with an orangewood stick before curing; cap every layer at the tip. |
| Bubbles in the color | Shaking the bottle, or applying over a dusty nail | Roll the bottle between your palms instead of shaking; wipe nails with alcohol before color. |
| Wrinkled or rippled finish | Layer too thick to cure through | Remove the wrinkled coat and reapply thinner; cure the full time. |
| Dull or easily scratched top | Top coat under-cured | Cure the full recommended time; check your lamp’s bulbs aren’t aging out. |
| Sticky after top coat | Normal inhibition layer (wipe top coats) | Wipe with alcohol and a lint-free wipe; switch to no-wipe top coat next time. |
Frequently Asked Questions
Can I do gel nails without a UV or LED lamp?
No. Gel polish only hardens under UV or LED light — that is what makes it gel. Products marketed as “gel effect” or “no-light gel” are regular polish with a glossy finish; they air-dry and chip like regular polish because no curing chemistry is involved.
How long do DIY gel nails last?
About two to three weeks with proper prep and thin coats — roughly the same as a salon gel manicure, since the products work identically. Expect less from your first couple of attempts while your technique settles in.
Are at-home gel nails bad for your natural nails?
The gel itself is not inherently damaging; most damage comes from over-buffing the nail plate, peeling gel off instead of soaking it, and repeated acetone soaks without rehydration. The two real medical risks are acrylate allergy (stop use and see a dermatologist if itching or blisters appear) and cumulative UV exposure (use sunscreen or fingerless UV gloves). Take breaks between sets to let nails recover.
Why do my gel nails peel or lift after a few days?
The usual suspects, in order: coats applied too thick, gel flooded onto the cuticles or skin, skipped buffing or alcohol wipe during prep, the free edge not capped, or under-curing. Fix all five and most lifting disappears.
Can I put a gel top coat over regular nail polish?
No. Regular polish air-dries and never cures, so sealing it under gel traps solvents and causes wrinkling, bubbling, and lifting. Use a gel system end to end: gel base, gel color, gel top.
Is it safe to do gel nails while pregnant?
There is no strong evidence that gel polish itself harms pregnancy, but many people choose to avoid the UV exposure and acetone fumes as a precaution, and dermatologists generally advise minimizing optional chemical and UV exposure during pregnancy. If you are unsure, ask your doctor — this article can’t substitute for medical advice.
How do I remove gel nails at home without damage?
File off the shiny top layer, soak acetone-soaked cotton on each nail under foil for 10–15 minutes, then gently push the softened gel off with an orangewood stick. Never peel or force it; re-soak anything stubborn. Moisturize with cuticle oil afterward.
Do I need an expensive lamp?
No. What matters is that your lamp cures your specific products fully — follow the cure times on your bottles. LED lamps cure faster (30–60 seconds per coat) than UV lamps (about 2 minutes). Replace the lamp if curing times suddenly stop working; aging bulbs under-cure. You don’t need the priciest lamp, but power matters: look for at least 24W LED — higher wattage cures faster and more evenly. Check your gel bottles for wavelength compatibility (some formulas specify UV or LED), and cure your thumbs separately — they angle away from the light when your whole hand is in the lamp.
Do I need nail primer or dehydrator?
Not strictly required, but skipping them is the most common reason home gel lifts early. Dehydrator removes the invisible oil film that alcohol leaves behind; primer gives the base coat something to grip. Together they take about a minute and noticeably extend wear — after surface prep, they’re the biggest longevity factor you control.
Can I use gel polish over acrylic nails?
Yes. Buff the acrylic surface very gently to remove shine, cleanse with alcohol, then follow the same steps — dehydrator, primer, base, color, top. Don’t file the acrylic thin first; you need the structure underneath.
Can I mix base coat, color, and top coat from different brands?
Not recommended. Different brands use different chemistries, and mismatched layers are a classic cause of wrinkling, peeling, and lifting. Pick one system — base, color, and top from the same line — and your cure times and adhesion will behave as designed.
5 Comments