
How to Remove Gel & Acrylic Nails Safely at Home
Yes, you can remove gel polish and acrylic nails safely at home — the method is straightforward: break the surface seal, soak the product off with pure acetone, and lift it away gently, never peeling or forcing. What most people get wrong is the order of those steps and the patience required between them. This guide covers the foil-soak method for gel polish, the longer process for acrylics, the mistakes that thin and tear nails, how to tell when your set needs a professional, and the recovery routine that brings your natural nails back.
The Short Answer: Safe Removal Comes Down to Three Things
The safe way to remove gel or acrylic nails at home is 100% pure acetone, enough time for it to dissolve the product’s bond, and a tool that lifts — never tears. Gel polish usually needs 10–15 minutes under foil wraps; acrylics need 20–30 minutes and heavier filing first. If anything resists, soak longer instead of pushing harder. That single rule prevents nearly all at-home removal damage.
Why Peeling Is the Worst Thing You Can Do
Peeling off a lifting edge feels satisfying, but it rips keratin layers off your nail plate along with the product. That is why nails feel paper-thin, rough, and sore after a peel: you didn’t just remove gel, you removed part of the nail itself.
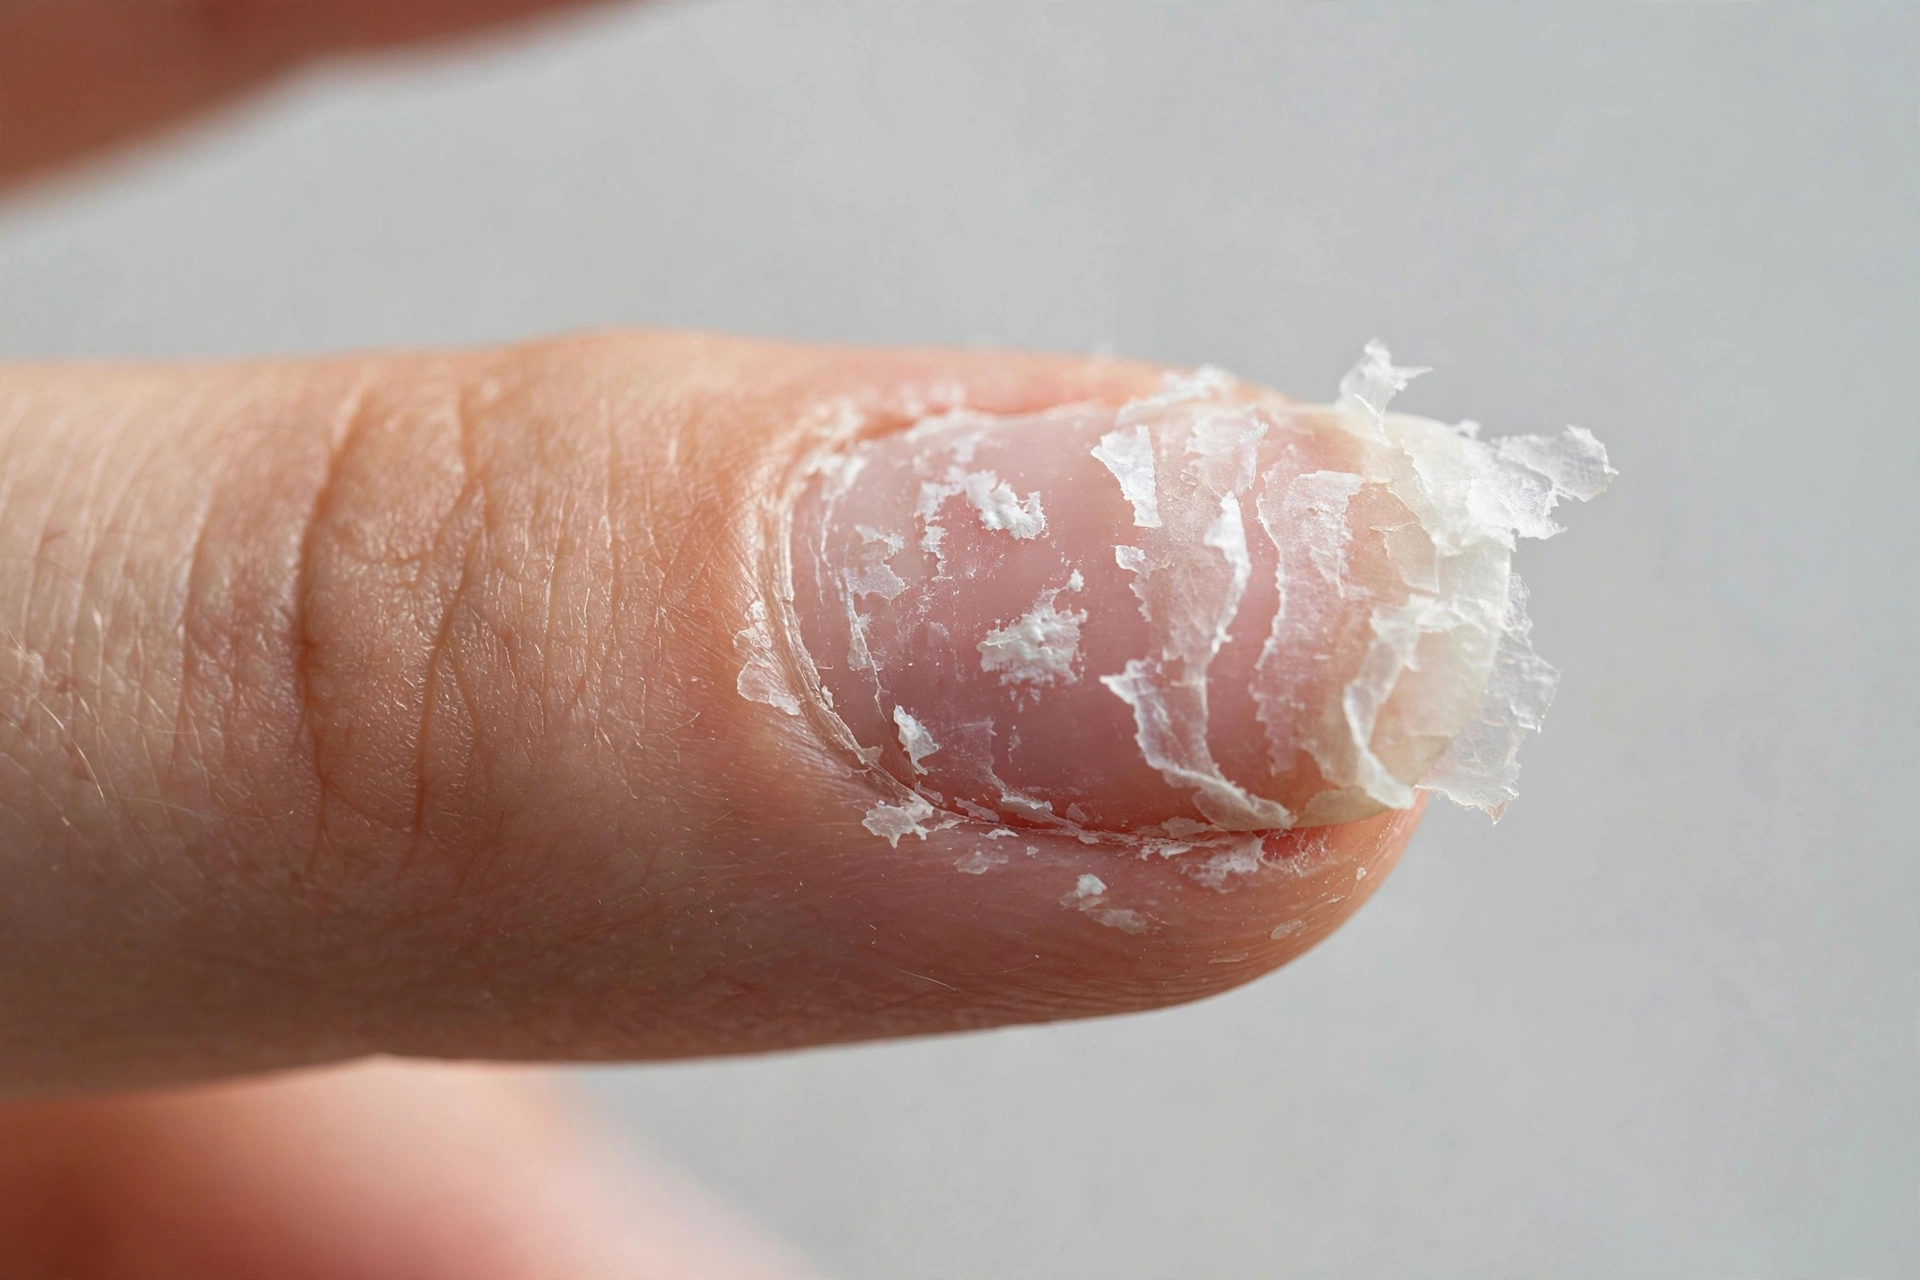
Your nail plate is built from thin layers of keratin, like stacked tissue paper. Acetone dissolves the adhesive bond between the product and the top layer. A peel tears through the bond sideways, taking keratin with it. This matters beyond thin nails: damaged nail plates give the next manicure a weaker surface to grip, which means more lifting — and lifting edges tempt more peeling. Soaking breaks the cycle; peeling feeds it.
Know Exactly What You’re Removing Before You Start
Gel polish, hard gel, and acrylics look similar once they’re on, but they don’t all come off the same way — and one of them should not be removed at home at all. Check what you have first; the table below shows how each one behaves.
| What you’re wearing | How to tell | Removal route | Typical soak time |
|---|---|---|---|
| Gel polish (soft gel) | Thin, flexible layer over your natural nail or short overlay | Foil-soak method at home | 10–15 minutes |
| Hard gel | Thick, rigid layer, often used for extensions — feels like acrylic | Salon removal recommended; hard gel is not soak-off and must be filed down carefully | Does not dissolve in acetone |
| Acrylics | Very hard, sculpted or tip-based extensions; no lamp was used to cure them | File down, then long acetone soak at home — or salon | 20–30 minutes |
Unsure which one you have? Ask your salon, or check your last receipt. If your nails were sculpted thick or built on tips and never saw a UV lamp, they’re acrylic. If you’re reading this while unsure and the product refuses to soften after a proper acetone soak, stop — that’s the classic sign of hard gel, and filing it off yourself risks filing straight into your nail plate.
What You’ll Need
Gather everything before the acetone comes out. Once your fingertips are wrapped in foil, you don’t want to be opening bottles.
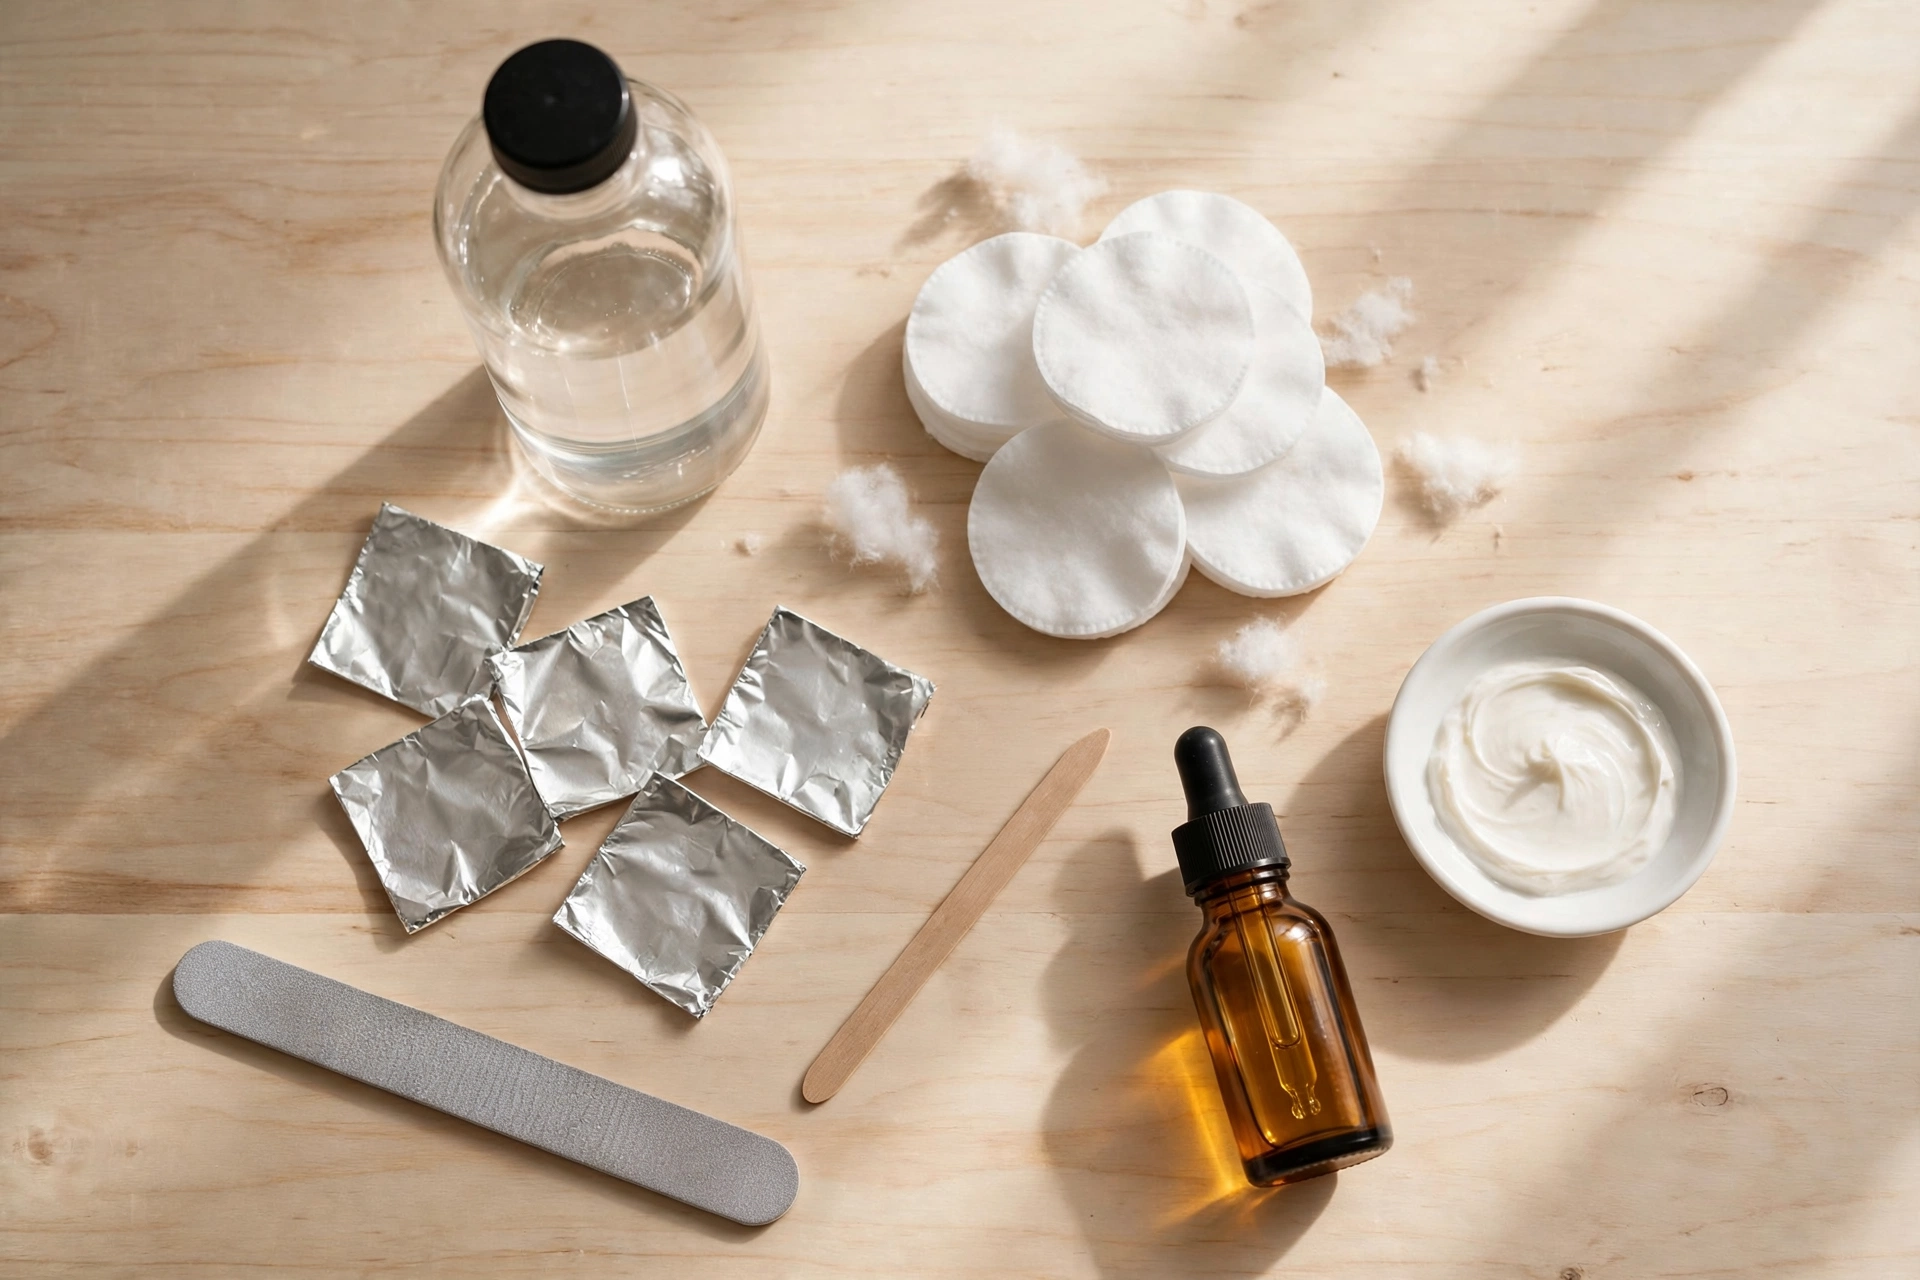
- 100% pure acetone — not regular nail polish remover, which is too weak and leaves oily residue
- Cotton pads or cotton balls, cut or torn into nail-sized pieces
- Aluminum foil, cut into roughly 3-inch squares (10 per hand)
- A nail file — medium-coarse (around 100–180 grit) for acrylics; a finer 180–220 for gel polish
- A soft buffer block for smoothing residue after removal
- An orangewood stick or wooden cuticle stick for lifting — never metal tools on the nail plate
- Petroleum jelly or a thick barrier cream to protect the skin around each nail
- Cuticle oil and a rich hand cream for after
- A glass or ceramic bowl if you choose the bowl-soak method (never plastic — acetone degrades it)
Safety note before you begin: acetone is flammable and its fumes are strong. Work in a ventilated room, away from open flames, and never microwave acetone to warm it — if you want warmer acetone, set its container in a bowl of warm water.
Gel Polish Removal: The Foil-Soak Method, Step by Step
This is the same technique salons use, done more gently. Plan on 30–40 minutes for both hands.
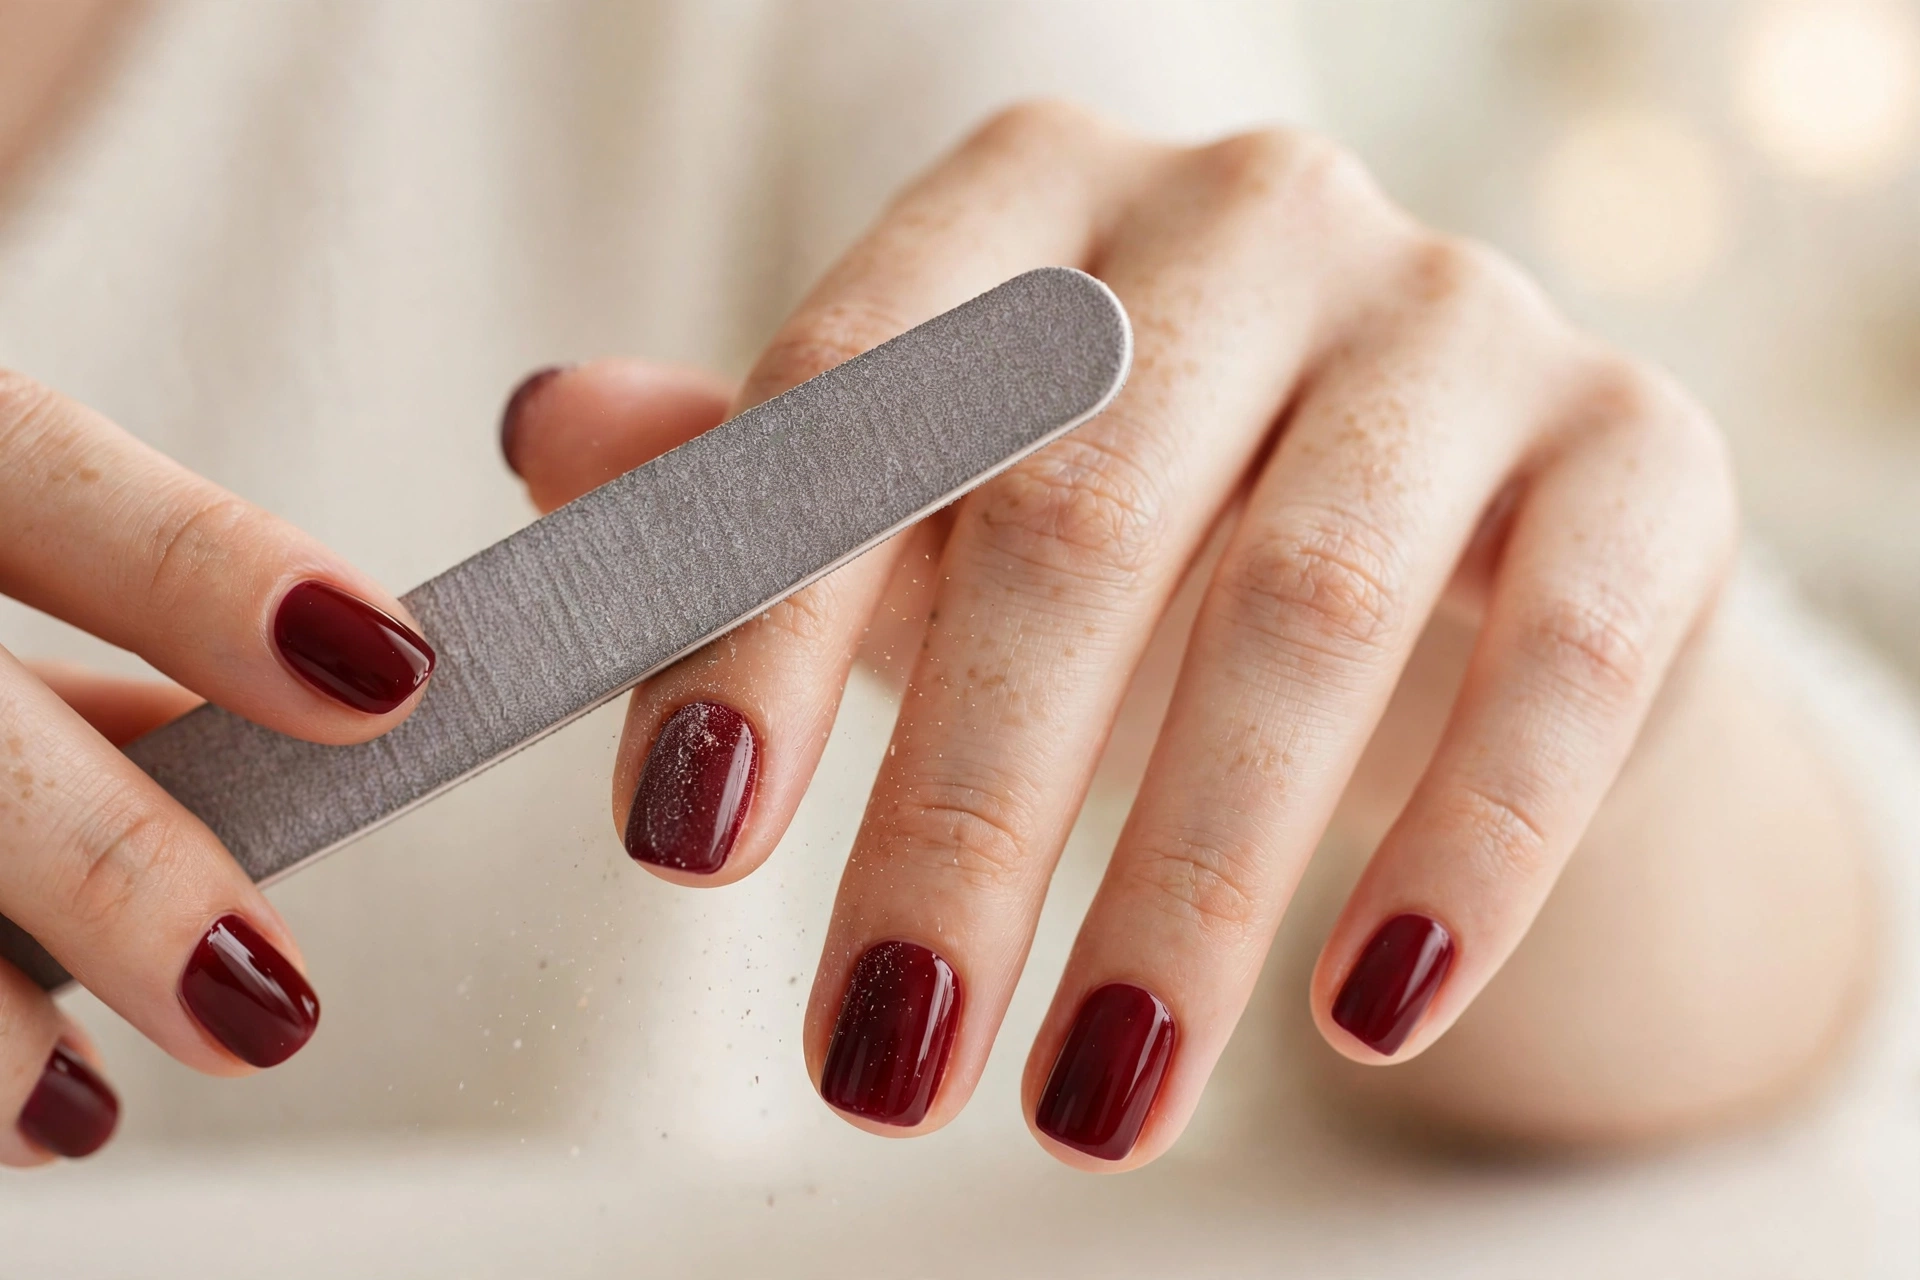
Step 1: File off the topcoat shine
Gently file the surface of every gel nail until the glossy top layer turns dull. This breaks the seal so the acetone can actually reach the color layers underneath. File the product only — stop well before you feel your natural nail, and use light, even strokes in one direction rather than sawing back and forth.
Step 2: Protect the skin around each nail
Rub a layer of petroleum jelly or thick cream onto the cuticles and the skin framing each nail. Acetone is severely drying, and this barrier keeps the soak from chewing up your fingertips. Do the same to any hangnails or cracked skin — acetone stings raw skin, so if a spot is open or sore, consider waiting a few days or booking a salon removal.
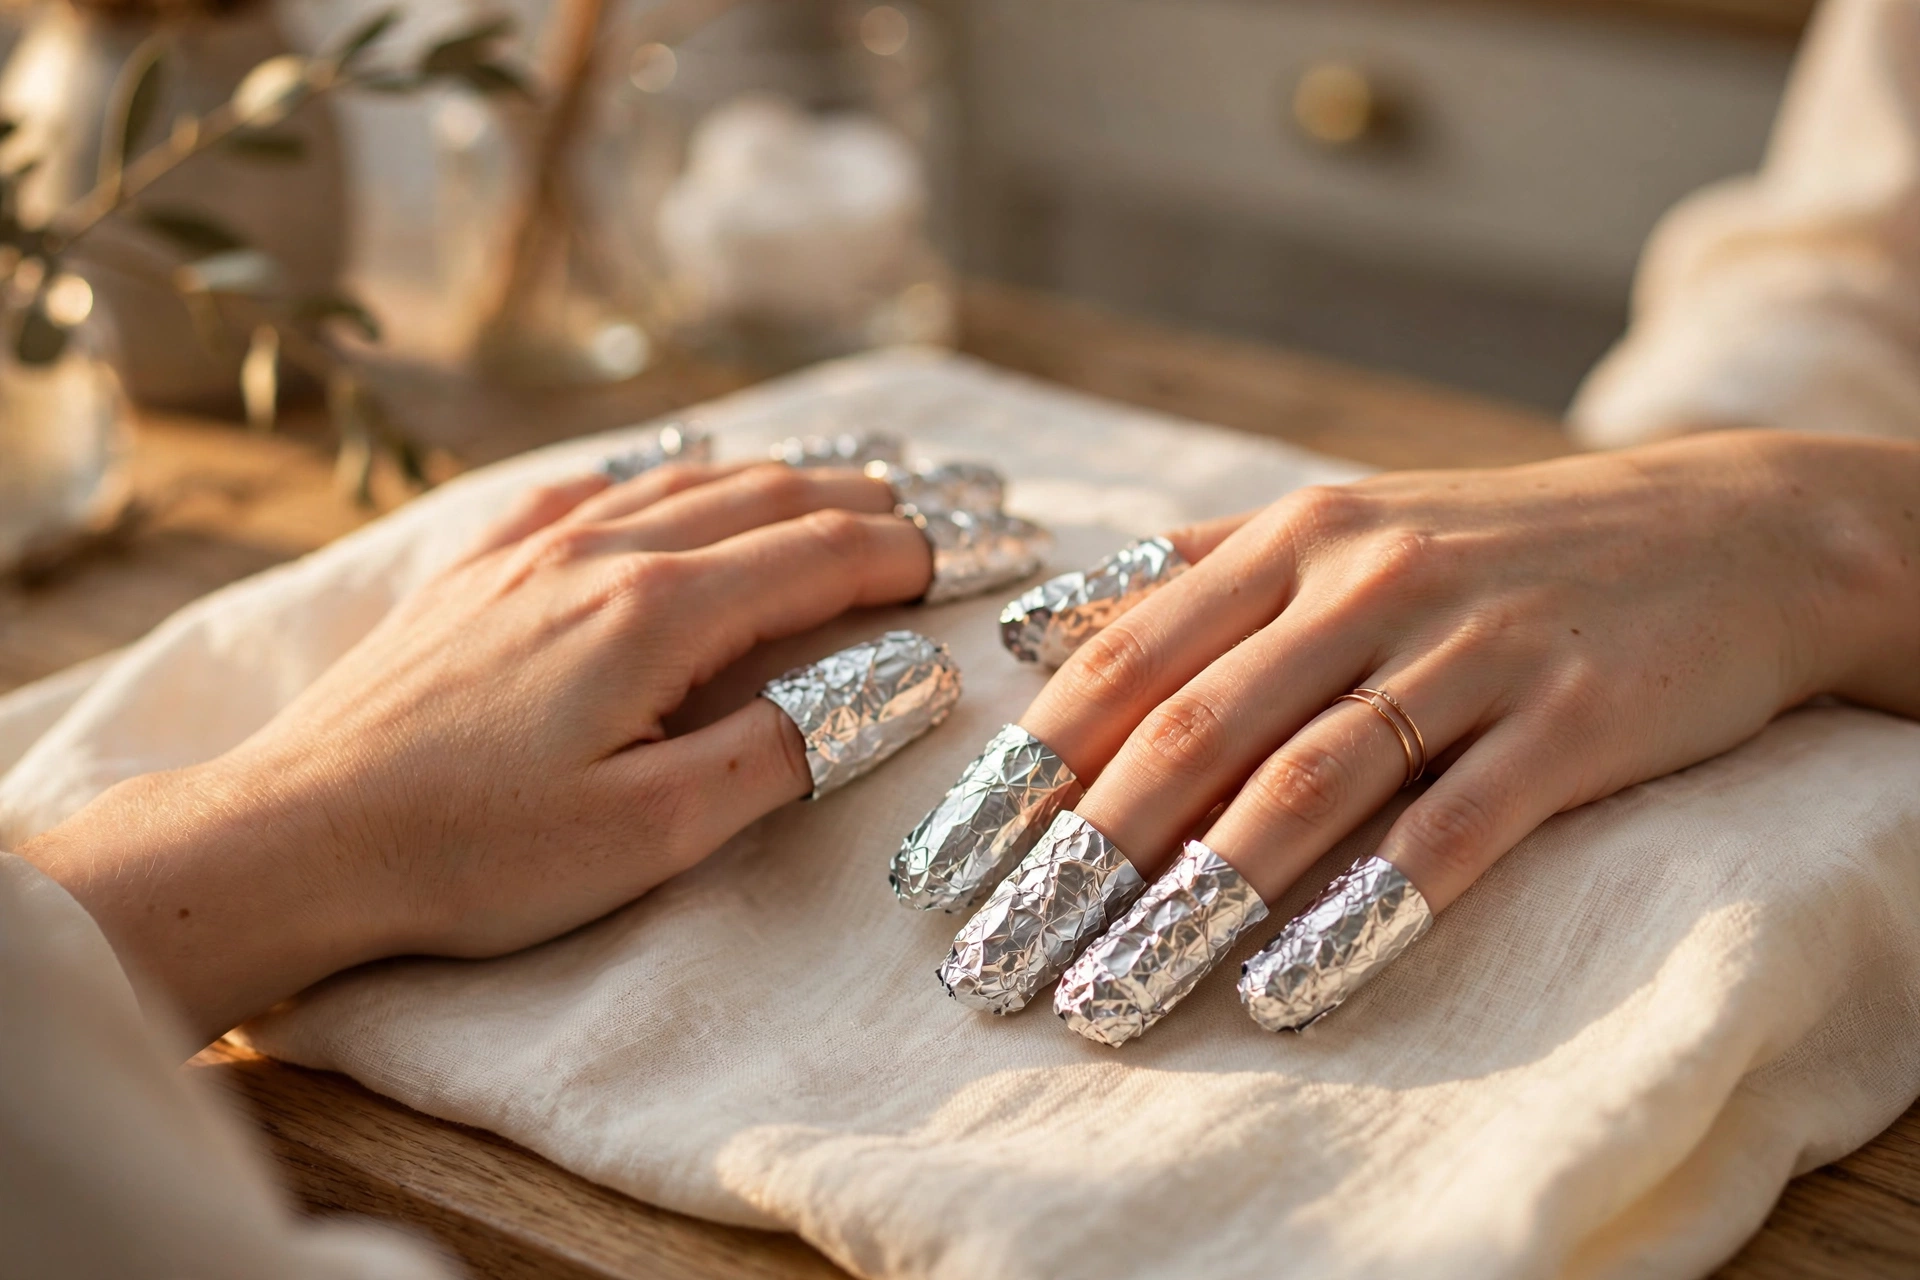
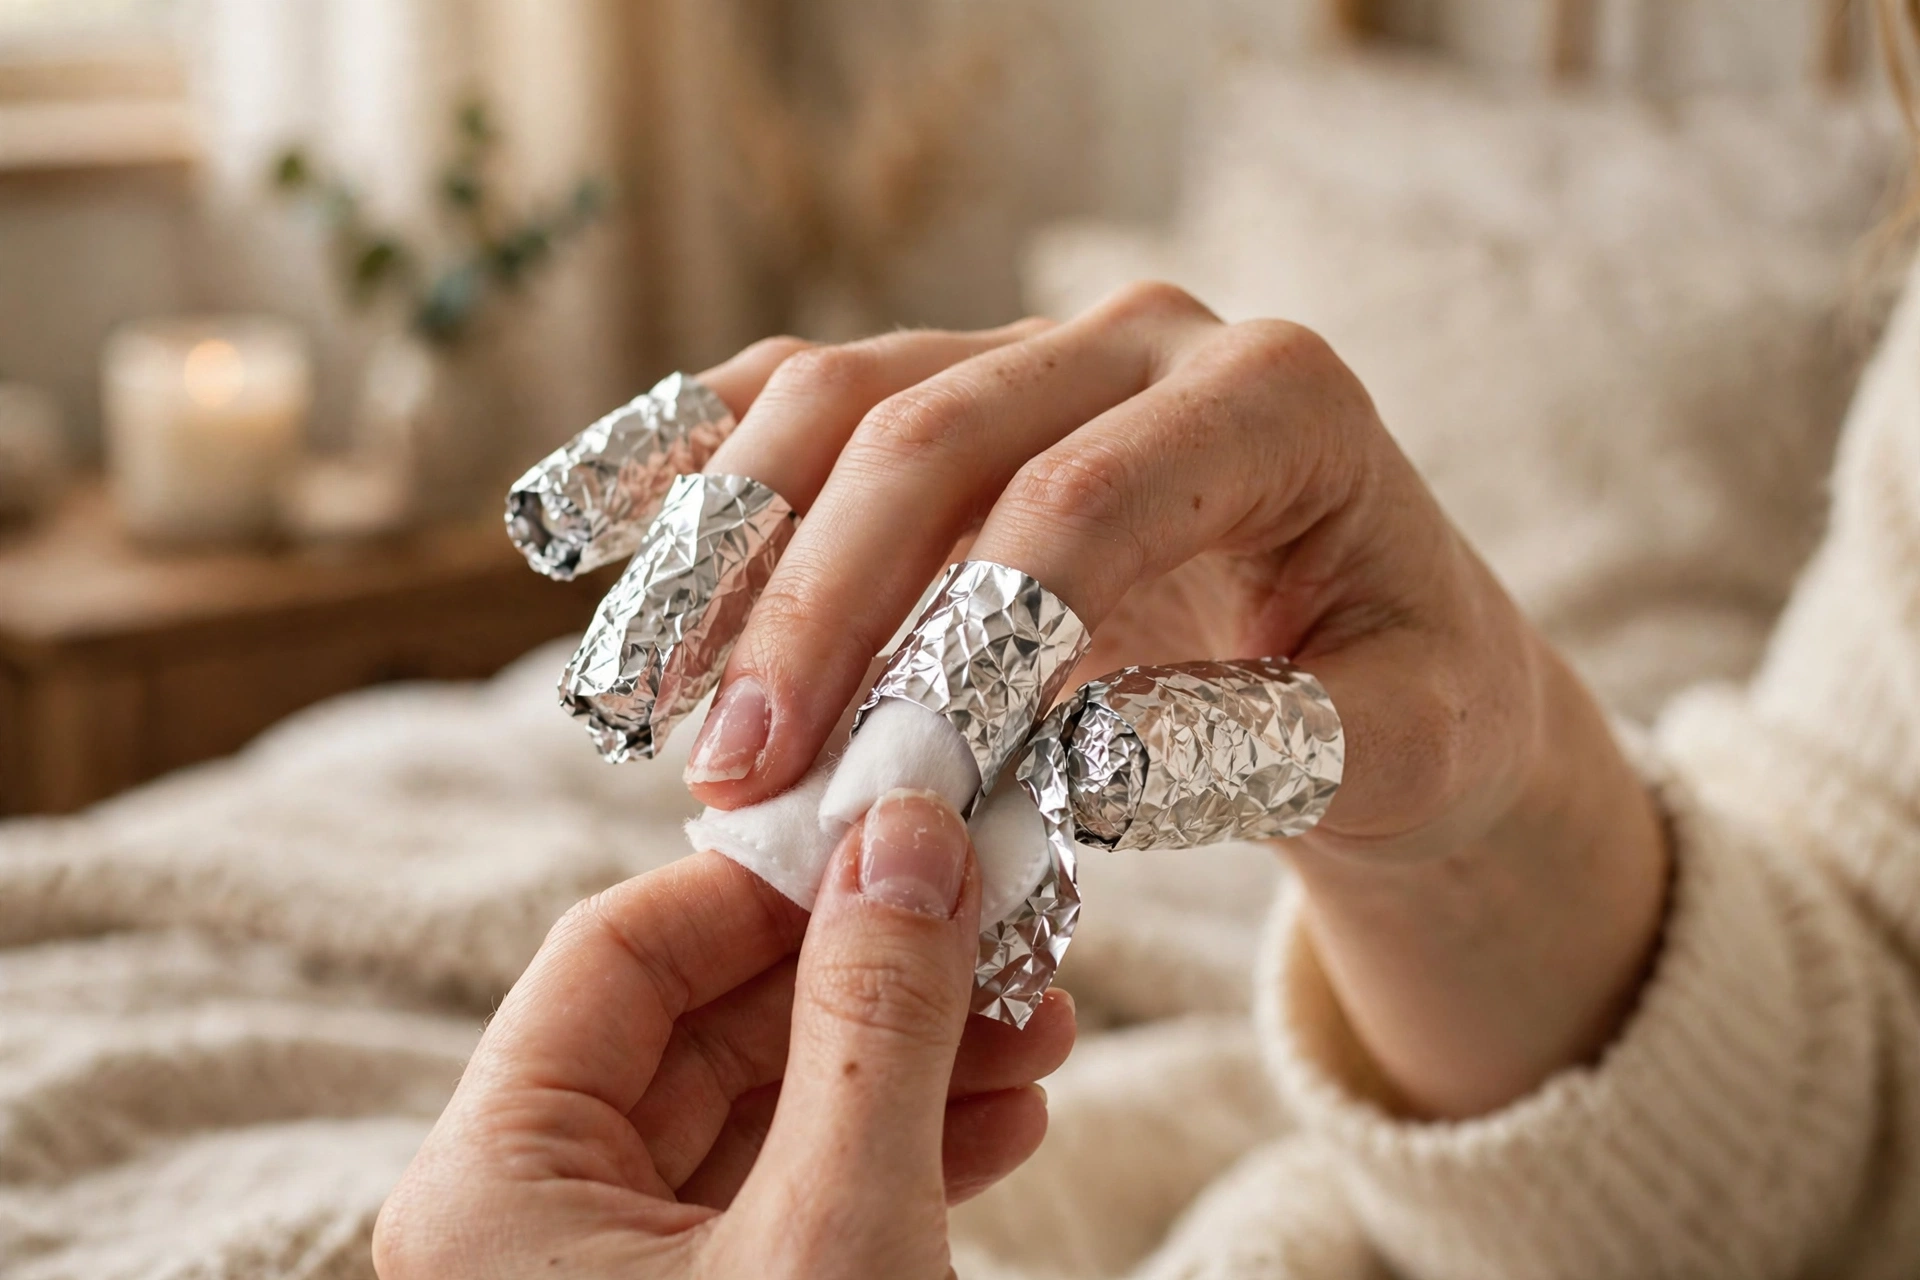
Step 3: Wrap each nail in acetone-soaked cotton and foil
Soak a cotton piece in 100% acetone, press it onto the nail, and wrap the fingertip tightly in a foil square so the cotton stays in full contact. Repeat for all ten nails. The foil traps warmth and stops the acetone evaporating, which is what makes this faster and more even than an open soak.
Step 4: Wait 10–15 minutes
Set a timer and keep your hands still. The acetone needs uninterrupted contact to break down the gel’s bond. Don’t unwrap early to peek — each check lets the acetone evaporate and resets the clock. If you want a warmer soak, rest your hands under a warm towel (gentle heat speeds the chemistry; never a microwave).
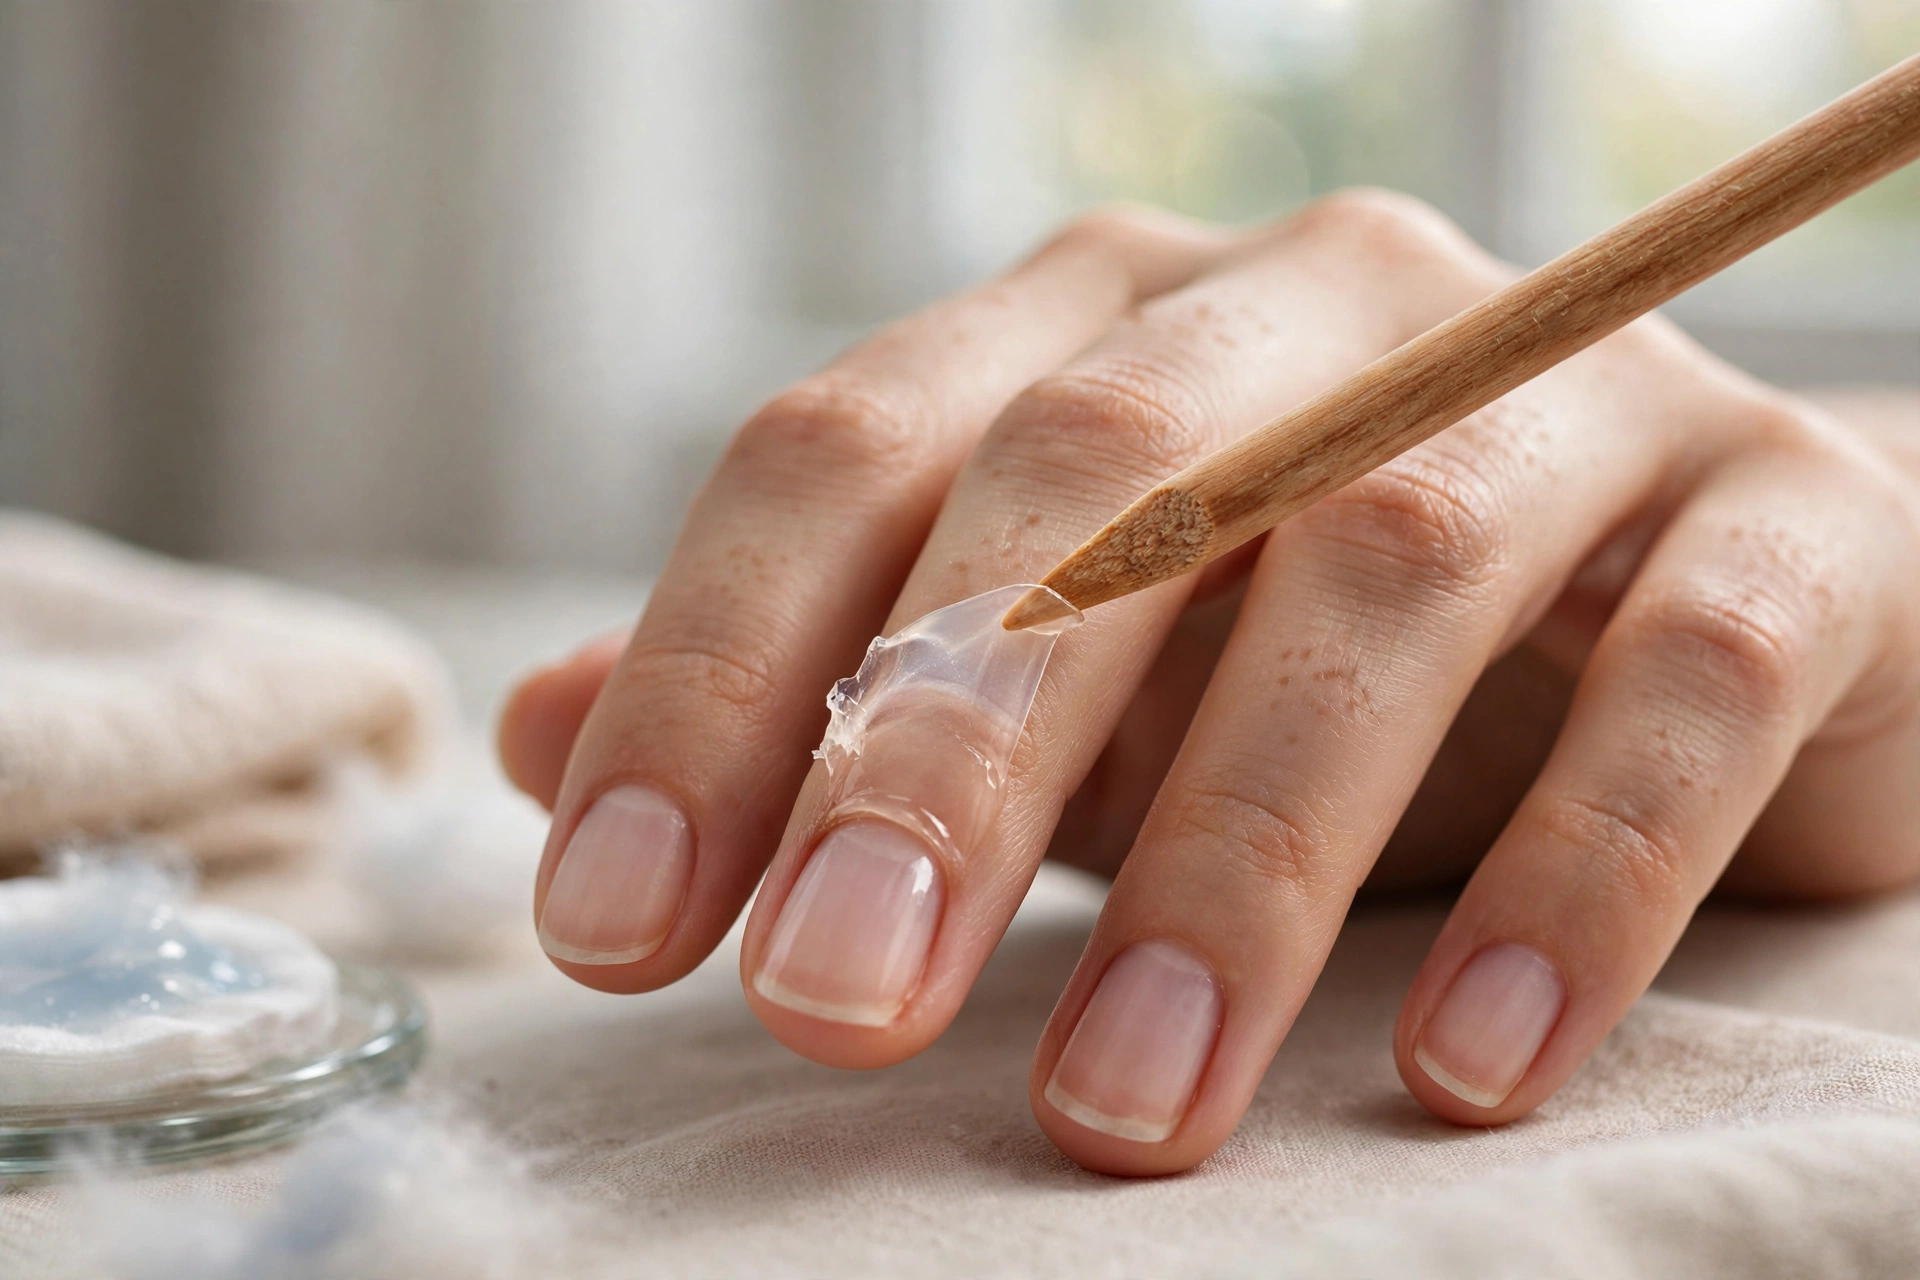
Step 5: Gently lift the softened gel away
Remove one wrap at a time and use the orangewood stick to ease the gel off, working from the base toward the tip with light pressure. Properly soaked gel slides off in soft sheets. If a spot resists, re-wrap that nail with fresh acetone cotton and give it another 5–10 minutes. Resistance is information — it means the bond isn’t dissolved yet, not that you should push harder.
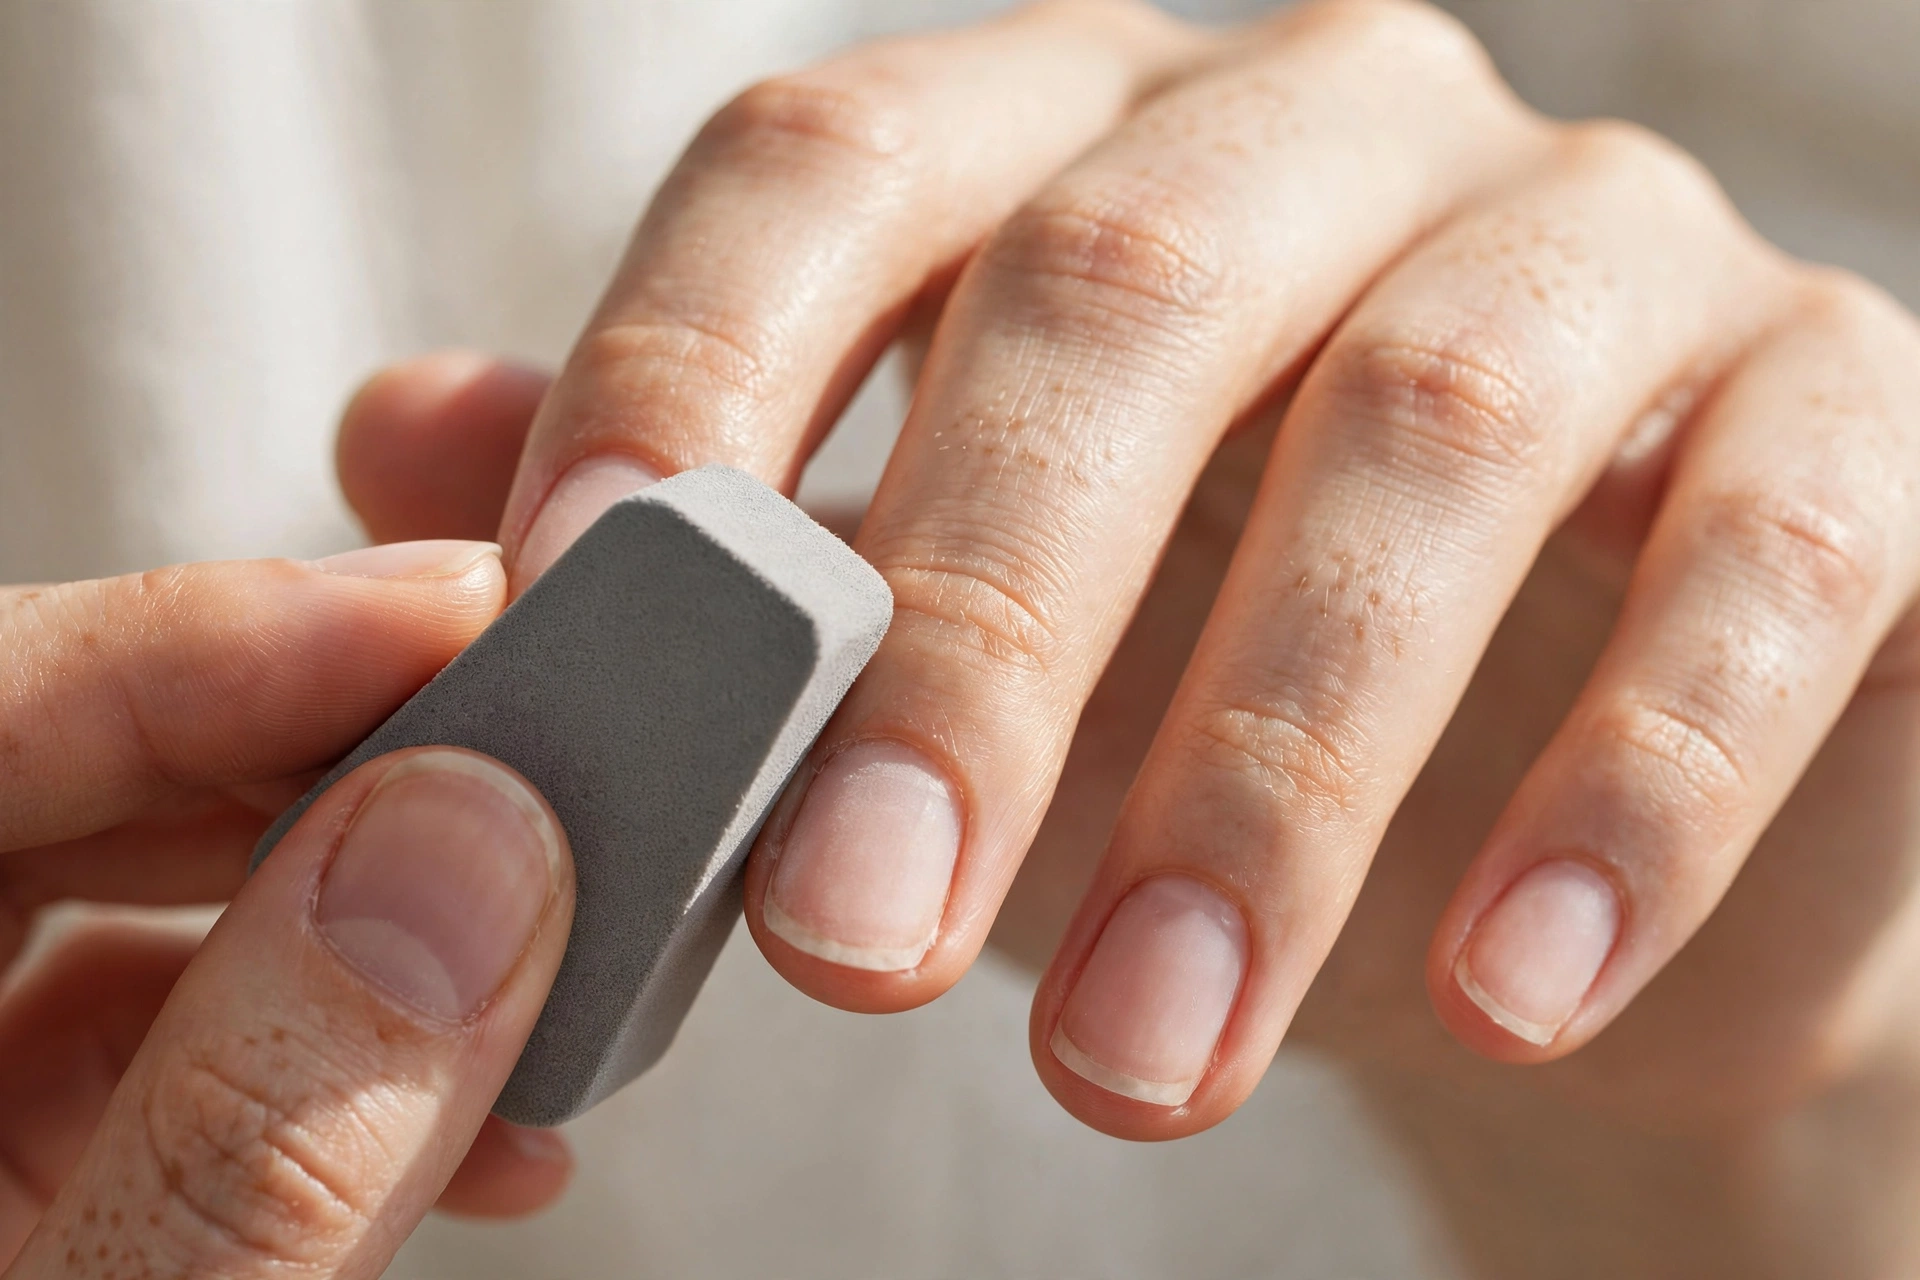
Step 6: Buff lightly, wash, and hydrate
Use the soft buffer to smooth any dull residue off the nail surface with a few light passes — heavy buffing thins the nail, so stop as soon as it’s smooth. Wash your hands with soap and water to remove acetone, then massage cuticle oil into every nail and follow with hand cream. The oil goes on first so it can reach the nail; the cream seals everything in.
Acrylic Removal: The Longer, Gentler Route
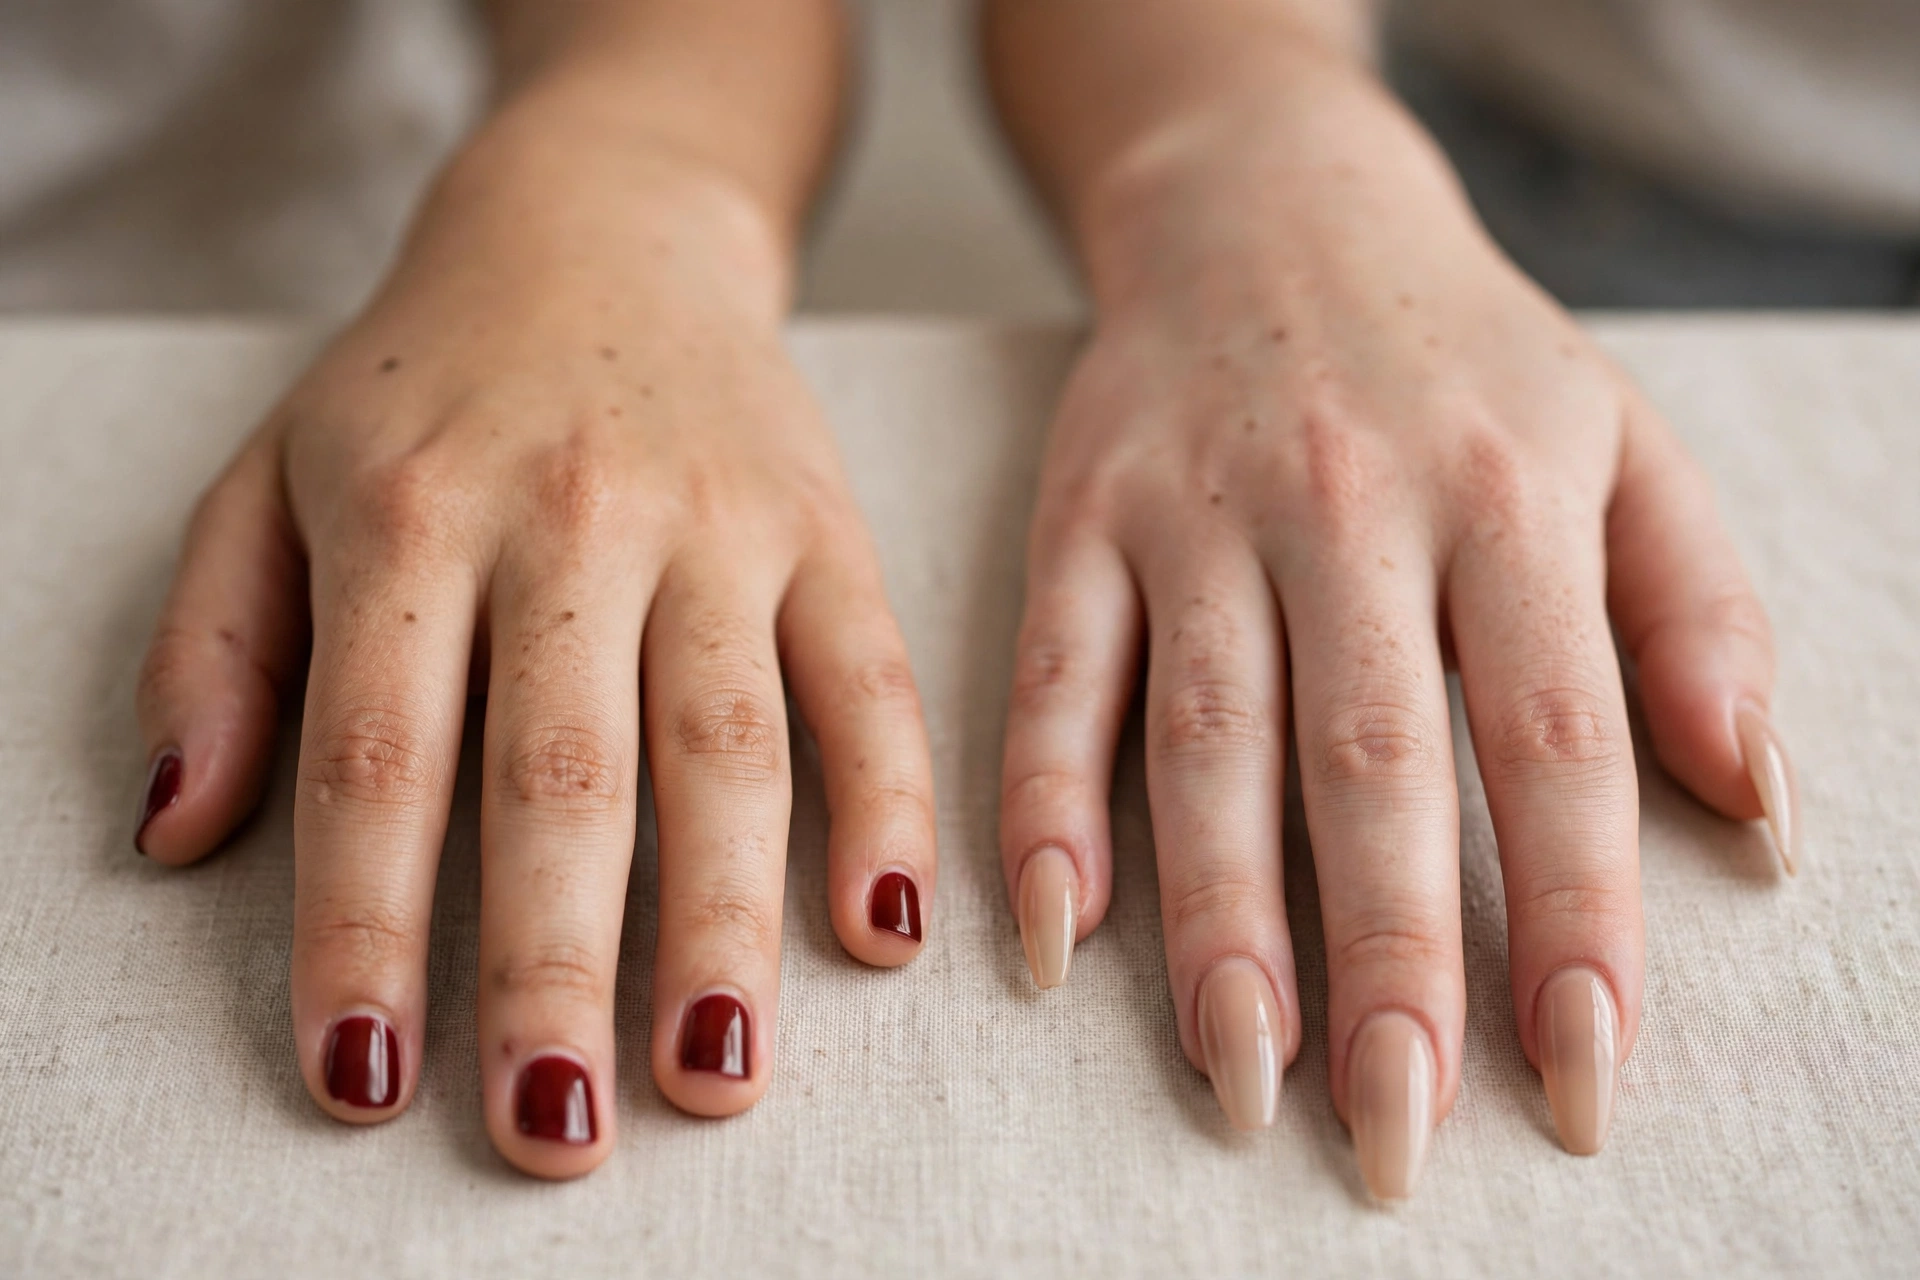
Acrylics are thicker and denser than gel polish, so removal takes more filing and a longer soak — plan on a full hour. The patience pays off: acrylics ripped off can take chunks of the nail plate with them and leave nails sore for weeks.
Step 1: Cut and file the length down
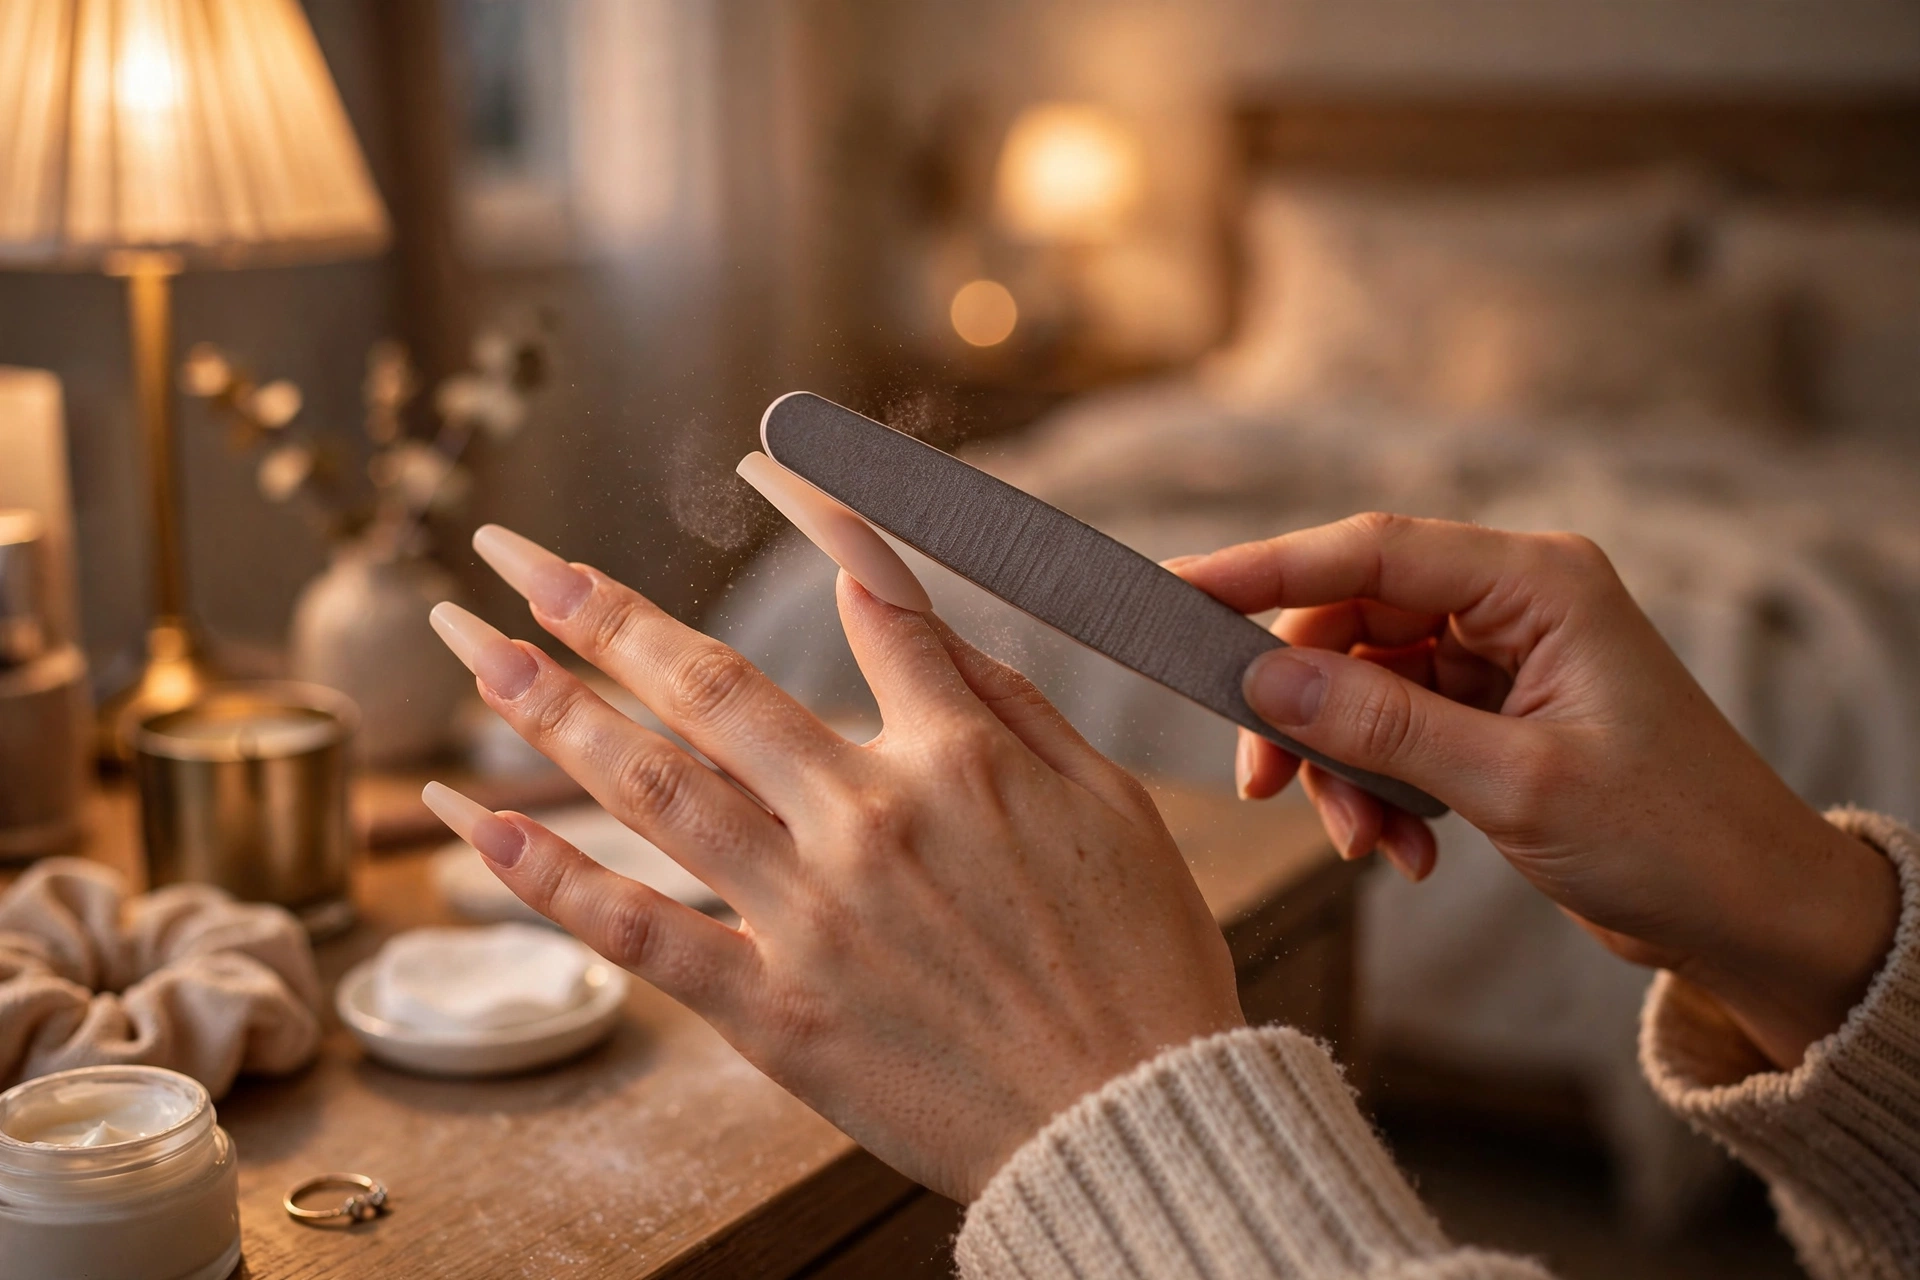
Trim long acrylics back with nail clippers, then file away as much of the product as you safely can — thin the surface layer and the sides. You can’t file too much at this stage as long as you stop before reaching your natural nail: the goal is to leave only a thin skin of acrylic for the acetone to dissolve. Less product means less soak time and less acetone exposure.
Step 2: Protect the skin, same as gel
Coat the cuticles and surrounding skin in petroleum jelly or barrier cream. Acrylic removal involves longer acetone exposure, so this step matters even more here.
Step 3: Soak for 20–30 minutes
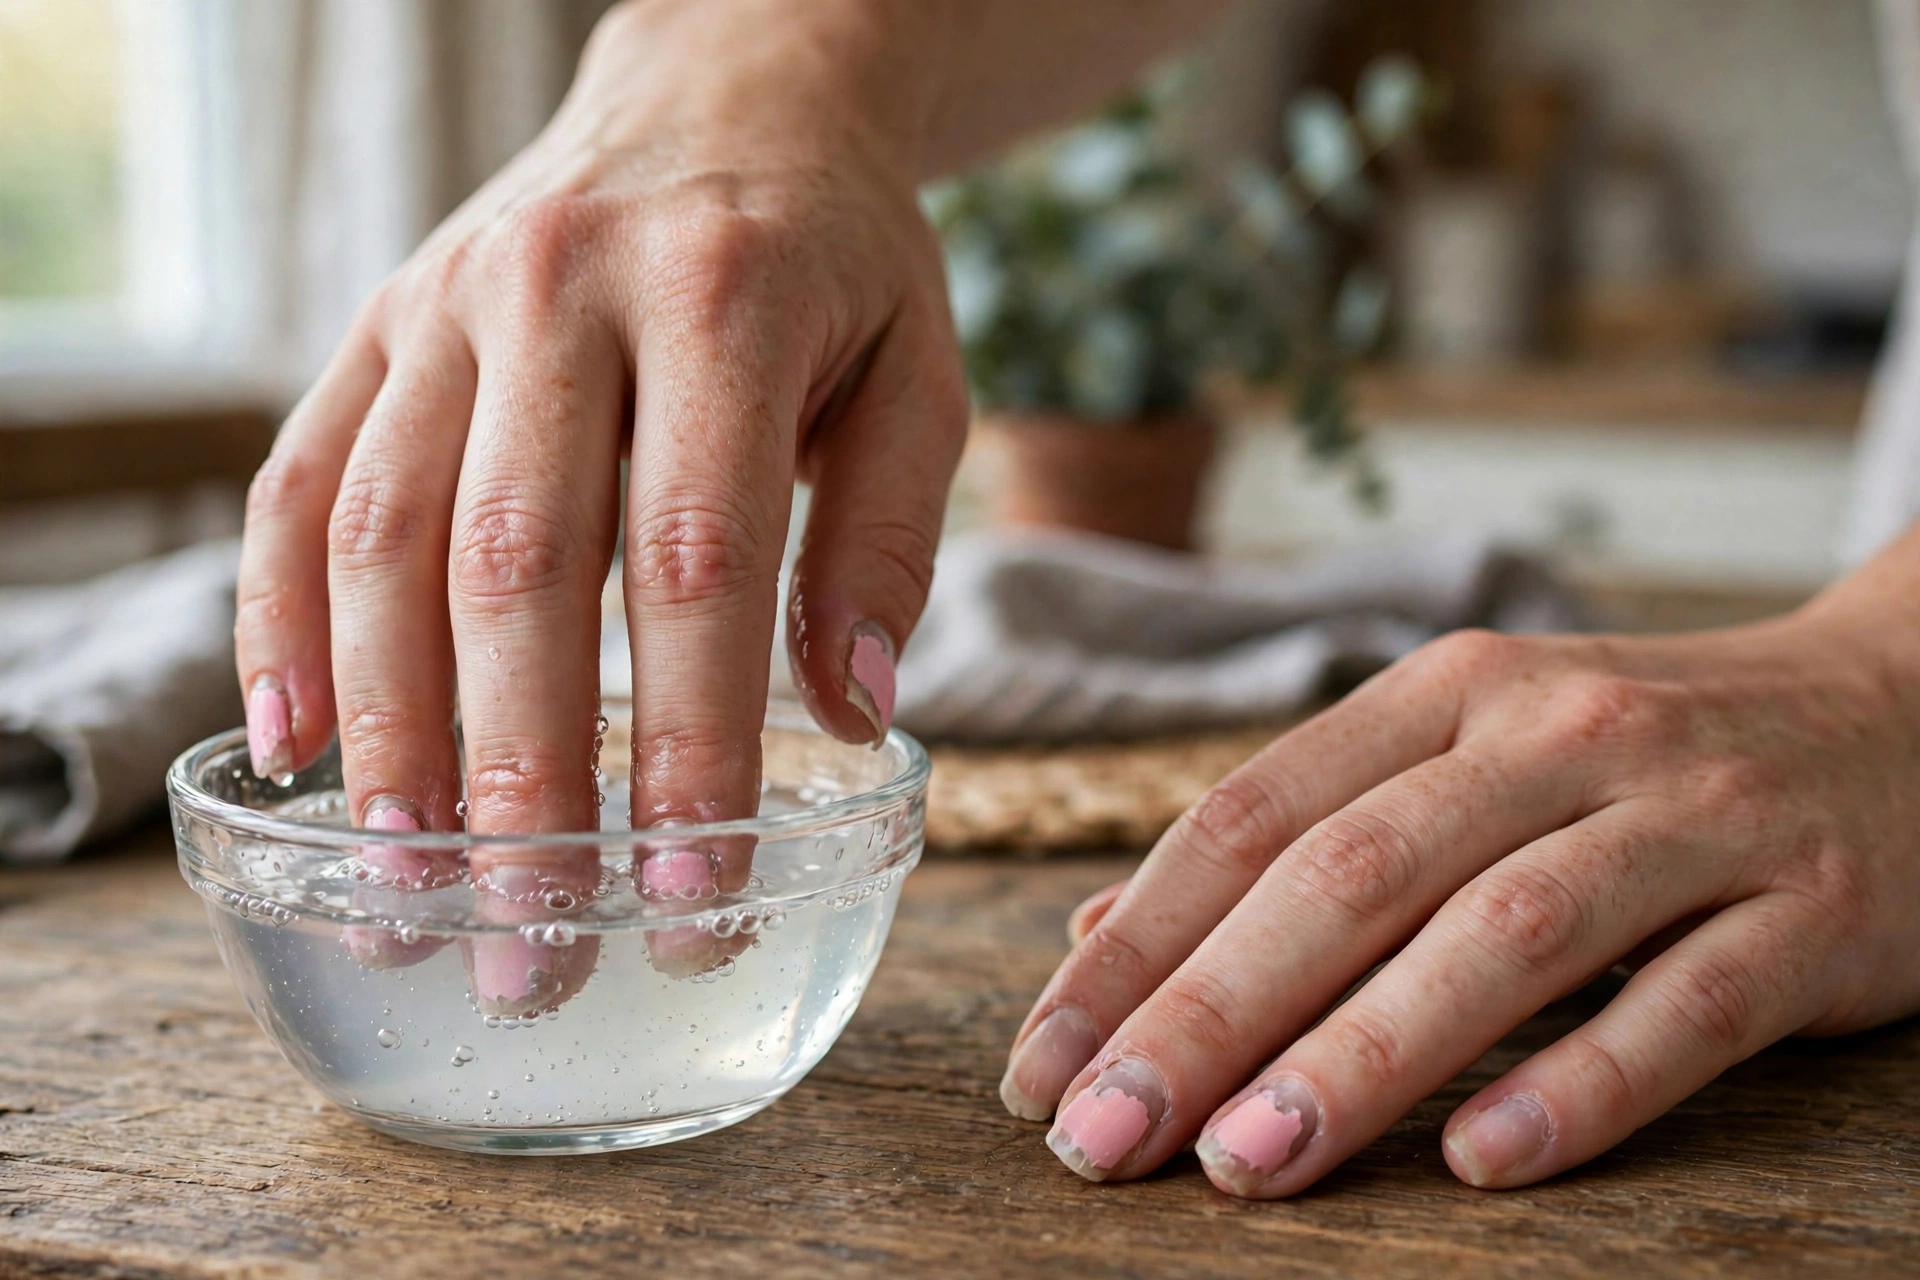
You have two options: foil wraps with acetone-soaked cotton (the same technique as gel, just longer), or a full fingertip soak in a glass or ceramic bowl of 100% acetone. A bowl soak is simpler for acrylics and lets you watch the product soften, but it exposes more skin to acetone — keep the soak to fingertips only and rinse well after.
Step 4: Lift gently — never pry
After soaking, the acrylic should feel gummy and soft. Ease it off with the orangewood stick, working in thin layers rather than trying to pop the whole nail off at once. If a section holds firm, re-soak. Never use a metal tool as a lever under the product, and never “help it along” by bending the nail — that’s how nail plates split and lift.
Step 5: Smooth and assess
Lightly buff the surface smooth, then look at your nails honestly. Some white patches or roughness after an acetone soak are normal and temporary — that’s dehydrated keratin, not damage, and it fades as moisture returns. Deep ridges, visible thinning, or soreness that lasts more than a day or two mean the removal was too aggressive; give those nails a longer break before any new enhancement.
Foil Wraps or Bowl Soak: Which Should You Use?
Both methods work. The right choice depends on what you’re removing and how your skin tolerates acetone.
| Foil wraps | Bowl soak | |
|---|---|---|
| Best for | Gel polish; most beginners | Acrylics; thick product |
| Acetone used | Less — only what the cotton holds | More — a bowlful |
| Skin exposure | Lower — cotton touches only the nail area | Higher — fingertips sit in acetone |
| Speed | Slightly faster; foil traps warmth | Steady; easy to monitor softening |
| Effort | Fiddly to wrap all ten nails | Simple setup, hands-free once soaking |
| Watch out for | Unwrap-and-peek habit, which resets the soak | Acetone fumes; never use a plastic bowl |
What Not to Do: The Mistakes That Wreck Nails
Every one of these shows up in salon damage stories. Skipping them is what separates a safe home removal from a damaging one.
- Don’t peel, pick, or bite the product off. This is the number-one cause of removal damage — it tears keratin off the nail plate.
- Don’t scrape with metal tools. Metal pushers and cuticle nippers gouge the softened nail plate. Wood only.
- Don’t force what resists. Resistance means “soak longer,” not “push harder.”
- Don’t use an e-file at home for removal. Without training, it’s easy to file straight through the product into the nail. Even in salons, removal filing is a skilled task.
- Don’t substitute regular polish remover. It’s too weak to dissolve gel or acrylic, so you’ll end up scraping — the thing you were trying to avoid.
- Don’t try to dissolve gel with hot water, steam, or oil soaks. None of these break the product’s bond; they just add time and temptation to peel.
- Don’t heat acetone in a microwave. Acetone is highly flammable. Warm it by standing its container in warm water if you must.
- Don’t soak longer than needed. Once the product lifts easily, stop — extra soak time just dehydrates nails and skin further.
The After-Removal Recovery Routine
Acetone strips the nail’s natural oils along with the product, so every nail comes out dehydrated — that chalky, dry look right after removal is normal. A short recovery routine restores them faster than doing nothing and waiting.
The first 48 hours
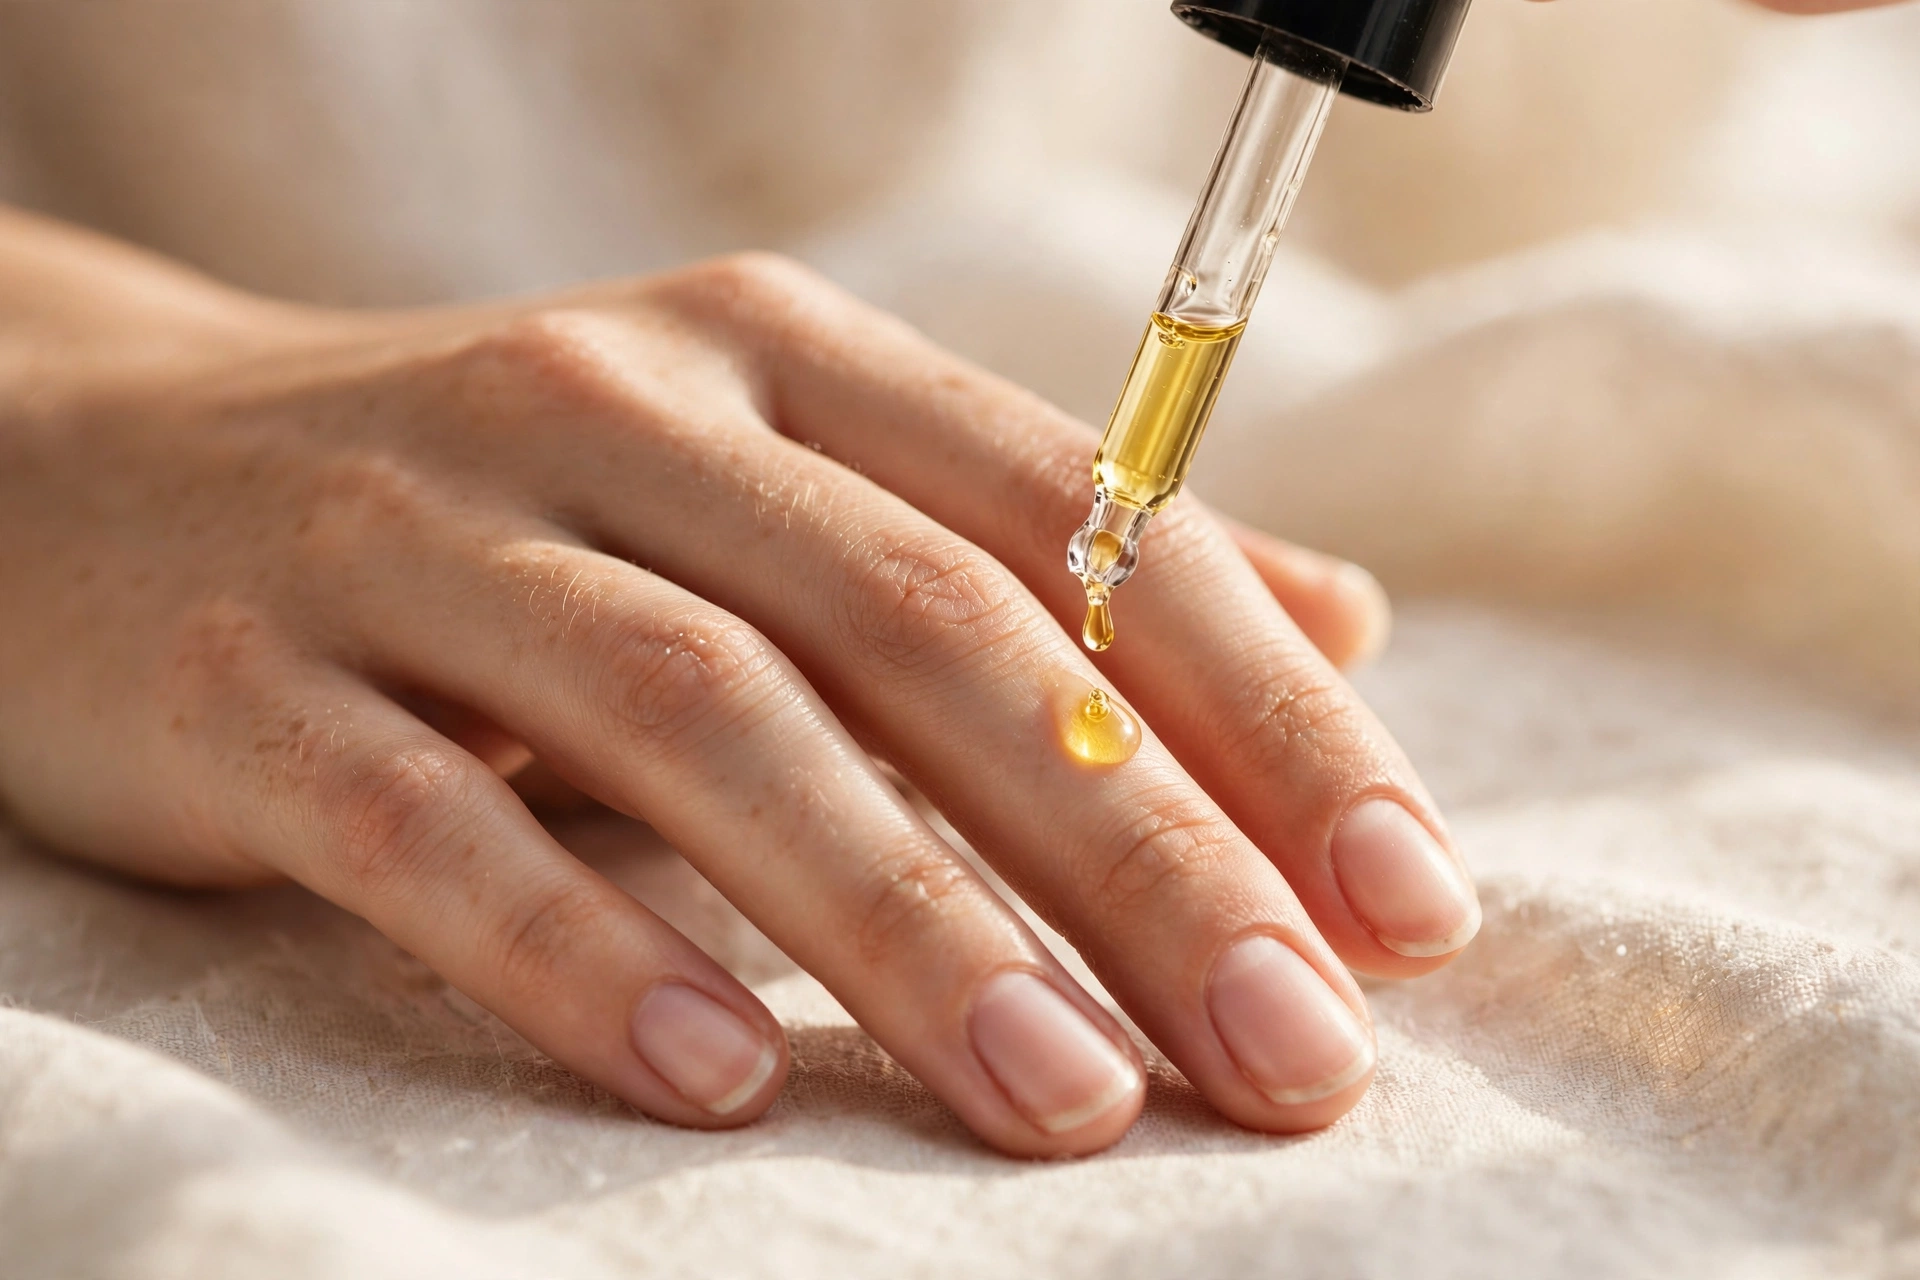
Apply cuticle oil to every nail three to four times a day and hand cream after each hand wash. Keep nails short for now — dehydrated nails are more flexible and prone to breaking, and a shorter free edge takes less stress. If you keep polish off, even better: let the nails breathe and rehydrate undisturbed.
The two-week reset
Keep up the oil daily for at least a week, and consider a nail strengthener if nails feel bendy. If you plan to reapply gel or acrylics, give nails a break of a few days to a week between sets — nail techs recommend this because it lets the top keratin layers recover before they’re sealed under product again. Our nail care routine guide covers the full daily-and-weekly regimen if you want to make this a habit rather than a one-off rescue.

Nails grow out fully in roughly three to six months, so deep damage takes time to replace — but surface dehydration from a careful removal resolves within days of proper moisturizing. Gentle cuticle care during this window protects the new growth coming in behind the cuticle line.
When to Stop and See a Professional
Most home removals go fine. Stop what you’re doing and get expert help in these cases:
- Green or dark discoloration under the product — this can signal a bacterial infection (pseudomonas) or trapped moisture and fungus. Don’t seal it back under polish; see a professional or dermatologist.
- Itching, swelling, or blistering around the nails after a gel manicure — possible acrylate allergy. Stop using gel products and see a dermatologist; this allergy is permanent once developed.
- Bleeding, severe pain, or a nail separating from the nail bed — don’t continue a DIY removal on injured nails.
- The product won’t soften after a full acetone soak — it’s likely hard gel, which needs professional filing.
- Thick, crumbly, or foul-smelling nails — possible fungal infection, which needs diagnosis, not another manicure.
A salon removal costs a fraction of what repairing damaged nails takes in time and money. If anything feels wrong, that trade is always worth it.
Frequently Asked Questions
How long does it take to remove gel nails at home?
About 30–40 minutes for both hands: a few minutes to file the topcoat and set up, 10–15 minutes under foil wraps, and a few minutes to lift and buff. Acrylics take longer — roughly an hour, with a 20–30 minute soak. Rushing any of these stages is what causes damage.
Can I remove gel nails without acetone?
Not safely, and not completely. Gel and acrylic bond chemically, and only acetone dissolves that bond. Water, steam, oil, and regular polish remover don’t work — they leave you scraping and peeling, which damages the nail. If you can’t use acetone, a salon removal is the safer route.
Why do my nails feel thin after gel removal?
Two possible reasons. Normal dehydration feels chalky and papery but fades within days of oiling — that’s just the acetone having dried out the keratin. Actual thinning, where nails stay bendy and fragile for weeks, usually means product was peeled or scraped off rather than soaked. Honest assessment: if the thinness improves quickly with oil, it was dehydration; if it persists, the removal was too rough, and those nails need a longer break.
Can I remove acrylic nails at home or should I go to a salon?
You can do it at home if you follow the file-then-long-soak process and stop at any sign of resistance. Go to a salon instead if your acrylics are very thick or long, if you’re unsure whether they’re acrylic or hard gel, if the nails are injured or lifting, or if you simply don’t have an uninterrupted hour — a rushed home removal is worse than no removal at all.
Is peeling off gel polish ever okay?
No. Even when gel “peels off cleanly,” it’s taking microscopic layers of your nail plate with it. The damage is cumulative — one peel might not show, but repeated peeling leaves nails thin, ridged, and unable to hold a manicure. If a gel edge lifts, that’s a sign it’s time for a soak-off or a fill, not a free peel.
How long should I wait before getting gel or acrylics again?
A few days to a week of bare, oiled nails between sets is a sensible minimum that most nail techs recommend. If your nails feel thin, sore, or bendy after removal, wait until they feel sturdy again — that can take several weeks for genuinely damaged nails. There’s no prize for rushing; the break is what makes the next set last.
What does a green spot under my nail mean?
Greenish discoloration under a lifted enhancement is often a bacterial infection (pseudomonas) that thrives in the moist gap between product and nail. Don’t cover it with new product — that traps the moisture and lets it spread. Let the nail breathe, keep it clean and dry, and see a professional if it doesn’t fade as the nail grows out.
Keep Reading
- How to Do Gel Nails at Home: A Beginner’s Step-by-Step Guide — the application side of this process, including the safety section on UV lamps and acrylate allergy.
- The Ultimate Nail Care Routine for Healthy Nails — the daily and weekly habits that keep natural nails strong between manicures.
- Cuticle Care 101: How to Get Clean, Healthy Cuticles — everything happening behind the cuticle line affects the nail growing in.
One Comment