Nail Art Tools for Beginners: What You Actually Need
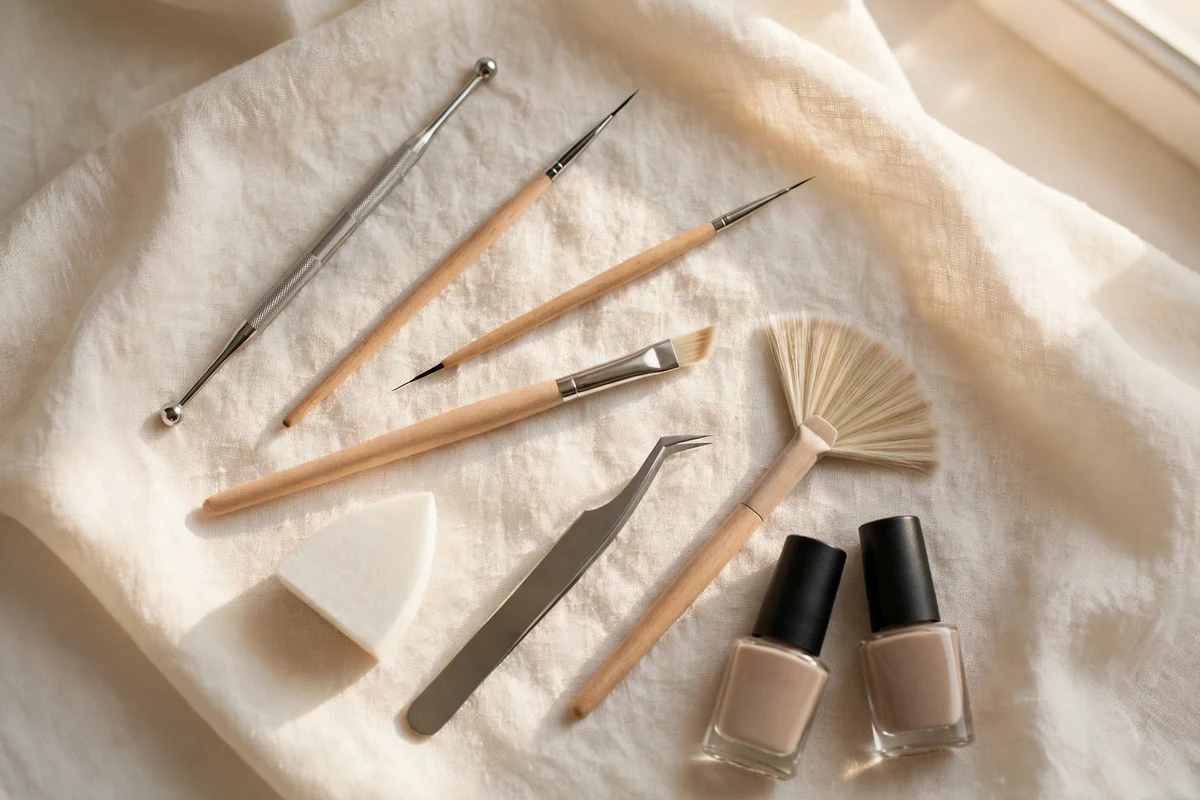
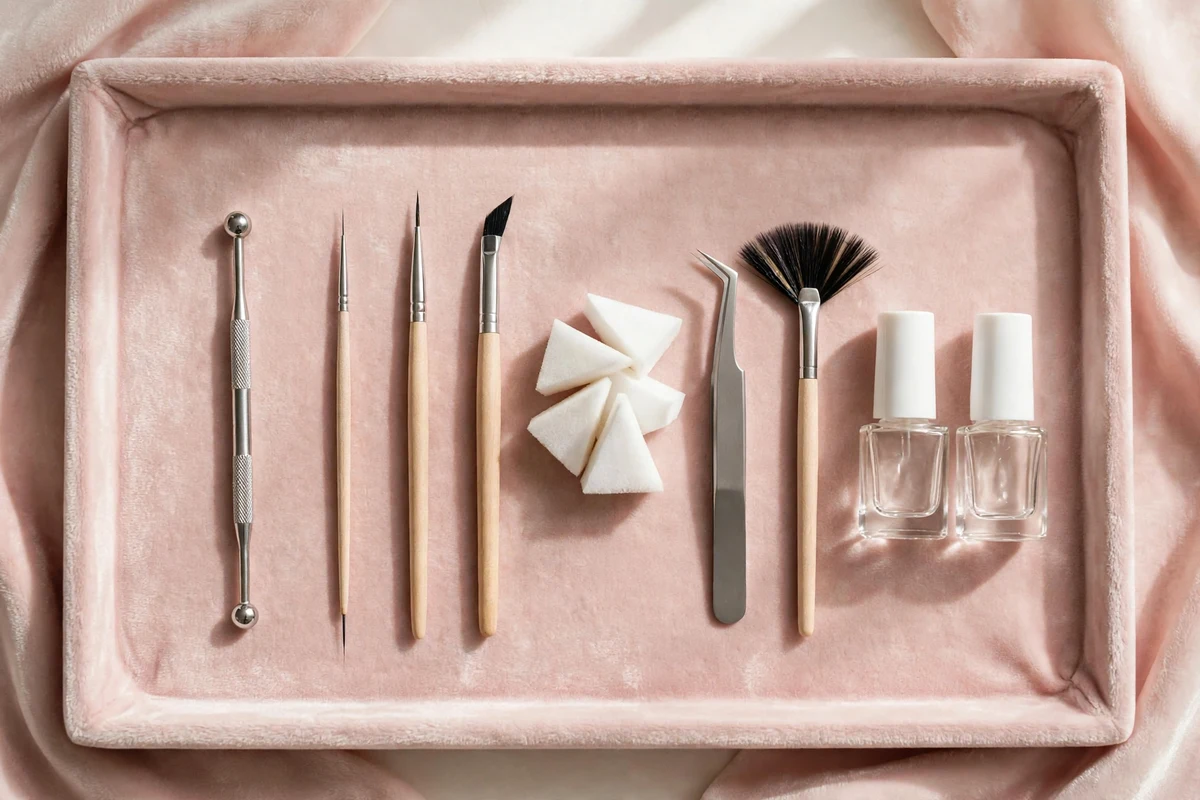
You do not need a 30-piece kit to start nail art. Seven well-chosen tools — a dotting tool, two brushes, a cleanup brush, a sponge, tweezers, and a fan brush — cover nearly every beginner design worth learning. This guide explains what each one actually does, what to look for when buying, what to skip, and how to keep your tools working well for years.
The Honest Rule: Buy for the Designs You’ll Do First
Buy tools for the designs you will attempt this month, not the designs you might try someday. Most beginners spend their first weeks on dots, simple lines, gradients, and a few glued-on accents — and a small kit handles all four. A stripped-back kit has a real advantage: fewer tools means each one gets used, cleaned, and mastered instead of drying out forgotten in a case.
If you already have household basics, start there. A bobby pin works like a dotting tool, a toothpick draws tiny dots, and tape or striping tape makes straight lines. But there is a point where improvising costs more time than it saves. If you are doing nail art more than once or twice a month, proper tools pay for themselves in frustration saved.
The 7 Tools in a Beginner Starter Kit
Each tool below does one job well. Together they handle dots, lines, fine details, gradients, glitter, and glued embellishments — which is the full range of beginner nail art. For each, this guide says what it is, what it’s for, what to buy, and the beginner trap to avoid.
1. Double-ended dotting tool
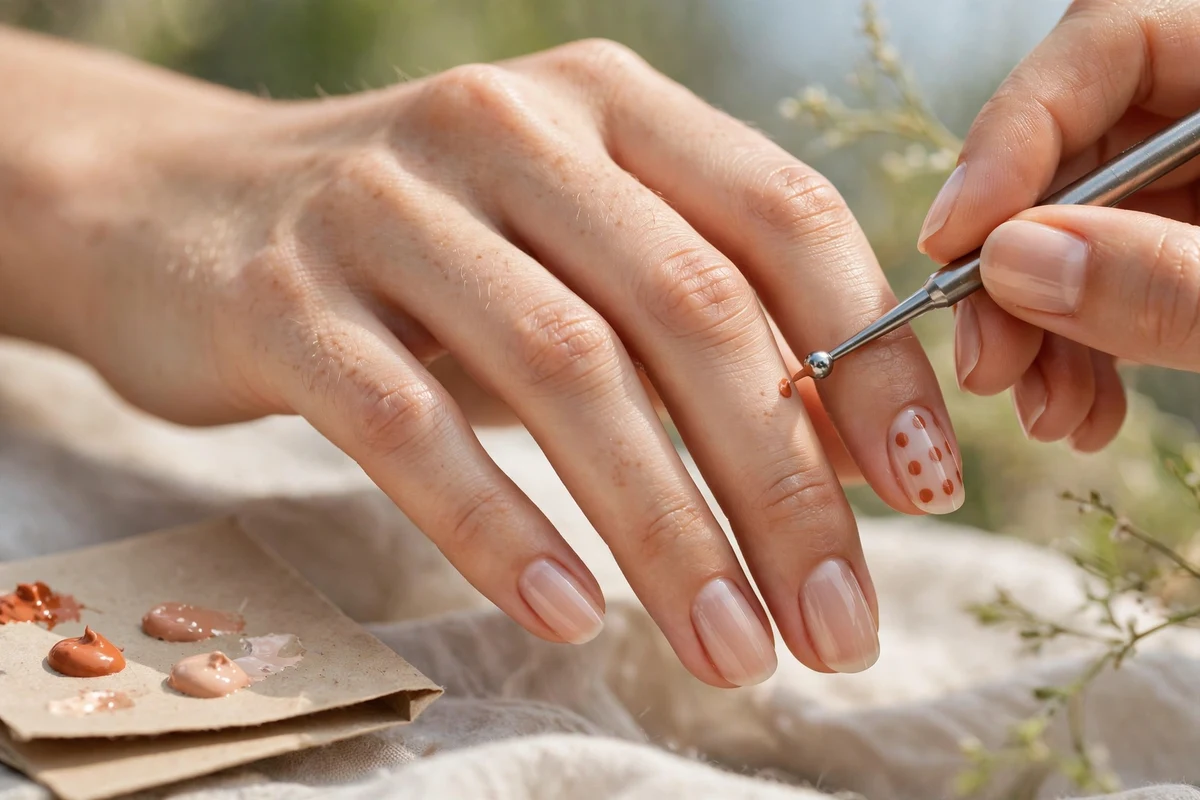
What it is: a short metal handle with a small ball tip on each end, usually in two different sizes. What it’s for: polka dots, flower petals, center dots, comet tails, and the starting point of almost every other design. This is the single most-used tool in a beginner kit — buy it first.
What to buy: an inexpensive double-ended metal tool with two clearly different ball sizes. One tool is enough; sets of five or more mostly duplicate the same dot diameters. Beginner trap: pressing hard. A dotting tool makes dots by touching the surface, not by stamping. Dip just the ball in polish, touch the nail lightly, and lift straight up. Heavy pressure flattens the dot and drags a tail behind it.
2. Striping brush (long liner)
What it is: a brush with very long, thin bristles — typically 1 to 2 cm of hair that tapers to a fine point. What it’s for: long continuous lines: French tips, geometric stripes, checkboard edges, and contour lines. The long bristles hold enough polish to draw a line across a whole nail in one stroke, which is why it beats a short brush for linework.
What to buy: synthetic bristles (they don’t splay in polish remover), with a handle long enough to hold like a pen. The bristles should come to a sharp point when you roll the tip in polish; if the tip splits at the store, pick another. Beginner trap: dragging too fast. Move the brush slowly and let the tip do the work — beginners who rush get wobbly lines, then blame the brush.
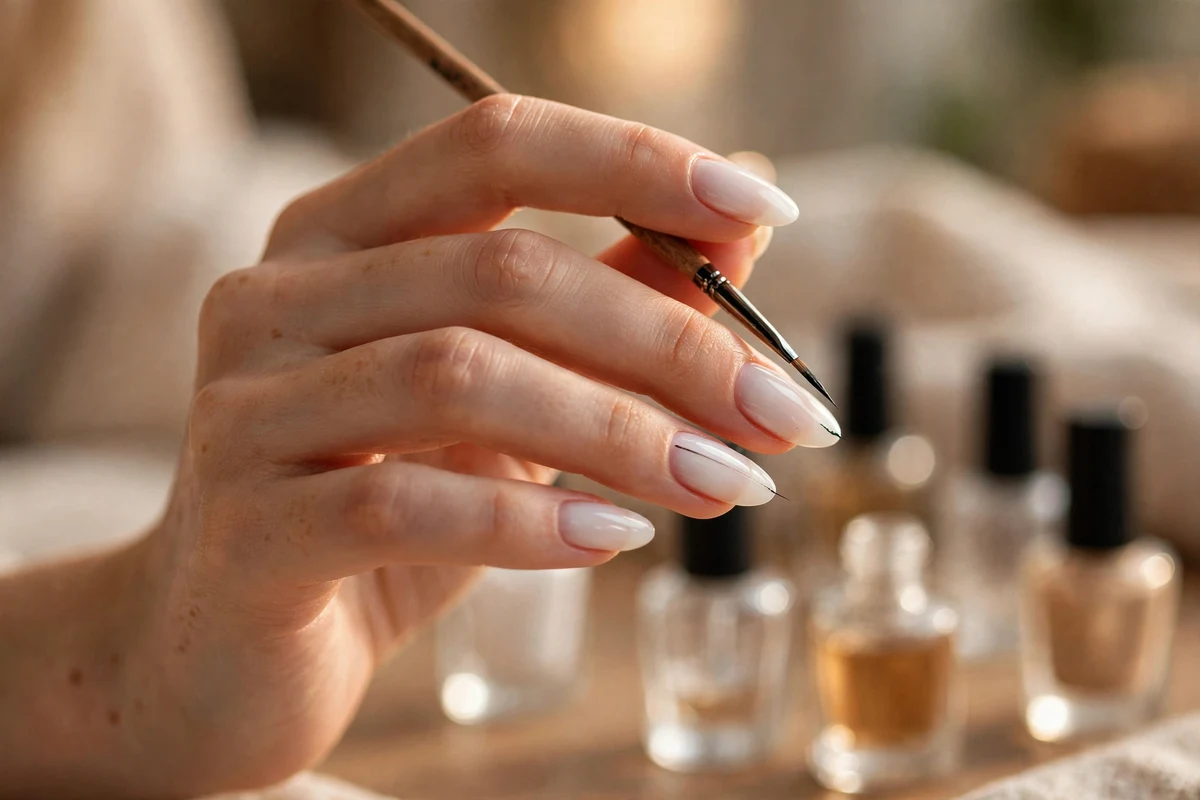
3. Detail brush (short liner)
What it is: a fine brush with short bristles and a sharp point — similar to a miniature watercolor brush. What it’s for: small controlled work: leaves, stars, tiny hearts, initials, and outlining shapes. Where the striping brush is for long lines, the detail brush is for short marks that need precision.
What to buy: one good detail brush rather than a set of five near-identical sizes. Test the tip: it should spring back to a point after you press it sideways against your thumbnail. Beginner trap: using it for everything. Long lines painted with a short detail brush come out broken and hesitant — that’s striping-brush work. Match the tool to the stroke.
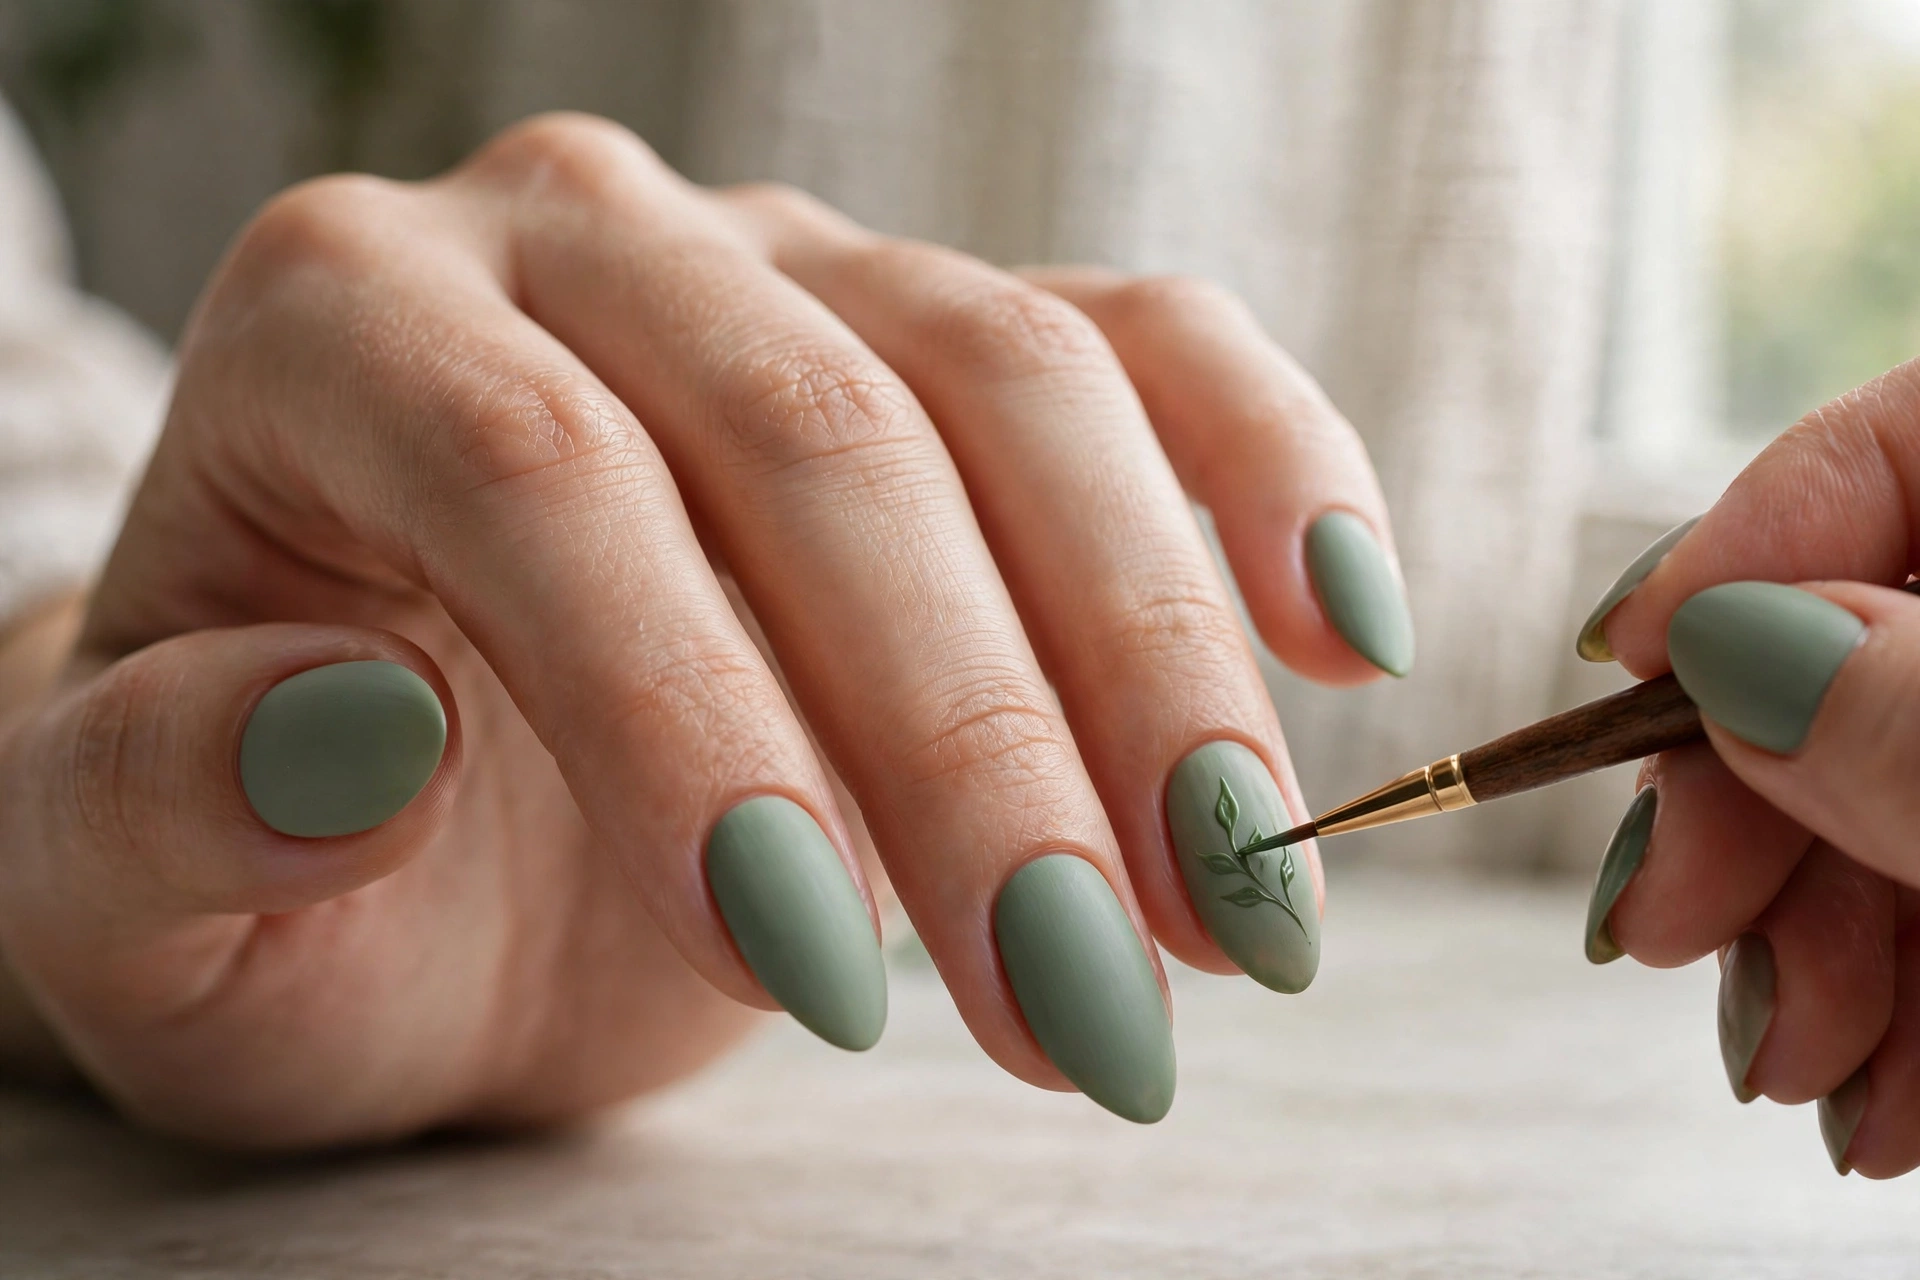 A detail brush handles small controlled marks like leaves, stars, and tiny hearts.
4. Angled cleanup brush
What it is: a flat brush with a slanted edge, wider than a detail brush. What it’s for: cleaning polish off the skin around your cuticles without disturbing the color on the nail. Dip it in remover, trace around the nail edge, and your manicure looks instantly neater — professional-looking edges come from cleanup, not perfect application.
What to buy: a small angled brush with firm synthetic bristles that keep their edge. You can repurpose an old eyeliner brush from your makeup bag, washed thoroughly, and skip buying one entirely. Beginner trap: cleaning up too late. Once polish has fully dried on the skin it resists; clean each nail within a minute of painting it.
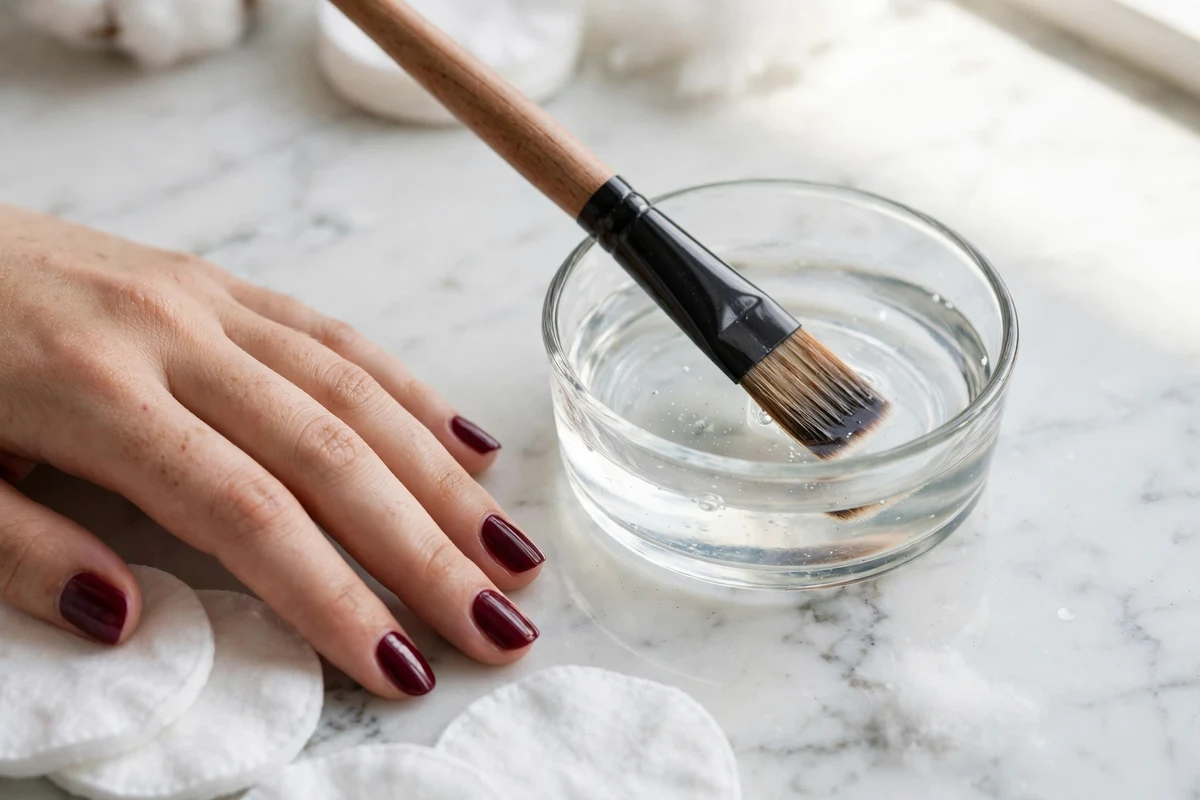
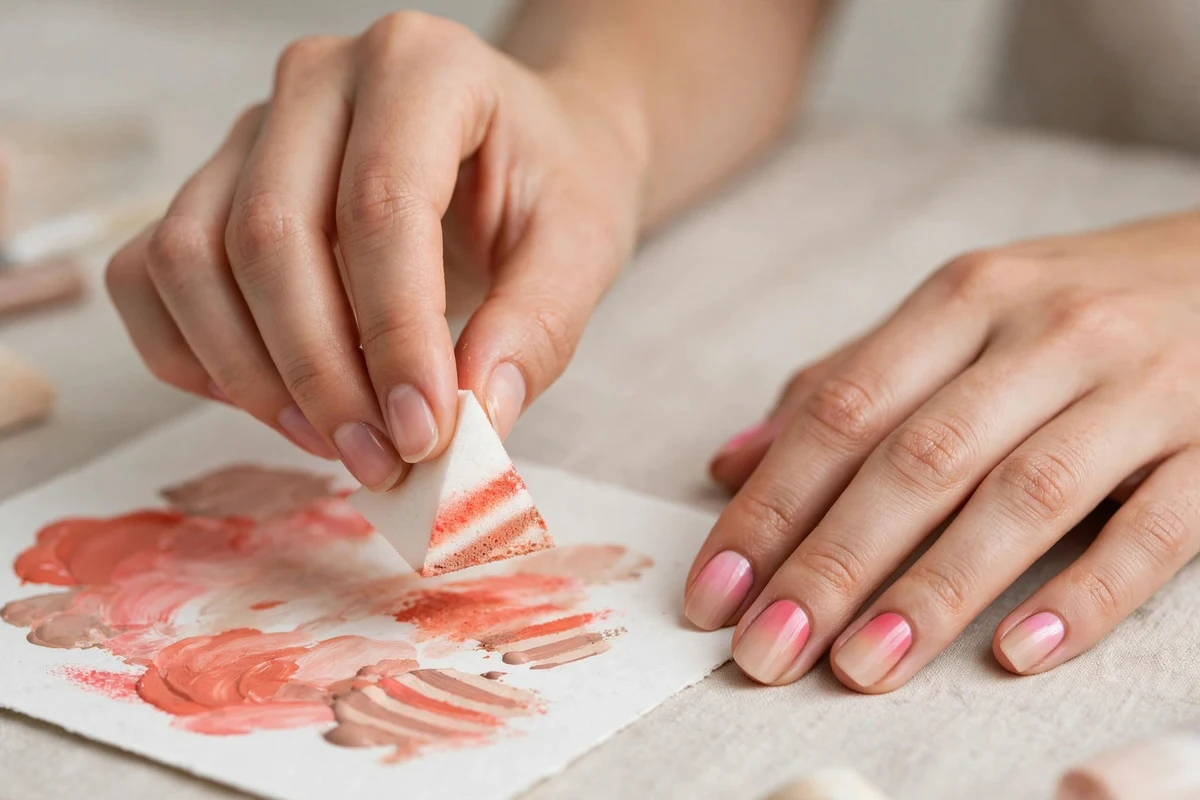
5. Cosmetic sponge wedges
What they are: small white foam wedges from the makeup aisle, with a fine even texture. What they’re for: gradient and ombre nails. You paint stripes of polish across the sponge and dab it onto the nail; the foam blends the colors into a soft transition no brush can imitate.
What to buy: a bag of disposable makeup wedges — the cheapest option in this entire kit. Cut them smaller for a single nail. Beginner trap: using a coarse sponge. Kitchen sponges and cheap foam with big holes print a dotted texture instead of a blend. The makeup-aisle wedges with fine, even pores are what you want. For nail prep basics before you start painting, see our nail care routine guide.
6. Slant tweezers
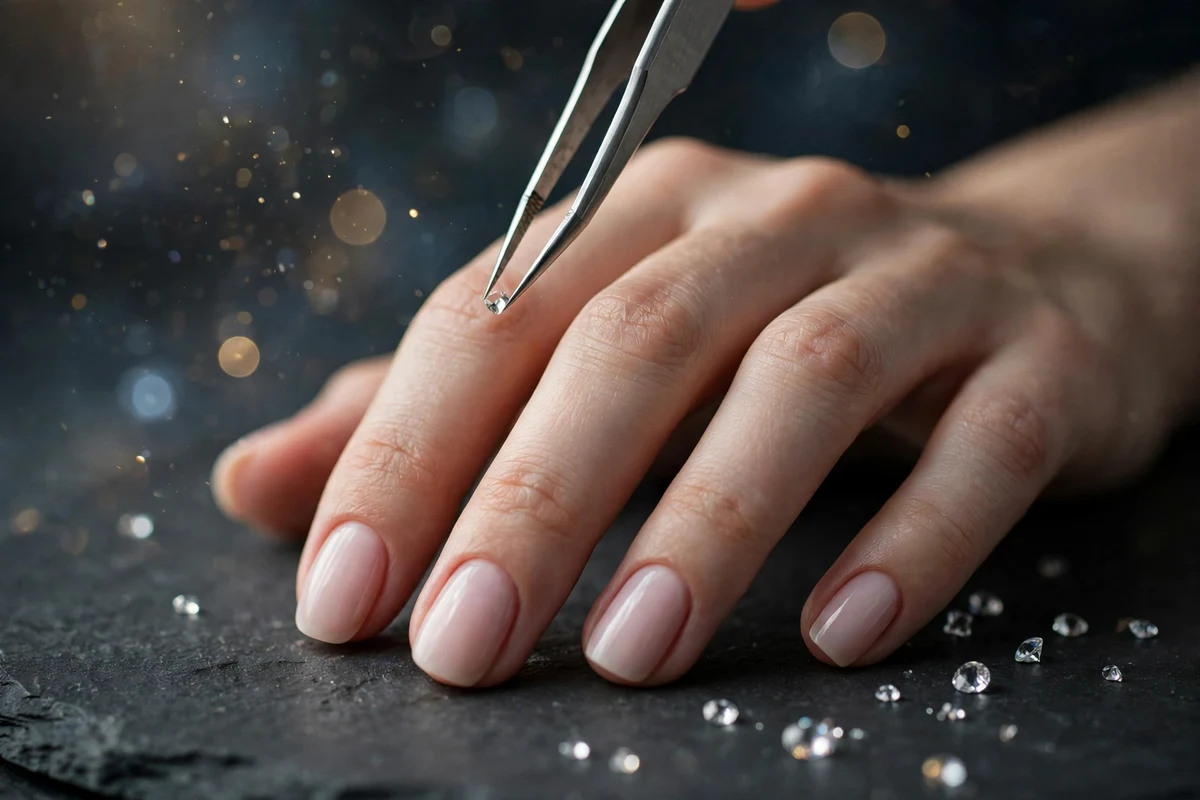
What they are: tweezers with a slanted gripping tip, the same kind used for eyebrows. What they’re for: placing rhinestones, pearls, studs, and stickers exactly where you want them. Fingers are too clumsy for objects this small; tweezers give you the control to set a gem without it skating across wet top coat.
What to buy: metal tweezers with tips that meet cleanly — test by picking up a grain of rice. Plastic or magnetic-tipped “nail art” tweezers exist, but a good metal pair does the job and never needs replacing. Beginner trap: placing gems on dry polish. Set embellishments while the top coat is still tacky, then press gently — they bond as it cures.
7. Fan brush
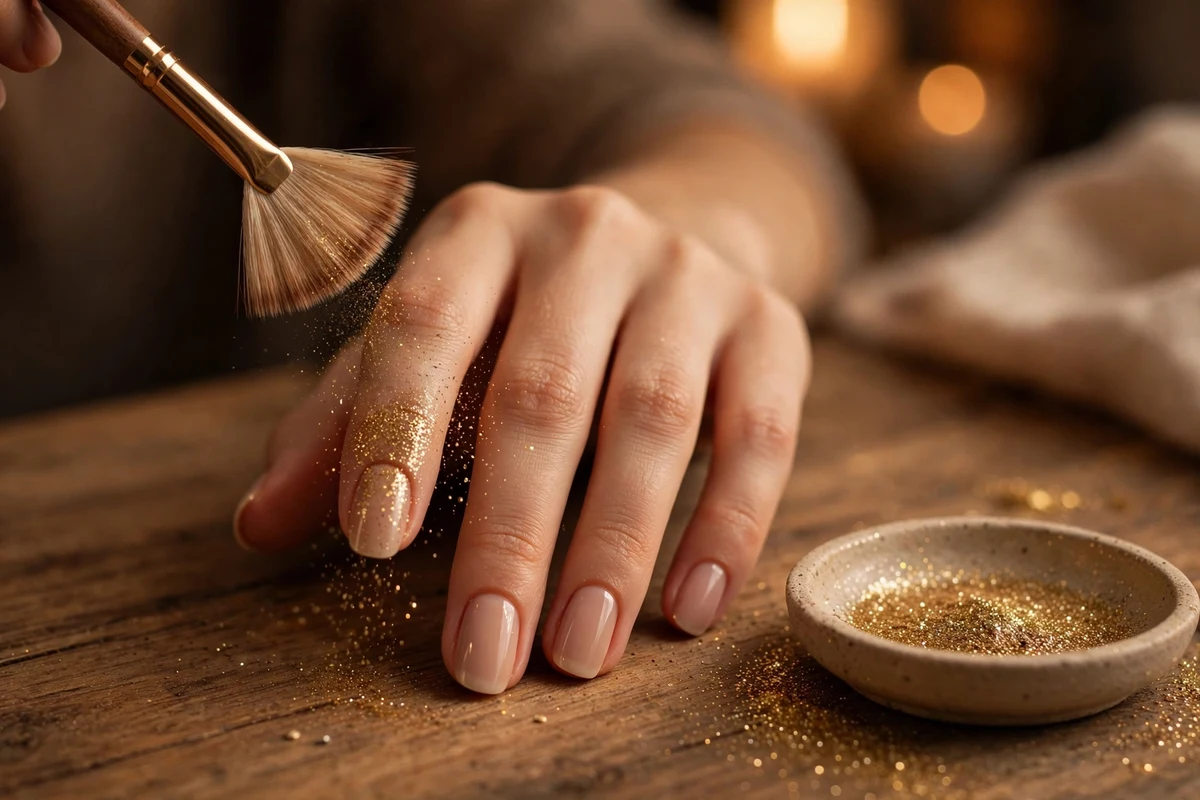
What it is: a brush whose bristles spread into a wide thin fan. What it’s for: dusting glitter or powder over the nail, brushing away stray particles, and painting soft streak effects like woodgrain or watercolor washes. It’s the finishing-touch brush of the kit.
What to buy: one small fan brush with even, flexible bristles. This is the most optional tool on the list — if glitter isn’t your thing, skip it and add it later. Beginner trap: pressing down. A fan brush works with the lightest flick of the tips; pressing collapses the fan and dumps a clump of glitter where a dusting should be.
Tools You Don’t Need Yet
This is the anti-shopping-list. Every tool below has a real purpose, but none of them earn a place in a beginner’s kit — they cost real money, need practice of their own, and gather dust while you learn the basics.
- Electric nail file (e-file). A powerful rotary tool that thins, shapes, and removes product fast — and removes natural nail just as fast. Beginners who buy one early risk thinning their nail plate into painful sensitivity before they learn control. A hand file is slower, cheaper, and far more forgiving.
- Airbrush machine. Produces beautiful fades, but it needs compressor maintenance, special thinned polishes, ventilation, and masking skills. Sponge gradients give you 80 percent of the effect for almost nothing.
- Stamping kit with dozens of plates. Stamping itself is beginner-friendly, but the oversized bundles — stamper, scraper, twenty plates — usually mean nineteen plates you never touch. If stamping appeals to you, buy one stamper and one plate with designs you genuinely like.
- UV/LED lamp (for regular polish). Lamps only cure gel products; they do nothing for regular nail polish, which dries by evaporation. If you’re starting with regular polish, a lamp is dead weight. It becomes relevant only if you move to gel — see our guide to doing gel nails at home before buying.
- Marbling water kits and watercolor kits. Water marbling needs room-temperature distilled water, patience, and ventilation — and fails more often than tutorials suggest. Beginners get more reliable art from dotting and striping.
- Huge multipack brush sets. Twenty brushes in one case sounds like value until you realize fourteen of them are duplicates. Two good brushes you use beat twenty you don’t.
Revisit this list in a few months, once your dotting tool and brushes feel like extensions of your hand. Your next purchase should solve a specific problem — “I want crisp geometric designs” points at a stamping plate; “my glitter fades bleed” points at better glitter — not fill a gap in a collection.
Cleaning and Storing Your Tools
Nail art tools last for years when they’re cleaned after every session and stored properly. The brushes are the most fragile part of the kit, so most of this section is about them.
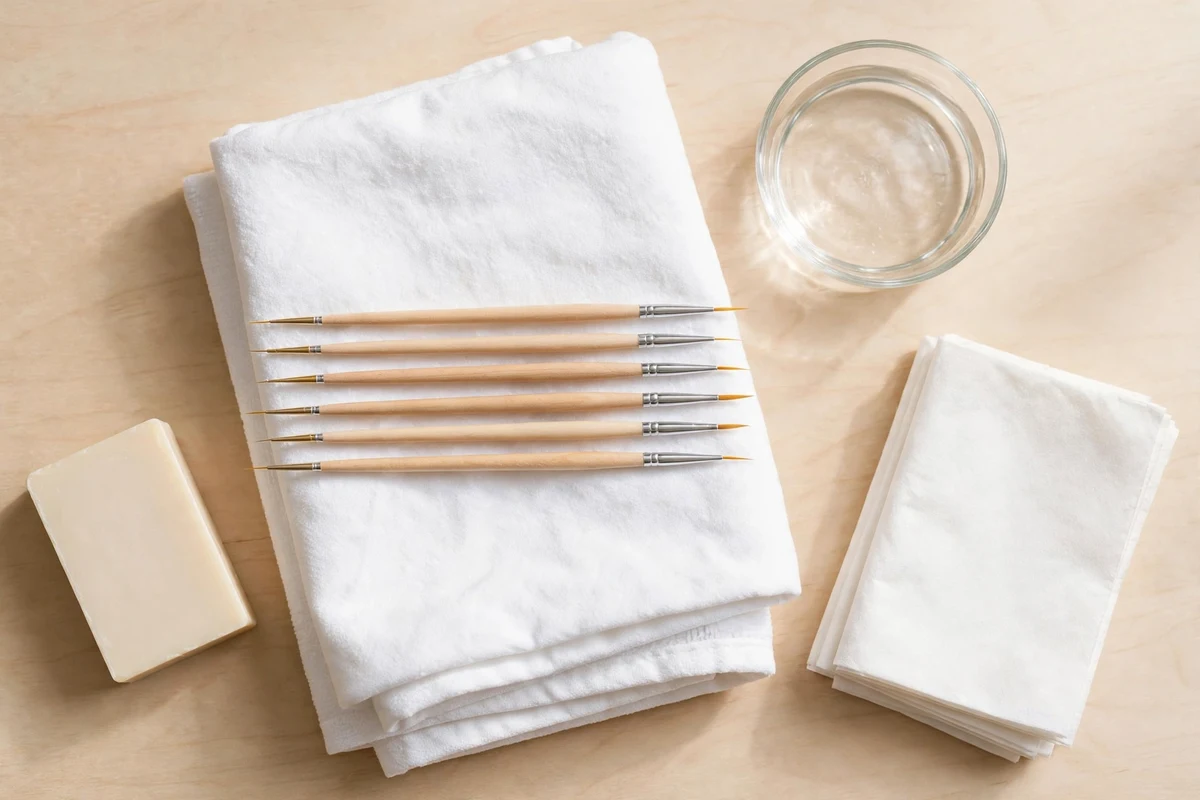
Brushes: wipe the bristles on a lint-free wipe dampened with polish remover right after use, rolling the brush gently rather than scrubbing. Never leave a brush standing bristle-down in a jar of remover — the solvent creeps up into the ferrule, loosens the glue, and the bristles fall out. Once a month, wash them with warm water and a mild soap to dissolve dried polish, reshape the tip with your fingers, and lay them flat to dry. Letting polish dry in the bristles is what ruins most beginner brushes; ten seconds of wiping after each use prevents it.
Dotting tools and tweezers: wipe with remover after use and they’re done. They’re metal — nothing dries into them that remover won’t lift. Check tweezers tips occasionally; if they stop meeting cleanly, a bent tip is usually the cause, and replacing them is cheap.
Sponges: treat them as disposable. Rinse what you can, but once a wedge is stained through, throw it away — reusing a saturated sponge prints old colors into new gradients.
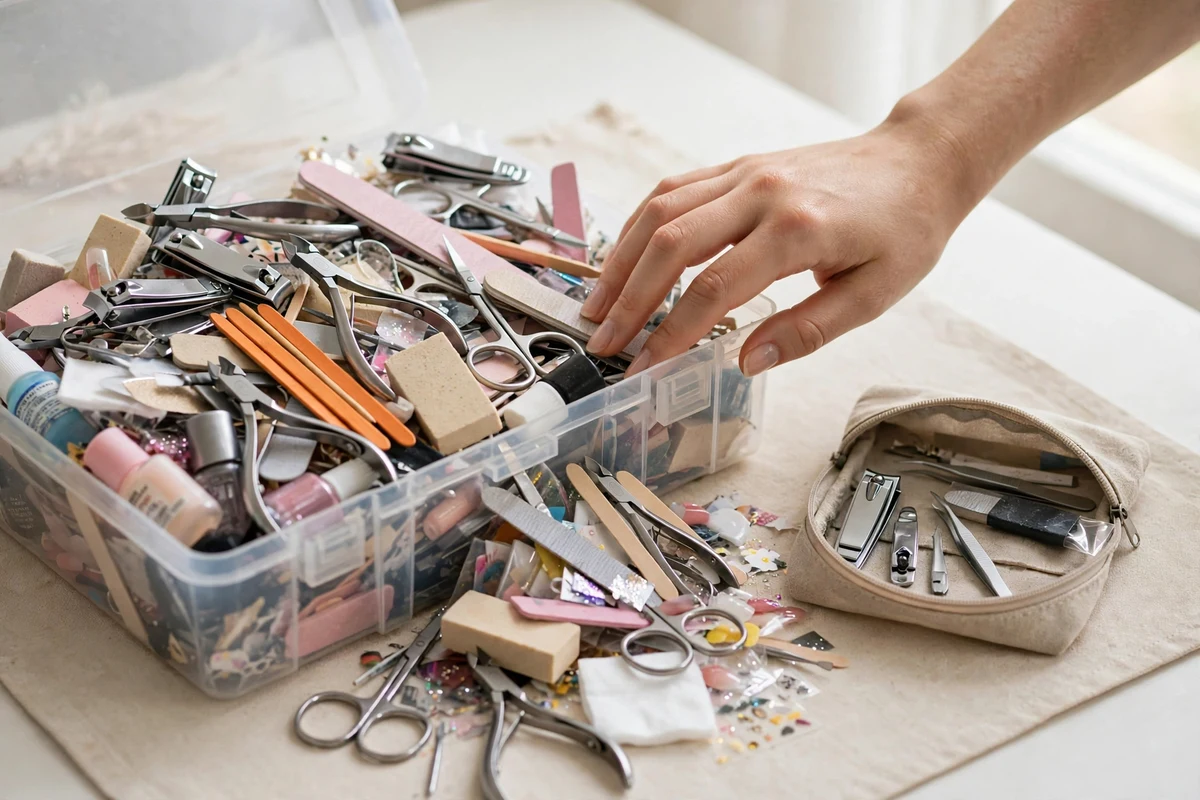
Storage: keep brushes flat or in a roll with the tips pointing in one direction, never loose in a drawer where tips bend and split. A simple pencil case or brush roll works perfectly. Keep everything out of direct sunlight and away from heat, which thickens polish and dries out brush tips.
Your First-Kit Checklist
Use this table as your shopping list. It describes what to look for in generic terms — there are no brand endorsements here because good beginner tools are commodity items, and any decent set matching these descriptions will do.
| Tool | What to look for | Priority |
|---|---|---|
| Double-ended dotting tool | Metal, two clearly different ball sizes | Buy first |
| Striping brush | Long thin synthetic bristles that come to a sharp point | Essential |
| Detail brush | Short fine bristles that spring back to a point | Essential |
| Angled cleanup brush | Firm flat angled edge; or repurpose an old eyeliner brush | Essential |
| Cosmetic sponge wedges | Fine even pores, from the makeup aisle; disposable | Essential |
| Slant tweezers | Metal, tips meet cleanly | Essential |
| Fan brush | Small, even flexible bristles | Optional — add later if you like glitter |
Plus the non-tool supplies every nail art session needs: a base coat, two or three polish colors you actually like (a light, a dark, and one accent covers most designs), a top coat, polish remover, and cotton pads or lint-free wipes. Most beginners do their prettiest early work in a limited palette — our minimalist nail designs show how much two colors and a dotting tool can do.
Frequently Asked Questions
Can I start nail art without buying any tools?
Yes — and you should try it first. A bobby pin substitutes for a dotting tool, a toothpick handles tiny dots, tape or striping tape makes clean lines, and a makeup sponge wedge does gradients. Improvised tools teach you the motions; buying real tools becomes worthwhile once you’re doing nail art regularly and the substitutes start slowing you down.
What is the difference between a striping brush and a detail brush?
A striping brush has long thin bristles for drawing continuous lines — French tips, stripes, geometric edges — in one slow stroke. A detail brush has short bristles for small precise marks like leaves, stars, and tiny shapes. They look similar but do different jobs; beginners who own both stop trying to force one brush to do the other’s work.
How do I clean nail art brushes so they last?
Wipe bristles on a lint-free wipe with polish remover immediately after use, rolling the brush gently. Once a month, wash with warm water and mild soap, reshape the tip, and dry flat. Never leave brushes standing bristle-down in remover — solvent loosens the glue in the ferrule and the bristles fall out. Cleaned this way, brushes last for years.
Do I need a UV or LED lamp for nail art?
Not for regular nail polish — lamps only cure gel products, and regular polish dries by evaporation. A lamp is an expensive paperweight until you switch to gel polish. If you’re considering gel, read a proper guide on gel nails at home before buying, because gel brings its own kit, timing, and safety rules.
How long do beginner nail art tools last?
Metal tools — dotting tools and tweezers — last indefinitely; there’s nothing to wear out. Brushes last years if you wipe them clean after every use and never store them bristle-down in solvent. Sponges are the one consumable: expect a few sessions per wedge before it saturates with color and needs replacing.
Can I use regular makeup brushes for nail art?
Some, with limits. An old angled eyeliner brush makes a fine cleanup brush, and a fan brush from the makeup aisle dusts glitter perfectly. But makeup brushes aren’t designed for polish solvents — nail polish remover breaks down their glue and bristles faster than cosmetic products do. Dedicated nail art brushes cost little and survive the chemicals.
What should I practice first with a dotting tool?
Simple polka dots on one accent nail, then five-petal flowers (five dots in a ring around a center dot). These two patterns teach the core skill — consistent pressure and straight lift-off — and they underlie most beginner designs. Practice on paper or a nail wheel first; you’ll save yourself several remover-soaked manicures.