20 Dip Powder Nail Designs, From Sheer Overlays to Encapsulated Gold
Dip powder nails are a manicure system where a pigmented powder is layered onto the nail with a resin base and sealed with an activator — no UV lamp, no sculpting with liquid monomer. The result sits between gel polish and acrylic: harder and longer-wearing than gel, lighter and less odorous than acrylic, typically lasting two to four weeks. Below are 20 dip powder nail designs and colors, organized by the reason you’d choose dip in the first place — plus an honest dip vs gel vs acrylic comparison and real removal advice.
Dip Powder vs Gel vs Acrylic: An Honest Comparison
Dip powder, gel polish, and acrylic are often presented as interchangeable options. They are not — each suits a different goal. This is the short version: dip wins on wear time without a lamp, gel wins on a thin natural feel, acrylic wins on added length and sculpting.
| System | How it works | UV lamp needed | Typical wear | Feel | Removal | Best for |
|---|---|---|---|---|---|---|
| Dip powder | Pigmented powder dipped or sprinkled over a resin base, sealed with activator | No — air-dries | 2–4 weeks | Firm, slightly thicker than gel | File the seal, then soak in acetone | Durable color on natural nails without lamp curing |
| Gel polish | Brush-on polish cured under UV/LED light | Yes | 2–3 weeks | Thin, flexible, natural | File the seal, then soak in acetone | A natural feel and the glossiest finish |
| Acrylic | Powder and liquid monomer sculpted onto the nail or a tip | No — air-dries | 3+ weeks with fills | Rigid, substantial | Soak in acetone (longer) | Added length, dramatic shapes, repairs |
One caveat the comparison tables usually skip: removal is where damage actually happens. Dip, gel, and acrylic all come off with acetone, and all three can thin the nail plate if they are pried or peeled off. The system matters less than the removal technique.
What Dip Powder Nails Cost, Salon vs At Home
Budget is part of choosing a design, so here are honest numbers. A salon dip powder manicure typically costs between $45 and $75 before tip, depending on your city, with solid colours at the low end. Art costs extra: expect $10 to $25 more for encapsulation, cat-eye, tortoiseshell, or hand-finished French work, because those looks add real chair time. Removal is usually $10 to $15 on its own, and many salons waive it when you book a fresh set the same visit — always ask before you sit down, not after.
A home dip kit flips the maths. A decent starter kit with liquids and a few colours runs $35 to $60 once, individual powders cost roughly $8 to $15 each, and the liquids last for months of sets. After the kit, each manicure costs only a few dollars in materials. The catch is time, not money: a careful home set takes 60 to 90 minutes while you learn, against 45 minutes in a salon chair. On cost per week of wear, though, both routes beat salon gel polish, simply because a dip set that lasts three weeks needs no mid-cycle rescue appointments.
Which Designs Actually Suit Dip Powder (and Which Don’t)
Dip powder’s strengths shape which designs work: its opacity means saturated color in two dips, its layering means glitter and foil can be encapsulated under a smooth surface, and the sprinkle-and-tap method makes ombre gradients easier than with gel. Fine hand-painted line art is the honest weak spot — a gel brush gives a tech more control for micro-detail — so the detailed looks below lean on what powder does well. If a salon double-dips fingers into a shared powder jar, ask for the pour-over method instead: dipping can transfer bacteria between clients, and reputable techs pour powder over the nail rather than plunging it in.
Dip Powder at Home: The Basic Application, Step by Step
Most of the designs in this guide start with the same foundation. Learn this sequence once and the sheer overlays, solid colours, and glitter fades below are all within reach. Work one nail at a time throughout — dip base liquid starts drying the moment it leaves the bottle.
- Prep properly. Remove old polish, push cuticles back gently, shape the free edge, and lightly buff the shine off the nail plate. Wash, dry thoroughly, and use a dehydrator or a swipe of rubbing alcohol. Skip hand cream until the set is finished; oils are the main cause of lifting.
- Build a clear base. Paint a thin layer of base liquid over three-quarters of the nail, dip into clear building powder at a 45-degree angle, and brush off the excess firmly. Repeat once. This clear foundation is what gives dip its strength.
- Add colour in thin rounds. Base liquid, dip into your colour, brush off well. Two or three thin rounds beat one thick one — thick layers are what turn lumpy. Keep the liquid a hairline away from the cuticle and skin.
- Cap any art. If you added glitter, foil, or speckle, finish with one dip of clear powder over the top so filing never touches the design.
- Activate and shape. Flood each nail with activator and wait two full minutes. Now file the edges, refine the shape, and buff the surface smooth. Wash off the dust, then apply a second coat of activator.
- Top coat, twice. Two thin coats of dip top coat for glass shine (or a dip-compatible matte top coat), letting the first dry before the second. Do not rush this step — it is where the finish is won or lost.
Your first set will not be your best set. Budget a slow evening, expect the non-dominant hand to look slightly worse, and know that thin layers plus thorough brush-offs fix almost every beginner problem before it starts.
When Your Natural Nails Need Backup
The most common reason people switch to dip is breakage: the powder layers act like a thin protective shell, so weak nails can grow underneath instead of snapping. These four keep that job front and center.
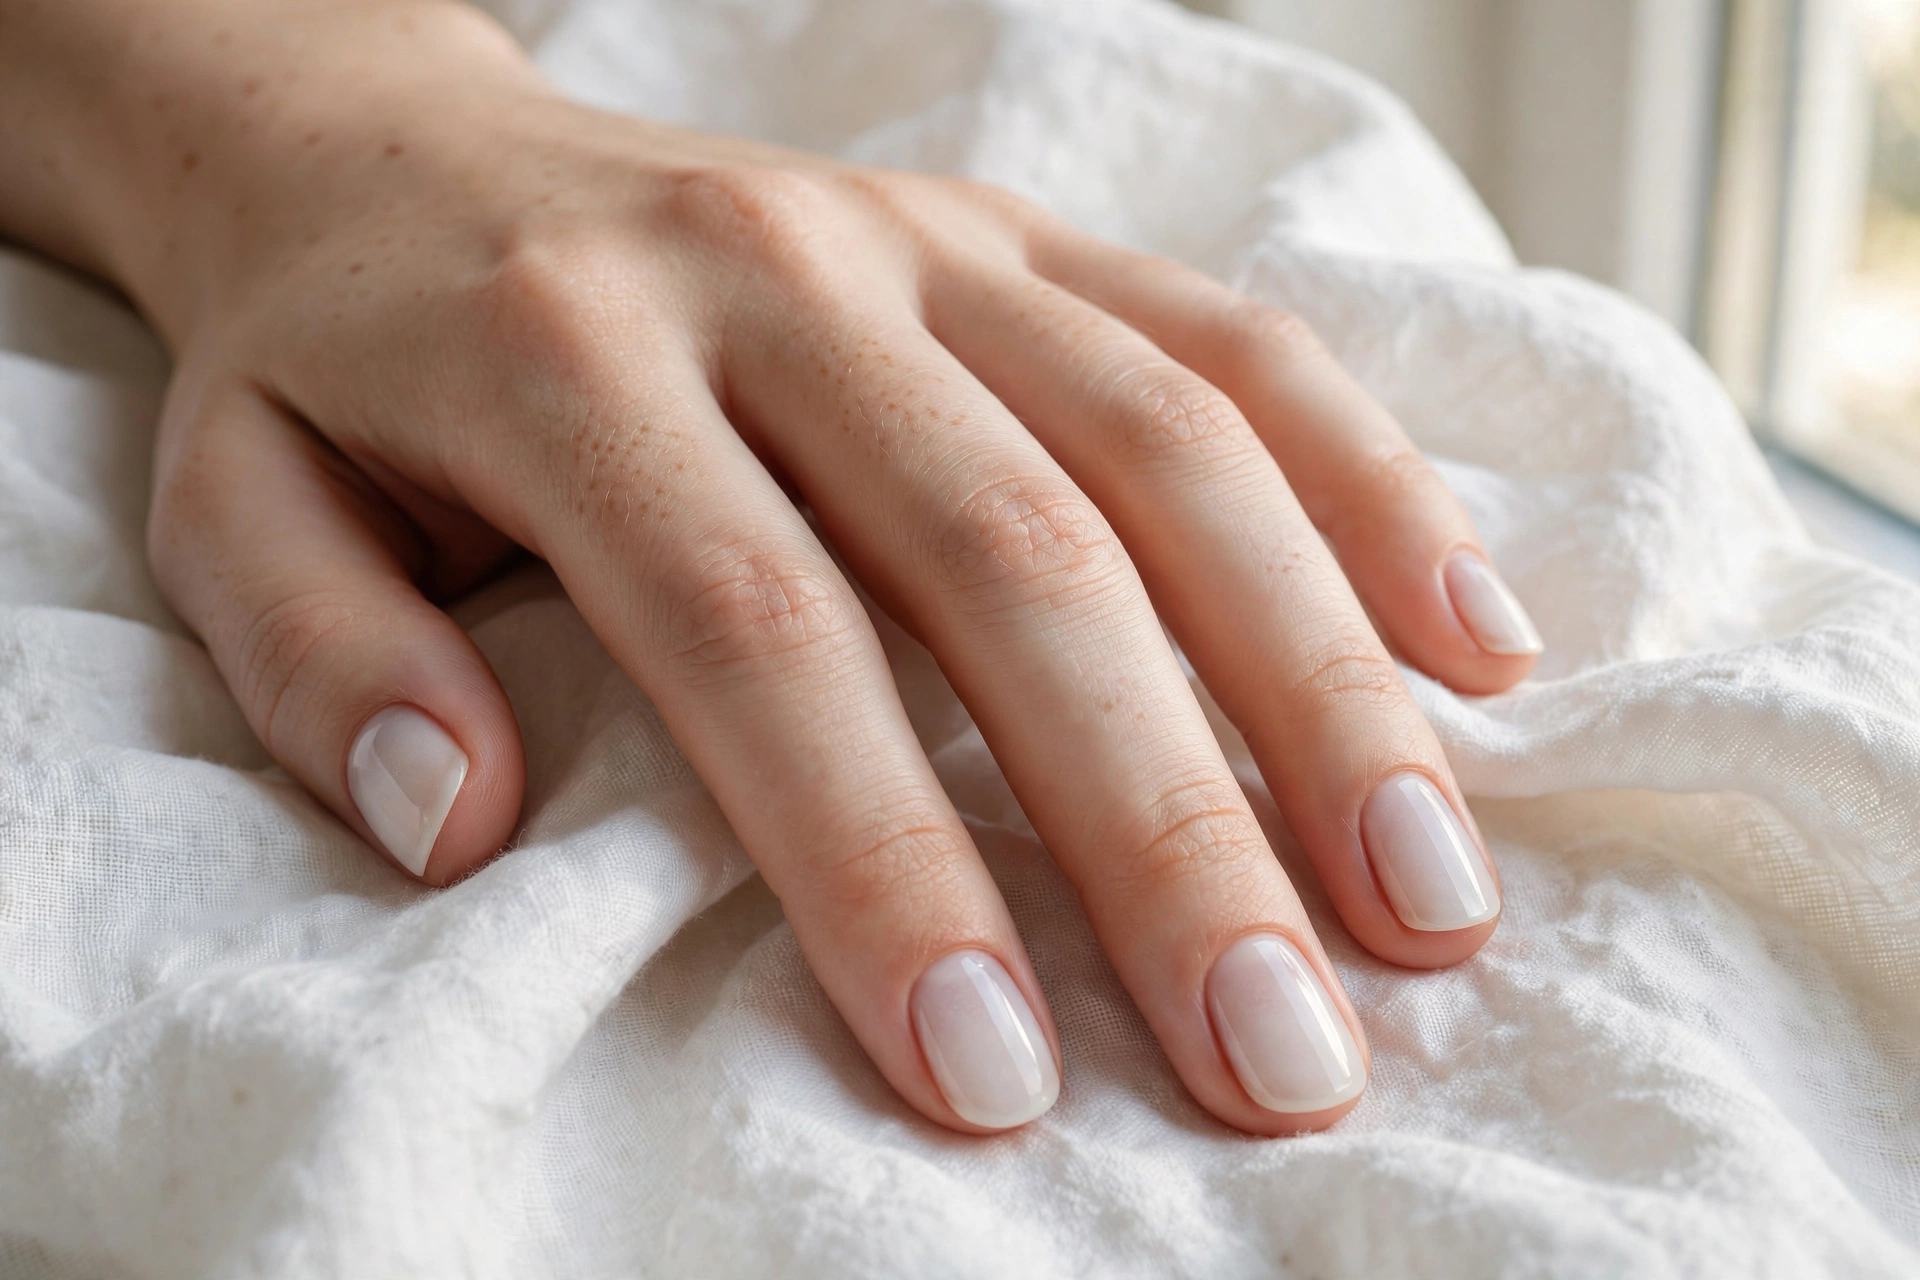
1. Milky Sheer Overlay
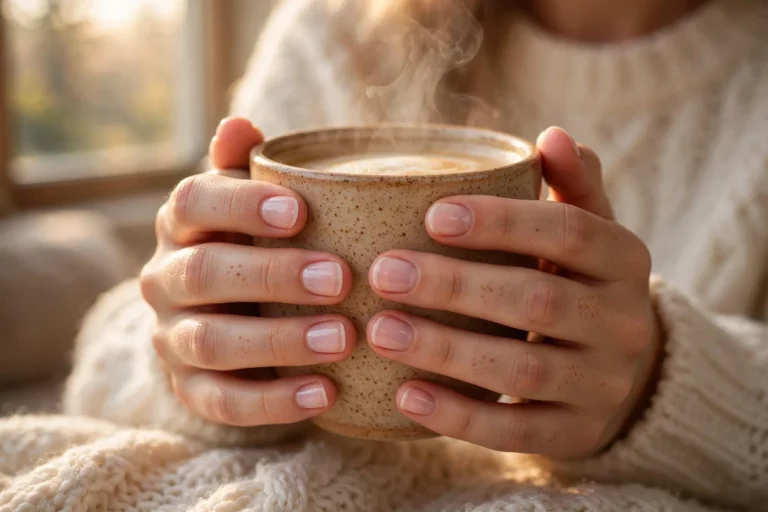
A translucent milky-white dip layered over your natural nails — no color powder, just clear-ish reinforcement with a soft tint. It is the closest dip gets to invisible armor, and nails visibly grow out underneath.
Keep nails short to medium while they strengthen; the overlay prevents the peeling that sabotages growth. Regrowth is nearly invisible, so this easily goes three weeks. Difficulty: easy — one of the simplest dip services to ask for.
2. Ballet Slipper Nude Almond
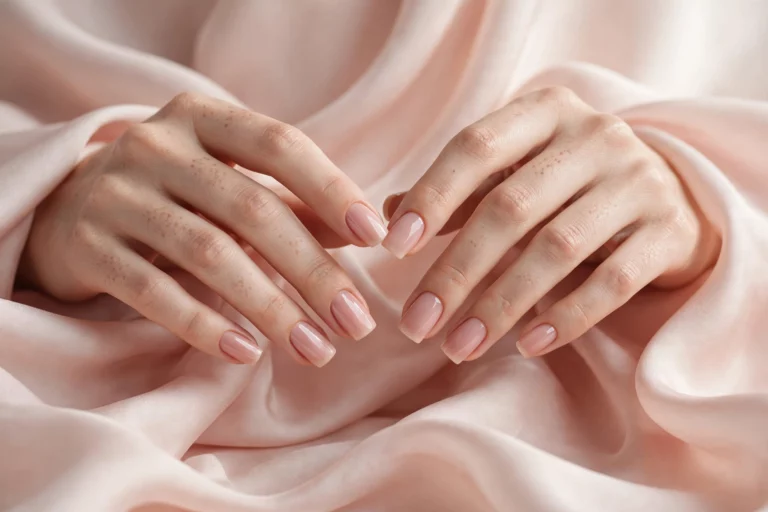
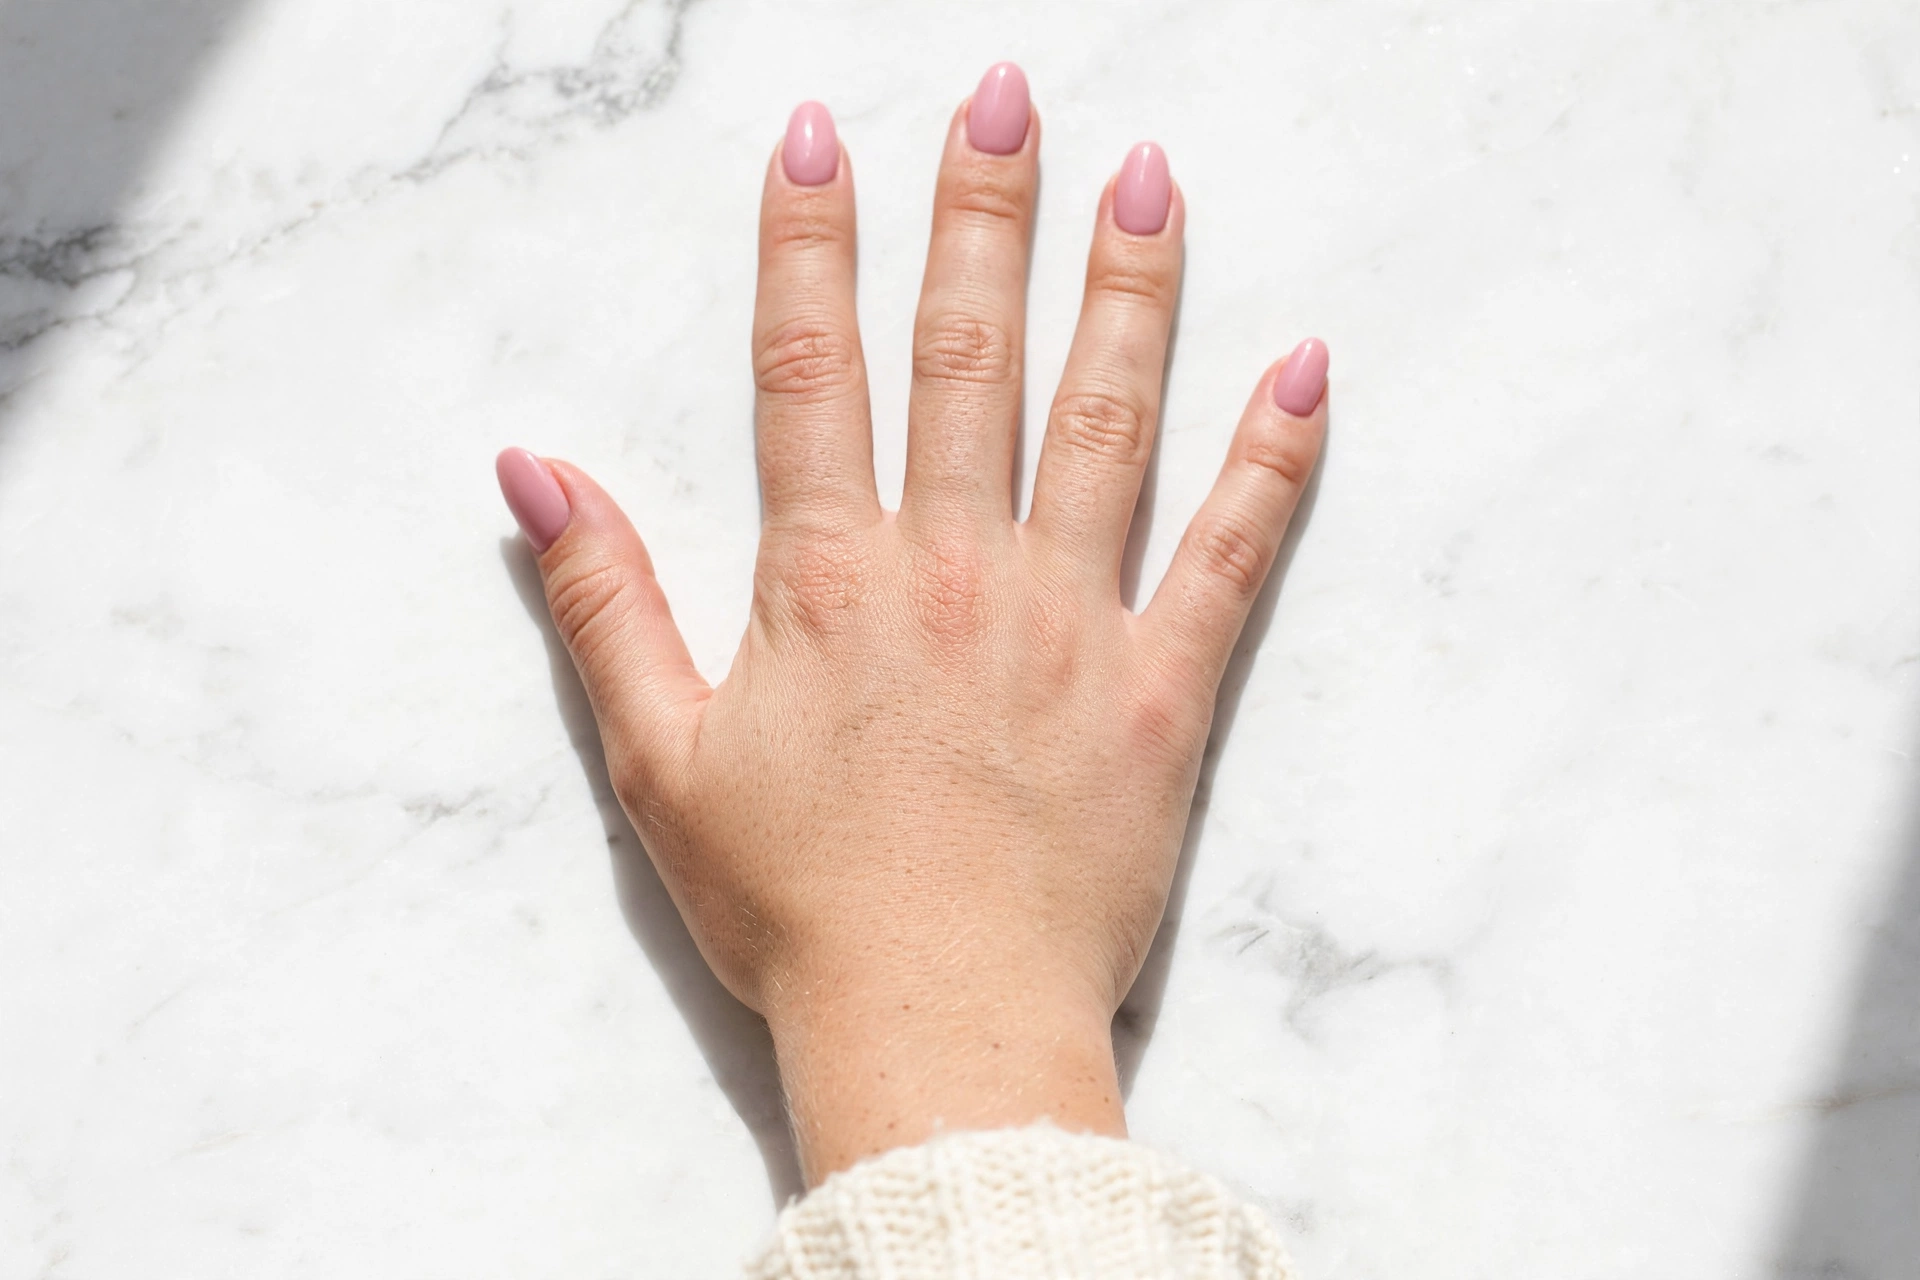
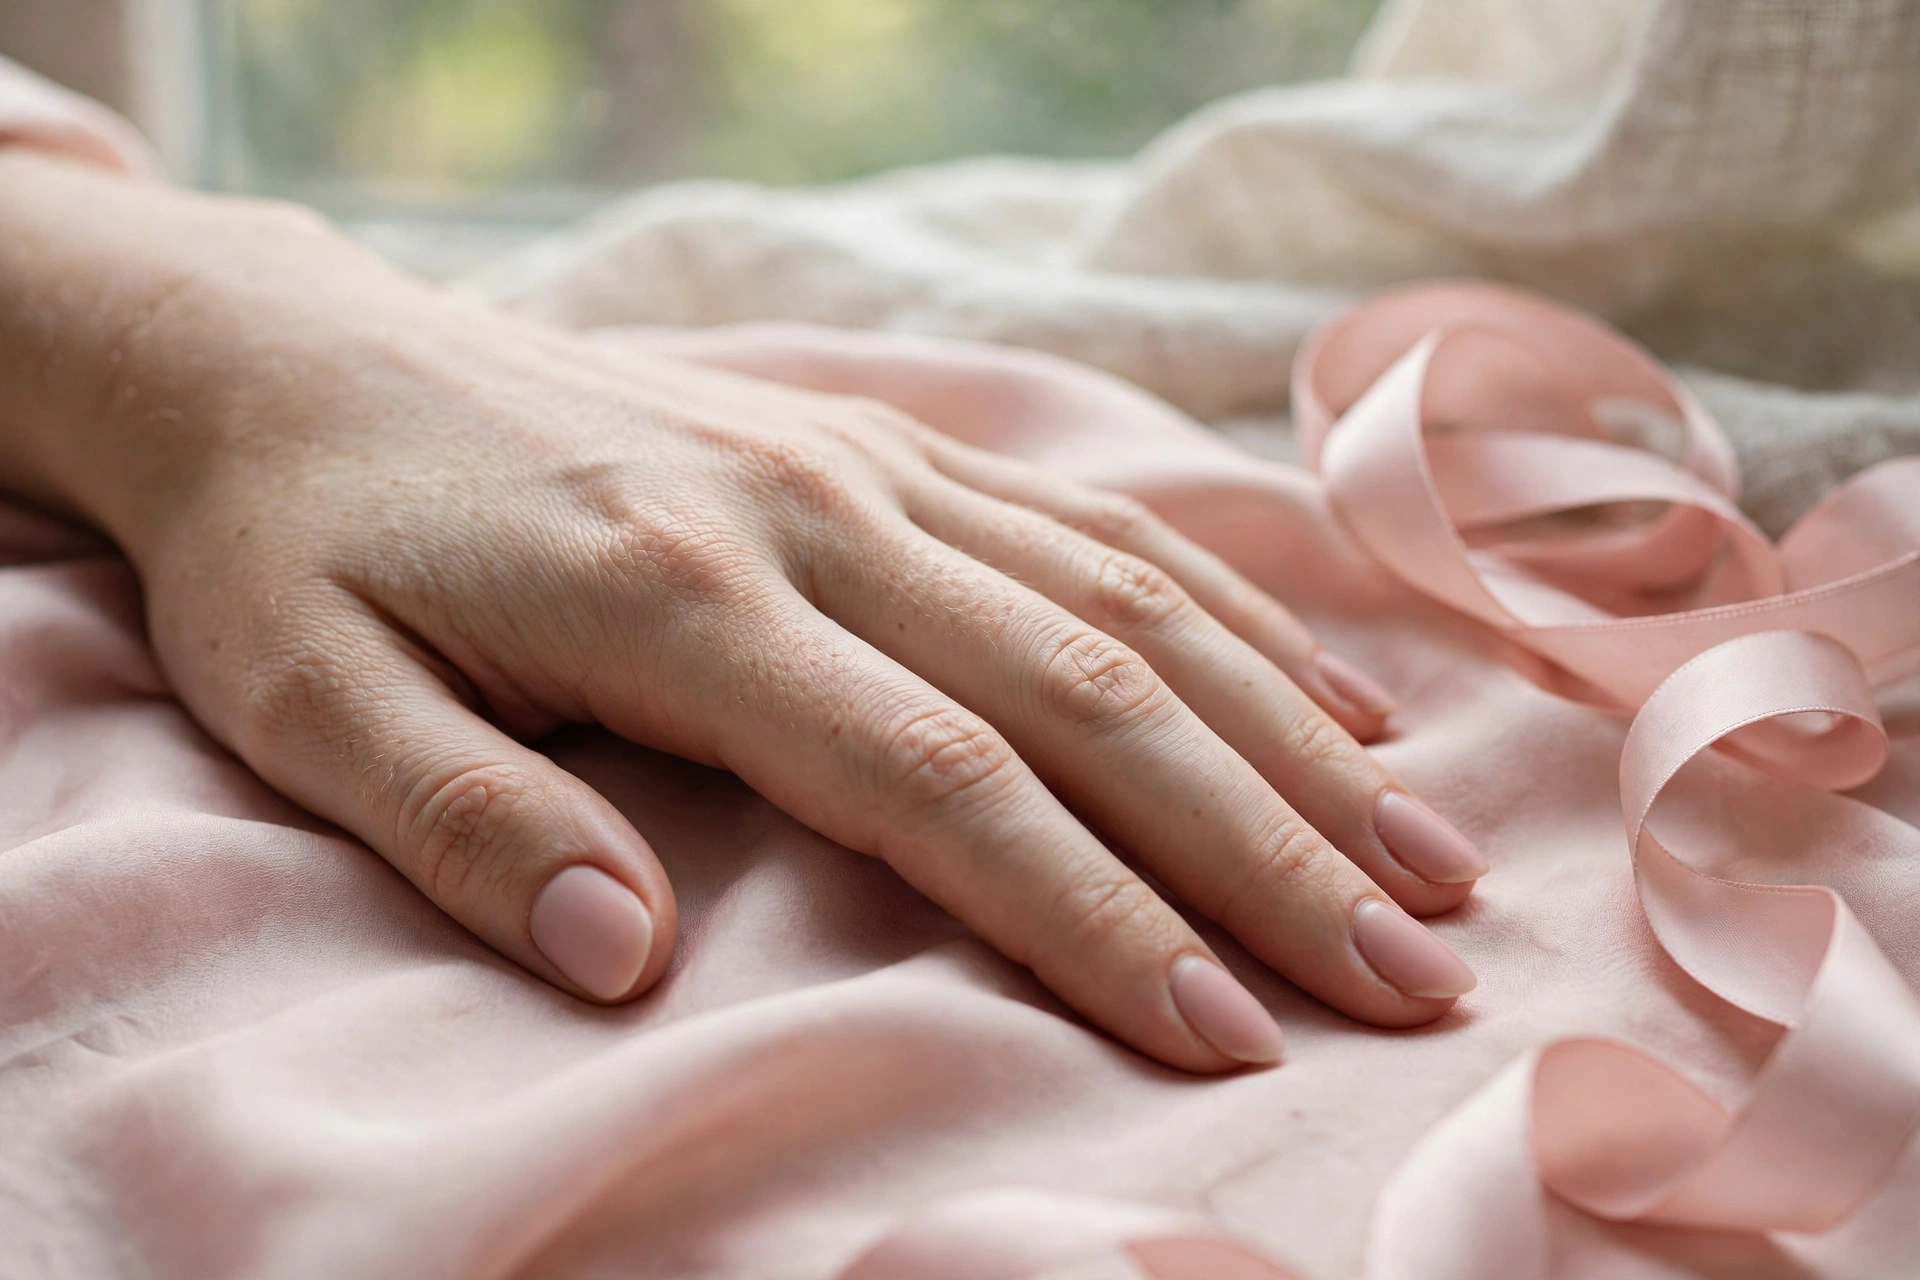
A soft pink-nude dip on a short almond shape — the manicure equivalent of a good neutral lipstick. Dip’s opacity keeps the nude from going streaky, which is where sheer polishes usually fail.
Short almond suits nail-biters and typists growing their nails out. The light color hides minor tip wear better than dark shades. Expect a full three to four weeks of clean wear. Difficulty: easy.
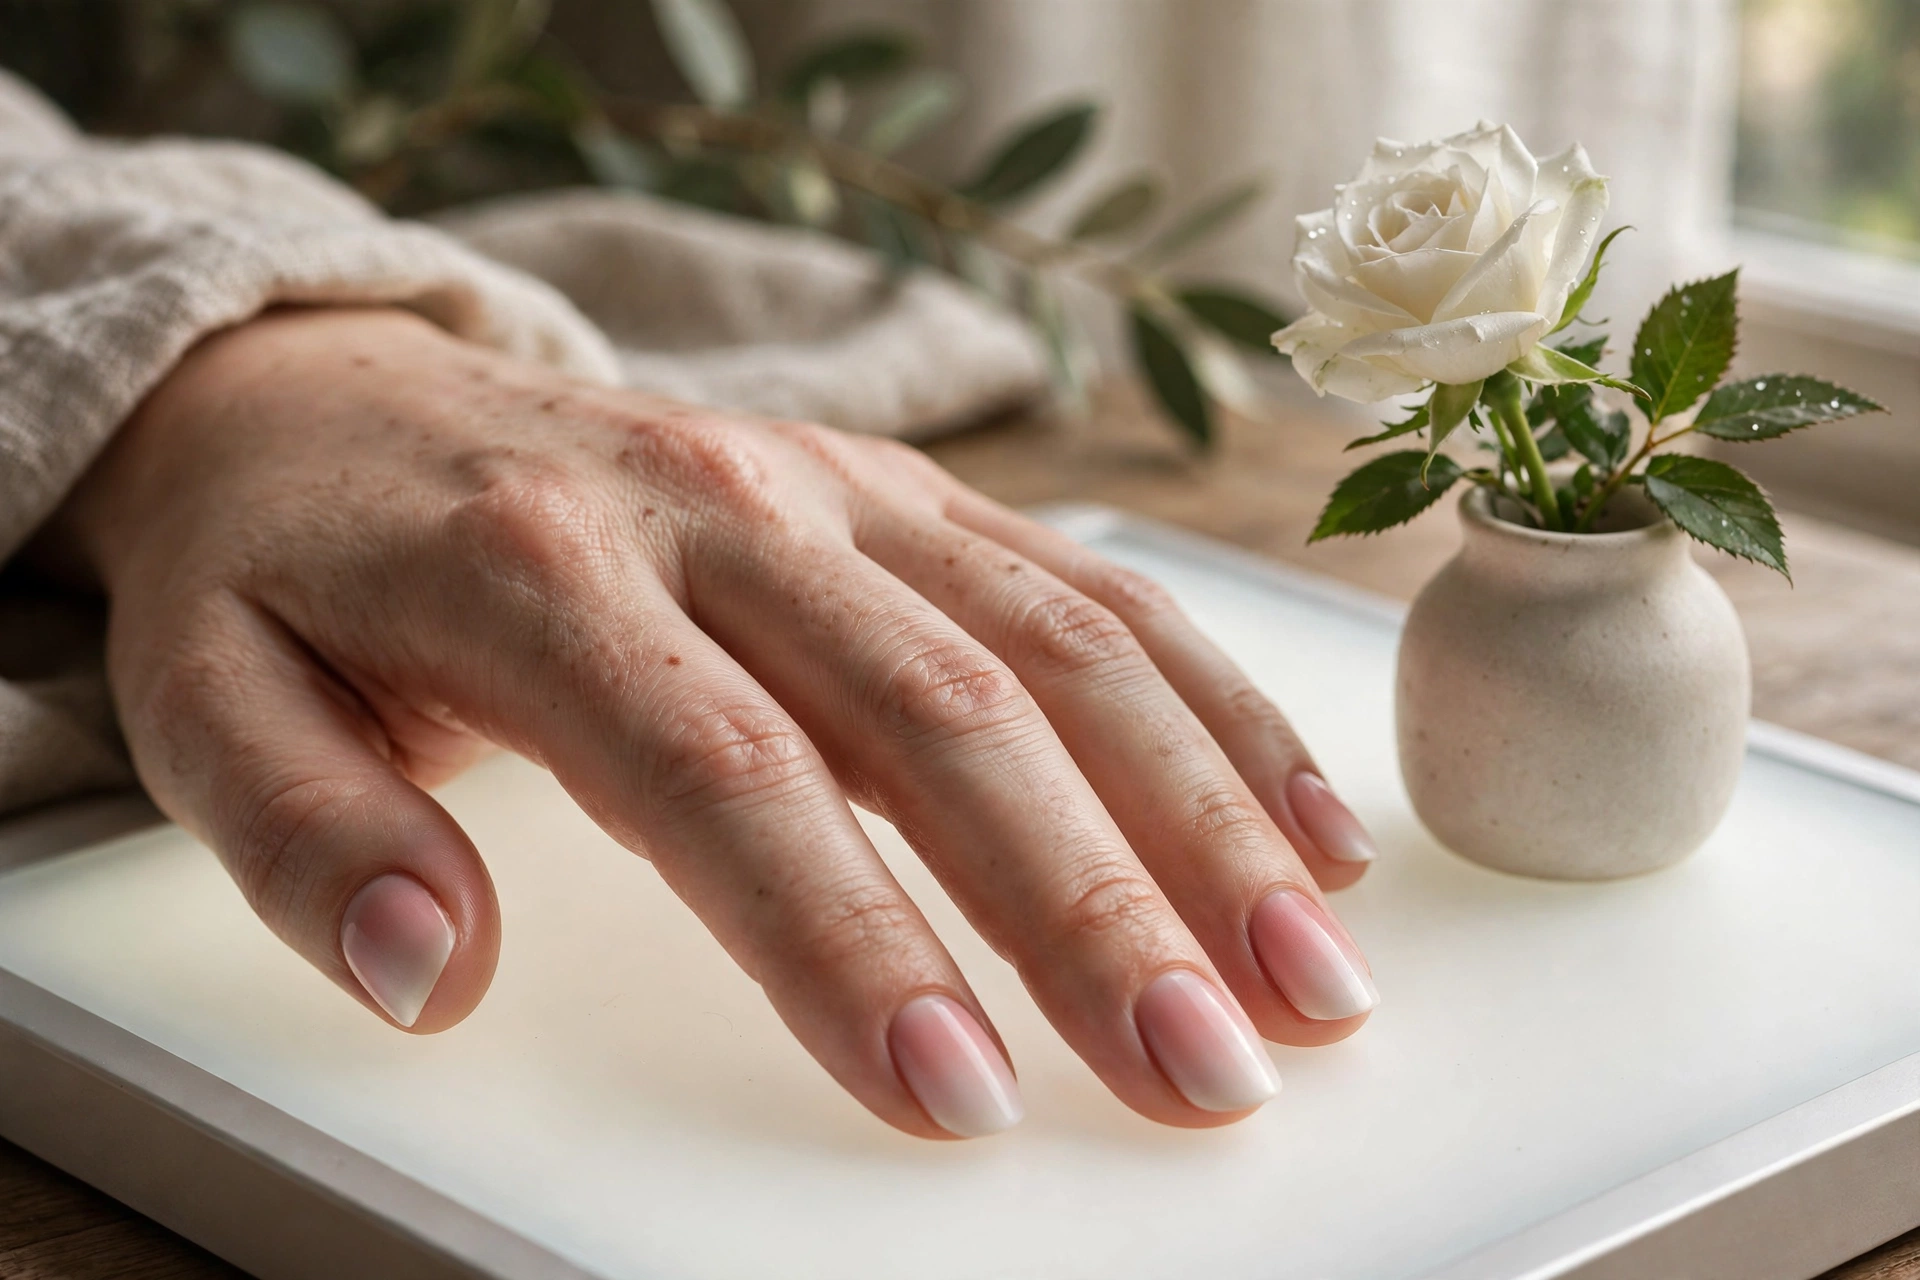
3. Rosy Tint Overlay
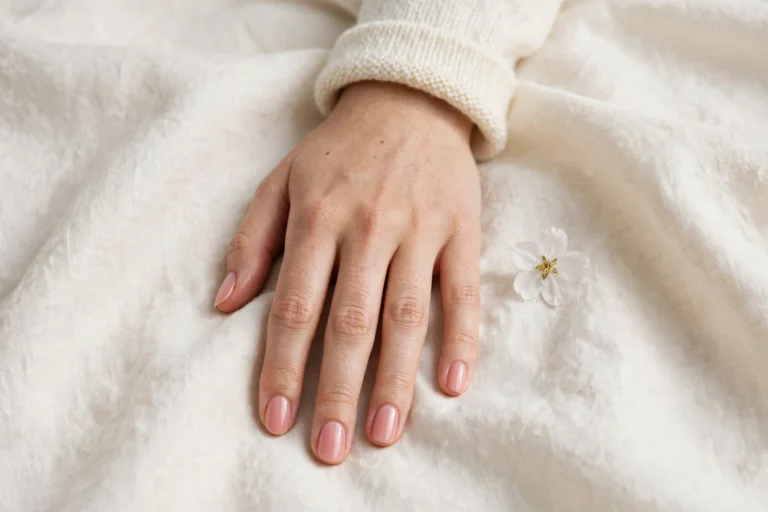
A translucent rosy dip that reads like a healthy natural nail with better lighting — sheer enough to show the nail bed, structured enough to protect it. This is the “my nails but stronger” look.
Medium length works well since the translucency keeps longer nails from looking heavy. It photographs beautifully in natural light and suits every dress code. Difficulty: easy.
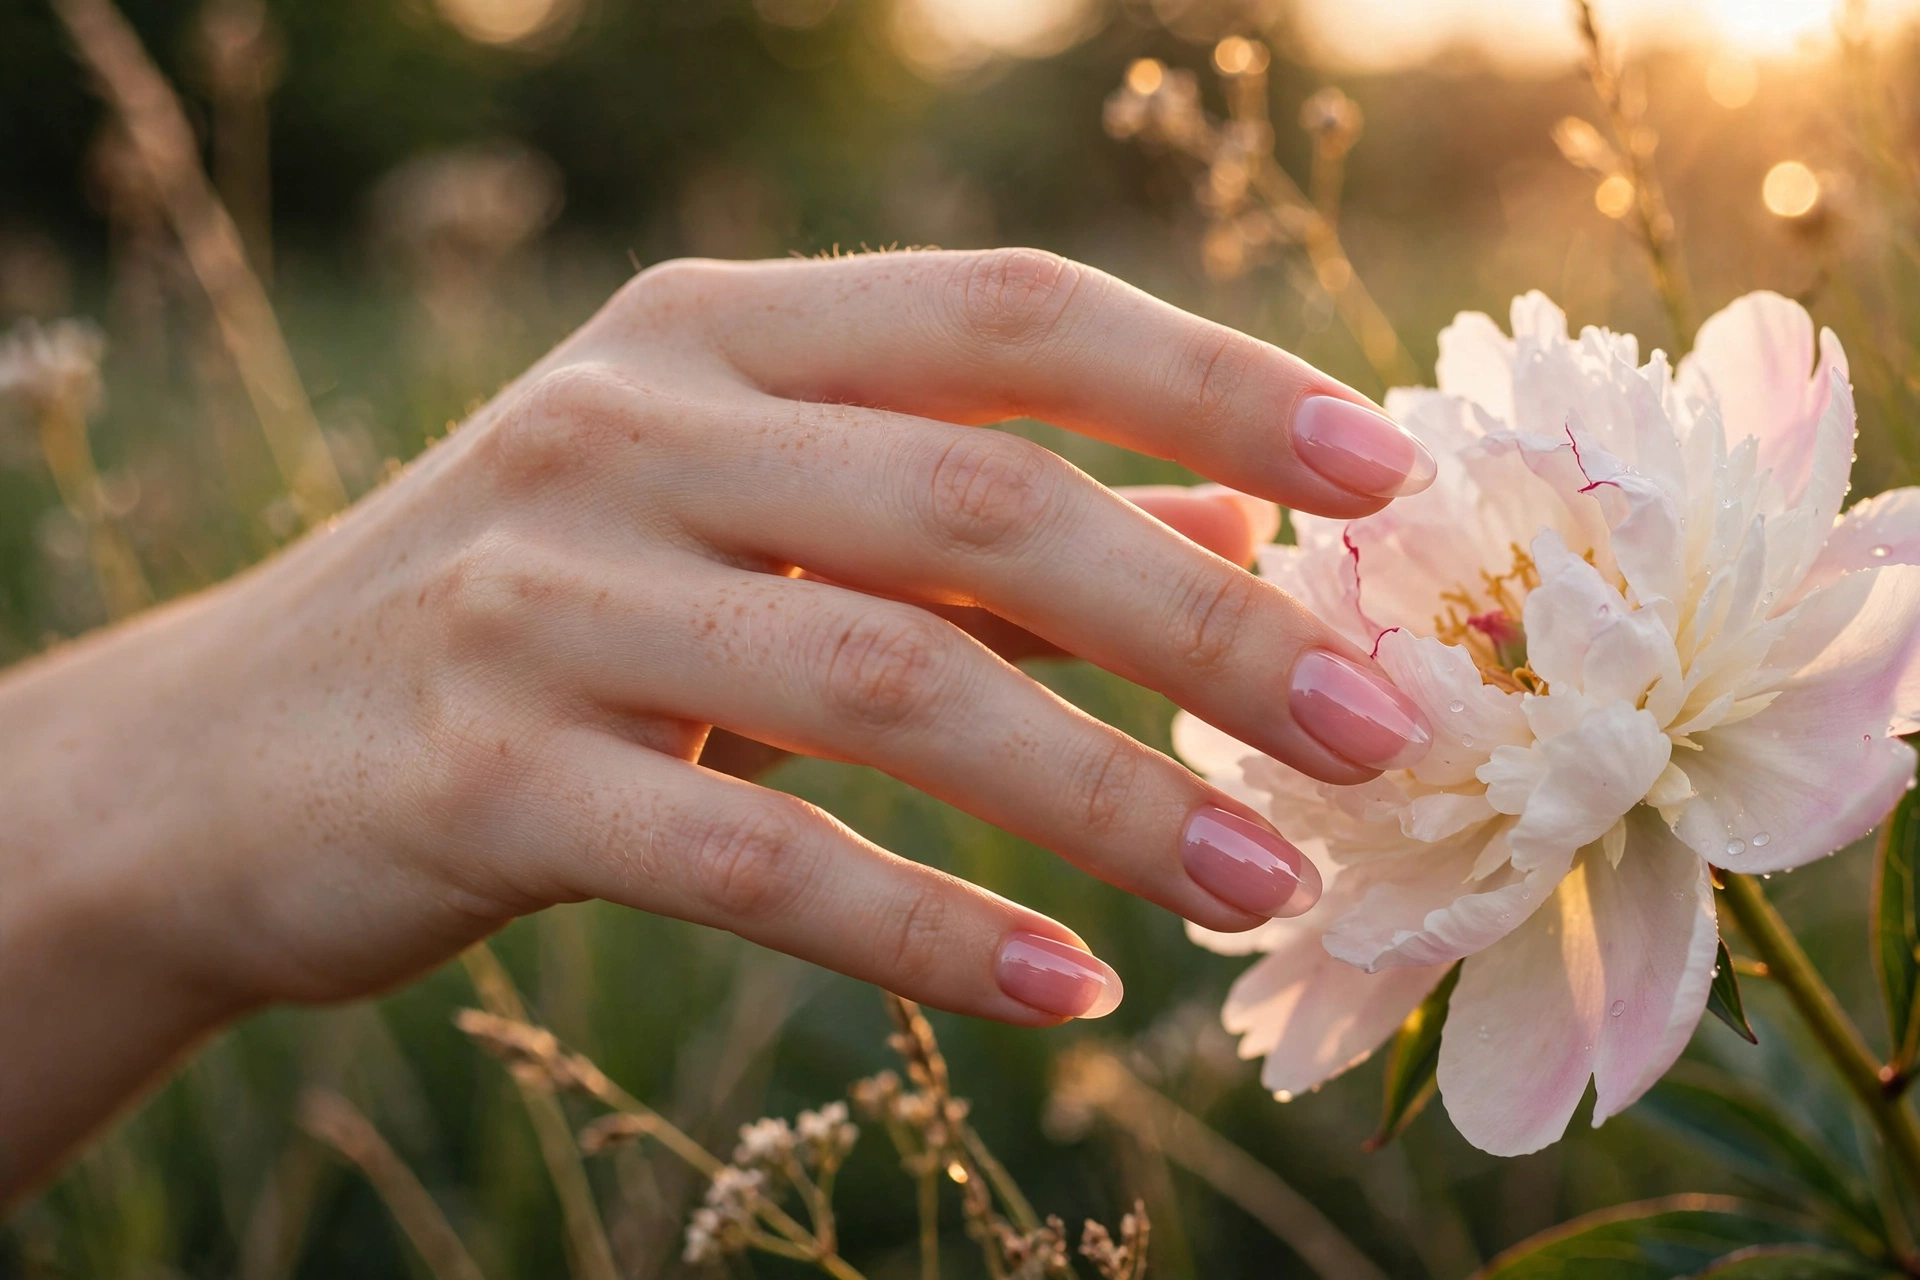
4. Short Squoval Barely-There Pink
Short, squared-with-soft-corners nails in a whisper of pink — the most practical dip manicure on this list. Short length plus dip’s hardness means you can type, cook, and live normally without a single break.
This is the set to book if your nails split at the sides: the dip seals the free edge where splitting starts. Chips are rare, and when they happen they are tiny. Difficulty: easy; a good first dip appointment.
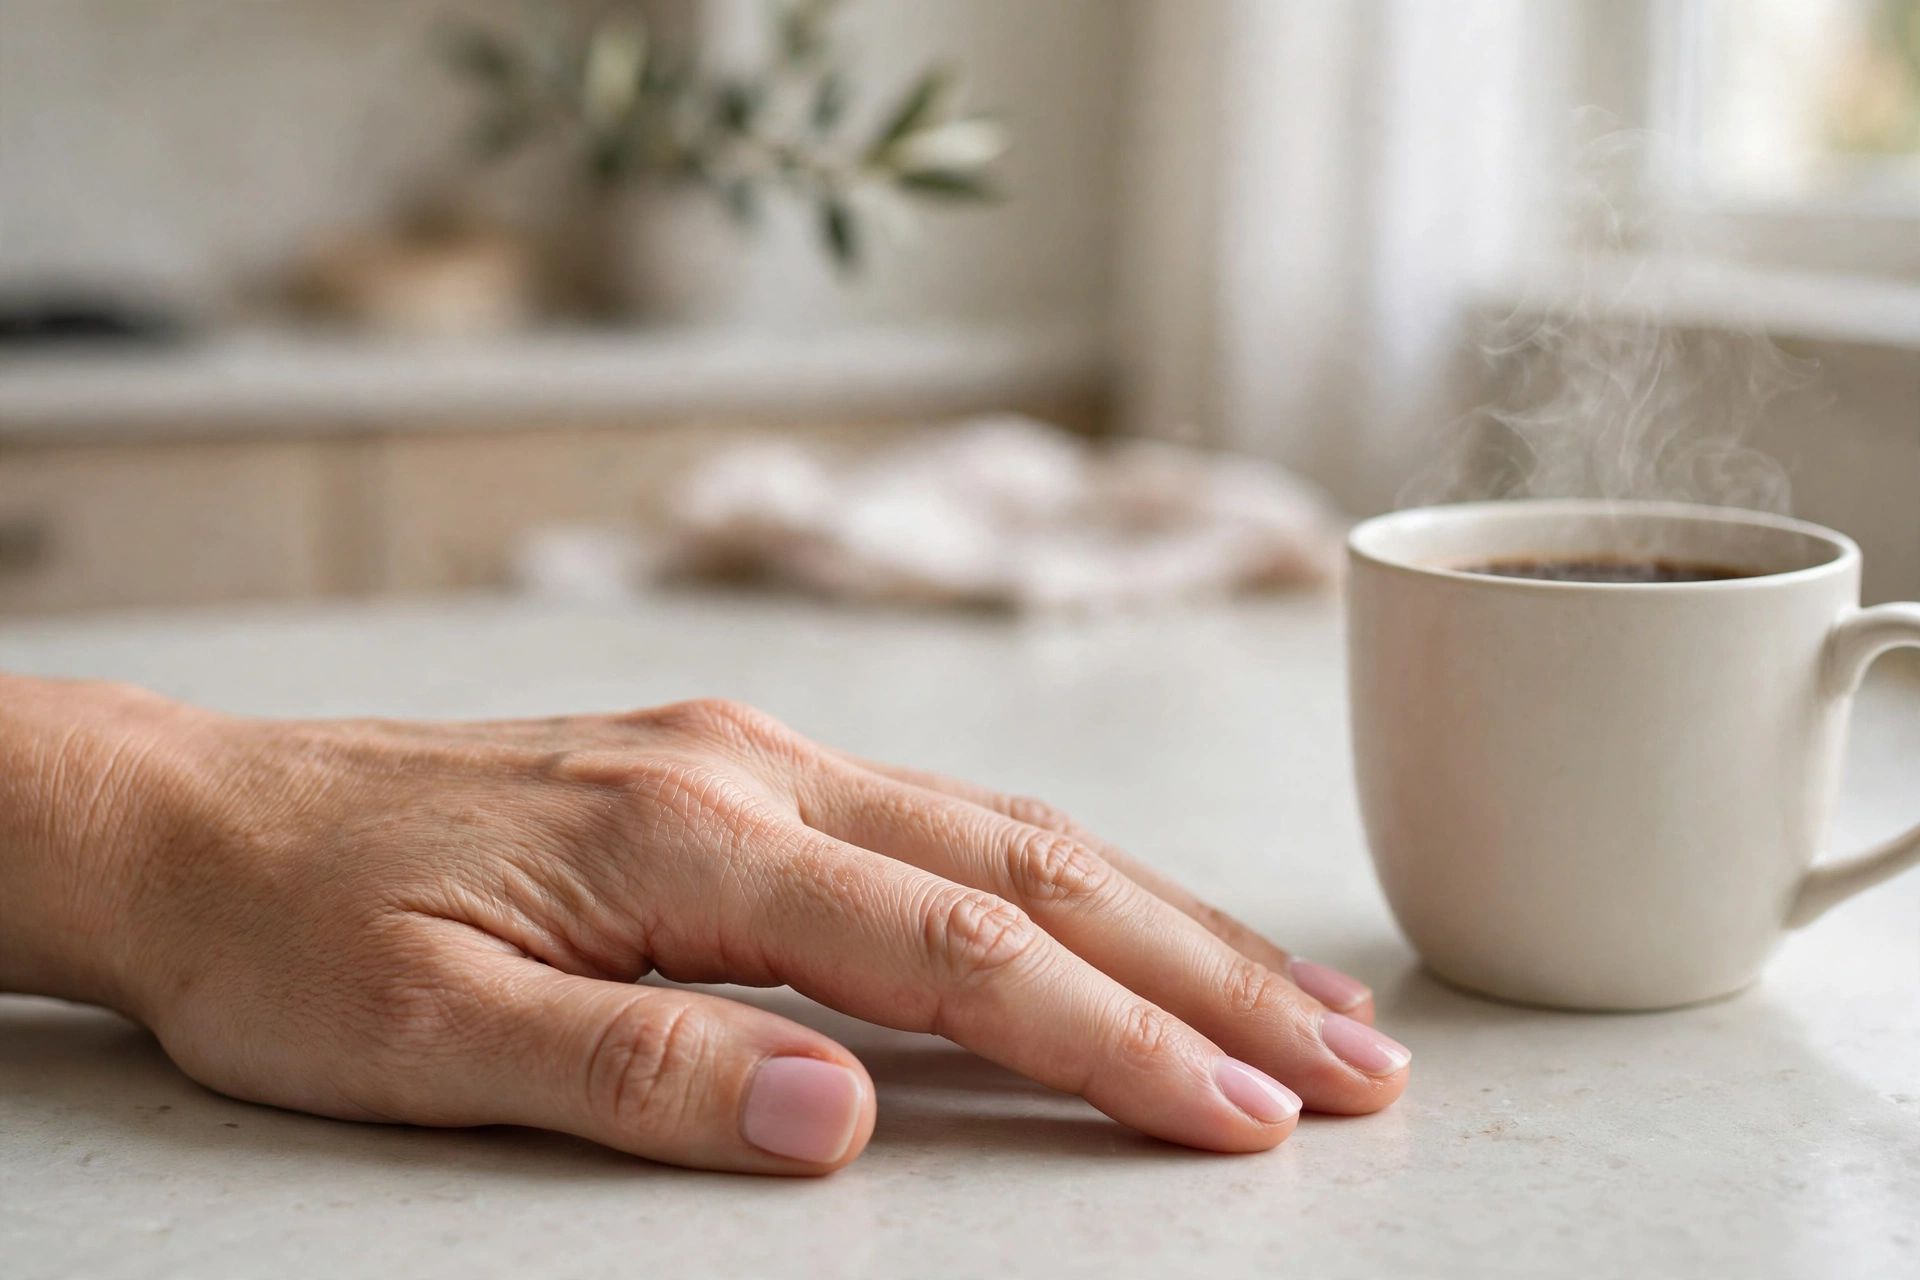
Gel-Level Shine Without the UV Lamp
Dip air-dries through a chemical activator instead of curing under UV light — a genuine plus if you dislike lamp exposure or want your appointment to move faster. These four deliver the deep gloss people associate with gel, no lamp required.
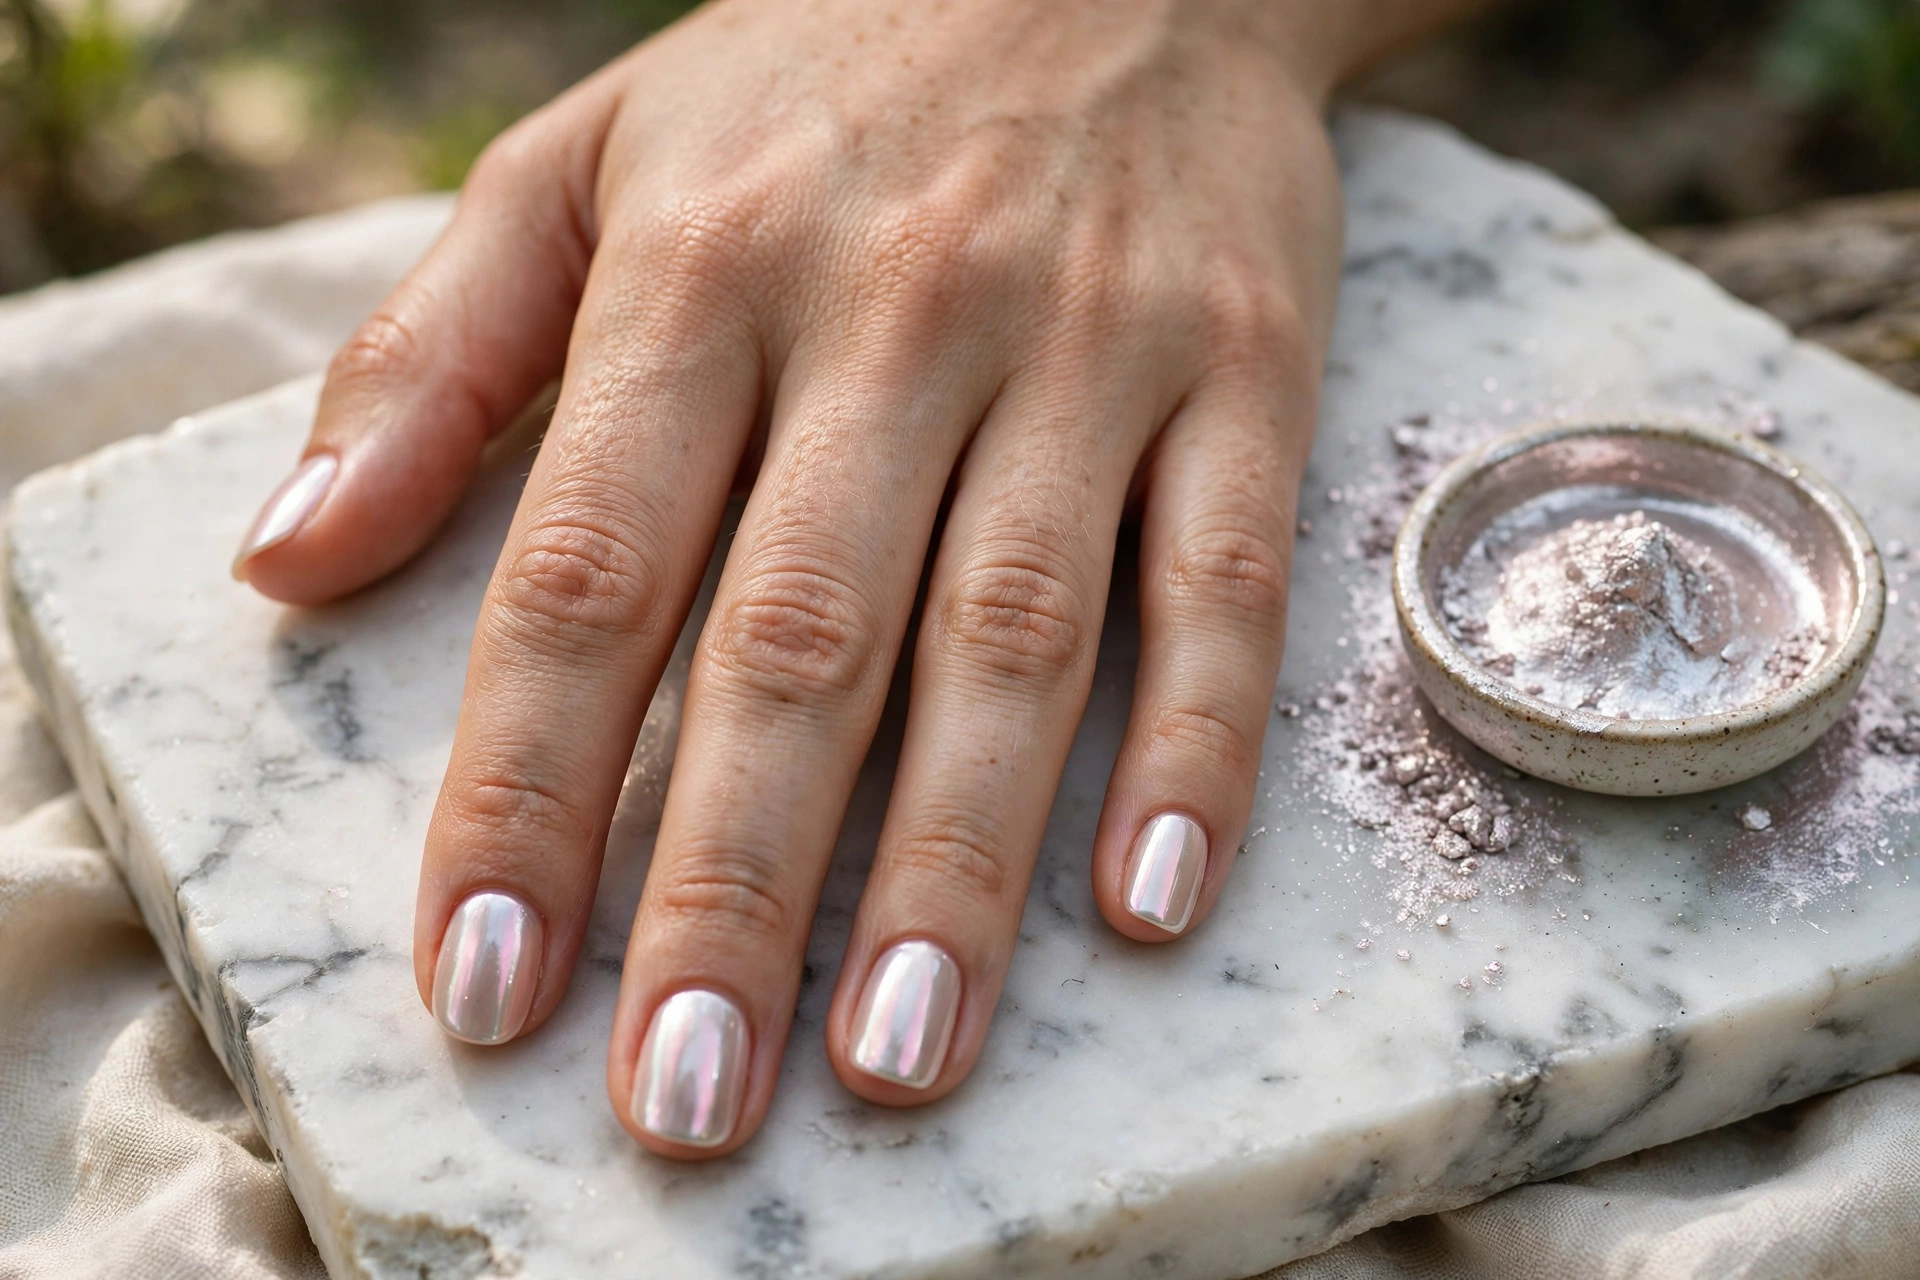
5. Glazed Donut Chrome Over Dip
Chrome powder buffed over a nude dip base gives the pearlescent glazed finish that dominated feeds — and dip is an ideal base for it, since the surface files glass-smooth. If you want more of this frosty direction, our winter nail designs go deeper on icy finishes.
Short squoval or almond both work; the chrome does the talking. Ask the tech to seal with two top coats so the chrome doesn’t dull by week two. Difficulty: medium — chrome application is a salon skill.
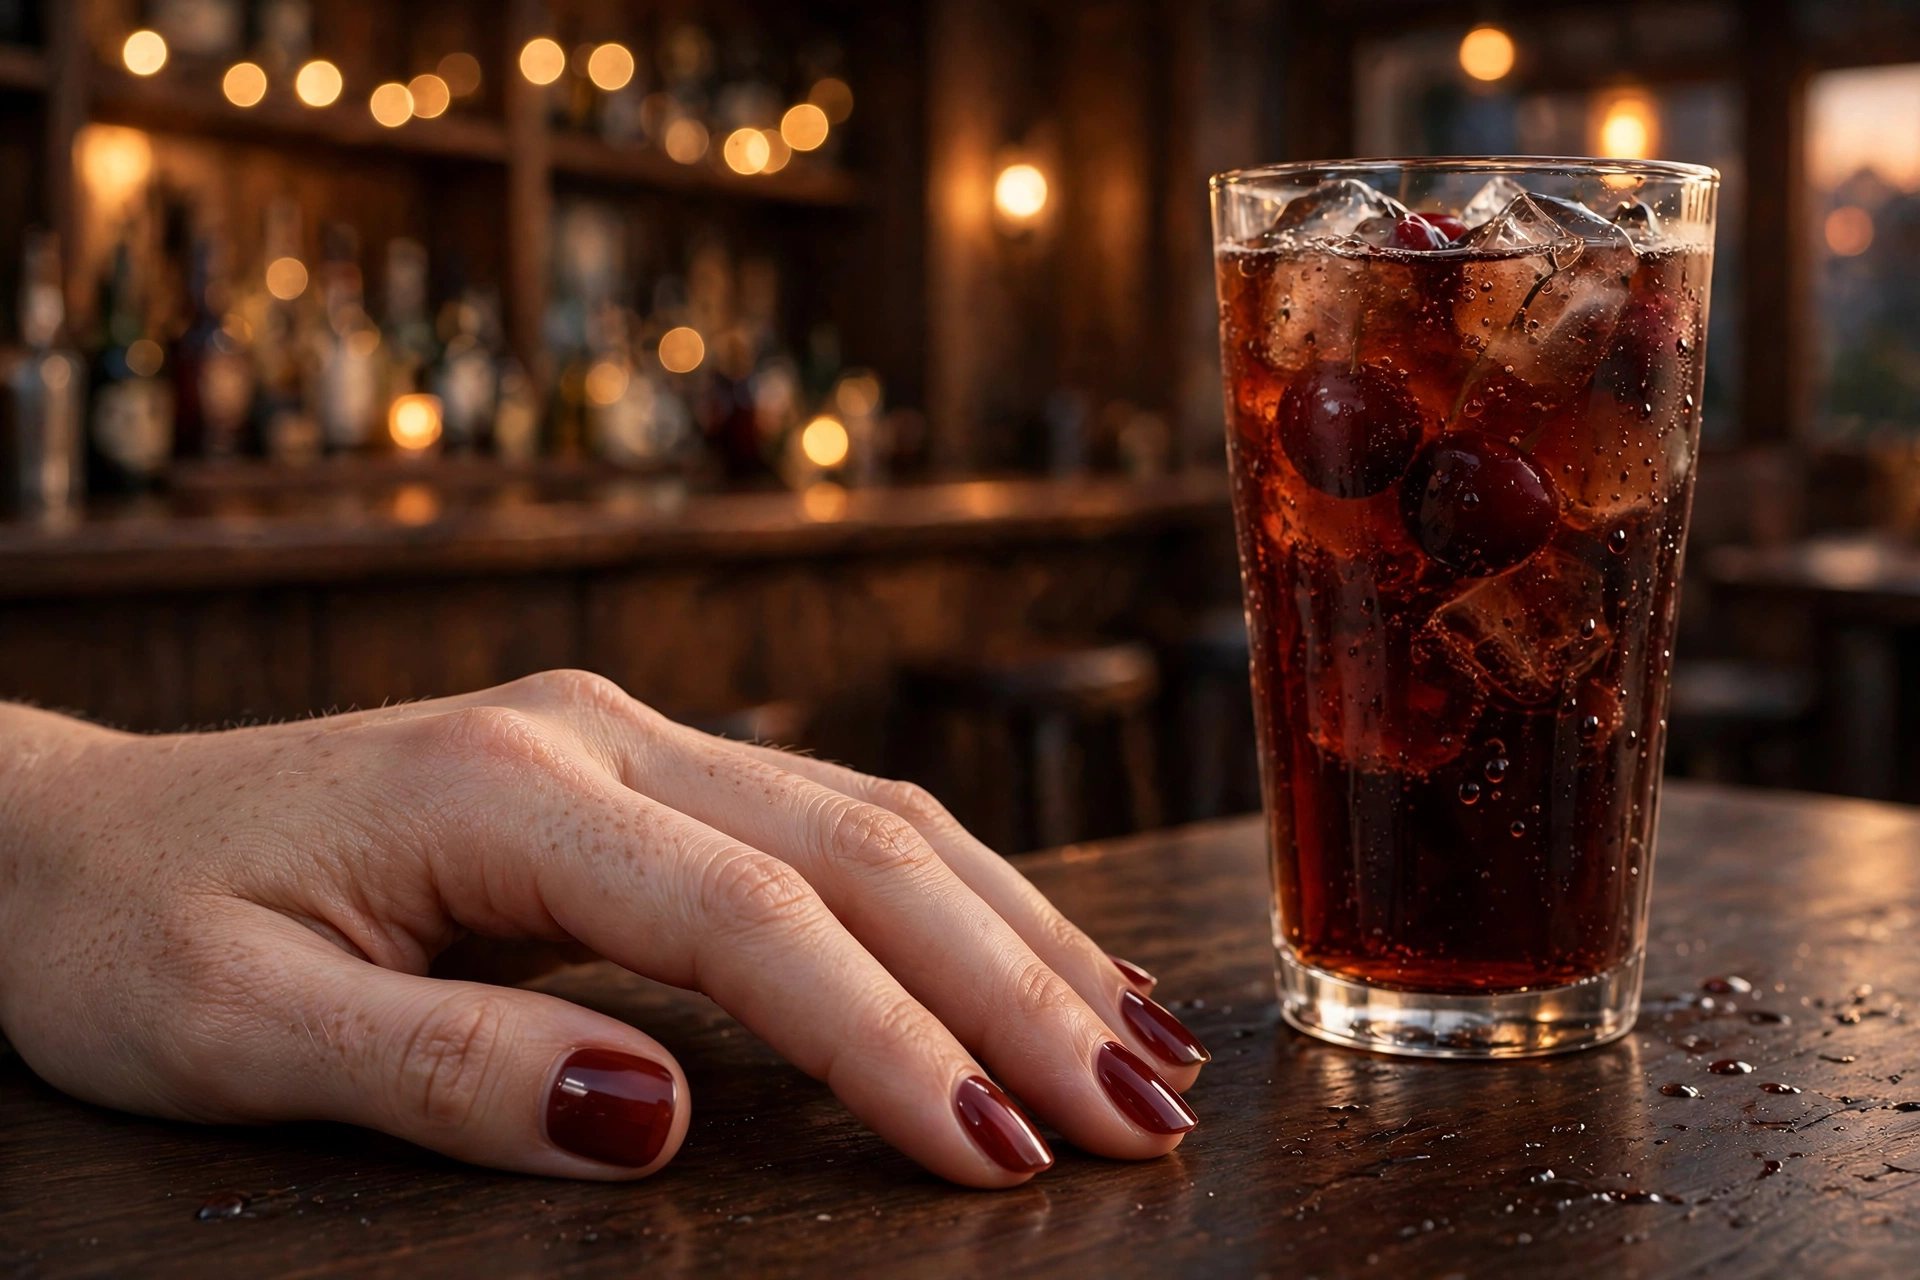
6. Cherry Cola Glass
A deep translucent red-brown with a glass-like finish — dark enough for evening, sheer enough to catch light. Dip builds this translucency in layers where gel would need a sheer polish and a steady hand.
Medium almond shows the depth best. Translucent shades show regrowth less than opaque ones, so this wears gracefully into week three. Difficulty: easy to medium.
7. Espresso Creme
A rich dark chocolate-brown in full opaque creme — one of the shades where dip’s single-dip opacity genuinely outperforms gel polish. Two dips and the color is dense and even.
Short to medium oval keeps it sophisticated rather than heavy. Dark cremes show tip wear fastest, so ask for the free edge to be capped well. Difficulty: easy.

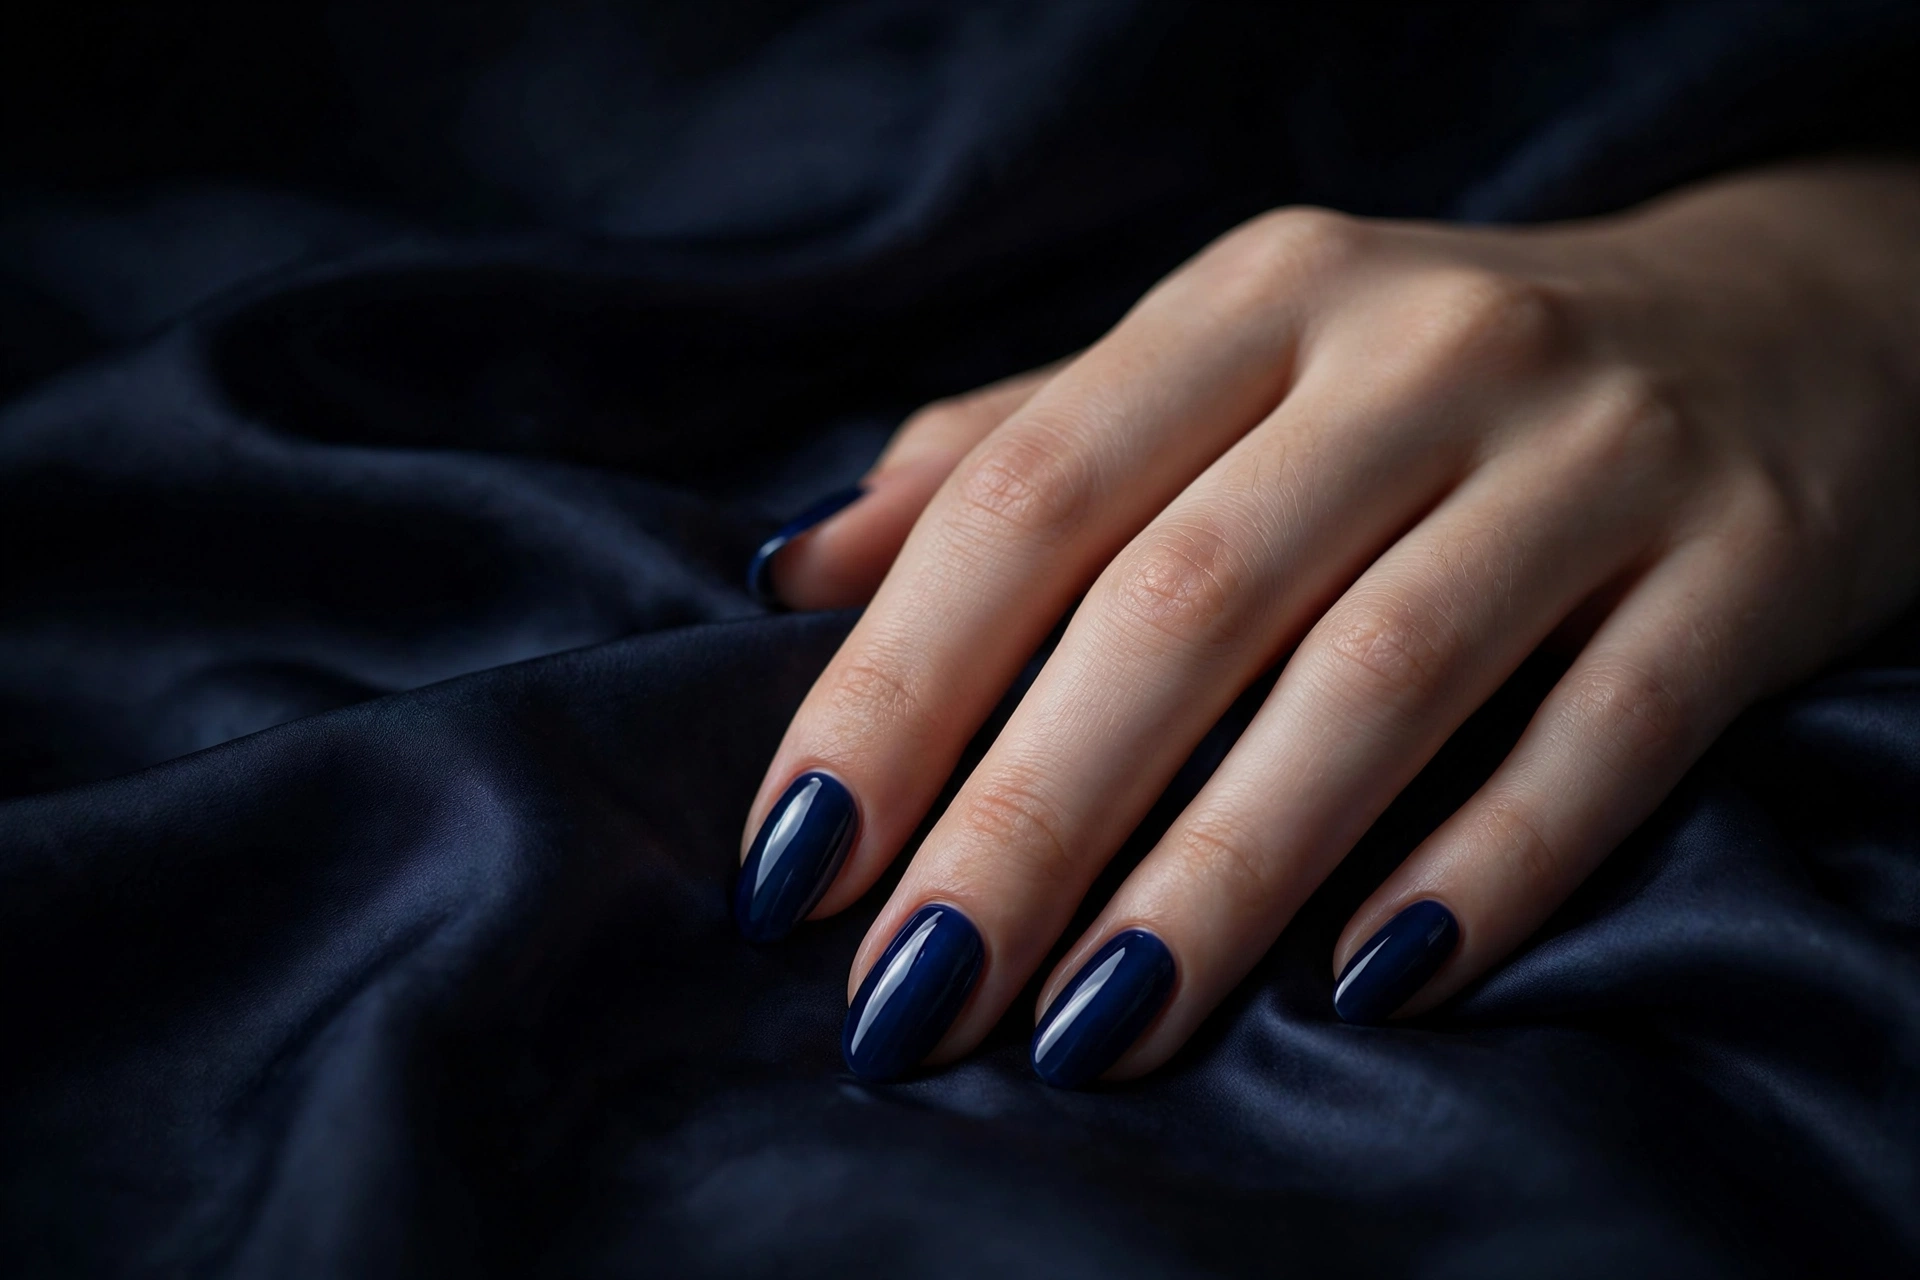
8. Midnight Sapphire
Deep blue-black with a mirror gloss — the color that behaves like a neutral but gets compliments like a statement shade. Dip’s glossy seal coat gives it a liquid depth that photographs beautifully.
Medium almond or coffin for drama, short oval for everyday. Like all dark shades, it can stain the nail plate faintly, so a good base layer matters. Our blue nail designs cover more of this family if sapphire is your color. Difficulty: easy.
Three-Week Wear: Designs That Hide Grow-Out
Dip lasts two to four weeks, but not every design ages equally — dark opaque shades show the regrowth line, while gradients, glitter fades, and nude-based designs blur it. These four are engineered for the long stretch between appointments.
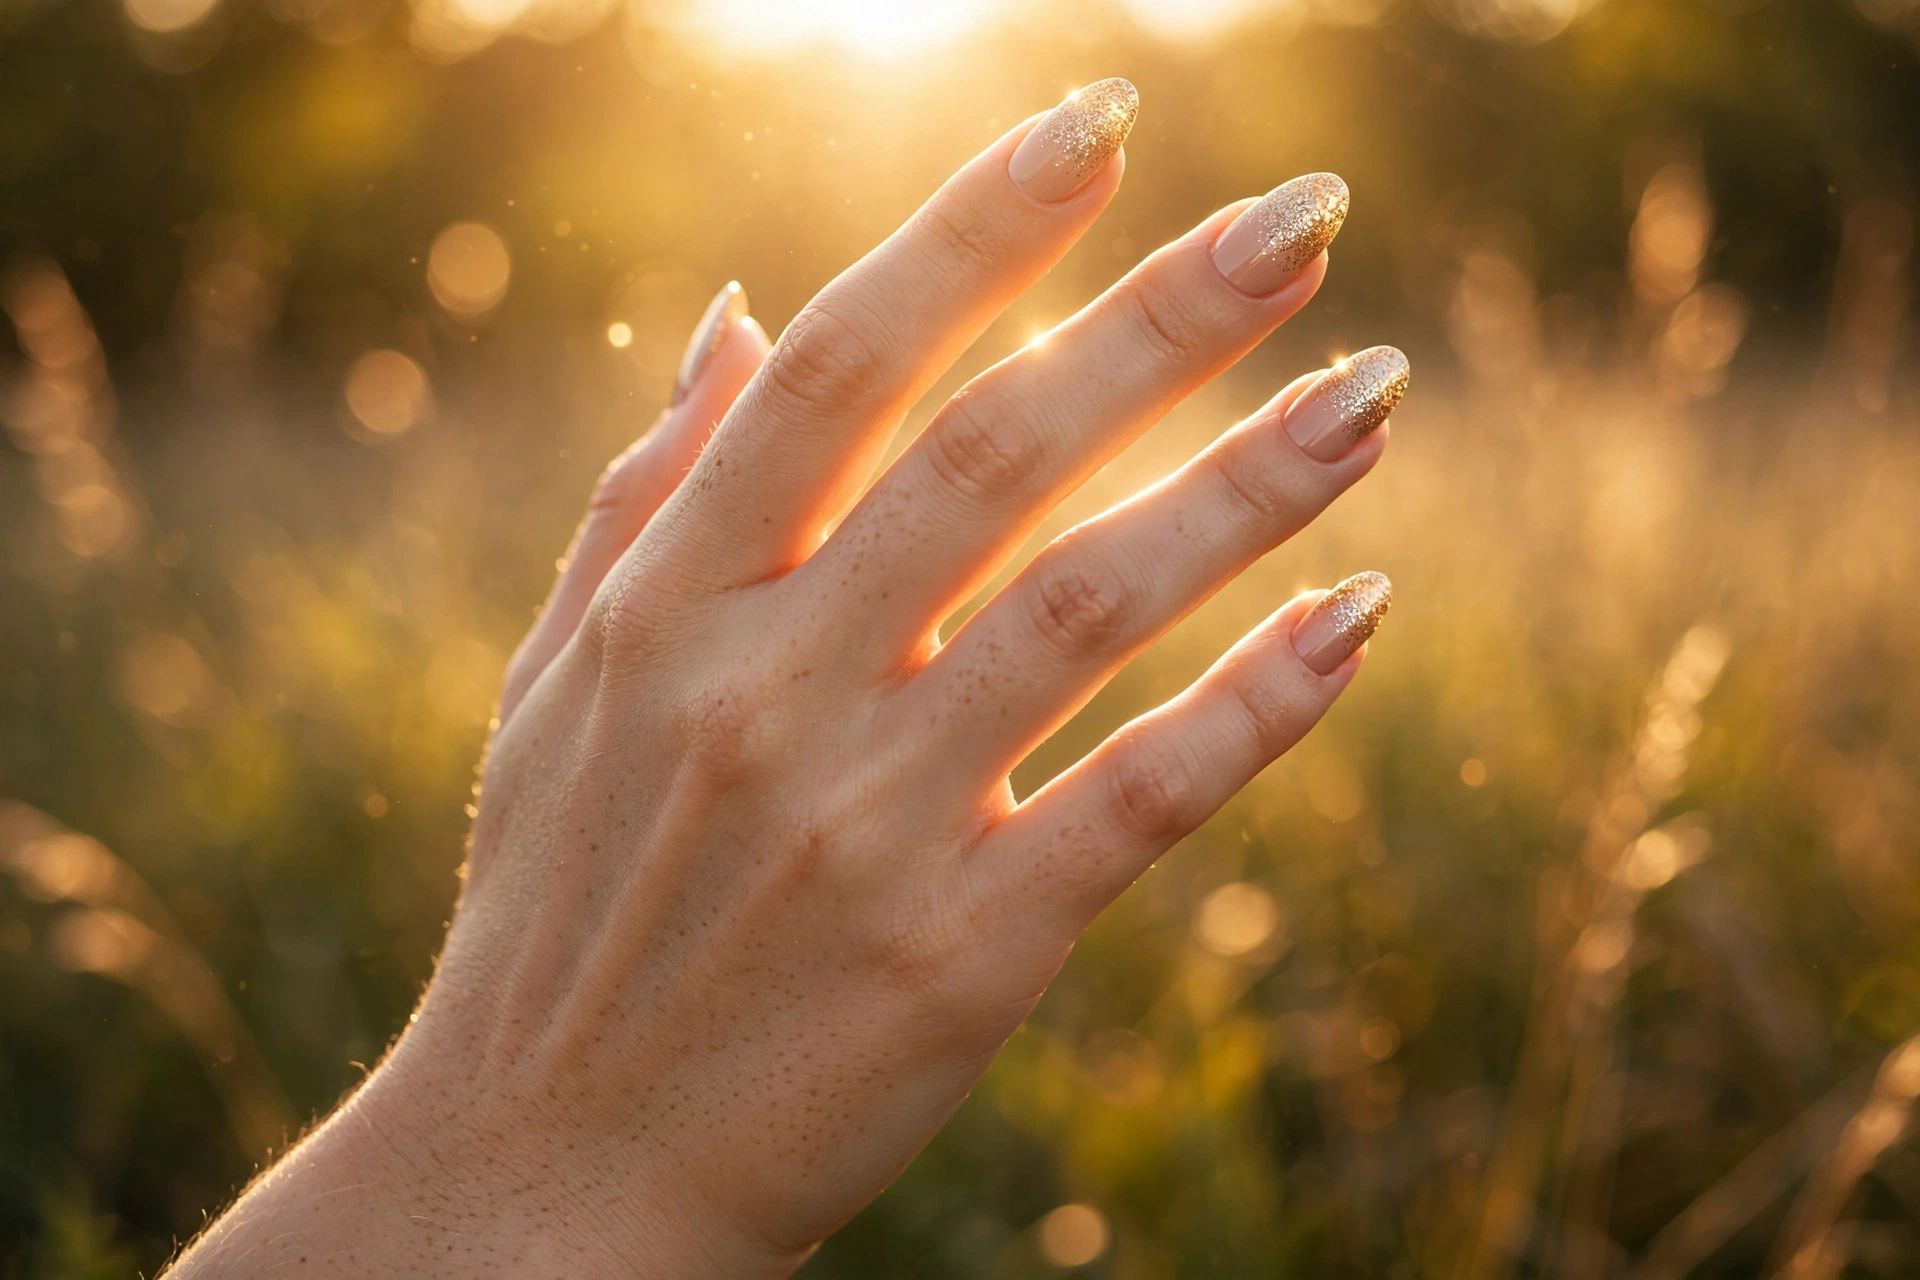
9. Champagne Micro-Glitter Fade
Nude dip at the cuticle dissolving into dense champagne glitter at the tips. The fade hides two things at once: the regrowth line near the cuticle and tip wear at the free edge.
Medium almond or oval; the glitter needs some nail length to fade across. Dip encapsulates glitter under a smooth top layer, so there is no rough texture. This is a wedding-guest and holiday-party workhorse. Difficulty: medium — the fade takes a practiced hand.
10. Nude-to-White Blush Ombre
The baby-boomer: blush pink melting into white tips, done with dip’s tap-and-sprinkle method rather than a sponge. It is softer than a classic French and far more forgiving of regrowth.
This is the longest-wearing “elegant” option here — the pale gradient disguises the cuticle line for a full month. Medium almond is the classic shape. Difficulty: medium in the salon; genuinely hard to DIY well.
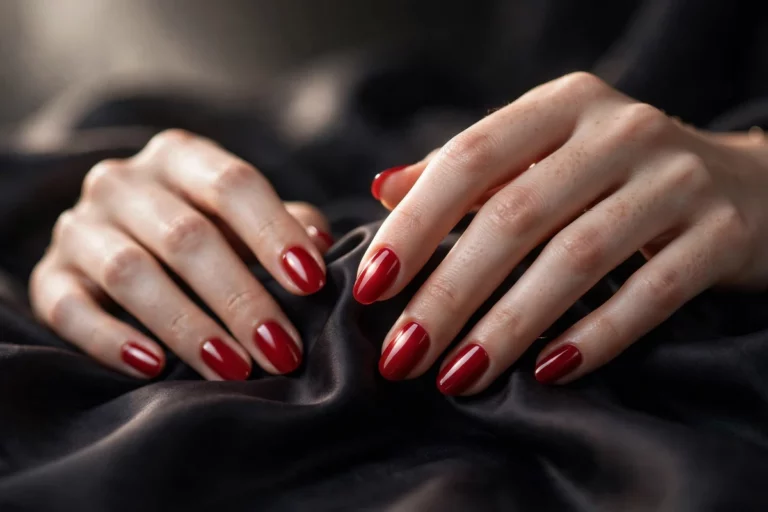
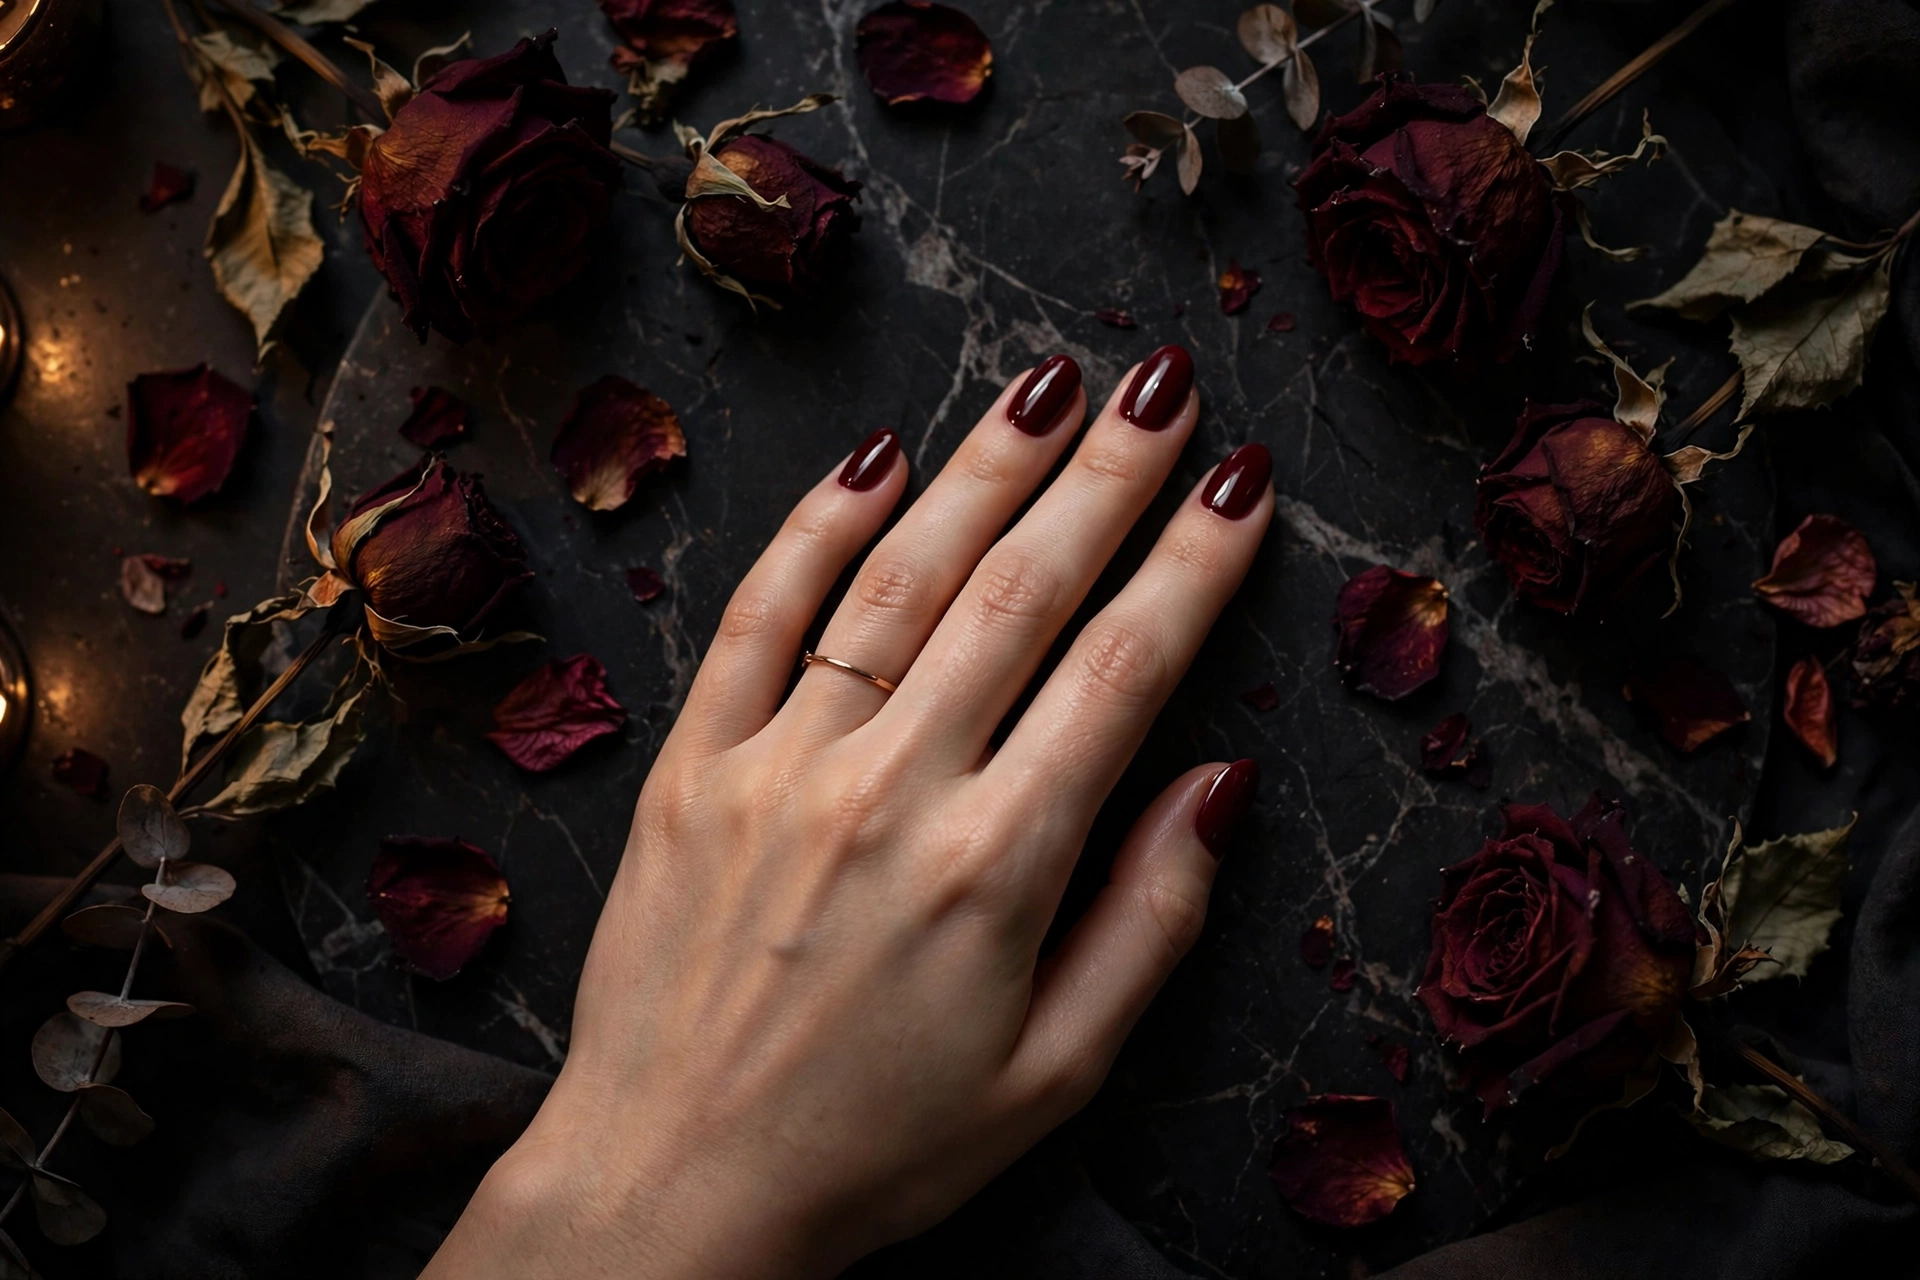
11. Deep Oxblood Creme
A dark wine-red opaque creme. It makes this section for a counterintuitive reason: while the regrowth line is visible on dark shades, oxblood’s richness means the manicure still looks intentional and polished at week three, where a chipped pastel looks tired.
Short oval or almond; dark shades look most expensive on neat, shorter nails. Keep cuticle oil on the regimen — hydrated cuticles make regrowth less noticeable. Difficulty: easy.
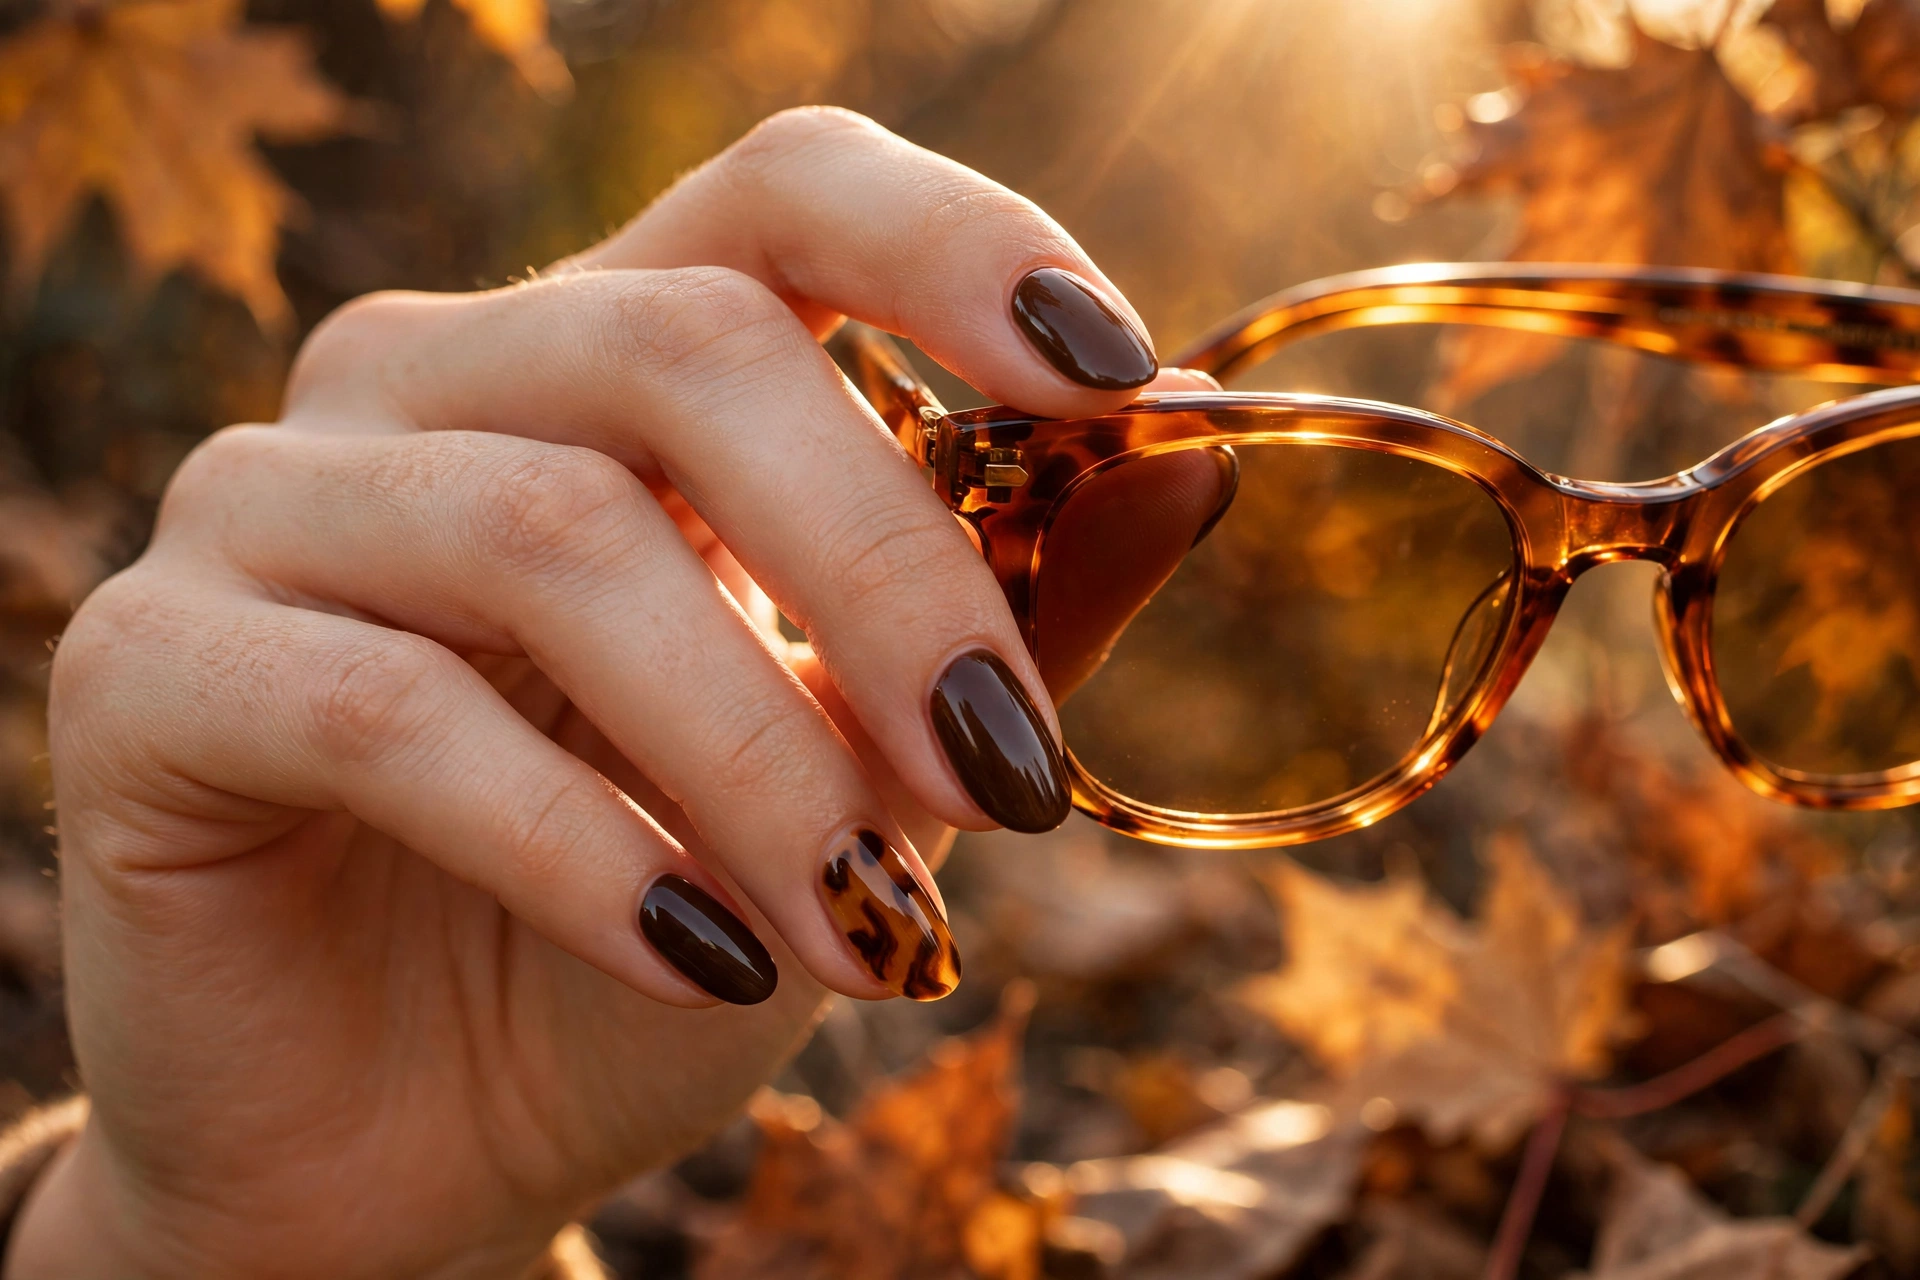
12. Tortoiseshell Accent Set
Amber and caramel swirls like tortoiseshell on one or two accent nails, with deep chocolate brown on the rest. The marbled accent breaks up the set so regrowth reads as part of a designed look rather than a grown-out manicure.
The tortoise effect is built by layering translucent amber and brown powders — a dip specialty, since powder layers blend like watercolor. Keep art to the ring fingers for the most wearable version. Difficulty: hard — book a tech who has done tortoise before.
Proof Dip Can Do Detail
Dip has a reputation for being the “simple color” option, but the medium handles precision work better than most people expect. These eight are the evidence — from sharp French lines to effects that actually rely on powder layering.
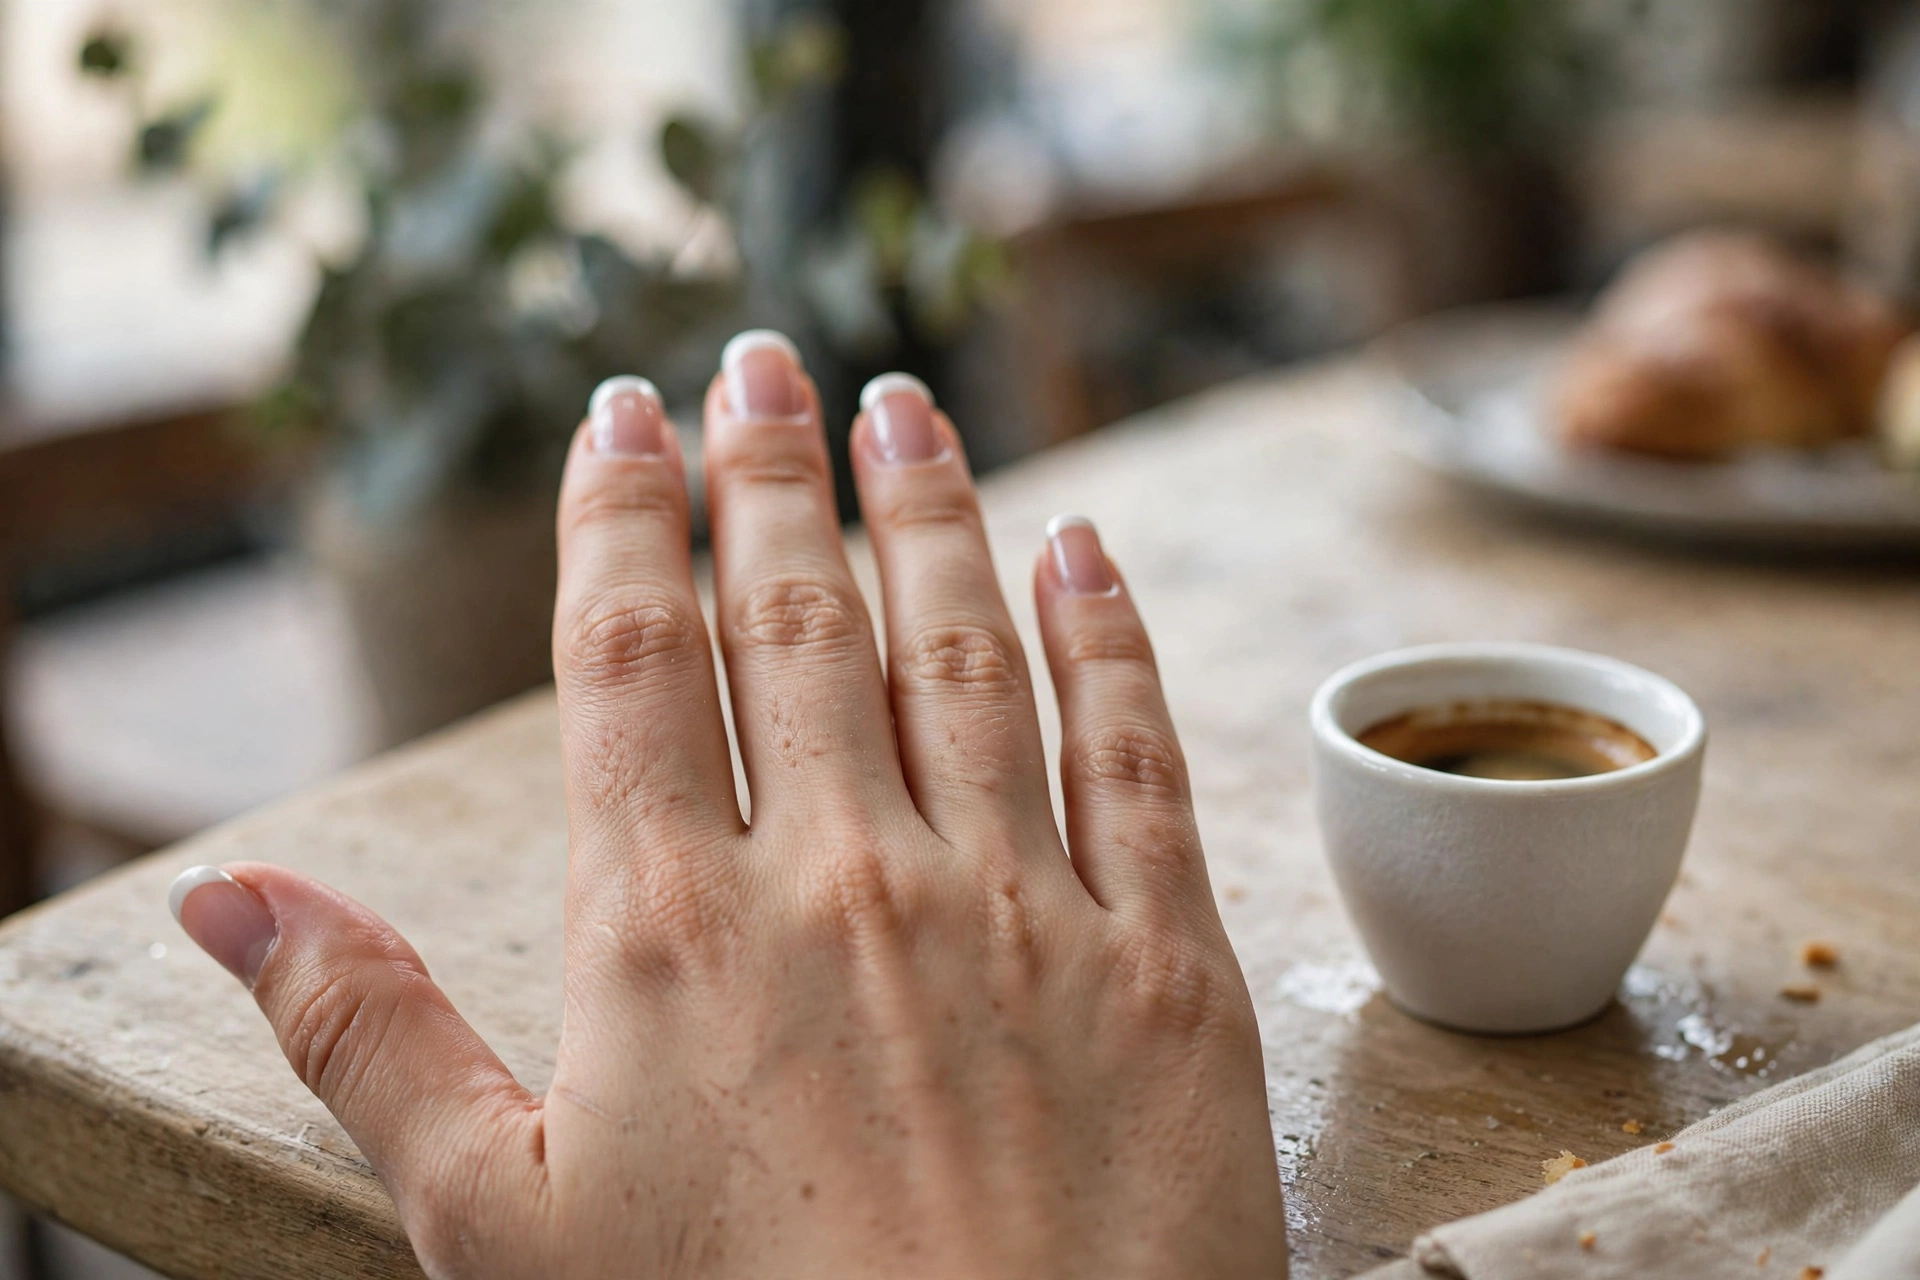
13. Classic Dipped French
Crisp white tips over a sheer pink base, built by dipping just the tips in white powder. The smile line comes out sharp because powder gives a hard edge that brushed gel often softens.
Medium almond or square. If you are choosing between this and a gel French, dip’s version typically outlasts gel’s by a week. Our nail shapes guide breaks down which shape suits a French best. Difficulty: medium.
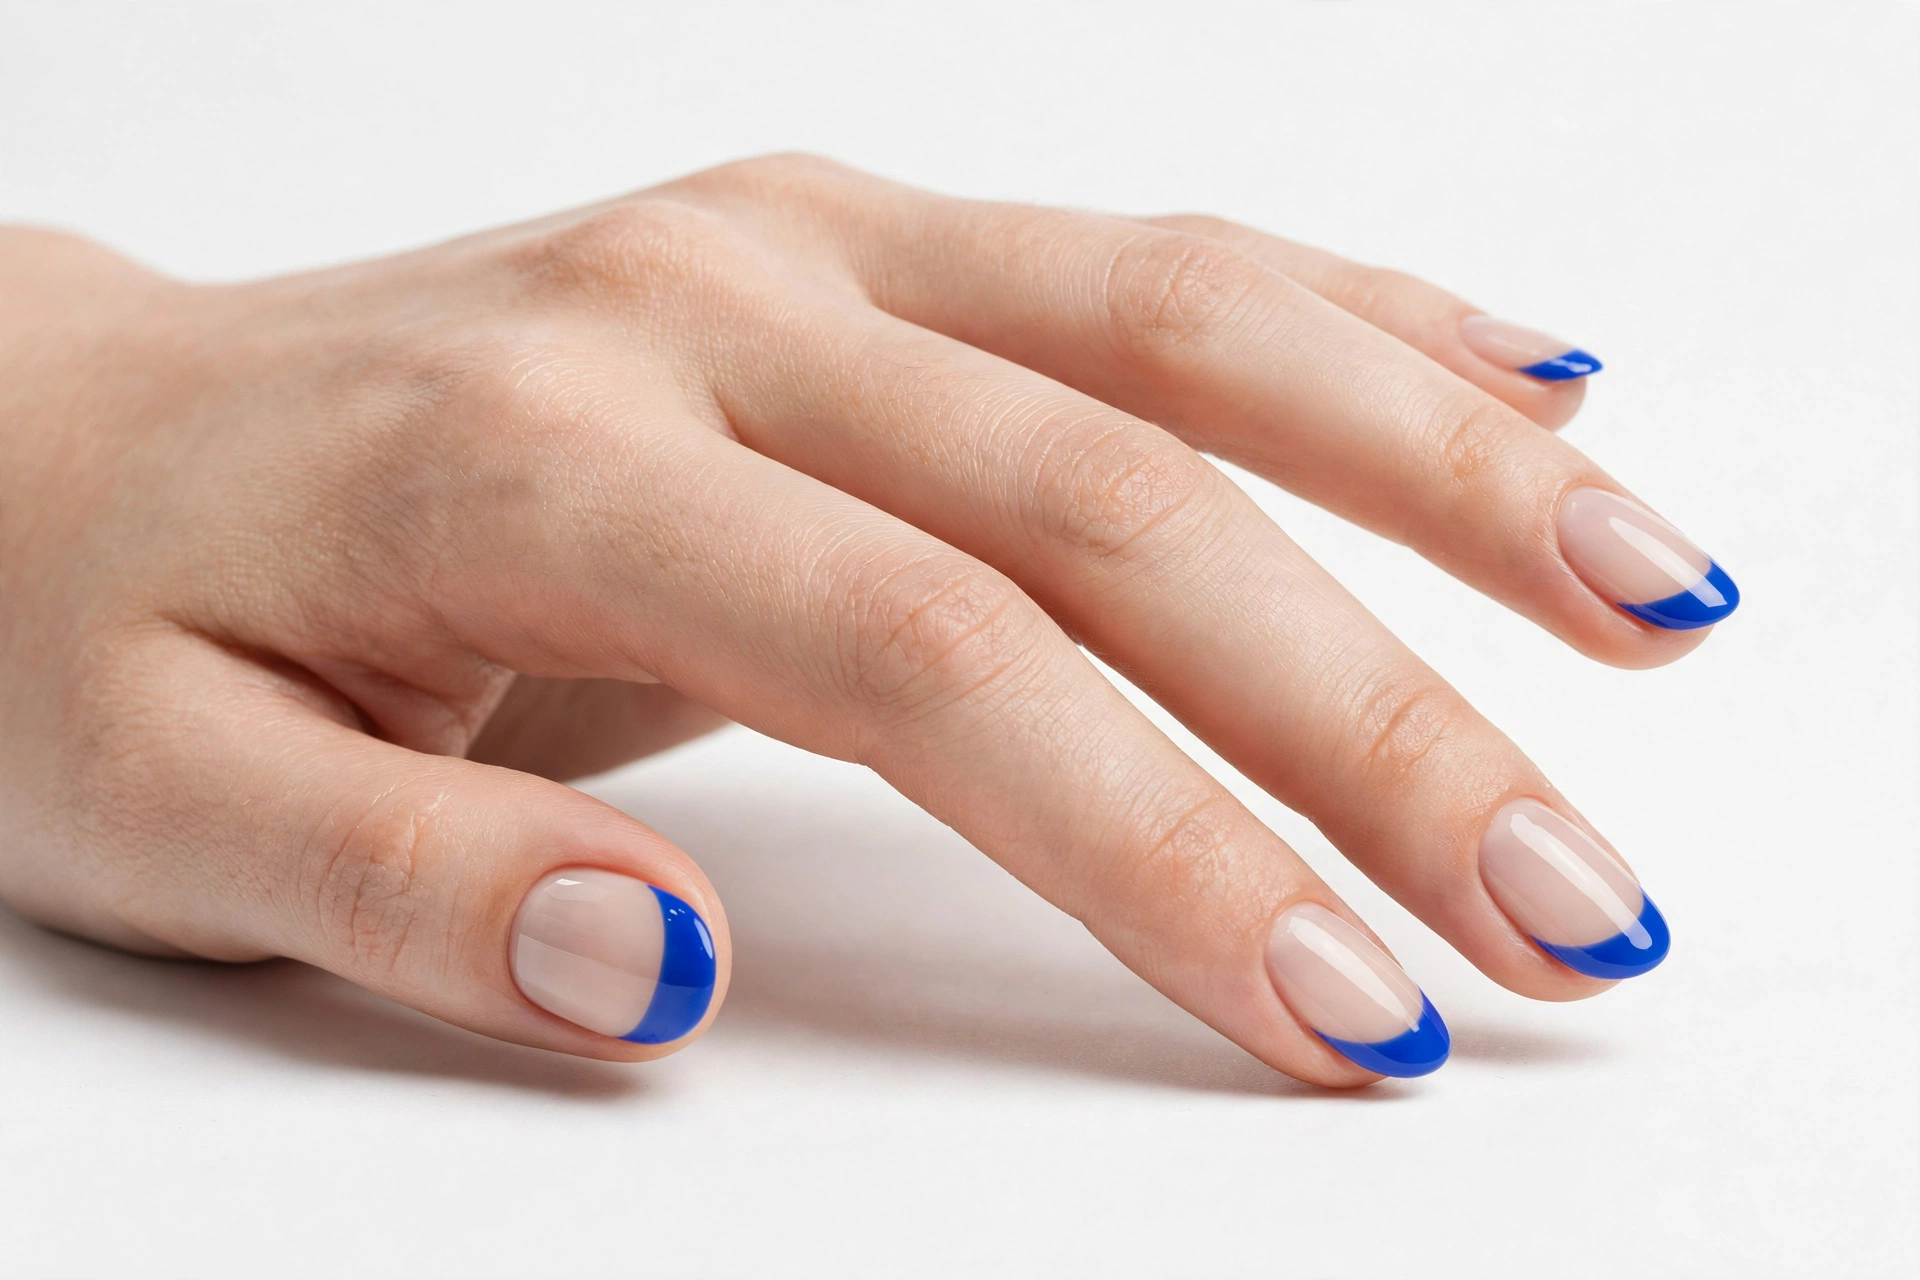
14. Cobalt Colored French
The French structure with vivid cobalt-blue tips instead of white — the lowest-risk way to wear a bold color, since most of the nail stays nude. Dip’s opaque powders make the tip color punchy in one dip.
Short to medium nails; slim tips look more expensive than thick ones. This is office-appropriate in most creative workplaces. Difficulty: medium.
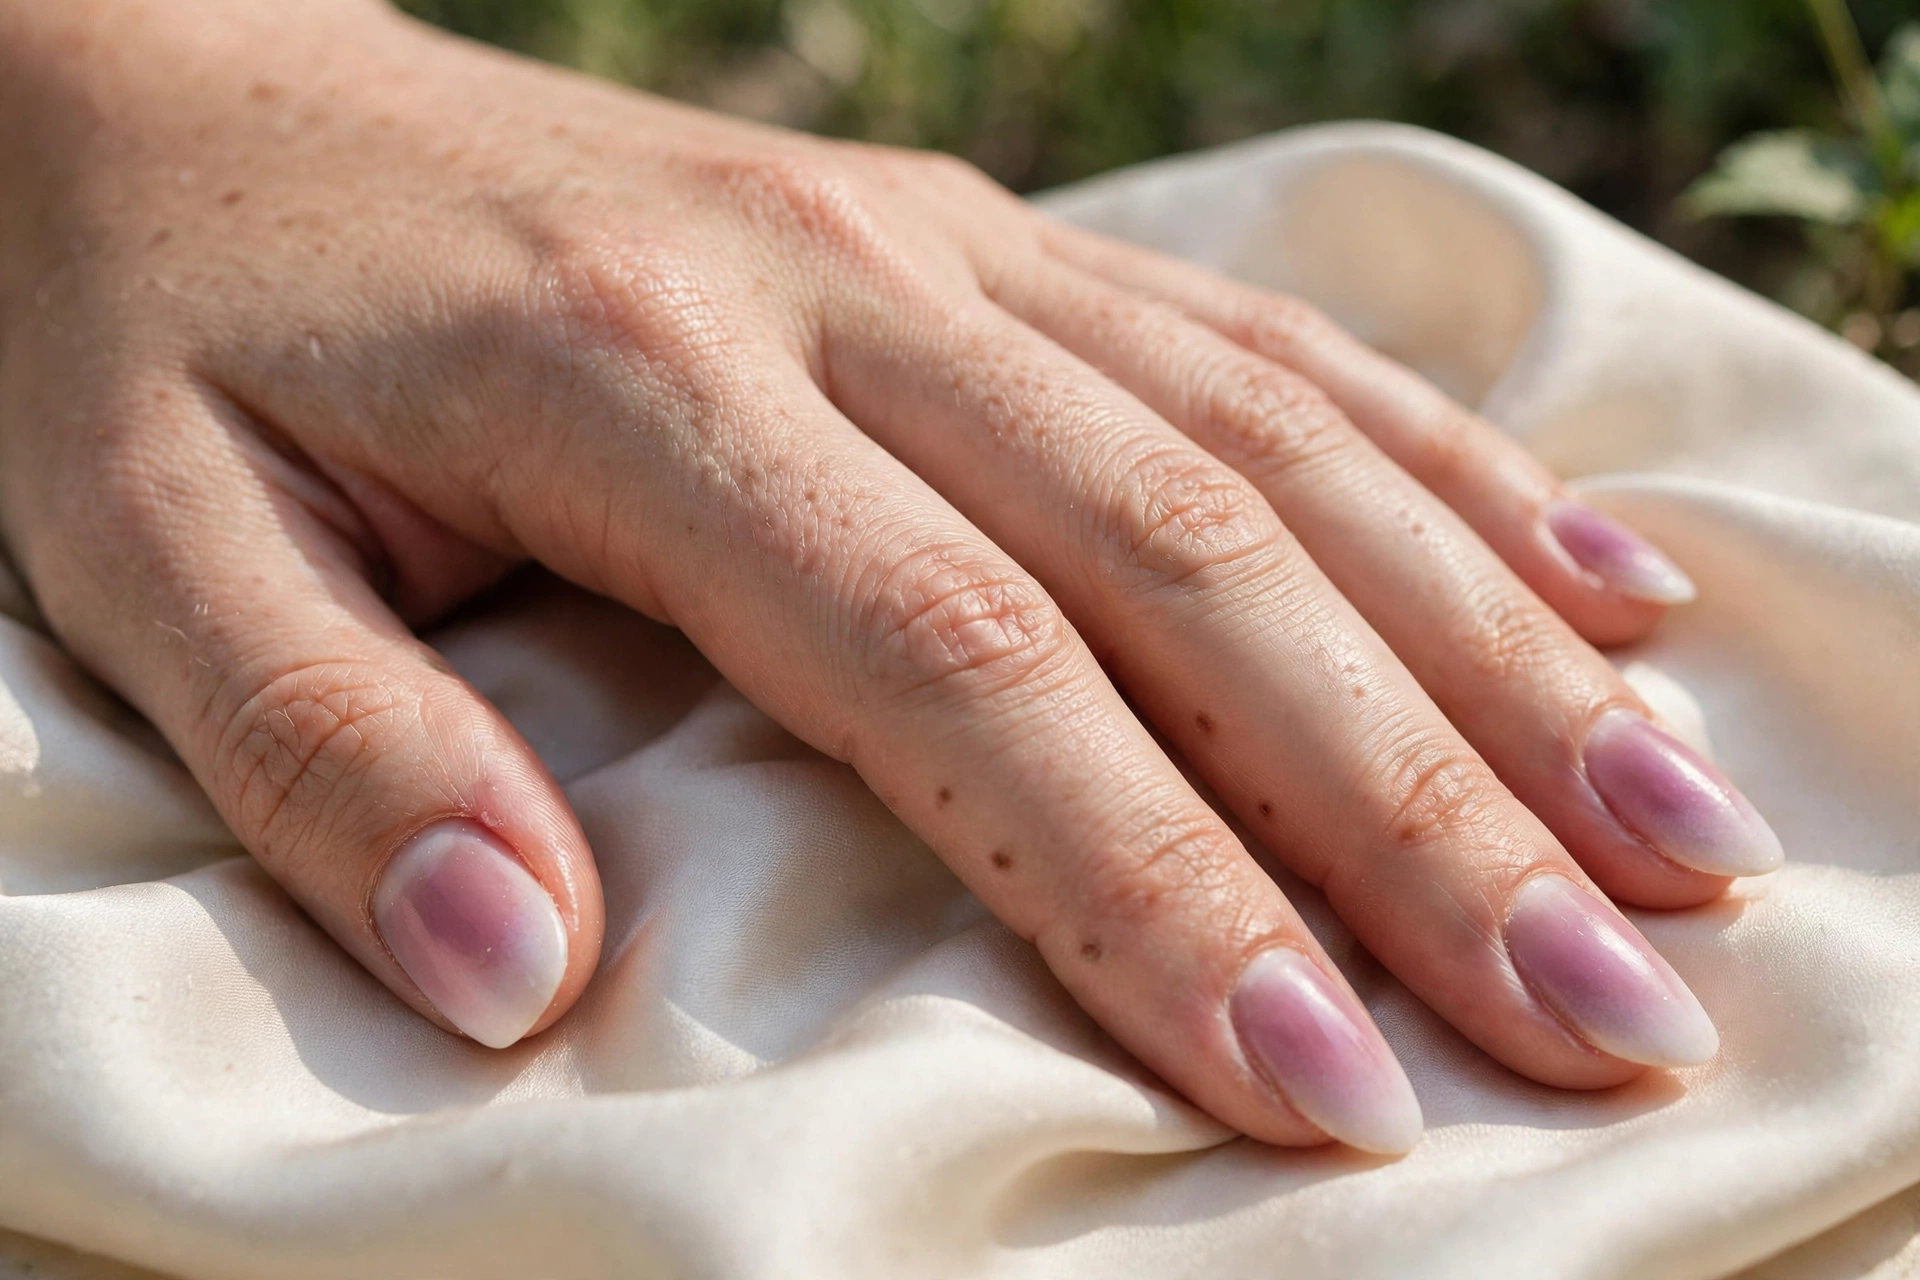
15. Powder Aura
A soft glowing center of mauve-pink fading into milky edges — the aura effect, achieved by dusting concentrated pigment powder at the center and diffusing outward. Powder was made for this: the medium literally is pigment dust.
Medium almond gives the gradient room to breathe. This is a salon look — even aura placement is hard without practice. Difficulty: hard.
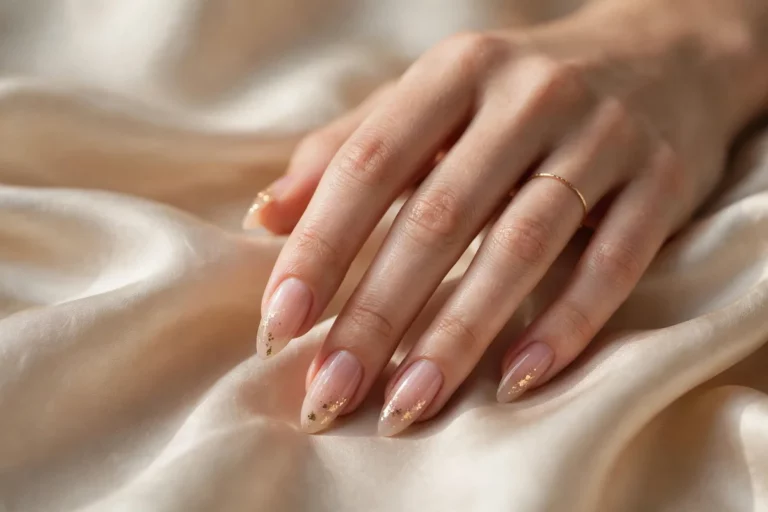
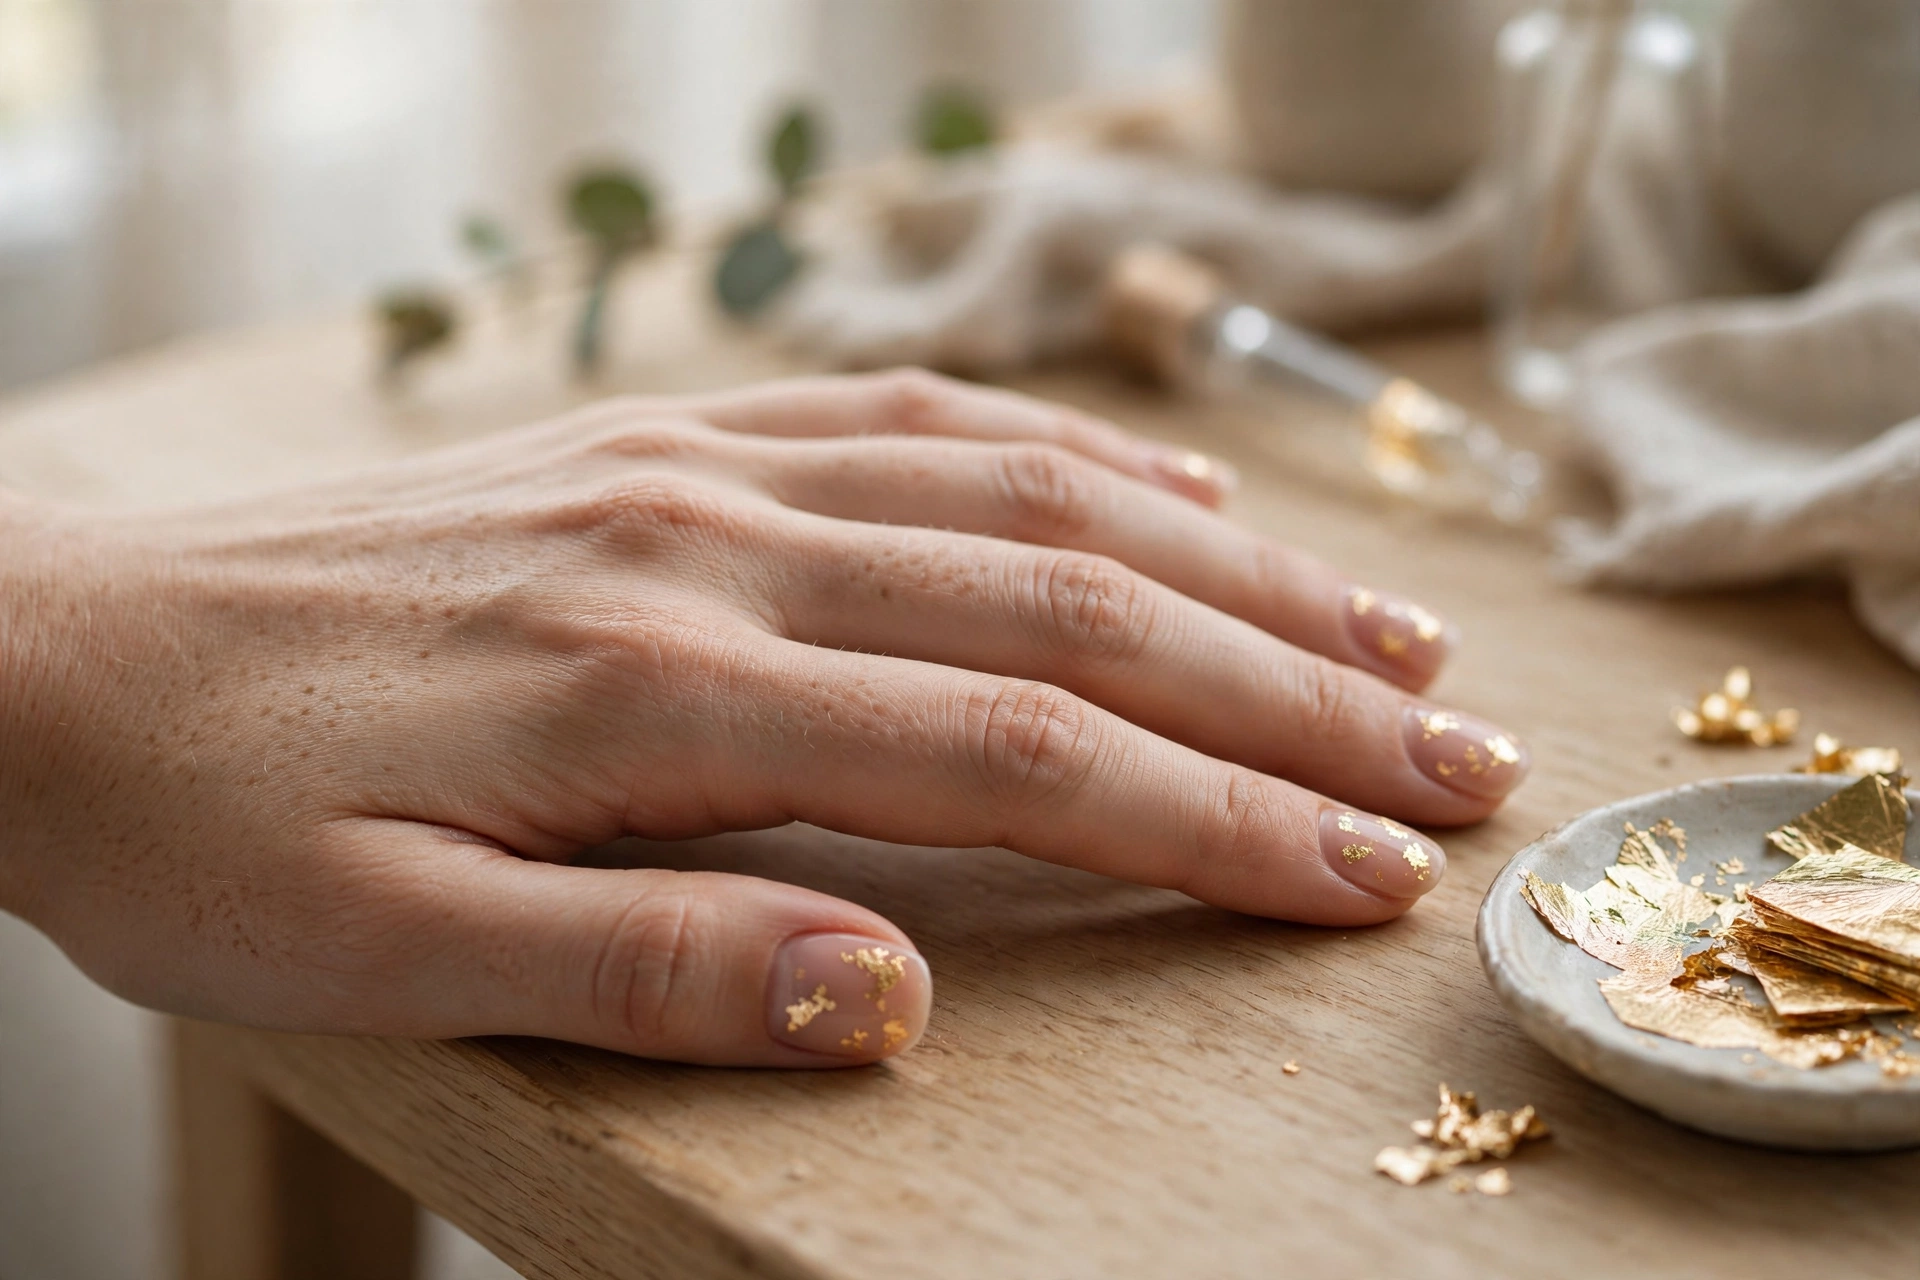
16. Gold Foil Encapsulation
Irregular gold foil flakes suspended under clear dip layers over a nude base. This is dip’s signature trick: encapsulation. Gel can suspend foil too, but dip’s build-and-seal layering locks pieces in with zero texture on the surface.
Any shape works; keep the foil sparse for elegance, denser for parties. Because the foil sits under the surface, it never snags. Difficulty: medium.
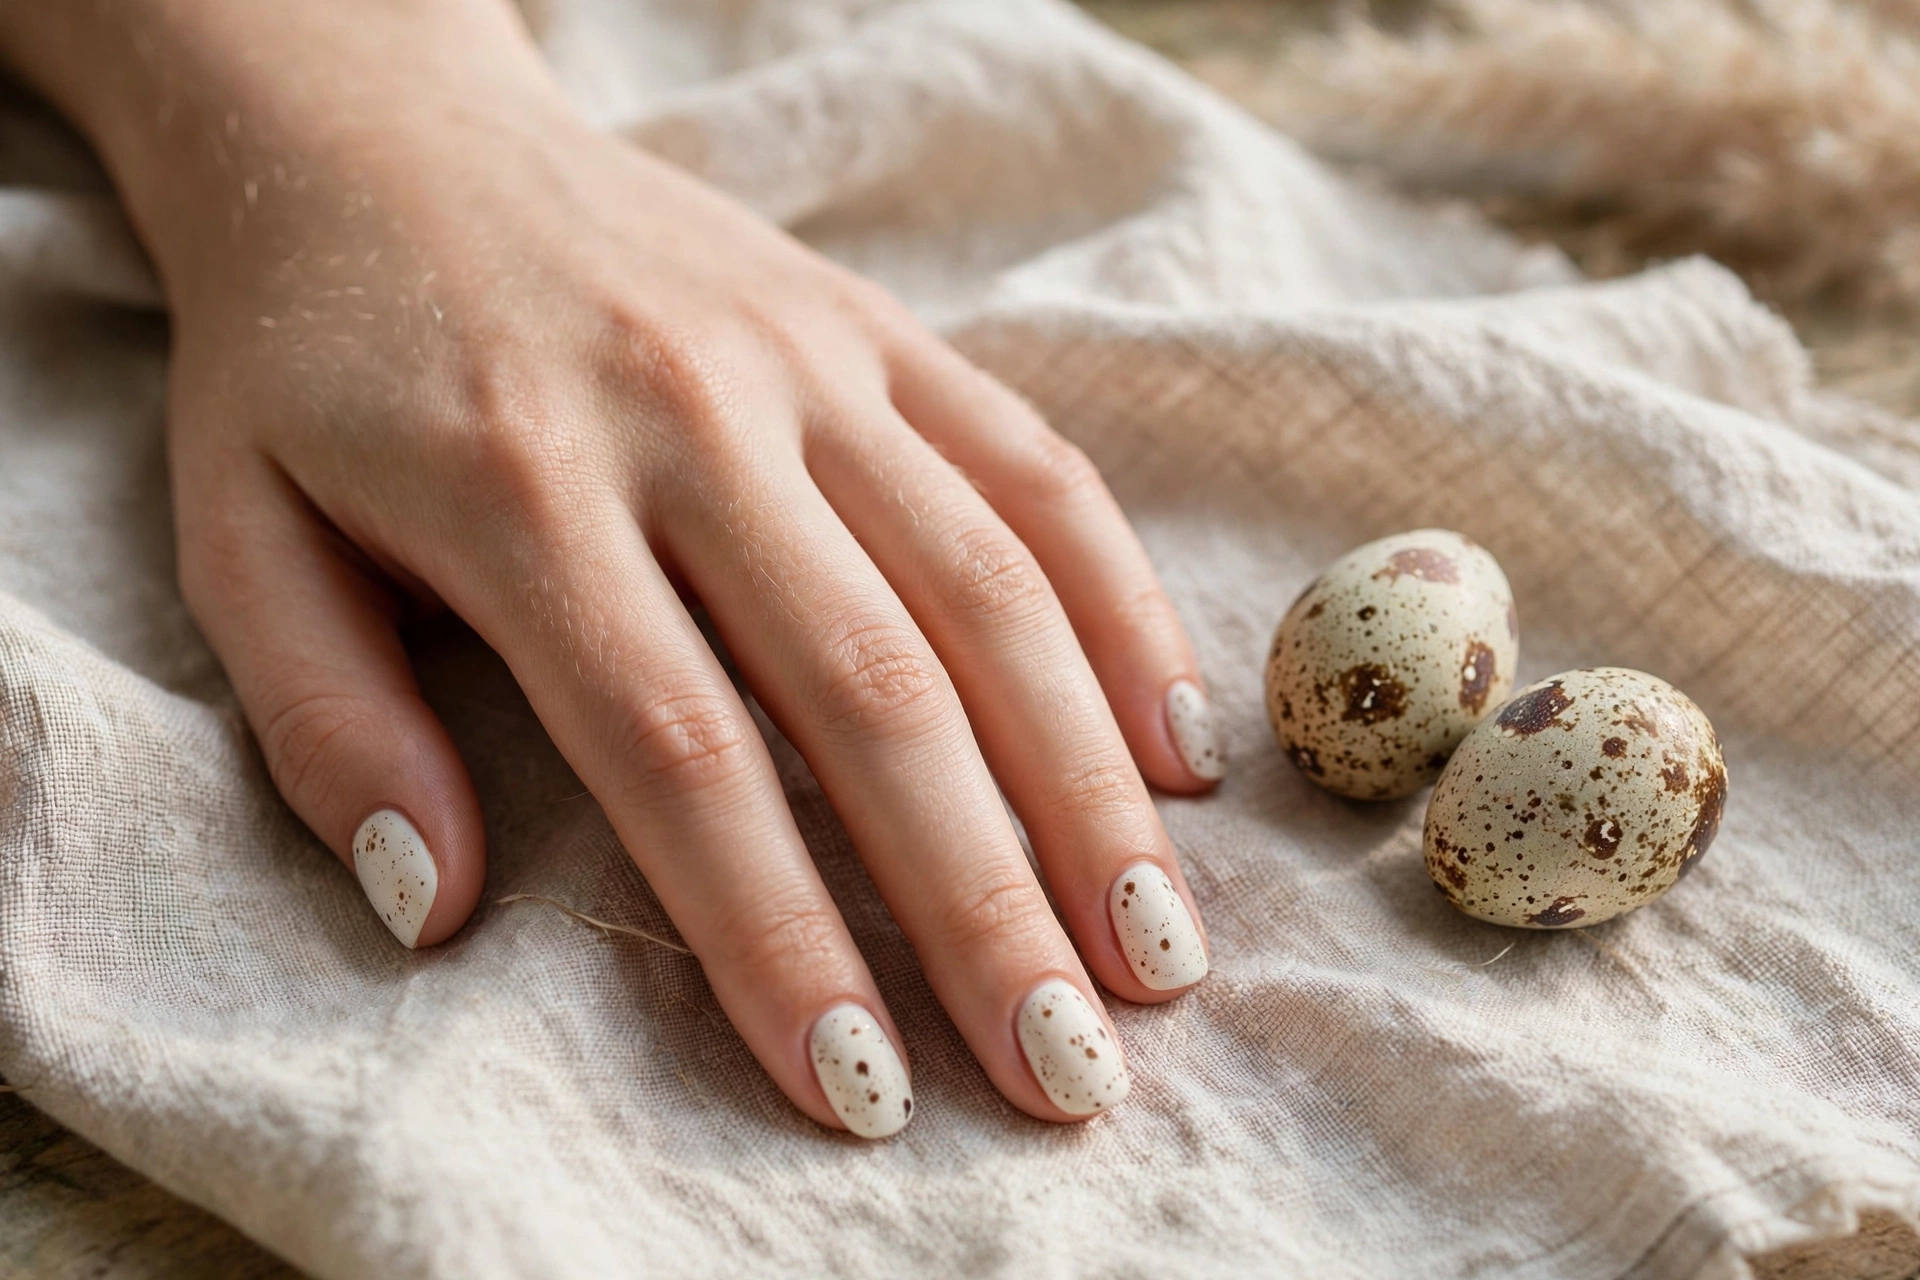
17. Quail-Egg Speckle
Cream-white dip dotted with tiny brown speckles like a quail eggshell, finished soft-matte. The speckle is mixed into the powder itself, so the pattern goes all the way through — no painted dots to chip off.
Short oval or squoval suits the organic feel. A lovely spring or Easter-adjacent pick that still reads grown-up. Difficulty: easy to medium.
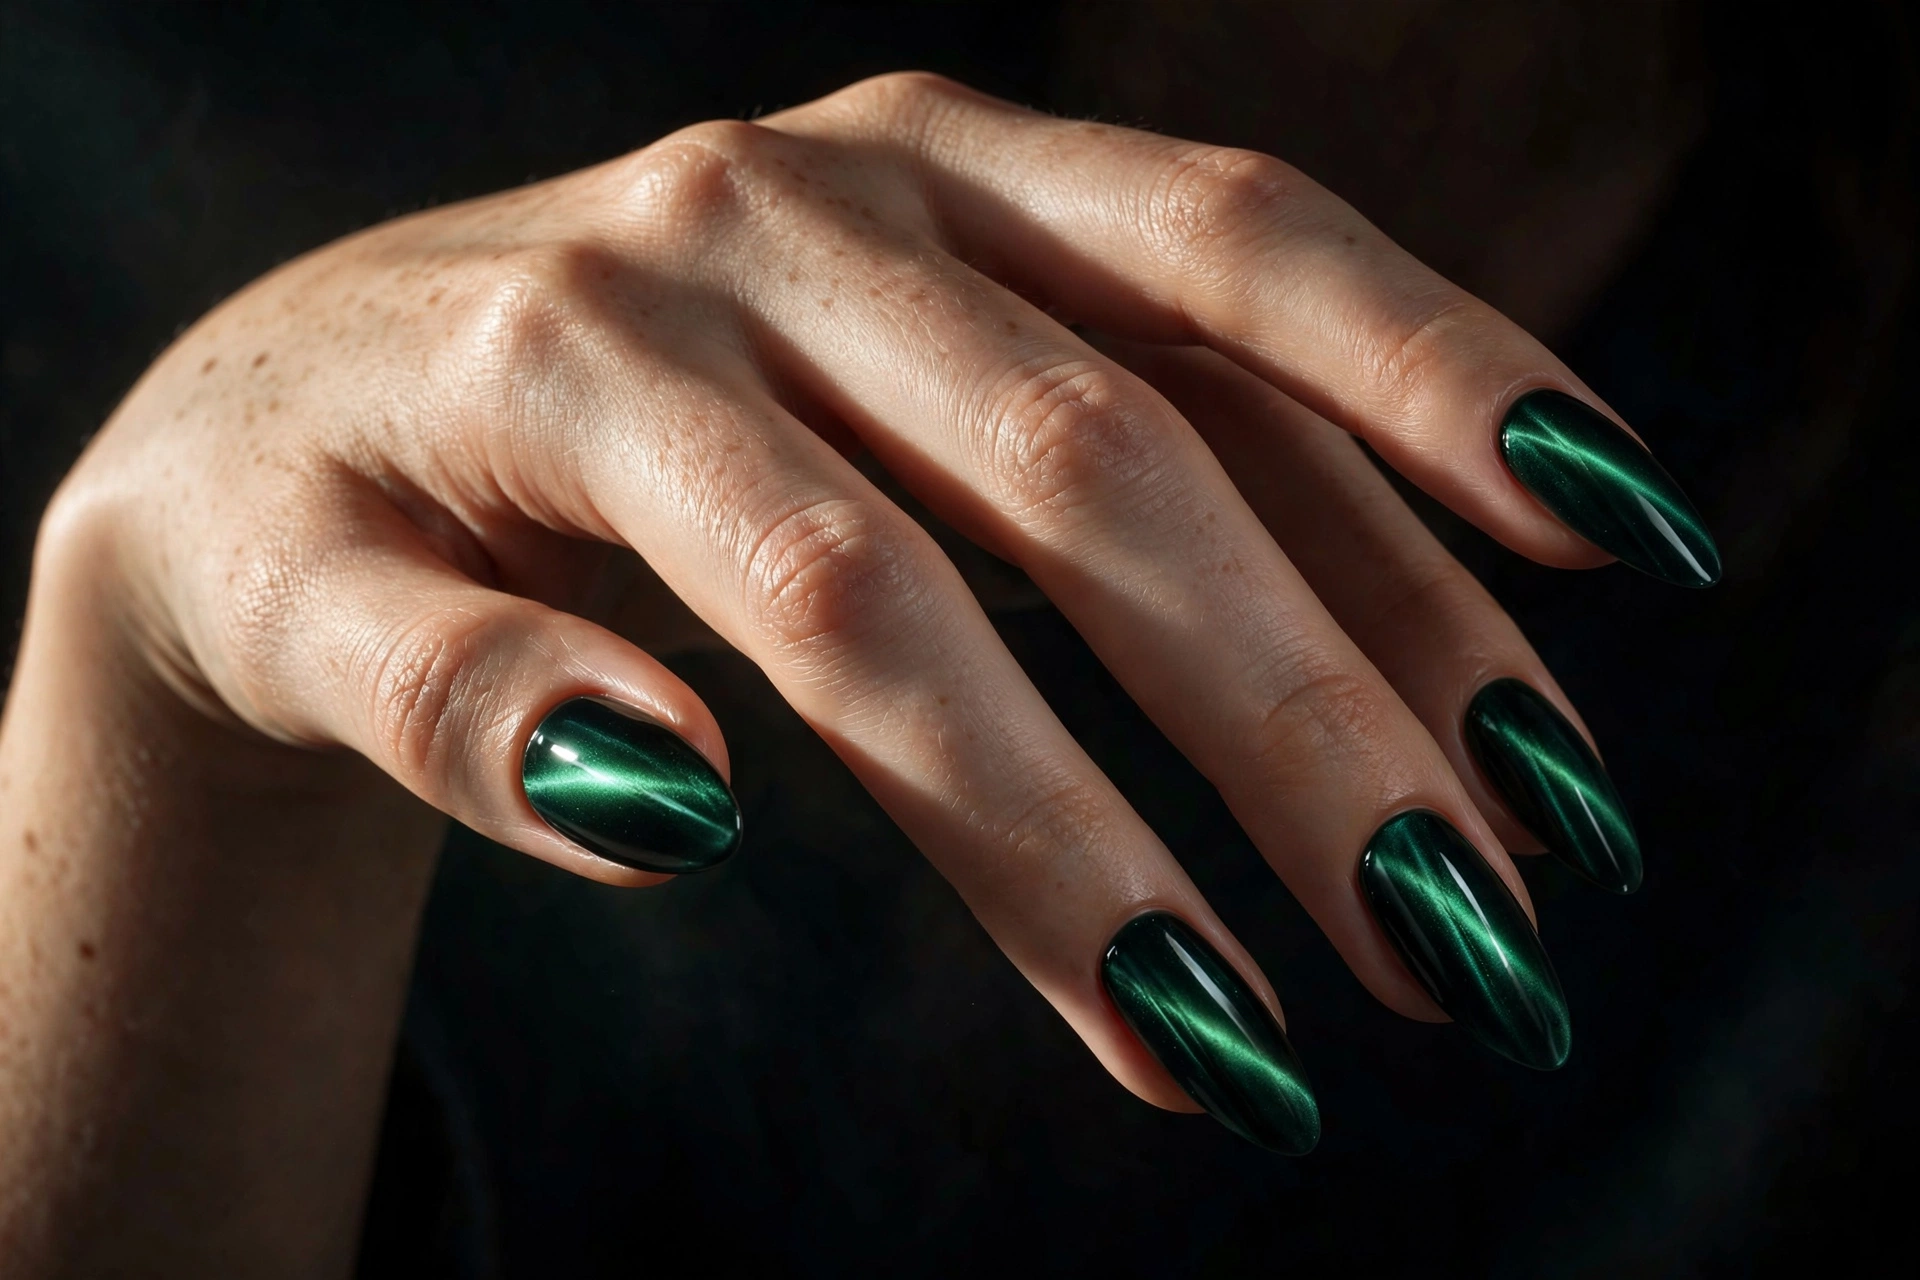
18. Emerald Cat-Eye Velvet
Magnetic pigment over a dark dip base creates the shifting light band of velvet — deep emerald here. The dip base gives the magnetic layer a perfectly smooth bed, which is what makes the effect look expensive instead of muddy.
Long almond shows the magnetic band at full drama. This needs a magnet wand and a steady hand, so it is a salon booking, not a DIY project. Difficulty: hard at home, straightforward for a tech.
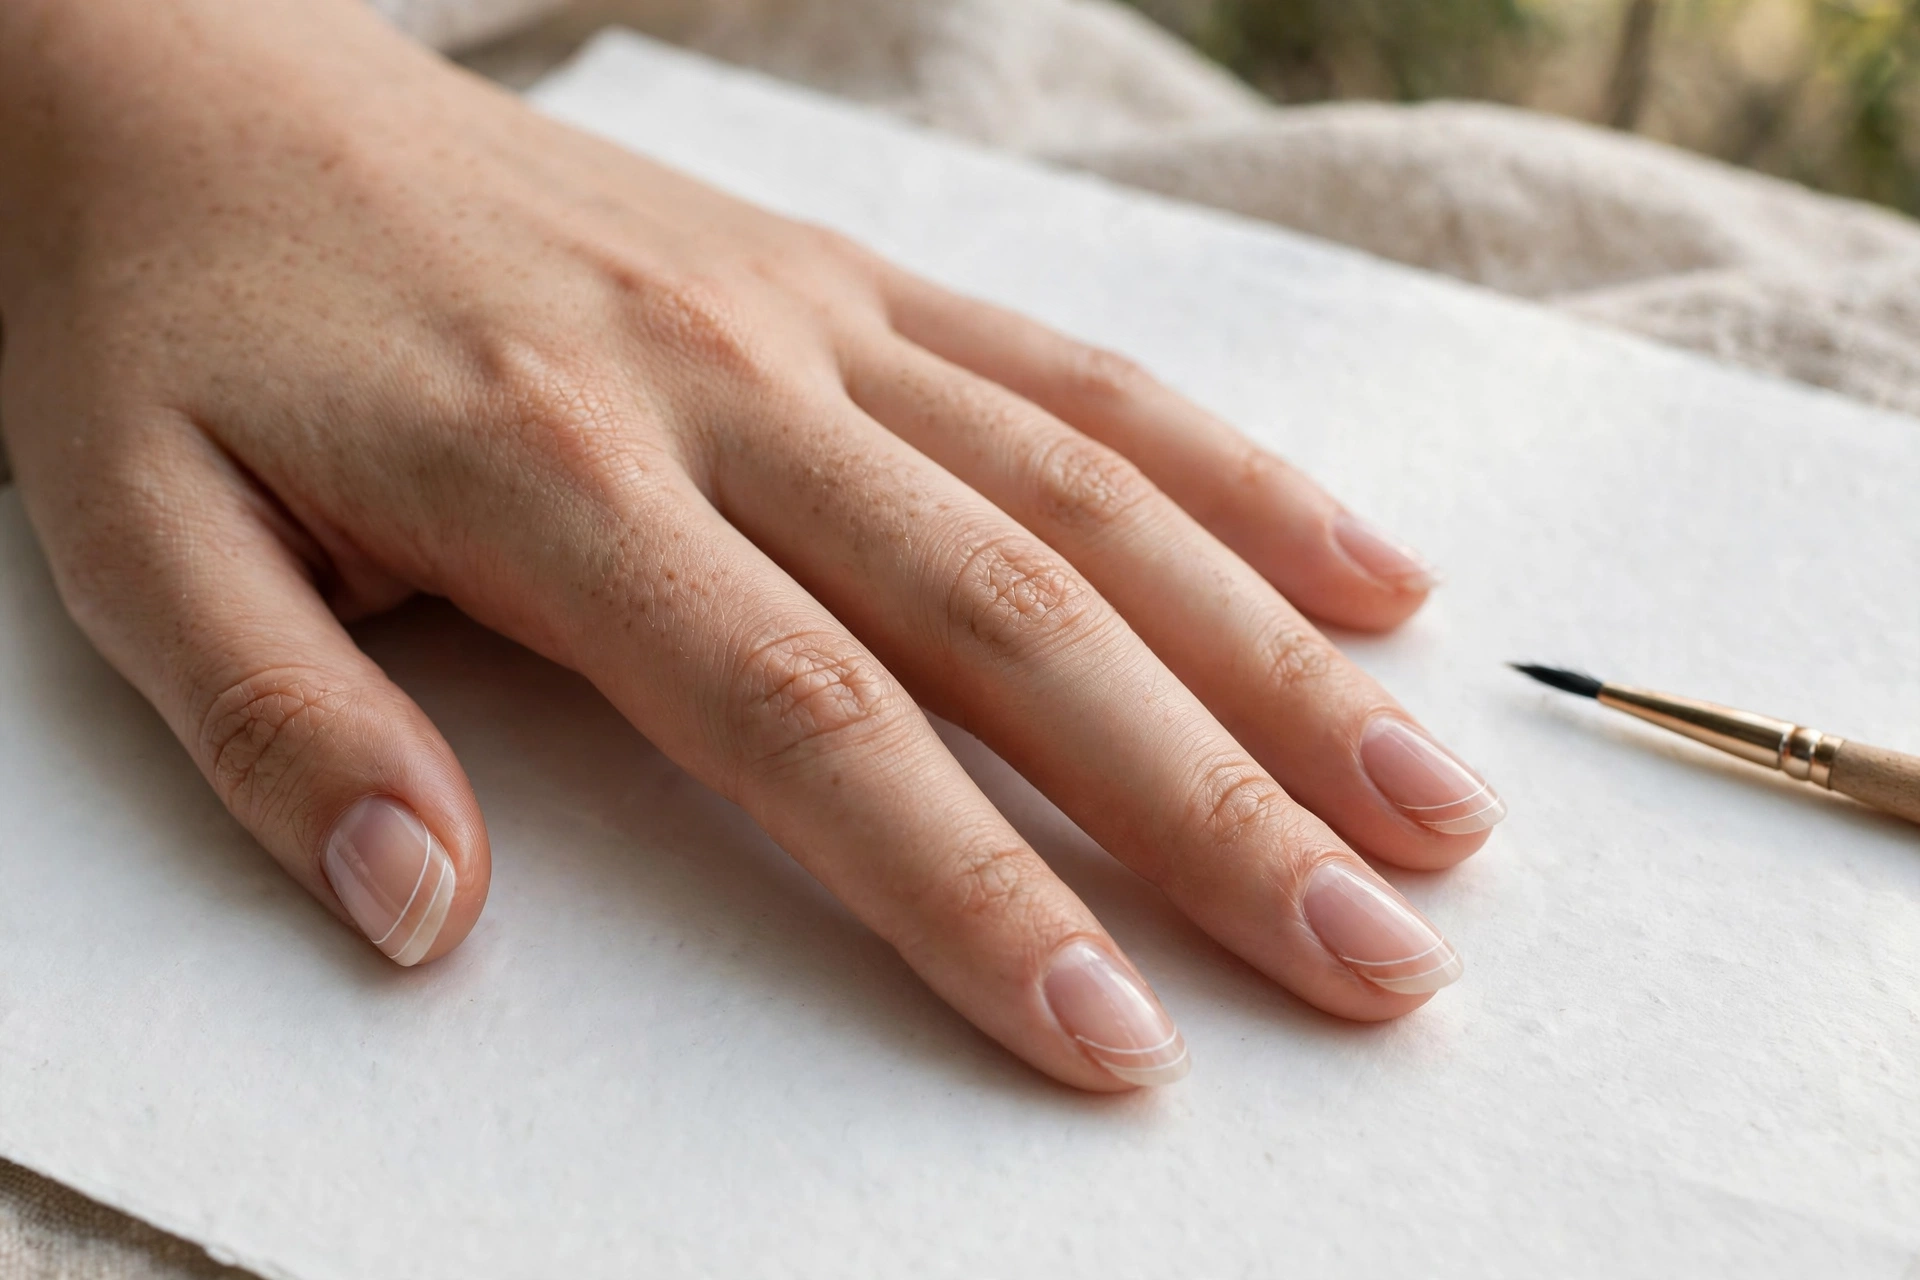
19. Double-Line Micro French
Two whisper-thin white lines tracing the tip over a sheer nude base — the minimalist answer to the French manicure. The lines are painted with a fine brush over the dip base, then sealed.
Short nails carry this best; the restraint is the point. Honest note: this is the one look here where gel polish arguably has the edge for line crispness — ask for a tech with a steady hand either way. Difficulty: hard.
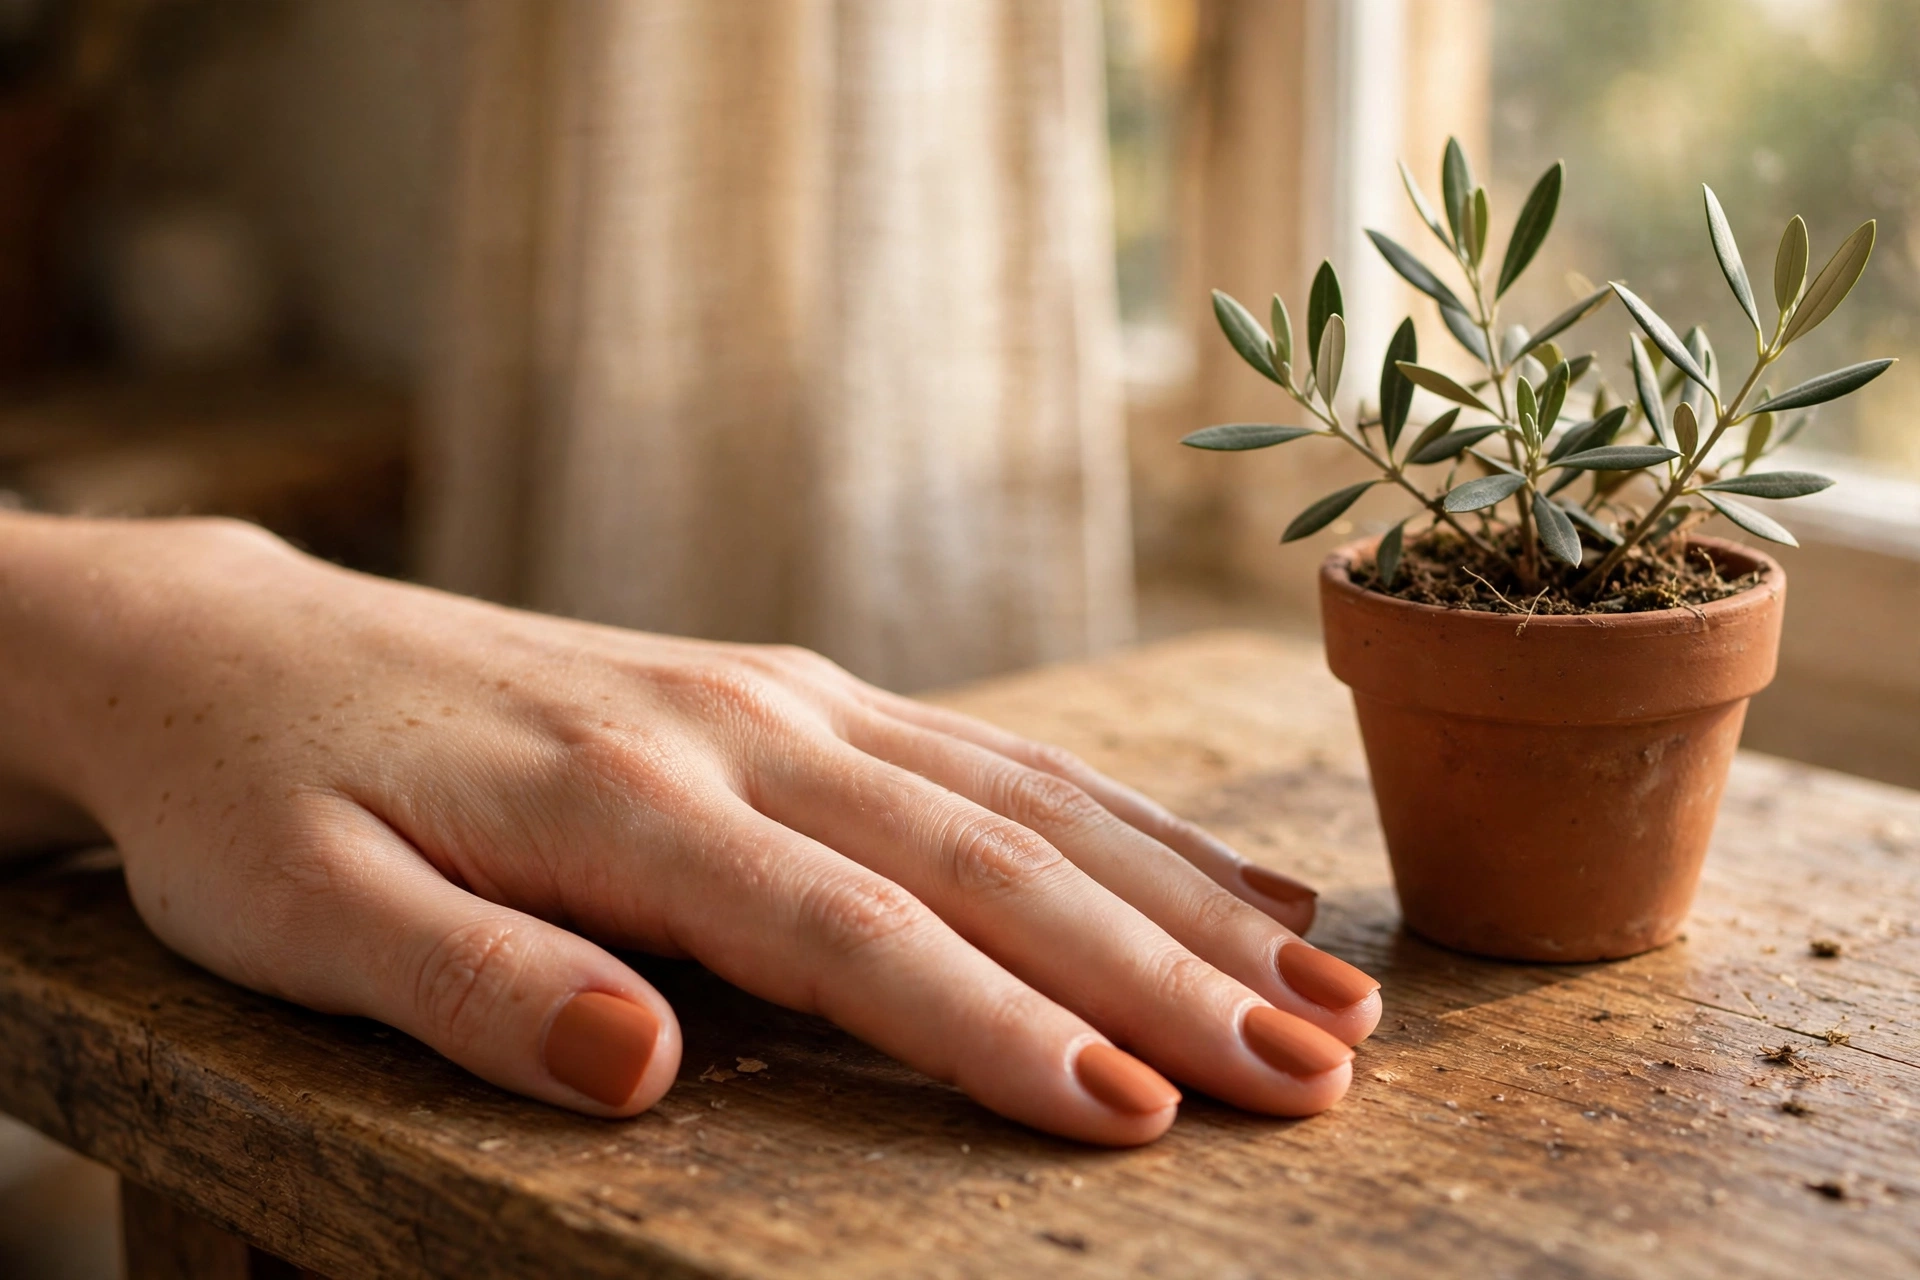
20. Terracotta Matte
Warm clay-orange in a velvety matte finish. Dip takes matte top coat beautifully — the powder’s density means the color stays rich instead of going chalky the way some matte polishes do.
Medium oval or almond. Matte shows oils and wear faster than gloss, so this is a two-to-three-week look rather than a four-week one; refresh the matte top coat at home to extend it. Difficulty: easy.
Dip Powder Aftercare and Removal, Honestly
Aftercare is simple: cuticle oil daily, gloves for harsh cleaning, and no picking at lifting edges. Removal is where most nail damage happens, so do it properly — file through the shiny seal coat until the surface looks dull, then soak cotton pads in acetone, wrap each nail in foil, and wait 10 to 15 minutes. The dip should slide off with gentle pressure from an orangewood stick. If it resists, re-wrap and wait longer; never pry. Peeling dip off takes layers of your natural nail with it, and that is the damage people blame on the powder.
Troubleshooting: Why Dip Goes Thick, Lifts, or Cracks
Dip has a reputation problem that is mostly an application problem. If a set disappoints you, it is almost always one of these four causes — each fixable, none a reason to give up on the system.
Thick and lumpy
The base liquid went on too thick, or loose powder was not brushed off between dips and compacted into bumps. The fix is thinner base strokes, a firm brush-off after every single dip, and filing after the activator has hardened — never try to fix lumps by adding more layers.
Lifting at the cuticle within days
Base liquid flooded the cuticle or skin, or the nail plate was oily at application. Product that touches skin has nothing to grip and peels from that edge. Leave a hairline of bare nail around the cuticle, dehydrate properly, and never apply over freshly moisturised hands.
Cracking or chipping in week one
The layers were too thin overall, or the clear building layer was skipped to save time. Dip is rigid, so an under-built set flexes and cracks instead of bending. Aim for three to four total layers including the clear foundation, and ask for a slightly thicker apex on longer nails.
Cloudy or streaky top coat
The top coat went on while the activator was still wet, which clouds the finish and can harden the top-coat brush inside its own bottle. Let the activator dry fully — two minutes, timed, not guessed — and wipe the brush on a lint-free pad between nails.
Dip Powder Nails: Frequently Asked Questions
Do dip powder nails damage your natural nails?
Dip powder itself is not inherently damaging — most damage comes from aggressive filing during prep or from peeling the product off instead of soaking it off. Applied and removed correctly, many people grow their natural nails longer under dip. Take a short break between sets if your nails feel thin, and never let a tech drill aggressively into the natural nail plate.
How long do dip powder nails last?
Typically two to four weeks, depending on your nail growth, daily wear, and the design. Nude-based designs like ombre and sheer overlays look presentable the longest because regrowth is less visible; dark opaque shades show the cuticle line sooner but still wear without chipping.
Is dip powder better than gel?
Neither is universally better — it depends on what you want. Dip generally lasts longer and needs no UV lamp, but it feels slightly thicker. Gel feels thinner and more flexible with a glassier shine, but usually needs redoing sooner. If your priority is maximum wear without lamp curing, dip wins; if you want the most natural feel, gel does.
Can you do ombre and French manicures with dip powder?
Yes — both are dip specialties. Ombre is done by sprinkling or tapping a second powder over the first to build the gradient, which many techs find easier than sponge-blending gel. French tips are created by dipping just the tips in white or colored powder, giving a sharp smile line.
How do you remove dip powder nails at home?
File off the shiny top seal until the surface looks matte, soak acetone-soaked cotton pads on each nail wrapped in foil for 10 to 15 minutes, then gently push the softened product off with an orangewood stick. If any area resists, re-wrap and soak longer rather than forcing it. Finish with cuticle oil.
Is dip powder sanitary? What about double dipping?
The powder jar itself is the hygiene question: dipping multiple clients’ fingers into the same jar can transfer bacteria. Reputable salons use the pour-over method — sprinkling powder from the jar onto the nail over a tray — or use separate portions per client. It is reasonable to ask your tech which method they use before the service starts.
Can you do dip powder nails at home?
Yes, at-home dip kits exist and the technique is learnable — many people manage solid single-color sets after a few tries. Ombre, French, and encapsulated designs are genuinely harder and worth booking professionally until your technique is solid. The most common beginner mistake is applying the base too thickly, which makes nails look bulky; thin layers are the whole secret.
Can you put dip powder over tips or extensions?
Yes. Dip powder is an overlay, and it can be built over a glued, blended nail tip exactly as it is built over your natural nail, which is how you get a long almond or coffin shape if your own nails will not grow there. The tip provides the length and the dip provides the strength and colour. Ask for “tips with a dip overlay” at the salon. Removal is the same acetone soak-off described above, just allow a few extra minutes for the tip to dissolve too.
Is dip powder healthier than gel or acrylic?
Honestly, no manicure system feeds or heals your nails, whatever the jar claims. Powders marketed as vitamin- or calcium-infused sound nourishing, but the nail plate is dead keratin — those ingredients sit on the surface and are filed and soaked away with the rest of the product. What genuinely differs between systems is UV exposure (dip needs none) and how the product treats the nail on the way off. Your nail health after any manicure depends far more on gentle removal, and on giving nails an occasional bare week, than on which system you chose.
Can you fill dip powder nails like acrylic, or do you have to start over?
Standard practice is a fresh set every time. Unlike acrylic, dip is a sealed surface: once it has grown out for two or three weeks, a technician cannot reliably check what is happening underneath a filled edge, and trapped moisture or hidden lifting can go unnoticed. Some salons will file a set down and re-dip over it, but most experienced techs recommend full removal and a fresh application — it is also the only way to change from a sheer look to a dark one cleanly. Plan on a complete redo at each appointment rather than a fill.