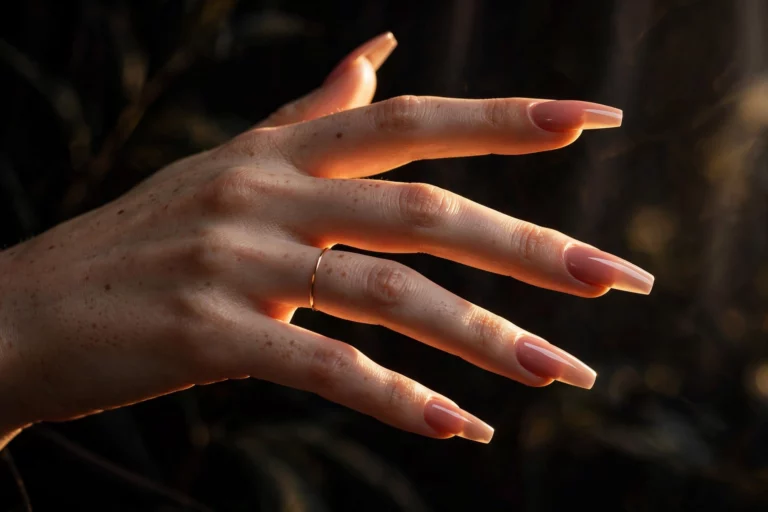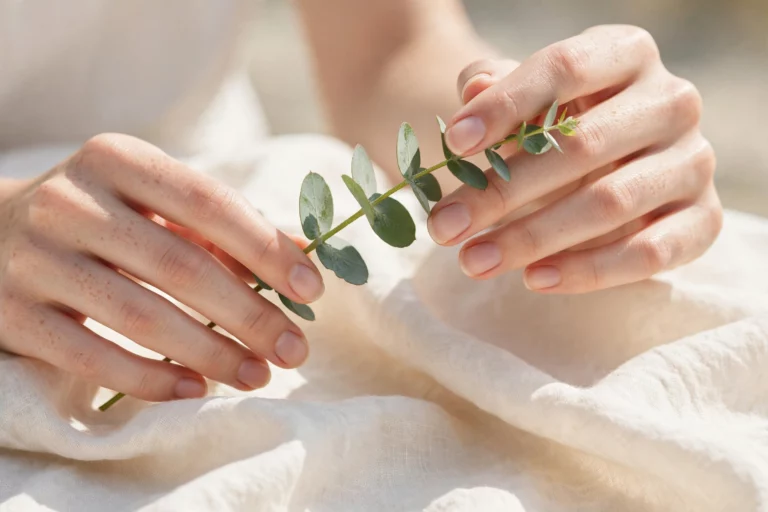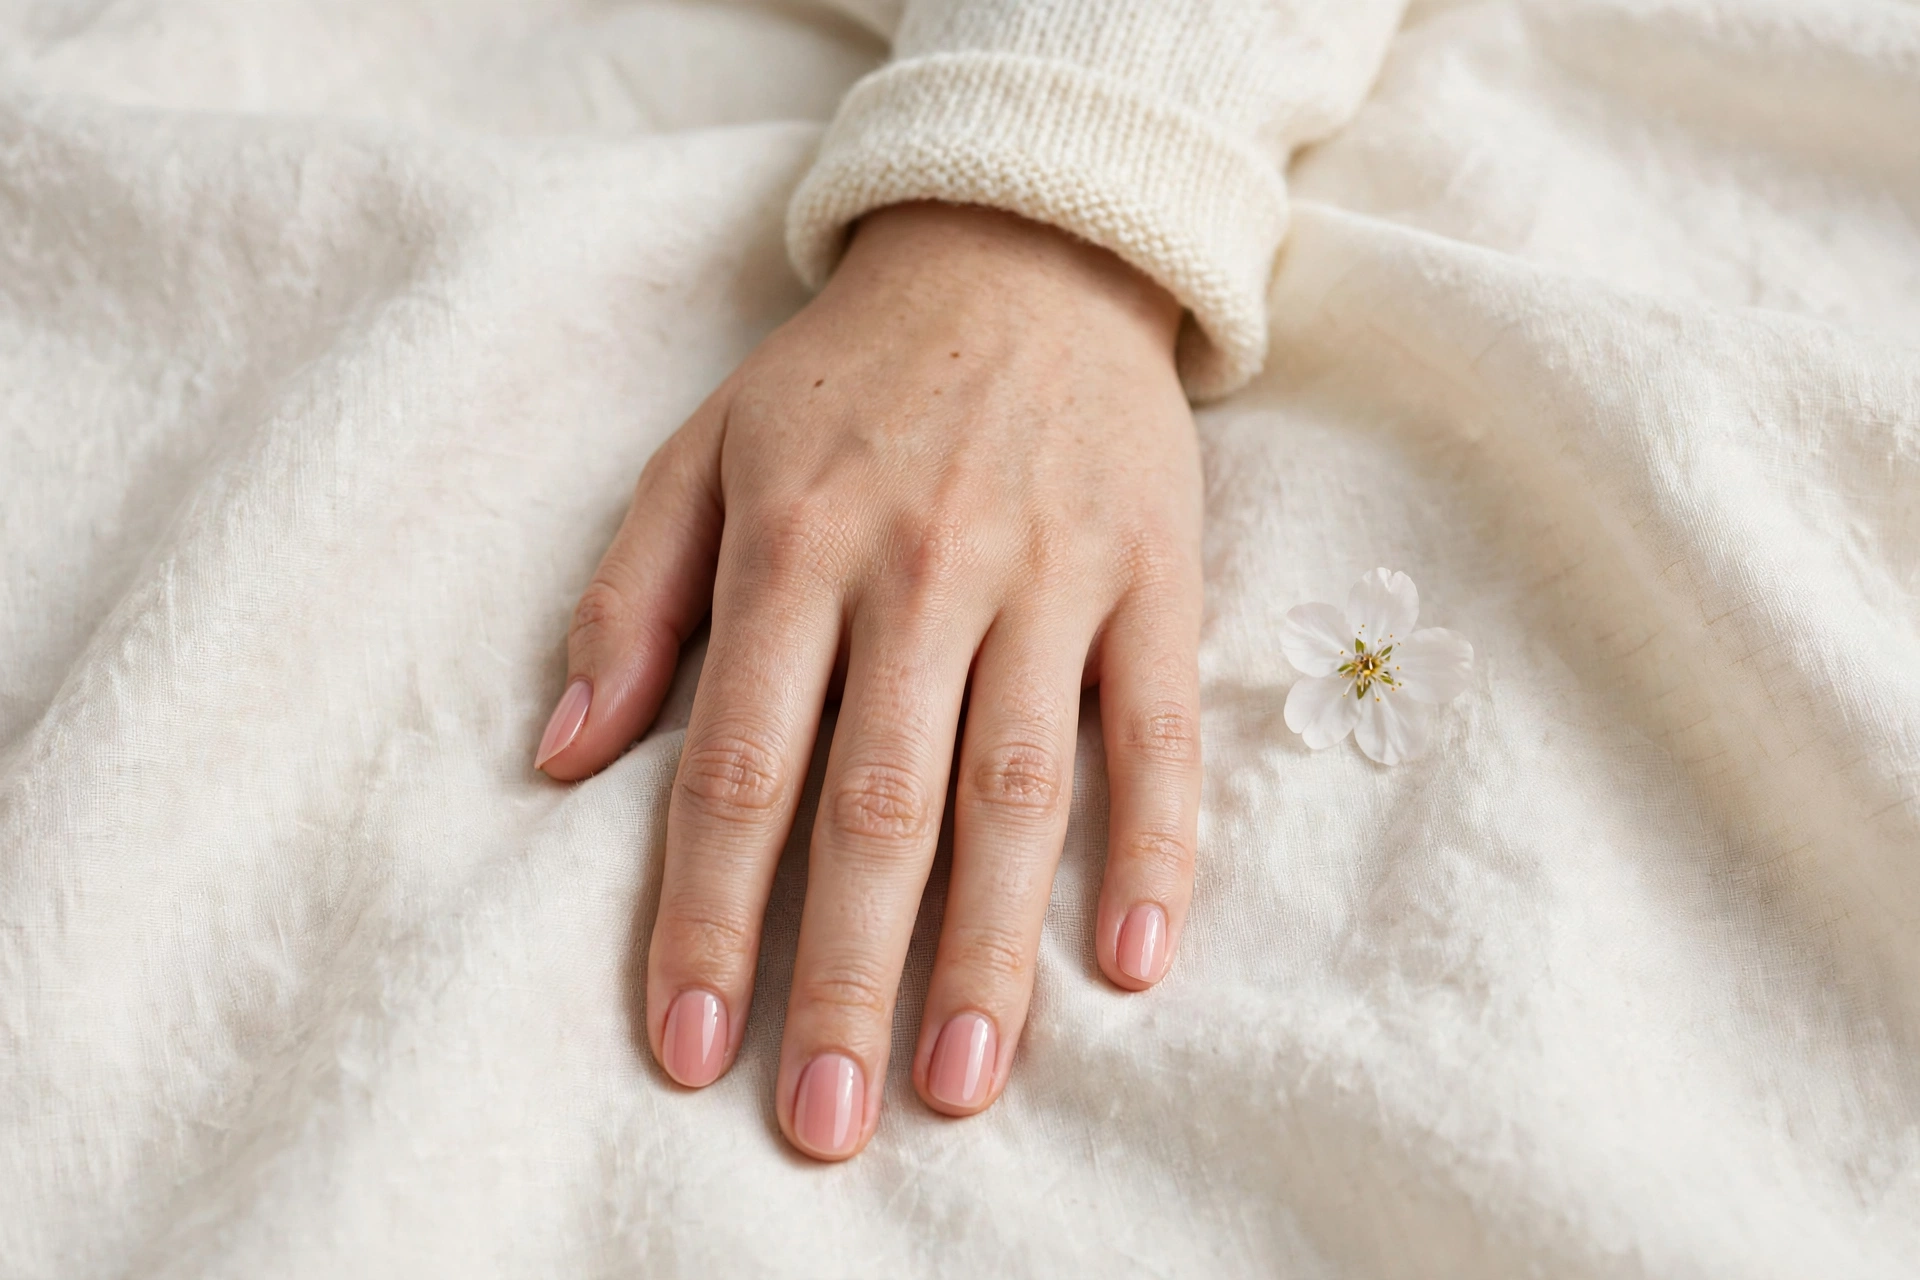
18 Oval Nail Designs That Flatter Every Hand
Oval nails are the softest, most natural-looking shape you can wear: a gentle rounded tip that follows the curve of your fingertip. This guide covers 18 oval nail designs worth wearing, matched to your hand and nail-bed type, plus how to file the shape at home, who it suits best, and the real difference between oval, almond, and round.
What Are Oval Nails?
Oval nails have softly rounded sides that taper into a curved, egg-shaped tip — no corners, no points, no flat edges. The silhouette mirrors the natural shape of most fingertips, which is why oval reads as the most “natural” of all the sculpted shapes.
Because the outline is a continuous curve, oval is forgiving on imperfect lengths (one nail slightly shorter barely shows) and works on both natural nails and enhancements. For a full breakdown of how oval compares to every other silhouette, see our nail shapes guide.
Oval vs. Almond vs. Round
Oval and almond are the two shapes people confuse most. The quick test: if the tip comes to a soft peak, it is almond; if the tip is a smooth half-circle, it is oval. Here is how oval compares to its closest rivals.
| Shape | Tip | Best length | Durability | Elongating effect |
|---|---|---|---|---|
| Oval | Rounded half-circle | Short to medium | High — no corners or points to catch | Moderate; lengthens without drama |
| Almond | Soft peak | Medium to long | Medium — the tip takes impact | Strong; the taper draws the eye upward |
| Round | Semicircle, shorter | Very short to short | Highest — the strongest shape | Mild; best on already-long fingers |
| Squoval | Rounded flat tip | Short to medium | High | Low; the width reads structured, not long |
The practical takeaway: oval is the middle ground. It elongates better than round, breaks less than almond, and looks intentional at lengths where almond would look underdone. If you love the almond look but keep breaking tips, oval is the shape to switch to.
Who Do Oval Nails Suit?
Oval suits more hands than any other sculpted shape. The rounded tip softens wide nail beds, the gentle taper flatters short fingers, and the natural outline never fights the finger it sits on. It is the default recommendation in salons for clients who say “I just want my hands to look nice” without a strong style opinion.
A few honest notes from nail techs: oval needs a little length to read as oval — on very short nails it collapses into round, so let nails grow a few millimeters past the fingertip. On wide nail beds, medium length plus a darker shade gives the most flattering result. And if your nail beds are very narrow, oval can look dainty to the point of fragile, so keep the free edge a touch longer for balance.
How to File Oval Nails at Home
You can file a clean oval on natural nails in about five minutes. The rule is simple: mirror your cuticle’s curve at the tip.
- Start with dry nails and a medium-grit file. File the sides in one direction, angling them gently inward toward the center — far less aggressively than you would for almond.
- Shape the free edge into a smooth half-circle that echoes your cuticle line. Work from one side to the other in long, even strokes rather than sawing back and forth.
- Hold the nail up to eye level and check symmetry: the highest point of the curve should sit in the center, with both sides matching.
- Smooth the edge with a fine-grit buffer and seal with base coat, color, and top coat.
The most common mistake is filing the sides too straight, which creates a tapered shape that reads as almond. If in doubt, file less off the sides — you can always take more off, but you cannot add it back.
Filing Mistakes That Ruin an Oval (and How to Fix Them)
Most failed ovals are one of three filing errors, and each has a specific fix — usually not the fix people reach for first.
The lopsided oval. One side of the tip sits higher than the other, so the curve leans. It happens when you file your dominant side more confidently. Do not try to even it out by filing the low side down further — that just shortens the nail. Instead, mark the true center of the tip with a dot of polish, then take two or three strokes off the higher side only, checking from the front after each pass.
The accidental almond. The tip has crept to a soft point because the sides were filed too straight and too far. The fix costs a little length: file the very tip straight down until the point blunts, then re-round the corners. What remains is a true oval, slightly shorter — better than a point you never wanted.
The shovel. The nail looks wide and flat-tipped because the sidewalls were barely touched. Resist filing the tip flatter; the correction is at the sides. Taper each sidewall gently inward from the stress point, then re-check the curve — the tip will suddenly read as oval without losing any length at the center.
Oval on Gel, Acrylic, Builder Gel and Press-Ons
Oval is one of the few shapes that works in every medium, but the medium changes what the shape can do for you — and how much length it can honestly carry.
On natural nails, oval is the growth-friendly option: no corners to catch means natural nails survive to medium length more reliably than in any other sculpted shape. Short to medium is the honest range; past that, most natural nails need reinforcement.
With gel polish or a builder-gel overlay, oval gets its best all-round version. The overlay adds the strength the longer curve needs without changing your own nail, and the smooth dome of builder gel actually emphasizes the oval silhouette. This is the route to choose if you want medium-to-long ovals that still look natural.
On acrylic or hard-gel extensions, ask for sculpted ovals rather than a pre-shaped tip glued on. A sculpted extension is built to your nail bed’s width, which matters: a stock tip that is too narrow pinches, and one that is too wide makes the oval read as round. Long ovals belong in this category — the extension carries the length so your natural nail does not have to.
Press-on ovals are the fastest test drive. If you are switching from square or almond and are not sure oval suits your hands, wear a press-on set for a week first. File the press-ons’ sidewalls slightly if they read too round — most read wide out of the box.
The Best Polish Colors for an Oval Shape
Oval’s curve interacts with color differently than a square or stiletto edge does: there is no corner to sharpen a shade, so colors read softer and slightly deeper on oval. Three rules cover most of the questions nail techs hear about this shape.
Match your nude to your undertone, not your skin depth. The elongating nudes in this guide work because the shade continues the skin’s color family — warm beige for warm undertones, rosy tones for cool ones. A nude that is simply “lighter” but the wrong undertone reads as a stripe and shortens the finger instead.
Dark shades flatter oval more than any other soft shape. Berry, espresso, and oxblood look plush rather than severe on a rounded tip, because the curve removes the hard edge that makes darks look harsh on square nails. If you find dark polish “too much” on other shapes, try it here first.
Sheers and jellies are oval’s home turf. Milky, jelly, and glazed finishes depend on light passing through a smooth, domed surface — exactly what oval provides. On shapes with corners these finishes pool unevenly; on oval they read as one continuous glow.
Short Fingers & Petite Hands: Looks That Elongate
On short fingers, every millimeter of visual length counts. These four designs use sheer color, vertical lines, and deep shades to stretch the eye from cuticle to tip, while the oval outline keeps the effect soft rather than severe.
1. Sheer Nude “Blush” Ovals
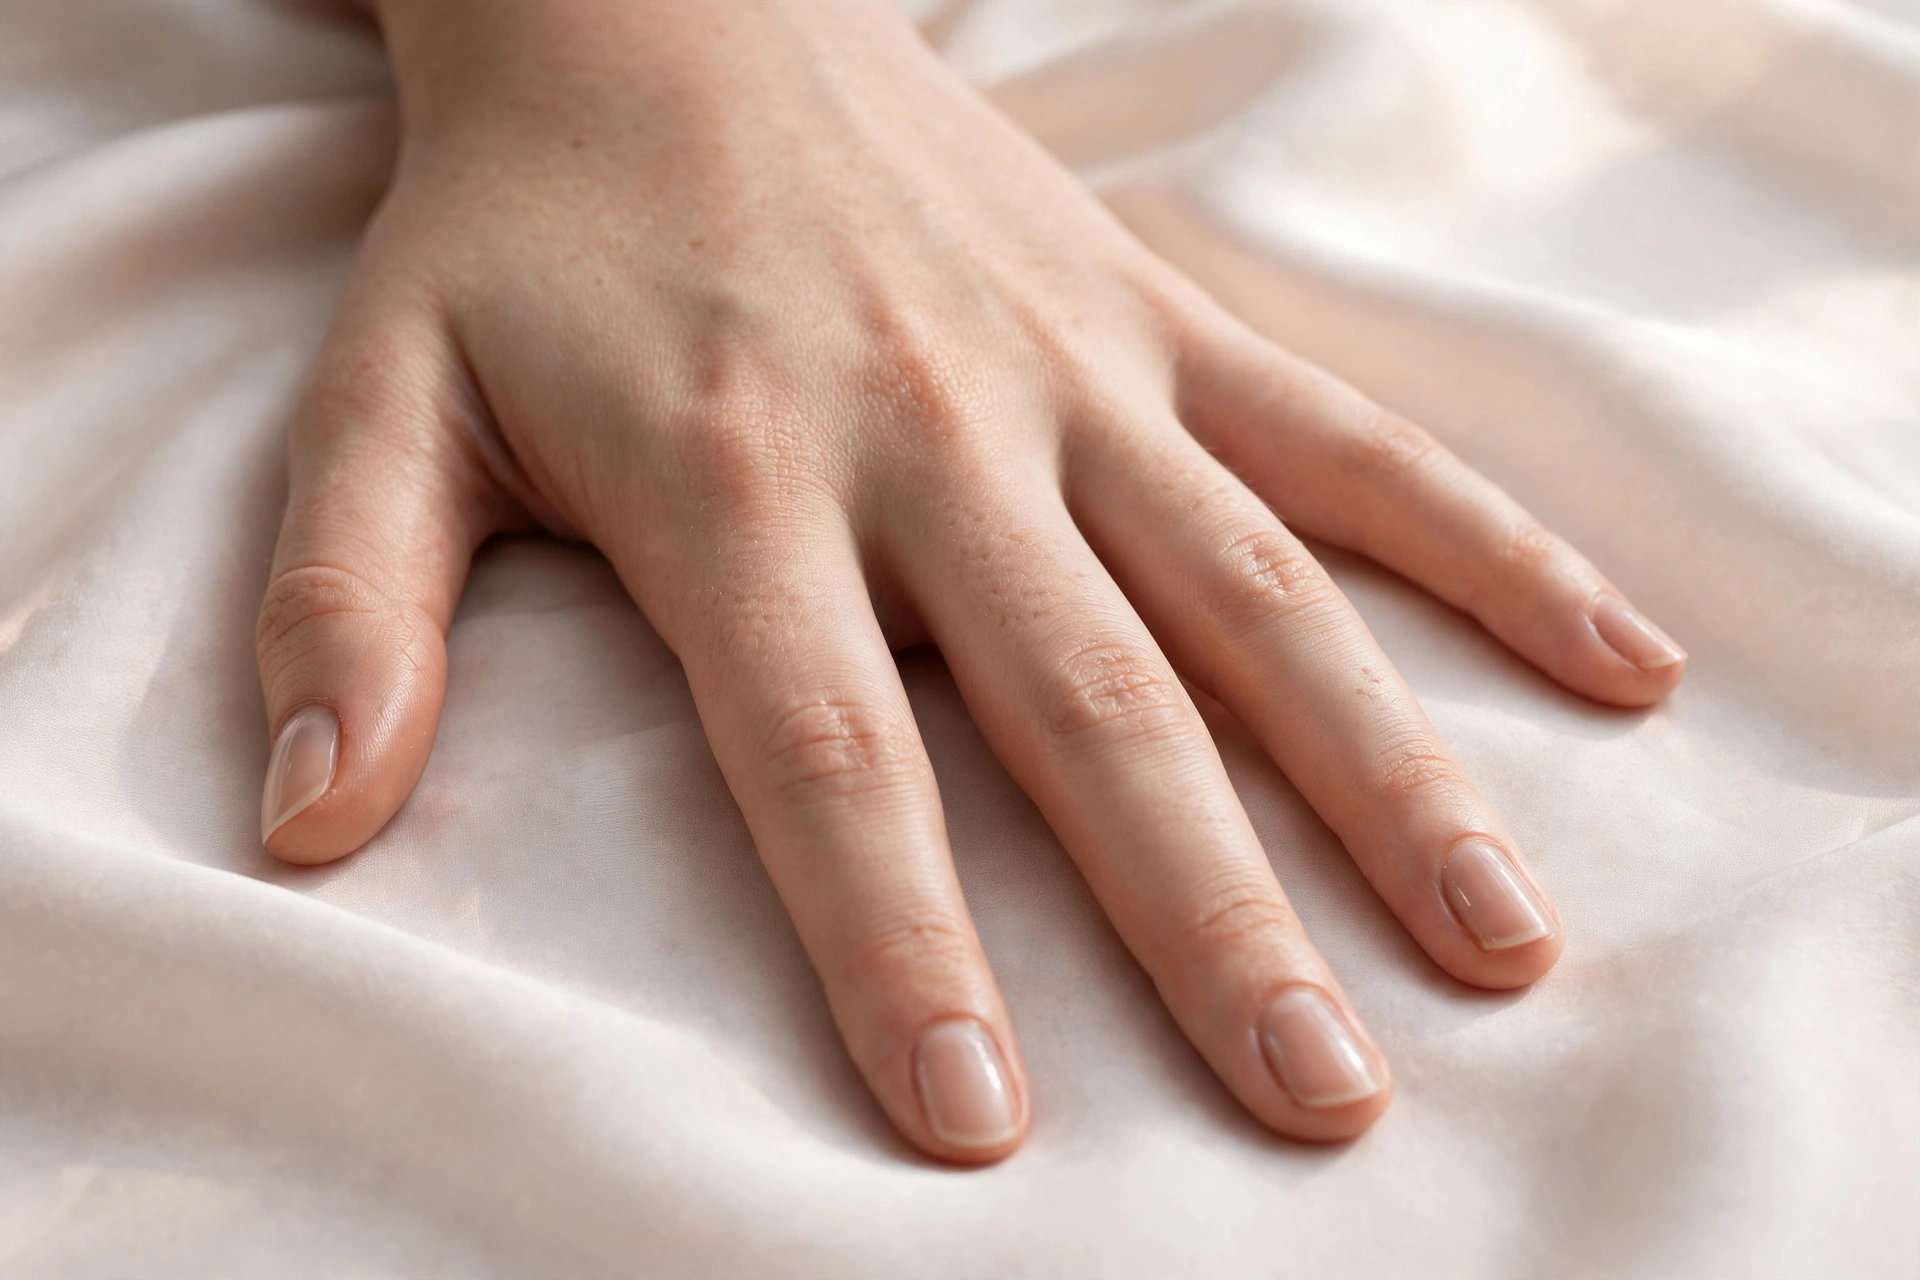
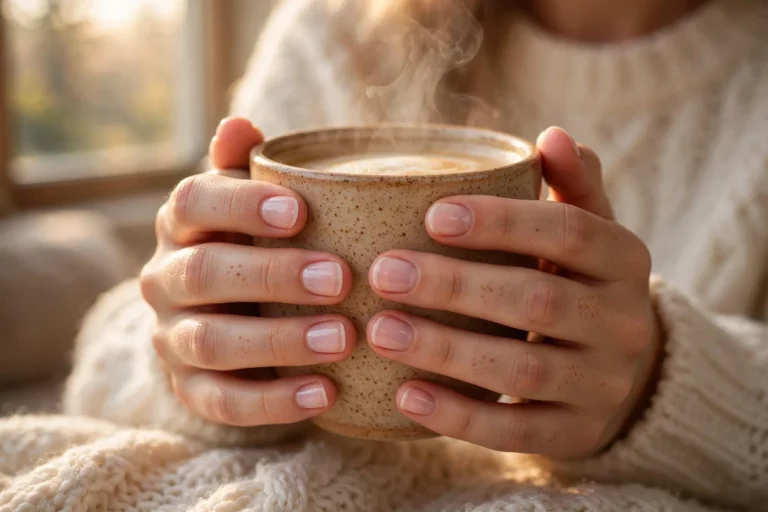
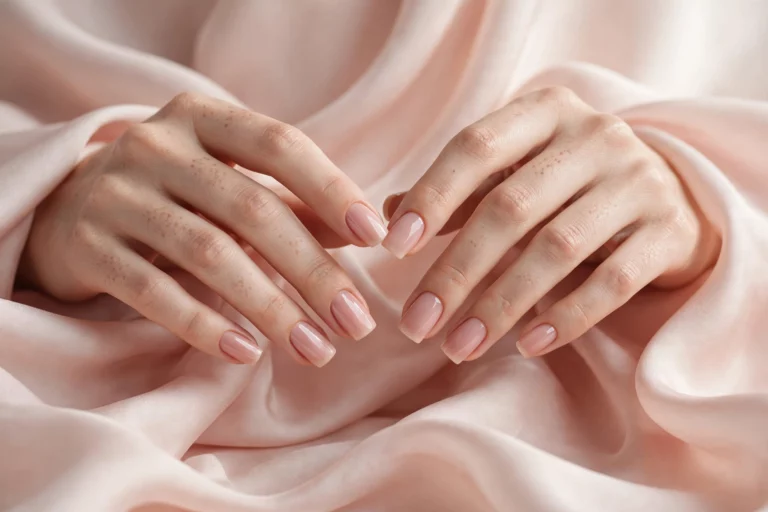
A sheer nude that nearly matches your skin tone is the single most elongating thing you can put on short fingers. The nail visually continues the finger line instead of stopping it, so the whole hand reads longer. On oval nails, the effect is especially convincing because the rounded tip blurs where the finger ends and the nail begins.
Difficulty: easy — one or two thin coats of a sheer nude gel or polish. Wearability: excellent for work and everyday life; chips barely show through the sheerness. This is the same barely-there philosophy behind our clean girl nails guide.
2. Vertical Micro-Stripes
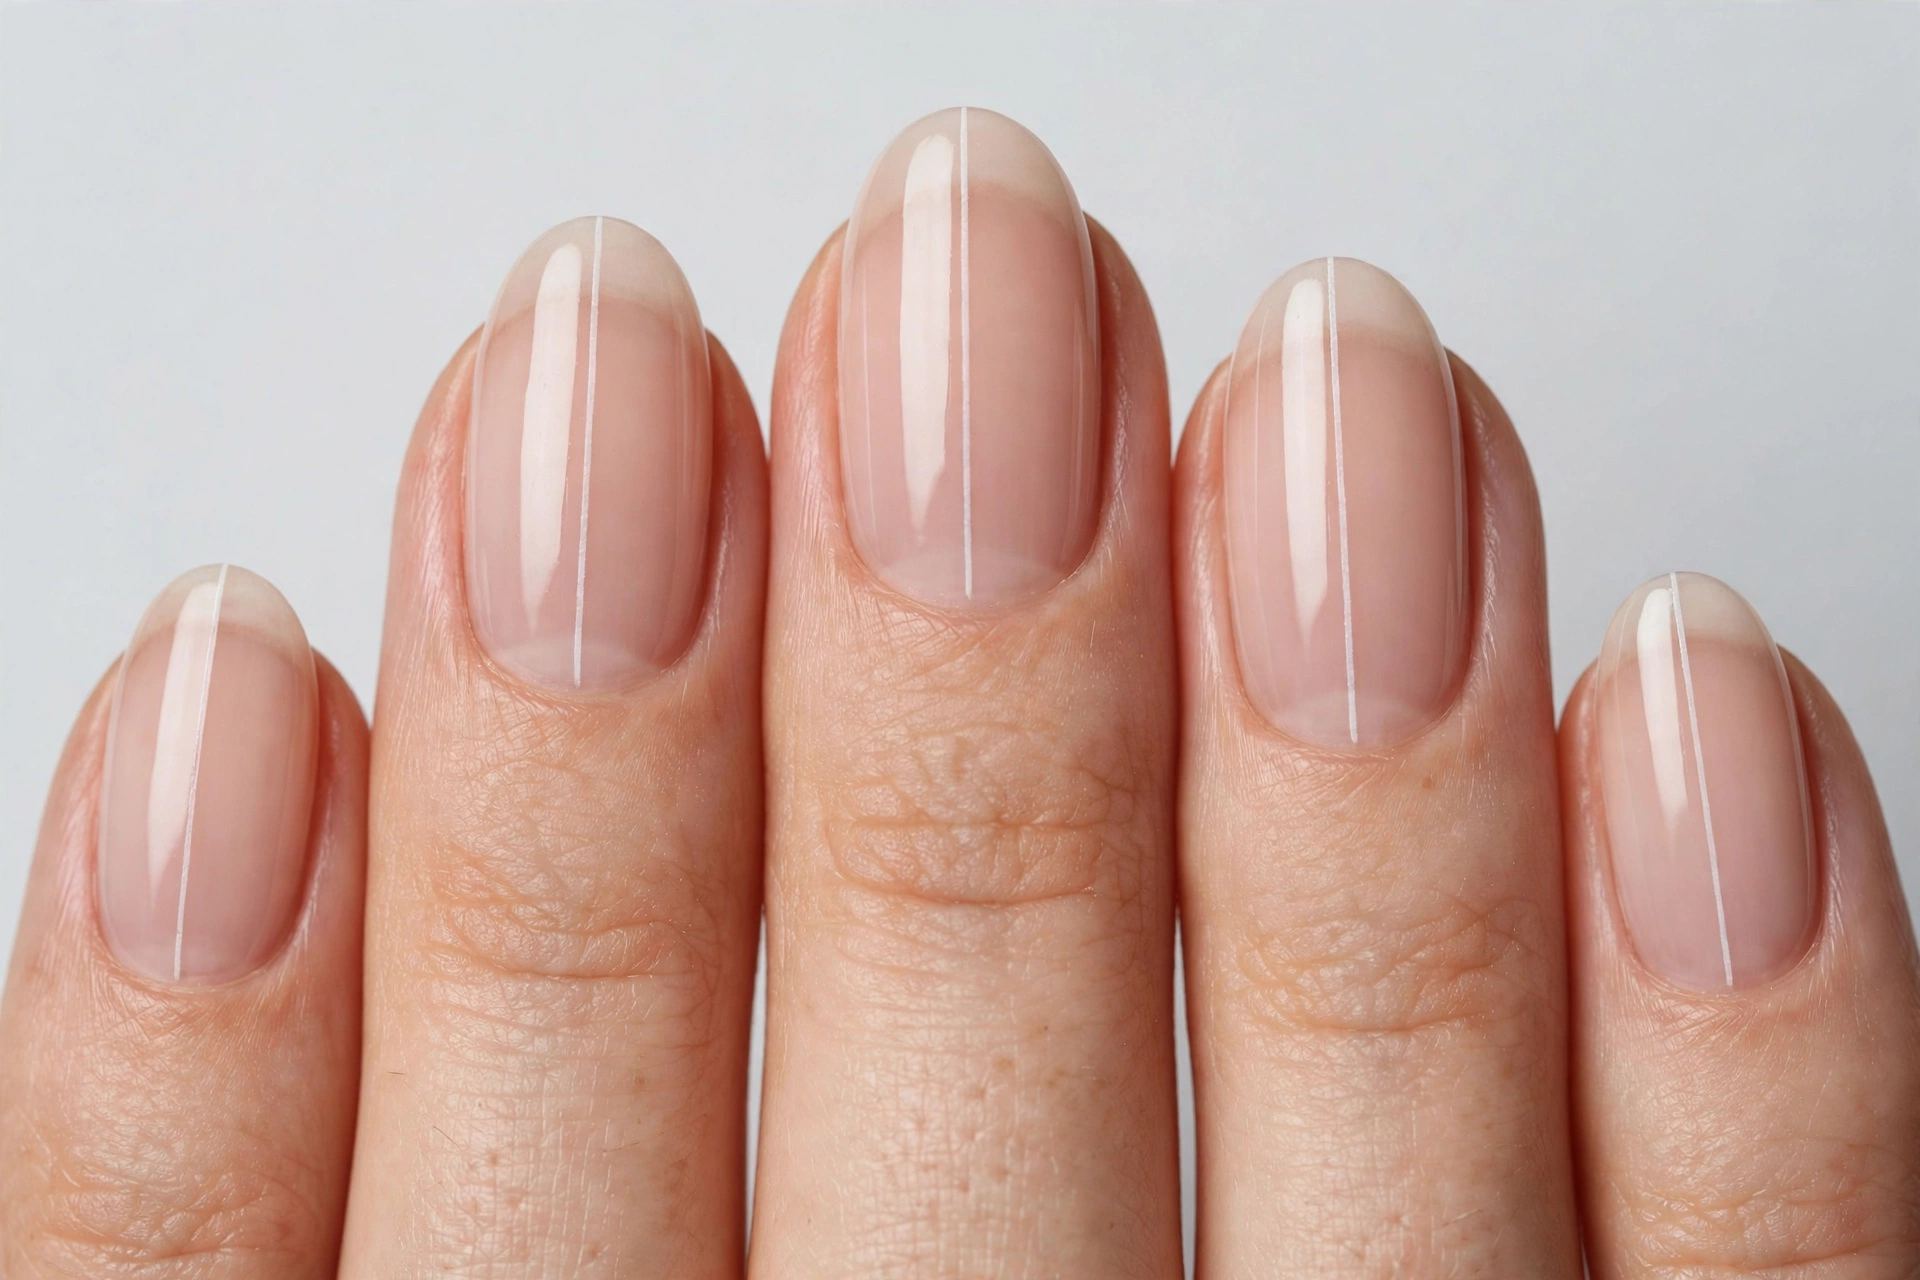
One hairline stripe running from cuticle to tip on each nail turns the oval into a tiny arrow pointing outward. The eye follows the line instead of the width, which is exactly what short fingers need. Keep the base sheer nude and the stripe white or metallic so the contrast stays delicate.
Difficulty: medium — a striping brush or nail art pen with a steady hand; wobbly lines are the giveaway. Wearability: the stripe is sealed under top coat, so it lasts as long as the manicure. Oval is ideal here because the stripe can run the full length without hitting a corner or point.
3. Deep Berry One-Coat
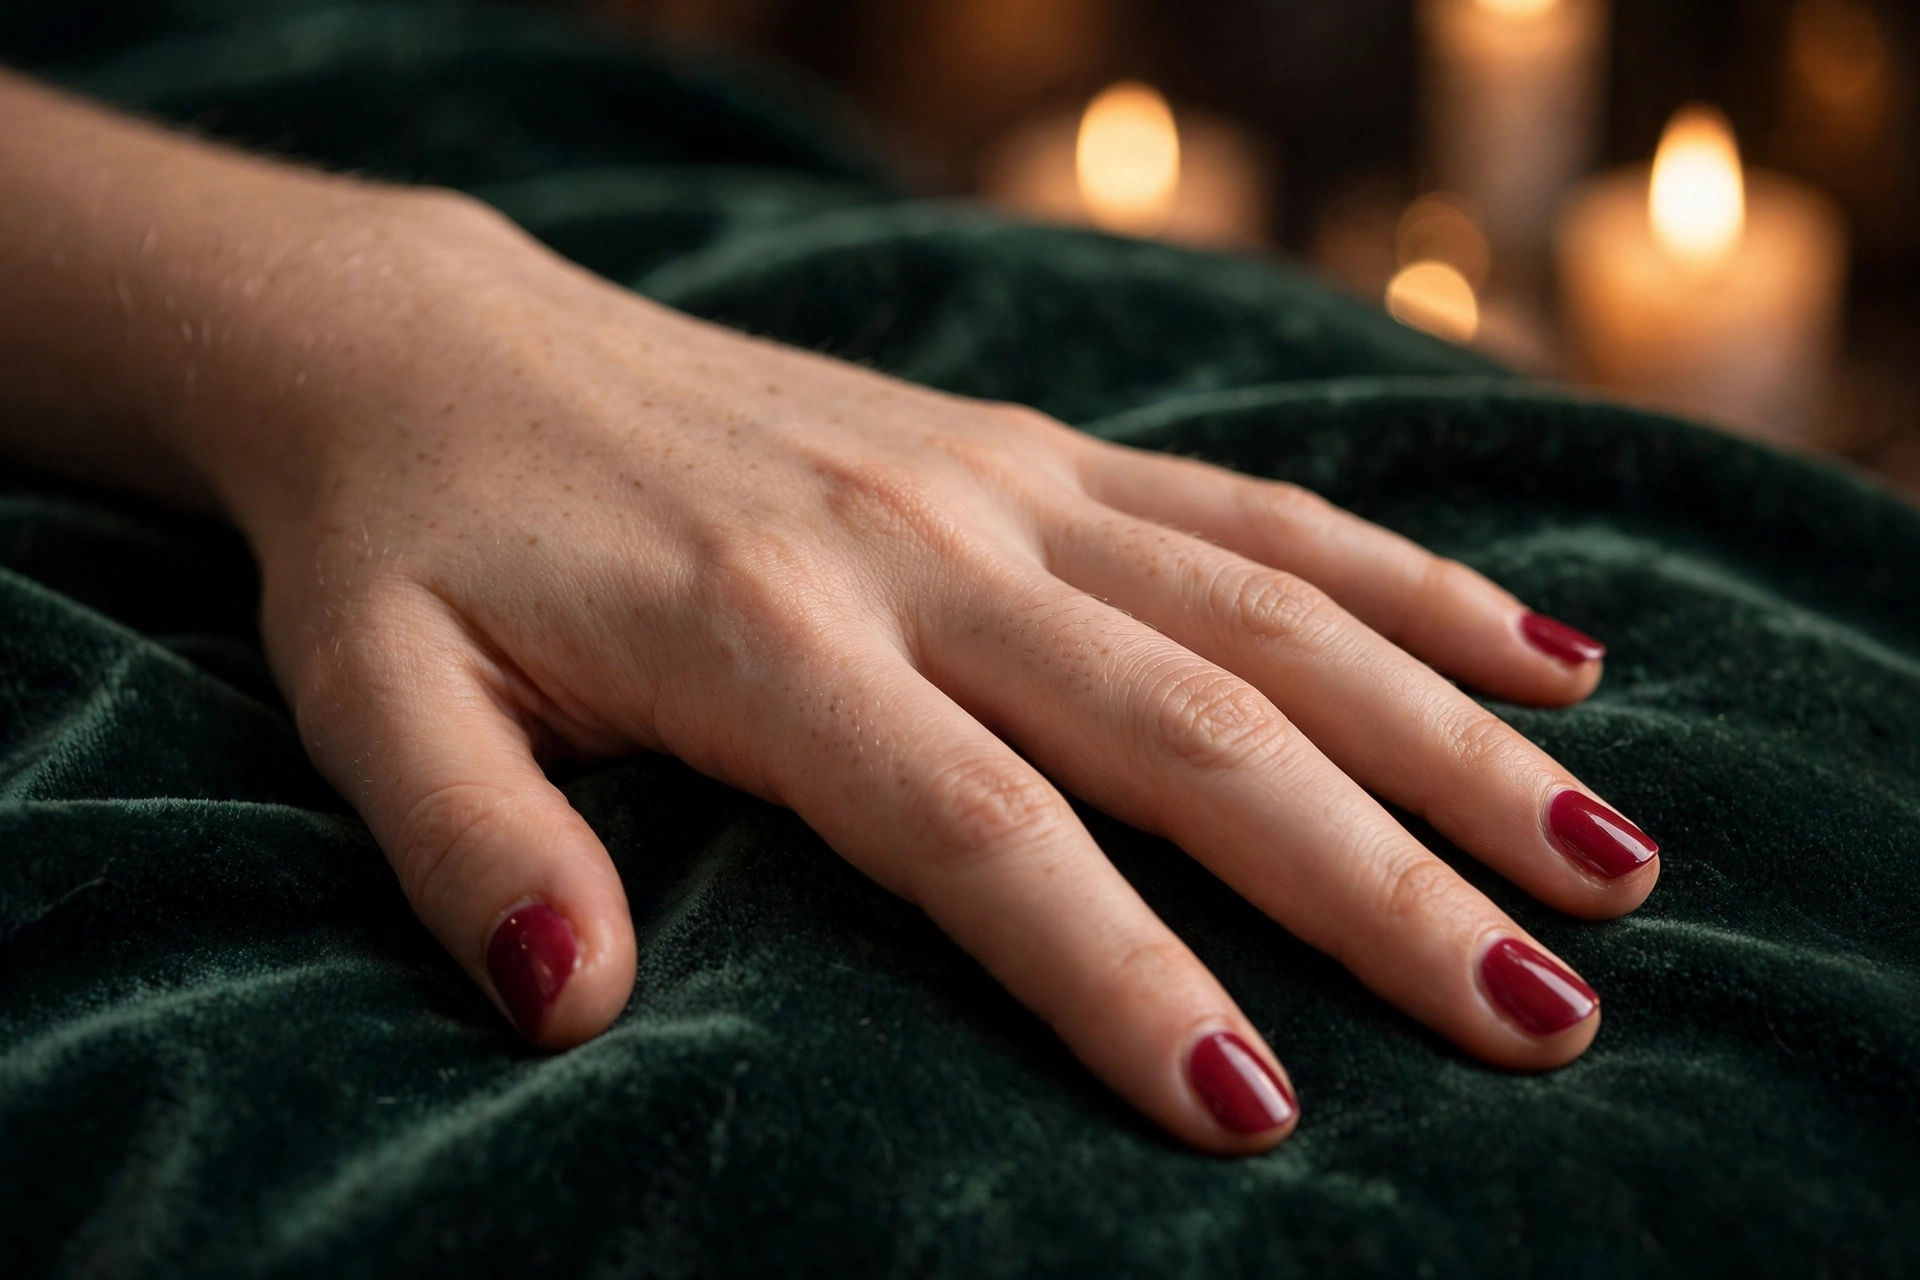
Dark shades visually narrow whatever they cover, and on oval nails a deep berry reads rich rather than harsh. The rounded tip softens the drama that a square or stiletto would give the same color, so it works for evenings and for anyone who wants one polish that flatters without nail art.
Difficulty: easy — though dark shades demand a tidy cuticle line, so take your time with cleanup. Wearability: tip wear shows faster on dark polish, so cap the free edge with top coat and refresh it mid-week. Medium-length ovals carry this best; very short nails can look a touch stubby in dark colors.
4. Center Gold Line Detail
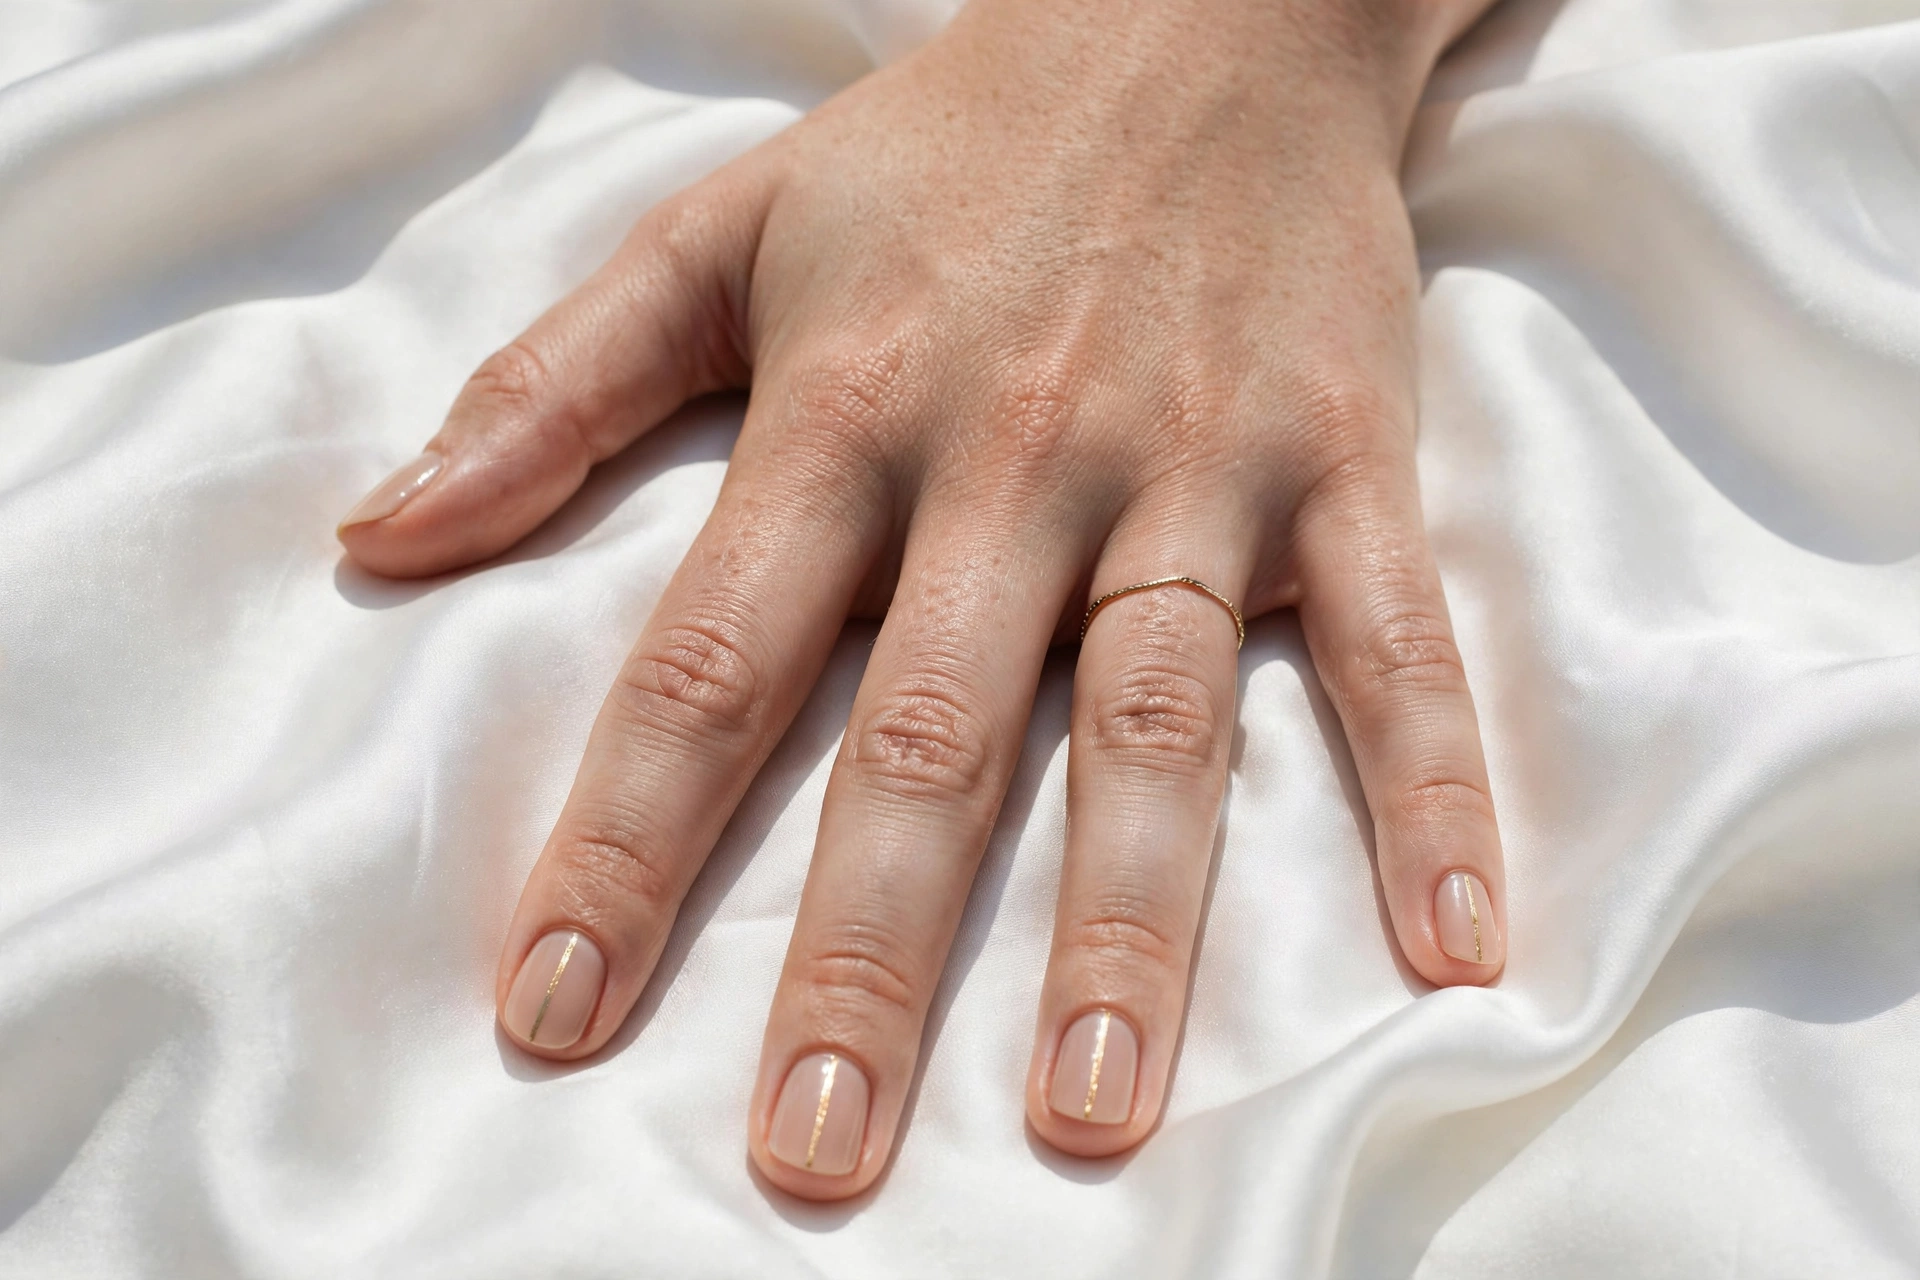
A single thin gold line down the center of each nail does double duty: the vertical direction elongates, and the metallic catches light at the nail’s highest point, adding dimension. On short fingers this is jewelry-level detail without the upkeep of gemstones.
Difficulty: easy to medium — metallic striping tape is the shortcut; freehand needs a liner brush. Wearability: lines can lift at the edges, so float a generous layer of top coat over them. Suits short to medium ovals best, where the line has enough runway to register.
Wide Nail Beds: Designs That Slim the Look
Wide nail beds are not a flaw — they give you the biggest canvas of any hand type. The trick is managing the visual width: bare edges, darker tones, and center-focused detail all pull the eye inward while the oval outline keeps everything soft.
5. Negative-Space French
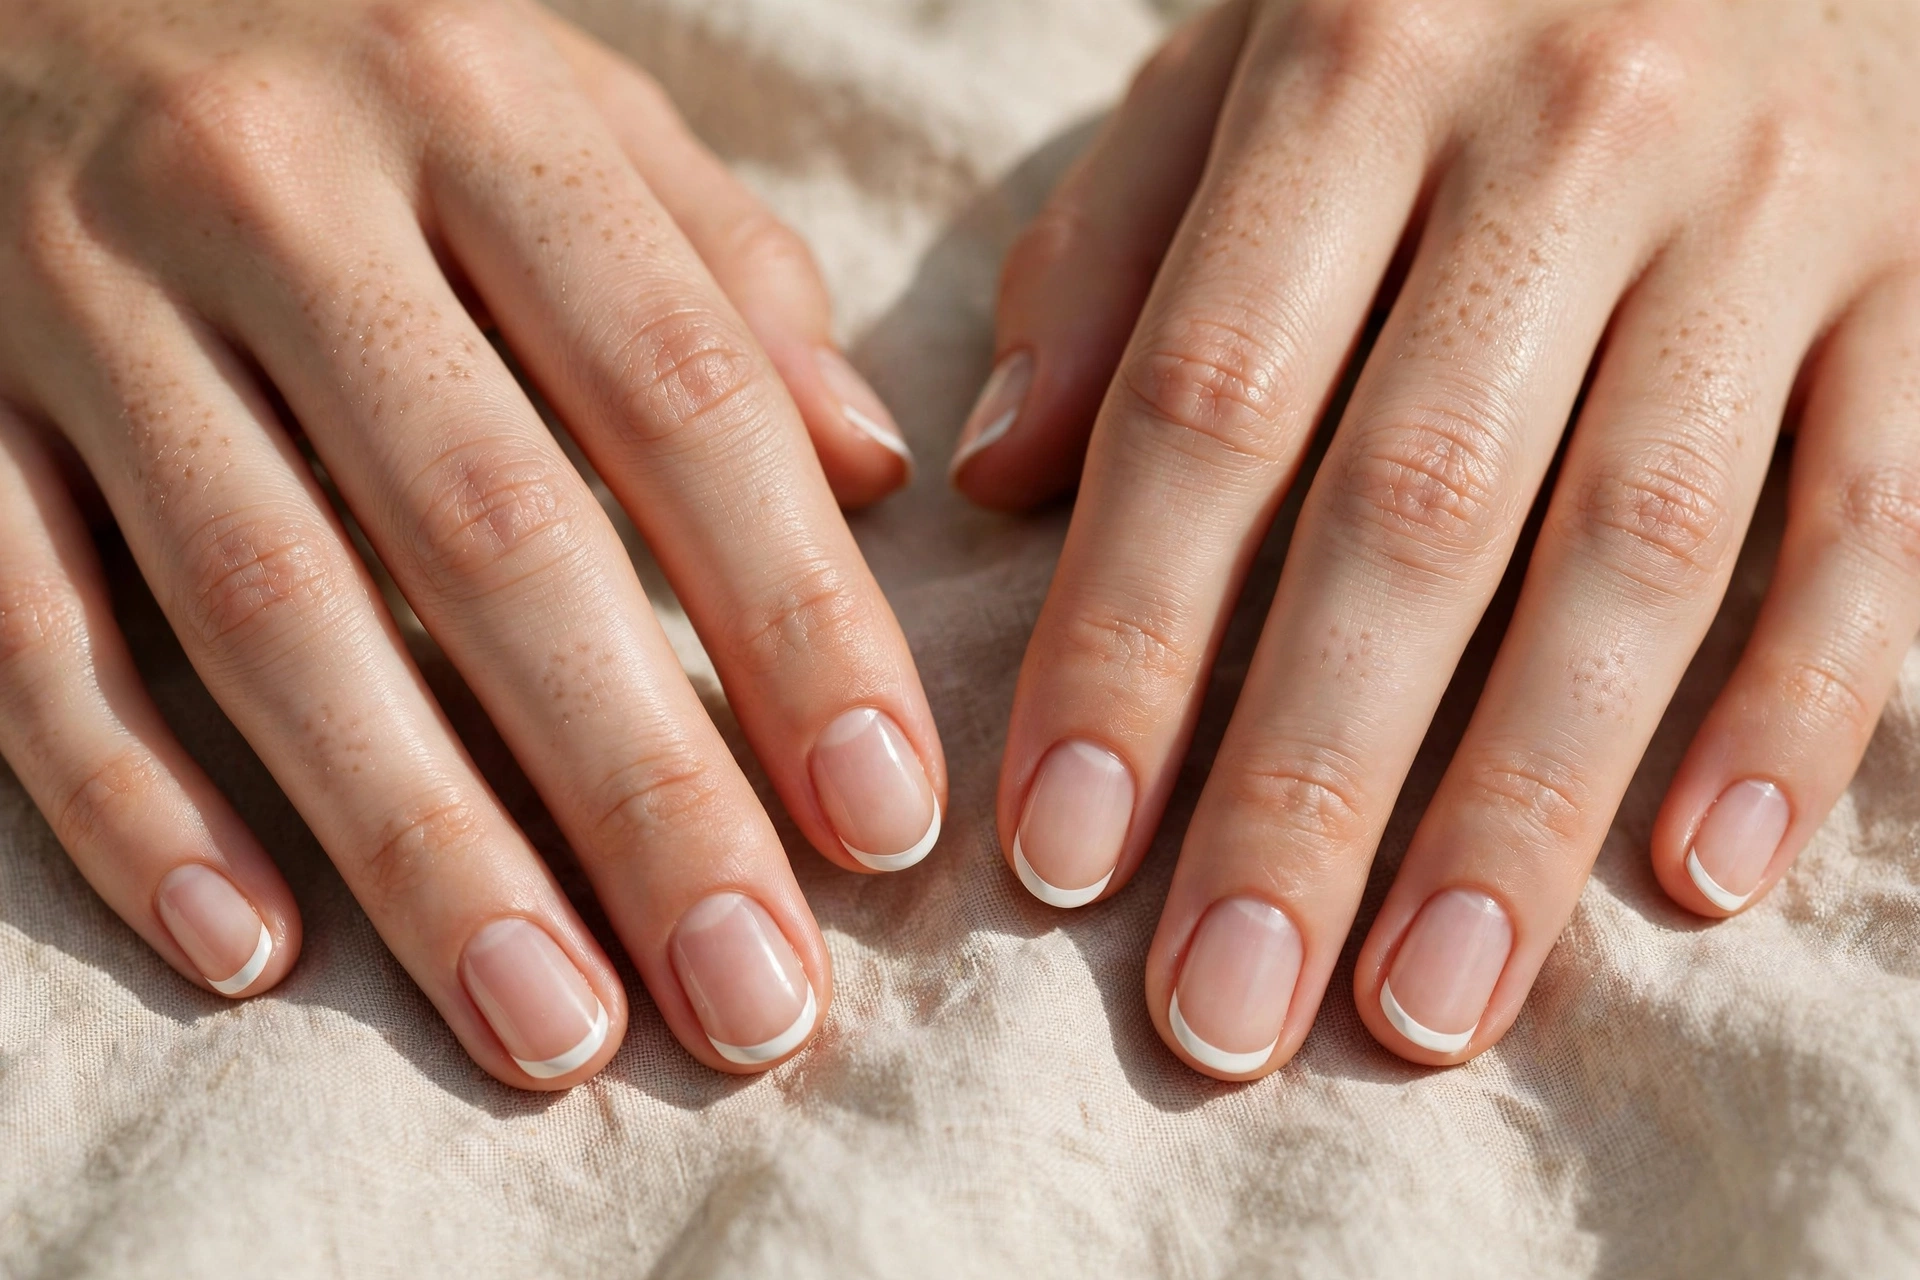
This French leaves the sidewalls bare and paints only a curved white band across the tip. Because the painted area is narrower than the nail, the nail reads slimmer than it is — while still being honestly your own nail. The curved band follows the oval tip perfectly, which is why this design looks more natural on oval than on any other shape.
Difficulty: medium — the smile line must be even across all ten nails. Wearability: excellent; regrowth is nearly invisible against bare nail, and small chips at the tip are easy to touch up. A true oval specialty.
6. Espresso Gloss
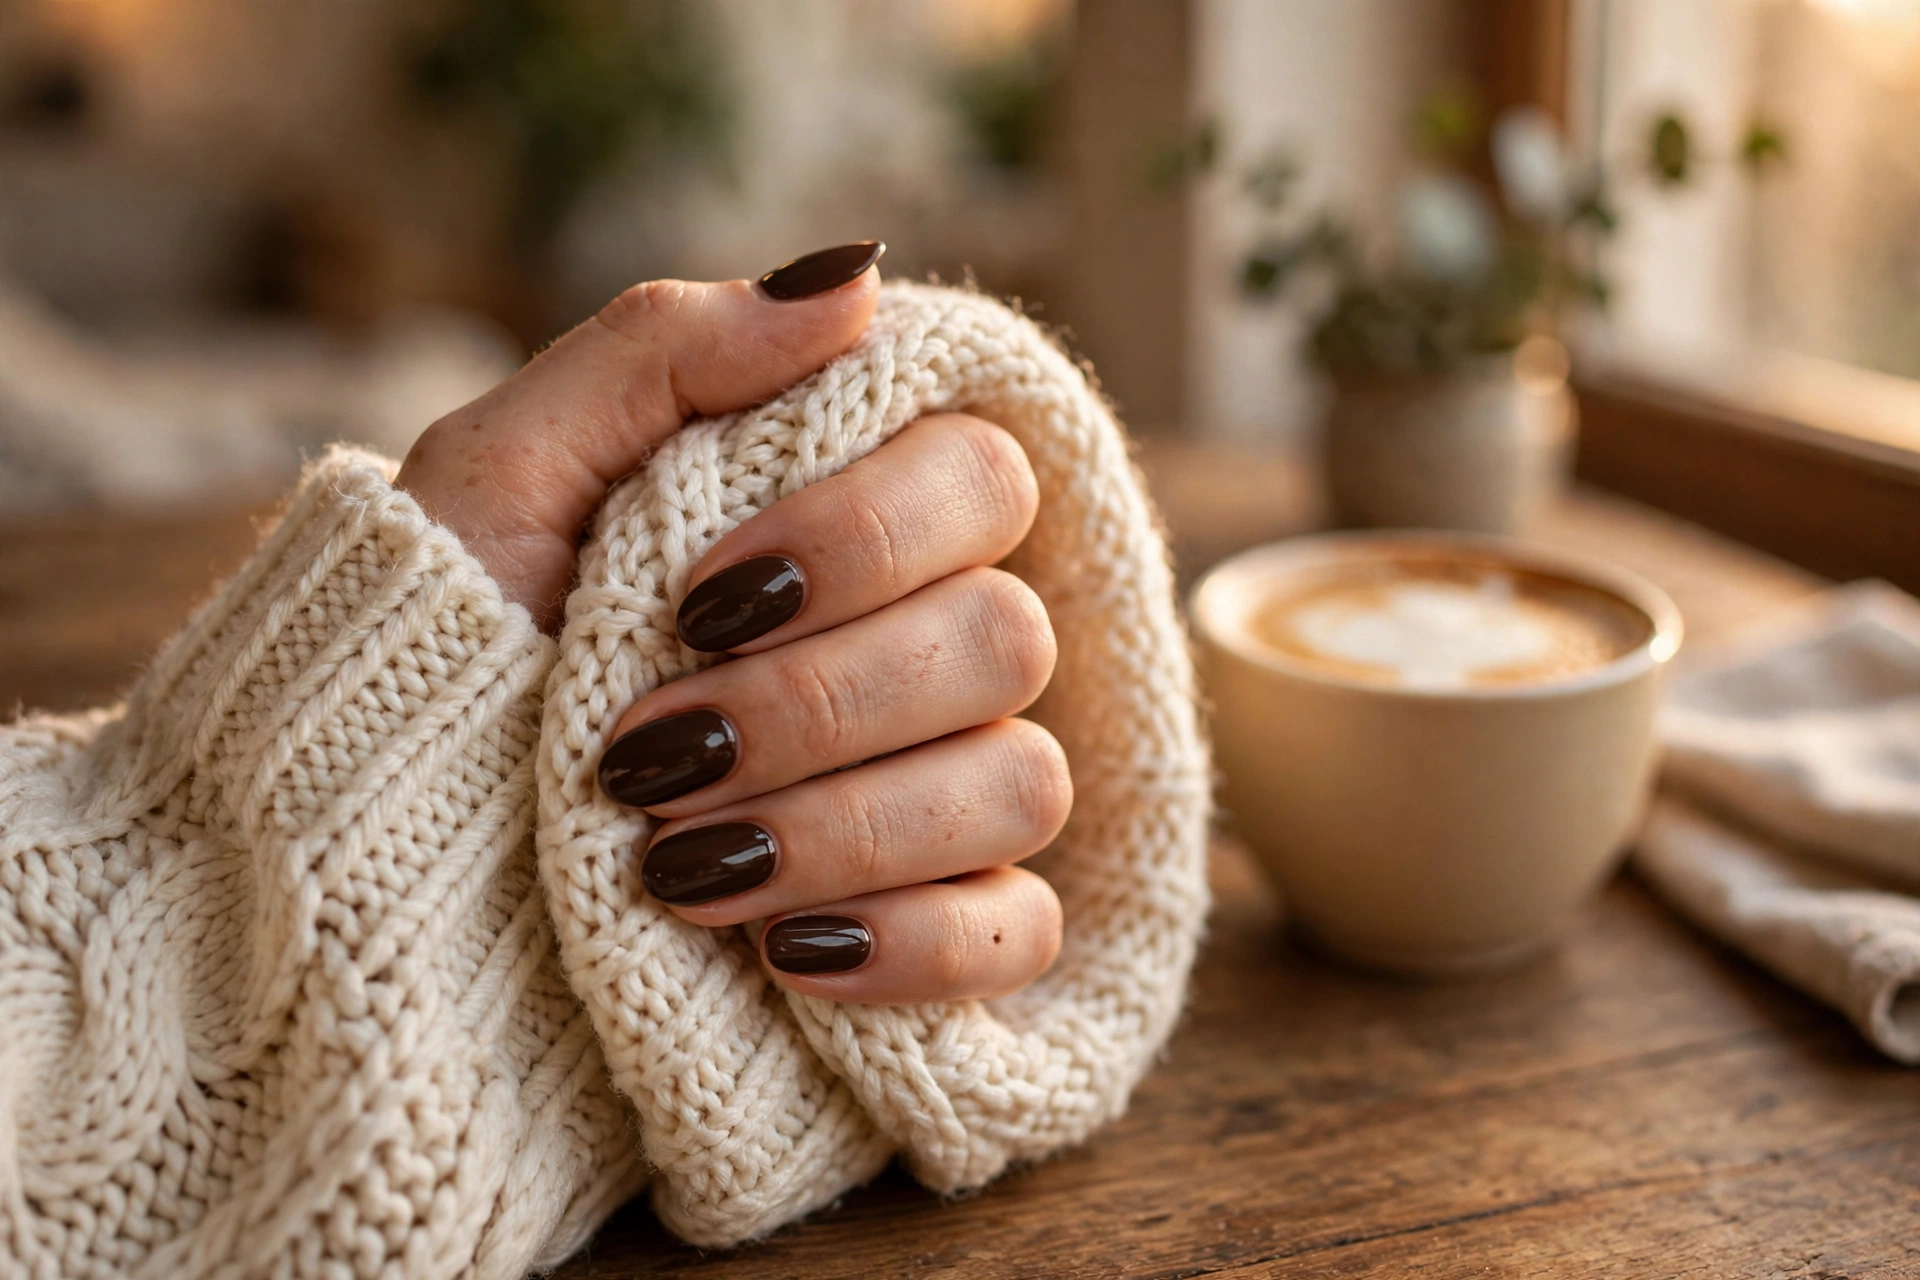
Deep espresso brown is dark enough to slim a wide nail bed but warm enough to stay wearable in daylight. On oval nails it has a soft, expensive quality — think leather and coffee rather than goth. One glossy coat (two for opacity) is the whole design.
Difficulty: easy. Wearability: dark creams show tip wear first, so the capped top coat matters. Oval’s rounded edge actually hides wear better than square corners do. This is a strong autumn-through-winter choice for wide nail beds.
7. Nude-to-Plum Ombre
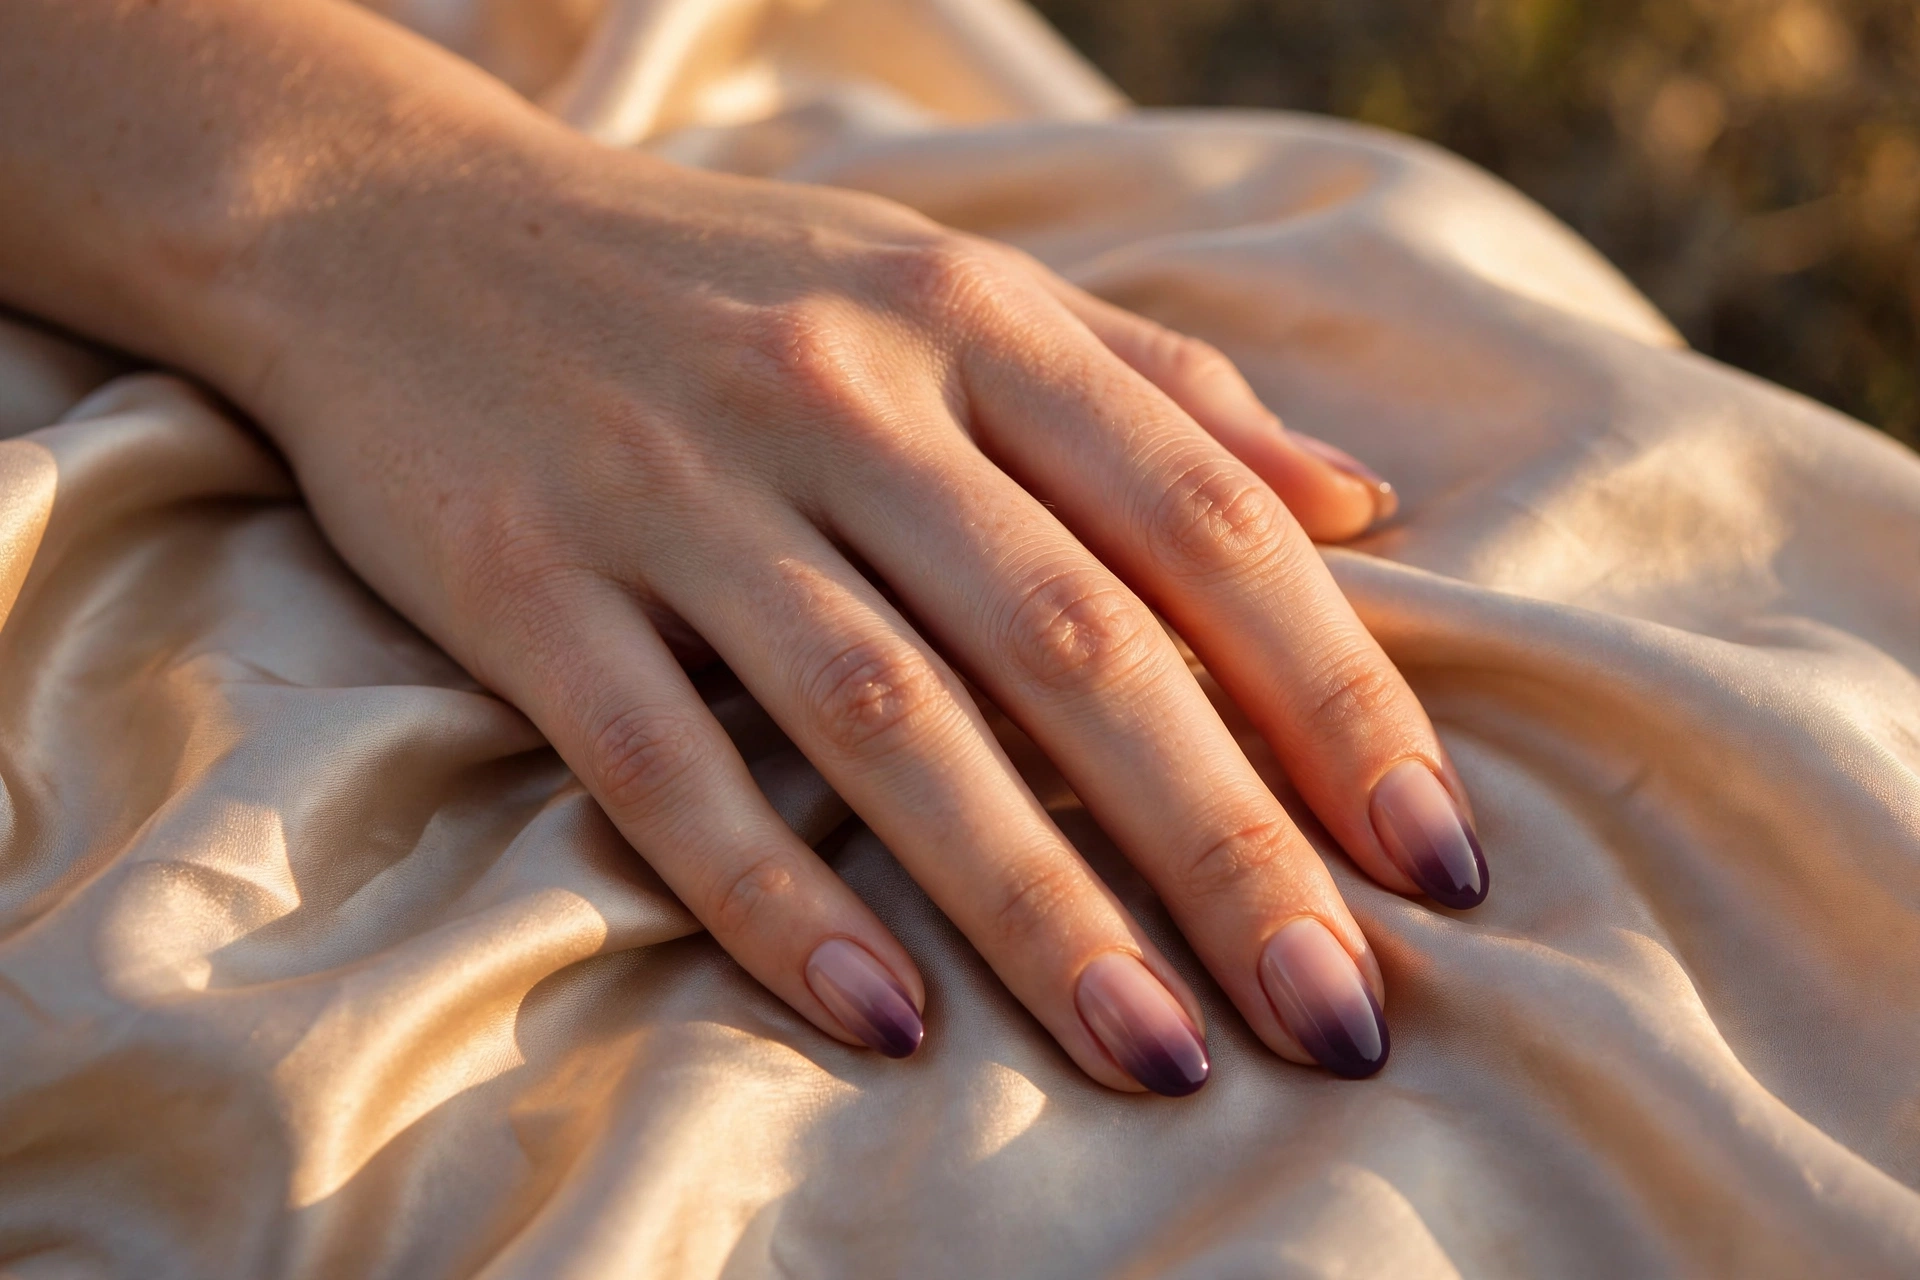
A vertical ombre that fades from nude at the cuticle to deep plum at the tip pulls the eye upward along the nail’s longest axis. On wide nail beds, that upward motion counteracts the horizontal emphasis — the hand reads longer and narrower at once. The oval tip makes the fade look seamless because there is no corner for the gradient to pool against.
Difficulty: medium — sponge application with two to three thin layers, cleaning up the cuticles between coats. Wearability: fades disguise chips remarkably well. Medium-length ovals show the gradient best; very short nails do not give the fade enough room.
8. Center Chrome Strip
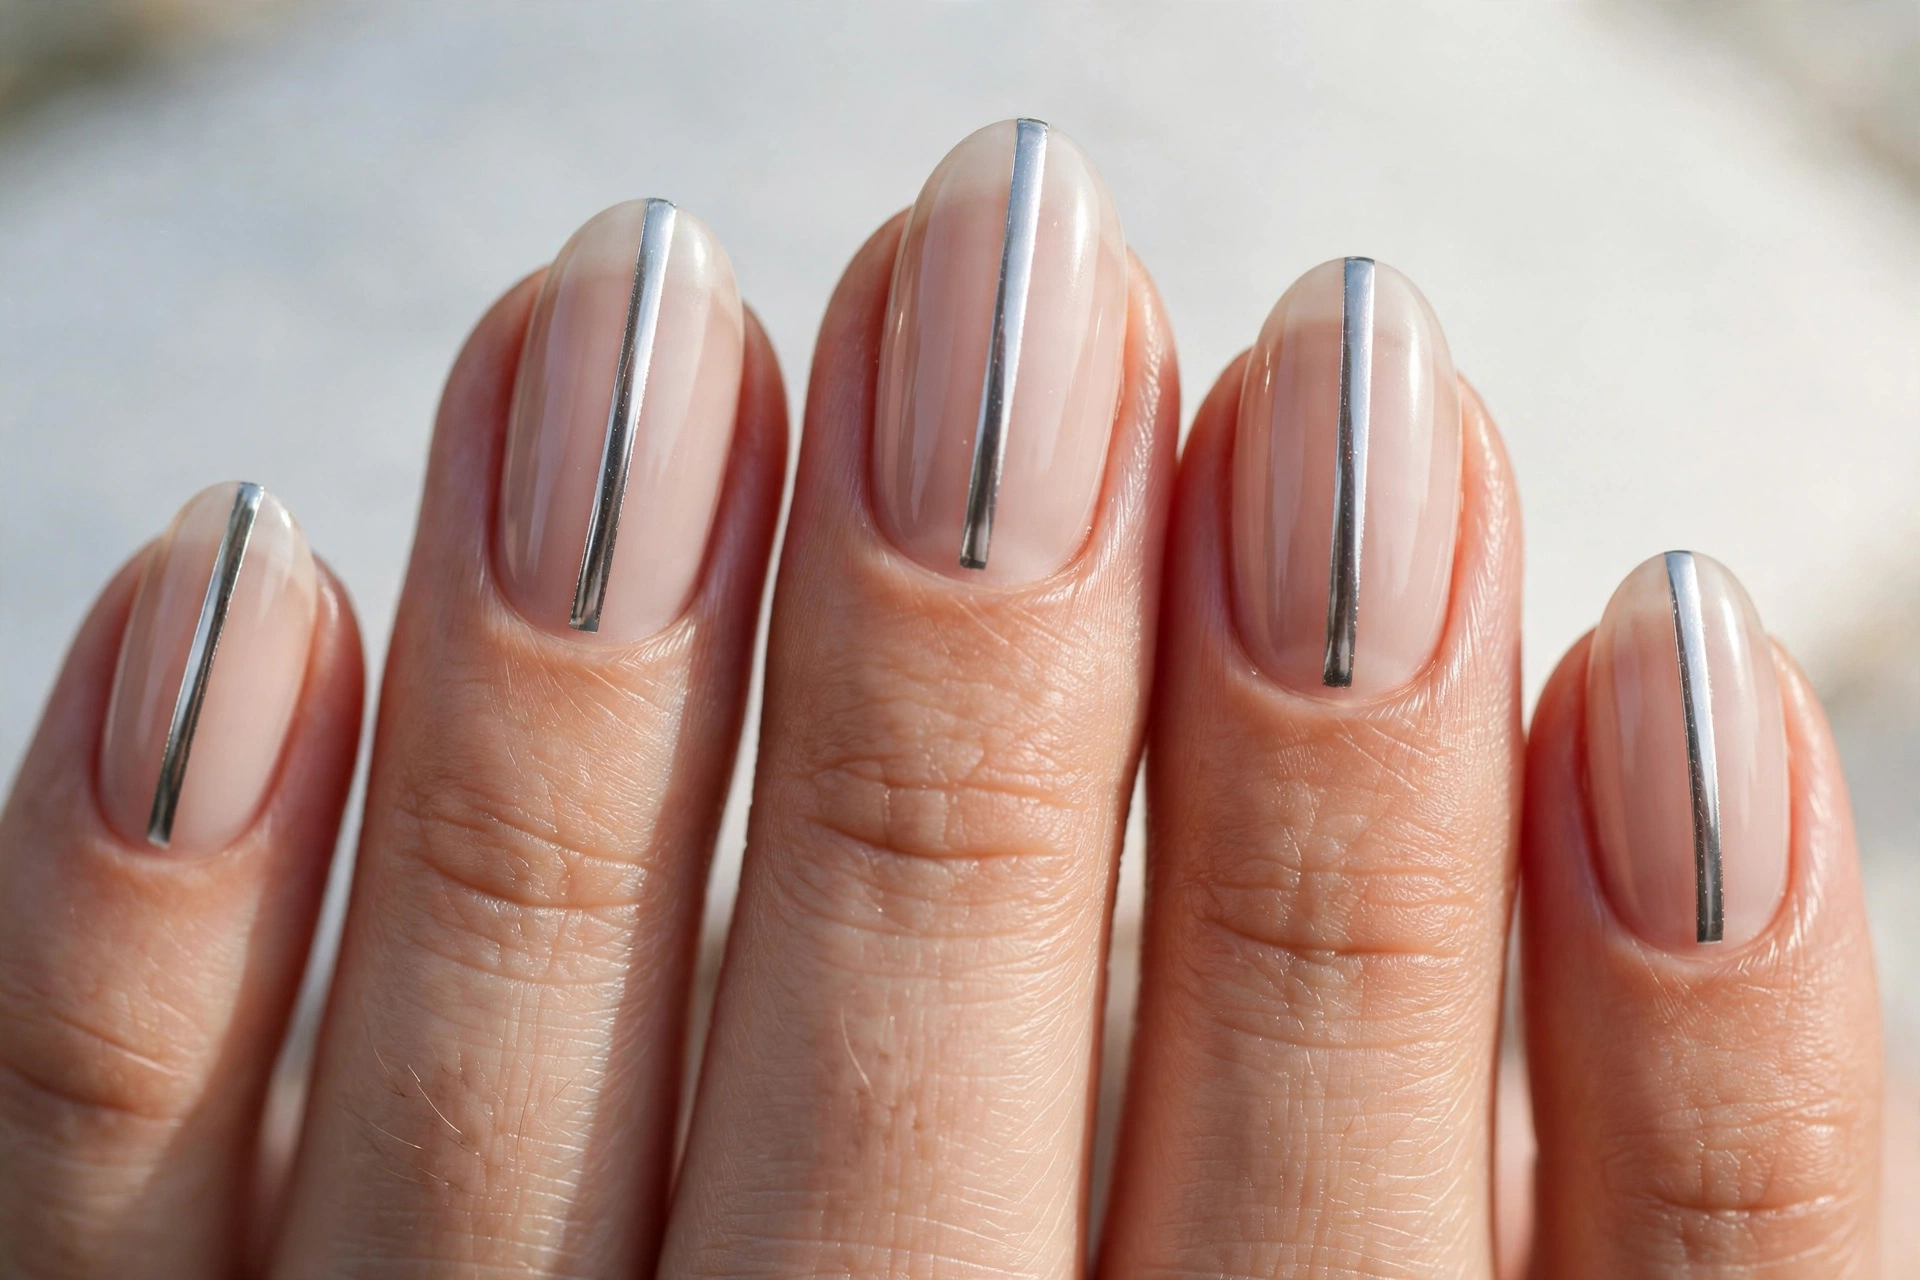
A reflective chrome band down the middle of each nail acts like a highlighter for your manicure: light concentrates along the center and the edges fall away visually. On wide nail beds this is the most dramatic slimming trick in the list, and it takes five minutes with chrome powder or a chrome pen over a sheer base.
Difficulty: easy with a chrome pen; medium with loose powder and an applicator. Wearability: chrome sealed under a no-wipe top coat holds well, but avoid heavy typing-day-one pressure on the strips. Oval’s domed center catches light better than flatter shapes, which sells the effect.
Narrow or Long Nail Beds: Art That Fills the Canvas
Narrow and long nail beds are a nail artist’s dream — a long, clean runway for detail. These four designs use the full surface instead of fighting it, with bolder art that would overwhelm a smaller nail.
9. Retro Floral Full-Set
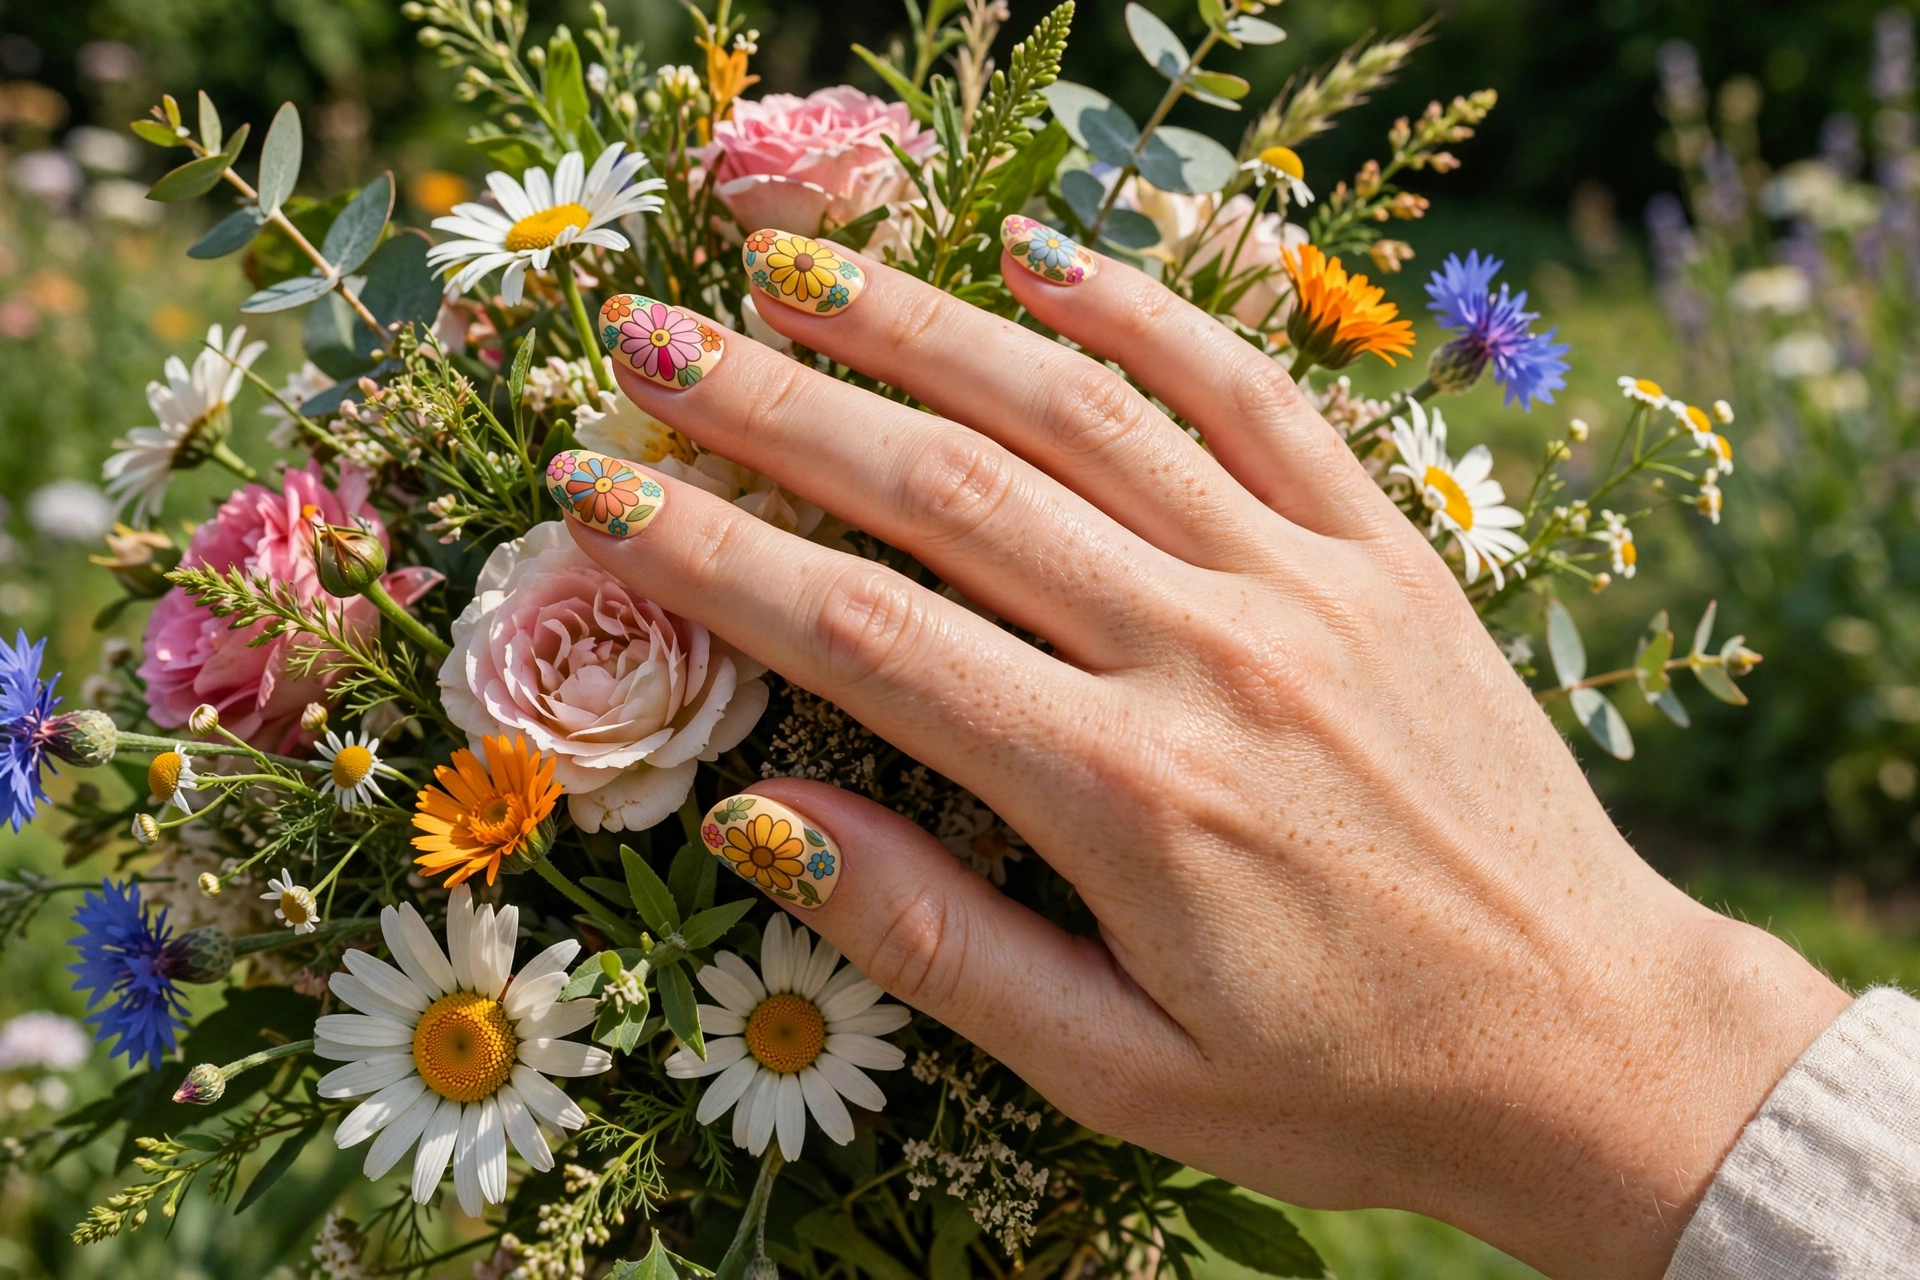
Big hand-painted blooms in the style of 1970s textiles need room to breathe, and long oval nail beds give each flower a proper stage. The rounded tip frames the art like a miniature canvas, and the soft outline keeps even the boldest color combinations feeling sweet rather than loud.
Difficulty: hard for hand-painting — stickers or water decals are the realistic DIY route. Wearability: full-coverage art hides tip wear beautifully; seal with two coats of top coat. This is where oval beats almond: the wider rounded tip fits larger motifs without the art sliding toward a point.
10. Tortoise Shell
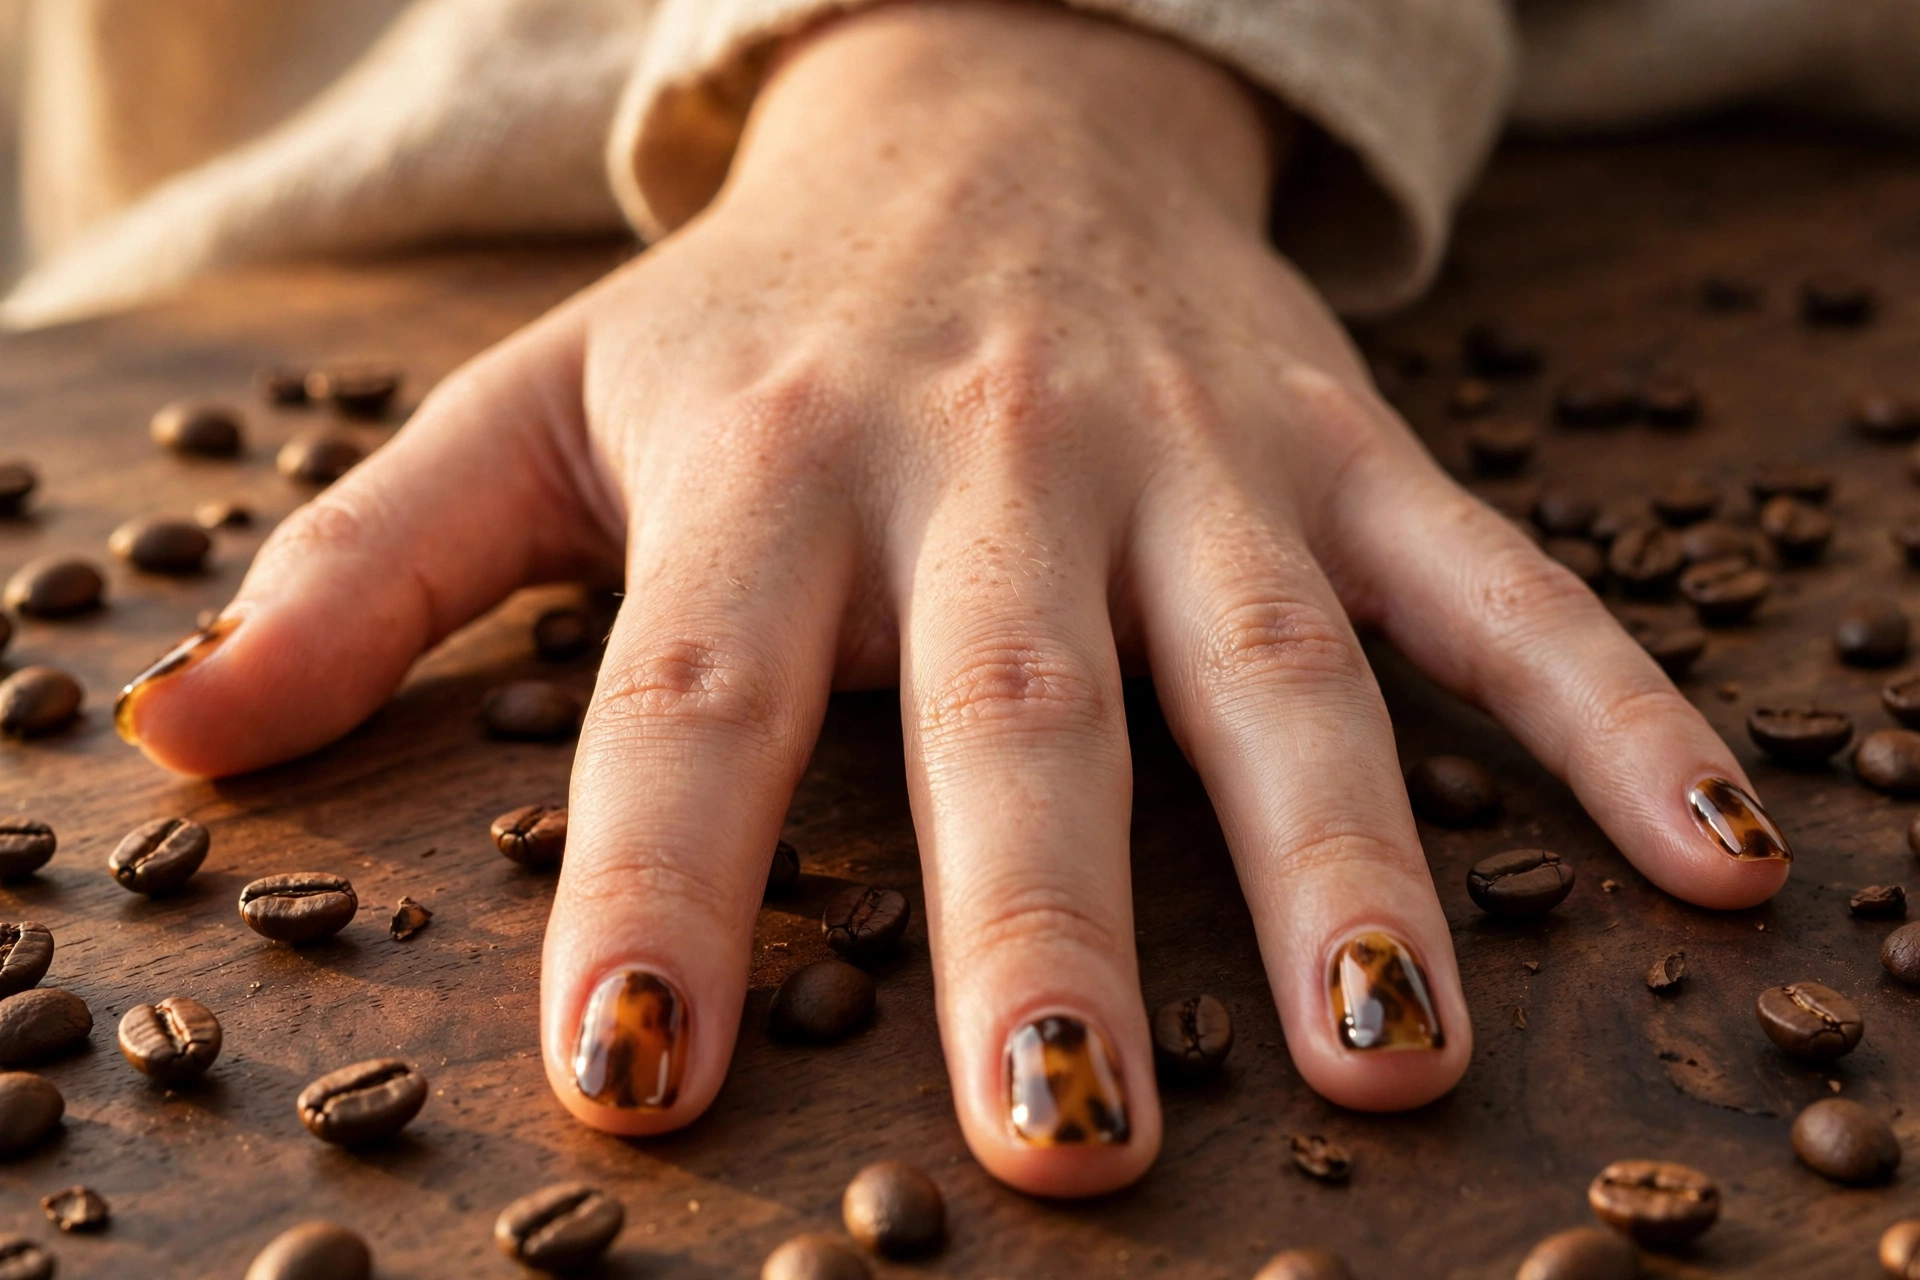
Tortoise shell — translucent amber, caramel, and chocolate swirled under gloss — is a pattern that needs surface area to develop its depth. On narrow, long ovals it looks like polished stone; on short nails the same technique reads as muddy. Layer jelly browns and blacks, then finish with a glass-like top coat.
Difficulty: medium — the technique is forgiving since the pattern is meant to be irregular. Wearability: the busy pattern camouflages chips and regrowth, making it one of the longest-looking manicures you can wear. Suits medium to long ovals best.
11. Double French With Dots
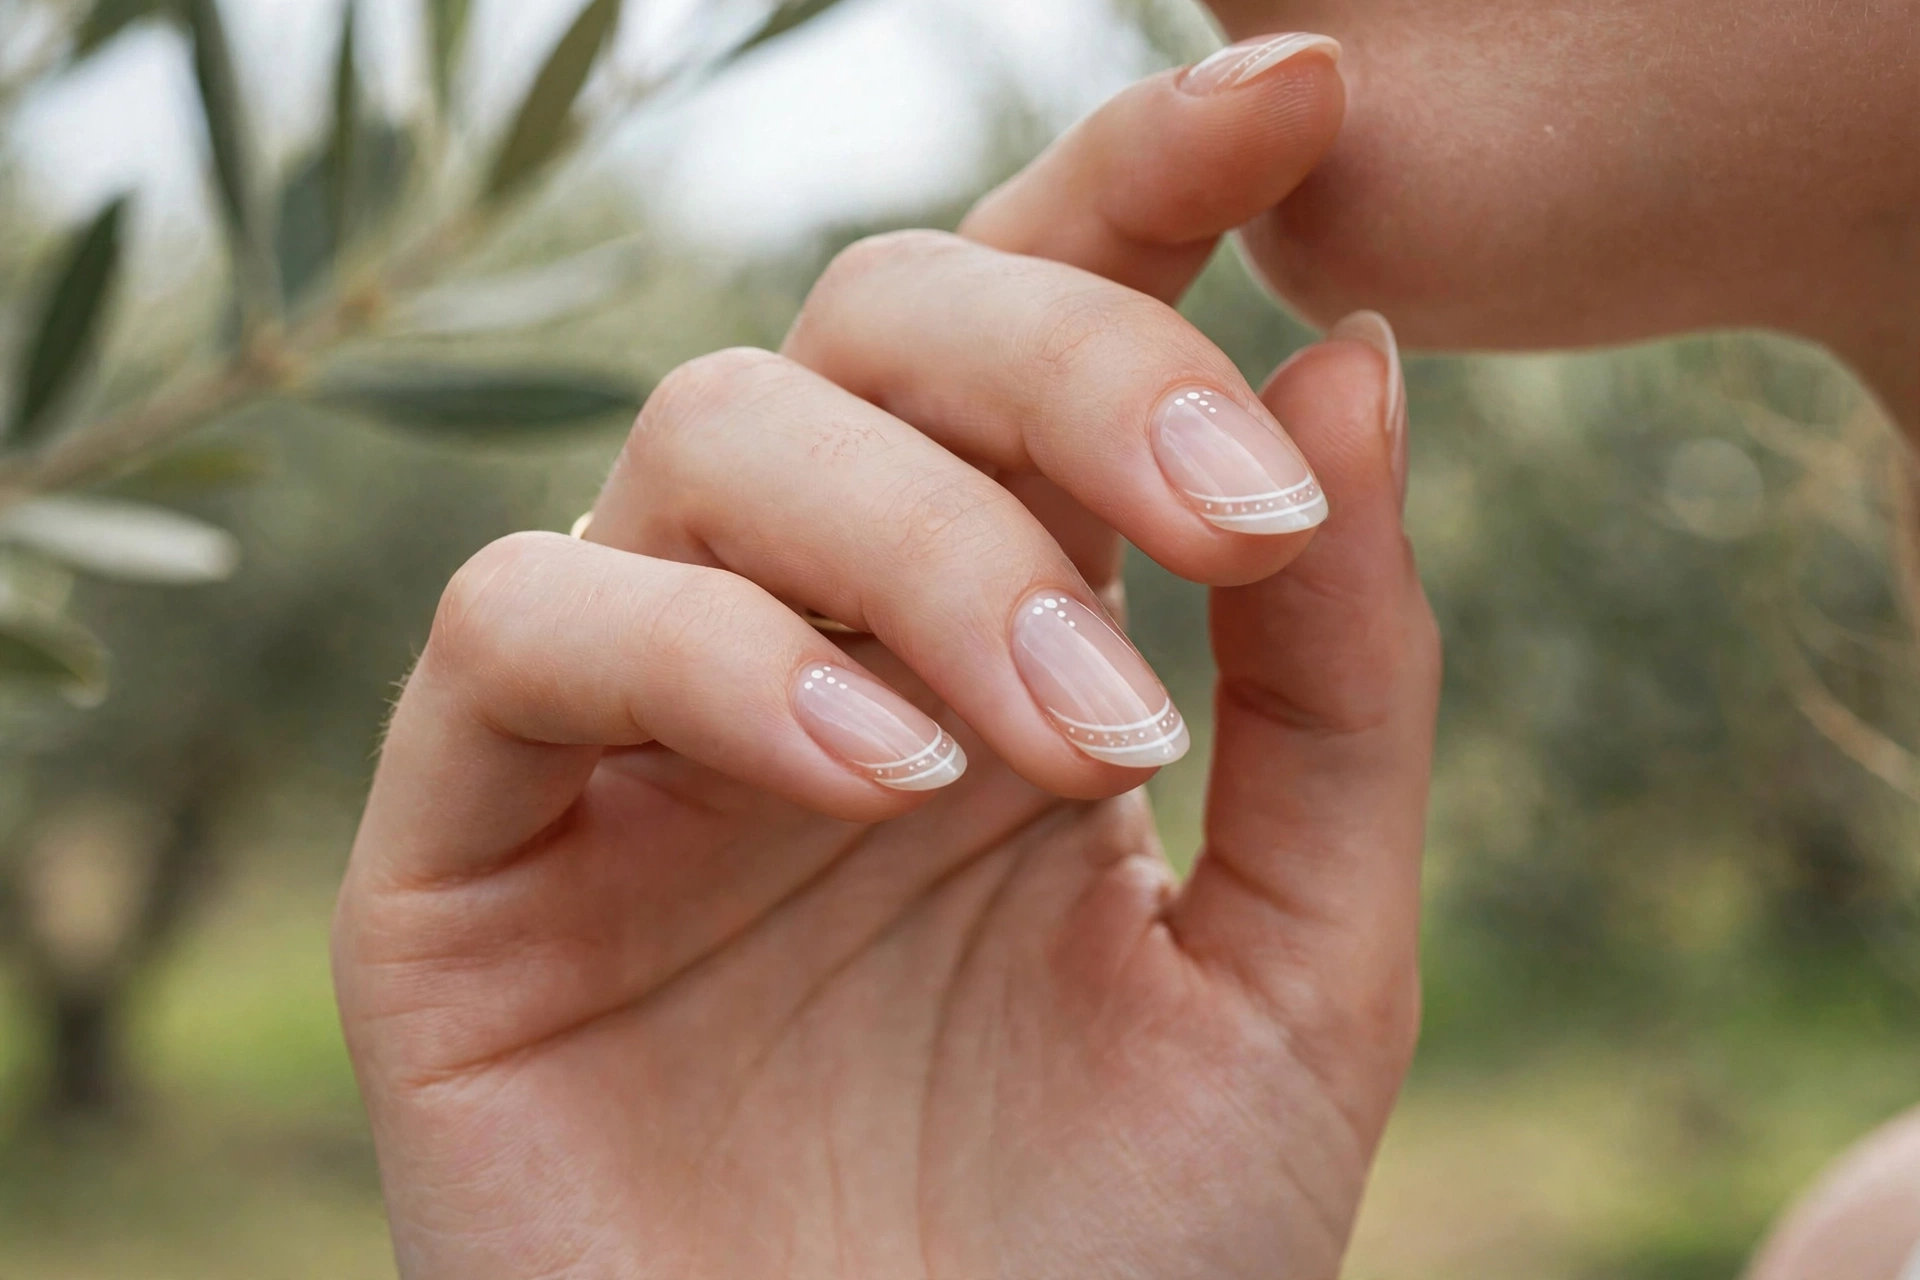
Two fine white arcs following the oval curve, finished with a row of tiny dots, turns the classic French into something detailed and modern. The double line needs length to stay legible — on long oval nail beds it reads as delicate lacework at the tip.
Difficulty: medium to hard — the second arc must parallel the first. Wearability: light colors show wear less than darks, and the dots distract from any unevenness. This is a natural fit for oval, where both arcs can hug the curve instead of bending around corners.
12. Color-Melt Swirls
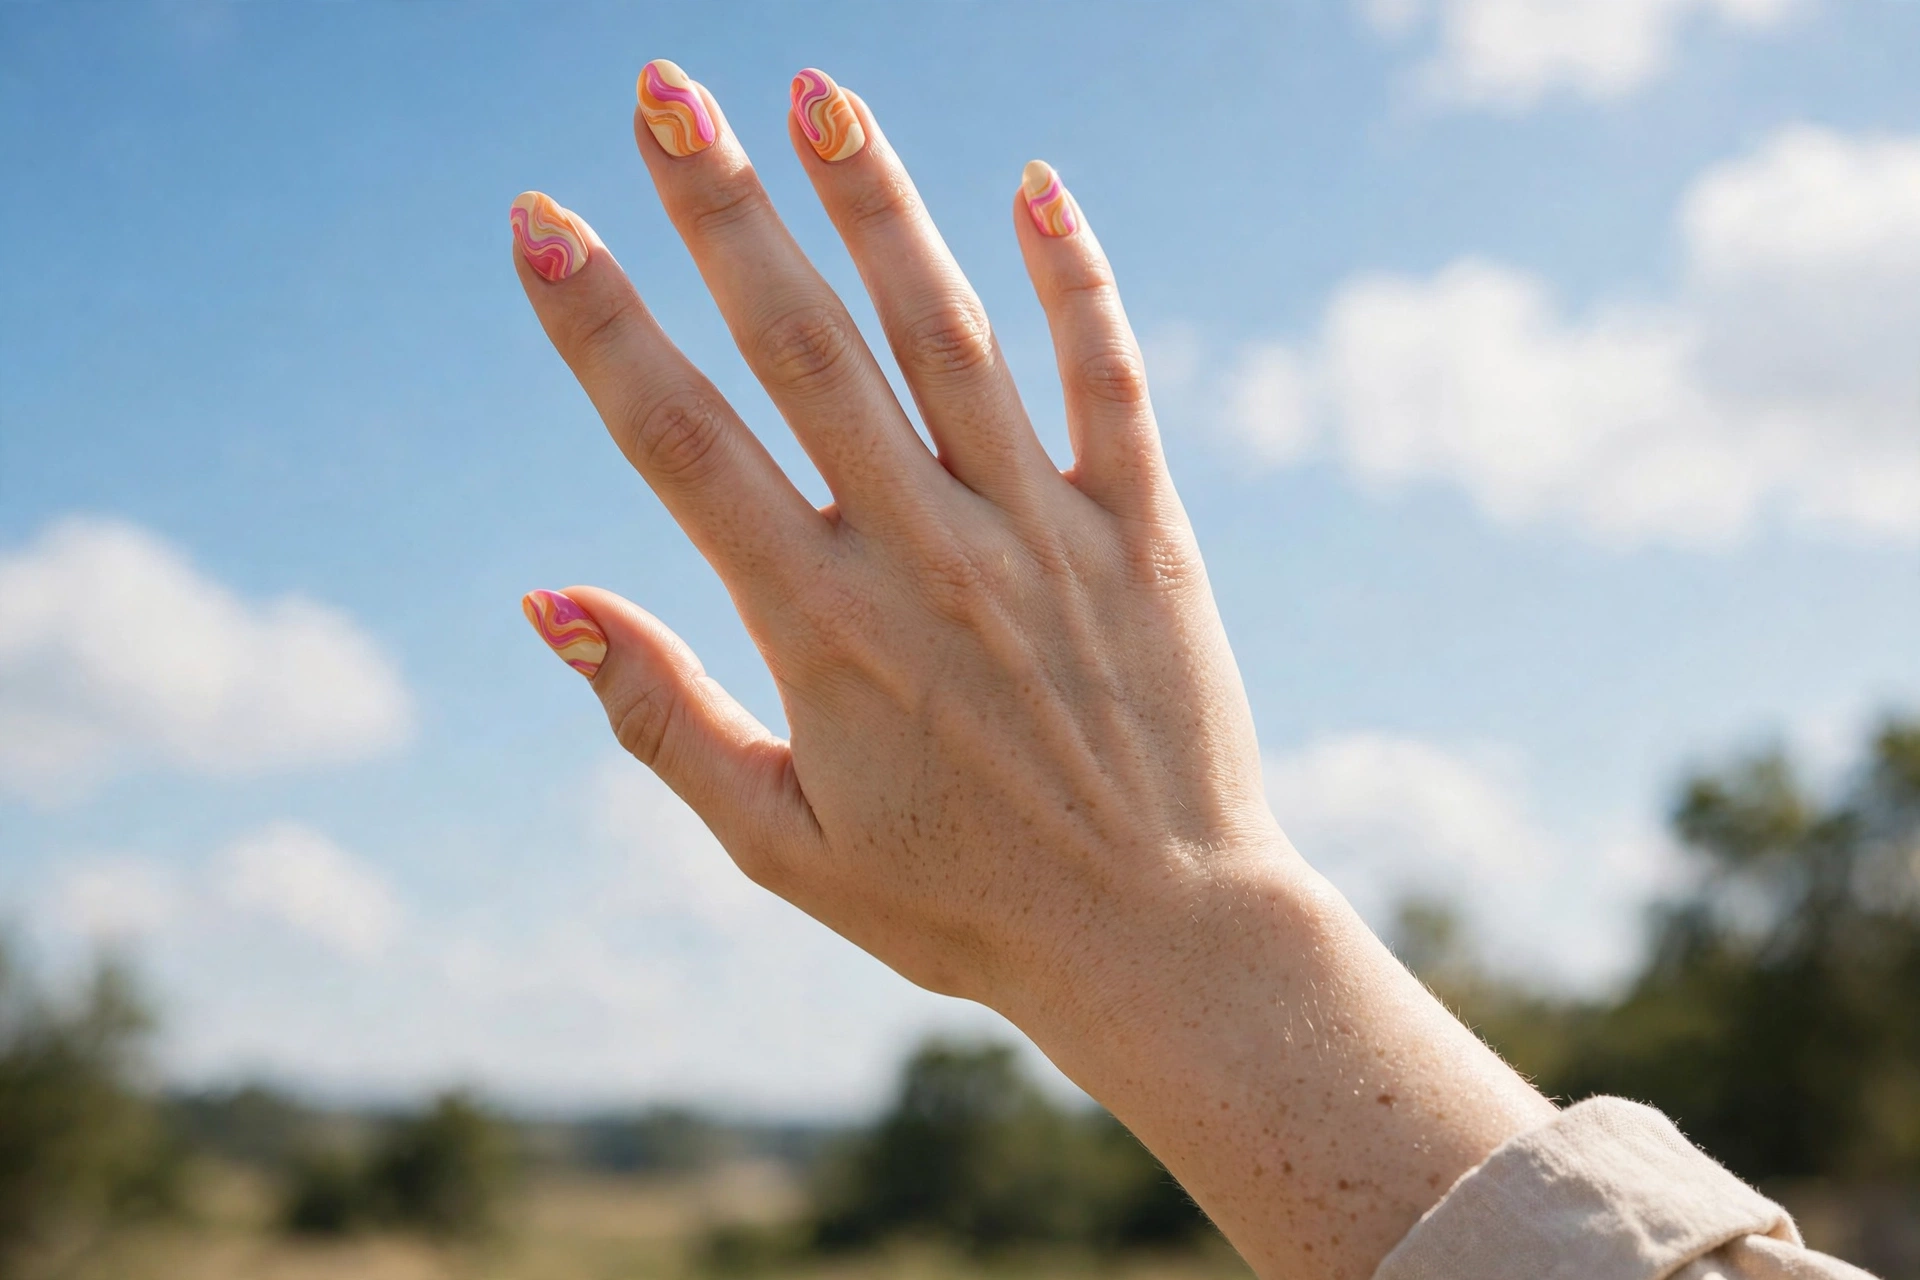
Fluid swirls in pink, orange, and cream melting across the full nail are pure canvas art — they need the length that narrow nail beds provide. On oval nails the swirls can flow right to the rounded edge without breaking, which keeps the design feeling continuous and organic.
Difficulty: medium — a dotting tool dragged through wet polish, or a fine brush for control. Wearability: the multi-color surface hides everything, including regrowth. Bold but genuinely easy to live with for two-plus weeks in gel.
Short, Natural Nails: Soft Everyday Looks
You do not need length for oval to work — these four are designed for the short natural nails most people actually have. The common thread: sheer, luminous finishes that make short ovals look deliberate and cared-for rather than “growing out.”
13. Babyboomer Ombre
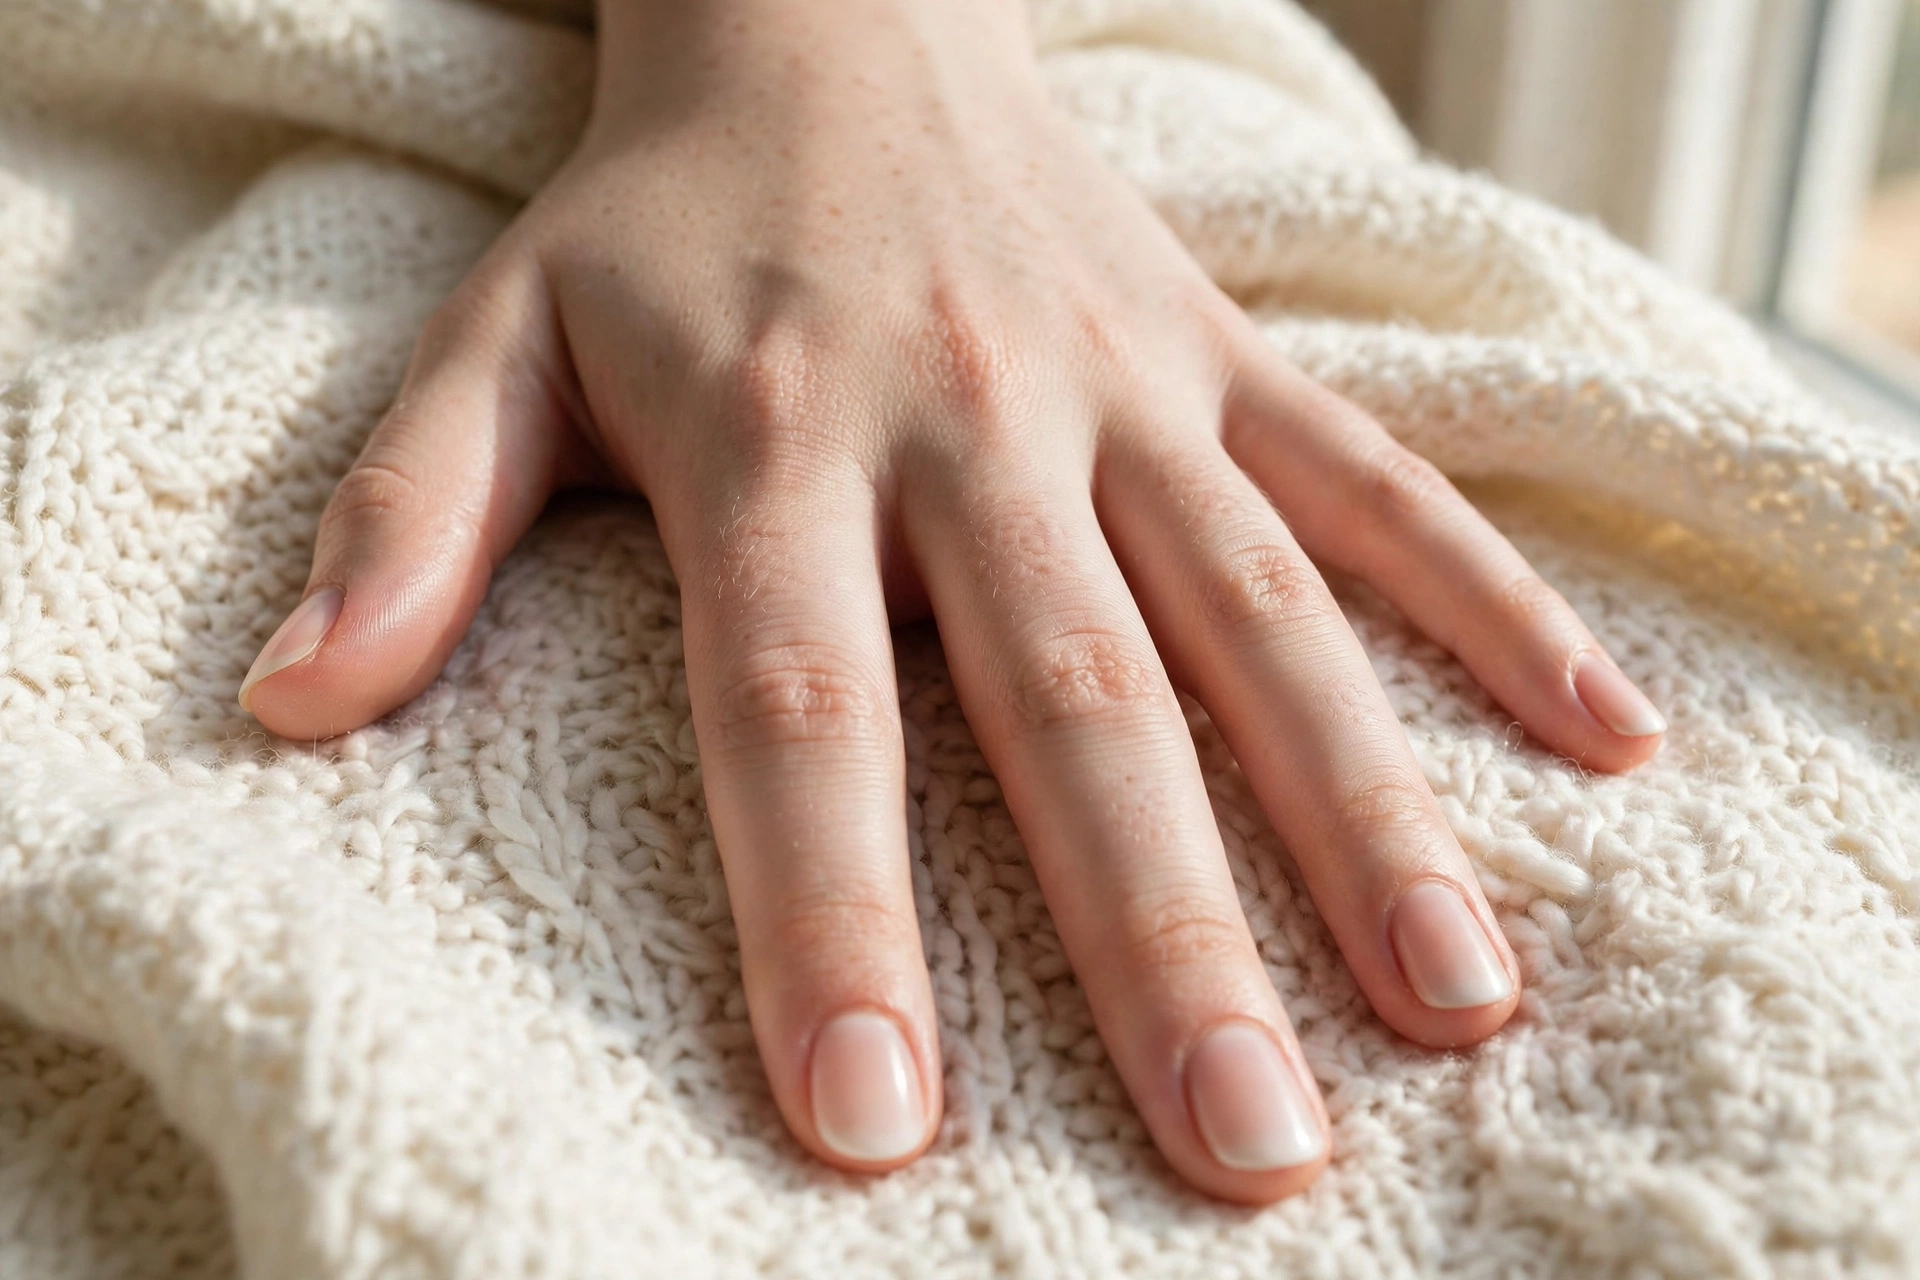
The babyboomer — a soft fade from nude pink to white tip — was practically invented for short oval nails. It gives the polished finish of a French without a hard smile line, and the gradient adds the illusion of length that short nails need. It is also the most requested bridal-adjacent look for a reason: it photographs beautifully.
Difficulty: medium — sponge or airbrush blending. Wearability: outstanding; the fade hides both chips and regrowth. If you only try one design from this list on short nails, make it this one. Our natural nail designs guide has more short-nail-friendly ideas in the same spirit.
14. Milky White
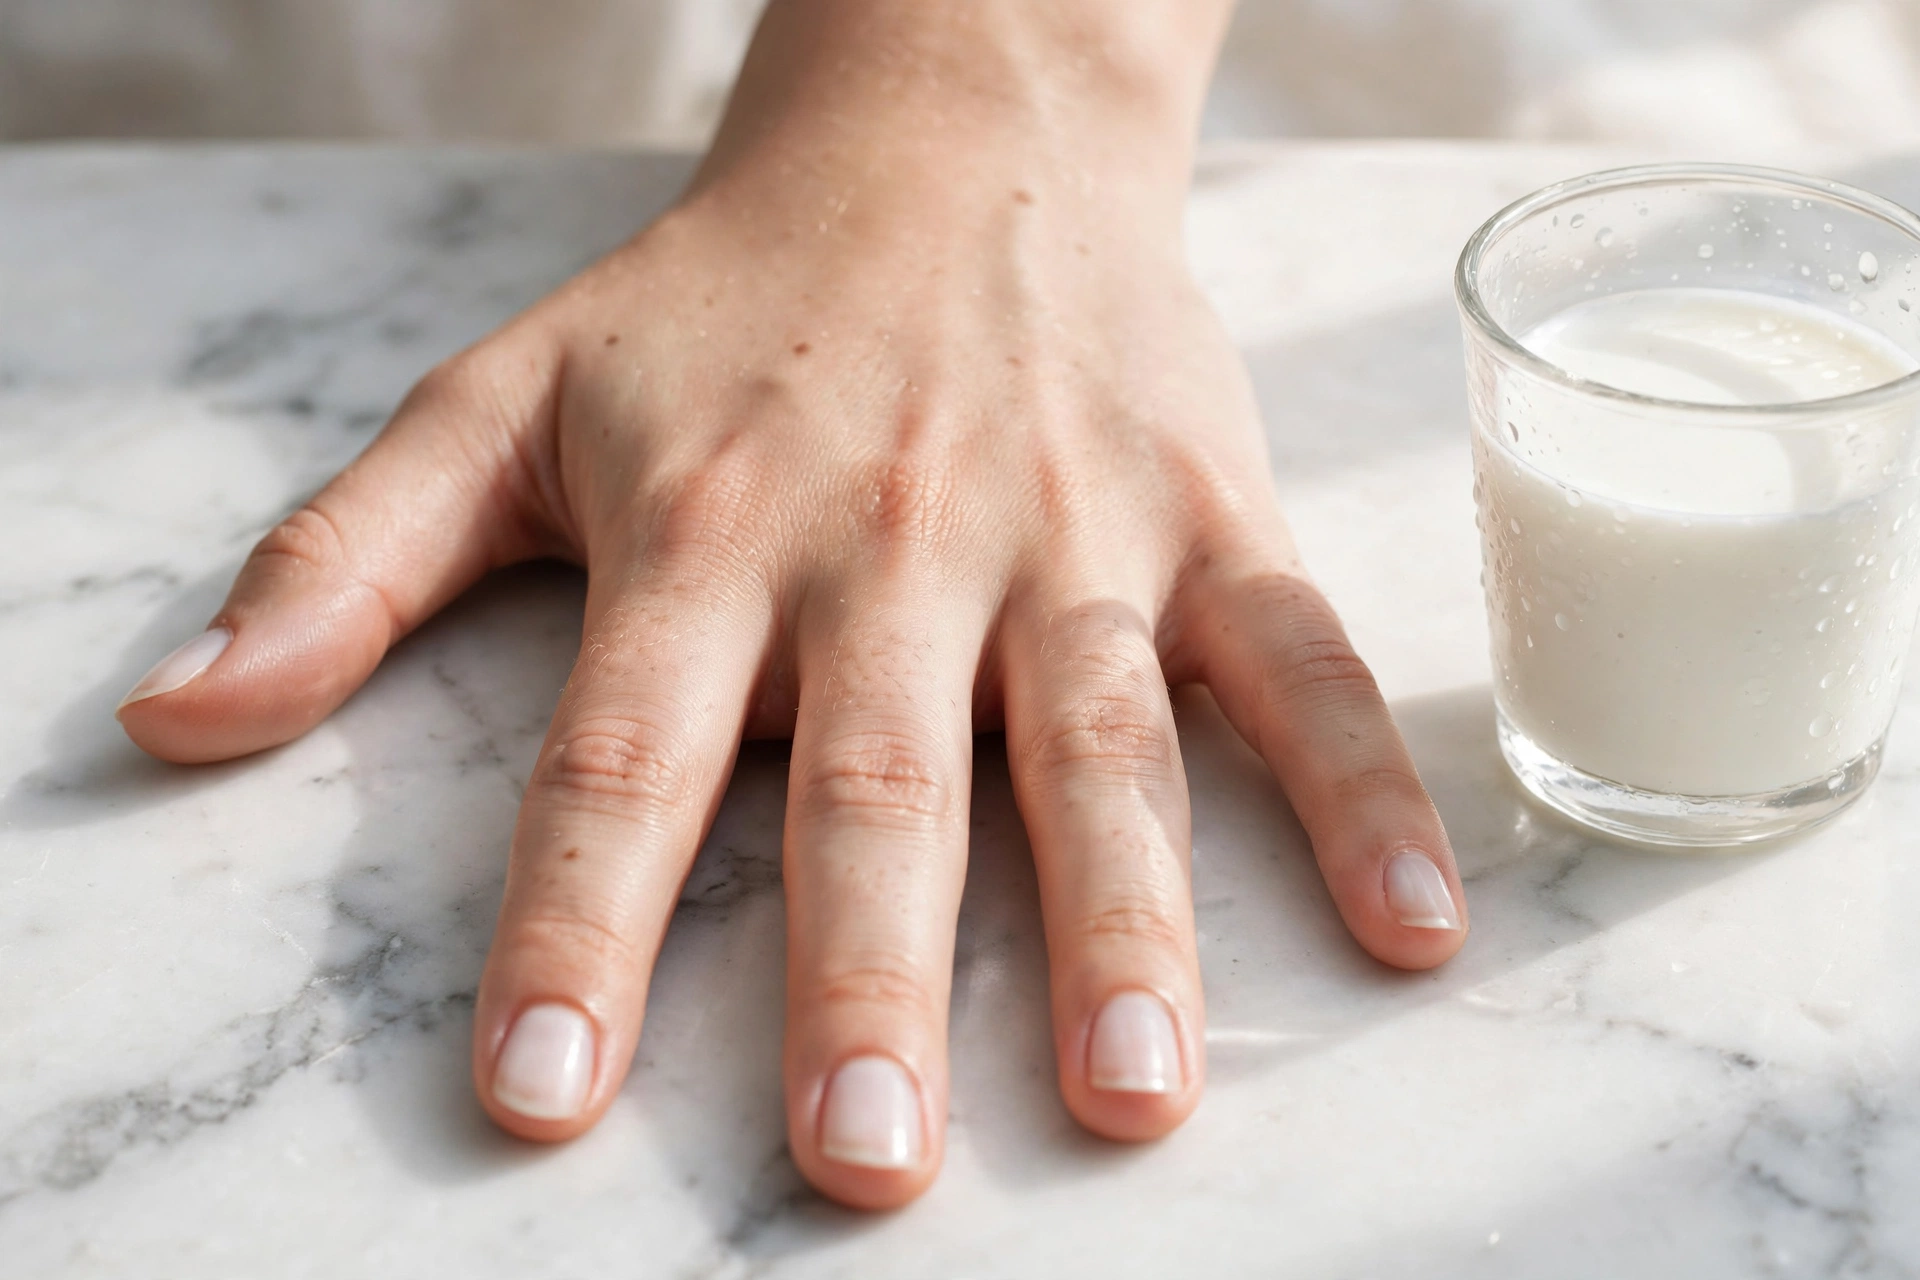
One or two coats of milky white sheer polish gives short oval nails a clean, luminous finish that looks like the “after” photo of a nail-care routine. It brightens the whole hand, suits every skin tone, and never clashes with an outfit — the definition of a low-decision manicure.
Difficulty: easy. Wearability: sheers show the least wear of any finish, and short nails chip less than long ones anyway. Keep a bottle at home for quick refreshes between salon visits.
15. Glazed Nude
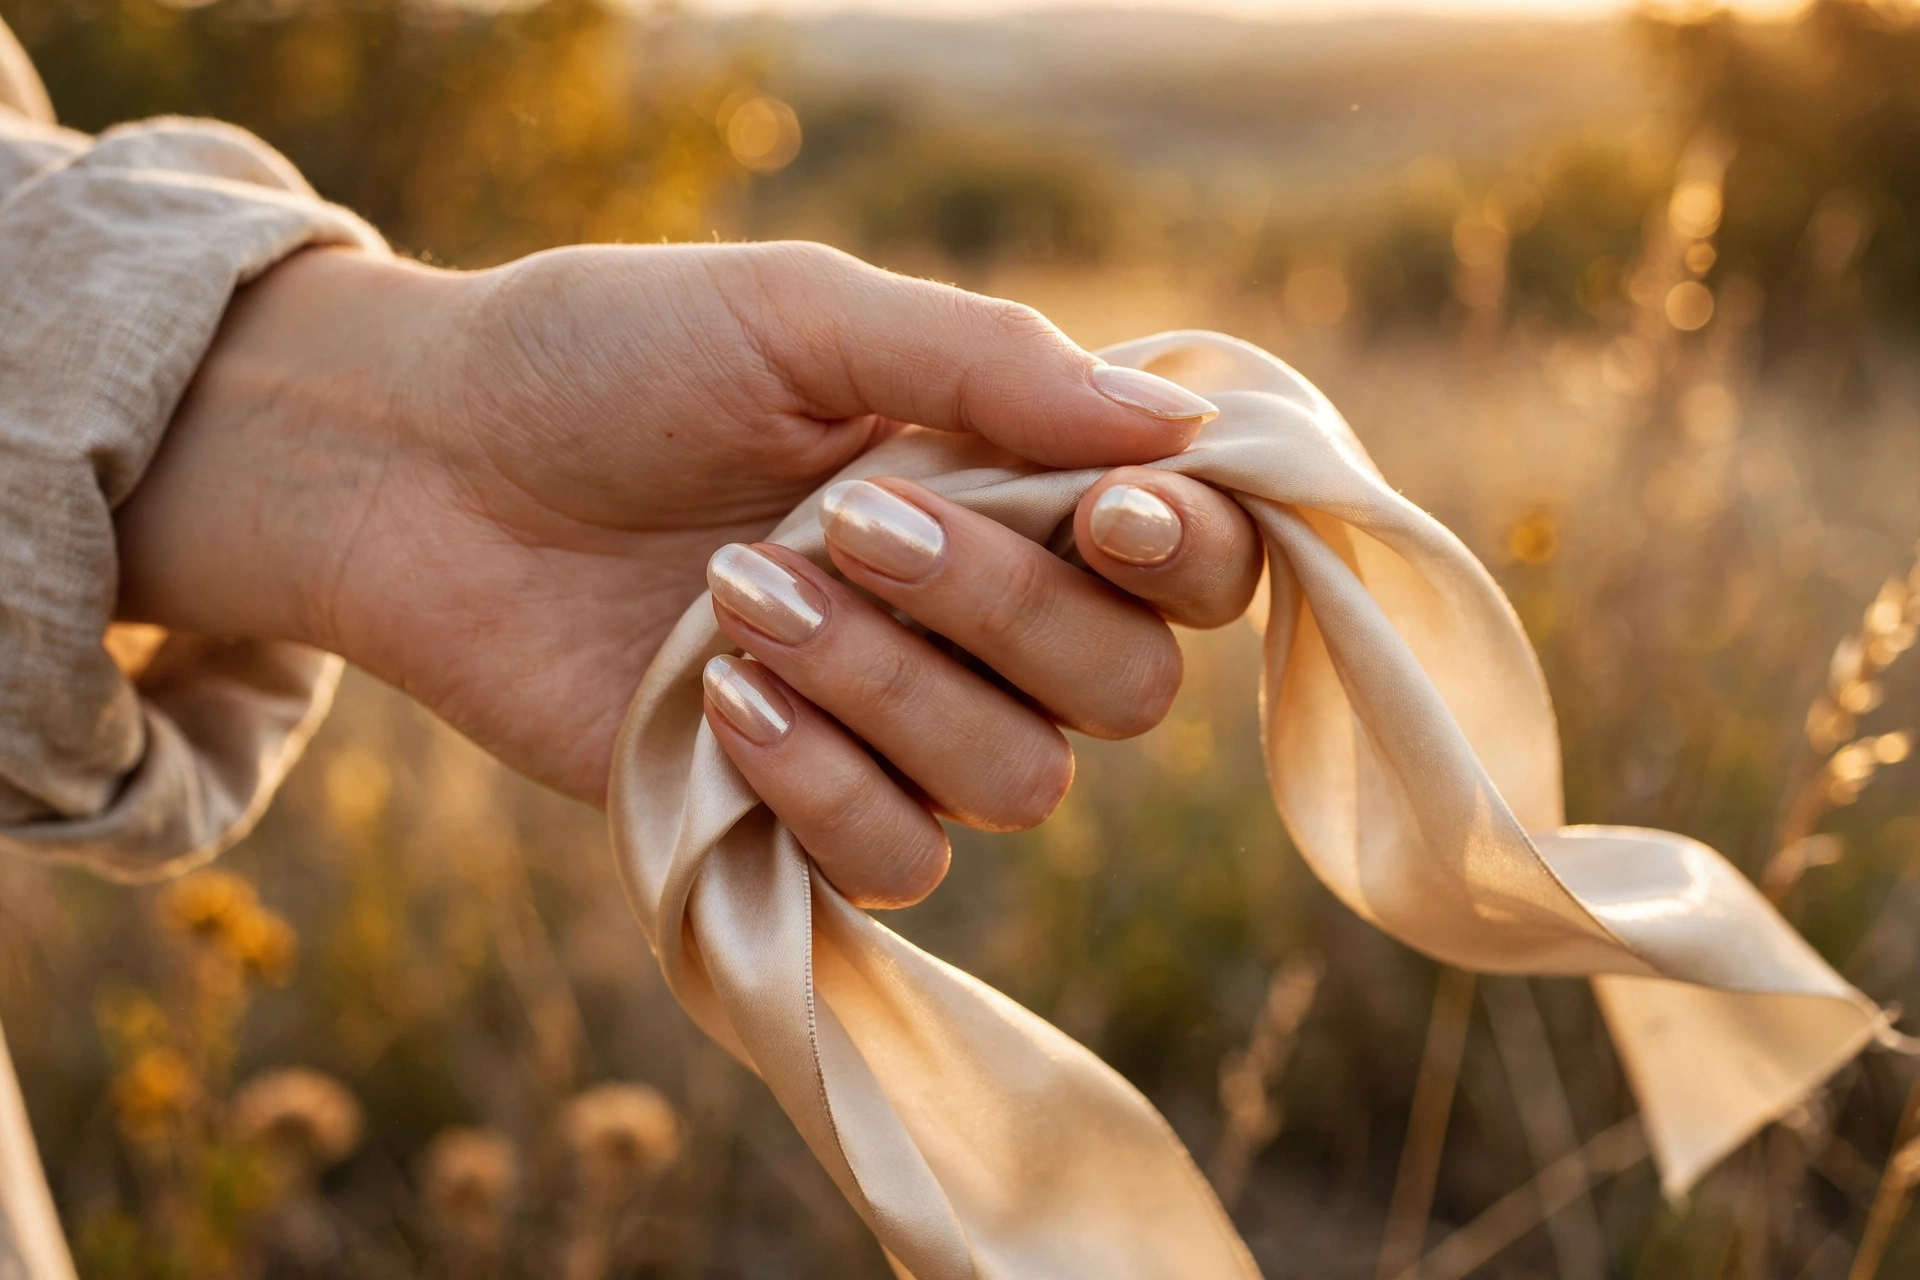
Chrome powder buffed over a nude base gives that pearlescent “glazed” glow that catches light with every movement. On short oval nails it adds dimension without adding visual weight — the nails look lit from within rather than painted. It is the trend finish that works hardest on the shortest nails.
Difficulty: easy at the salon; medium at home (powder, applicator, no-wipe top coat). Wearability: the glaze layer can dull after a week of heavy hand use, but the nude base underneath still looks fine. Oval’s smooth curve takes chrome more evenly than shapes with corners.
16. Single Micro-Dots
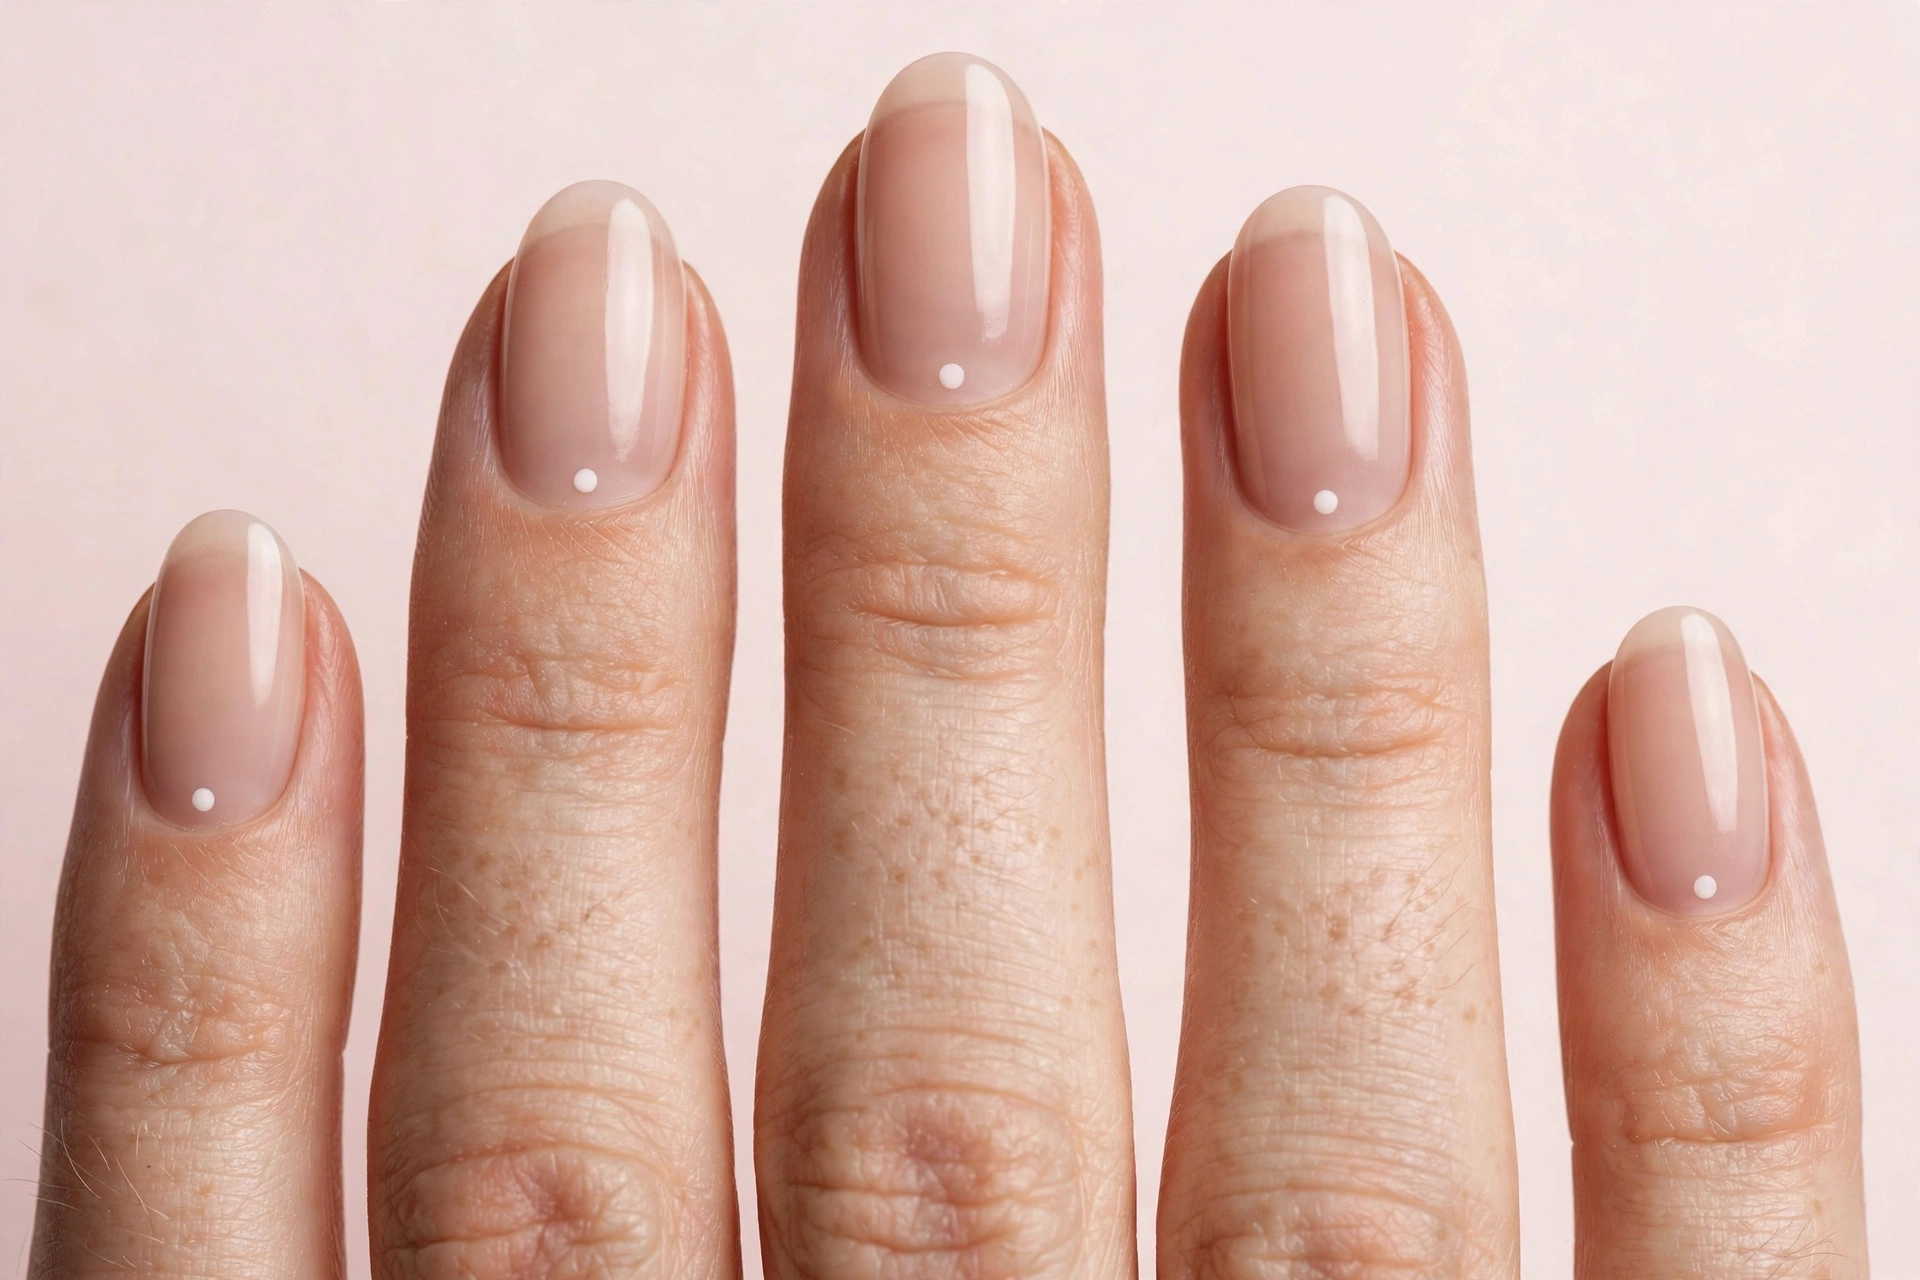
One tiny white dot at the base of each nail on a sheer nude base is the smallest possible nail art — and on short ovals it is enough. The dot draws the eye to the cuticle area, making the nail bed look longer, and the whole manicure takes ten minutes.
Difficulty: easy — a dotting tool or even a bobby pin. Wearability: minimal surface area means minimal chipping. The dot placement matters: center it just above the cuticle for the lengthening effect.
Low Upkeep: Grow-Out Friendly Ovals
Some manicures look tired after a week; these two are designed to age gracefully. If you stretch salon visits or do your own nails and hate maintenance, start here.
17. Glitter Fade
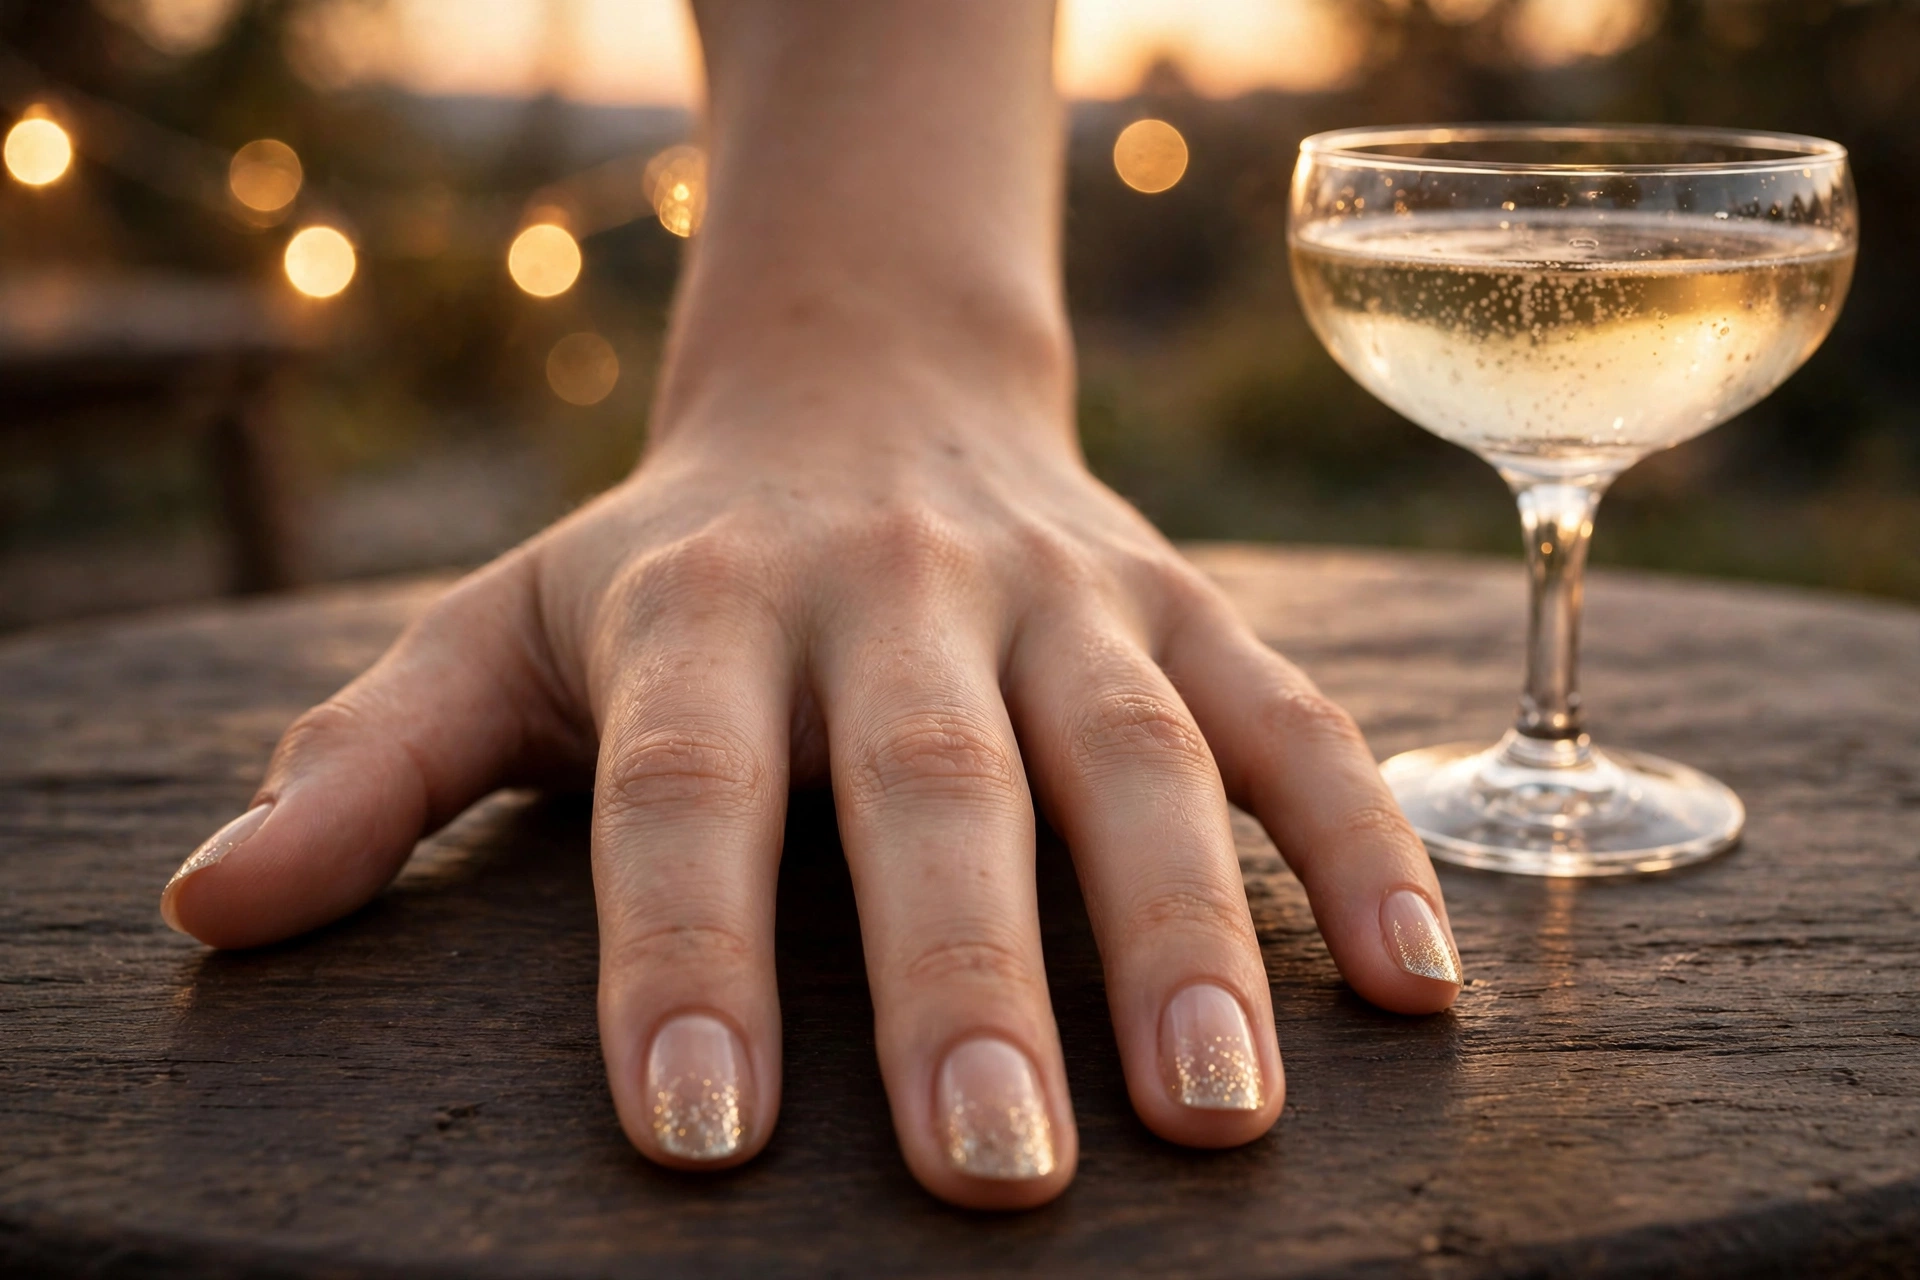
Fine gold glitter concentrated at the tips and fading toward the cuticle means there is no harsh regrowth line as the nail grows — the fade simply extends. Chips disappear into the sparkle, and the nude base keeps it elegant rather than party-only. On oval nails the glitter follows the rounded tip like a halo.
Difficulty: easy — sponge or brush the glitter on in layers, heaviest at the tip. Wearability: the best in this guide for longevity; glitter texture also grips top coat well. Remove with the foil-wrap method, since glitter is stubborn with plain remover.
18. Sheer Jelly French
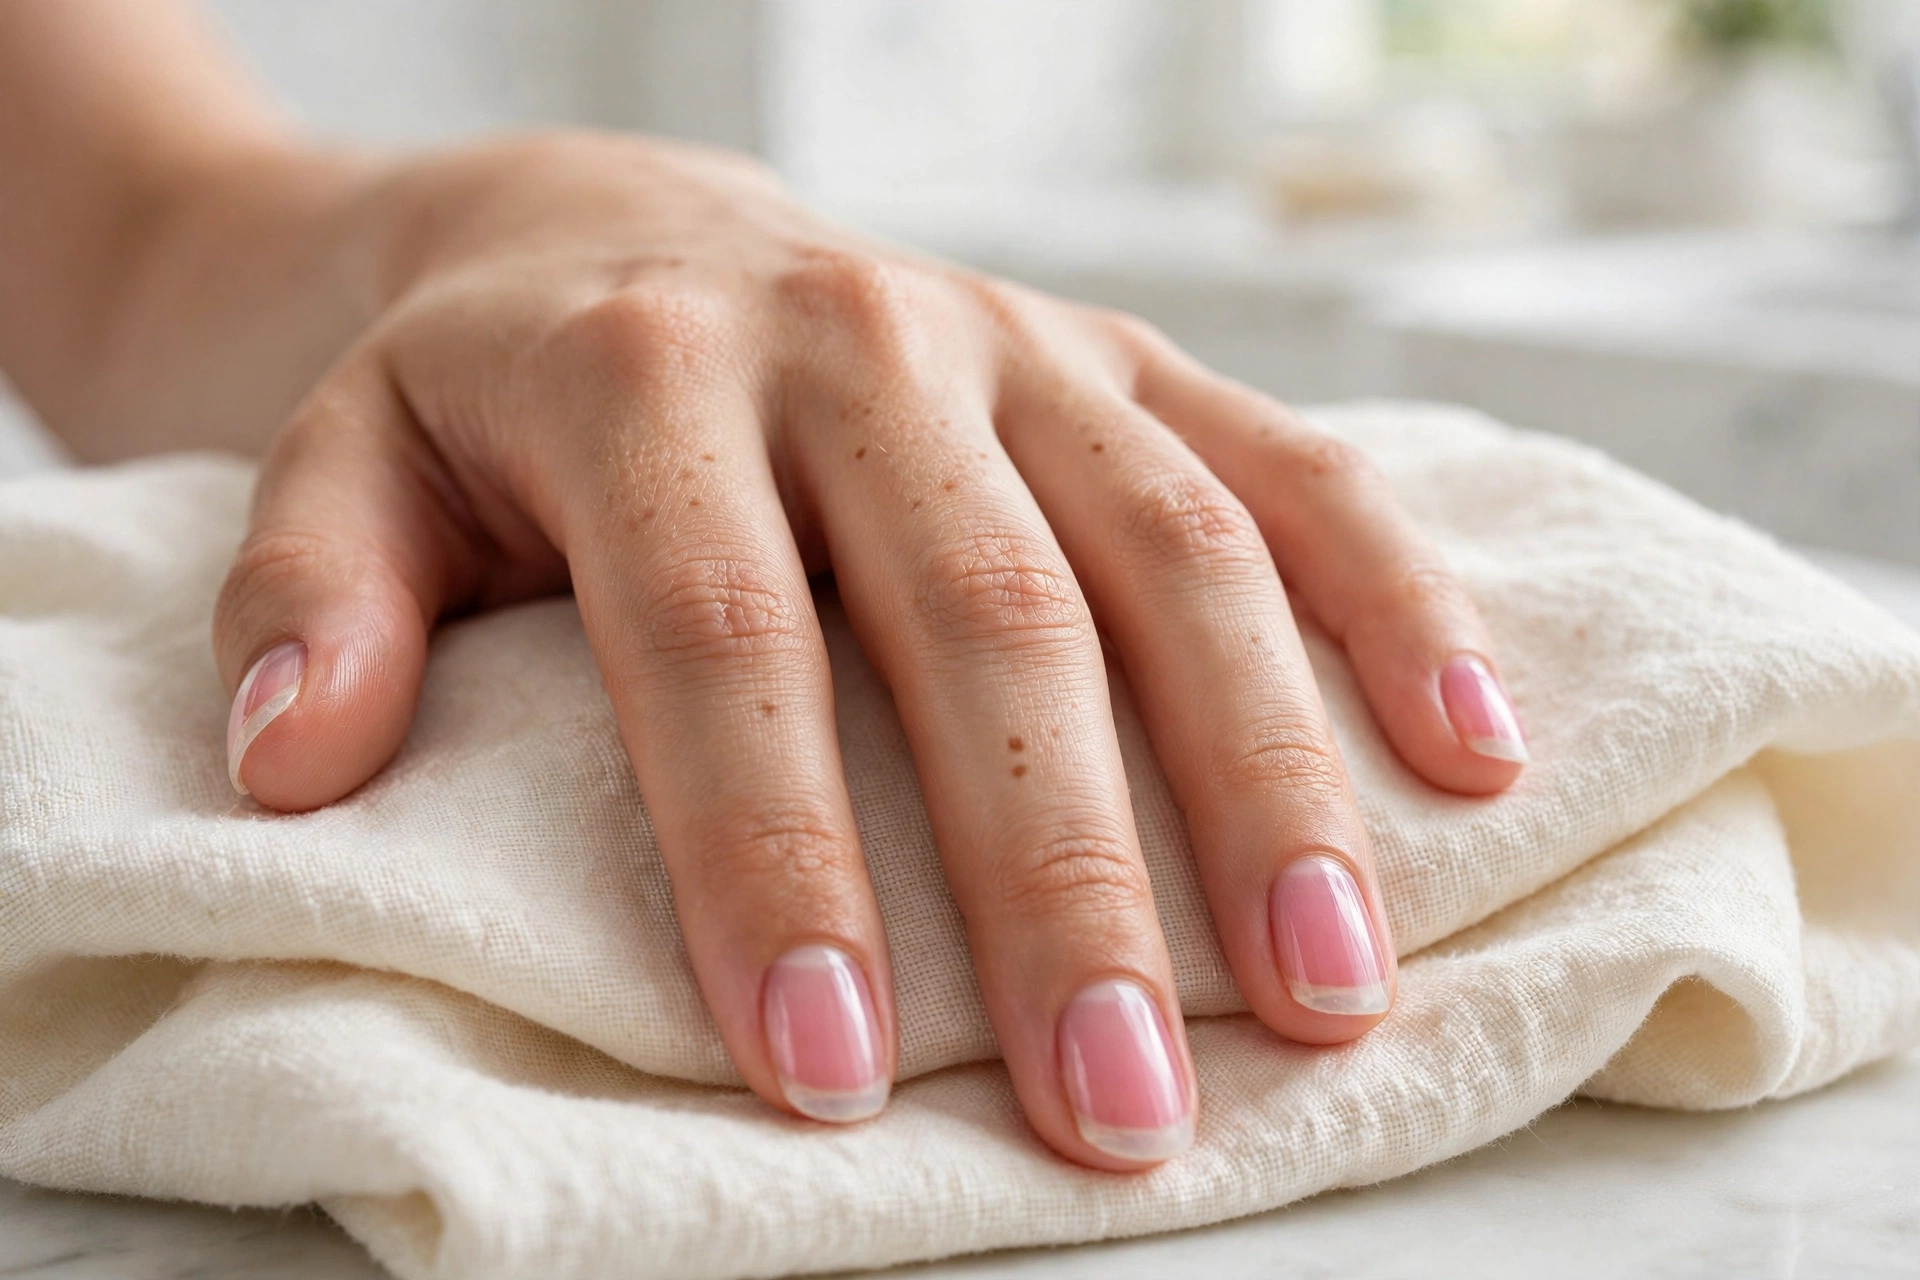
A translucent jelly pink base with sheer white tips is the French for people who hate upkeep. The transparency means the natural nail shows through, so regrowth blends in instead of announcing itself, and the soft tips never look stark as they grow out.
Difficulty: medium — jelly polish needs thin, even coats to avoid patchiness. Wearability: excellent for three weeks or more, especially in gel. Oval is the ideal shape here: the sheer tip follows the natural curve of the nail, so the whole manicure looks like a better version of your own nails.
Oval Nails by Occasion: Quick Picks
If you know the event but not the design, start here — every pick below is one of the 18 designs above, matched to the setting where it performs best.
| Occasion | Reach for | Why it works there |
|---|---|---|
| Office & interviews | Milky White (#14) or Single Micro-Dots (#16) | Clean, quiet, and chip-forgiving through a full work week |
| Wedding guest or bridal party | Babyboomer Ombre (#13) | Photographs softly, matches everything, hides a week of wear |
| Evening & dinner dates | Deep Berry One-Coat (#3) or Espresso Gloss (#6) | Dark shades read plush, not harsh, on the rounded tip |
| Holiday parties | Glitter Fade (#17) | Festive at the tips, still elegant at the cuticle — and no regrowth line by New Year |
| Vacation | Tortoise Shell (#10) or Color-Melt Swirls (#12) | Busy patterns camouflage chips when a salon is not an option |
| First oval manicure | Sheer Nude “Blush” Ovals (#1) | The most forgiving introduction to the shape on any hand |
Keeping the Oval: A Simple Maintenance Rhythm
An oval does not hold itself. As the nail grows, new length arrives at the tip while the filed curve stays where it was — so an unmaintained oval slowly squares off and then widens. Two minutes a week prevents the drift.
Once a week, on dry nails, take three to four light strokes along each sidewall and two across the tip with a fine-grit file, always in one direction. You are restoring the curve, not shortening the nail — if you can see dust, you are close to done. Follow with cuticle oil; the cuticle line is the template the tip mirrors, so a pushed-back, hydrated cuticle keeps the whole silhouette honest.
Mid-wear, refresh the top coat rather than adding color. Most oval designs in this guide fail at the tip first, and a fresh top-coat layer every three to four days re-seals the free edge before wear reaches the color. With gel, the same rhythm applies to oil and filing only — never file through a gel surface to “fix” the shape; reshape at the next full service instead.
Reshape fully every second or third manicure, or whenever one nail has been repaired short: file the whole set to match the shortest nail’s curve rather than letting one round nail sit among ovals. A matched set at a slightly shorter length always looks more deliberate than mixed shapes at mixed lengths.
Oval Nails FAQ
What are oval nails?
Oval nails are filed into a soft, rounded shape with gently tapered sides and a curved half-circle tip. The silhouette mirrors the natural curve of most fingertips, which makes oval the most natural-looking of the sculpted nail shapes.
What is the difference between oval and almond nails?
Almond nails taper to a soft peak at the tip, while oval nails end in a smooth rounded curve with less taper. Almond elongates the finger more dramatically and looks more sculpted; oval looks more natural and is slightly stronger, since less of the nail is filed away at the tip.
Do oval nails suit short fingers?
Yes — oval is one of the best shapes for short fingers. The rounded tip and gentle taper create an elongating effect without the fragility of a stiletto point. Sheer nudes, vertical lines, and ombre fades enhance the lengthening effect further.
Are oval nails good for wide nail beds?
Yes. The rounded outline softens wide nail beds, and designs that leave the sidewalls bare (like negative-space French) or use darker shades make the nail read slimmer. Keep at least medium length so the shape reads elegant rather than stubby.
How do you file oval nails at home?
File the sides gently inward in one direction, then shape the free edge into a smooth half-circle that mirrors your cuticle’s curve. Check symmetry from the front, smooth with a fine buffer, and avoid filing the sides too straight or you will end up with almond instead of oval.
Do oval nails break easily?
Oval is one of the most durable shapes because it has no corners or points to catch and chip. On natural nails it holds up well at short to medium lengths; for long ovals, a gel or builder overlay adds the reinforcement the extra length needs.
What nail length works best with oval nails?
Medium length is the sweet spot — enough free edge for the curve to read clearly, with room for nail art. Short ovals look neat and natural but can collapse into round if filed too short; long ovals are elegant but benefit from gel or acrylic for strength.
Are oval nails still in style?
Oval has never really left. It is the shape salons default to for natural-looking manicures, and it underpins most of the current sheer, glazed, and minimal trends. Because it is a classic rather than a trend shape, it does not date the way more extreme silhouettes can.
How do I ask for oval nails at the salon?
Ask for “oval” by name, then add one word for width: “narrow oval” if you want a more tapered, almond-leaning version, or “soft oval” if you want it closer to round. If you have a wide nail bed, say you want the sidewalls tapered so the nail reads slimmer. A reference photo settles everything words cannot — techs interpret shape names slightly differently from salon to salon.
Do oval nails make hands look older?
No — the opposite, in most cases. Oval elongates the fingers and softens the hand’s outline, and sheer or milky finishes (the finishes this shape wears best) read fresh rather than dated. What can age a hand is a very long, very dark oval worn with dry cuticles; keep the length at medium and the cuticles oiled and the shape reads youthful.
What is the difference between oval and squoval nails?
Squoval is a square nail with its corners rounded off — the tip edge is still essentially flat. Oval has no flat edge at all: the tip is one continuous curve from sidewall to sidewall. If you can see a straight section across the tip, it is squoval; if the tip is all curve, it is oval.
Can you get oval nails with acrylic or gel extensions?
Yes — oval is one of the most requested extension shapes because it looks natural at lengths natural nails cannot always reach. Ask for sculpted ovals built to your nail-bed width rather than pre-shaped tips, and keep long ovals on acrylic or hard gel, which carry the length better than soft gel alone. The medium-by-medium breakdown above covers which to choose.