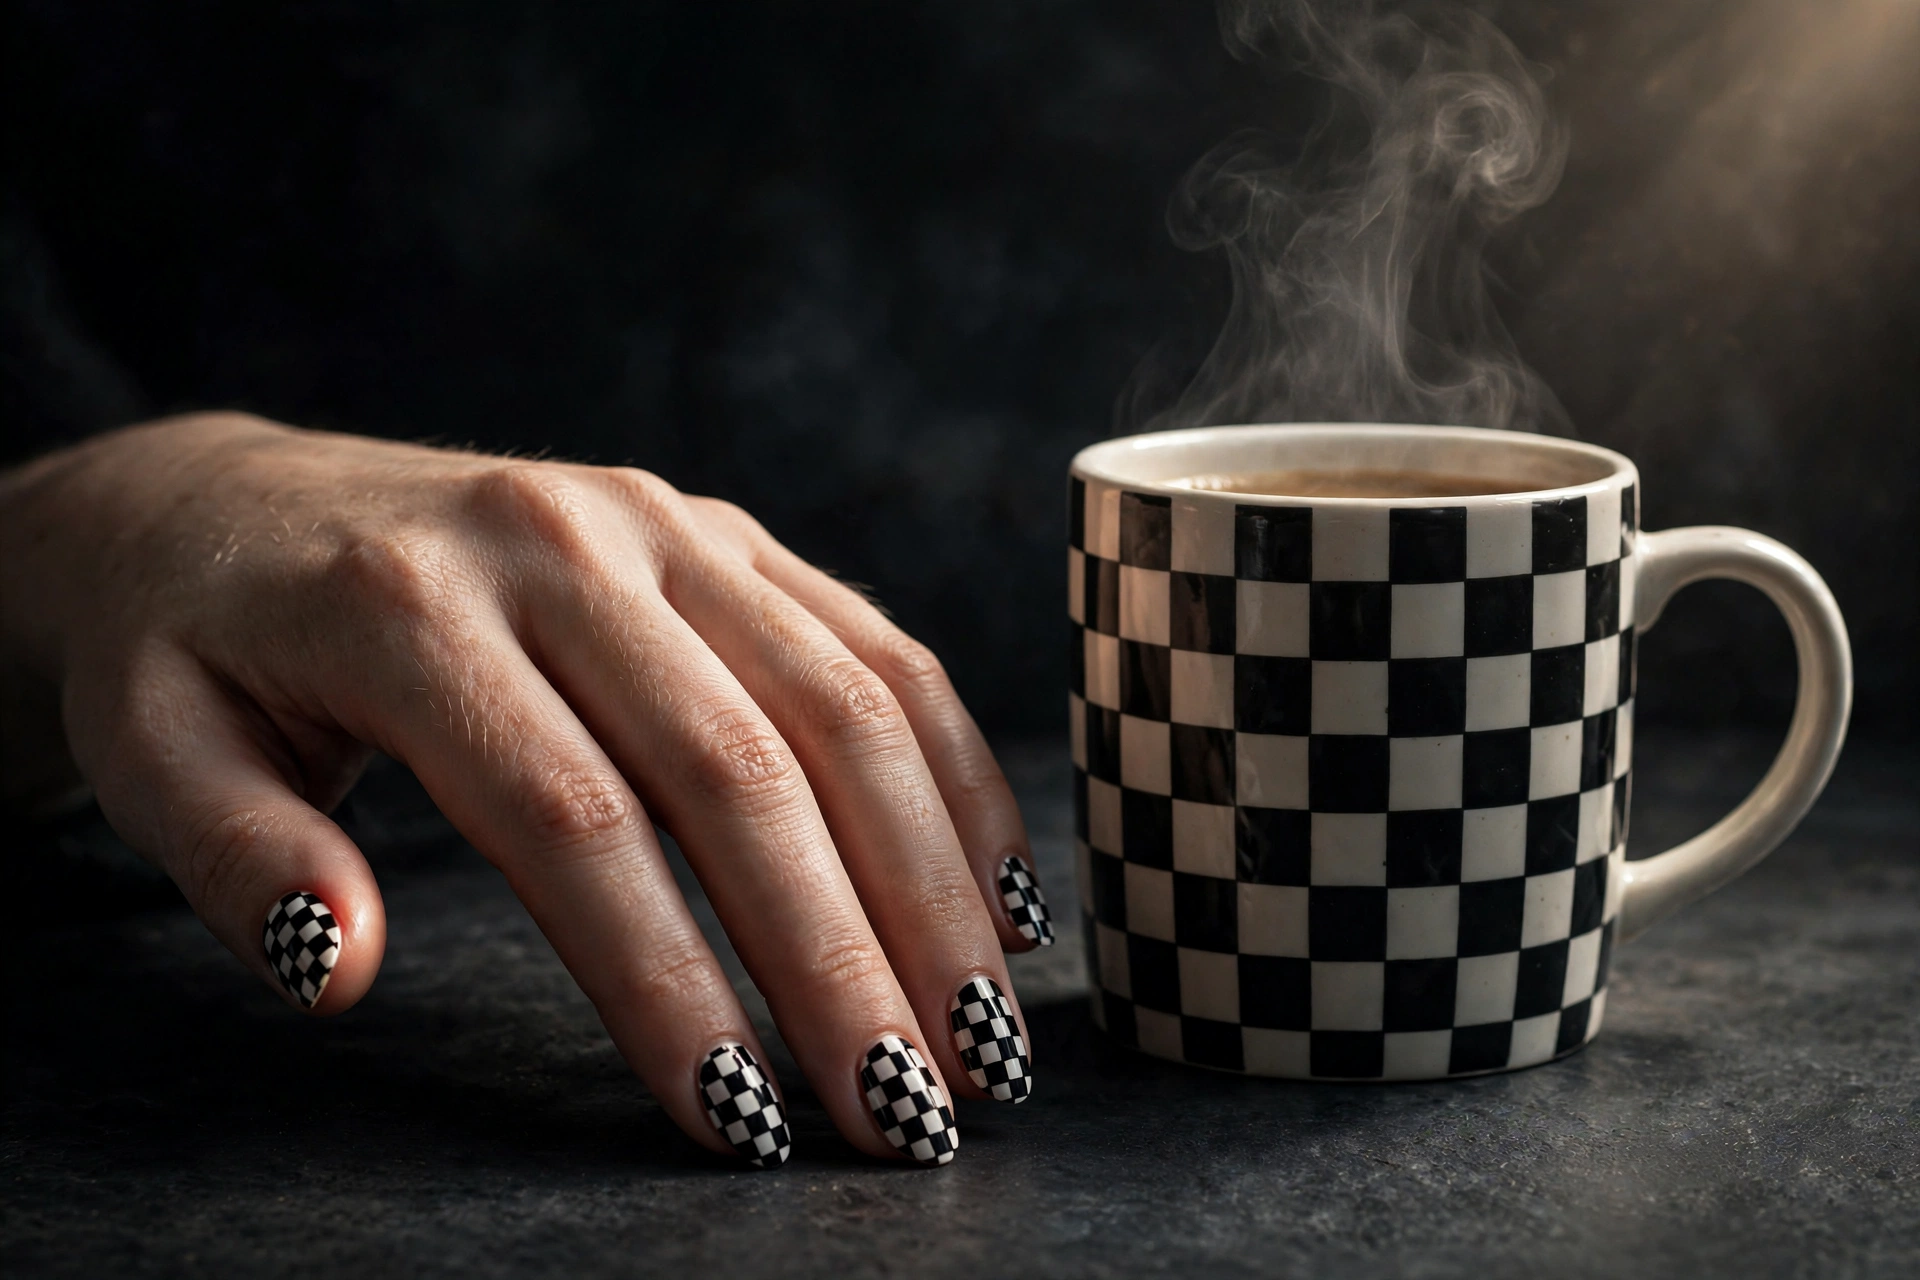
18 Checkerboard Nail Designs That Nail the Retro Trend
Checkerboard nails are a retro graphic manicure made of neat alternating color squares across the nail. They look impressive but are one of the most beginner-friendly nail art designs, because the whole pattern is just straight lines and filled-in boxes. This guide walks you through 18 checkerboard nail designs grouped by check style, then a real step-by-step tutorial with three methods so you can paint them yourself.
Checkerboard, Gingham or Plaid? Know Your Checks
Three patterns get mixed up constantly in nail posts, and they are not the same design. A checkerboard is two colors in equal, opaque squares: every square is fully one color or the other, with hard edges between them. That is the pattern in all 18 designs below. Gingham is one color plus white, painted as overlapping sheer stripes; where the stripes cross, they blend into a third, darker tone, which gives gingham its soft picnic-cloth feel. Plaid uses stripes of different widths and several colors crossing each other, so the lines matter more than the squares.
The distinction is practical, not pedantic. Checkerboard needs opaque polish and crisp edges, so it suits the tape and stamping methods in the tutorial below. Gingham needs the opposite: a sheer, jelly-like polish layered in stripes. If a reference photo shows three tones in the squares, it is gingham, and painting it with opaque checkerboard technique will never quite match it.
Classic Black & White Checks
The original. Black and white checks never date, and the high contrast makes even a hand-drawn grid look crisp and intentional. Start here if you want the iconic look.
1. Classic Black & White Checkerboard
The full-set monochrome checkerboard is the design that started the trend. Crisp alternating squares read as both retro and modern, which is why this version shows up everywhere from street style to red carpets.
It works on every nail length, but a three- or four-row grid suits short to medium nails best, while long nails can carry five or six rows. Almond and squoval shapes flatter the pattern most. Keep the base white and the checks black (rather than the reverse) for the cleanest lines, since dark polish over light rarely bleeds.
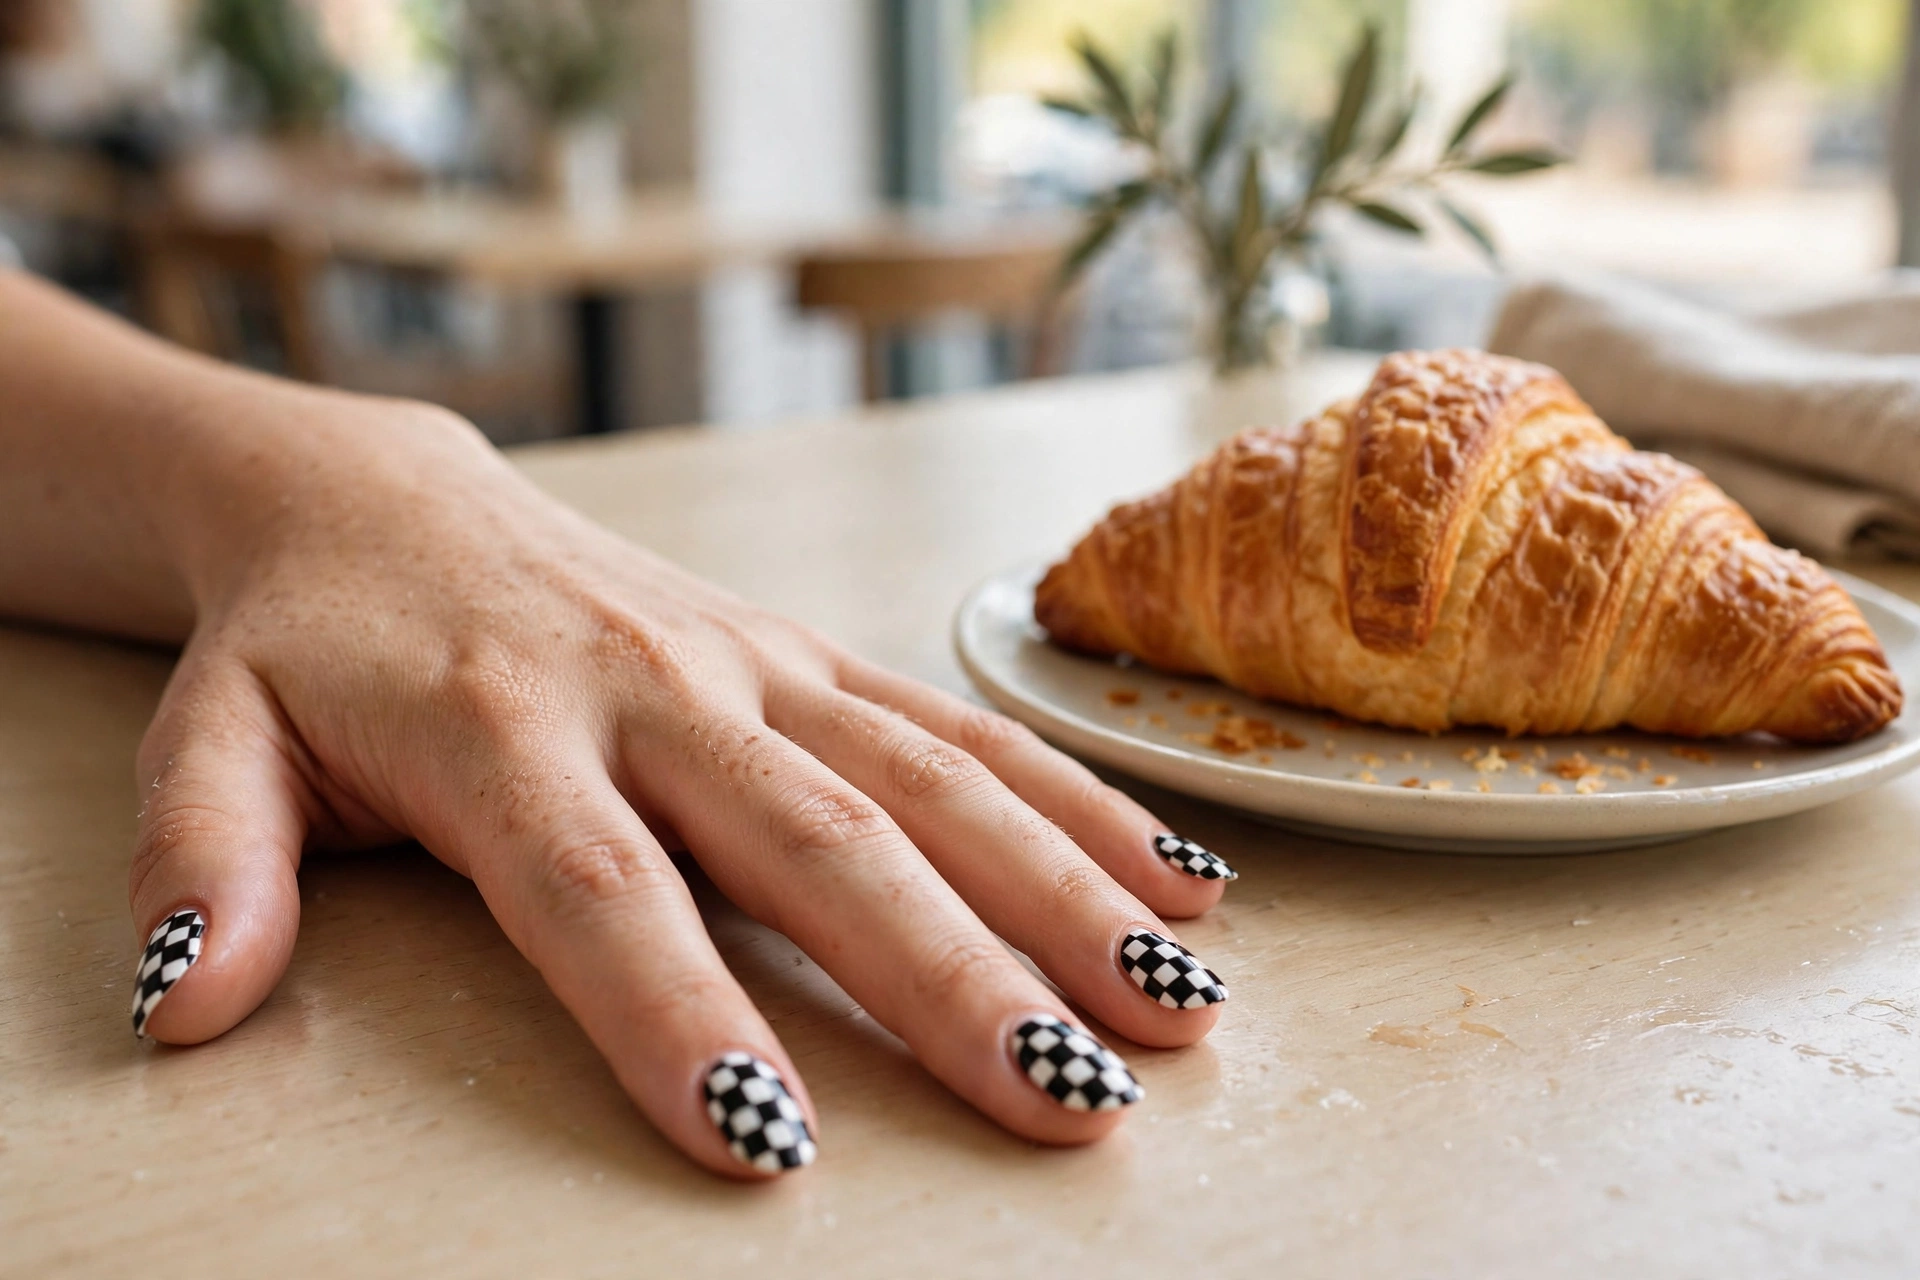
2. High-Gloss Macro Checks
A glossy top coat makes black and white checks look wet and graphic, almost like patent leather. The shine is what separates a salon-looking set from a flat homemade one.
Paint the design as usual, then seal with two thin layers of high-shine top coat rather than one thick one. Thin layers self-level and keep the grid edges sharp. Square or squoval nails show off the mirror finish best, and this version pairs well with the advice in our black nail designs guide for keeping dark polish chip-free.
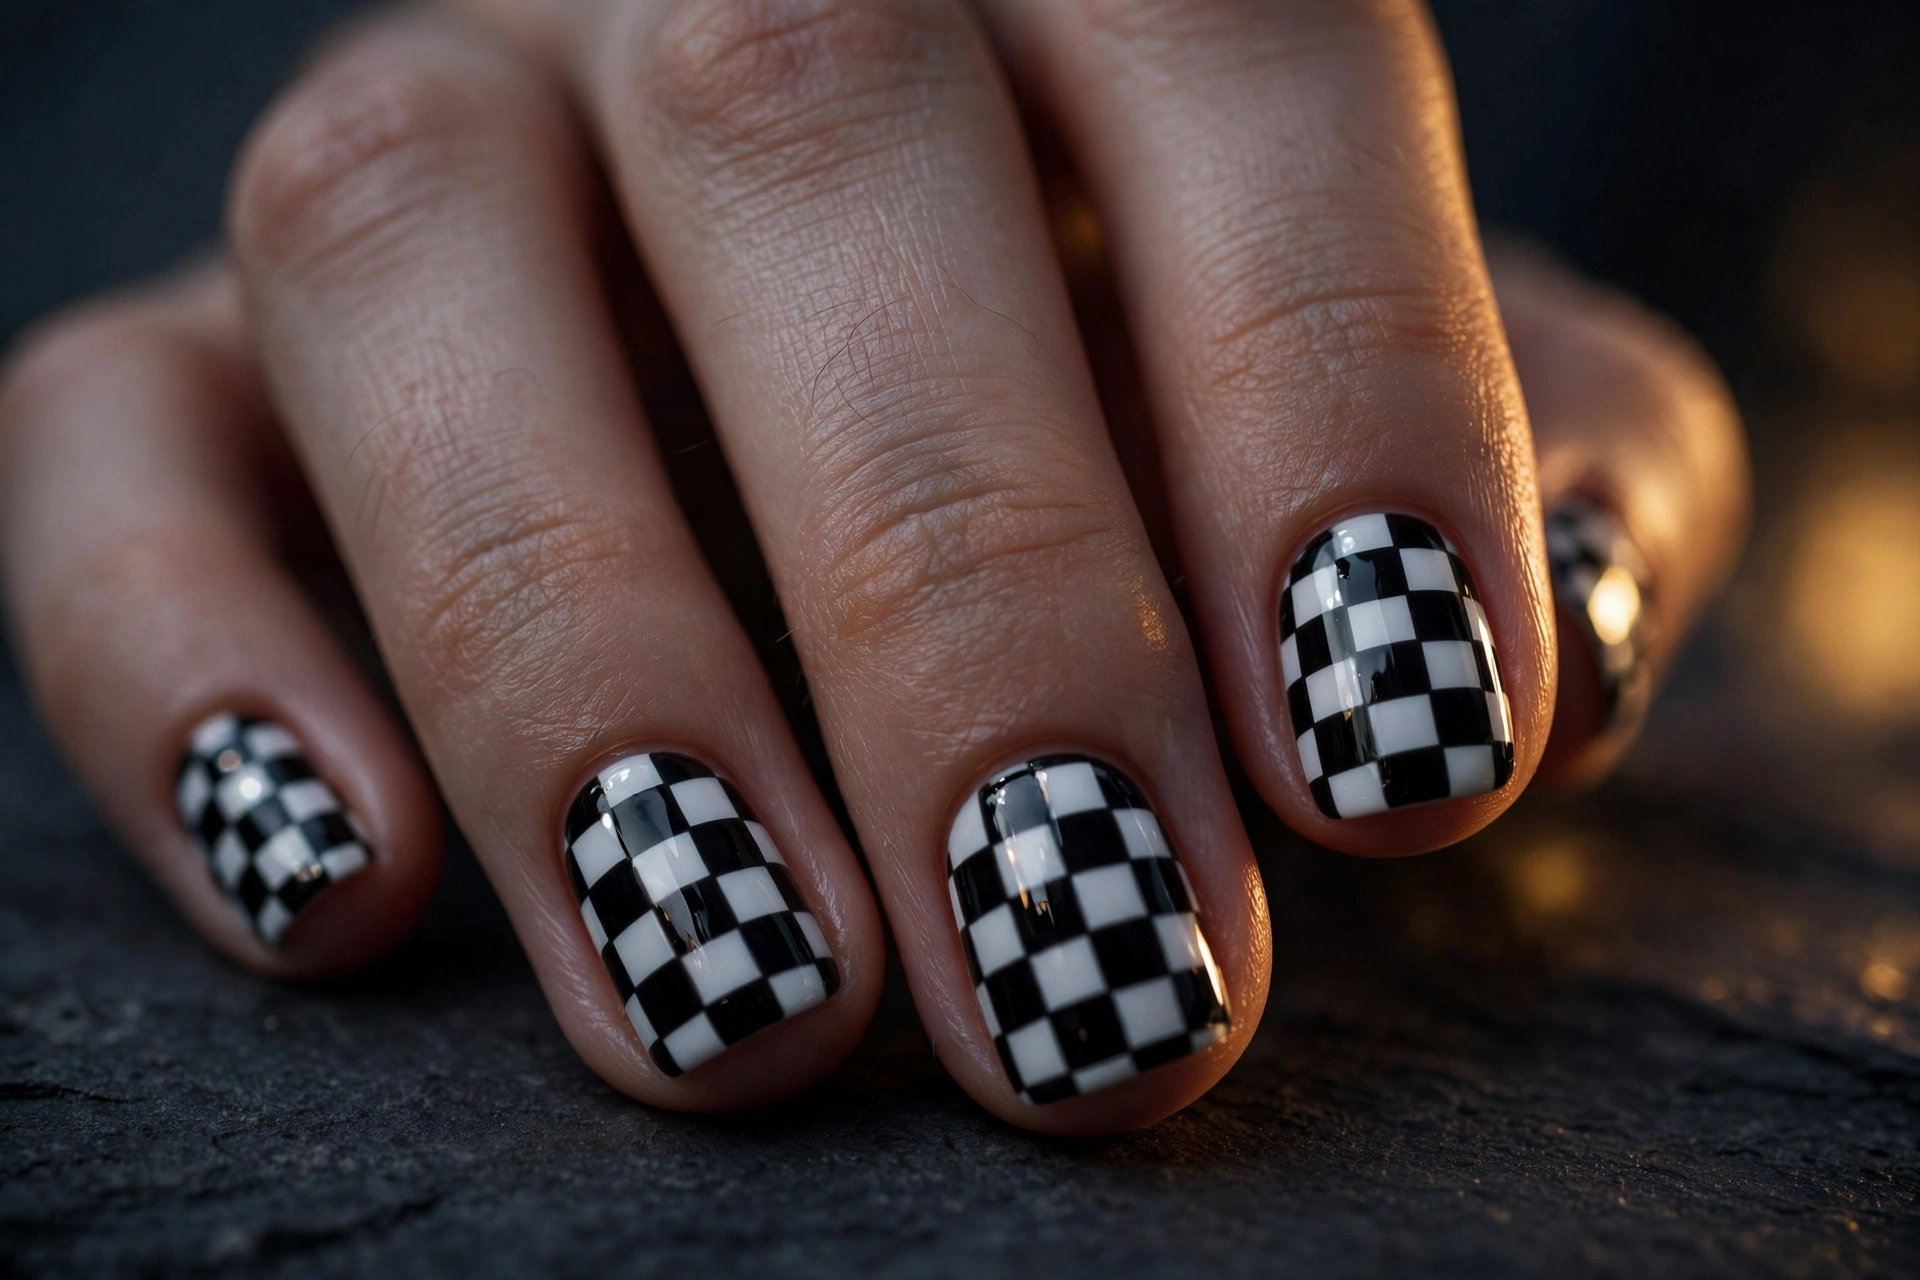
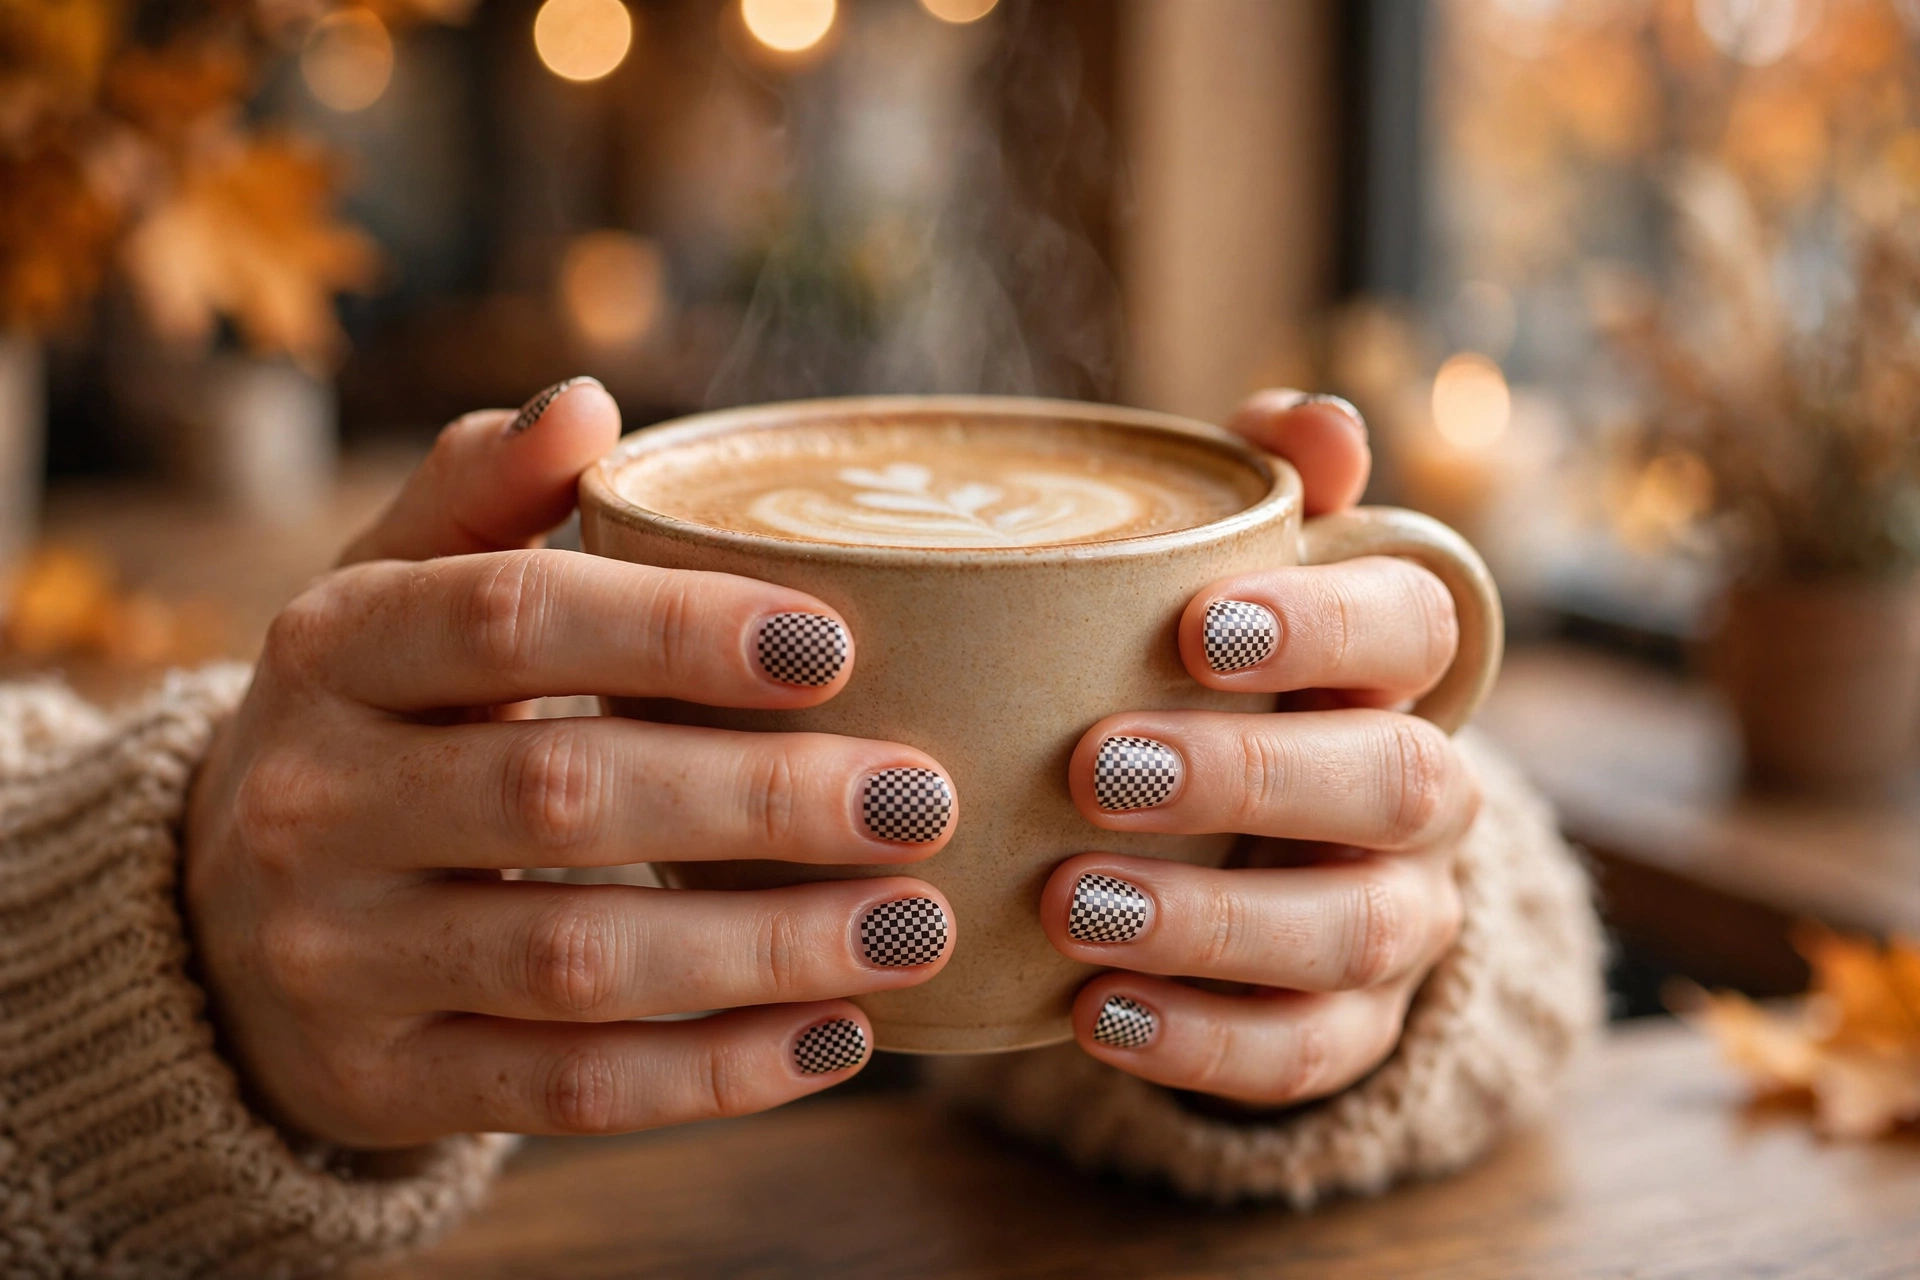
3. Micro Checkerboard
Micro checks are tiny squares, usually five or six rows across a short nail. The smaller grid reads as delicate and refined instead of bold, which makes this the most wearable monochrome option for workplaces.
This version is easiest with the striping-tape method, because drawing tiny straight squares freehand is genuinely hard. Short oval nails are the ideal canvas. If your checks come out uneven, the eye forgives it more at this scale, which is another reason beginners should try micro first.
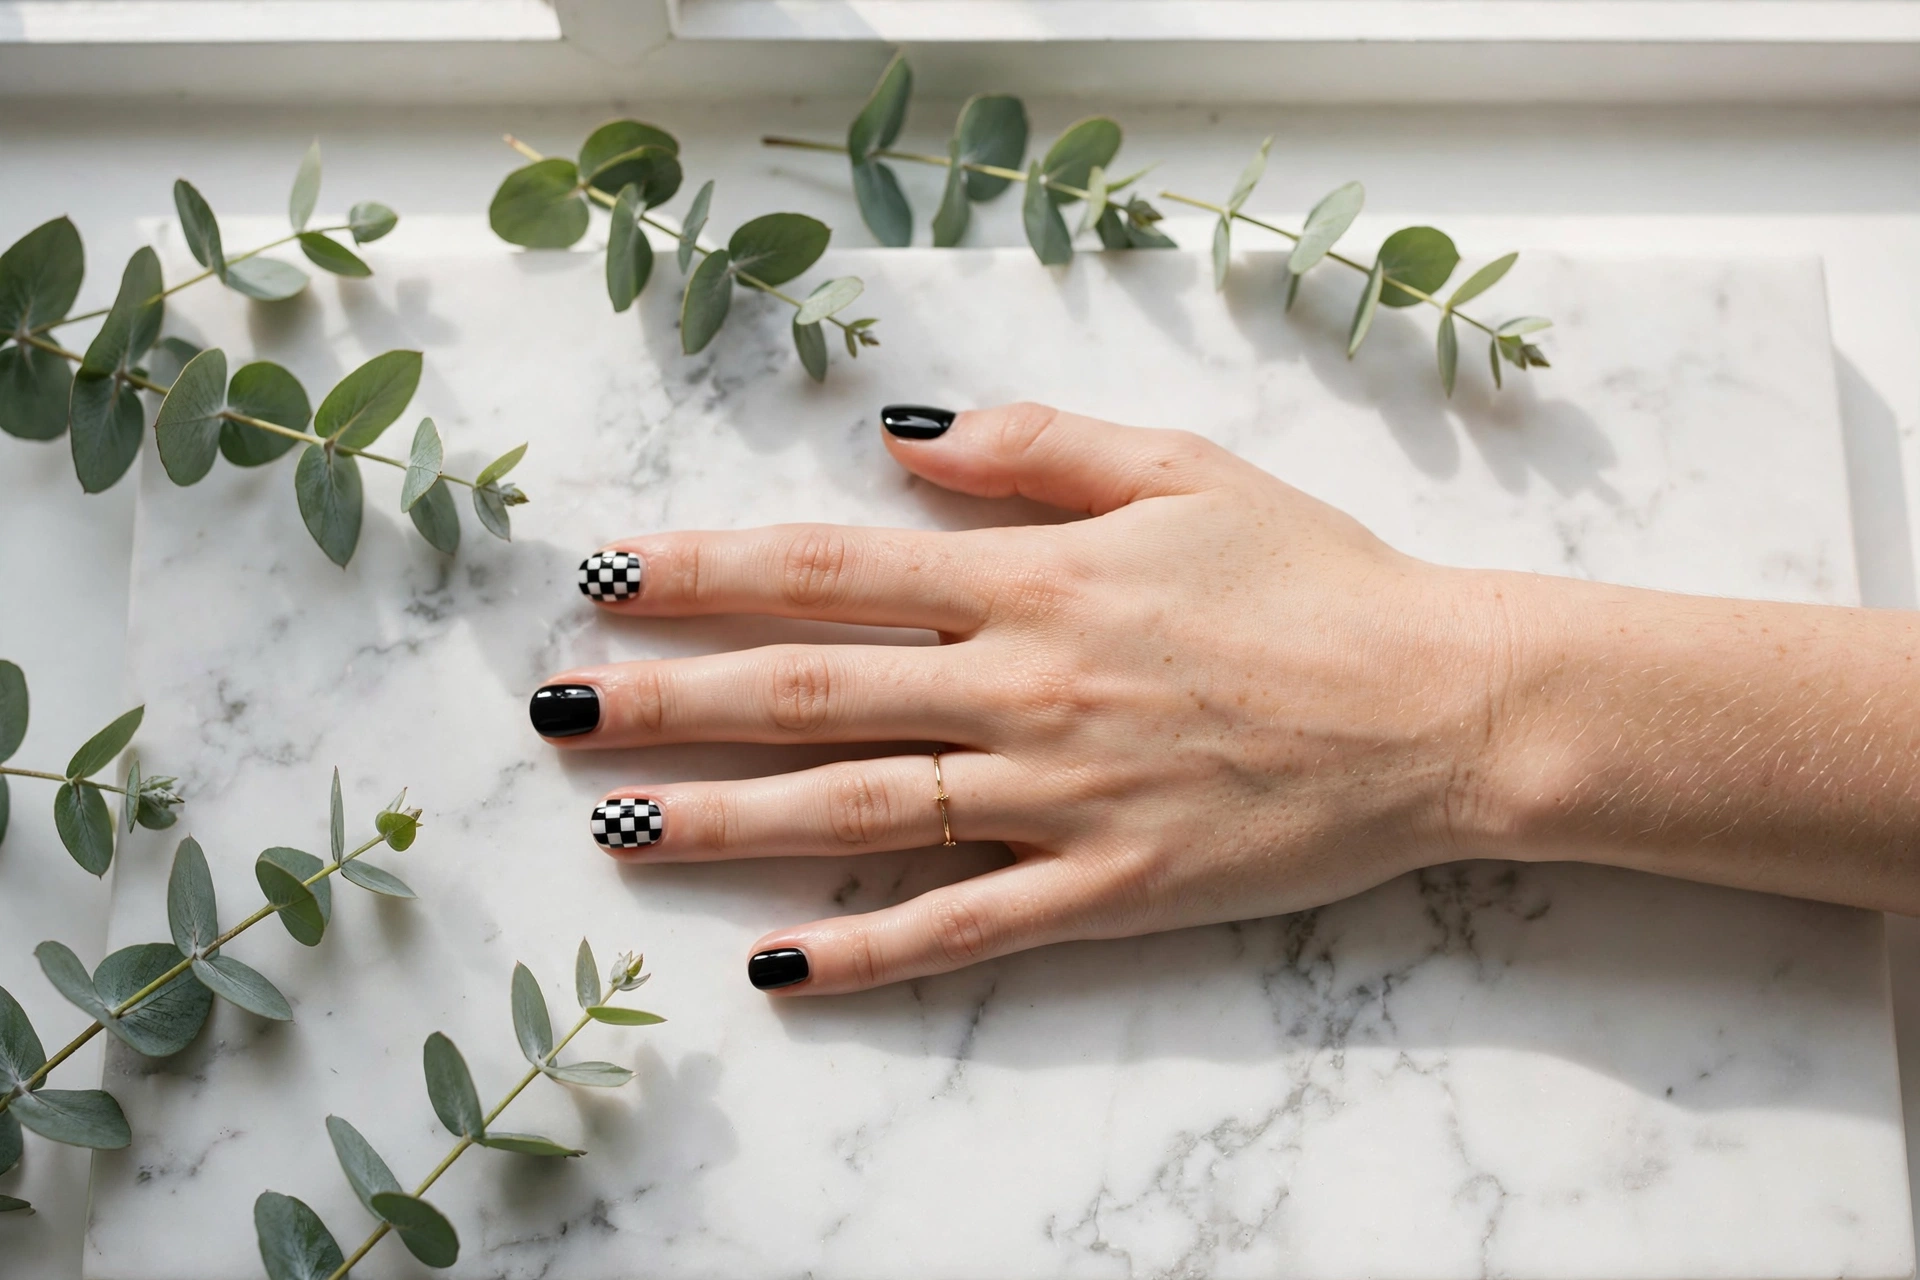
4. Checkerboard Accent Nails
If a full checkered set feels like too much, paint the pattern on two accent nails and keep the rest solid. You get the retro reference without committing every nail to the grid.
The ring and middle fingers are the classic accent placement, and glossy solid black is the natural partner for monochrome checks. A thin gold ring echoes the graphic feel. This is a good first attempt because you only have to nail the grid twice, and it teaches the hand control the full set needs.
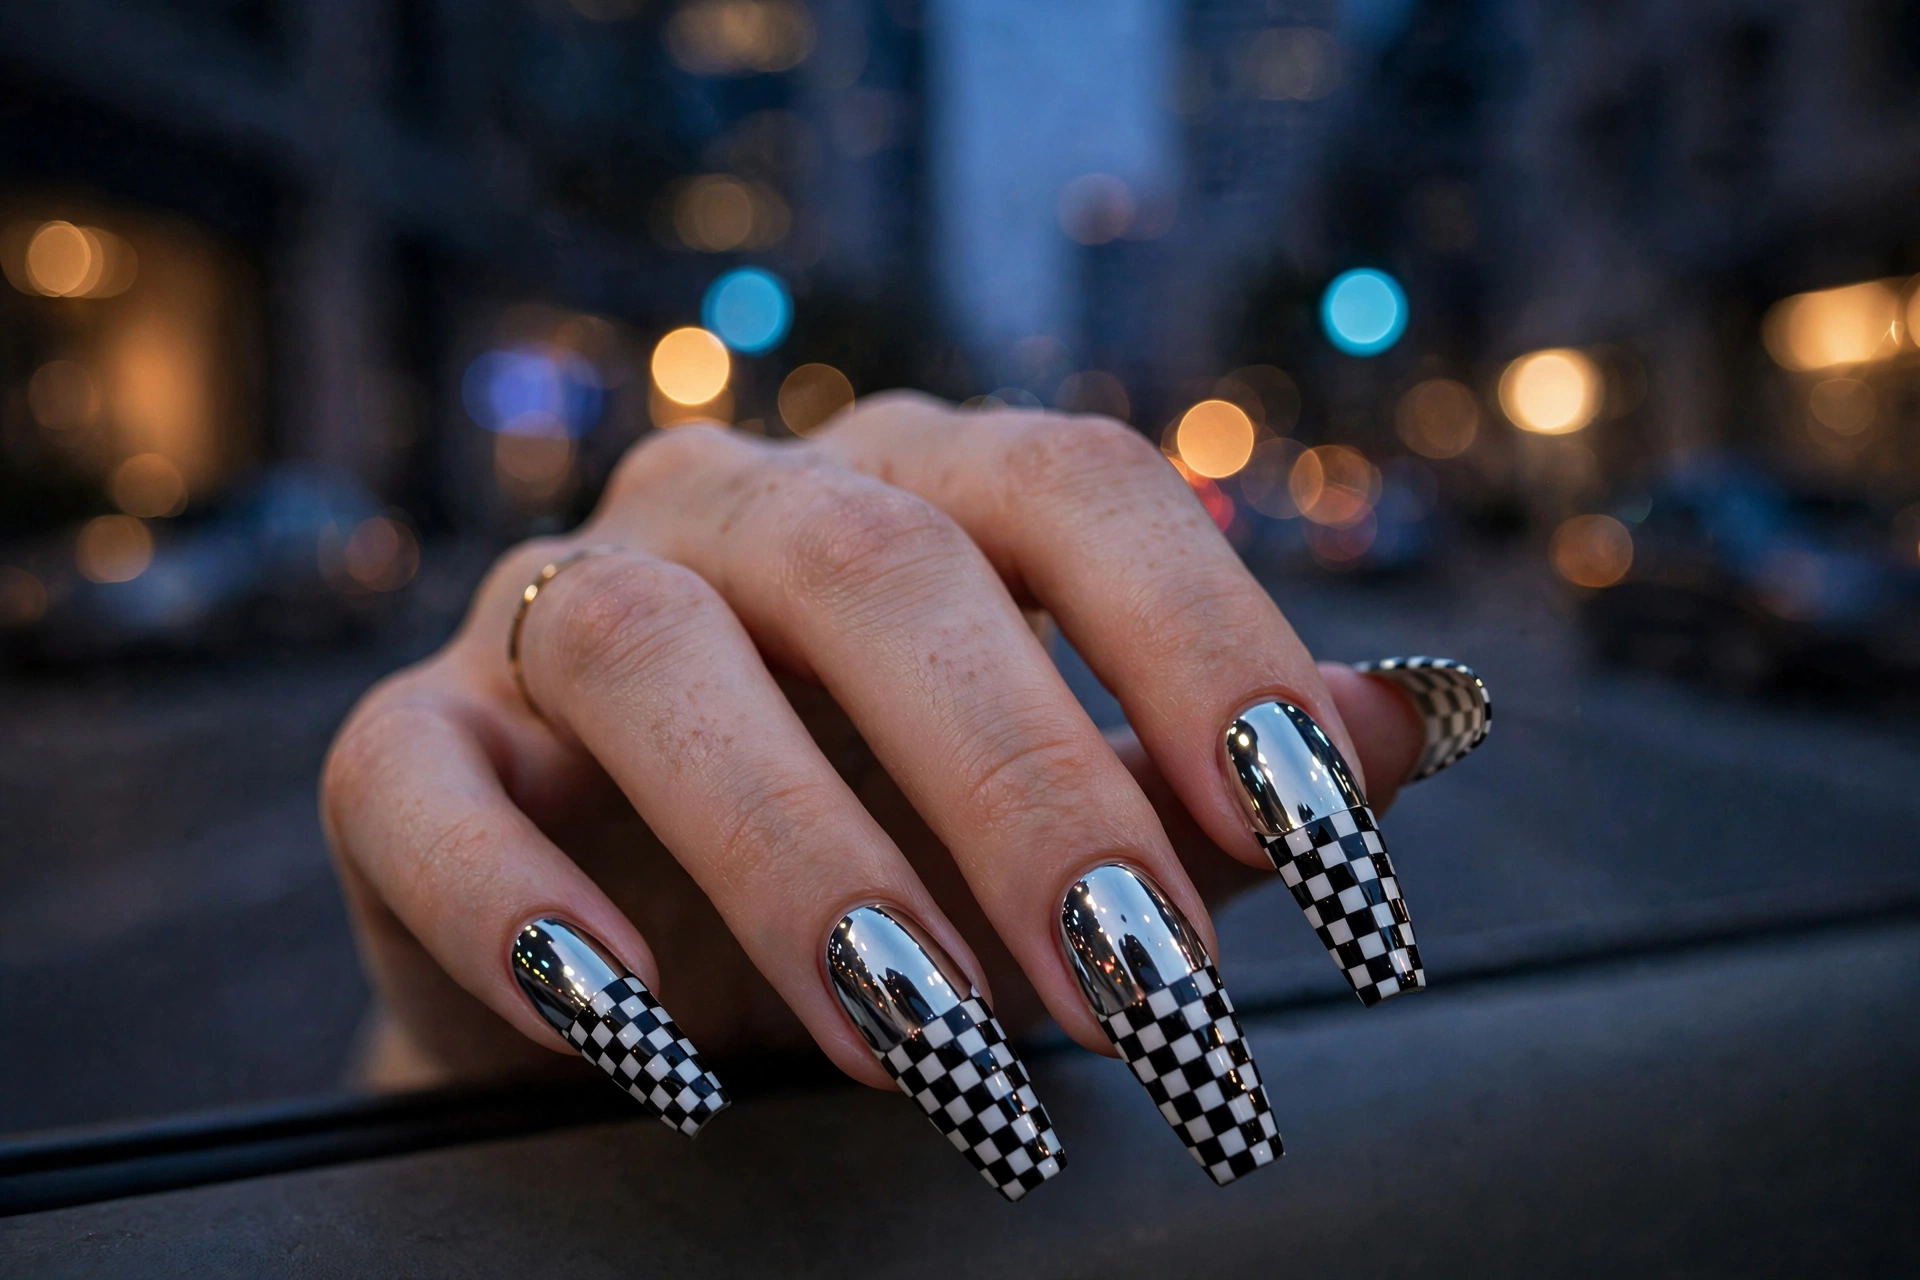
5. Mirror-Chrome Capped Checks
A mirror-chrome cap over the cuticle half with checkerboard running to the tip turns the classic into a night-out design. The chrome catches light and makes the black squares look deeper.
Apply the chrome powder over a cured no-wipe top coat on the upper half of the nail, then paint the checkerboard on the lower half with gel polish so the lines stay put. Long coffin nails carry this best. The finish connects naturally to the glazed donut nail look if you want more chrome inspiration.
Colored Checkerboards
Once the monochrome version feels familiar, color is where the trend gets fun. Two tones with similar depth give a softer look; high-contrast pairs shout louder.
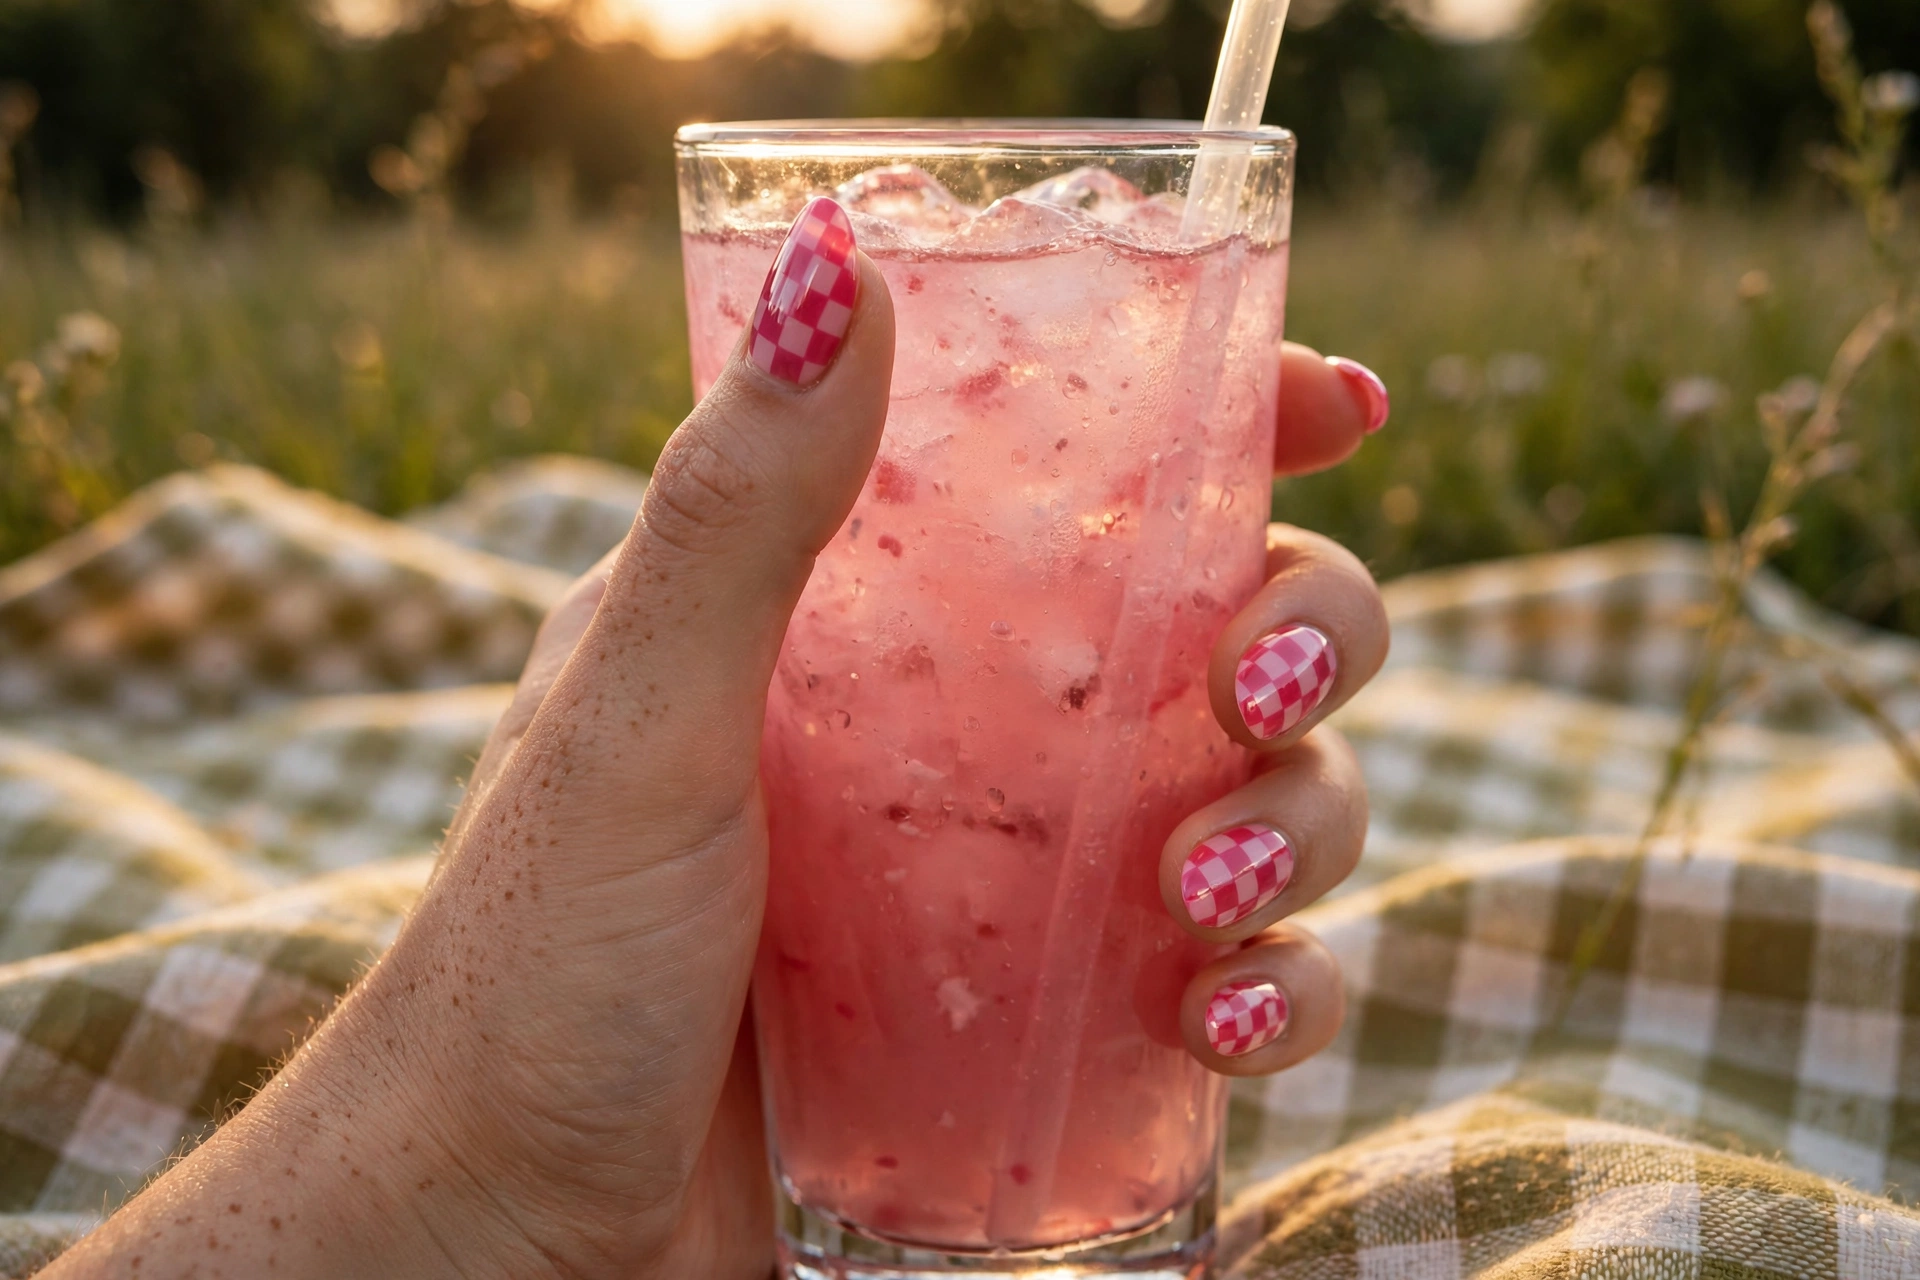
6. Pink & Red Y2K Checkerboard
Pink and red checks are peak Y2K energy. The two warm tones clash in the right way, and the pattern keeps the combo from looking random.
Use a hot pink and a true cherry red, medium almond nails, and a glossy finish. This is a summer design at heart: it looks best with gold jewelry and bright outfits. Paint the base in the lighter shade (pink) and check in the darker one (red) so the grid stays readable.
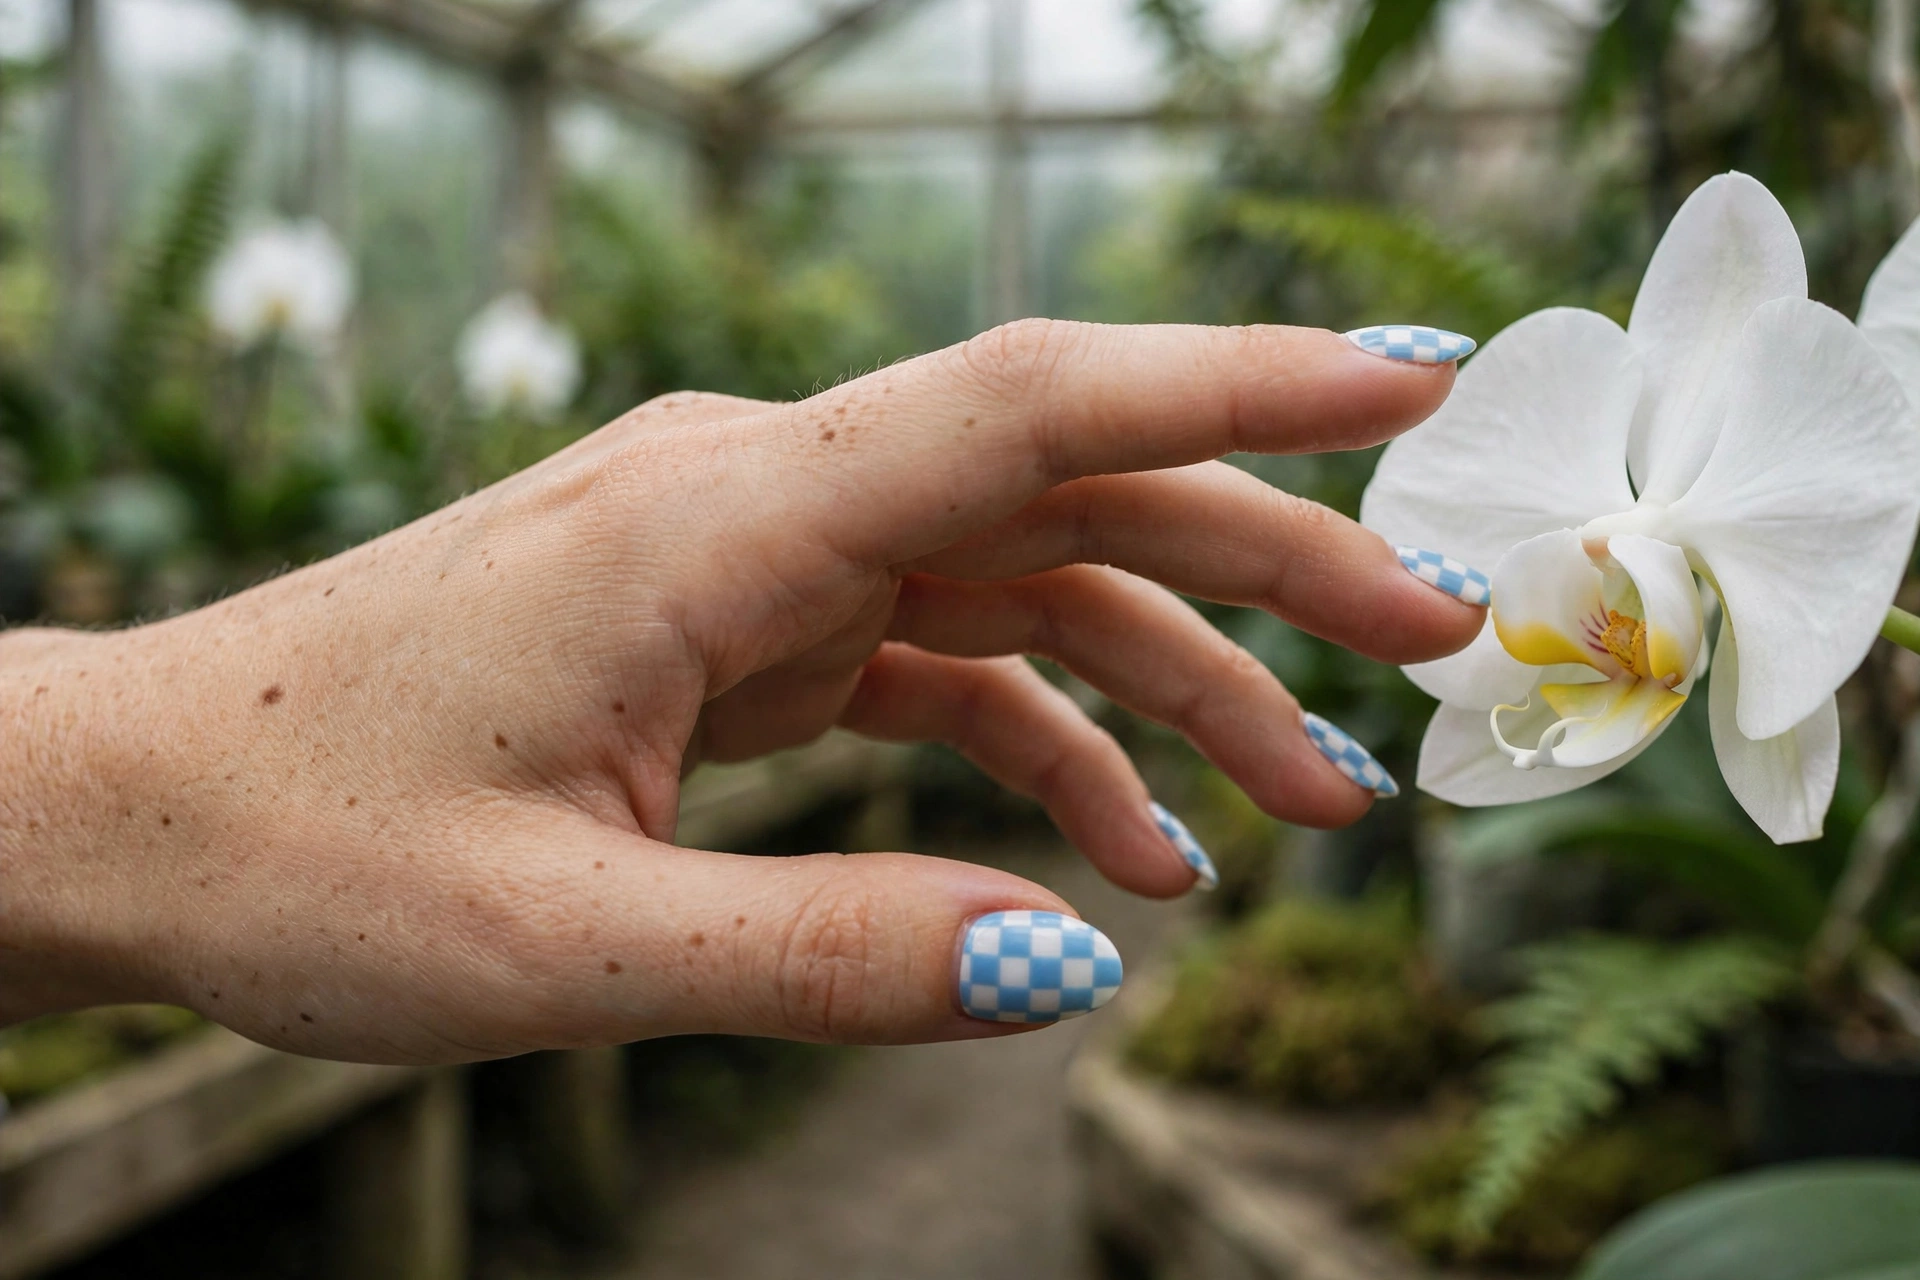
7. Baby Blue & White Checks
Baby blue and white is the softest checkerboard you can wear. The low contrast keeps the retro pattern feeling fresh and spring-like rather than graphic.
Short squoval nails and a creme finish suit this best. Pair it with pastels and whites in your wardrobe. Because the two colors are close in value, keep the grid lines extra straight, since wobbles show more when the contrast is low. Our pastel nail designs guide has more low-contrast pairings that work the same way.
8. Sage & Cream Checks
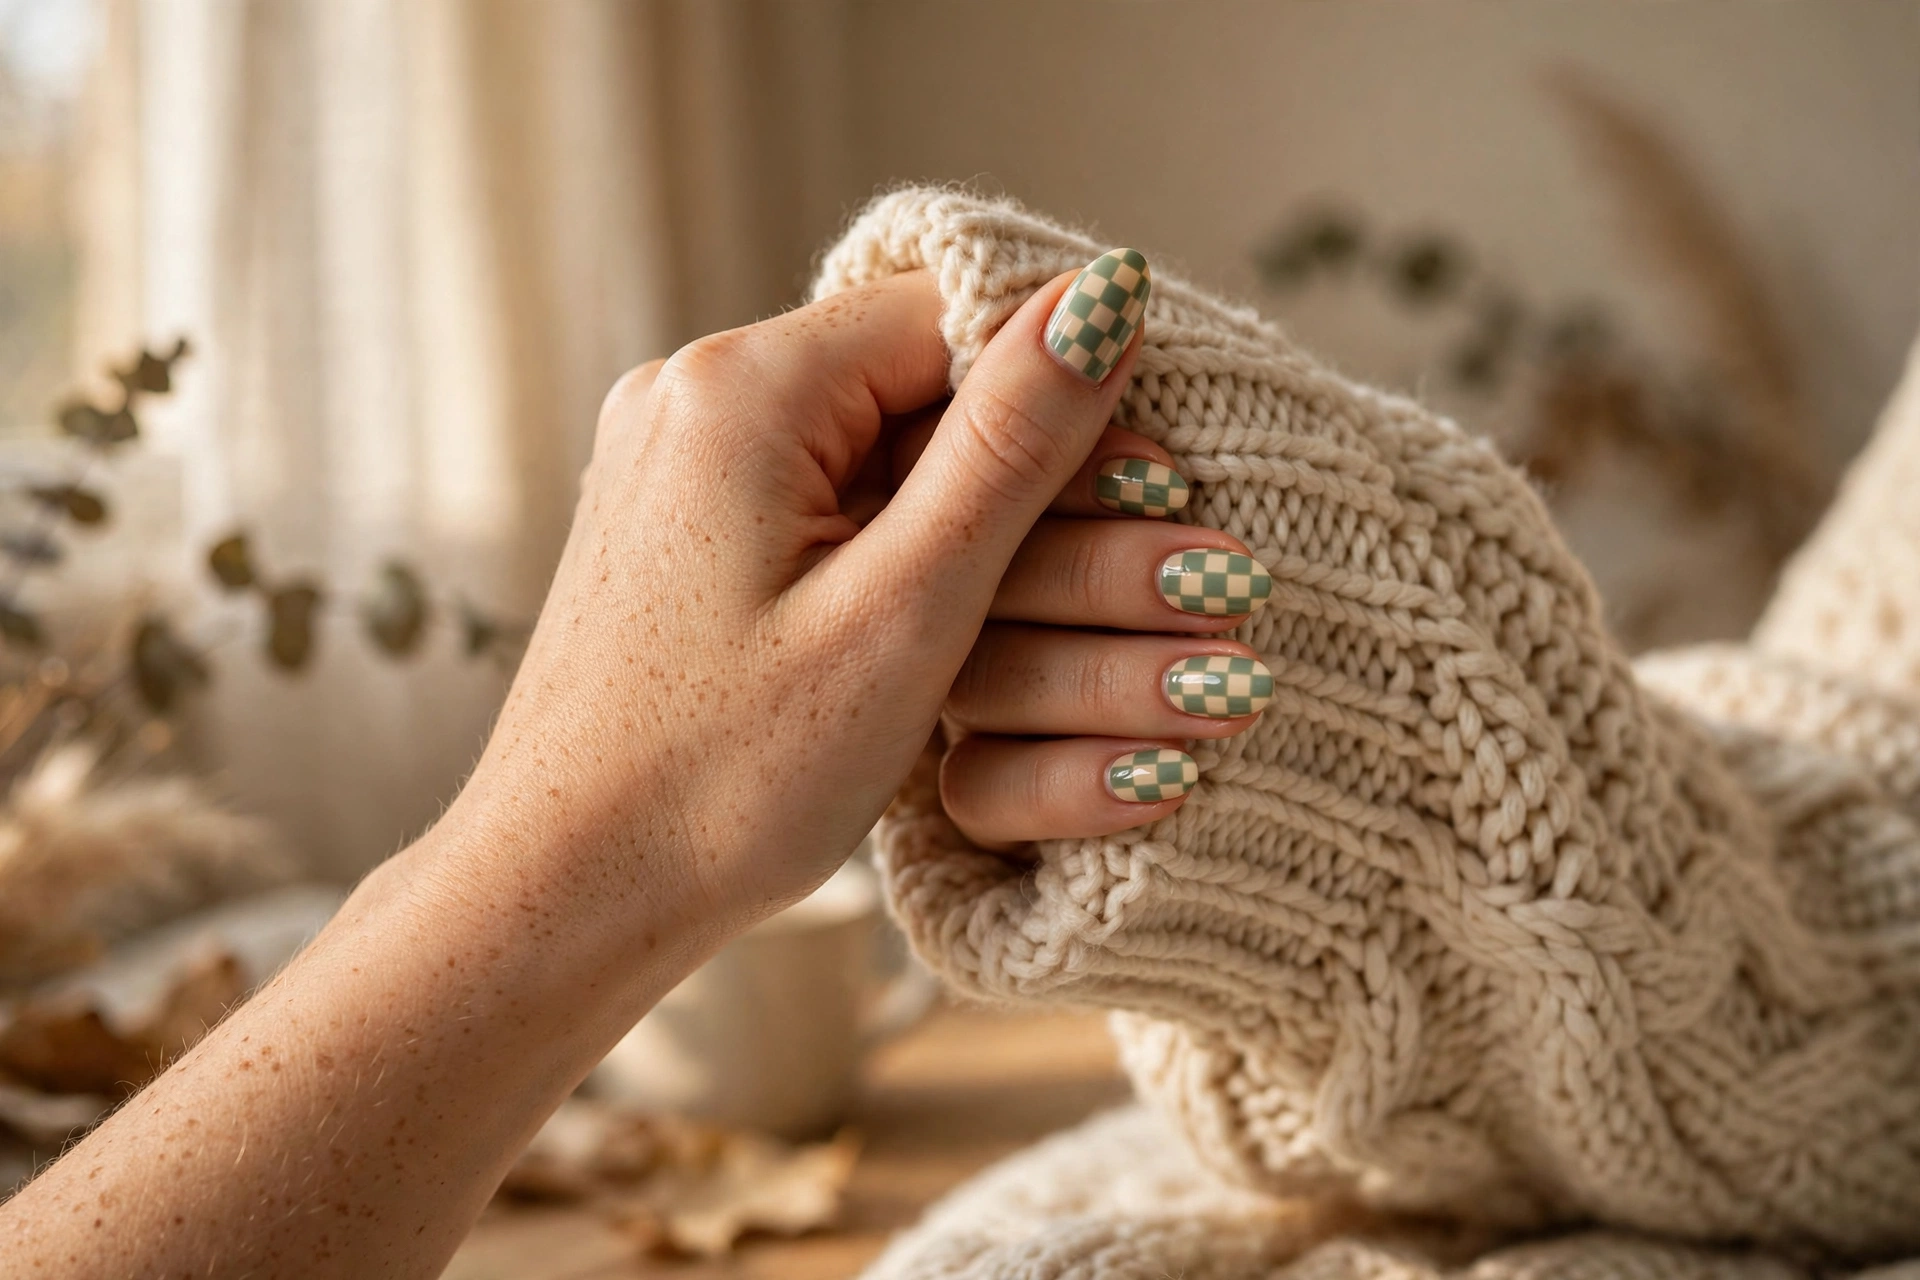
Sage green and cream checks feel cozy and current, the nail equivalent of a knit sweater. Muted earthy tones make the checkerboard wearable in autumn and winter without screaming for attention.
Medium almond nails, a glossy finish, and three or four rows of checks per nail. Sage over cream keeps it light; cream over sage makes it moodier. This pairing also ages well as it grows out, because the muted tones hide the regrowth line longer than brights do.
9. Burnt Orange & Chocolate Retro Checks
Burnt orange and chocolate brown checks channel the seventies, all harvest tones and retro warmth. It is the most seasonal checkerboard on this list and peaks in autumn.
Short almond nails keep the warm tones from overwhelming the hand. Use a deep chocolate for the checks over a burnt orange base, and finish glossy. This is also the one checkerboard that looks better with matte texture if you prefer it, since the seventies palette suits a soft finish.

10. Neon Pink & Yellow Stiletto Checks
Neon pink and yellow checks on stilettos are the loudest design here, pure festival and party energy. Long nails give the bright grid the space it needs to look intentional rather than chaotic.
Neon polish needs a white base underneath to glow properly, so paint white first, then lay the neon grid over it. Stiletto or long coffin shapes suit this best. Expect attention; this is the checkerboard for people who want their nails to start conversations.
Checkered French & Tips
Putting the checkerboard on the tip instead of the whole nail keeps the pattern wearable in conservative settings. The grid shrinks to a band at the free edge, which is also less painting.
11. Micro Checkered French
A nude almond nail with a thin band of micro checks at the tip is the most office-friendly checkerboard possible. From a distance it reads as a textured French; up close it reveals the grid.
Paint the base in a sheer nude or milky pink, then add two rows of tiny checks along the smile line. Almond or oval nails keep the French shape natural. This is the design to wear if you love the trend but need it to pass in a professional setting.
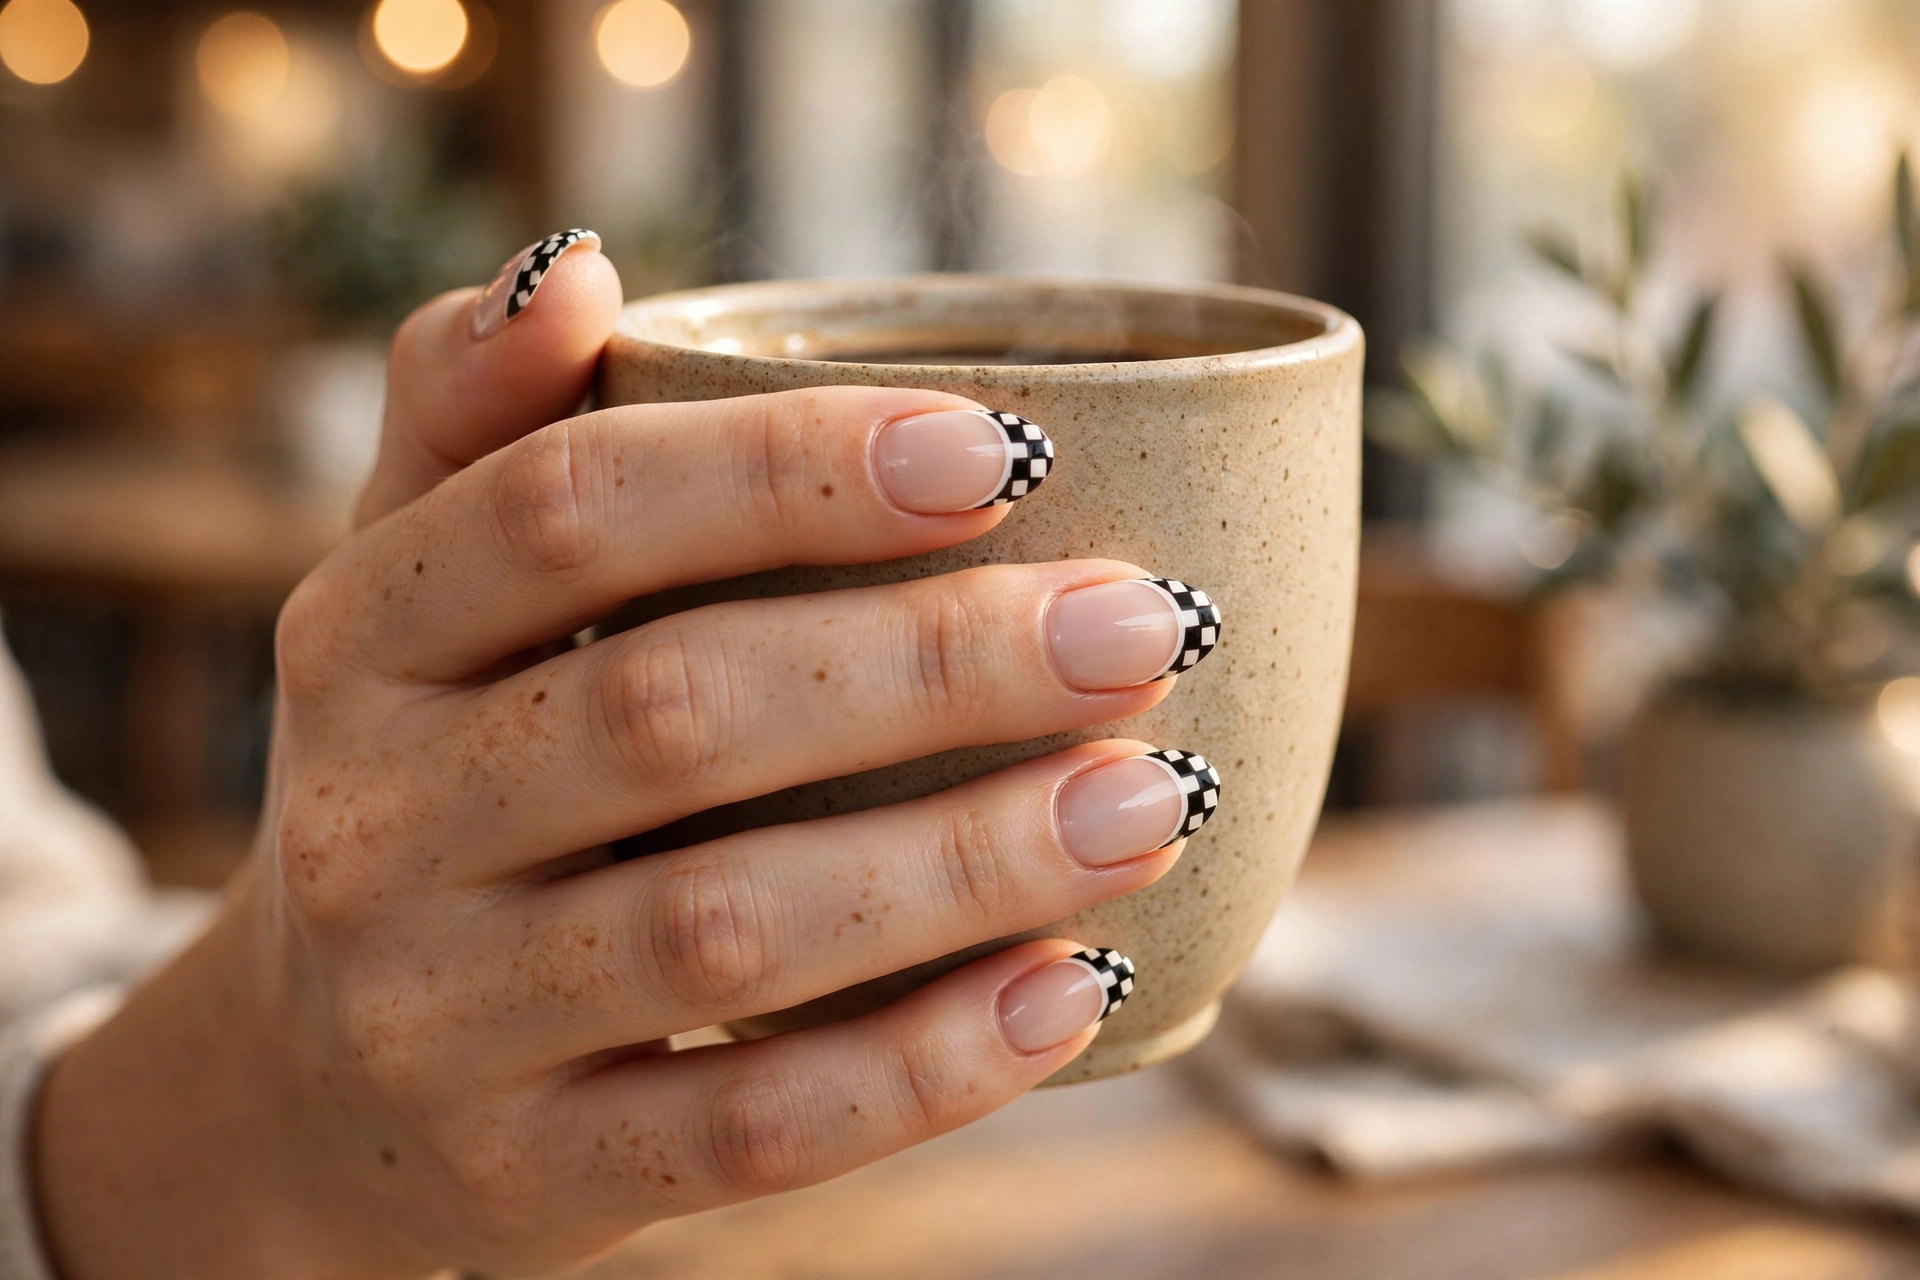
12. Bold Black & White Checkered French
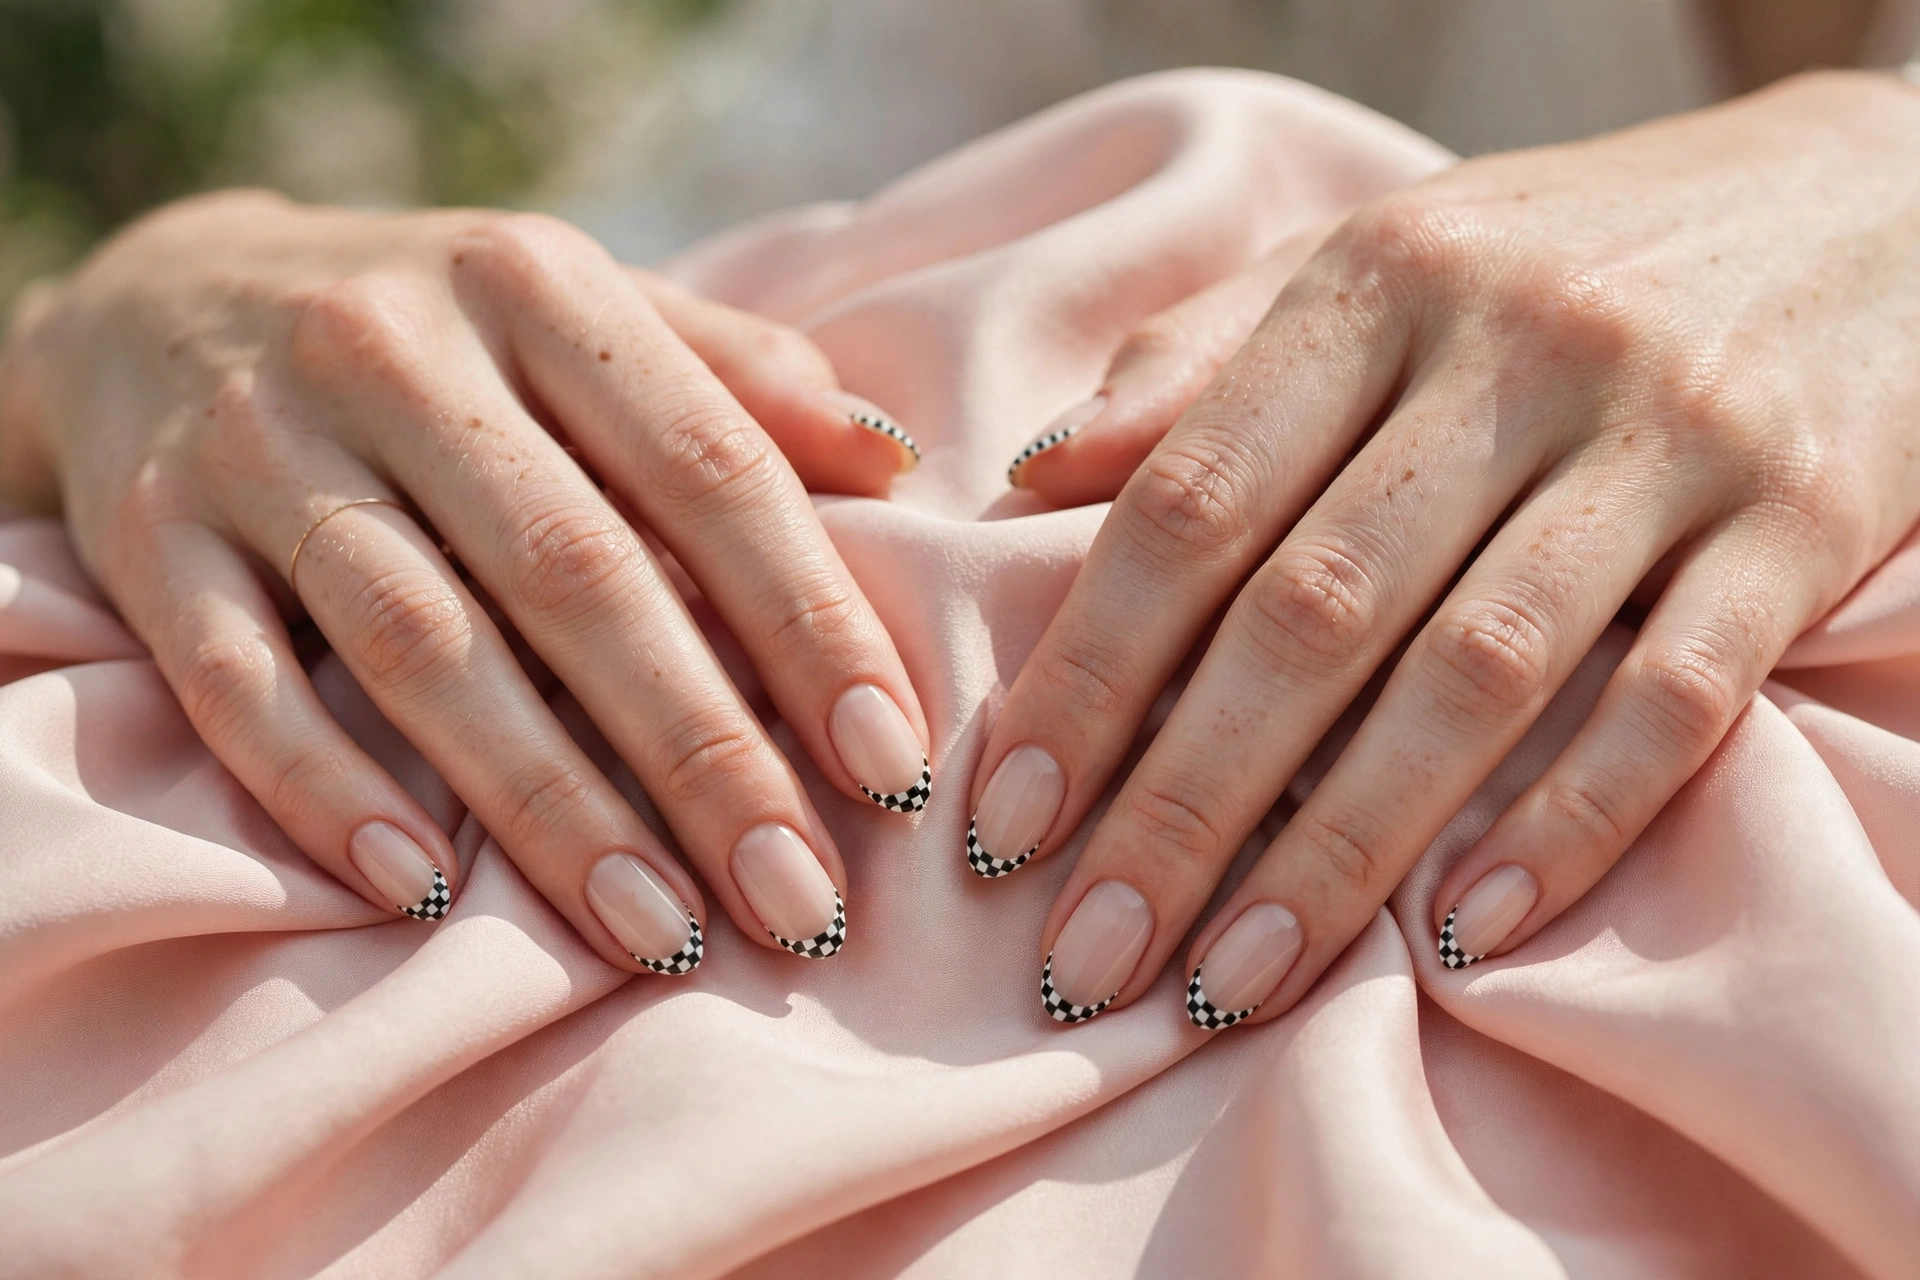
The same idea with a wider, bolder check band makes the French read as a statement instead of a whisper. The crisp smile line does the heavy lifting here.
Keep the base a clean nude or soft white so the black checks pop. Medium oval nails suit the classic French shape. If your smile lines are uneven, the striping-tape method gives a straighter edge than freehand for this version. See our white nail designs for base shades that photograph well under a French tip.
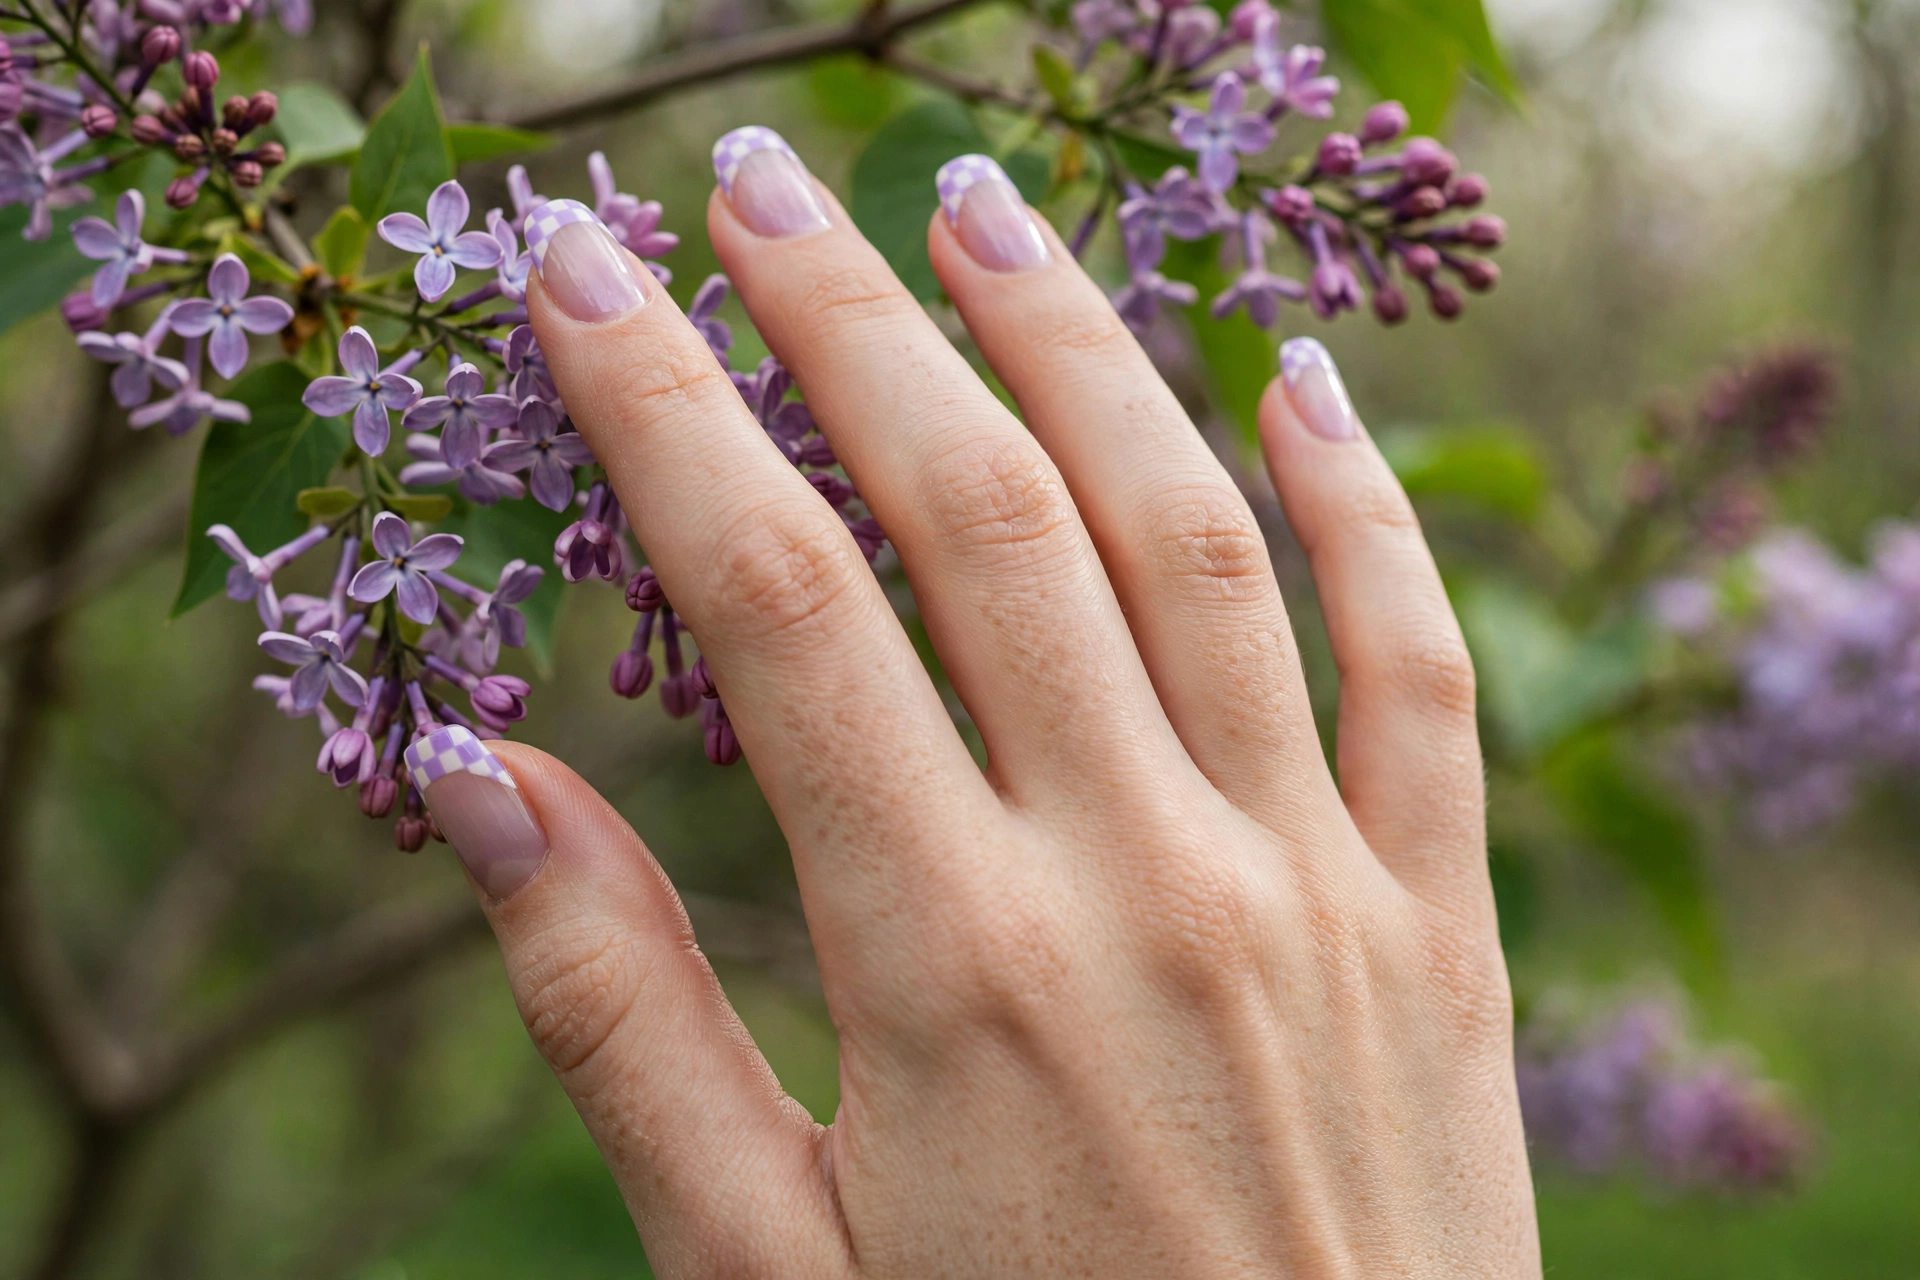
13. Lilac & White Checkered French
Swapping the black for lilac turns the checkered French into a spring design. The purple-and-white grid is playful without losing the polish of a French manicure.
A sheer lilac-pink base with white and lilac checks at the tip, on almond nails. This works beautifully on short nails because the check band can be a single row. It is also one of the few colored French looks that suits fair and deep skin tones equally, since lilac sits in the middle of the value range.
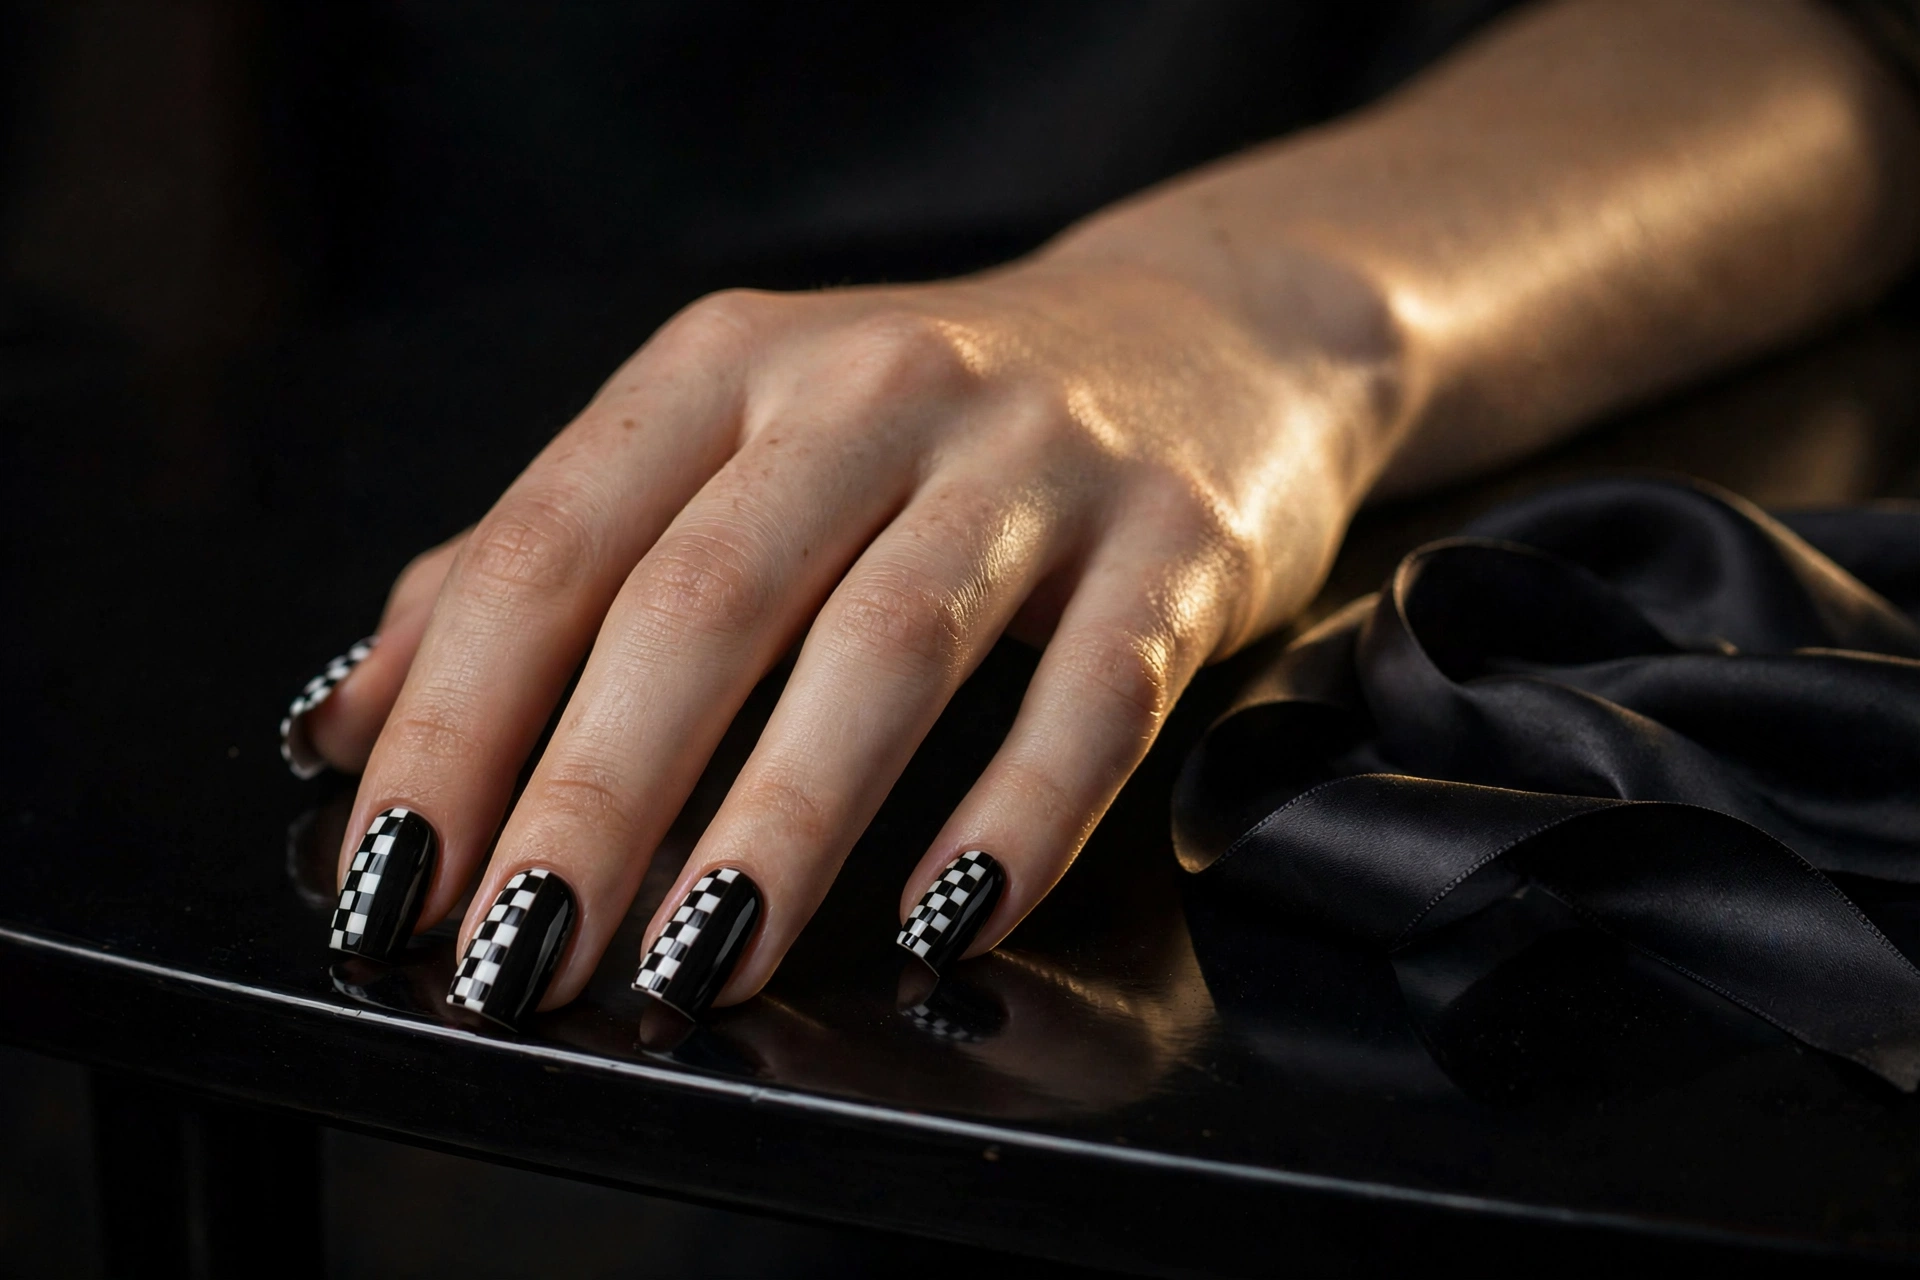
14. Half-Check, Half-Solid
Splitting each nail vertically, one half checkerboard and one half solid, is the edgiest tip variation. It breaks the symmetry on purpose and looks deliberately graphic.
Solid glossy black is the strongest partner for the checked half, and square or coffin nails give the split the most drama. Use striping tape down the center line to keep the two halves clean. This is the closest the list gets to the punk side of the trend.
Checkerboard Art & Mix
Checkerboard plays well with other patterns. Mixed sets keep the retro grid as the anchor while other nails carry the personality.
15. Checkerboard & Smiley Mix
Checks plus smiley faces is the definitive Y2K mix-and-match. The combination looks nostalgic rather than childish when the colors stay in a tight palette of black, white, yellow, and one bright accent.
Alternate checkerboard nails with yellow smiley nails, and drop in one solid bright nail to break the pattern. Short almond nails keep the mix cute. Smiley faces are simple: a yellow base, two dots, and a curved line with a liner brush.

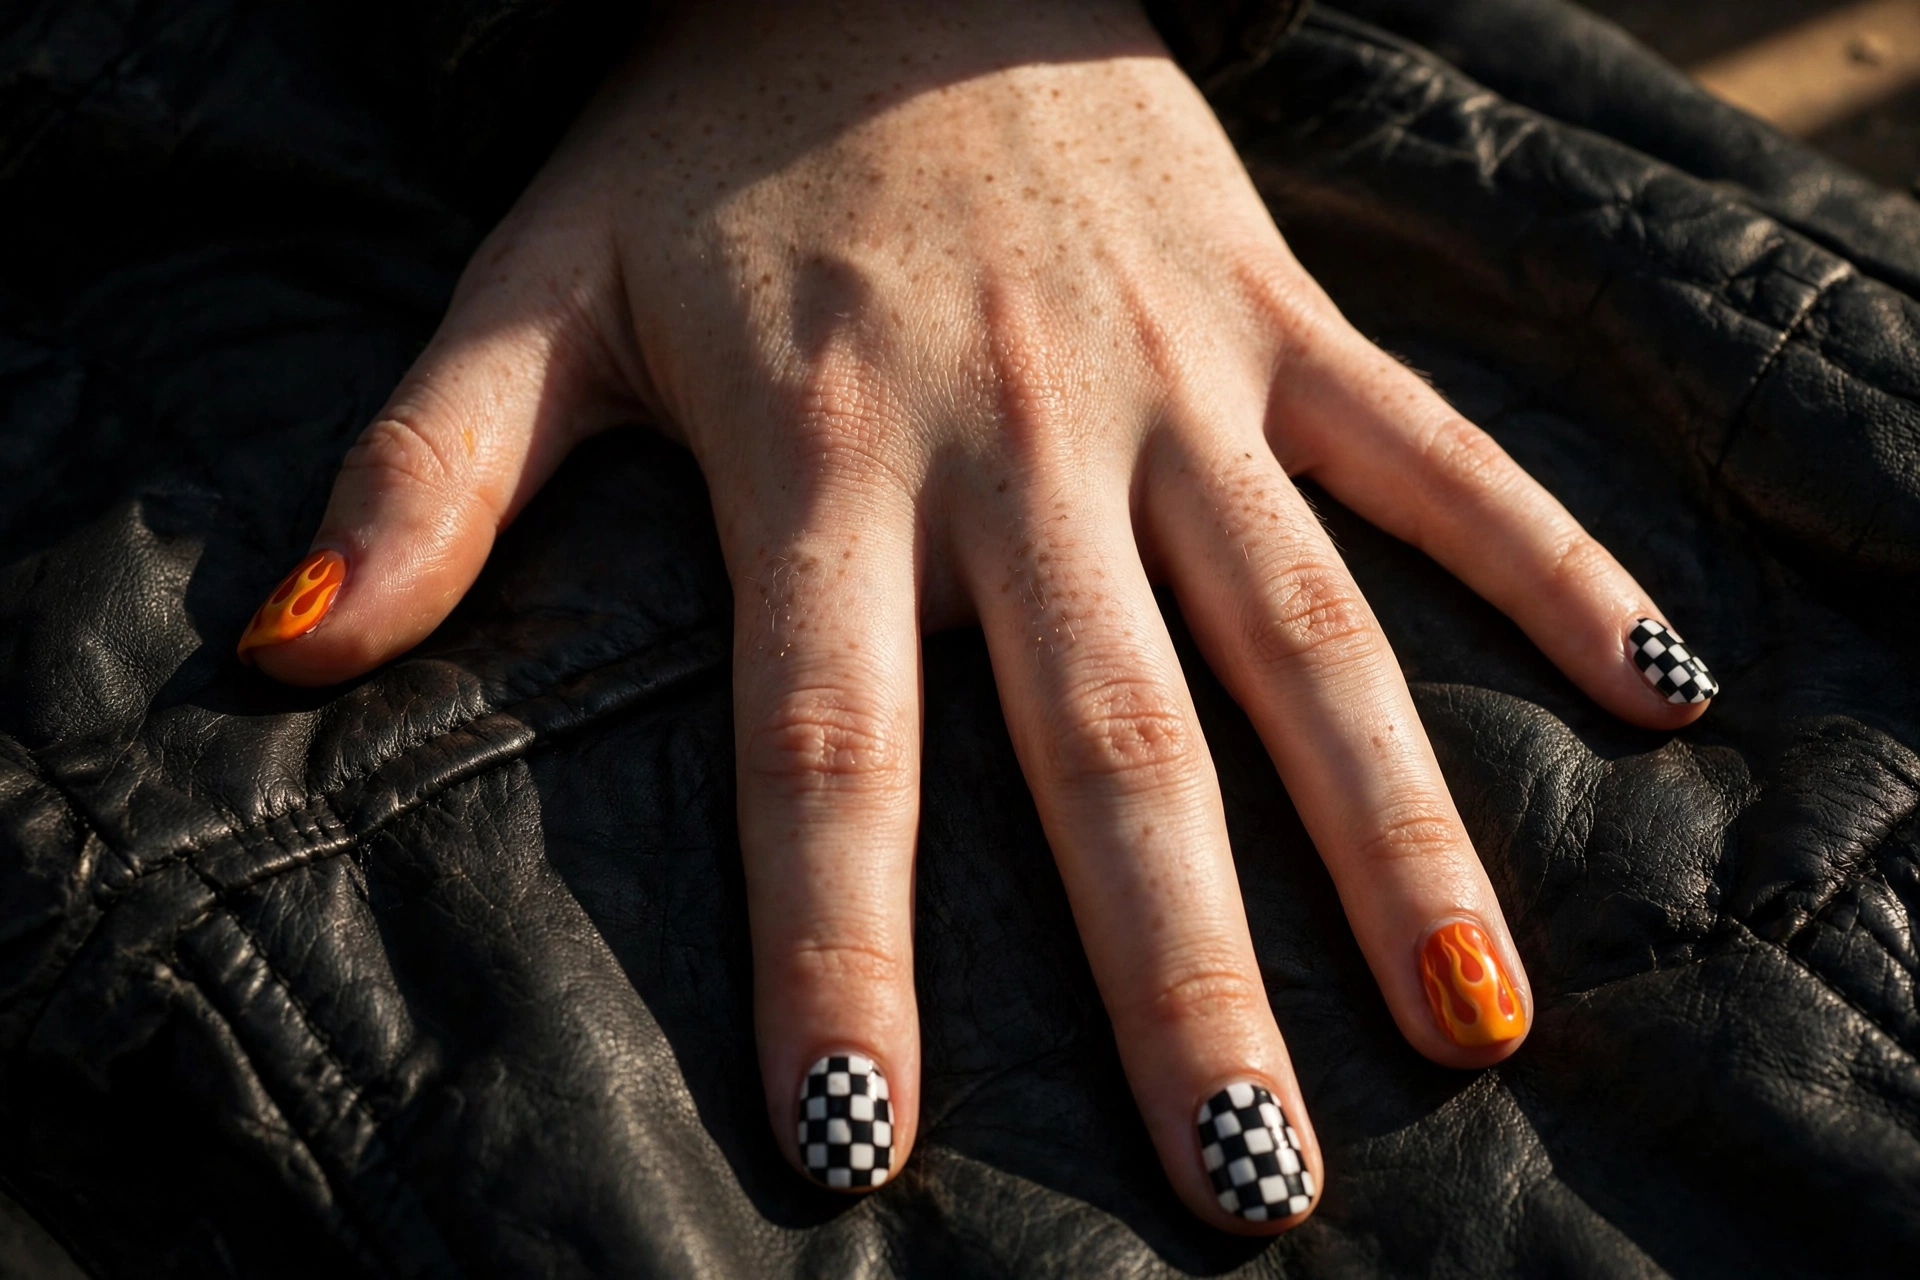
16. Checkerboard & Flame Nails
Checks and flames together are a hot-rod classic, equal parts retro diner and biker bar. The flames add movement that the rigid grid lacks, which is why the pairing works.
Paint half the nails monochrome checkerboard and the other half black with orange flames licking from the tips. Long coffin nails give flames room to stretch. Keep the flame colors to orange and yellow on black for the authentic look; extra colors make it busy.
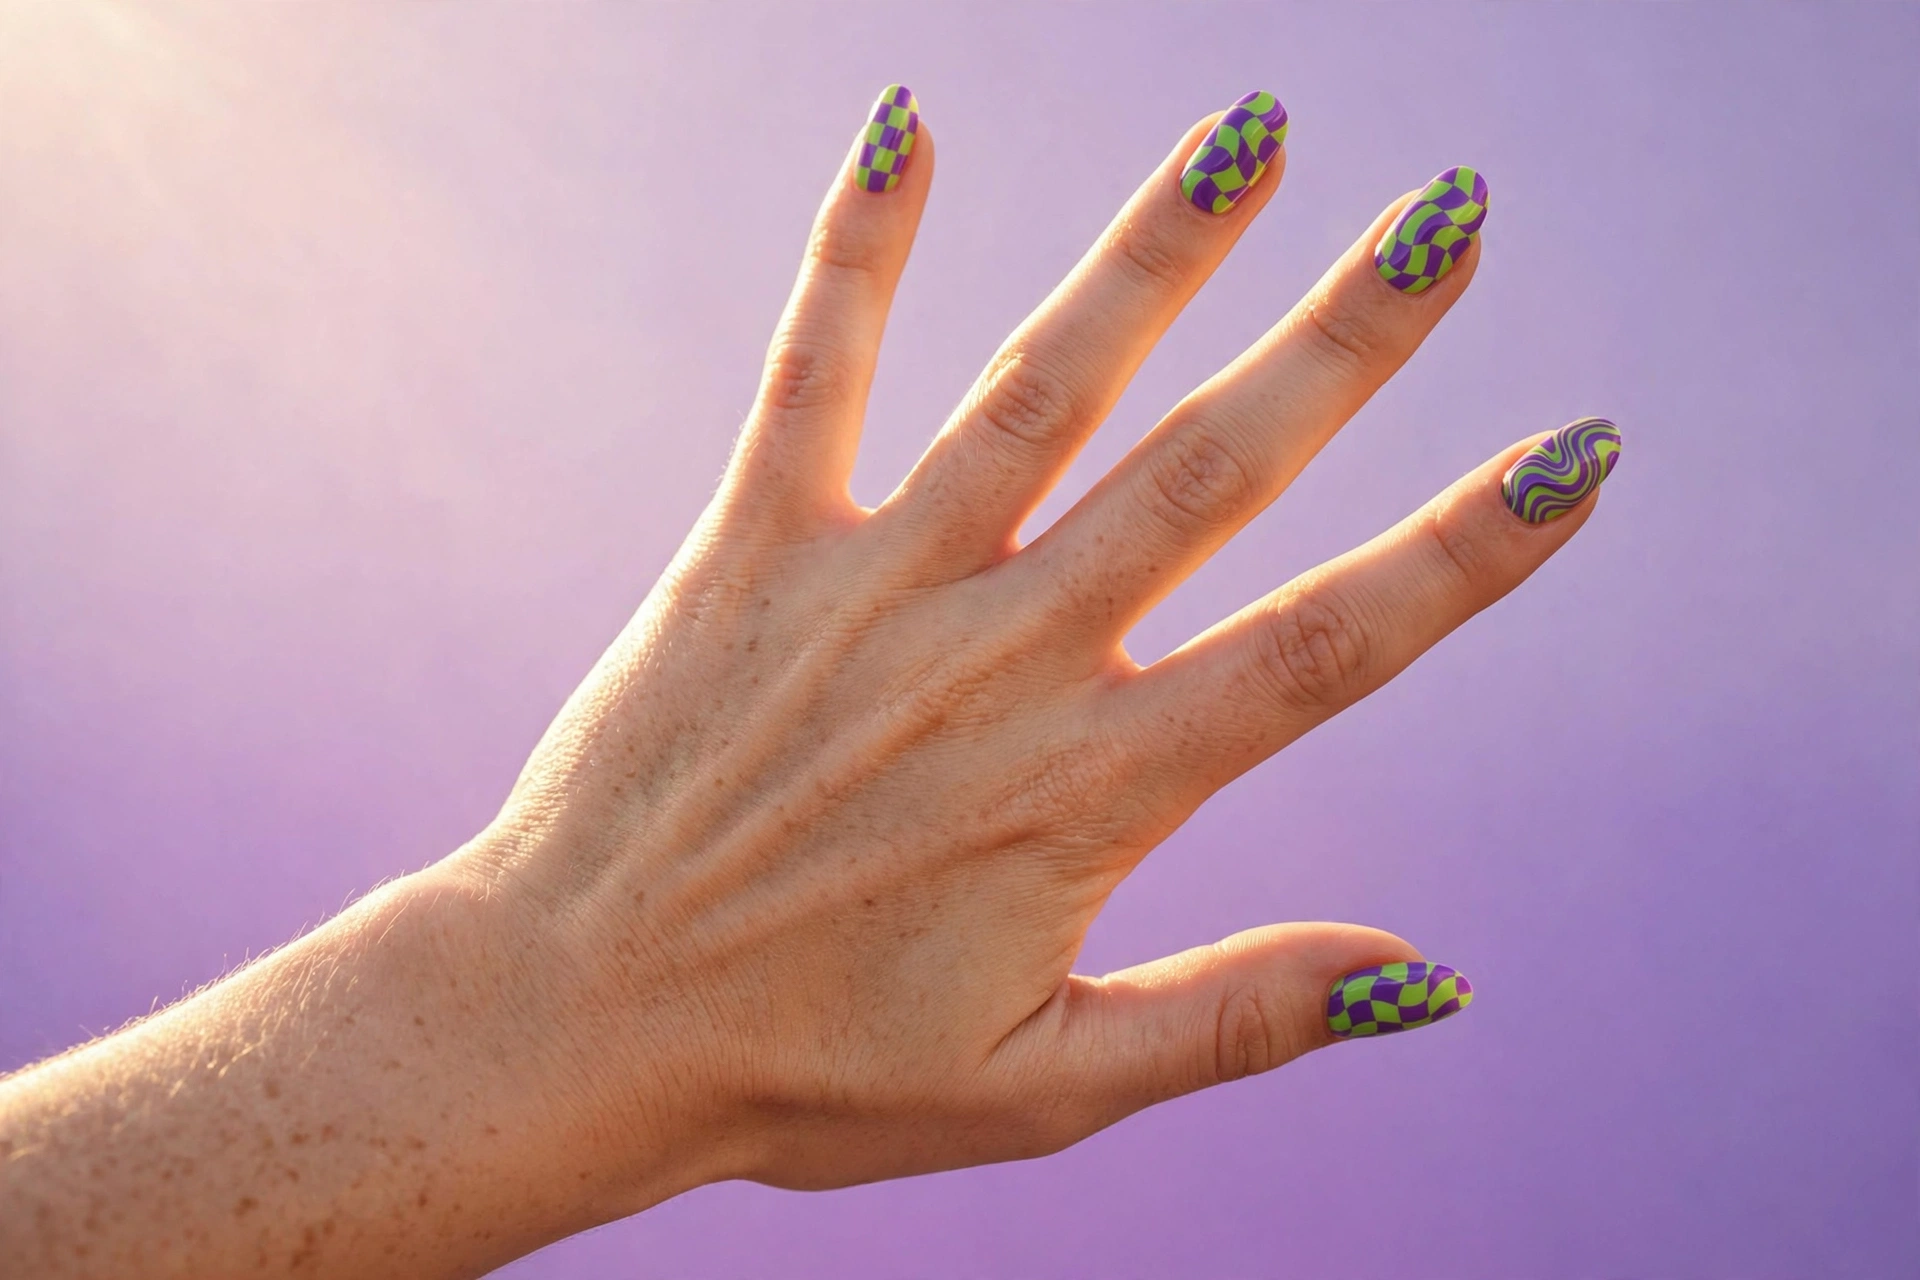
17. Wavy Checkerboard
Wavy checks bend the grid lines so the squares distort and flow. It keeps the checkerboard reference but adds a psychedelic seventies twist that reads as art rather than geometry.
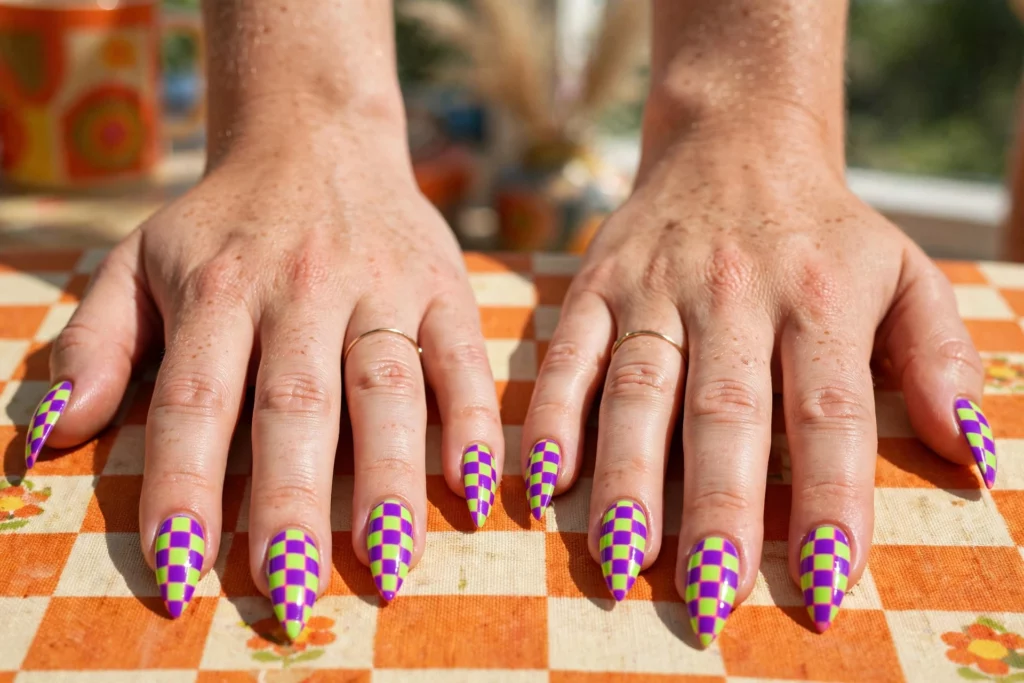
Use a fine liner brush and draw the grid lines freehand with a deliberate wave instead of reaching for tape. Two high-contrast colors like purple and lime make the distortion visible. Medium almond nails, glossy finish. This is the most forgiving checkerboard, because wobbly lines are the entire point.
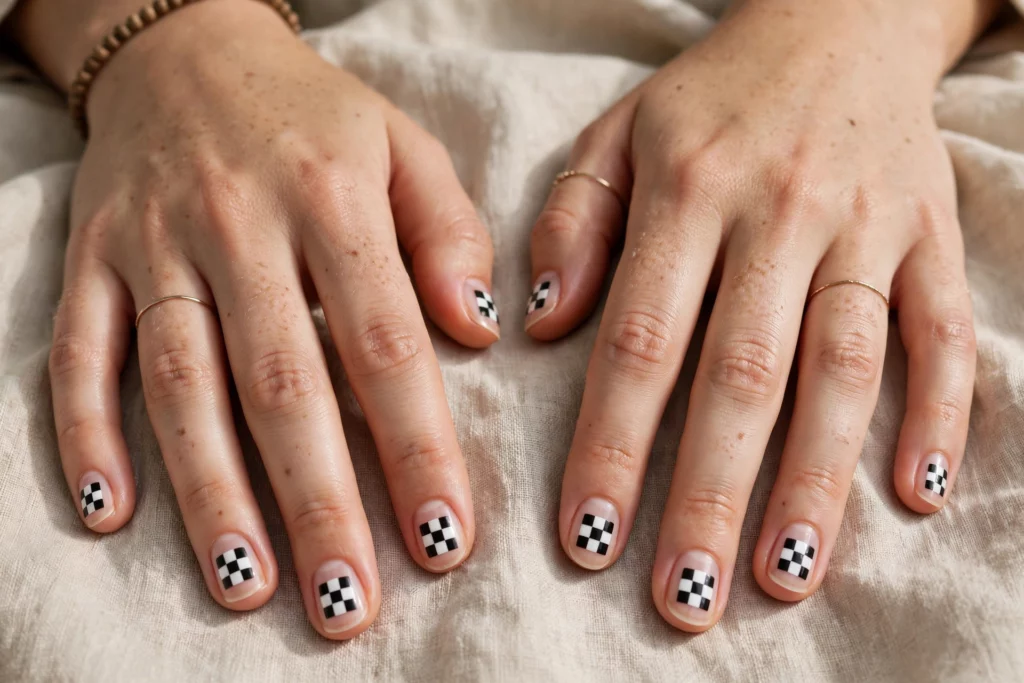
18. Negative-Space Checkerboard
A small checkered grid centered on a bare nude nail leaves the edges as negative space. It is the minimalist answer to the trend and the easiest version to paint, since the grid is tiny.
Short oval nails, a sheer nude base, and a three-by-three check grid in the middle of each nail. Because most of the nail is bare, this grows out gracefully and suits every dress code. Readers who like restraint should also see our minimalist nail designs for more quiet looks.
Which Checkerboard for Which Occasion?
The same pattern reads punk, polished, or playful depending on scale and color. Use this as a shortcut from the 18 designs above.
| Occasion | Best Designs From This List | Why They Work |
|---|---|---|
| Office and conservative workplaces | Micro Checkered French (11), Negative-Space Checkerboard (18) | The grid shrinks to a tip band or a small center patch, so it reads as texture from a distance |
| Weddings and formal events | Lilac & White Checkered French (13), Sage & Cream Checks (8) | Soft pairs keep the retro reference elegant instead of graphic |
| Festivals and parties | Neon Pink & Yellow Stiletto Checks (10), Checkerboard & Smiley Mix (15) | High contrast and long shapes are built to be noticed |
| Date night and evenings out | Mirror-Chrome Capped Checks (5), Half-Check, Half-Solid (14) | Chrome and split designs catch low light and read deliberate |
| Everyday and first attempts | Classic Black & White Checkerboard (1), Checkerboard Accent Nails (4) | The iconic pair, and only two nails to perfect if you choose accents |
How to Do Checkerboard Nails at Home
You can paint checkerboard nails at home with regular polish or gel; the technique is the same either way. Three methods work well, and the right one depends on how steady your hand is and how perfect you want the grid. Whichever you pick, work one nail at a time so the polish stays workable, and keep a clean-up brush dipped in remover nearby for fixing edges.
What You Need: The Checkerboard Kit
- Base coat and top coat — glossy for most designs on this list
- Two polishes with real contrast — the lighter one goes on as the base
- One line tool — striping tape, a fine liner brush, or a stamping plate and stamper
- A flat clean-up brush and remover — for sharpening edges and rescuing squares
- Tweezers — if you are using the tape method
Method 1: Striping-Tape Method (Crispest Lines)
Striping tape is thin adhesive nail tape that gives the straightest lines, and it is the most beginner-friendly route to a clean checkerboard.
- Apply base coat and two coats of your lighter color. Let it dry completely (or cure fully if using gel).
- Cut thin strips of striping tape and lay them across the nail in a grid, pressing the edges down firmly so polish cannot seep underneath.
- Paint your darker color over the whole nail, covering tape and gaps alike, in one smooth pass.
- While the polish is still slightly tacky, peel the tape off with tweezers at a low angle. Pulling while tacky keeps the edges sharp; waiting until fully dry can lift chips.
- Clean any ragged edges with a clean-up brush, let dry, and seal with top coat.
Method 2: Freehand Liner-Brush Method (Most Control)
A fine liner brush gives you the most control over grid size, which matters for micro checks and wavy designs that tape cannot do.
- Base coat plus two coats of your lighter color, fully dried or cured.
- With a fine liner brush, draw two vertical lines and three or four horizontal lines to form the grid. Keep the brush barely loaded; thick paint bleeds.
- Fill in alternating squares with your darker color, starting at the top of the nail and working down so your hand never crosses wet polish.
- Let it dry completely, then float a thin top coat over the design. Float means laying the coat on without pressing, so the brush does not drag the grid.
Method 3: Stamping Method (Fastest)
A checkerboard stamping plate transfers the whole grid in one press, which is the fastest way to get identical nails across both hands.
- Base coat plus base color, dried or cured.
- Apply stamping polish to the checkerboard plate, scrape at 45 degrees, and pick the design up with the stamper in one firm roll.
- Press straight down onto the nail without rocking; rocking smears the grid.
- Clean up the edges, let dry, and seal with top coat.
Which Checkerboard Method Should You Use?
Pick the method that matches your patience and your standards. This quick comparison covers the trade-offs.
| Method | Best For | Skill Level | Tools Needed | Line Crispness |
|---|---|---|---|---|
| Striping tape | Crisp straight grids, beginners | Easy | Striping tape, tweezers | Very crisp |
| Freehand liner brush | Micro checks, wavy checks, custom grid sizes | Medium | Fine liner brush, clean-up brush | Good with practice |
| Stamping | Identical nails fast, both hands matching | Easy to medium | Checkerboard plate, stamper, scraper | Crisp if pressed cleanly |
The No-Paint Shortcut: Press-Ons, Wraps and Decals
If you want the grid without painting it, checkerboard is one of the easiest designs to buy ready-made. Pre-printed press-ons and full-cover nail wraps carry a perfectly even grid that no first-time freehand attempt will match, and individual checkerboard decals can add the pattern to one or two accent nails over plain polish. The trade-offs are fit and wear: press-ons with glue typically last about a week, adhesive tabs less, and wraps can wrinkle on strongly curved nails. Treat them as the event option: unbeatable for a single weekend or a costume, while painted gel still wins for a design you want to wear for two or three weeks.
5 Common Checkerboard Mistakes
Most checkerboard failures come from rushing, not from lack of talent. Avoid these five and the grid will behave.
- Skipping dry time between layers. Drawing grid lines over a tacky base drags the base color into the lines. Let each coat dry fully, or cure fully between gel steps.
- Making the squares too big. Two or three rows suit short nails; four to five suit medium; six belongs on long nails. Oversized squares look like a picnic blanket instead of a manicure.
- Removing tape too late. If the polish dries fully on the tape, peeling lifts flakes and leaves jagged edges. Peel while tacky, every time.
- Overloading the brush. A fat bead of polish bleeds under tape and floods freehand lines. Wipe the brush so it is barely loaded before each stroke.
- Top-coating too soon. Sealing a wet grid smears the squares into each other. Wait until the design is fully dry, then float the top coat on gently.
For more line-work techniques that transfer directly to checkerboard grids, our geometric nail designs guide covers striping tape and brush methods in depth. And if you are choosing shapes before you start, the nail shapes guide shows which lengths flatter graphic patterns.
Checkerboard Nails at the Salon: What to Ask For
Prefer to skip the DIY? Ask for hand-painted checkerboard nail art by name, and bring a reference photo: “checkerboard” alone can get you a stamped or sticker version, which looks flatter than painted squares. Specify the details that change the result: how many rows of checks you want, your two colors, and a glossy or matte finish. Three or four rows is the sweet spot most people picture; five or six reads as micro checks.
On price and time, expect nail art to be charged as an add-on rather than included in a standard gel or acrylic set. Accent-nail checks sit at the low end; a full ten-nail hand-painted grid with clean lines sits at the high end, and intricate versions (chrome caps, wavy checks) cost more because they take longer. Budget roughly an extra 15 to 30 minutes on top of your normal appointment for a full set, and mention the art when you book so the salon schedules enough time. A good technician will show you one finished nail before doing all ten: if the squares look right on the first nail, the set will follow.
Frequently Asked Questions
Are checkerboard nails hard to do at home?
No. Checkerboard is one of the easiest nail art designs because the whole pattern is straight lines and filled squares. The striping-tape method gives crisp lines with almost no freehand skill, and most beginners get a wearable result on their first try.
What is the easiest way to get straight checkerboard lines?
Striping tape. Paint your base color, lay thin tape strips in a grid, paint the second color over everything, and peel the tape while the polish is tacky. The tape does the straight-line work for you.
Do checkerboard nails work on short nails?
Yes, and they look great. Scale the grid down: use two or three rows of checks on short nails instead of five or six. Micro checkerboards are especially flattering on short oval or squoval nails.
What colors work best for checkerboard nails?
Classic black and white is the most iconic, but any two colors with enough contrast work. High-contrast pairs (pink and red, neon pink and yellow) look bold; low-contrast pairs (baby blue and white, sage and cream) look soft. Paint the lighter color as the base for the cleanest lines.
What is the difference between checkerboard and gingham nails?
Checkerboard is two colors in equal, opaque squares with hard edges. Gingham is one color plus white painted as overlapping sheer stripes, which creates a third, blended tone where the stripes cross. Gingham looks softer and more picnic-like; checkerboard is the graphic, high-contrast version.
What nail shape is best for checkerboard nails?
Square and squoval nails show the grid geometry most cleanly because their straight edges echo the squares. Almond and oval nails soften the pattern and suit French-tip and micro versions. Any shape works as long as the rows scale to the nail: two or three rows on short nails, four to five on medium, six on long.
Should I use regular polish or gel for checkerboard nail art?
Both work. Gel is more forgiving because you cure each step, so nothing smears while you draw the grid. Regular polish is fine too as long as you let every layer dry fully before the next step, which takes patience but no special equipment.
How do you fix a smudged checkerboard square?
Dip a small flat clean-up brush in nail polish remover, wipe it nearly dry on a tissue, and trace the edge of the smudged square to sharpen it. If the square is beyond saving, paint over it with the base color, let it dry, and redo that square alone.
How long do checkerboard nails last?
About the same as any manicure: regular polish lasts five to seven days with a good top coat, gel lasts two to three weeks. Capping the free edge with base and top coat and reapplying top coat every few days extends wear for both.
How much do checkerboard nails cost at a salon?
Nail art is usually an add-on to a gel or acrylic set rather than included in the base price. Accent-nail checks cost the least; a full hand-painted grid on all ten nails costs more, and chrome or wavy versions more again because of the extra time. Ask for a quote from your reference photo before the appointment starts.
Can you get checkerboard nails with press-ons or stickers?
Yes. Checkerboard is widely sold as pre-printed press-ons and full-cover wraps, and as decals for accent nails. They give a perfectly even grid with no painting, but typically last about a week with glue and can wrinkle on strongly curved nails, so they suit events better than long wear.
Are checkerboard nails still in style?
Yes. The pattern cycles through trend waves every few years but never fully leaves, because it sits at the intersection of retro, Y2K, and graphic nail art. It is a safe trend bet rather than a flash-in-the-pan design.

One Comment