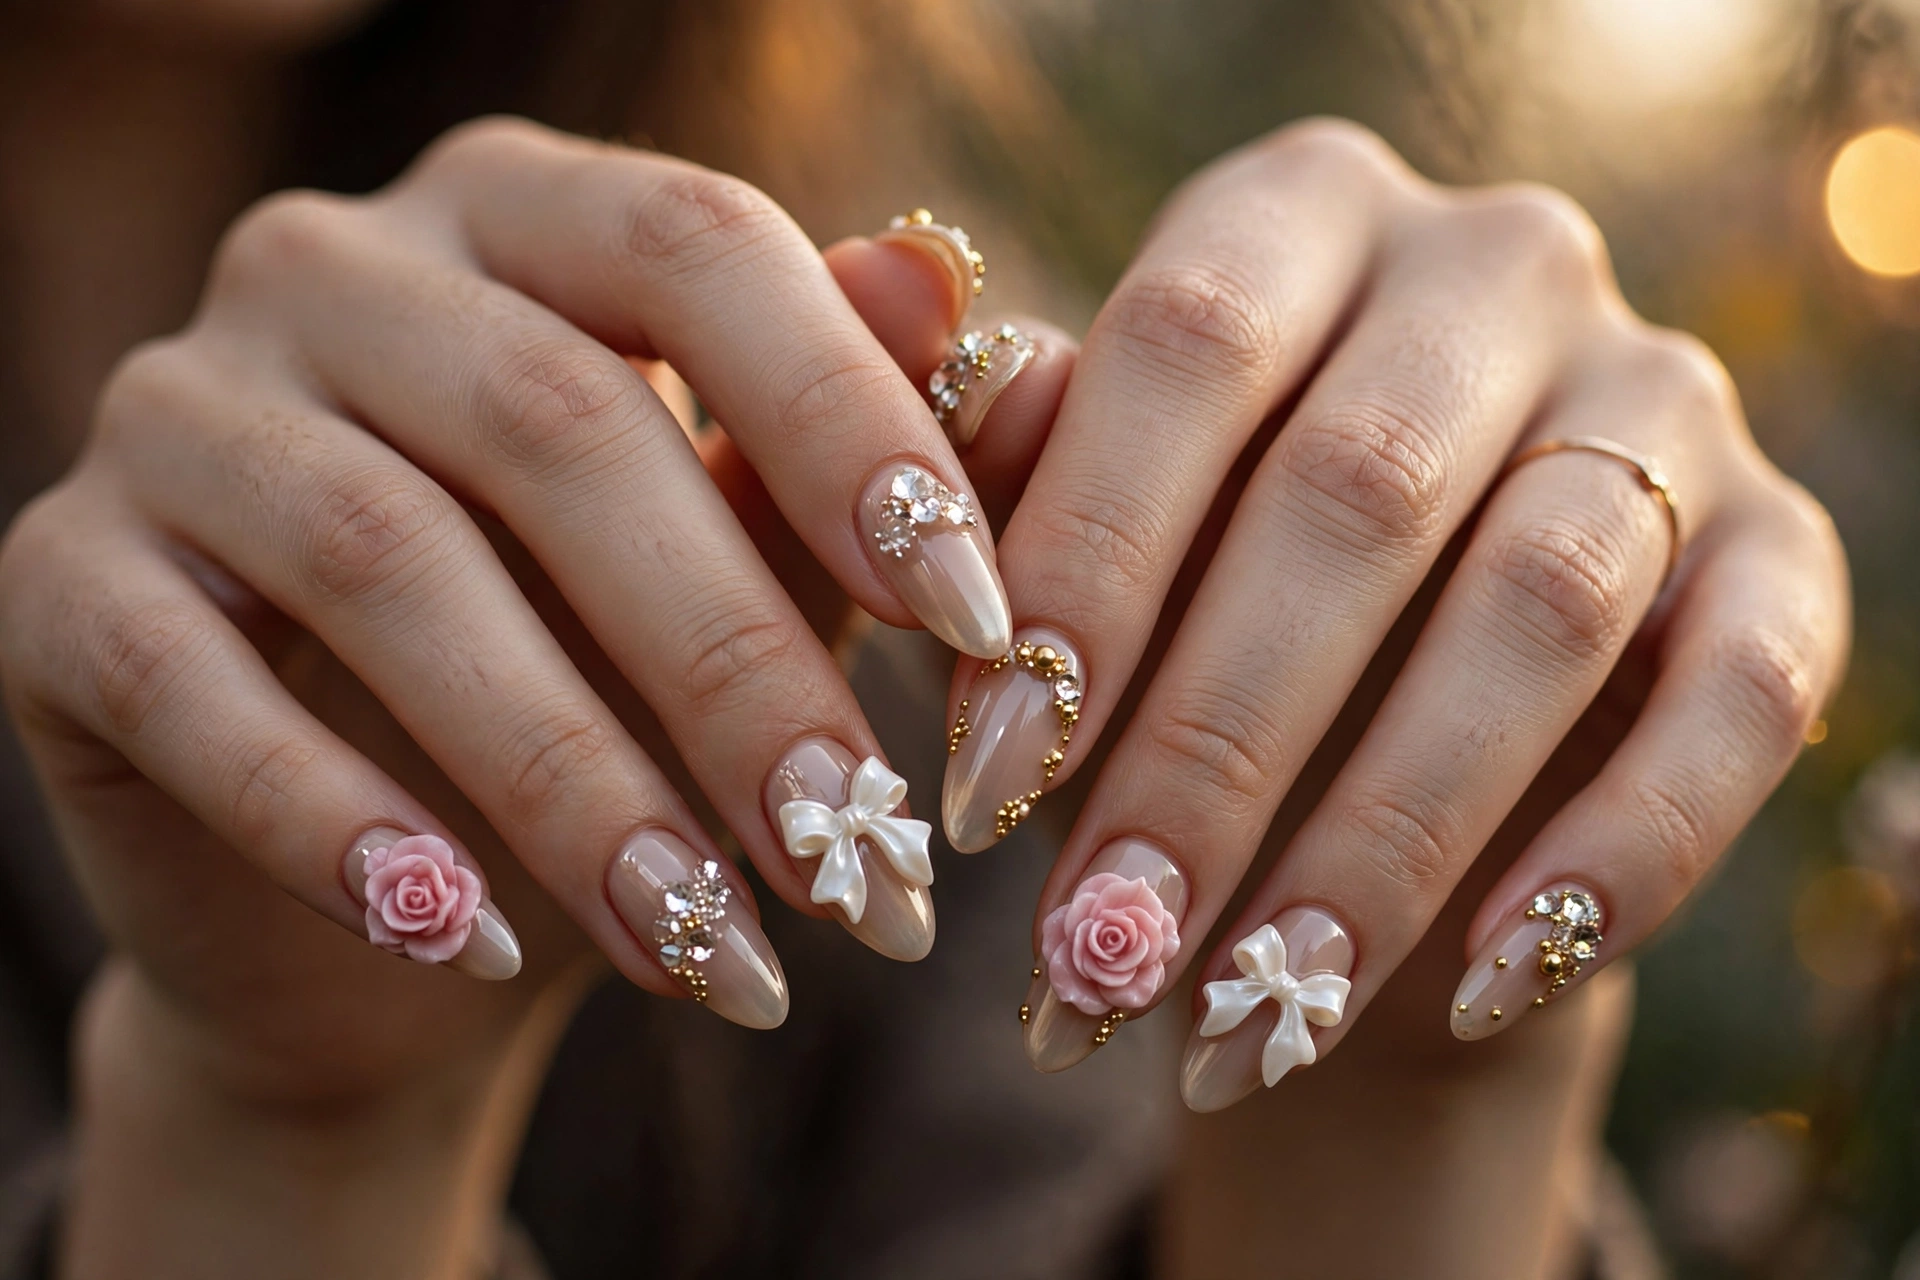
16 3D Nail Ideas With Sculpted Flowers, Bows, Gems & Charms
3D nails are manicures with raised, sculptural decoration: flowers, bows, gems, and charms that sit on top of the nail instead of being painted flat. The effect is jewelry for your fingertips. Below are 16 genuine 3D nail ideas organized by the type of dimensional element, so you can jump to the look you want: sculpted florals, bows and ribbons, gems and charms, or textured mixed-media designs. Every idea includes practical notes on difficulty, wearability, and how to make the elements stay put, plus a real how-to section and a comparison of 3D methods.
All 16 Ideas at a Glance
Short on time? This table sums up every design in the guide: how it is made, how hard it is, which nail length flatters it, and how long it realistically lasts. Details, photos, and honest wearability notes for each one follow below.
| Idea | Method | Difficulty | Best length | Typical wear |
|---|---|---|---|---|
| 1. Sculpted 3D Roses | Sculpted acrylic | Advanced / salon | Long | 2–3 weeks |
| 2. Daisy Appliqués with Pearl Centers | Pre-made resin | Beginner DIY | Short–medium | 1–2 weeks |
| 3. Orchid Blooms in Builder Gel | Builder gel sculpting | Advanced / salon | Long | 2–3 weeks |
| 4. Cherry Blossom Branches | Builder gel sculpting | Intermediate–advanced | Medium | ~2 weeks |
| 5. Coquette Resin Bows | Pre-made resin | Beginner DIY | Short–medium | 1–2 weeks |
| 6. Draped Gel Ribbons | Builder gel sculpting | Advanced / salon | Medium–long | 2–3 weeks |
| 7. Bow-Tipped French | Pre-made resin | Intermediate DIY | Short–medium | 1–2 weeks |
| 8. Oversized Statement Bow | Resin + gel anchor | Intermediate | Long | Occasion wear |
| 9. Crystal Cluster Accents | Rhinestones in gel | Intermediate | Medium–long | 1–2 weeks |
| 10. Pearl-Set Nails | Flat-back pearls in gel | Beginner–intermediate | Any | 1–2 weeks |
| 11. Gold Charm Mix | Metal charms in builder gel | Intermediate | Short–medium | 1–2 weeks |
| 12. Caviar Bead Texture | Micro-beads in gel | Beginner application | Any | 1–3 days |
| 13. Cable-Knit Sweater Texture | Builder gel piping | Intermediate | Short–medium | 2–3 weeks |
| 14. Raised Abstract Swirls | Builder gel sculpting | Intermediate | Medium | 2–3 weeks |
| 15. Molten Chrome Drops | Builder gel + chrome | Advanced / salon | Long | 2–3 weeks |
| 16. Dewdrop Glass Nails | Clear builder gel domes | Beginner–intermediate DIY | Any | 2–3 weeks |
What Are 3D Nails?
3D nails are manicures decorated with raised, three-dimensional elements rather than flat polish designs. Sculpted acrylic or builder-gel flowers, resin bows, rhinestones, pearls, metal charms, and textured patterns like cable knit all count. The elements are attached with nail glue or cured gel, then sealed around (not over) so the raised shapes keep their definition.
Most 3D designs last one to three weeks depending on the method and the size of the elements. Small flat-back embellishments wear almost as long as a regular gel manicure, while oversized sculpted flowers are better saved for events. This guide covers both, with honest notes on which ideas suit everyday wear and which are occasion-only.
Sculpted Florals: Flowers You Can Feel
Sculpted flowers are the signature 3D nail look. Petals are built up from acrylic or builder gel, petal by petal, so the bloom rises off the nail surface. These four range from delicate to dramatic.
1. Sculpted 3D Roses
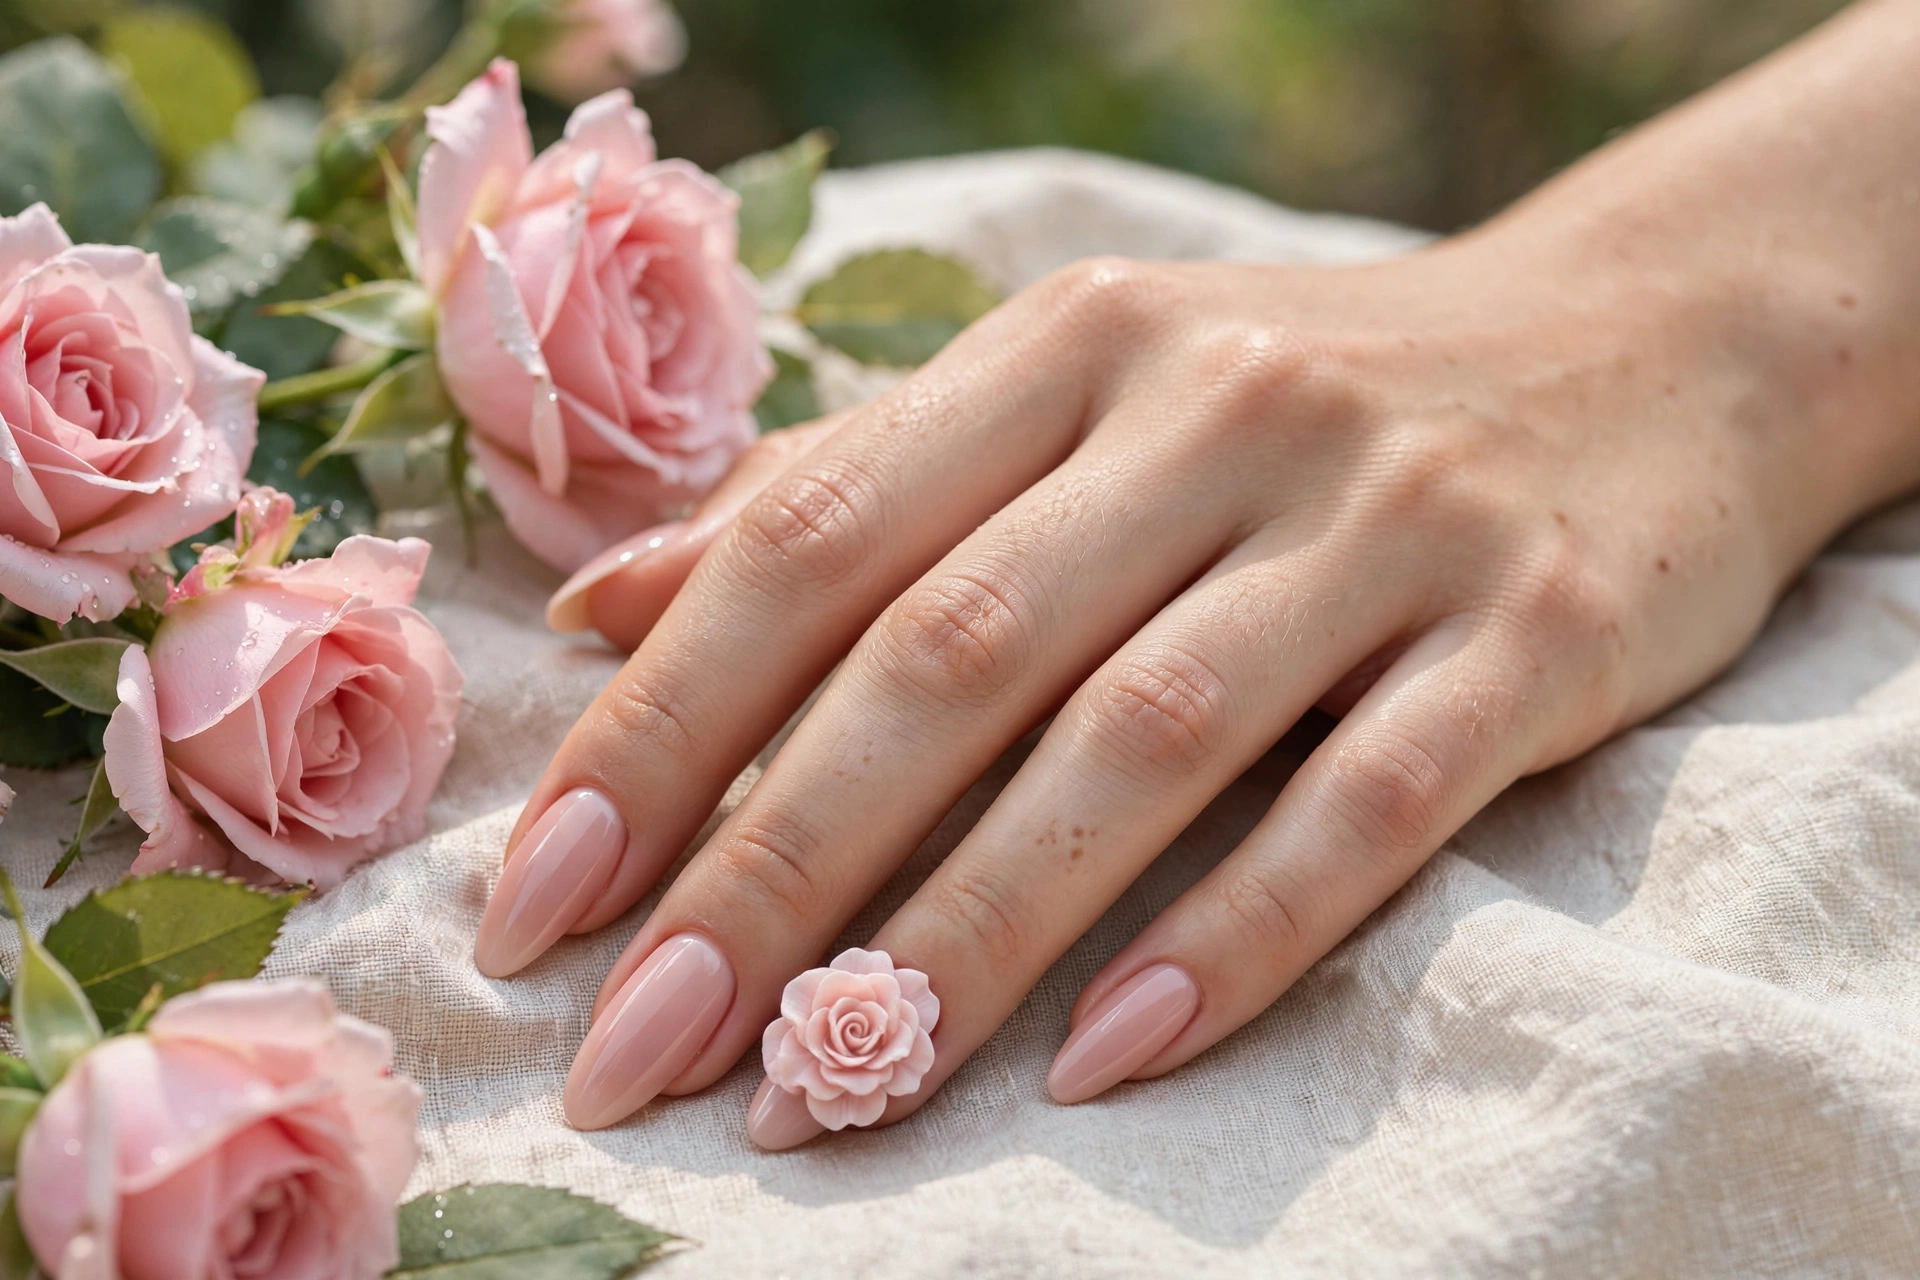
A single sculpted rose on each ring finger, over a blush nude base, is the classic 3D floral. The petals are formed from acrylic, rolled thin and layered from the center outward, then the whole bloom is set into a bead of builder gel and cured. The result reads romantic without looking costume-like, especially in muted rose, cream, or dusty pink tones.
Wearability: roses are medium-sized elements, so keep them on two accent nails if you type all day. Long almond or coffin shapes give the bloom room to sit. This is advanced work; book a tech who shows sculpted flowers in their portfolio. For a quieter version, link this idea with our milky nail designs for the sheer base.
2. Daisy Appliqués with Pearl Centers
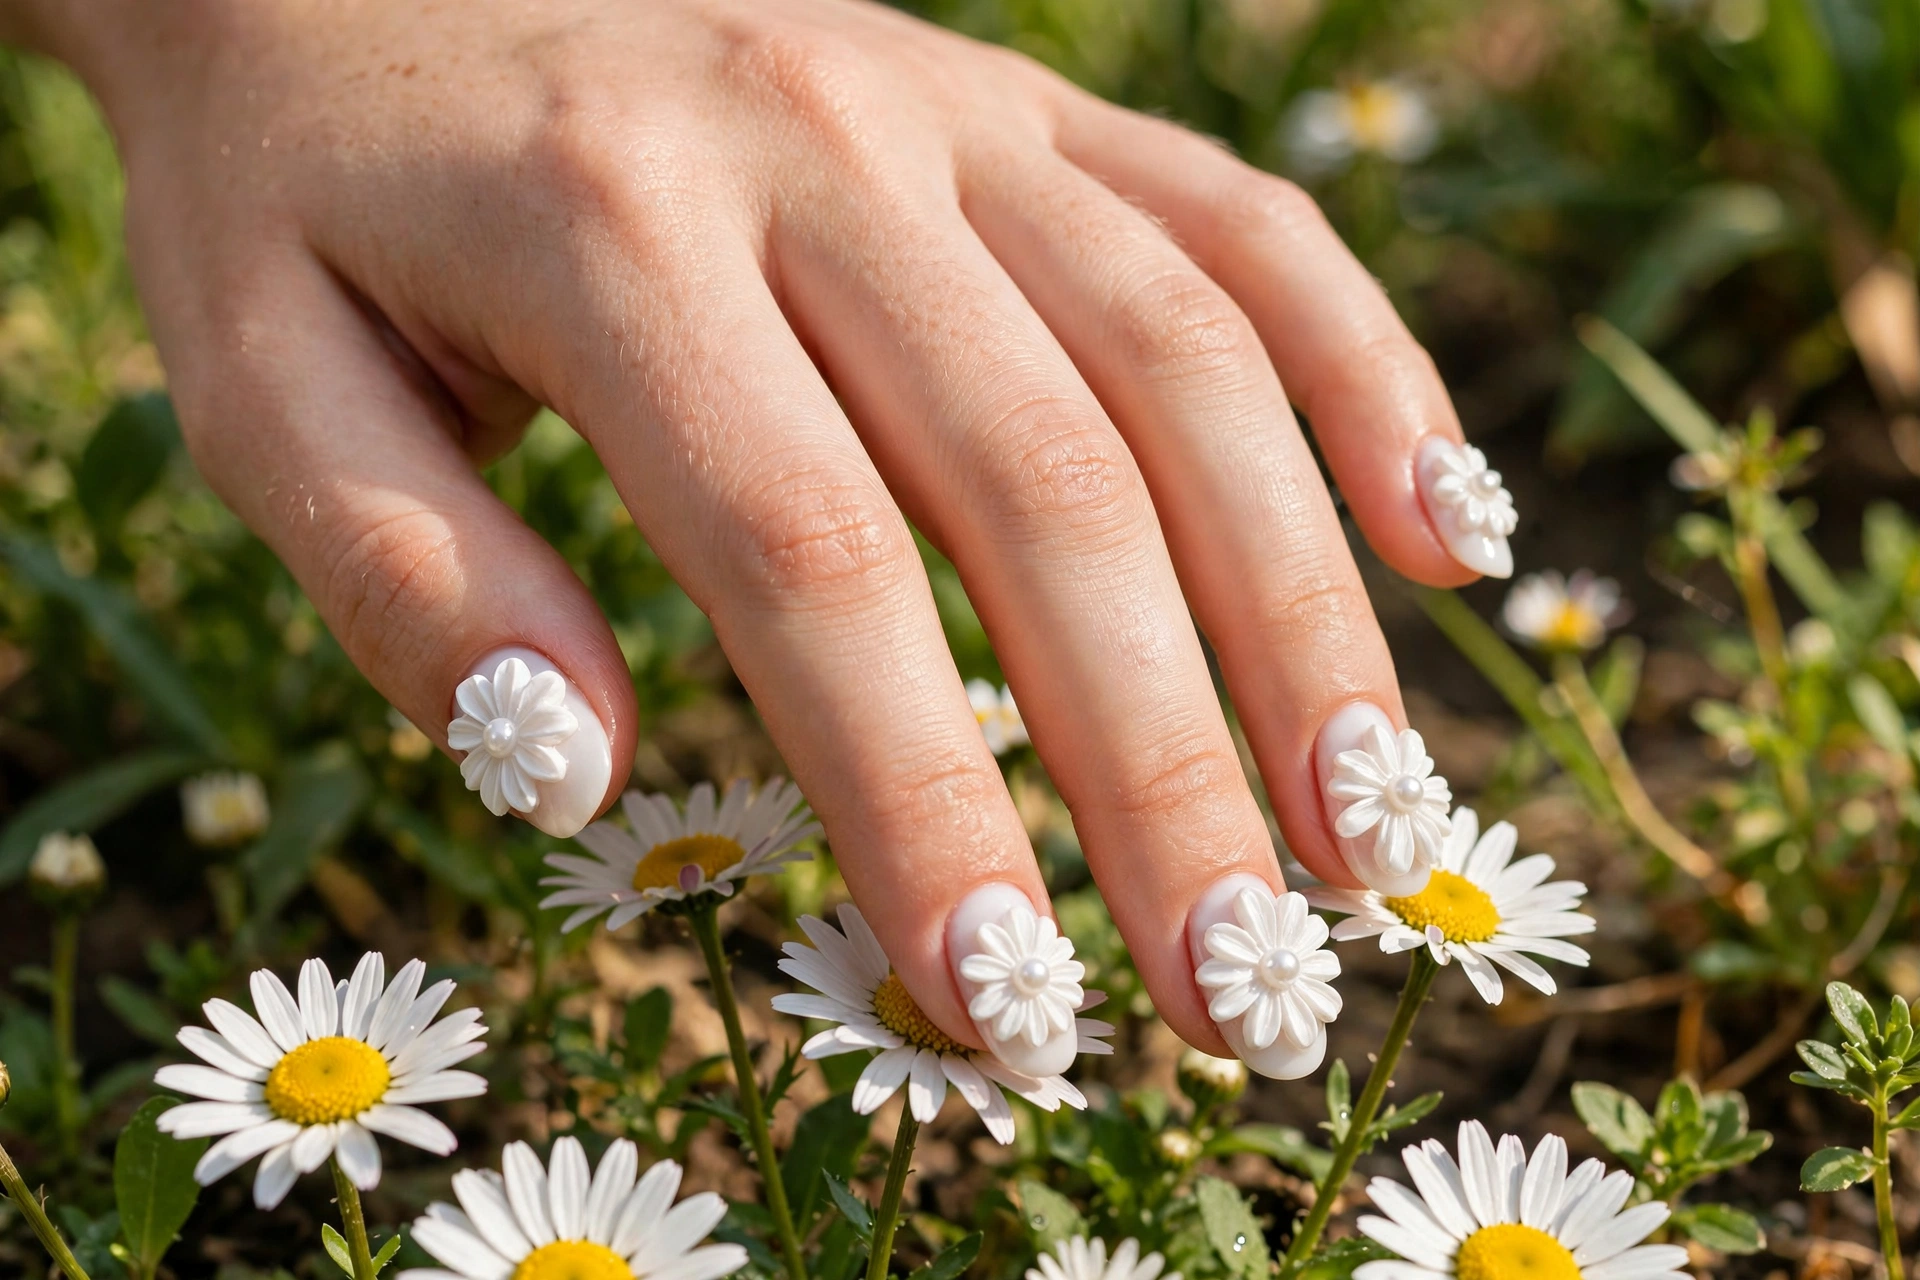
Pre-made resin daisies with a tiny pearl pressed into the center are the friendliest entry into 3D florals. The flowers lie fairly flat, so they catch on less than sculpted blooms, and the white-and-pearl combination suits sheer milky or pale pink bases beautifully. Place one daisy per nail, or cluster two on an accent nail.
This is genuinely DIY-friendly: resin flowers come ready to use, and a dot of nail glue or rhinestone gel holds each one. Short to medium oval nails keep the daisies proportional. Because the elements are small and light, they wear well for a full week or two. Refresh the seal around the petals if an edge starts to lift.
3. Orchid Blooms in Builder Gel
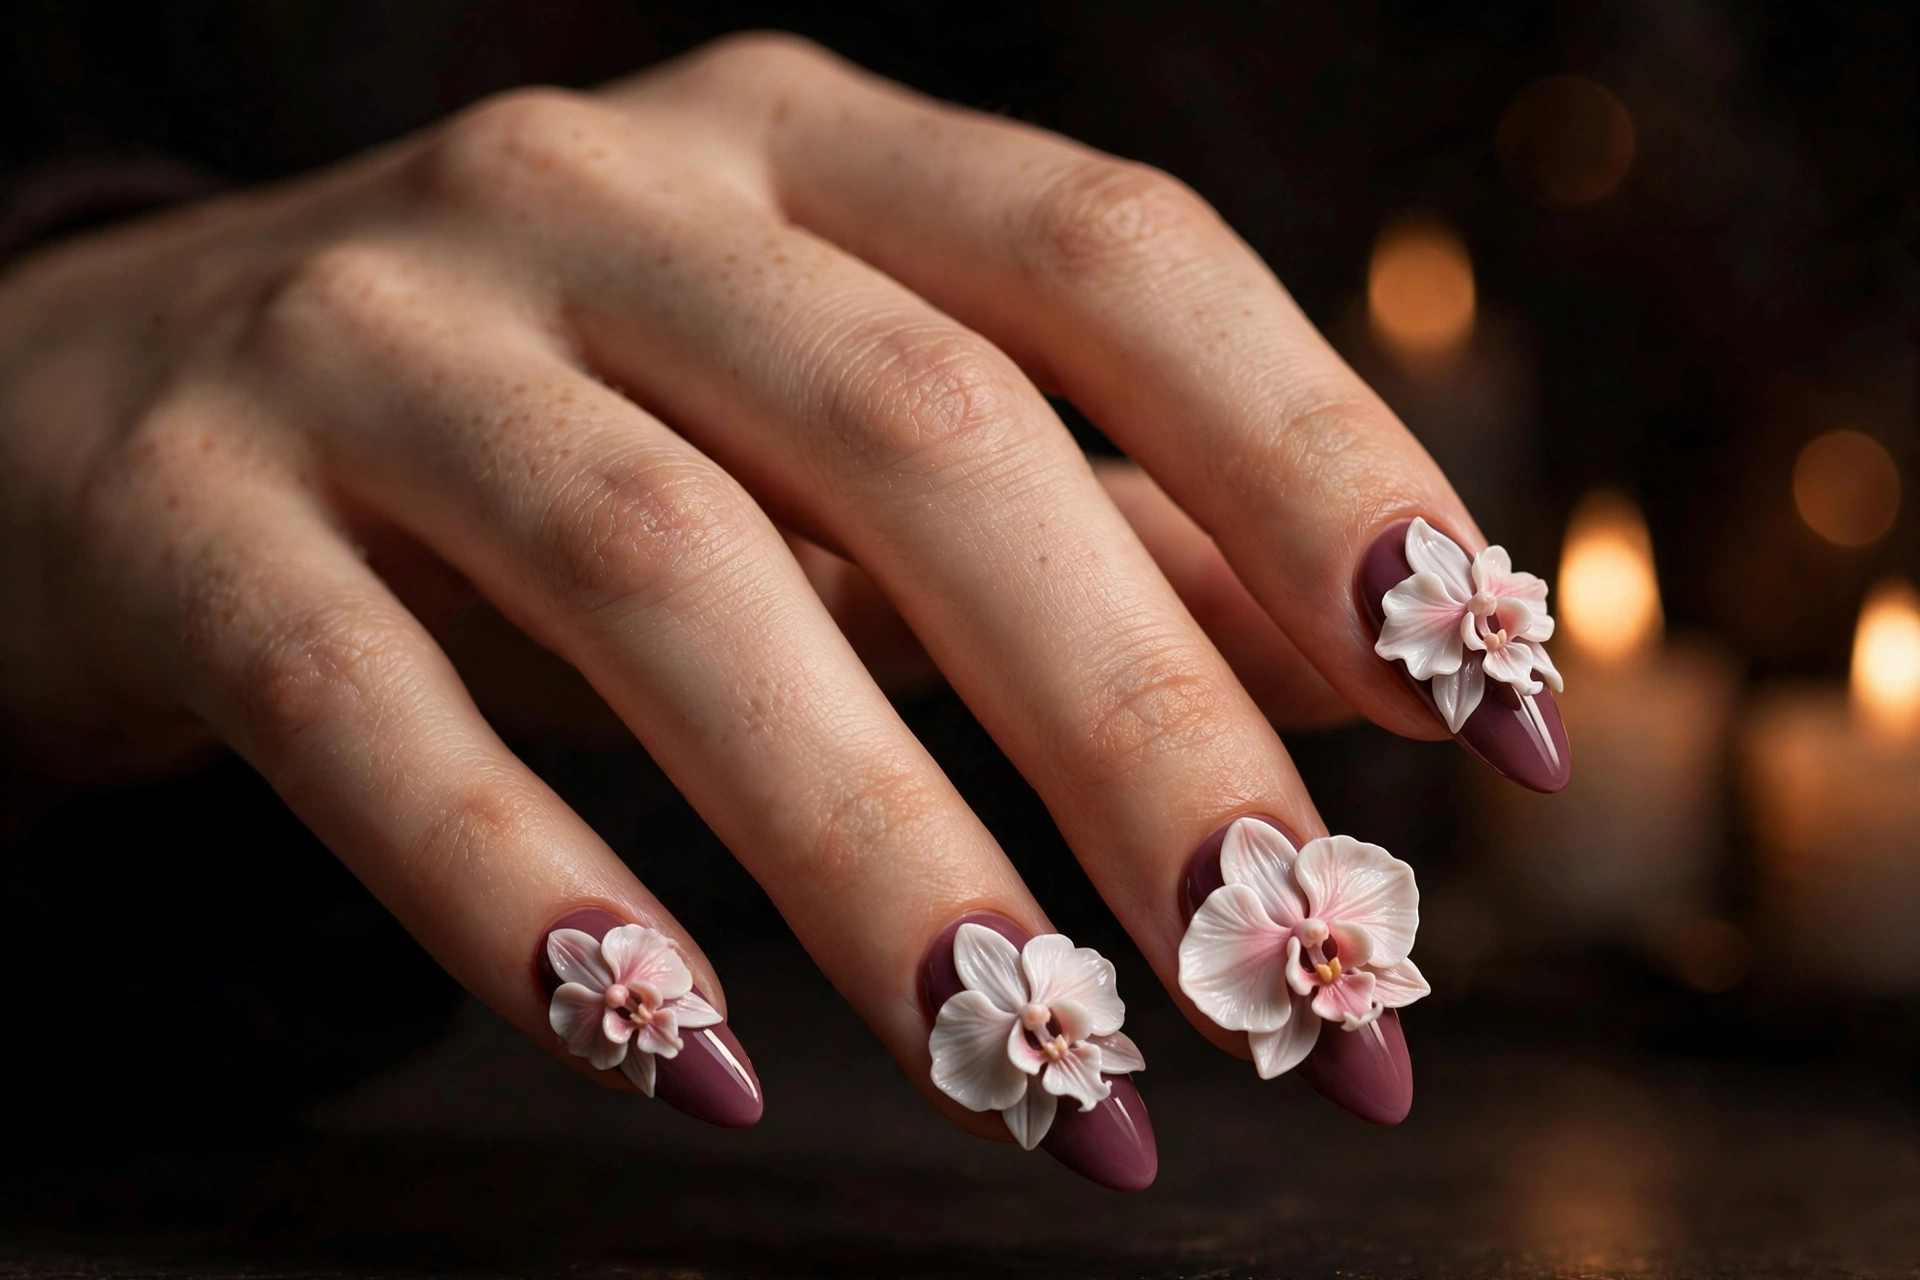
Orchids sculpted from builder gel have a waxy, lifelike quality that acrylic can’t quite match. The gel stays workable under the lamp-free window longer, so techs can pull thin, curved petals before curing. Deep mauve, plum, or chocolate bases make white or blush orchids glow against them, and the contrast photographs beautifully.
This is a salon-only design: orchid anatomy is fiddly, and the petals need to be thin enough to look real but thick enough to survive a week. Long almond shapes carry the blooms best. Expect these to be statement nails for a wedding or event rather than everyday wear, since the petals extend past the nail edge.
4. Cherry Blossom Branches
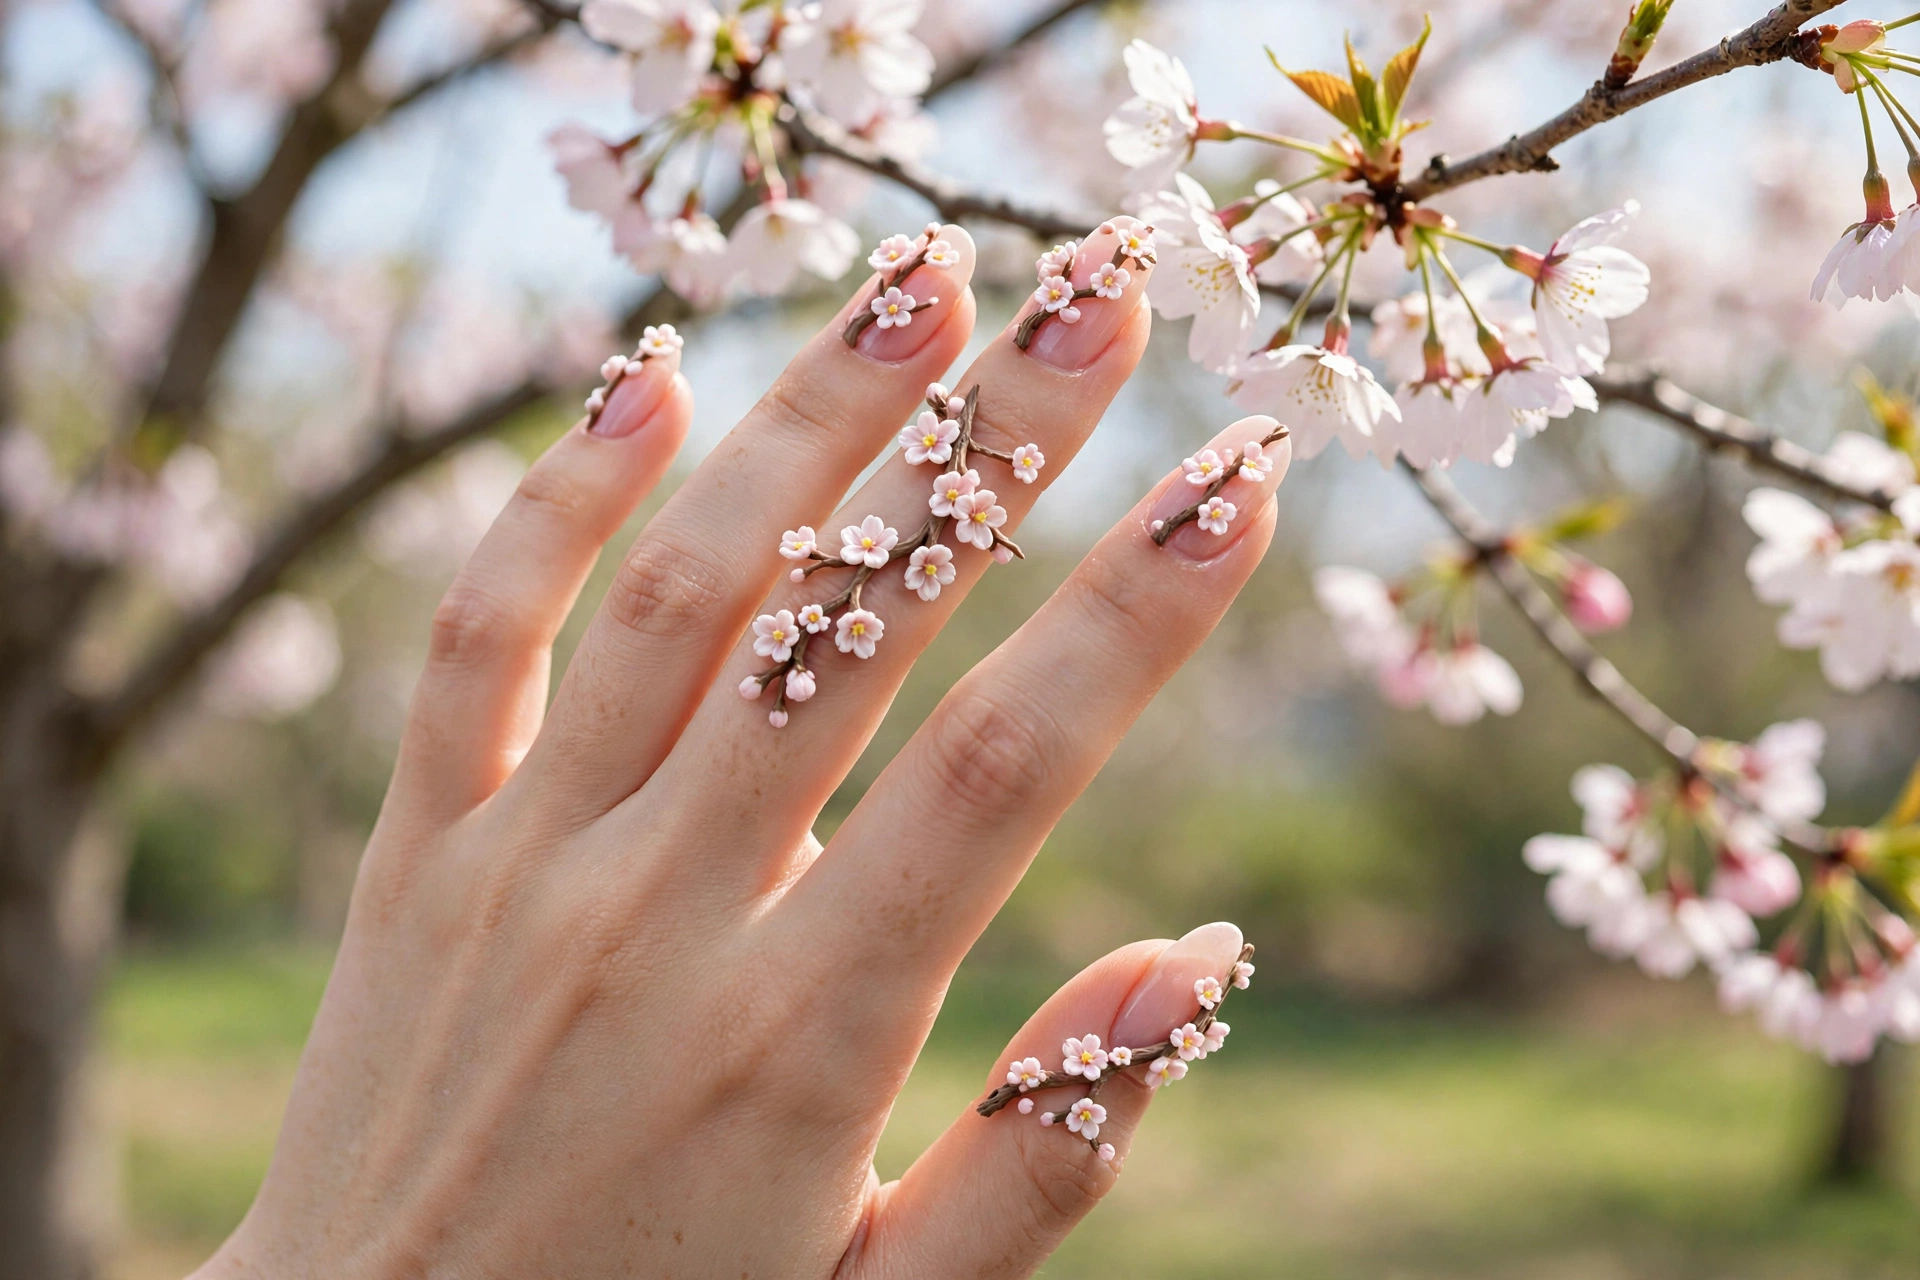
Instead of one big bloom, this design runs a delicate branch of tiny sculpted sakura blossoms diagonally across two or three nails. The blossoms are small enough to wear daily, and the branch composition makes each nail feel like a miniature painting. A sheer pink or milky base keeps the focus on the flowers.
Techs build this with builder gel, dotting five tiny petals per blossom with a fine brush and curing in stages so the petals hold their shape. Medium almond or oval nails suit the diagonal flow. The small blossom size means good durability: expect close to two weeks in gel with normal care.
Bows & Ribbons: The Coquette Dimension
Bows are the defining 3D motif of the coquette and balletcore wave. Resin bows, sculpted ribbons, and bow-tipped French designs add a raised, jewelry-like detail that reads sweet but grown-up in the right proportions.
5. Coquette Resin Bows
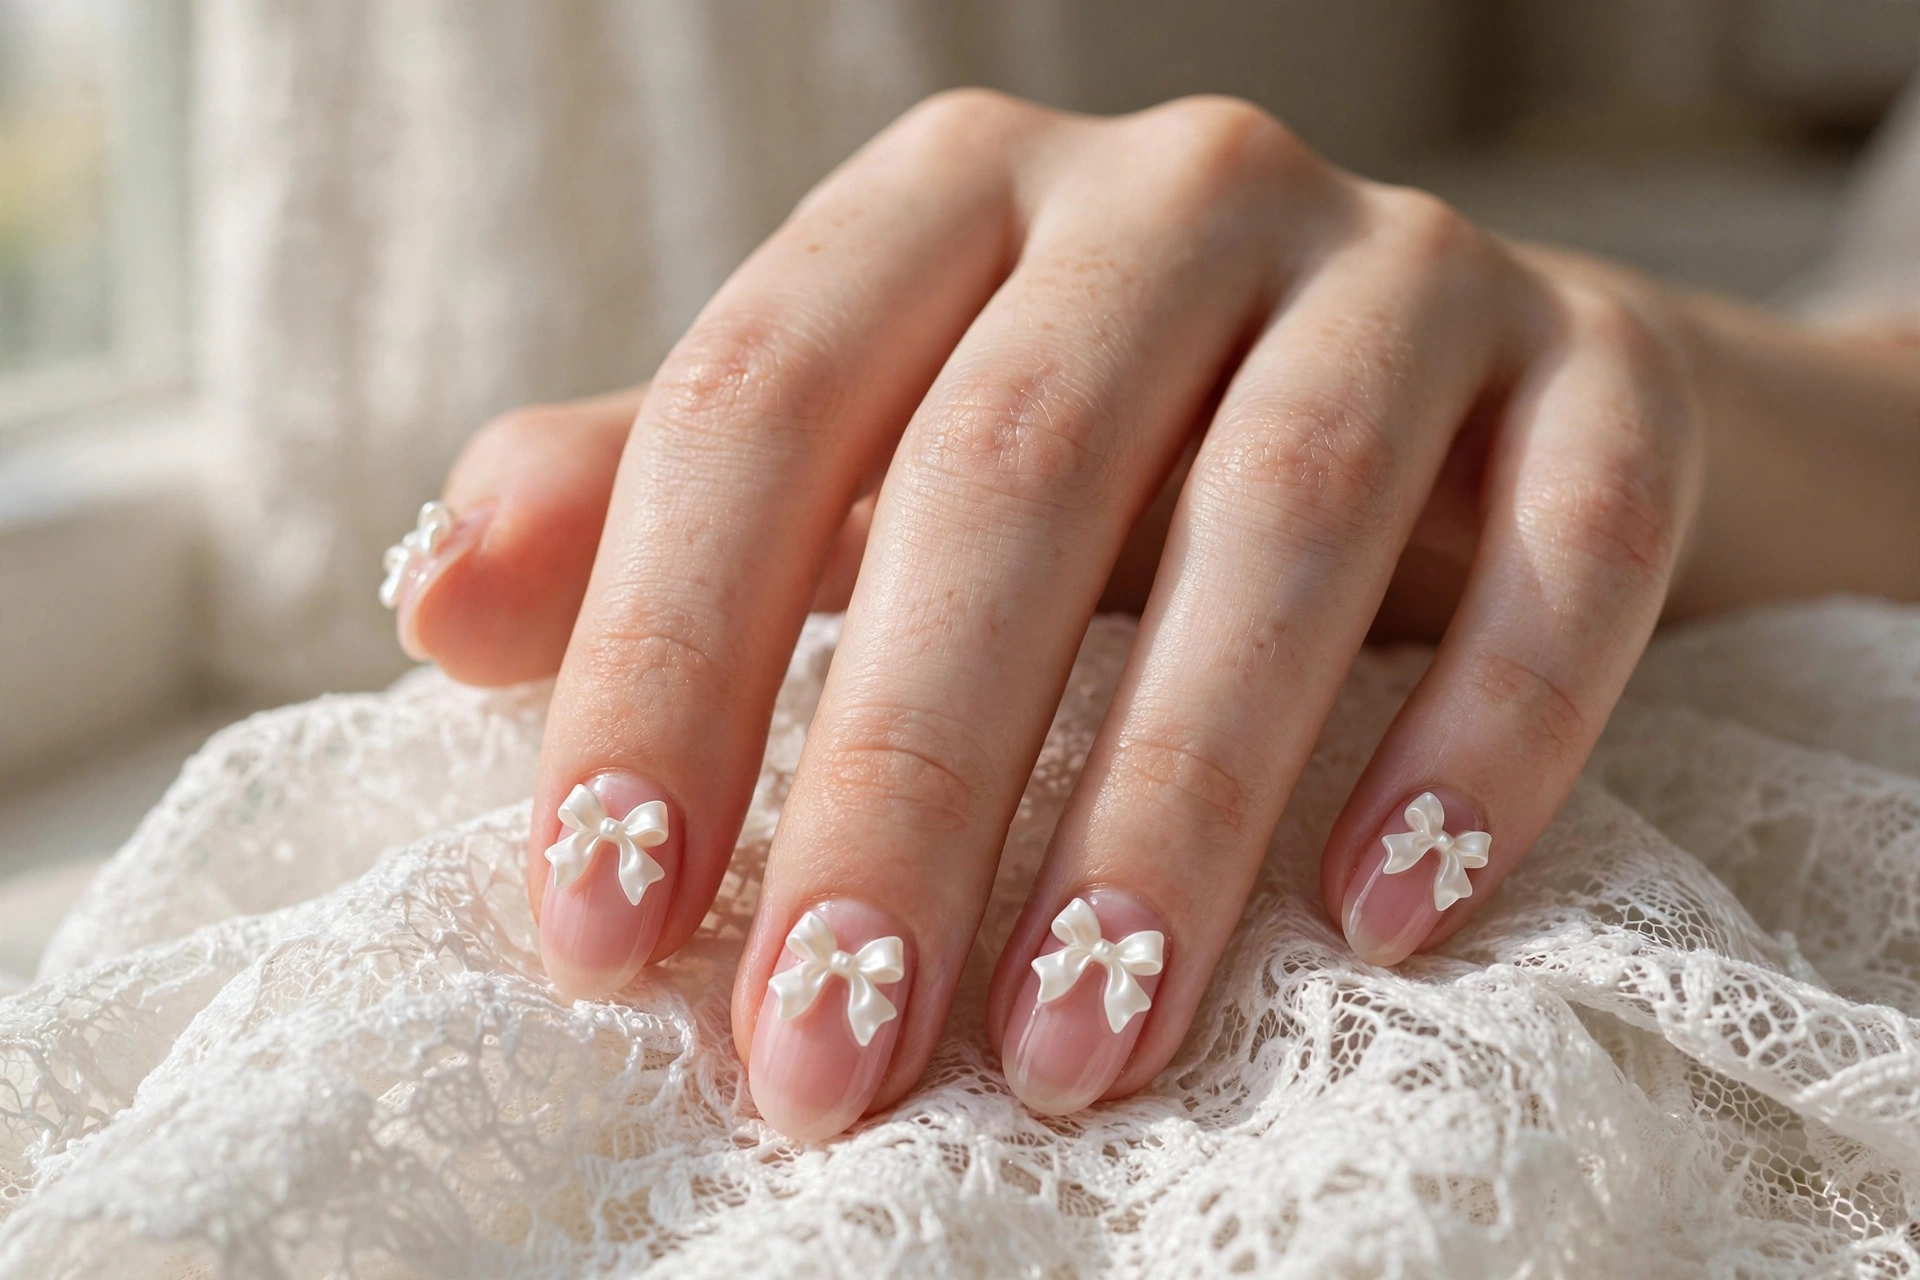
Tiny resin bows in white, pink, or pearl finish are the simplest way to get the coquette look. Press one bow near the cuticle of each nail over a ballet-pink or milky base, and the manicure instantly reads delicate and intentional. The bows are light and sit close to the nail, so they survive daily life better than most 3D elements.
This is an easy at-home design: resin bows, a dot of rhinestone gel, and a steady tweezer hand are all you need. Short almond or squoval nails keep the proportions sweet rather than childish. One caution from nail techs: keep bow size under about 5mm, or they start catching on everything from sweaters to seatbelts.
6. Draped Gel Ribbons
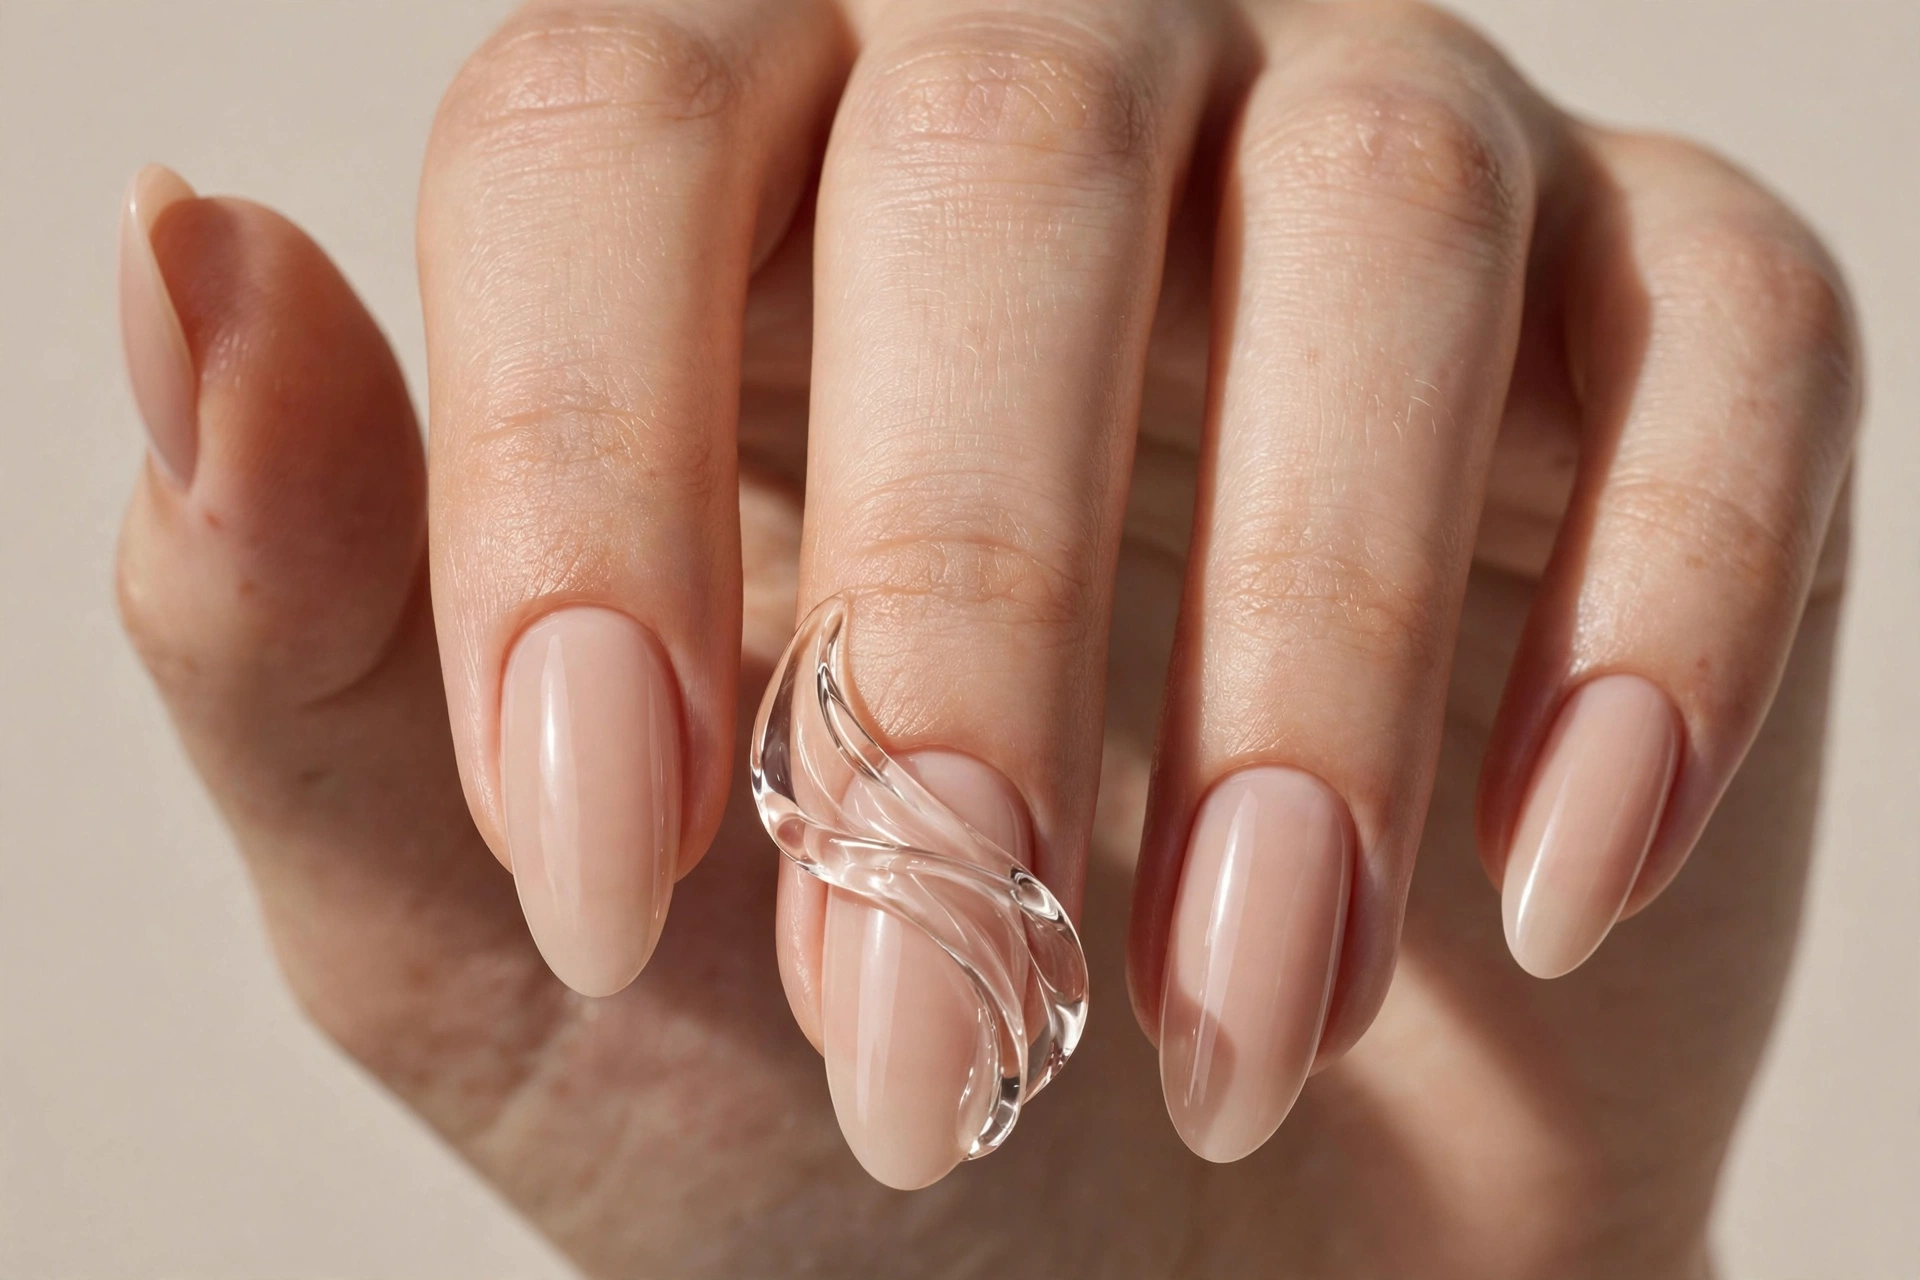
A ribbon of builder gel draped in a soft curve across a nude nail looks like wearable sculpture. Unlike a glued-on charm, the ribbon is formed directly on the nail, so it flows with the nail’s curve and feels integrated rather than stuck on. Clear or milky gel keeps it subtle; a chrome-tinted gel turns it into evening wear.
This needs a tech with real sculpting control, since the ribbon has to stay smooth and even as it cures. Medium to long nails give the drape room to read. The element is low-profile enough for office wear if you keep the base nude, which makes this one of the most wearable sculpted designs here.
7. Bow-Tipped French
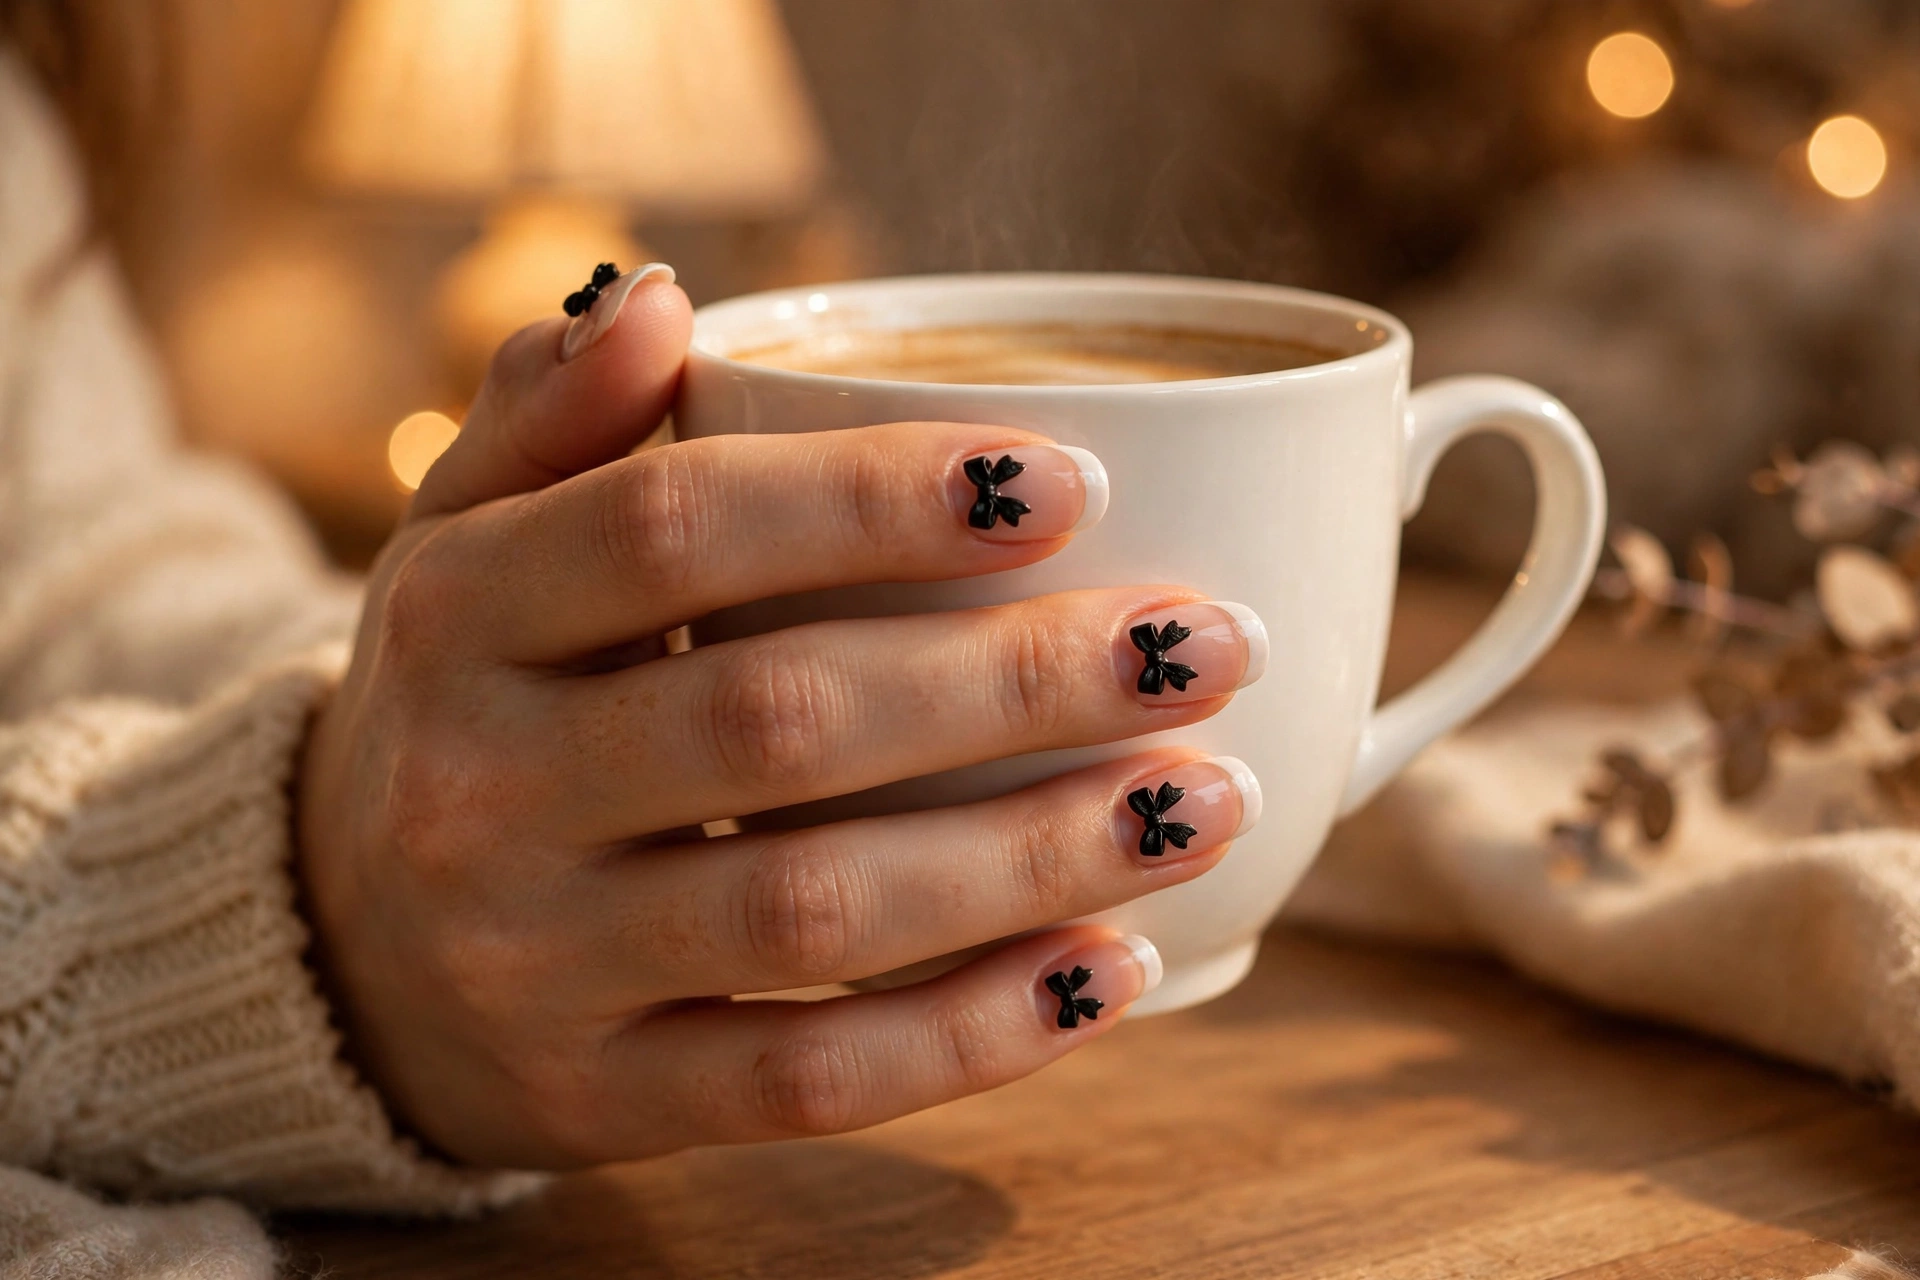
A classic French manicure gets its 3D moment from a micro bow placed right at the smile line of each tip. The bow replaces the usual painted detail with something you can actually see in profile. White or pearl bows on a traditional pink-and-white French keep it bridal; black bows on a nude base turn it downtown.
Placement is everything: center each bow precisely on the smile line, and keep them identical in size or the set looks handmade in the wrong way. This is intermediate DIY territory if you buy pre-made micro bows. Short to medium almond nails are the ideal canvas. Seal carefully around each bow so the French tip edge stays crisp.
8. Oversized Statement Bow
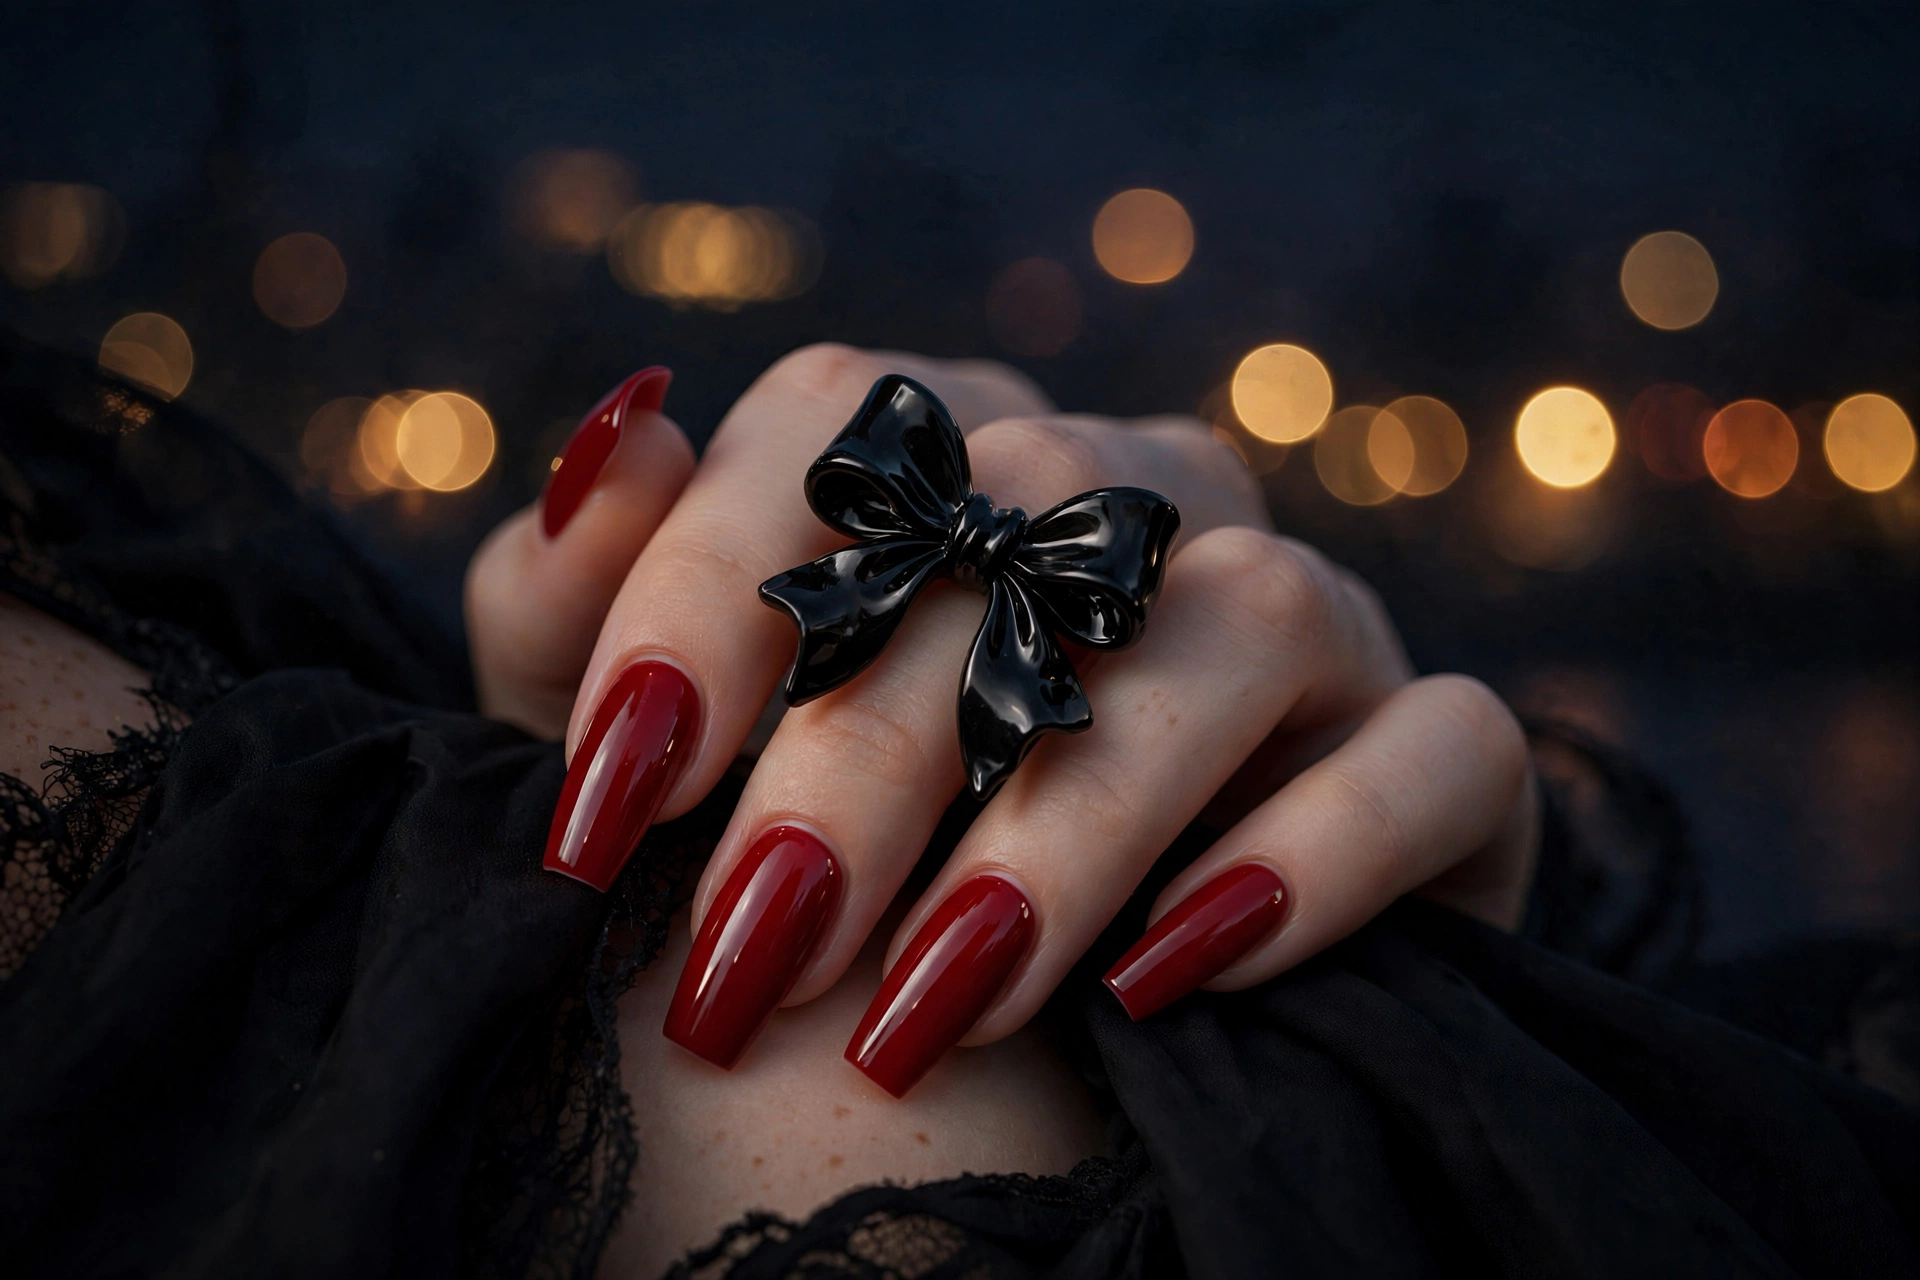
One oversized bow on a single accent nail, with the rest of the set kept plain, is the maximalist take on the trend. The bow becomes a ring-like focal point, especially in glossy black, cherry red, or metallic gold over a matching or nude base. Think of it as jewelry you don’t take off.
Honest wearability note: this is an occasion nail. An oversized bow will catch on hair, clothing, and anything with texture. Save it for parties, photoshoots, and events, and ask your tech to anchor it with both glue and a gel overlay at the base for maximum hold. Long coffin or stiletto shapes balance the bow’s scale.
Gems, Pearls & Charms: Nail Jewelry
This is the most literal reading of 3D nails: actual jewels on the nail. Rhinestones, pearls, and metal charms are set into gel or glue, turning the manicure into something closer to accessorizing than painting.
9. Crystal Cluster Accents
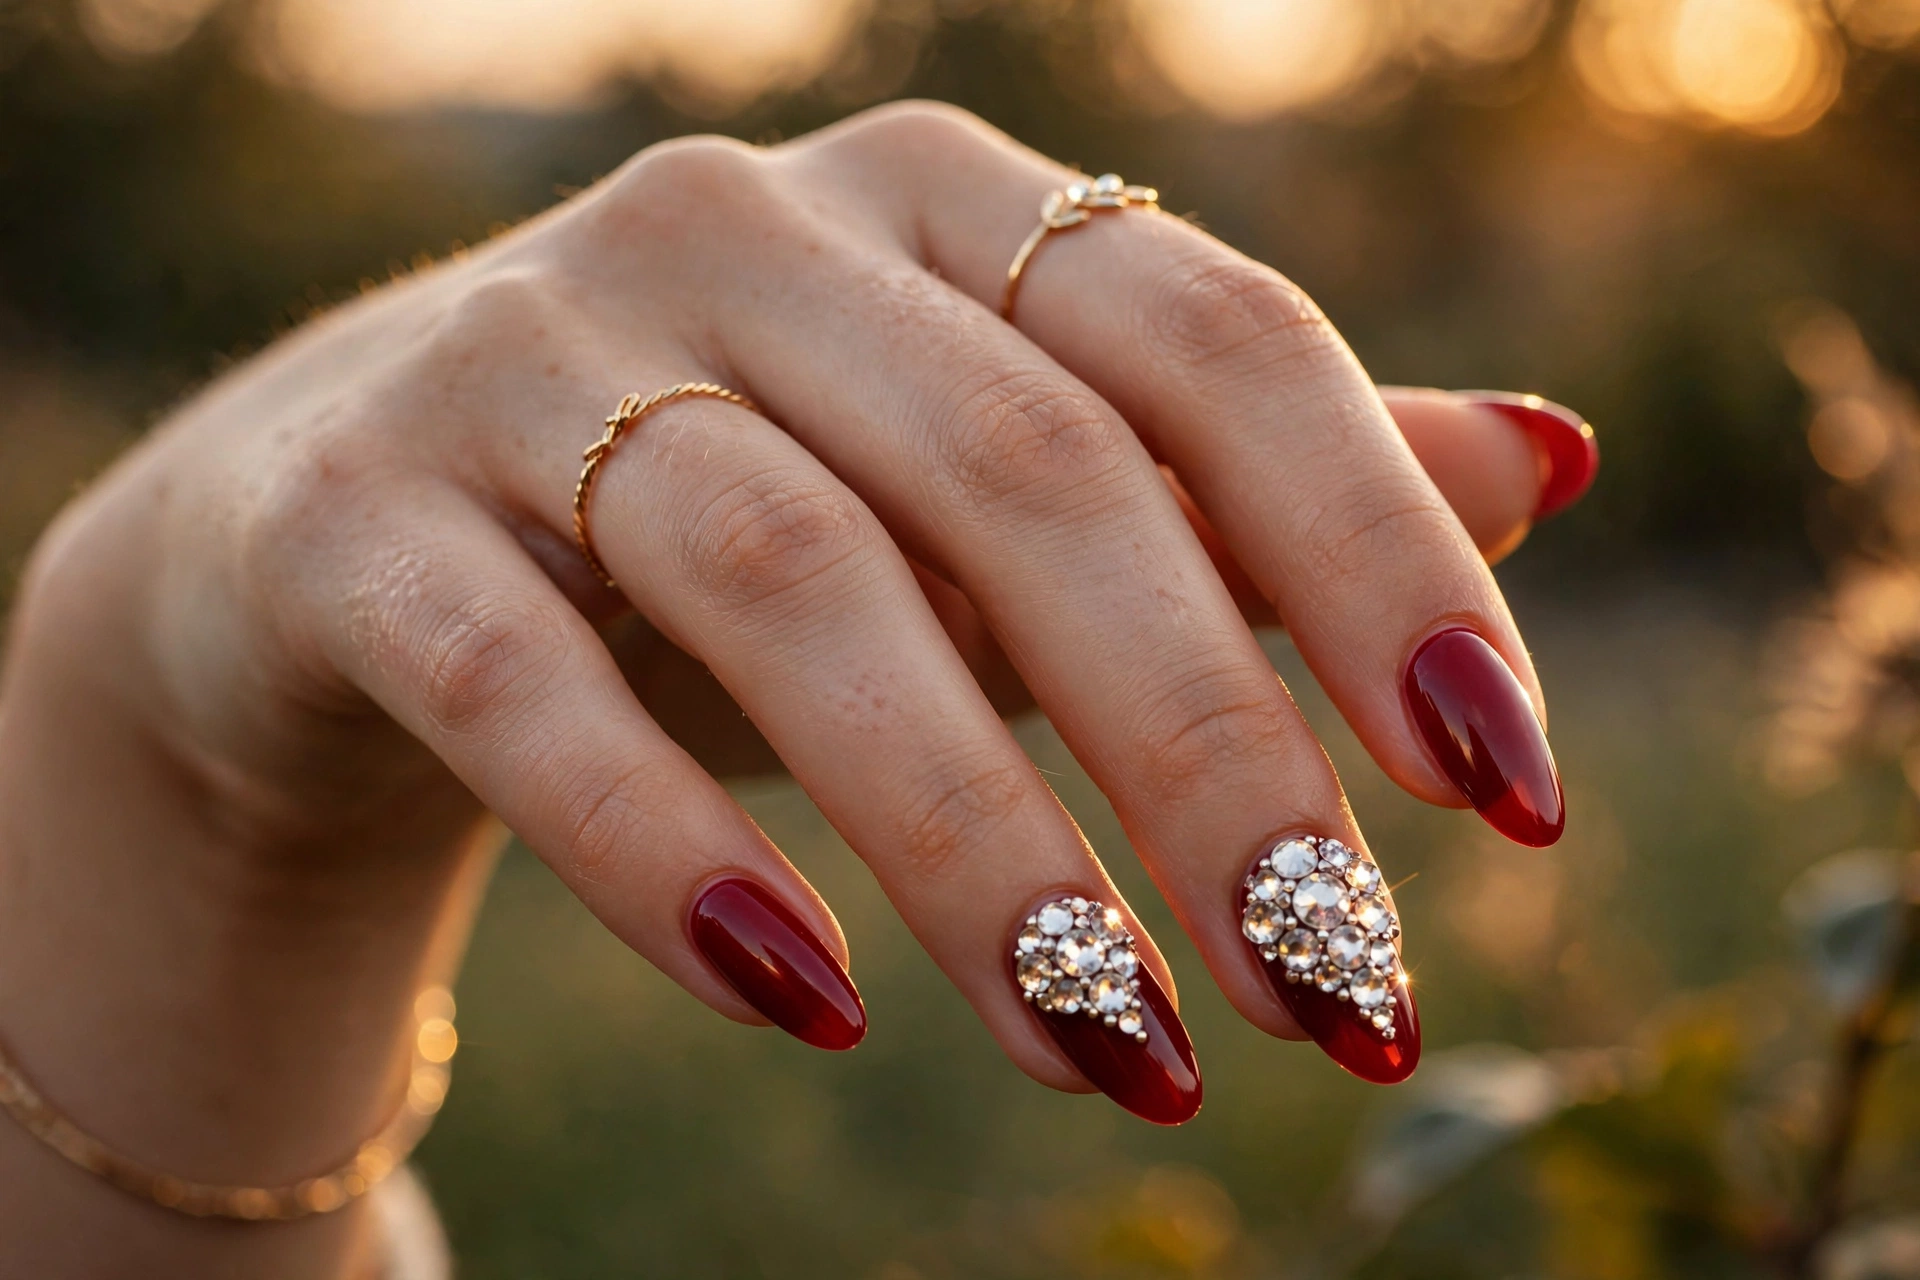
Clusters of glass rhinestones in mixed sizes, set into a dome of rhinestone gel on an accent nail, catch light from every angle. The trick is the size gradient: a larger center stone ringed by smaller ones reads like fine jewelry, while uniform stones read crafty. Deep red, black, or navy bases make the crystals blaze.
Use glass crystals rather than plastic for real sparkle, and set them in gel cured under a lamp instead of air-dry glue, which yellows. This is a going-out design; even well-set stones catch on knitwear. Medium to long nails give the cluster a proper setting. Remove by soaking, never prying, since stones lever off the top gel layer.
10. Pearl-Set Nails
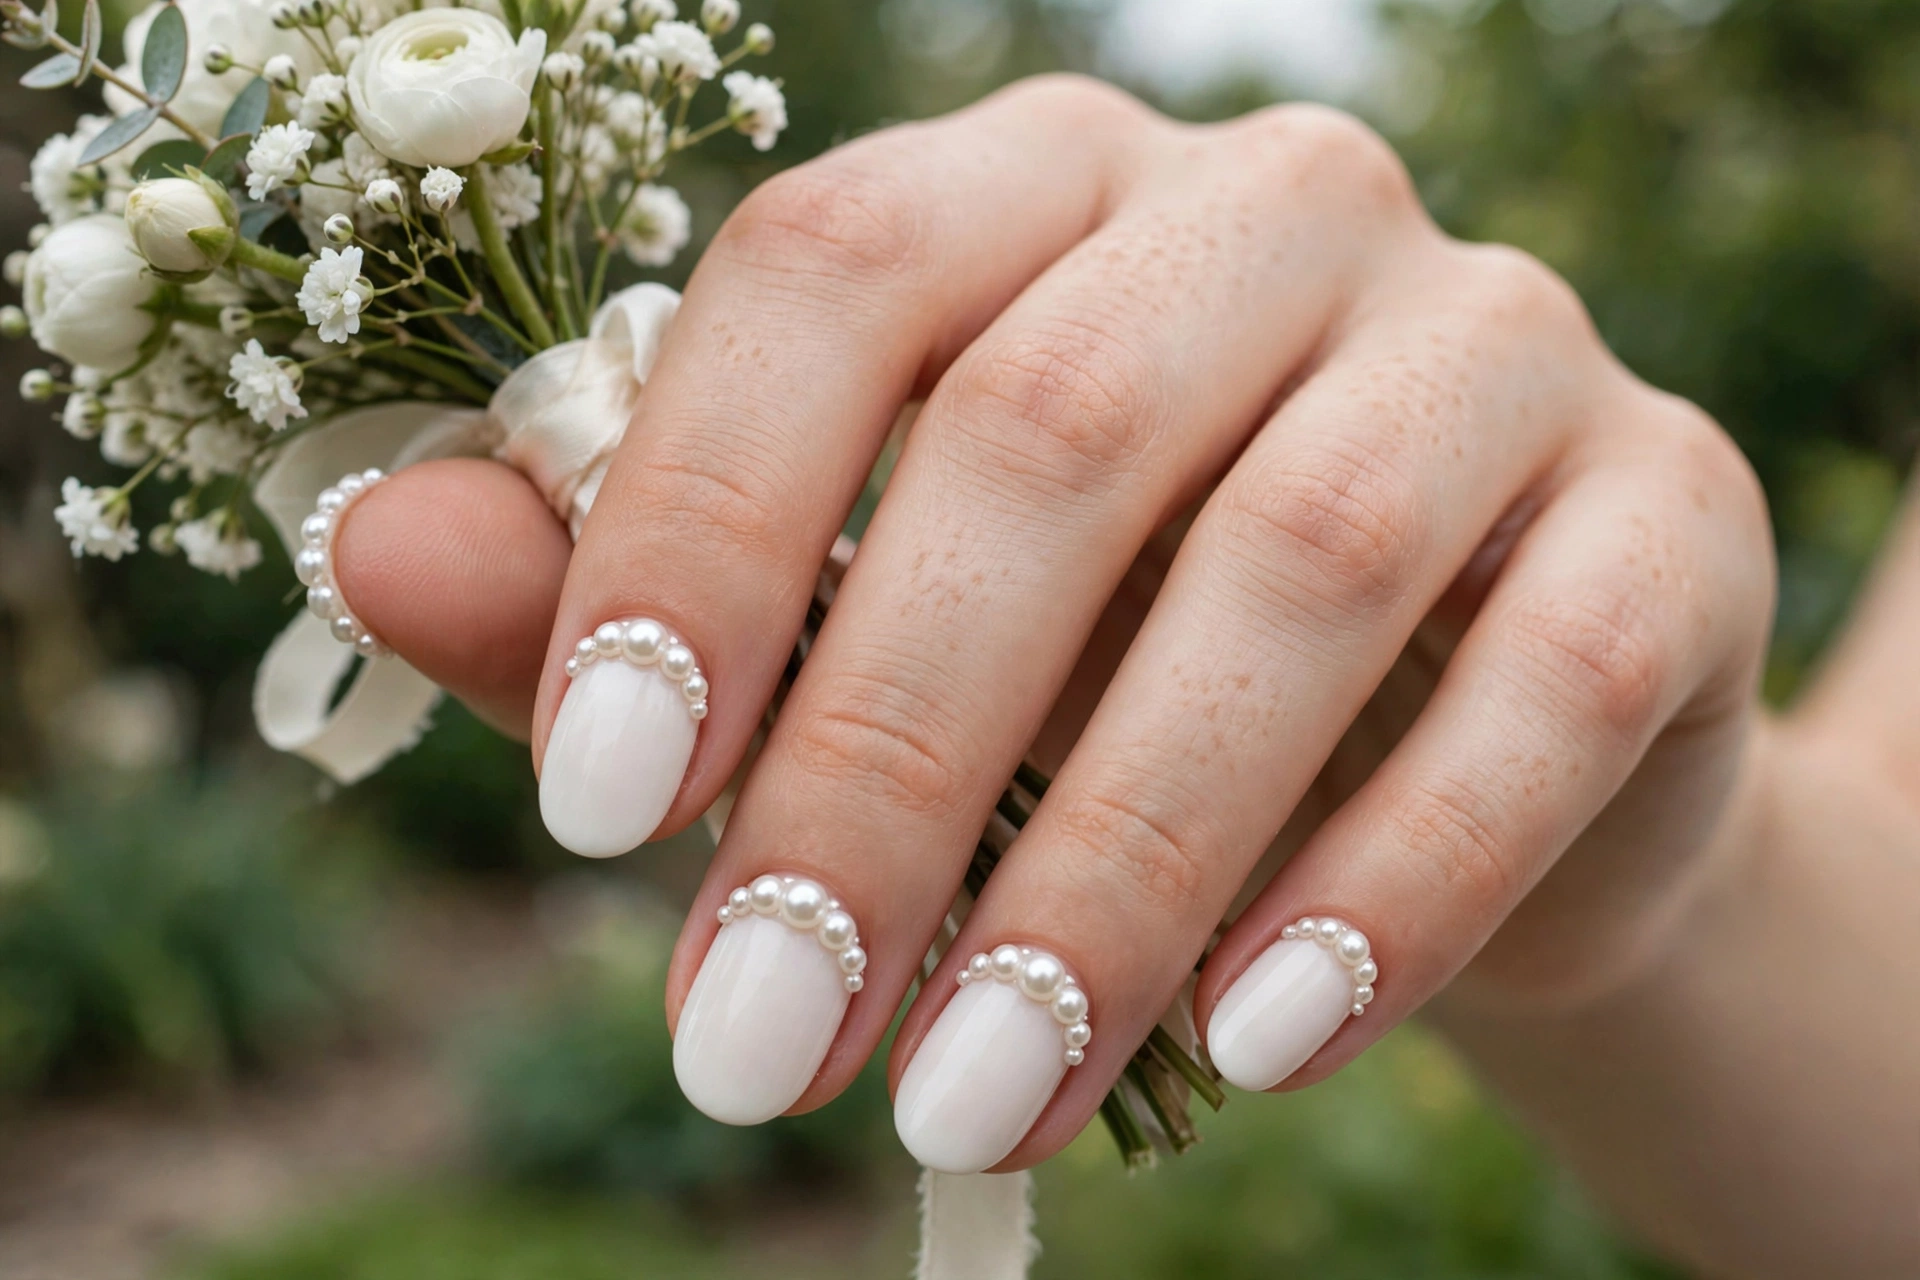
Flat-back pearls lined along the cuticle or scattered over ivory, blush, or white nails are the bridal standard for 3D nail art. The pearls’ soft luster suits the occasion better than high-sparkle crystals, and the monochrome palette keeps the set elegant. One pearl per nail at the cuticle is the timeless version; a full pearl gradient is the dramatic one.
Flat-back pearls are non-negotiable here; round beads roll and pop off. Press each pearl into wet builder gel and cure, which locks it far better than top coat alone. Almond or oval shapes frame the pearls best. Like all raised embellishments, expect some snagging, so treat this as a special-occasion manicure.
11. Gold Charm Mix
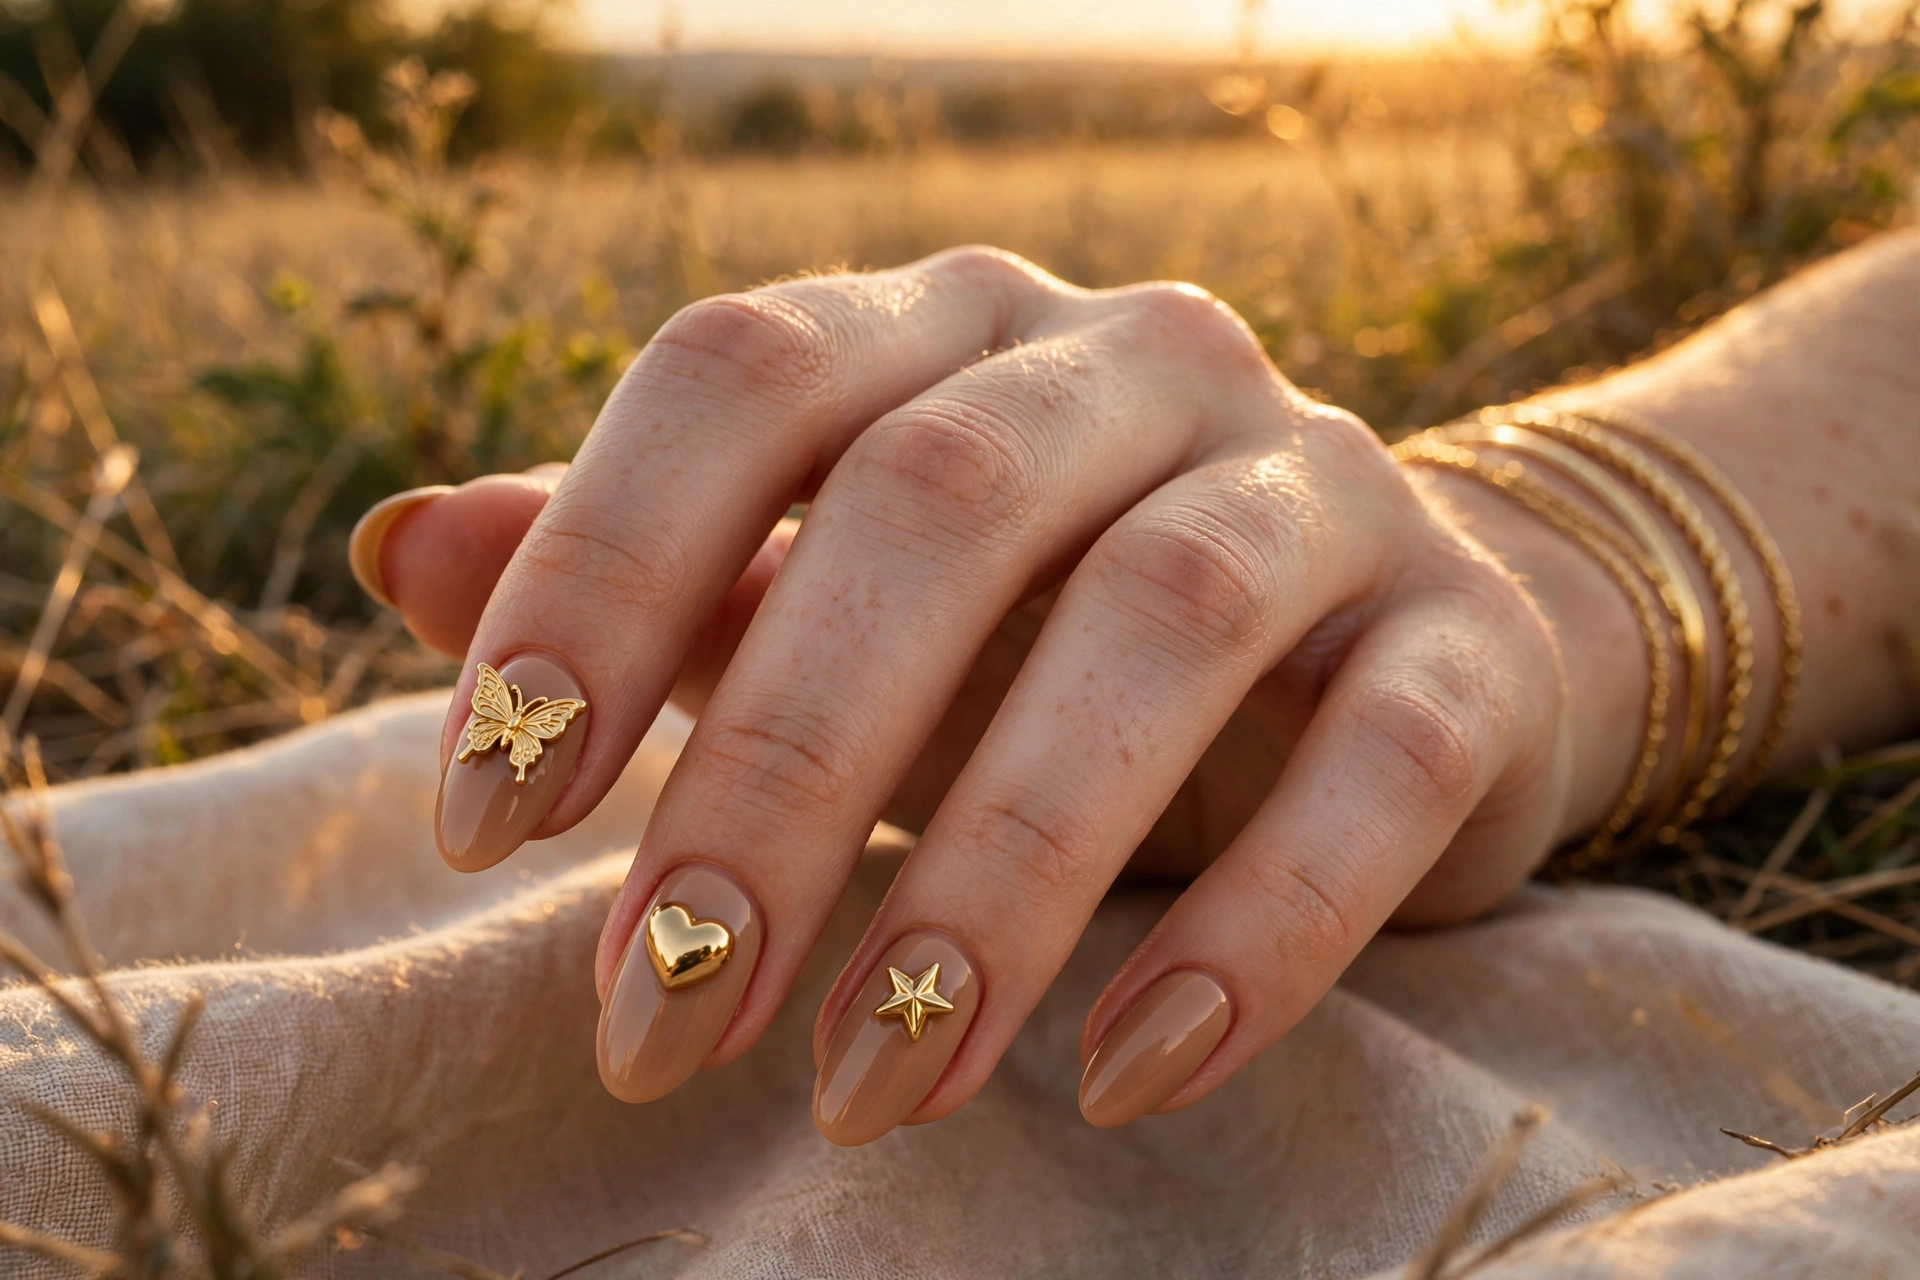
Tiny gold alloy charms, butterflies, hearts, stars, moons, mixed across the set over a caramel or honey nude base, give a playful luxury feel. The trick is restraint: one charm per nail, with breathing room, reads curated; charms on every millimeter reads cluttered. Mixing two or three charm shapes keeps it interesting.
Metal charms are heavier than resin, so anchor them with a generous bead of builder gel and cure thoroughly. This is a fun weekend or vacation design rather than an office staple. Short to medium nails work fine since the charms are small. Pair it with real gold jewelry and the whole look ties together.
12. Caviar Bead Texture
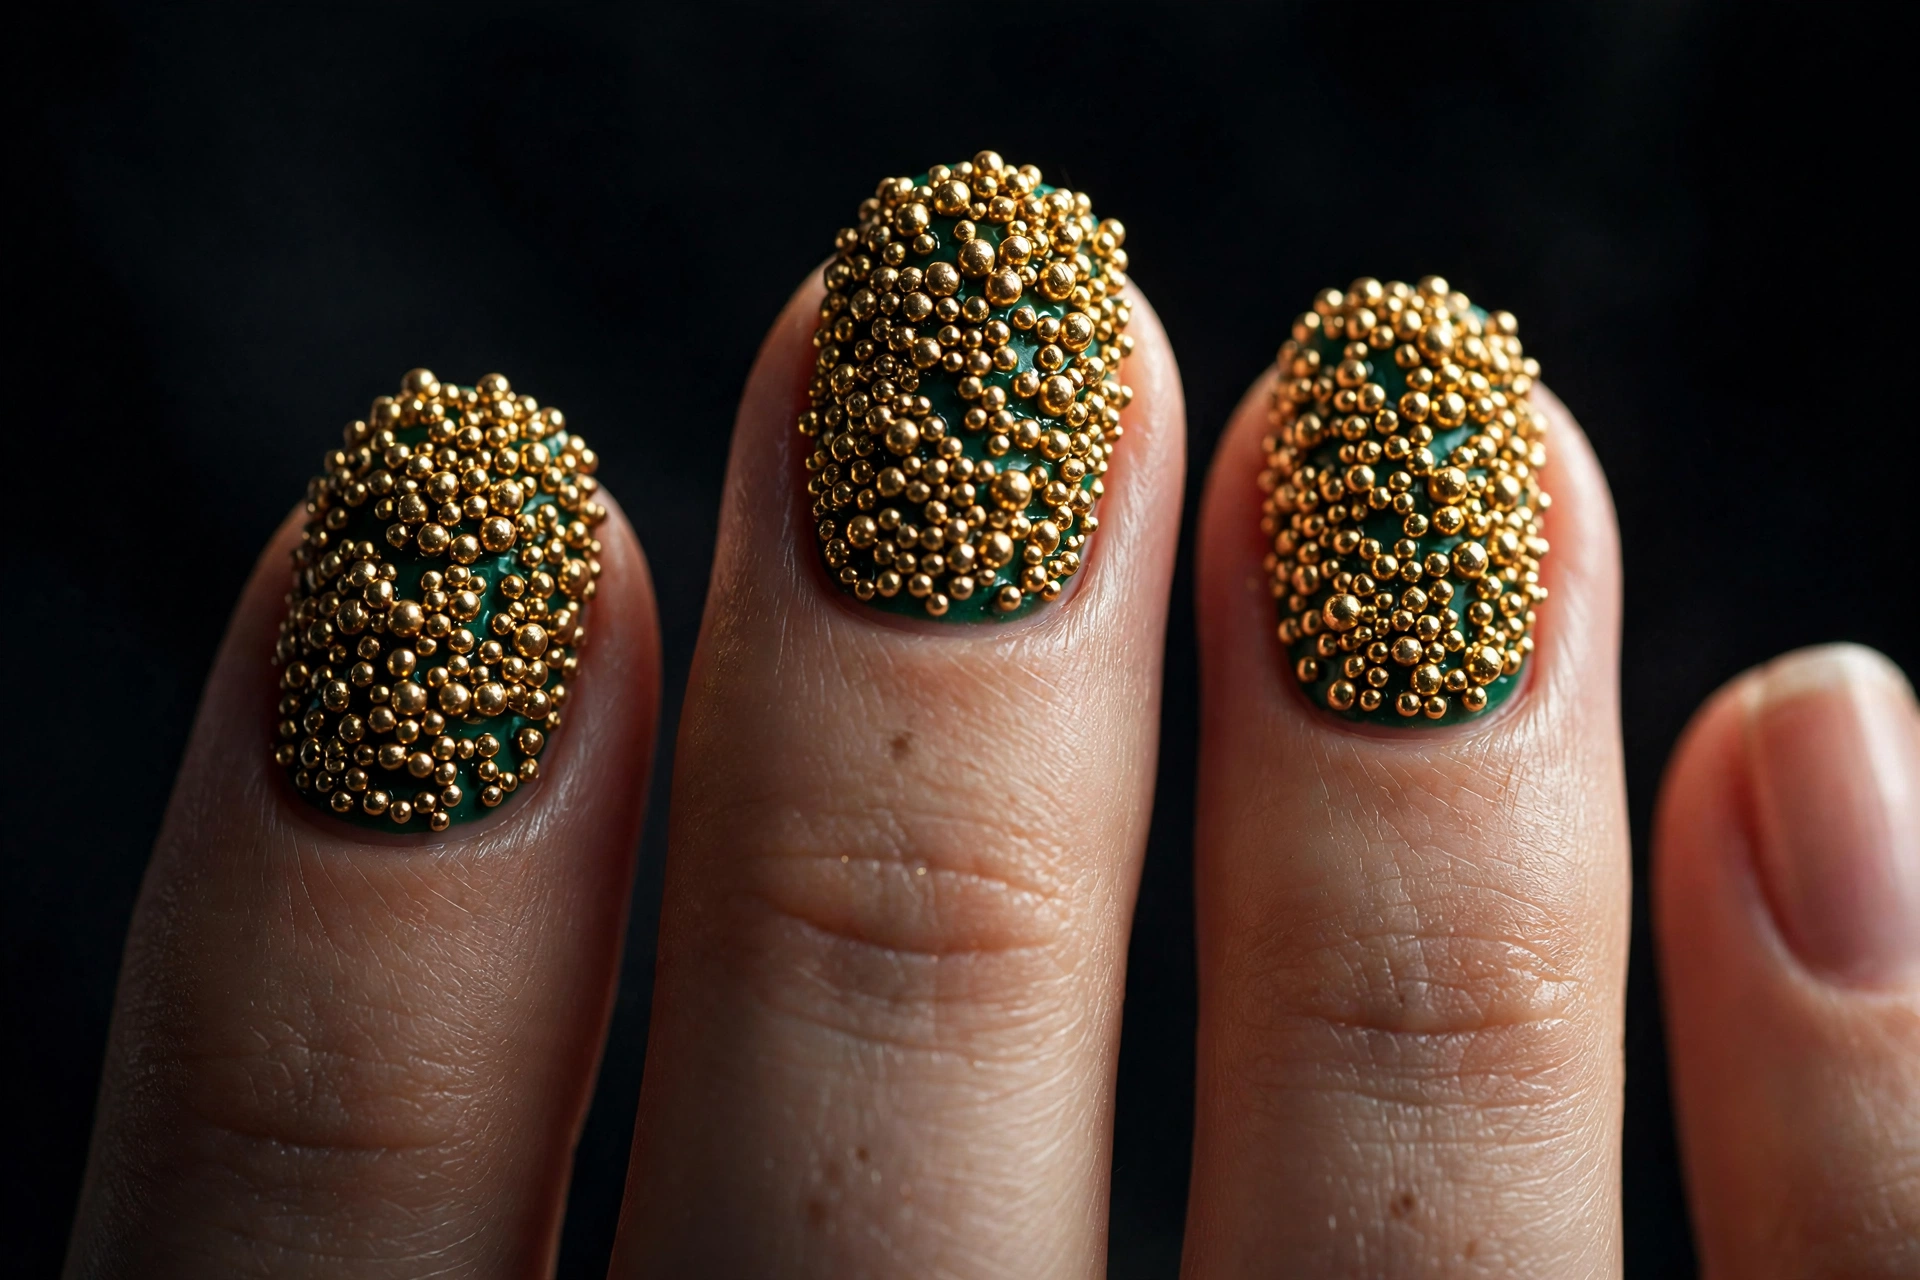
Caviar nails cover the entire nail in tiny metal micro-beads, creating a texture like fish roe or fine jewelry grain. The effect is unmistakably 3D: light breaks across hundreds of tiny spheres. Emerald, black, or deep burgundy bases with gold or matching beads look richest; a single caviar accent nail tones it down.
Application is simple but fiddly: press the nail into a dish of beads while the gel is wet, then cure. Seal lightly so the beads stay rounded. The texture catches on everything, so this is strictly a short-wear or event design, one to three days for most people. It photographs beautifully, which is half the point.
Texture & Mixed Media: Dimension Without Charms
Not all 3D nails need glued-on decorations. These designs build dimension from the gel itself: raised patterns, molten textures, and glass-like droplets that are part of the manicure rather than attached to it.
13. Cable-Knit Sweater Texture
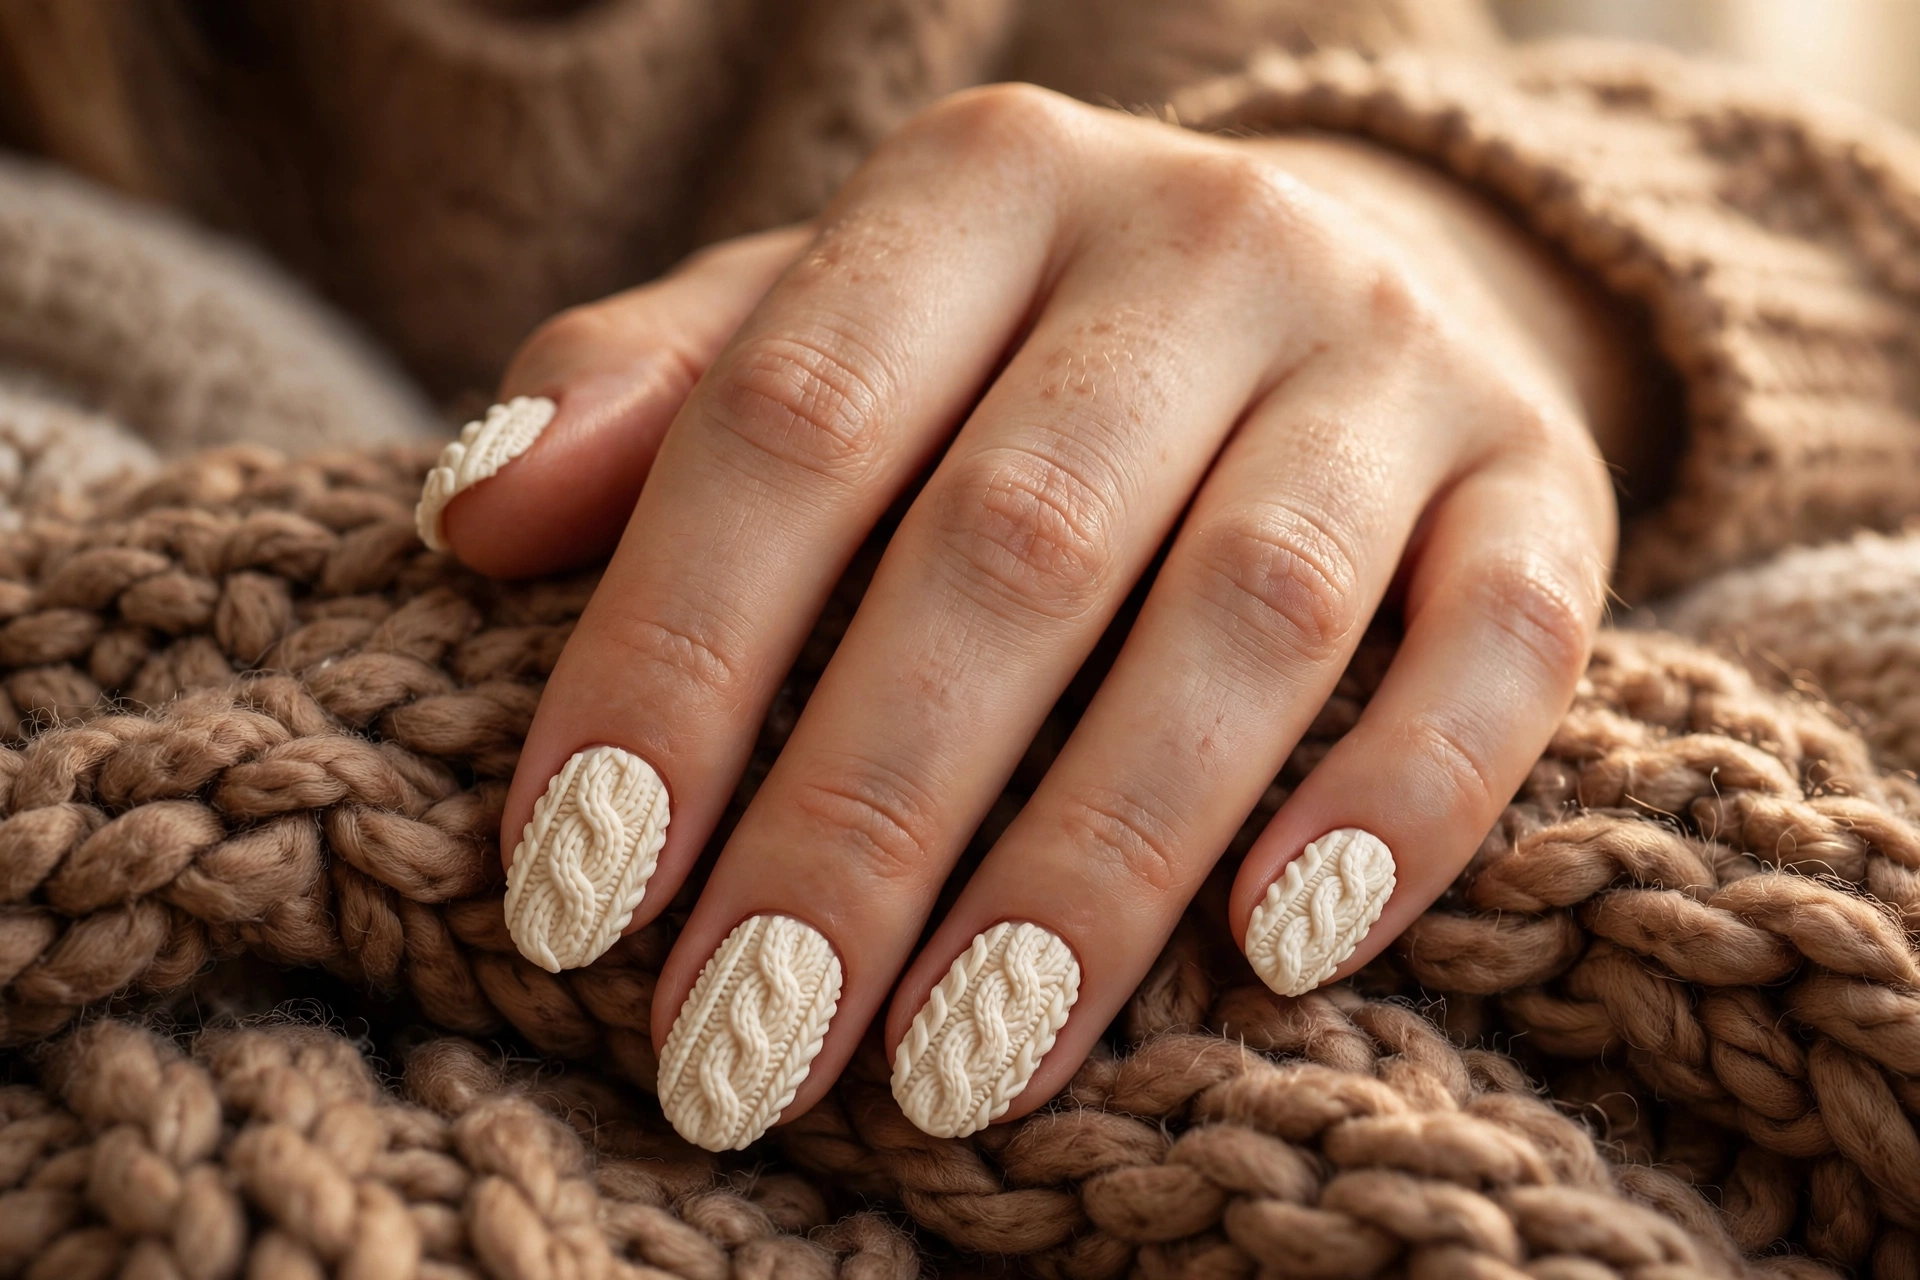
Raised cable-knit patterns, piped in builder gel over a cream, taupe, or mocha base, give nails the texture of a favorite sweater. The pattern is drawn with a fine brush in uncured gel, then cured so the cables stand proud of the surface. Matte top coat makes it read extra cozy; gloss makes it read luxe.
This is a genuinely wearable 3D design: nothing is glued on, so nothing pops off, and the texture is low enough to survive daily life. It suits short to medium nails well and lasts as long as the gel beneath it. If you like textured finishes, our matte nail designs pair naturally with this look.
14. Raised Abstract Swirls
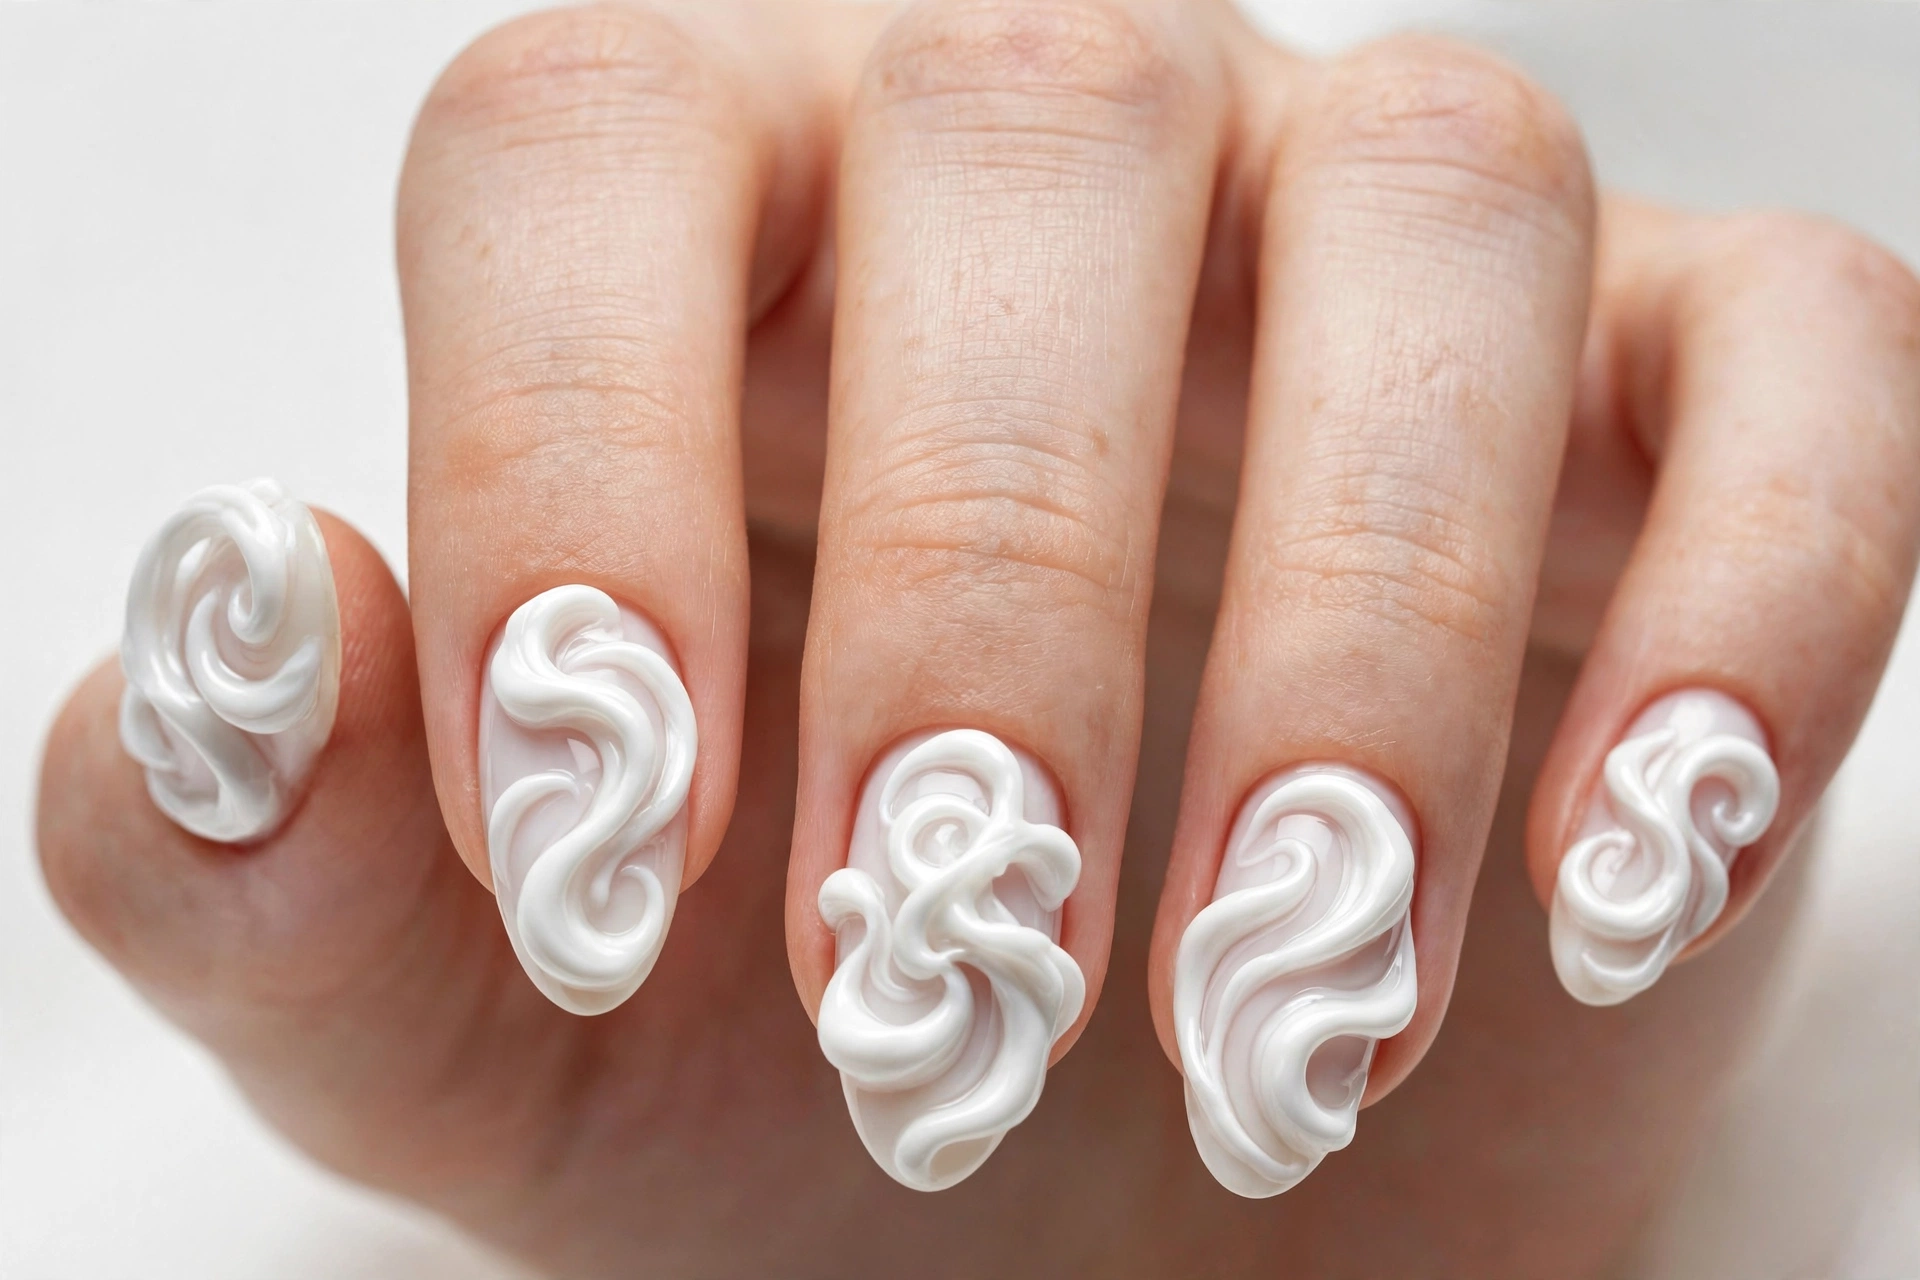
Thick, organic swirls of builder gel over a glazed or milky base create a molten, almost ceramic effect. The swirls are freeform, so no two nails match, which is the appeal: it looks like wearable art rather than a pattern. Chrome powder dusted over the cured swirls adds a liquid-metal finish.
This is intermediate-level gel work, but forgiving, since the design has no wrong answers. Keep the swirls smooth and rounded; sharp ridges catch and chip. Medium almond nails show the flow best. Expect full gel wear of two to three weeks, because the dimension is part of the structure.
15. Molten Chrome Drops
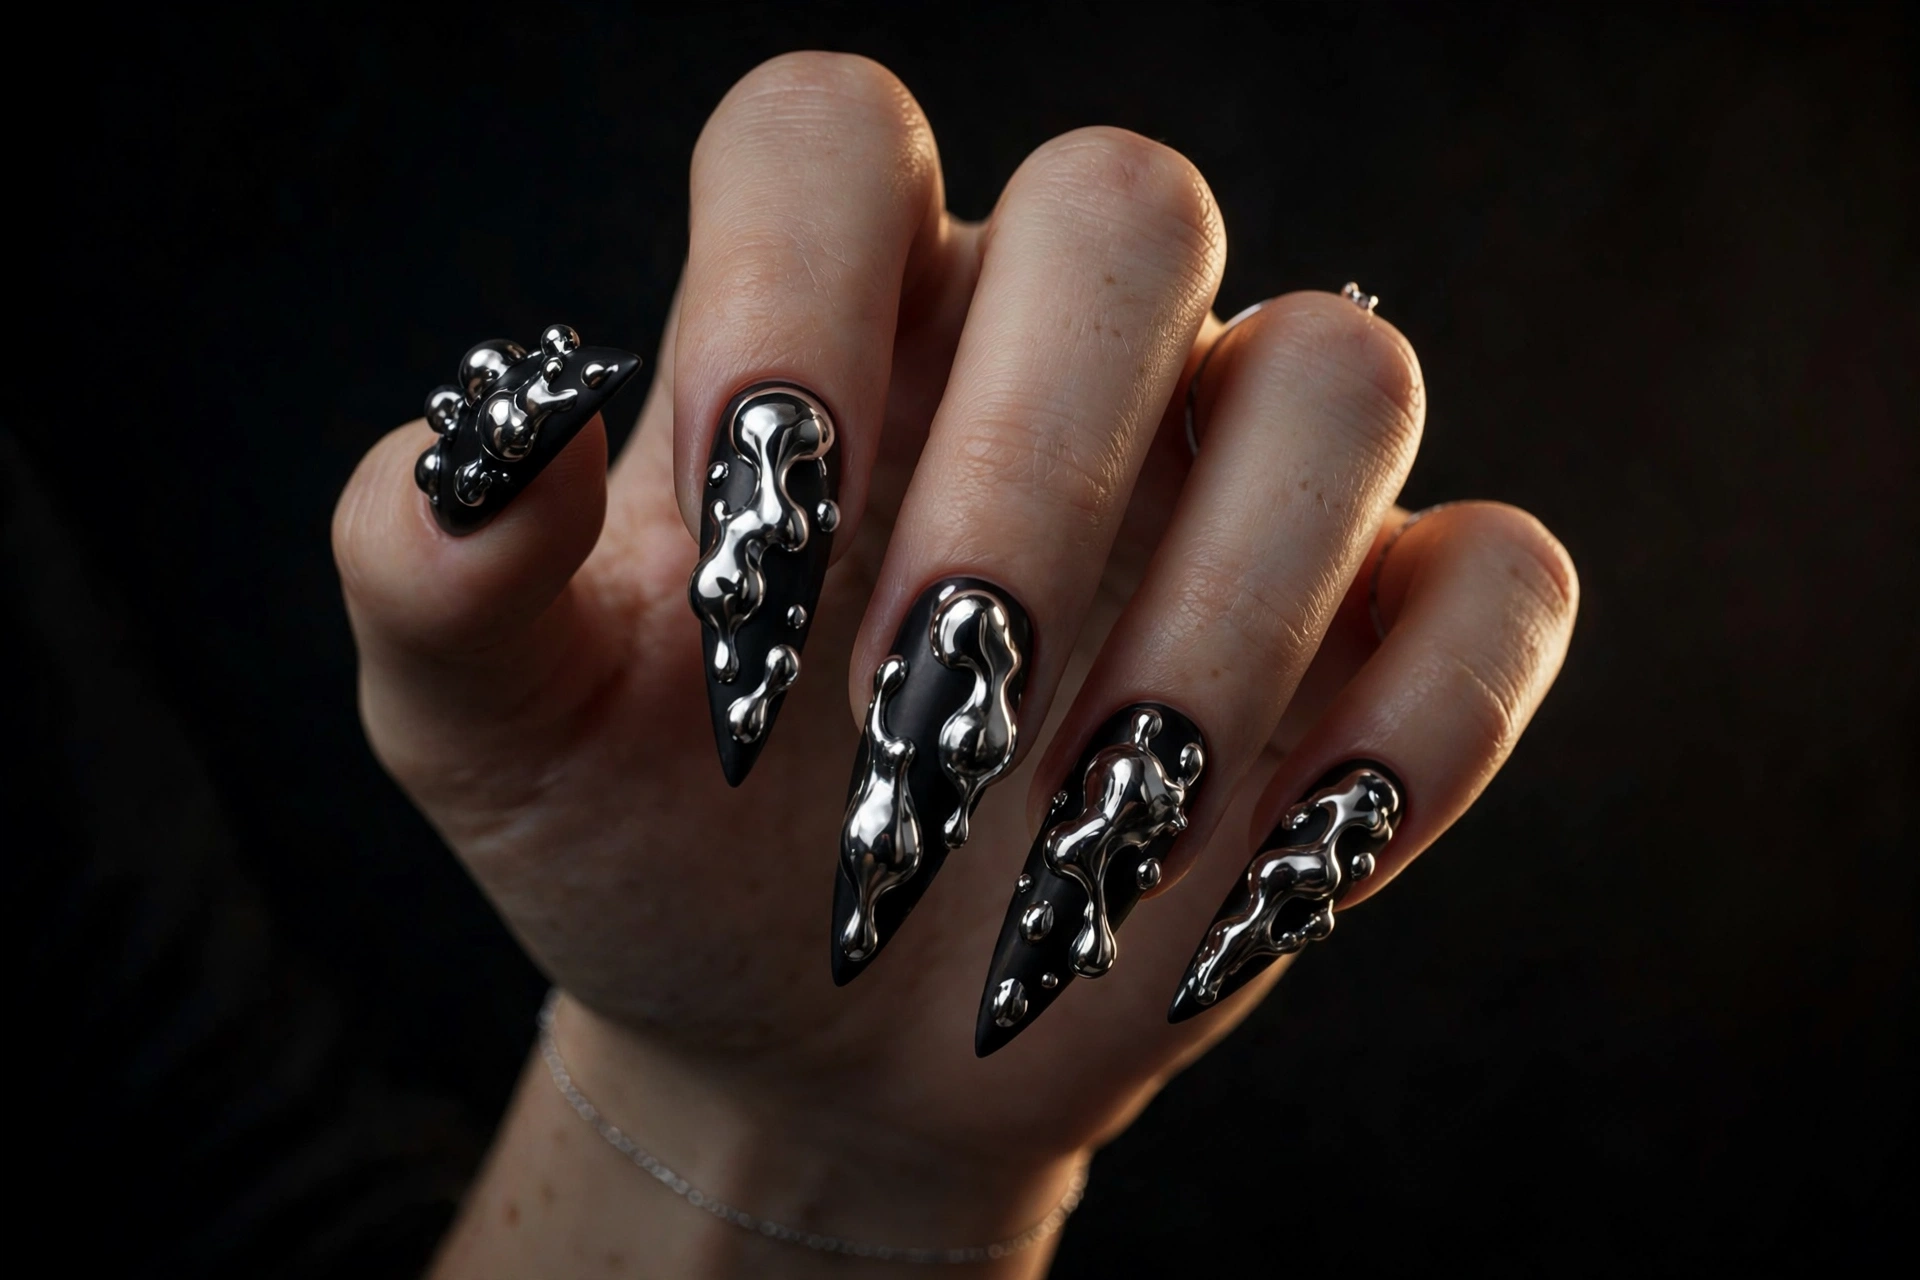
Blobs of builder gel, cured and coated in silver or gold chrome powder, look like drops of liquid metal frozen on the nail. Over a black or deep navy base, the effect is futuristic and dramatic. Varying the drop sizes across the nail keeps it from looking stamped out.
Chrome powder needs a no-wipe gel top coat over the base color to bond, then the drops are built on top and chromed individually. This is salon or advanced at-home gel work. The drops are smooth and low, so wearability is surprisingly good for such a bold look. Long stiletto or coffin shapes maximize the drama.
16. Dewdrop Glass Nails
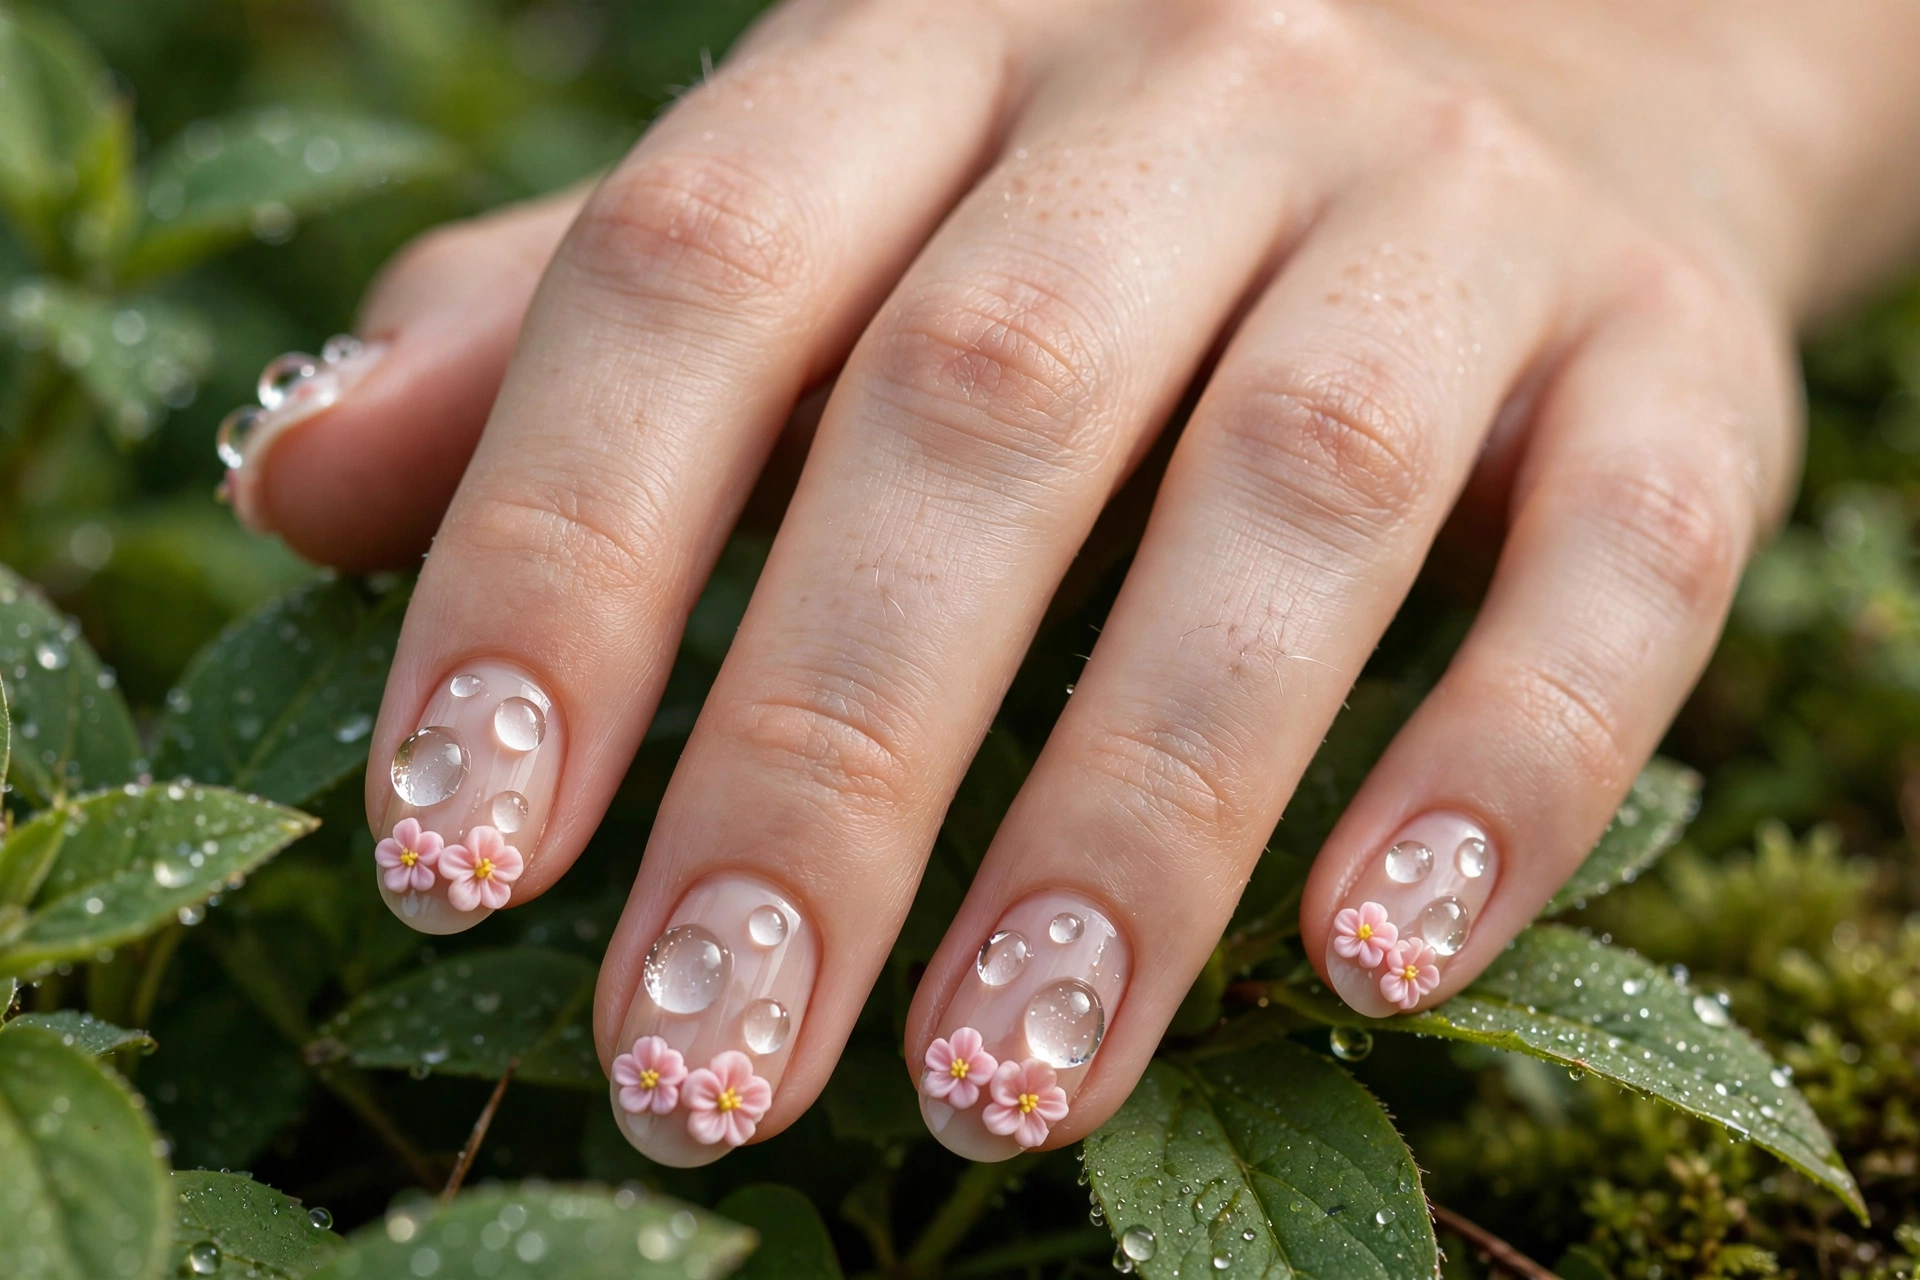
Clear builder-gel droplets, cured into domes over a sheer nude base, look like morning dew on the nail. Adding one or two tiny sculpted flowers beneath the droplets completes the garden-after-rain effect. The design is transparent, so it works over any base color and suits minimalists who still want dimension.
The droplets are built with a dotting tool: place a bead of clear gel, let it dome naturally, and cure. Keep the domes small and rounded for the most realistic water look. This is DIY-achievable with a gel lamp and wears well, since smooth domes don’t snag. If watery translucency appeals to you, see our jelly nail designs for sheer bases that pair perfectly.
Which 3D Nails for Which Occasion?
The 16 ideas above are grouped by element, but most readers shop by event. Here is the same guide, remapped:
Weddings and bridal parties: pearl-set nails (10) are the classic for a reason, with bow-tipped French (7) for a modern twist and daisy appliqués (2) for bridesmaids. Keep elements flat-back and low so nothing snags on lace or bouquets.
Office-safe dimension: draped gel ribbons (6), cable-knit texture (13), and dewdrop glass nails (16) read as texture rather than decoration, and small coquette bows (5) in nude tones pass in all but the strictest workplaces.
Vacations and photos: cherry blossom branches (4), gold charm mixes (11), and raised swirls (14) photograph beautifully and survive a week of travel. If your trip involves swimming and sunscreen, favor sculpted gel designs over glued charms, which loosen faster in water.
Parties and statement moments: the oversized bow (8), crystal clusters (9), caviar texture (12), and molten chrome drops (15) are the high-drama picks — all best treated as short-wear or event nails, exactly as their notes above admit.
Seasonal switches: cable knit (13) is the autumn-winter signature, cherry blossom (4) belongs to spring, and crystal clusters (9) over deep red or green carry the holiday season. One set of skills, a year of manicures.
How to Apply 3D Nail Elements So They Stay Put
3D nails fail for one reason more than any other: weak adhesion. The elements are heavier than polish, so they need a proper anchor. Here is the method nail techs actually use, whether you are DIY-ing at home or checking your salon’s work.
Start with a fully cured, clean base. Complete your color and cure it fully, then wipe away any tacky inhibition layer if your system requires it. Elements stick best to a smooth, cured surface, not a tacky one.
Choose your adhesive by element type. Heavy metal charms and large resin pieces need builder gel or a dedicated rhinestone gel, applied as a small mound the element sits into. Light flat-back crystals and micro pearls hold fine in a dot of strong nail glue. Sculpted elements like flowers and ribbons are formed directly in builder gel and cured in place, which gives the strongest bond of all.
Place, then cure in stages. Set each element with tweezers or a wax pencil, press it gently into the adhesive so gel squeezes slightly around its base, and cure. For large pieces, cure the element’s base first, then add a thin collar of gel around the edges and cure again. This collar is what keeps charms on for weeks instead of days.
Seal around, never over. Run top coat up to the edges of each element but not across its face. Flooding top coat over a crystal dulls its sparkle, over a pearl clouds its luster, and over sculpted petals softens their definition. A fine detail brush gives you control near small elements.
Common mistakes to avoid. Using too little adhesive is the top error; the element should sit in the gel, not on it. Placing heavy charms near the free edge, where the nail flexes most, invites popping; keep larger pieces toward the center or cuticle. And never pry off a loose element: soak it off, because prying lifts layers of the natural nail with it.
For longevity, treat 3D nails like jewelry: wear gloves for cleaning, avoid using nails as tools, and if one element loosens, re-glue it promptly before the gap widens. Well-anchored small elements routinely last the full two to three weeks of a gel manicure.
Daily Care Rules That Keep Elements On
Type with the pads of your fingers, not the tips. Striking keys with the nail edge levers against every charm on the nail. It feels odd for a day, then becomes habit. Keep alcohol-based hand sanitizer off the elements themselves; apply it to palms and rub in without scrubbing across the nail surface, since alcohol dulls resin and weakens glue bonds over time. Shampoo with your fingertips or a scalp brush, never by raking nails through hair — hair slides under raised edges and lifts them. Oil around the elements daily: cuticle oil keeps the gel collar flexible, and a flexible collar absorbs knocks instead of cracking. And if an element does pop off, save it, soak the residue off the nail rather than picking, and re-anchor it with fresh gel or have your tech re-set it — a five-minute fix beats a torn nail plate.
The Beginner 3D Starter Kit
You do not need a salon drawer to start. Six things cover every beginner design in this guide: a wax picker pencil and fine tweezers for placing elements without fingerprints; a small pot of rhinestone gel or clear builder gel, which out-holds any air-dry glue; a mixed resin charm set (bows, daisies, flat-back pearls in a few sizes); a dotting tool for dewdrops and glue dots; and a detail brush for sealing around elements. Add a basic LED lamp if you do not own one. Buy the smallest charm set first: placement and adhesion are the skills, and they transfer to every fancier element later.
3D Nail Methods Compared
Not every dimensional look is built the same way. This table compares the main methods so you can pick the right one for your skill level and lifestyle.
| Method | Best for | Skill level | Typical wear | Removal |
|---|---|---|---|---|
| Sculpted acrylic | Flowers, bows, detailed shapes | Advanced / salon | 2-3 weeks | Soak off with acetone |
| Builder gel sculpting | Ribbons, swirls, petals, textures | Intermediate to advanced | 2-3 weeks | Soak off with acetone |
| Pre-made resin charms | Bows, flowers, cute motifs | Beginner DIY | 1-2 weeks | Soak; lift gently once loose |
| Rhinestones and pearls | Jewelry-like accents | Beginner to intermediate | 1-2 weeks | Soak off; never pry |
| Caviar beads and chains | Full texture, statement nails | Beginner application | 1-3 days | Soak off with acetone |
If you are new to dimensional nails, start with resin charms or pearls on a gel base: they need the least skill and still deliver the 3D effect. Work up to builder-gel sculpting once you own a lamp and have practiced on nail tips. Our nail shapes guide helps you pick the shape that gives each method its best canvas.
3D Nails on Press-Ons: The Zero-Commitment Route
Everything in this guide also works on press-on nails, and for 3D art the press-on route has real advantages. You decorate the nails on a stand, at table height, with both hands free — no painting your own dominant hand, no smudging a charm while reaching for the lamp. Mistakes come off a plastic tip, not your nail. And because the elements never soak in acetone on your hands, a well-made set can be removed, stored, and worn again.
The method barely changes: apply elements to the finished press-on with the same adhesive rules from the how-to above (builder gel for anything heavy, a cured collar around each base), then apply the nails with glue for one to two weeks of wear or adhesive tabs for a three-to-five-day event set. Two press-on specifics matter. First, size and fit before you decorate: a tip that rocks on the nail will pop no matter how well the charm is anchored. Second, keep the tallest elements (statement bows, crystal clusters) toward the center of the nail, away from the edges you press on during application.
Press-ons are the smartest way to test an oversized or high-drama design before paying salon prices for it, and the only sensible way to wear caviar texture more than once.
What 3D Nails Actually Cost
Our FAQ below gives the short answer; here is the fuller picture. In US salons, a full 3D set typically lands between $75 and $300, and where you fall in that range is mostly about time. Simple accents — a few flat-back pearls, crystals, or resin bows added to a gel manicure — are usually a modest per-nail or per-element surcharge (often around $5–$15 per decorated nail). Fully sculpted flowers, orchids, and ribbons are priced as premium art: the tech is building each petal by hand, and appointments can run two to three hours. Pre-made charm sets sit in the middle: salon application is quick, so you mostly pay for the set price plus a small application fee.
DIY changes the math completely. The starter kit above is a one-time cost roughly equal to one salon accent appointment, and resin charm sets are reusable (see the FAQ below), so a home set after the first costs little more than your base gel manicure. The honest trade-off: salon sculpting looks better and lasts longer, while home charm work wins on price and flexibility. Most readers end up doing both — DIY charms for everyday, a salon sculpt for the big event.
3D Nails FAQ
How long do 3D nails last?
Small, well-anchored elements like pearls and flat-back crystals typically last one to two weeks, matching the gel manicure beneath them. Sculpted acrylic or builder-gel designs last the full two to three weeks of the set, because the dimension is part of the structure. Large heavy charms and caviar-bead textures are the shortest-lived, often a few days to a week, since they catch on things.
What is the best glue for 3D nail charms?
For most charms, a dedicated rhinestone gel or builder gel cured under a lamp beats air-dry nail glue: it forms a stronger bond and doesn’t yellow. Reserve strong brush-on nail glue for quick fixes and lightweight flat-back pieces. Whatever you use, the element should sit in a small mound of adhesive with a cured collar around its base, not just dotted on top.
Can you do 3D nails on short nails?
Yes, with the right scale. Small resin bows, micro pearls, tiny daisies, and low textures like cable knit all work beautifully on short nails. The rule is proportion: keep each element smaller than about a third of the nail’s width. Oversized sculpted flowers and statement bows need medium to long nails to balance their scale.
Are 3D nails practical for everyday wear?
Some are, some aren’t. Low-profile designs like draped gel ribbons, cable-knit texture, dewdrop domes, and small resin bows survive office life and typing just fine. Tall sculpted flowers, crystal clusters, and oversized bows catch on hair, fabric, and keyboards, so save those for events or weekends. When in doubt, limit raised elements to two accent nails.
Do 3D elements work on regular polish, or only gel?
They work on both, but gel holds them far better. Gel’s cured structure gives heavy elements something solid to anchor into, and the bond lasts weeks. On regular polish, stick to lightweight pieces like micro pearls and tiny resin bows, apply them over fully dry polish, and expect days rather than weeks of wear. Sculpted flowers and ribbons are gel-only techniques.
How do you remove 3D nail art without damaging your nails?
Soak, don’t pry. Wrap each nail in acetone-soaked cotton and foil for ten to fifteen minutes until the adhesive softens, then slide elements off with gentle pressure or an orangewood stick. Prying a stuck charm rips up layers of the natural nail plate. After removal, wash, moisturize, and apply cuticle oil while the nails recover.
How much do 3D nails cost at a salon?
Prices vary widely by area and complexity. Simple charm or pearl accents on a gel manicure typically add a modest surcharge per nail, while fully sculpted 3D flowers or intricate mixed-media sets are priced closer to premium nail art and take significantly longer appointments. Always ask for a quote before the appointment, since sculpted work is the most time-intensive service on most salon menus.
Can you reuse 3D nail charms?
Yes, the sturdy ones. Metal charms, resin bows and flowers, and flat-back pearls usually survive removal intact: soak the set off as normal, then clean each piece with warm soapy water or a soak in plain acetone to dissolve old gel, dry fully, and store flat. Check stones for loose settings before reusing them. What does not reuse well is anything applied as a mass — caviar beads, glitter clusters, and cracked or bent pieces should be retired, since a damaged base will not sit flat or hold.
Will 3D nail elements damage my natural nails?
The elements themselves don’t damage nails; bad application and removal do. Over-filing the nail surface before application thins the plate, and prying off charms tears it. A skilled tech preps gently, anchors elements in gel rather than roughing up the nail excessively, and soaks everything off. If your nails feel thin after 3D art, the removal method is the first thing to question.
Can I get 3D designs on press-on nails?
Yes — press-ons are one of the best canvases for 3D art. Decorate the tips on a stand before applying them, anchor elements with the same gel-collar method used on natural nails, then apply with glue for one to two weeks or adhesive tabs for a long weekend. Because the art never soaks on your hands, a well-made press-on set can be removed gently and worn again. See the press-on section above for sizing and placement tips.
Keep Exploring
Once you have mastered dimensional details, try them on seasonal bases: sculpted flowers over our Thanksgiving nail designs palettes, crystal clusters with Christmas nail designs, or pearl accents paired with Halloween nail designs for a dark-glam contrast. For the sheer bases that show off 3D work best, browse our jelly nail designs.
2 Comments