18 Cute Nail Designs You’ll Want to Screenshot
Cute nails have one job: to make you smile every time you glance at your hands. This gallery rounds up 18 cute nail designs worth screenshotting, organized by the four visual languages cuteness speaks: little faces, tiny motifs, sweet pastels, and playful 3D details. Every design below was photographed for this article, with honest notes on nail shape, DIY difficulty, and how wearable each look really is.
What Actually Makes Nails Look Cute?
Cutest nail art shares three traits: small-scale details, soft or cheerful color, and rounded shapes. Tiny motifs read as cute because they echo the proportions of things we instinctively find adorable: big eyes, round faces, miniature objects. That is why most of the designs below work best on short to medium nails in round, almond, or squoval shapes, and why glossy finishes beat flat ones for this aesthetic. Gloss catches light and makes colors look fresh and juicy.
If you are new to nail art, start with the Tiny Motifs section. Hearts, stars, and dots need only a dotting tool or a toothpick, and small imperfections disappear at that scale. If you want maximum impact with minimum skill, the Sweet Pastel section is your friend: a perfect pastel manicure needs no art at all. And if you are deciding between shapes first, our nail shapes guide breaks down which lengths flatter which hands.
Kawaii Faces & Characters
Faces are the fastest shortcut to cute. A pair of eyes and a smile turns any nail into a tiny character, and because faces are simple shapes, they are forgiving to paint by hand.
1. Classic Smiley Faces
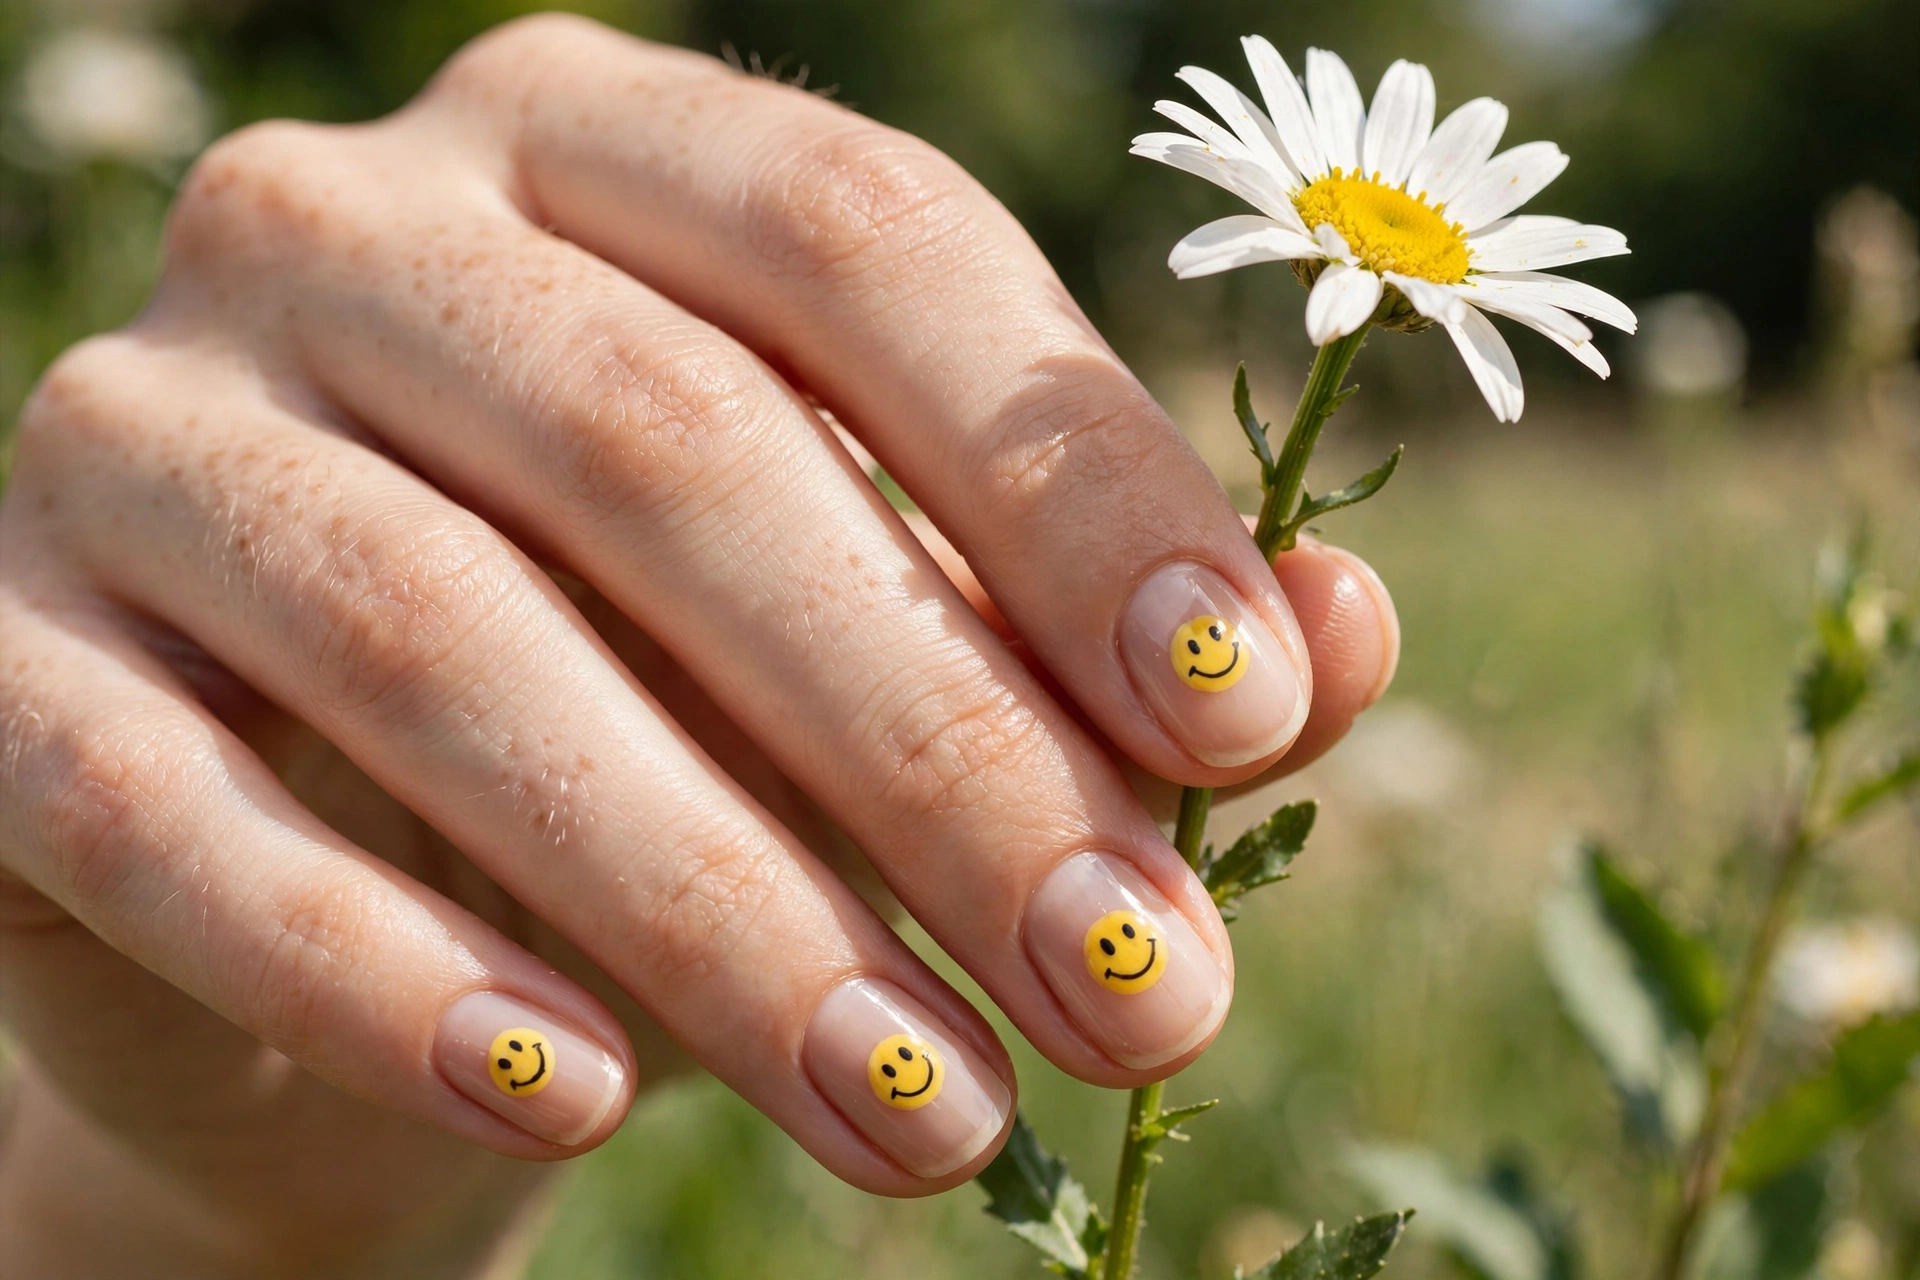
The original cute nail design, and still the best. Paint a sheer nude base, then add a yellow circle on each nail with two black dot eyes and a curved smile. The design works because the high-contrast yellow pops against skin while the nude base keeps it wearable. Best on short round or squoval nails, where the faces have room to breathe. DIY difficulty: beginner. A dotting tool handles the eyes, and the smile is one confident brush stroke.
2. Sleepy Bear Faces
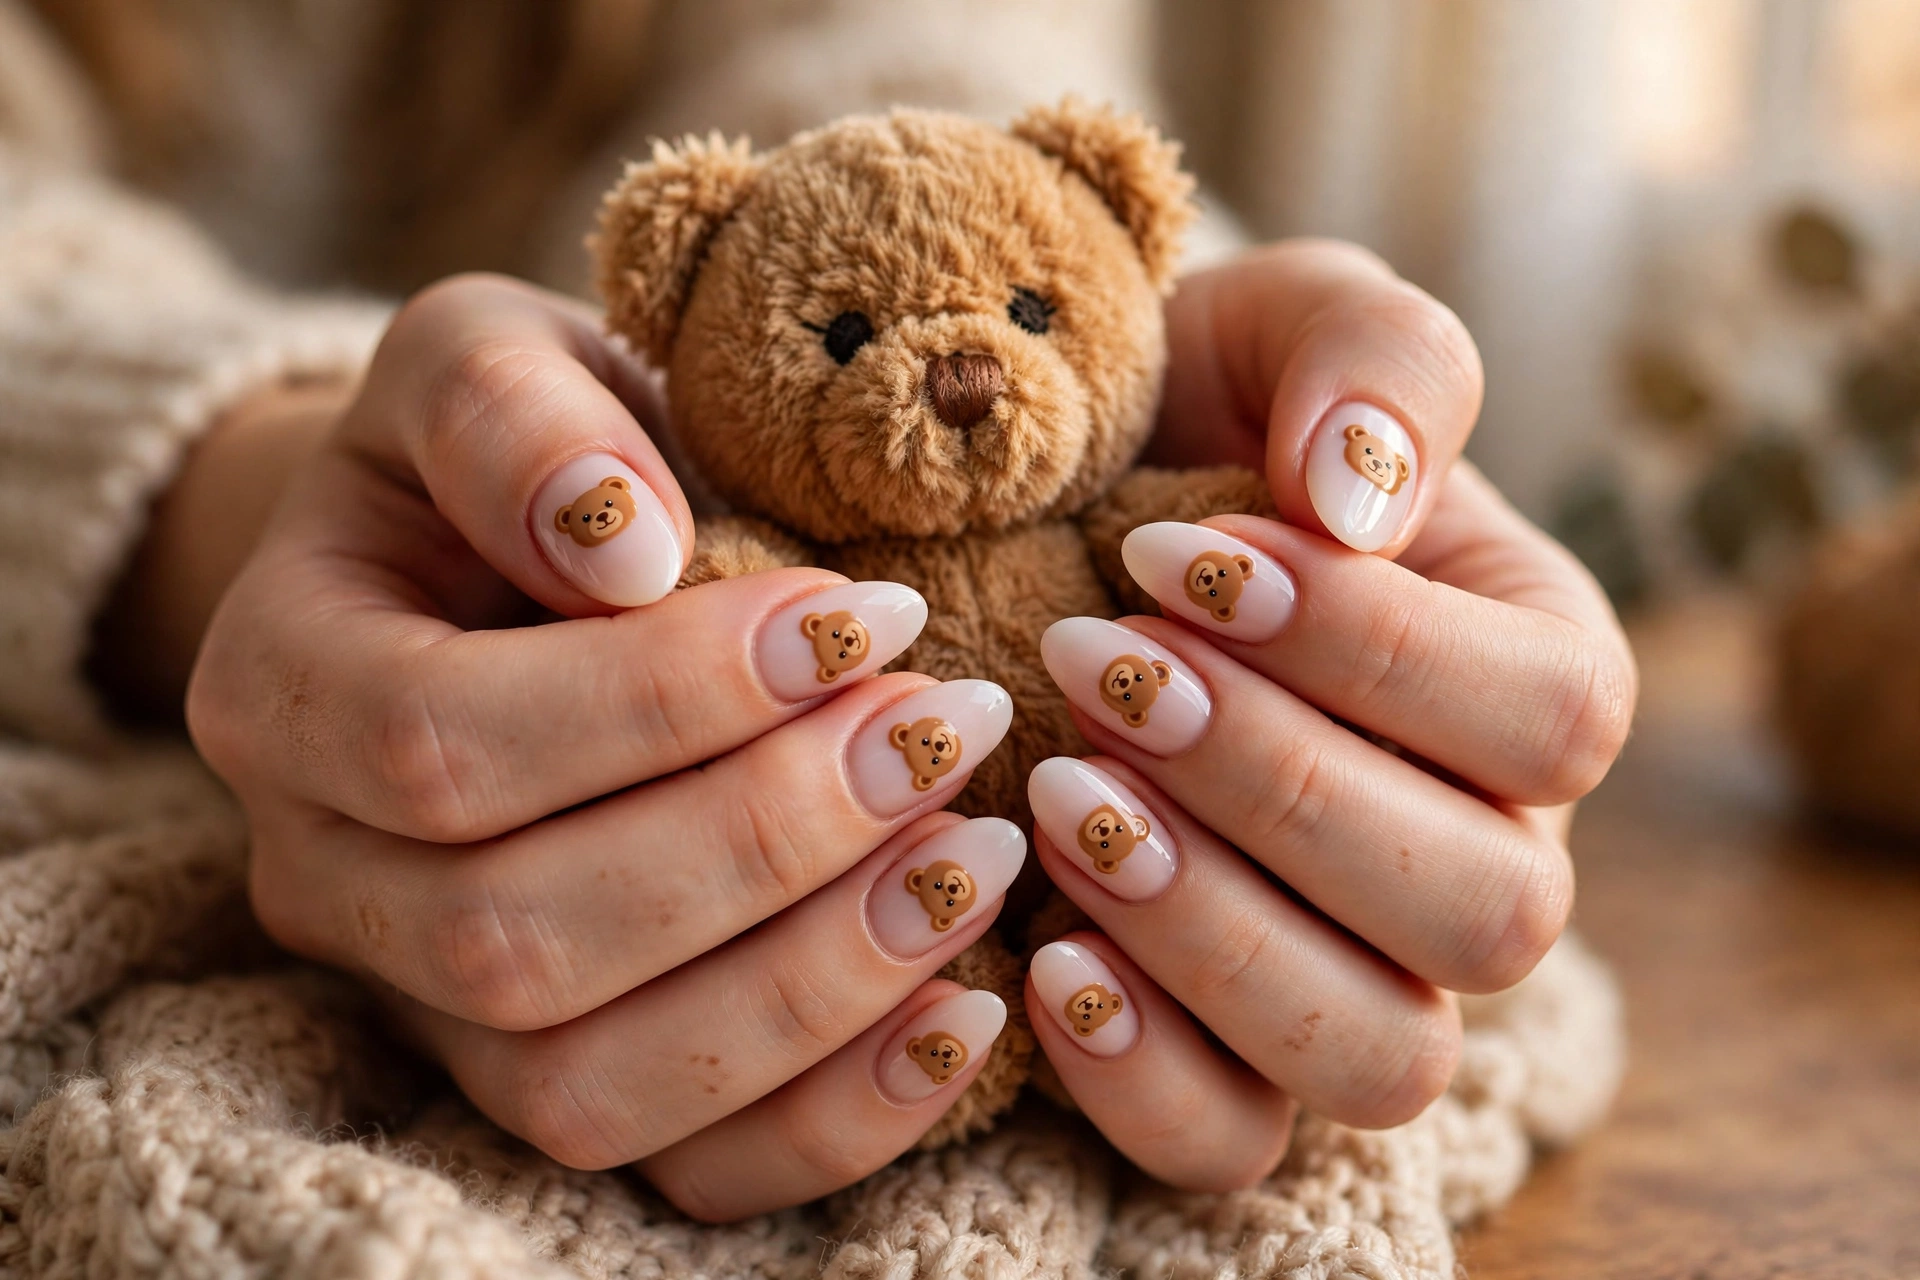
A caramel-brown bear face on a milky pink base: two round ears, a lighter muzzle oval, dot eyes, and a tiny nose. Bears read as cute because of their round proportions, which echo on round and short almond nails. This is one of the most-saved kawaii designs because it looks impressive but breaks down into simple dots and ovals. DIY difficulty: easy to medium. Let each layer dry before adding the muzzle details so the browns stay crisp.
3. Happy Frog Faces
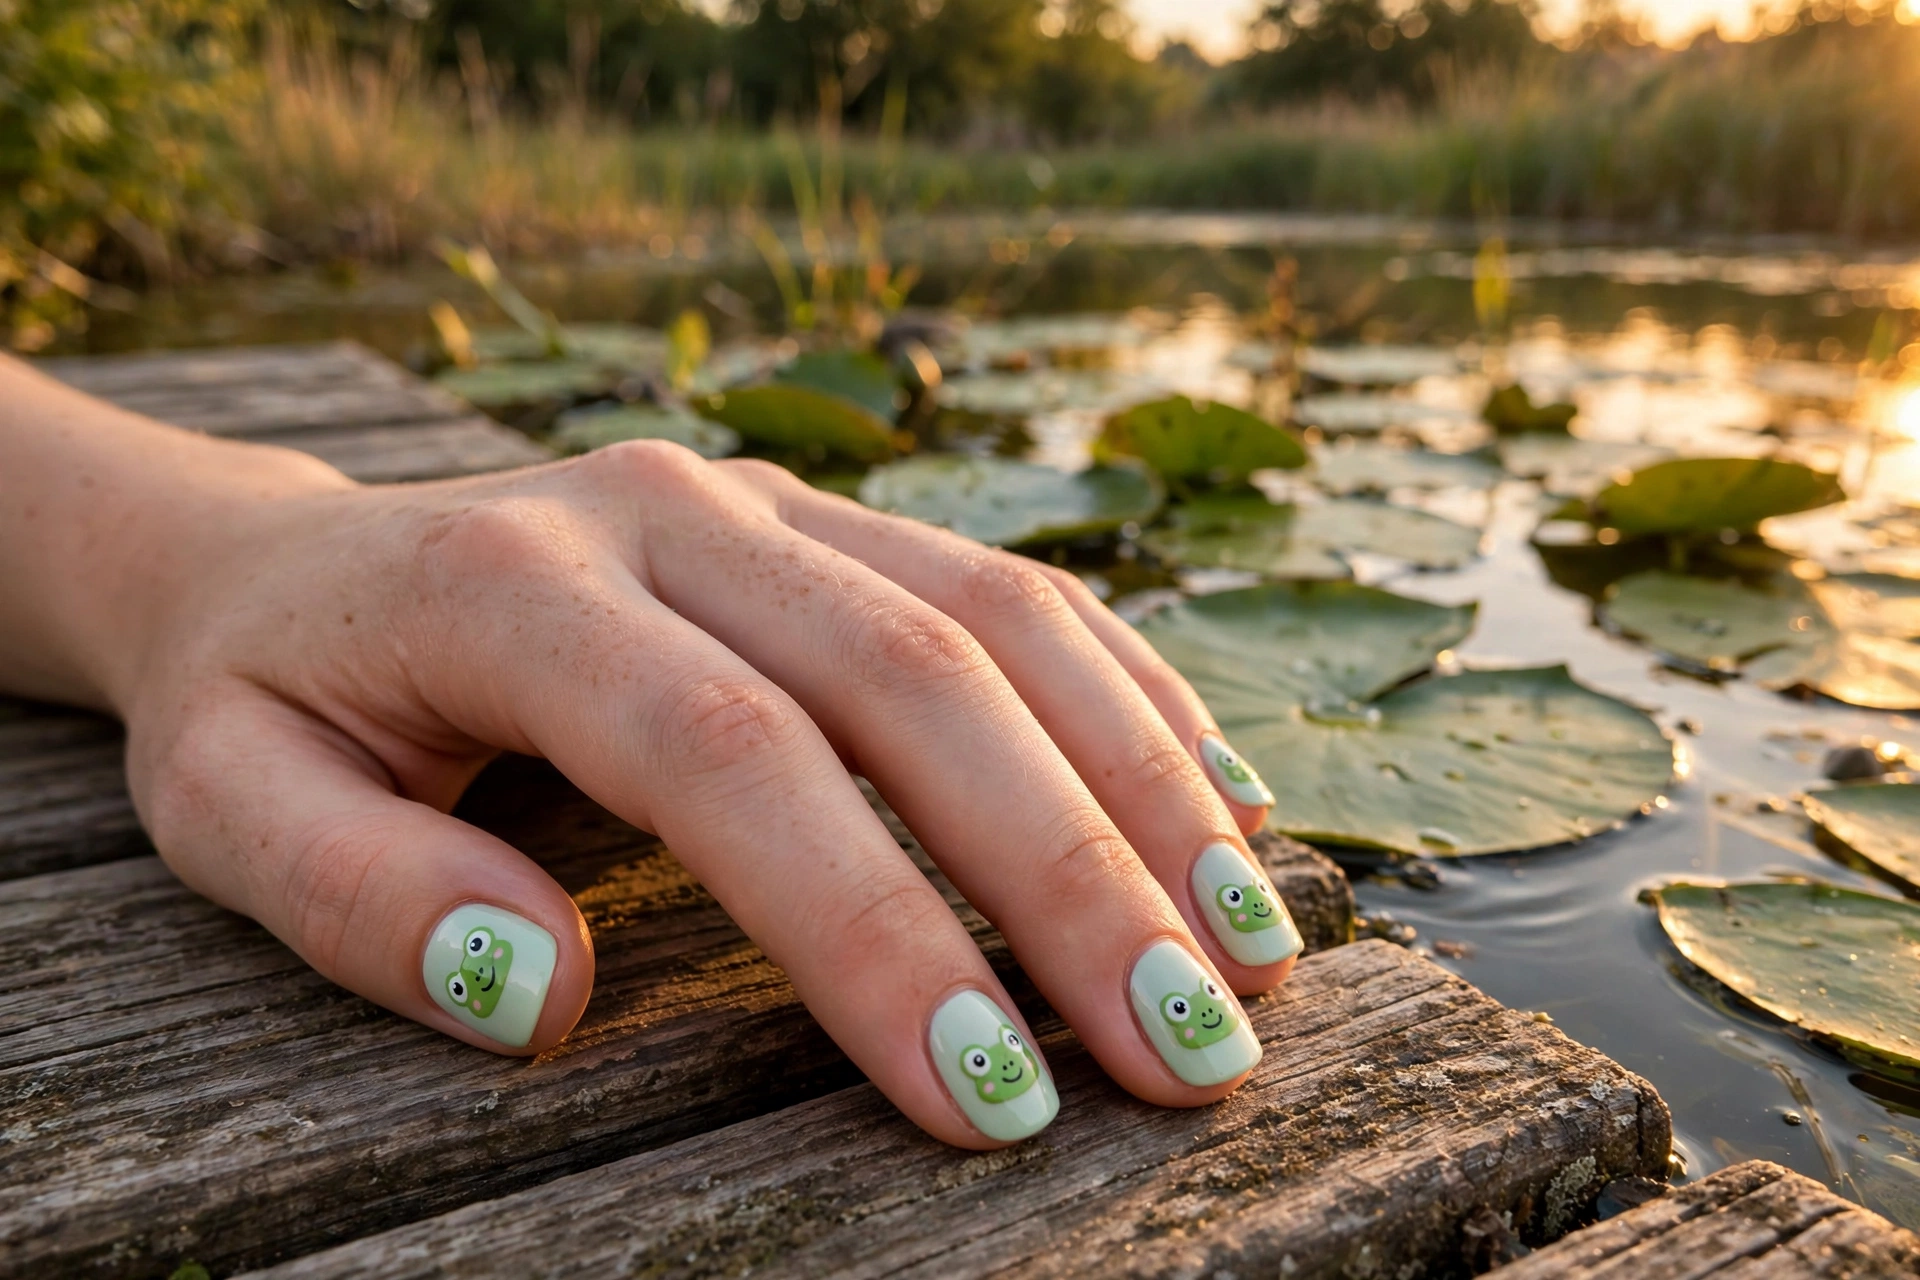
Frog faces bring a playful, slightly quirky energy: a green rounded face, two big white eye bumps with black pupils, and a wide smile. They look best on a pale mint or sheer base so the green pops. Short nails suit this design because frog faces are naturally squat and wide. DIY difficulty: medium. The eyes need a steady hand, but nail art stickers exist for exactly this design if freehand feels risky.
4. Kitty Faces With Whiskers
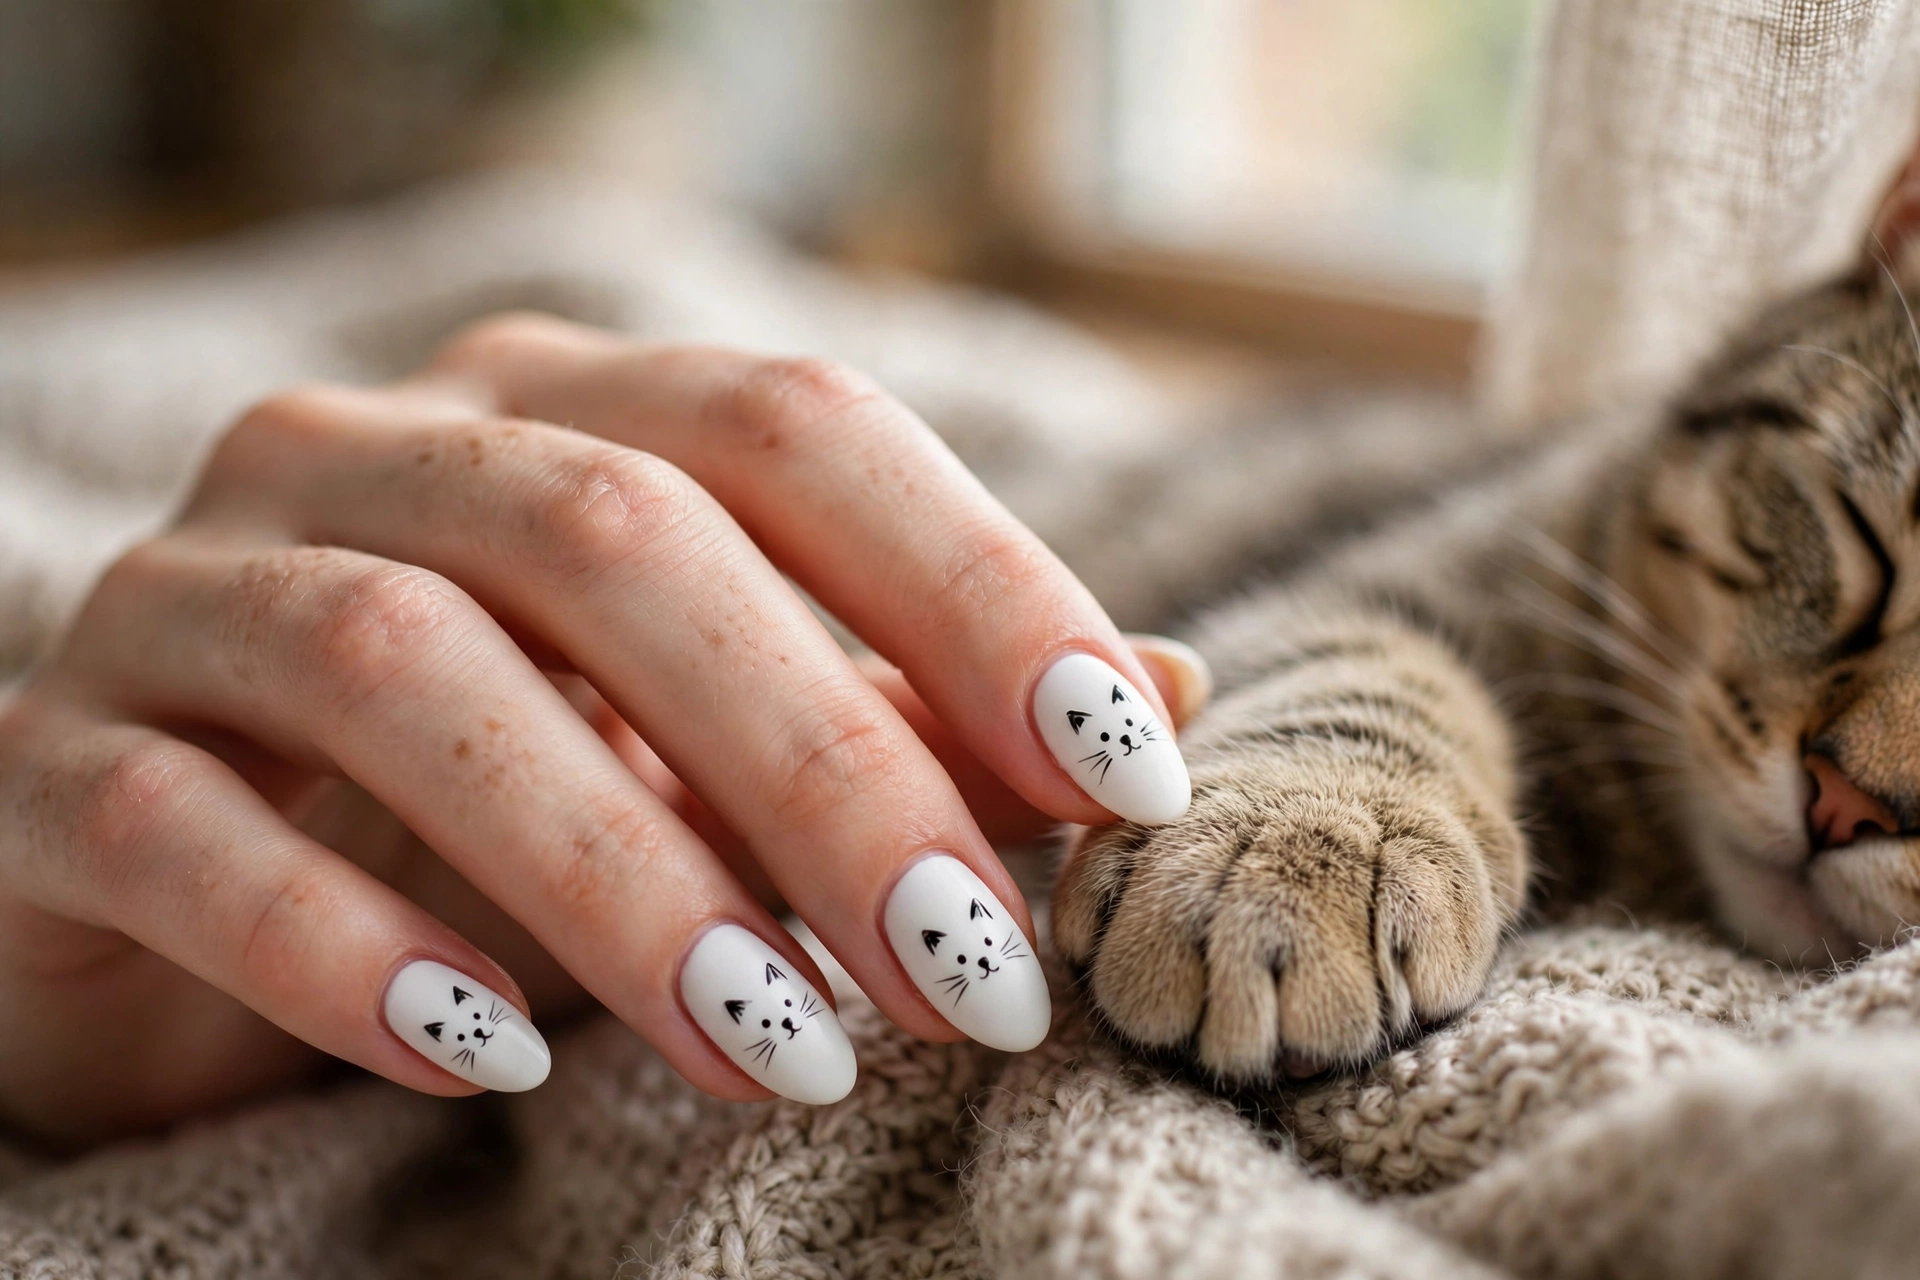
Two triangle ears, dot eyes, a tiny nose, and three whisker lines per side turn a plain white or milky nail into a cat. Whiskers are the detail that sells it, so use a striping brush or the very tip of a toothpick for lines thin enough to look delicate. Best on almond or oval nails, where the pointed ear shapes feel natural. DIY difficulty: easy to medium. If your whiskers wobble, seal with top coat and call it charming.
5. Smiling Cloud Faces
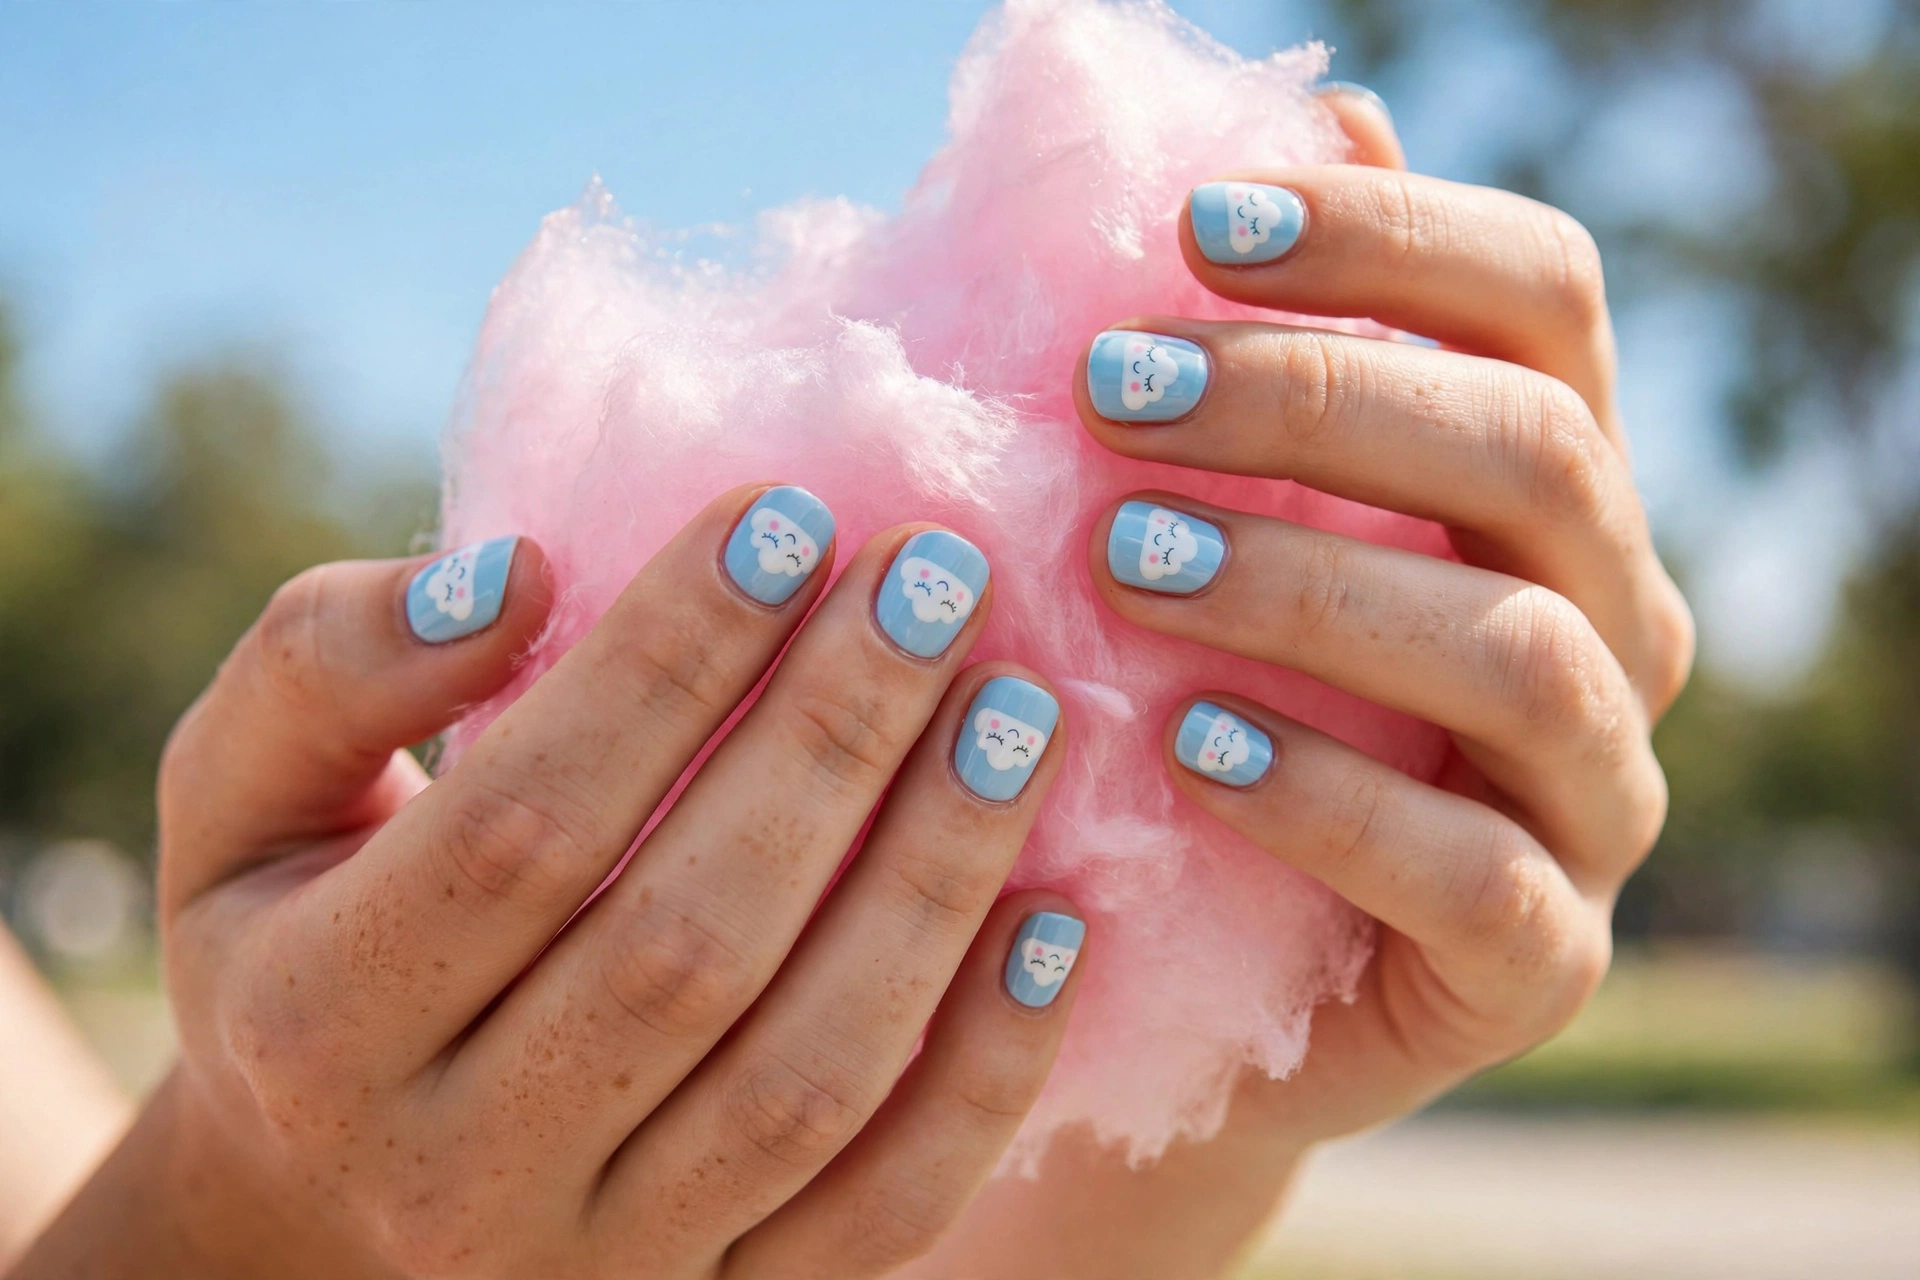
White puffy clouds with tiny sleepy faces on a baby-blue base. Clouds are the most forgiving face design because no one expects a cloud to be symmetrical. They suit every nail length, and the blue-and-white palette flatters most skin tones. DIY difficulty: beginner. Blob on white polish with a dotting tool, drag the edges slightly, then add two dot eyes and a small smile once dry.
Tiny Motifs
Small repeating motifs are the backbone of cute nail art. They need almost no skill, they suit short nails perfectly, and they photograph beautifully for Pinterest saves.
6. Mini Red Hearts
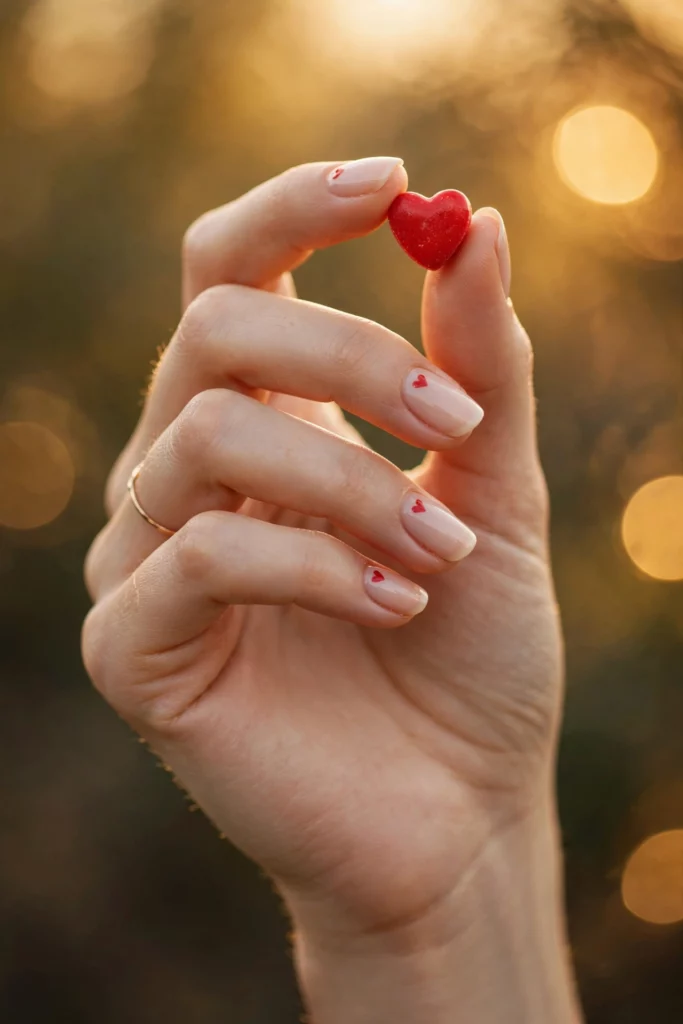
A single tiny heart near the cuticle of each nail, painted in classic red over nude or sheer pink. The trick is the two-dot method: place two small dots side by side, then drag them down into a point with a toothpick while the polish is still wet. Best on short nails, where one small motif per nail looks intentional rather than sparse. DIY difficulty: beginner. For more dot-based ideas, see our polka dot nail designs.
7. Twinkle Star Accents
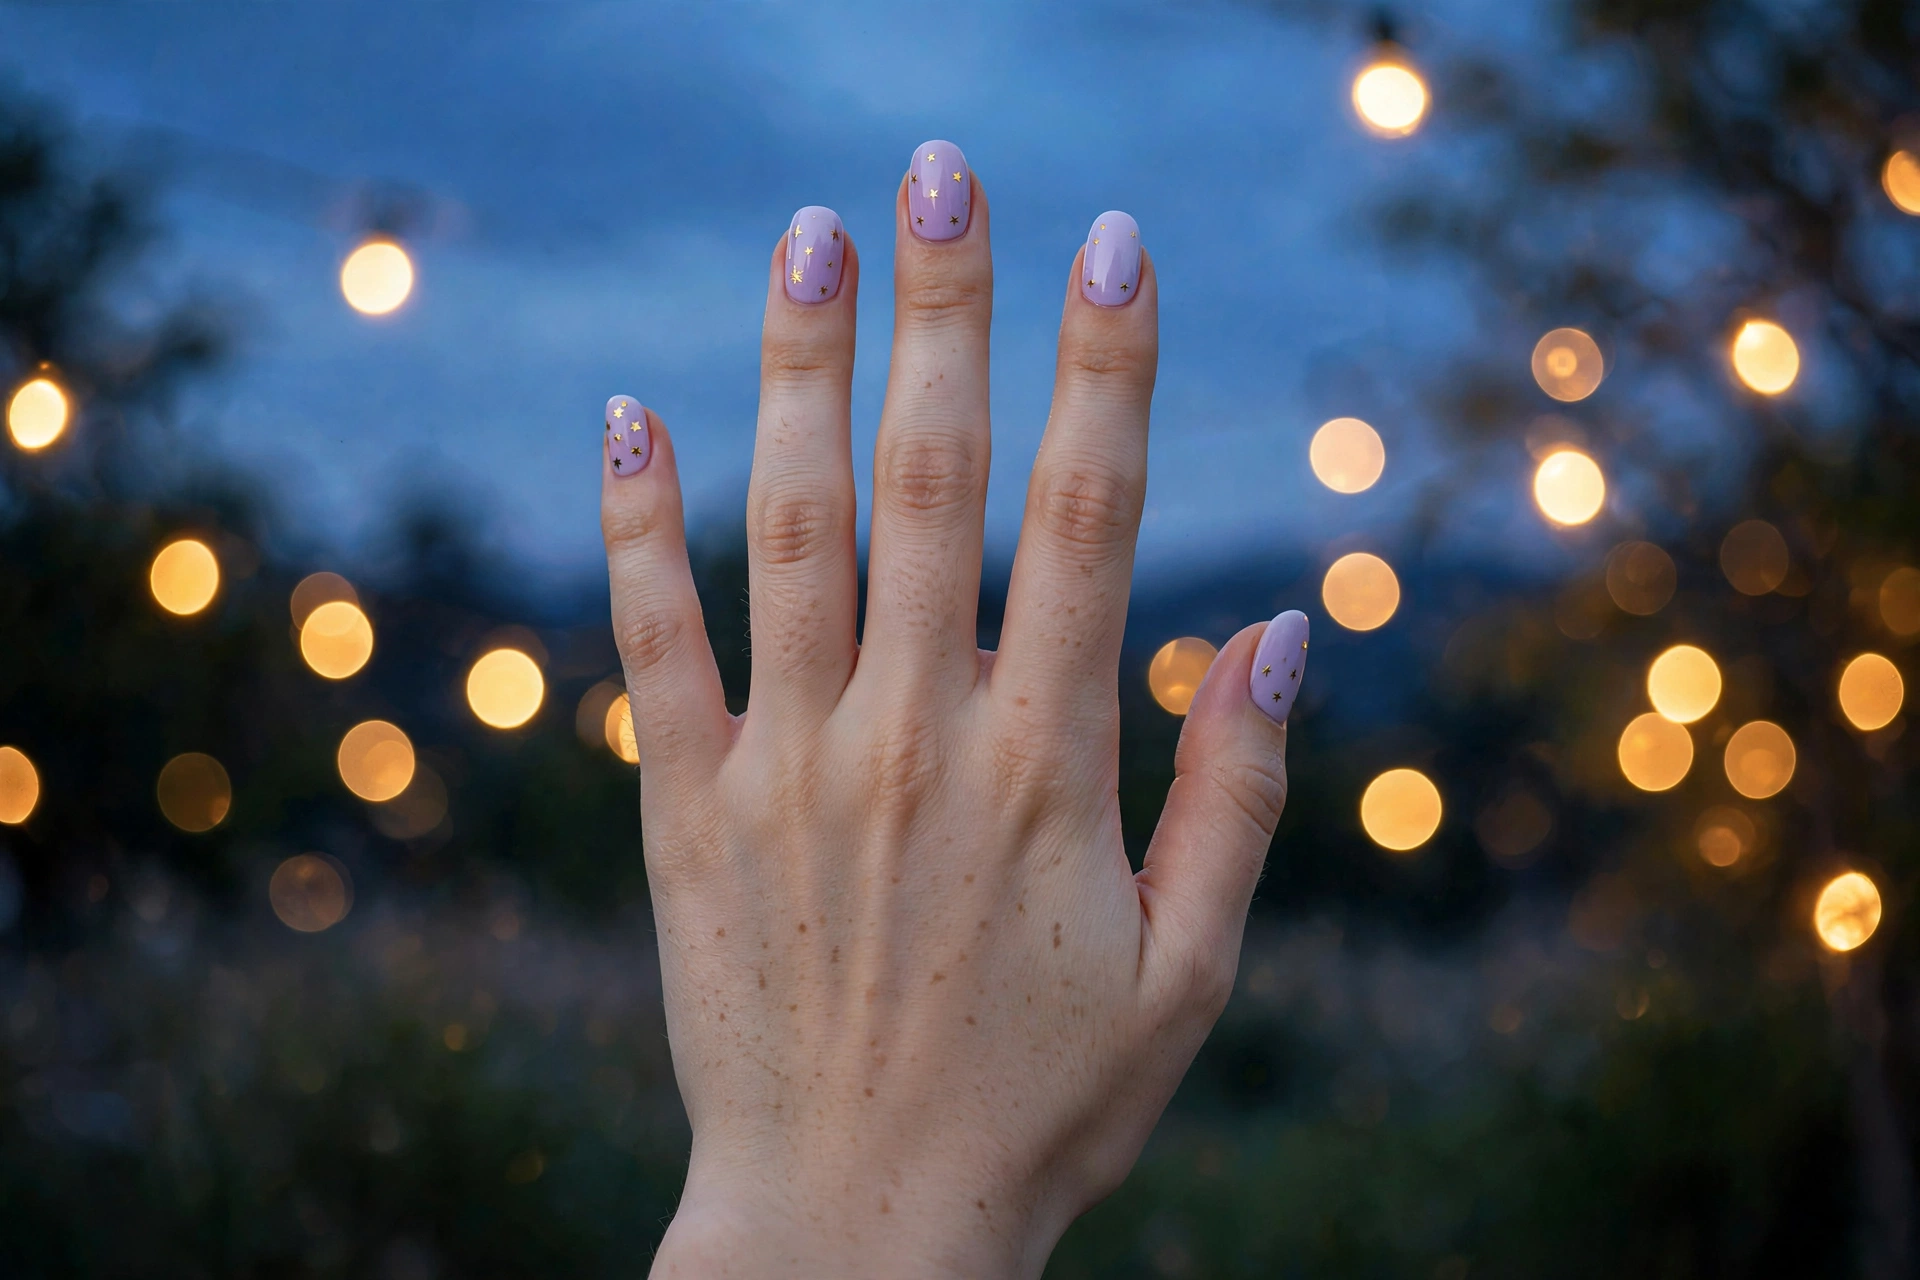
Gold star decals scattered over pastel lavender, with one larger star on each ring finger. Metallic stars catch light when you move your hands, which is most of this design’s charm. Keep the base pastel and the stars small; oversized stars tip from cute into costume. DIY difficulty: beginner, especially with stickers. Seal decals with two thin top-coat layers so the edges do not lift.
8. Painted Hair Bows
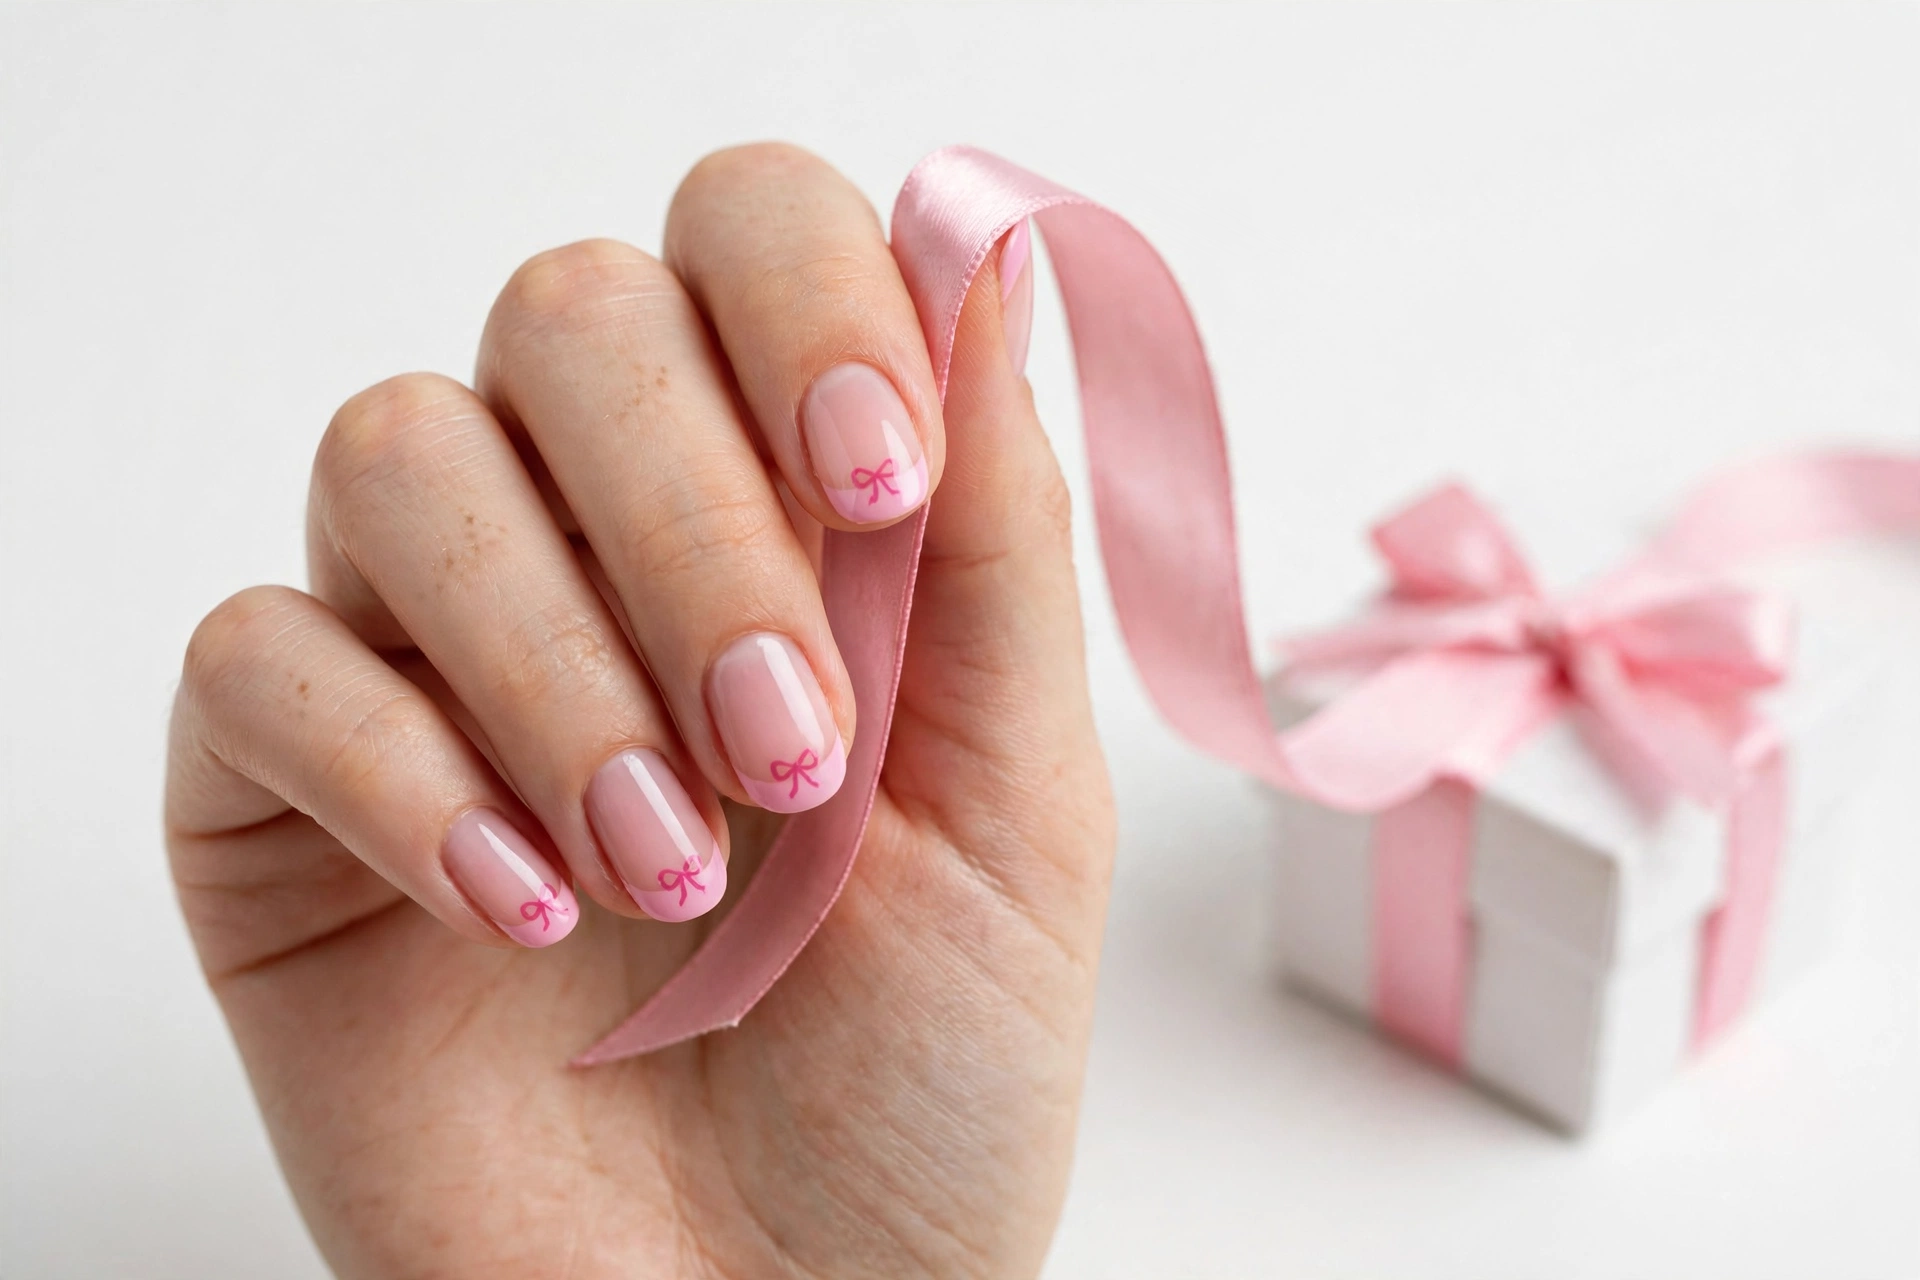
A dainty bow painted at the base of each nail over a soft pink French tip. Bows read as cute because they signal gift-wrap and ballet, and pink keeps the whole look sweet rather than fussy. Best on medium almond or oval nails, which give the bow room without crowding. DIY difficulty: medium. Paint two small triangles with a center knot dot; a thin nail art brush makes this far easier than a polish brush.
9. Tiny Fruit Slices
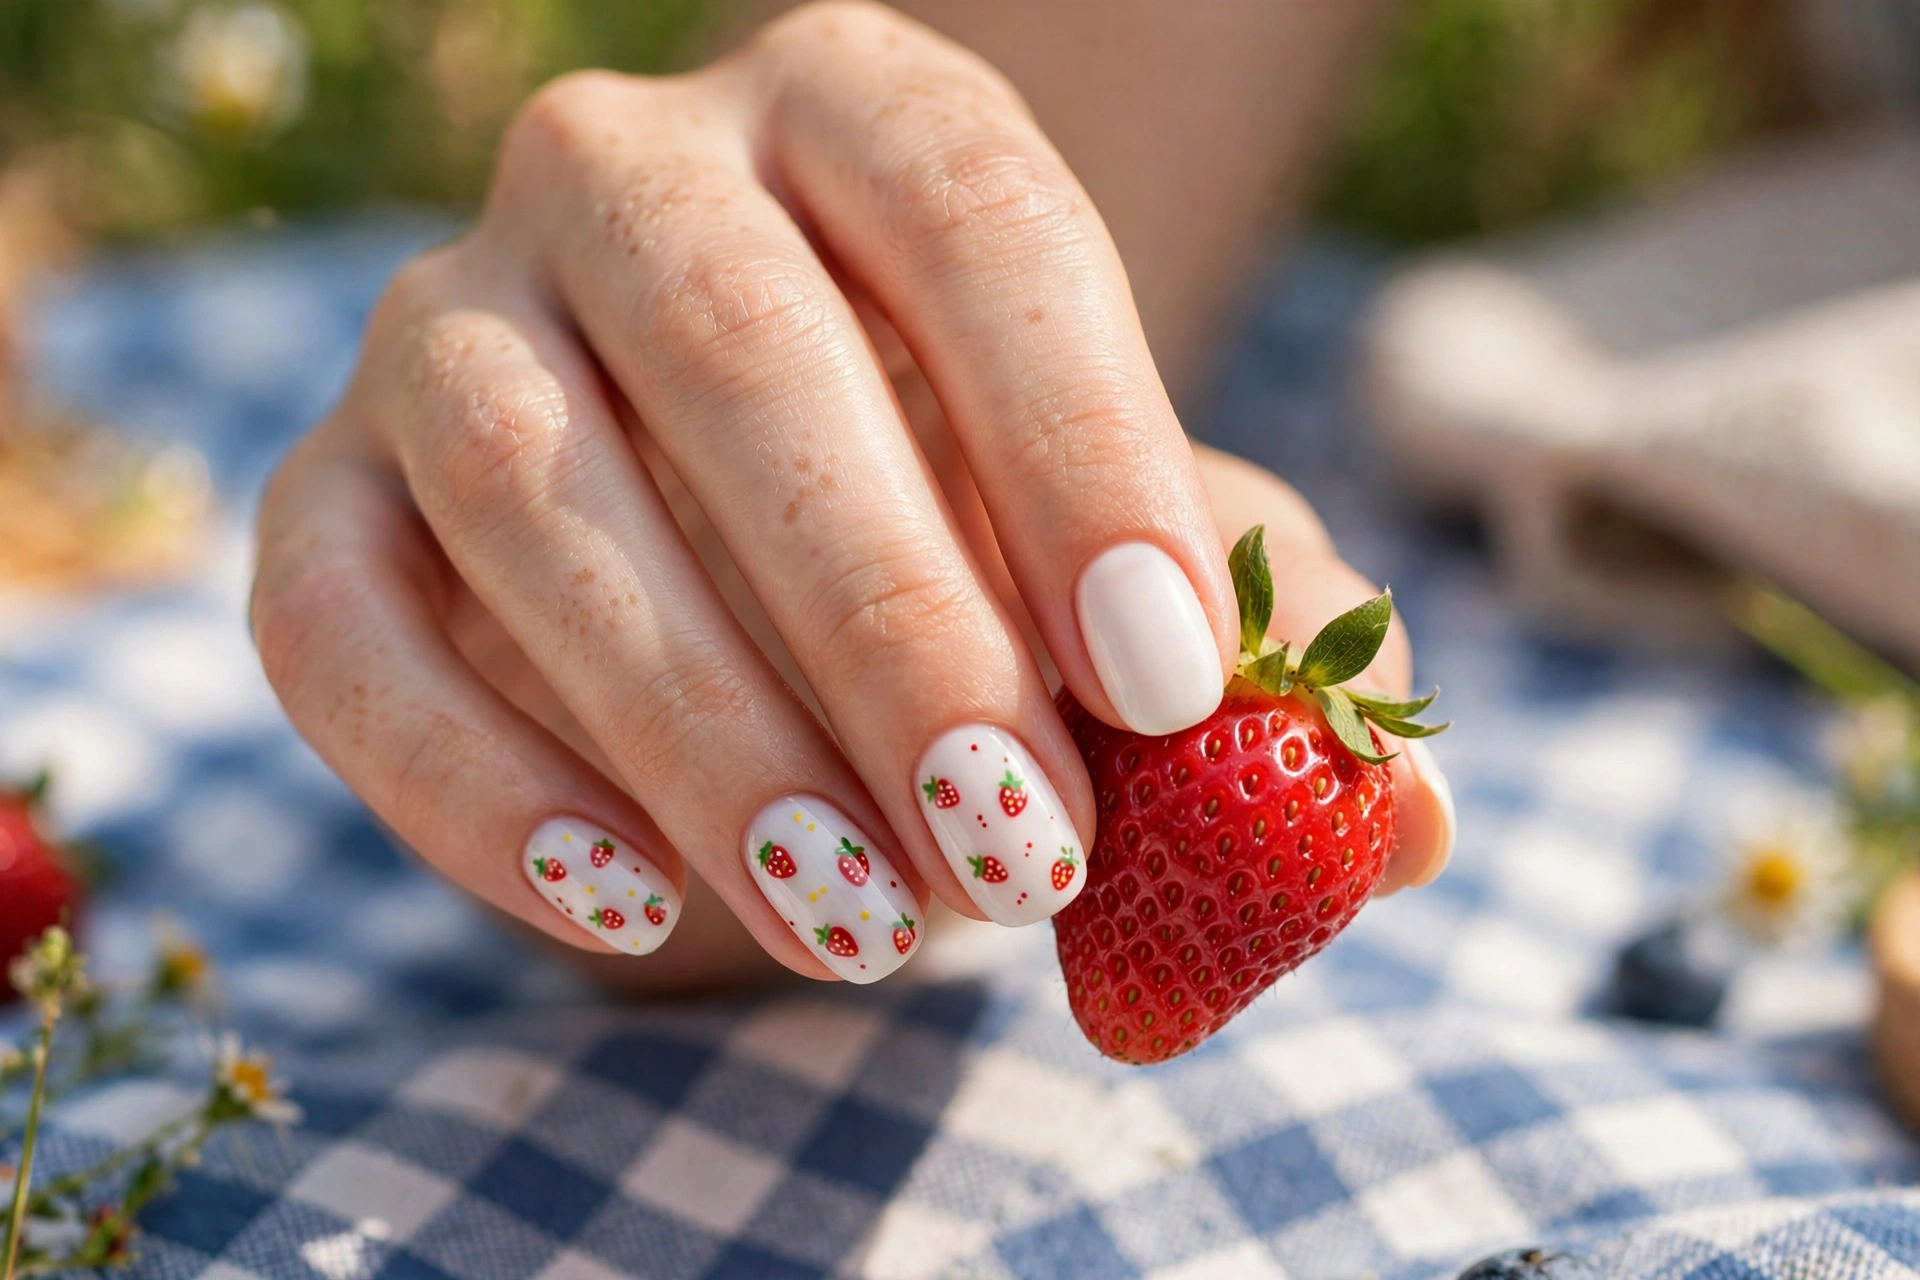
Mini strawberries with seed dots and green leafy tops on a milky white base. Fruit nails feel fresh and summery, and strawberries are the cutest of the bunch because of their heart-like shape. Alternate strawberries with plain milky nails so the design breathes. DIY difficulty: medium. The strawberry body is one teardrop; the seeds are pinprick dots once it dries. For more small-scale floral ideas, browse our floral nail designs.
10. Micro Daisies
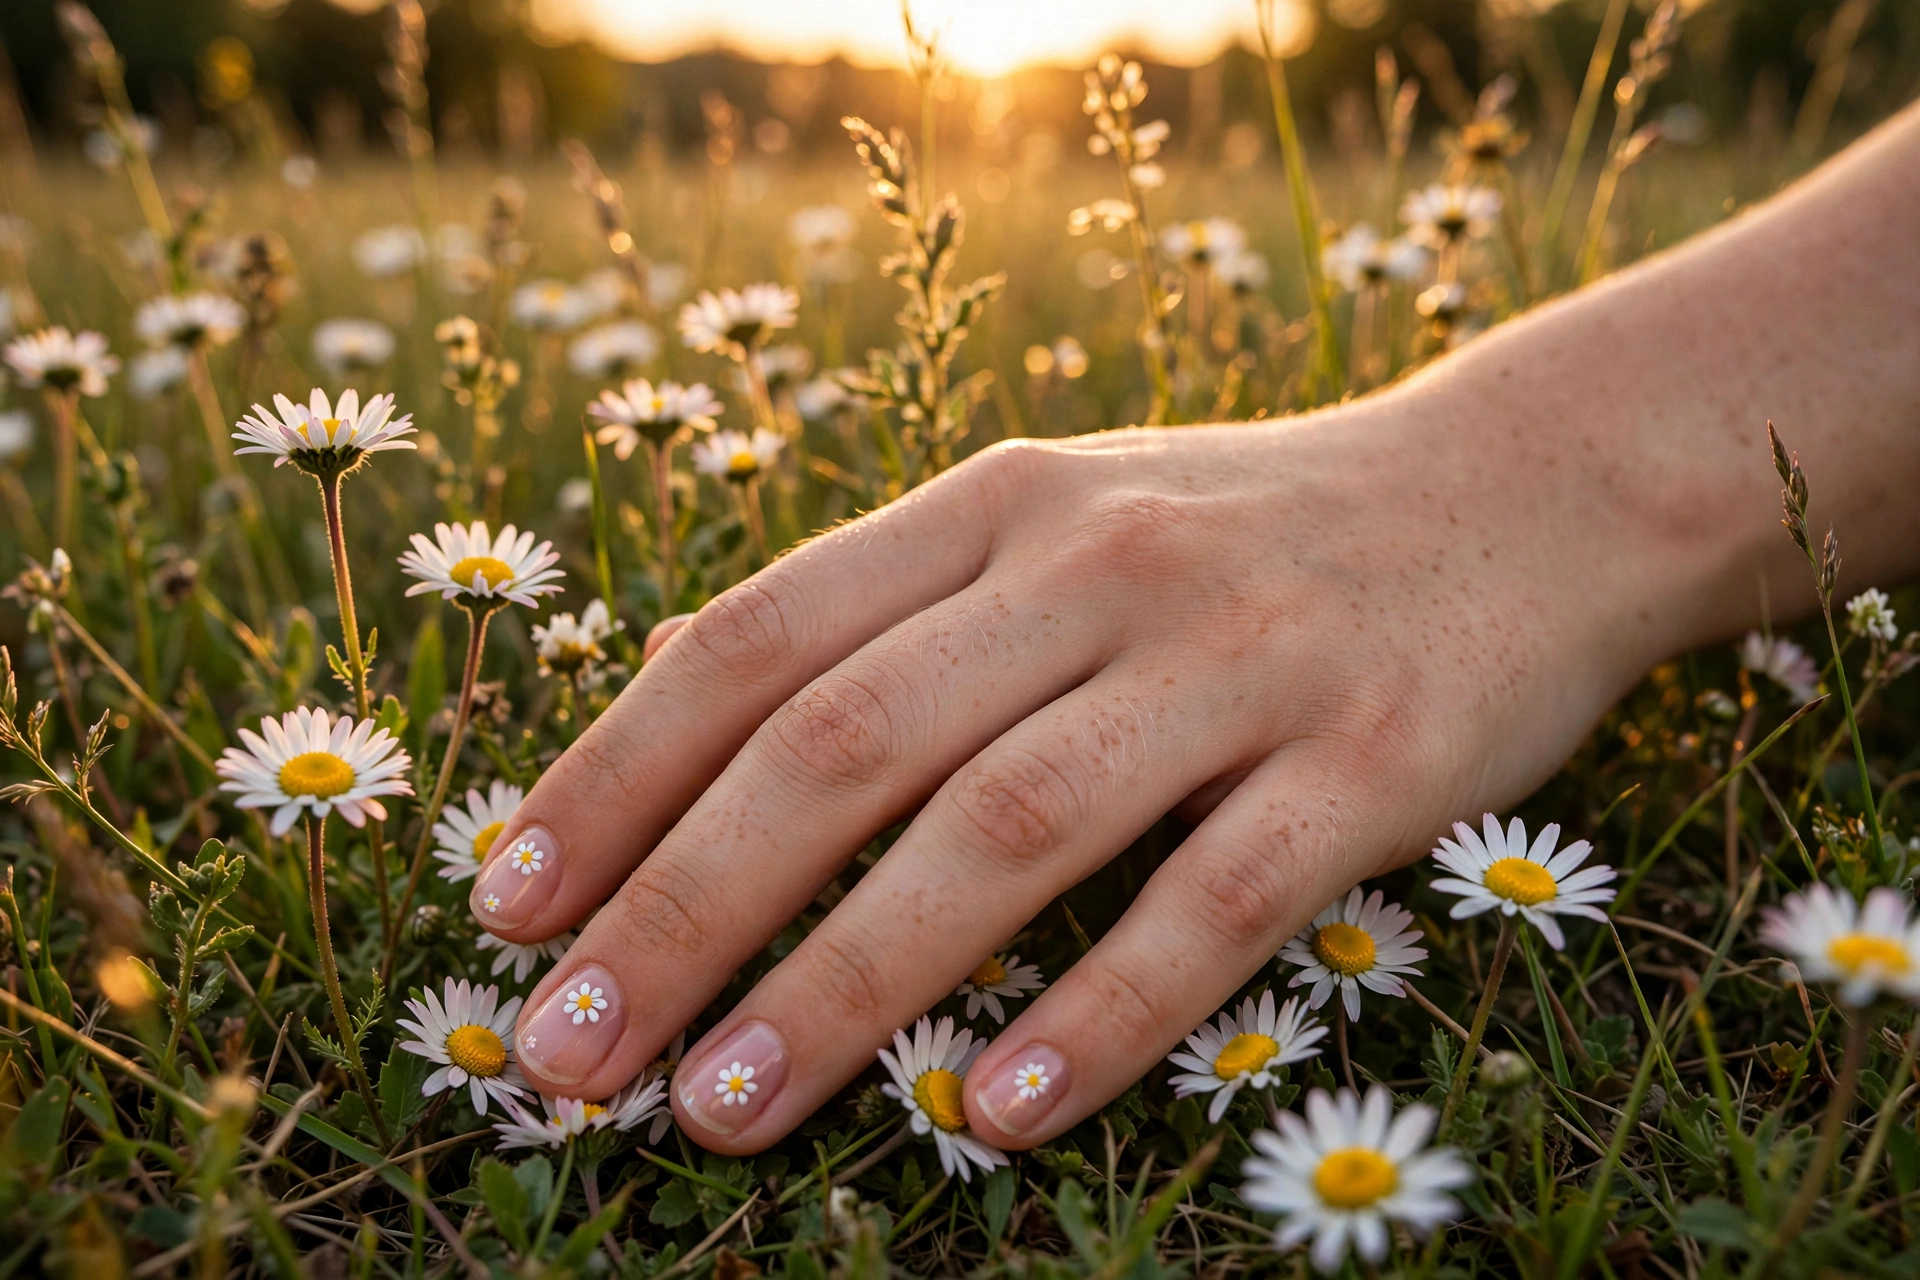
Five white petal dots around a yellow center dot, scattered over sheer pink. Daisies are the easiest flower in nail art because petals are just dots arranged in a circle, and at micro scale they look delicate rather than simple. Best on short round nails. DIY difficulty: beginner. A dotting tool does the entire flower; no brush needed. This is the design to try first if you have never painted nail art before.
Sweet Pastel Cute
Sometimes cute needs no art at all. Soft pastel color in a glossy finish reads as sweet on its own, and these looks are the most wearable in the whole gallery.
11. Pastel Skittle Manicure
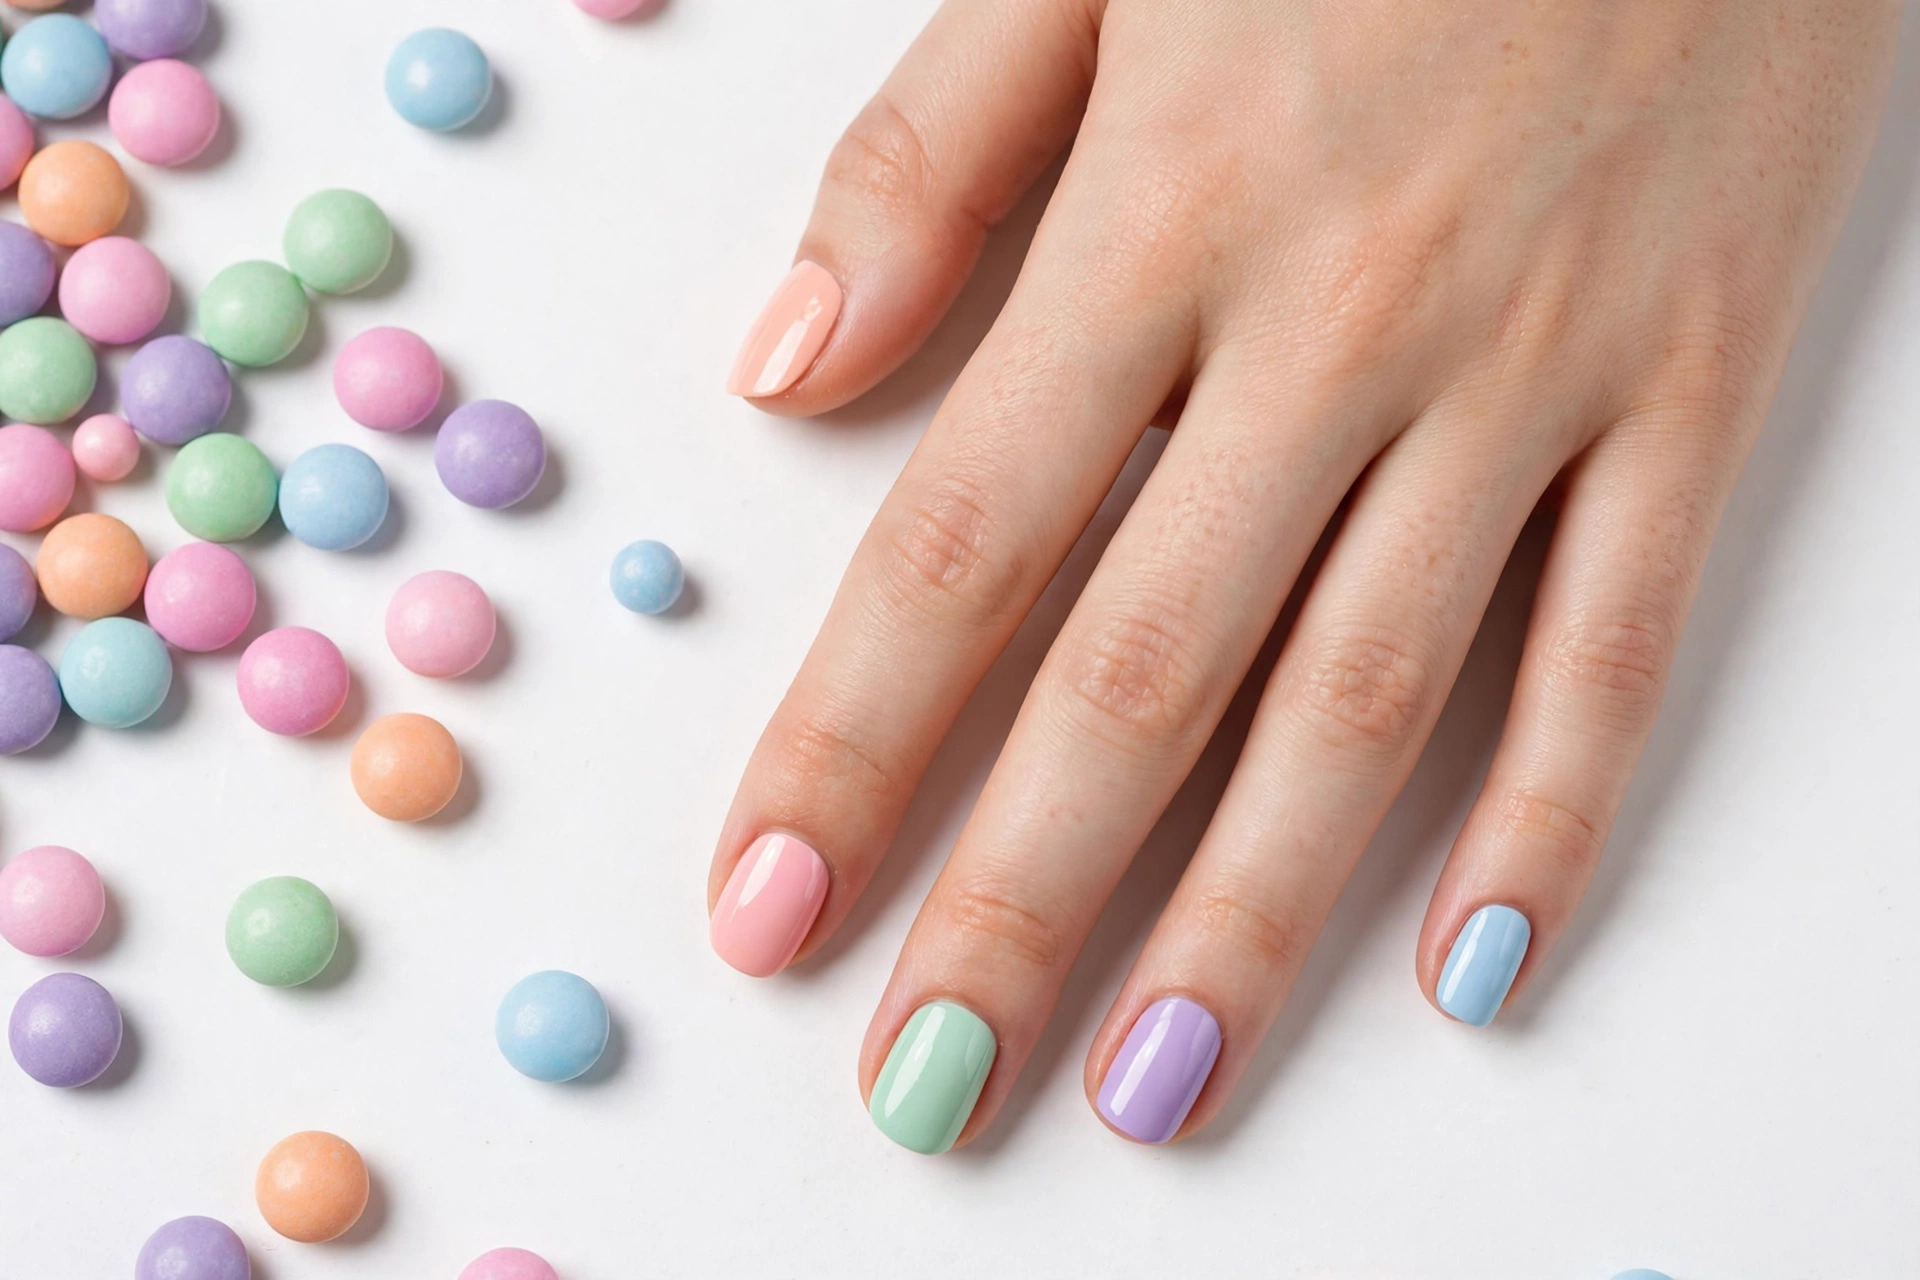
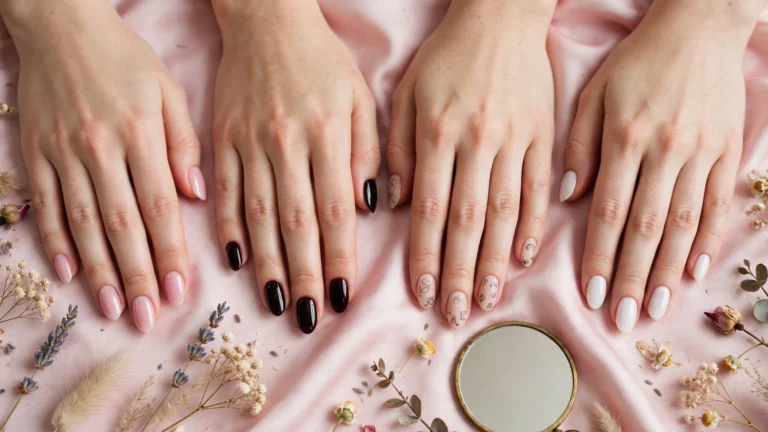
One pastel shade per nail: baby pink, mint, lavender, baby blue, and peach. The skittle manicure is cute because the color story does all the work, and it suits every nail length and shape. Pick pastels with similar lightness so the set looks cohesive rather than random. DIY difficulty: beginner. If you love this palette, our pastel nail designs go deeper on soft-color combinations.
12. Milky Strawberry Pink
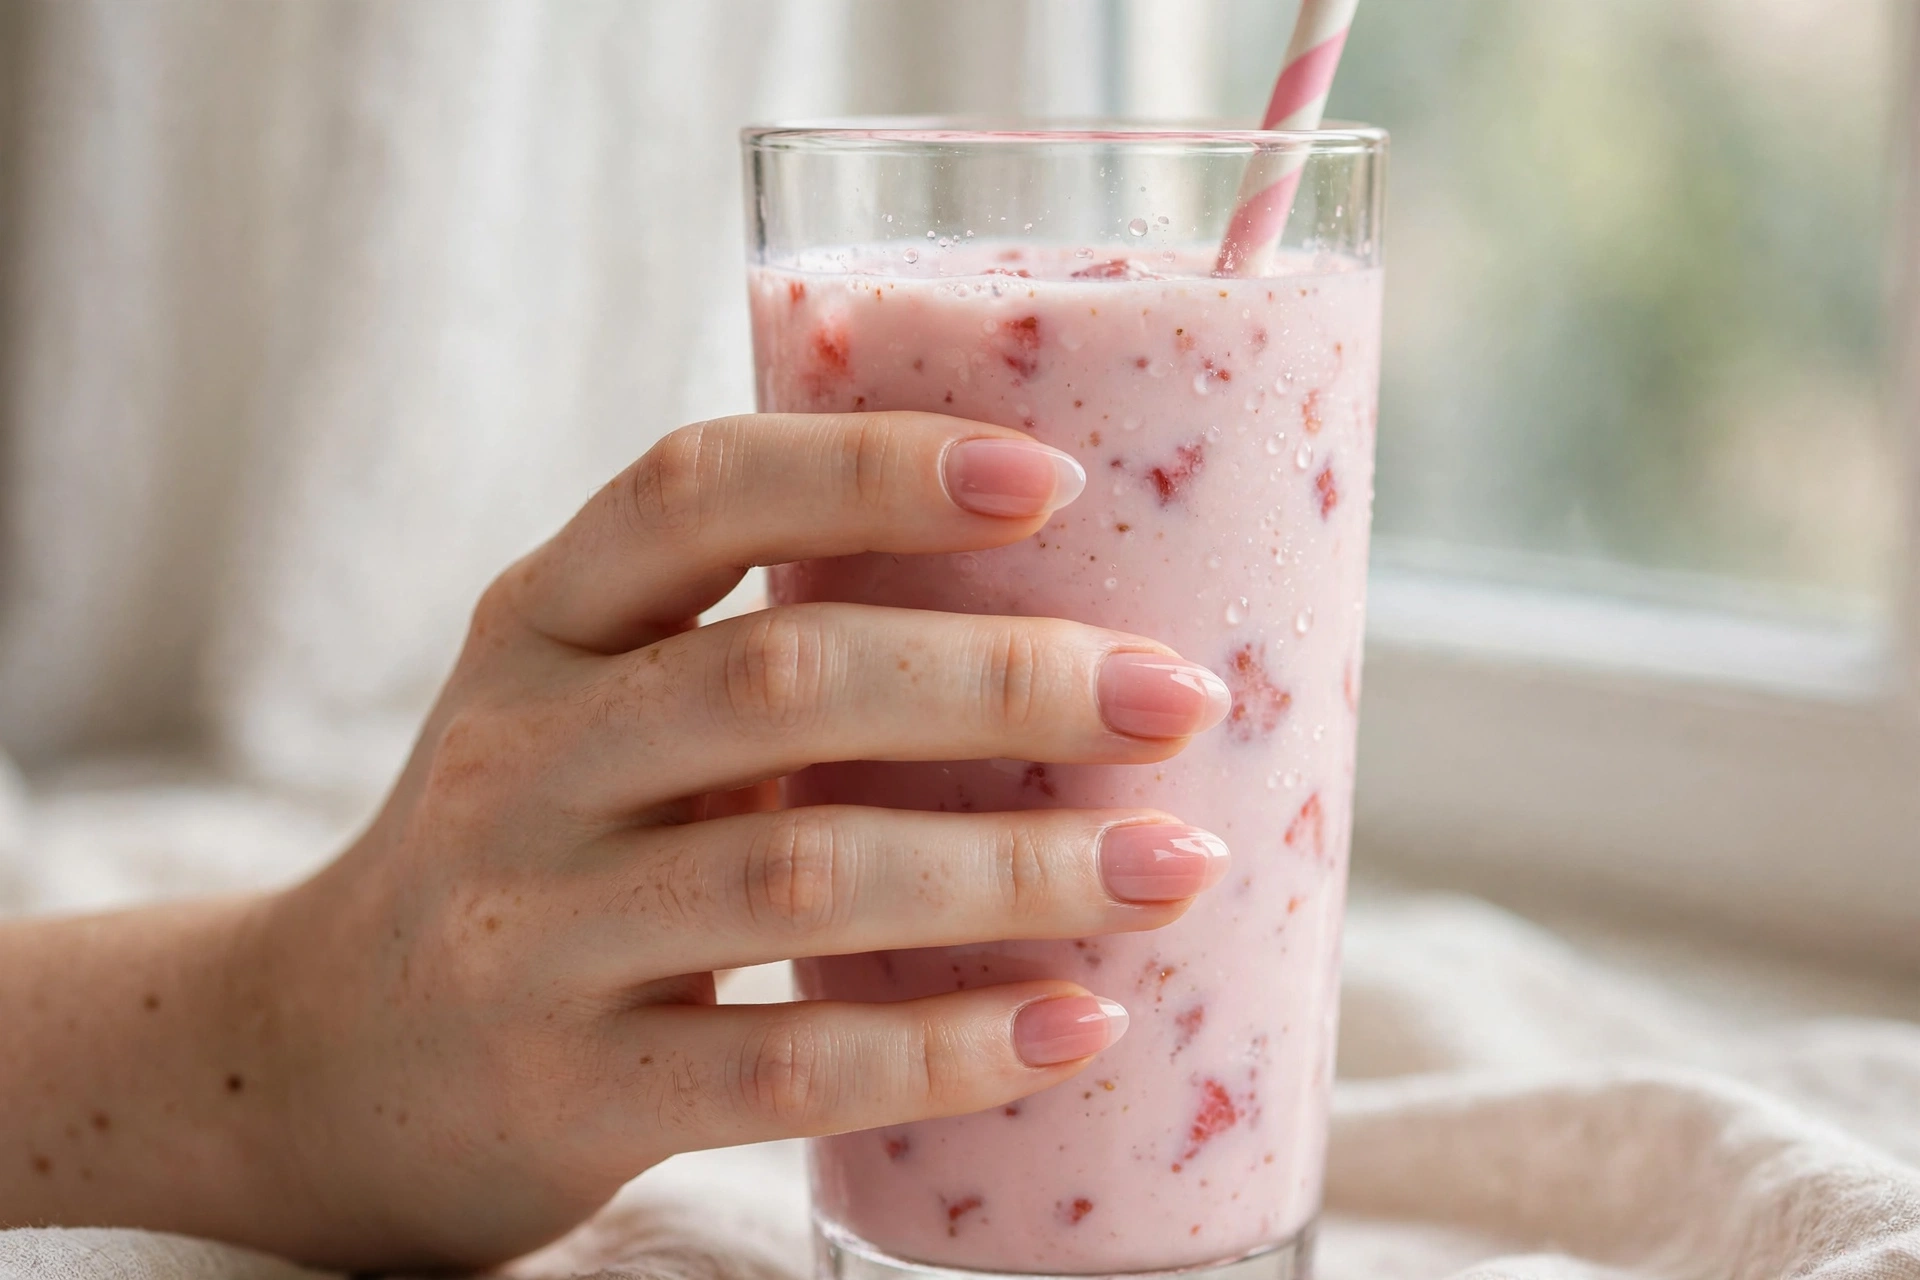
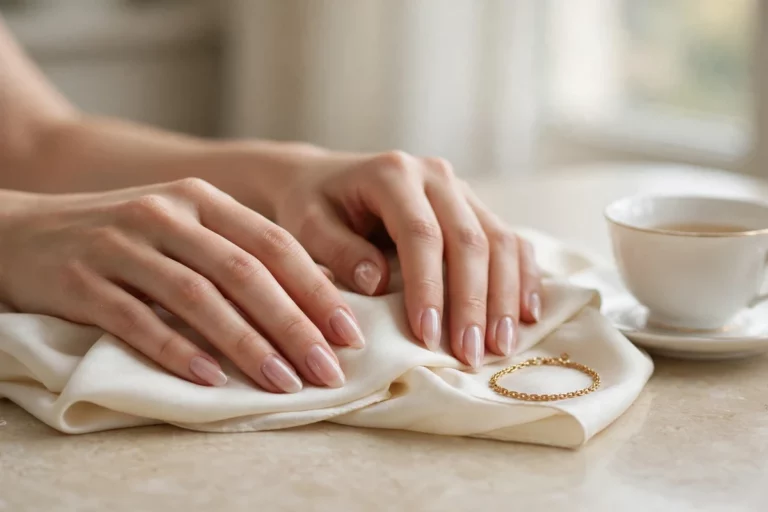
A sheer milky pink with a glassy top coat, the “your nails but pinker” look. Milky shades are cute because translucency looks fresh and youthful, and the sheer coverage forgives imperfect application. Best on neat, medium-length nails in any rounded shape. DIY difficulty: beginner. Two thin coats prevent streaking; the gloss top coat is non-negotiable. See our milky nail ideas for the full sheer-pink family.
13. Lilac Creme
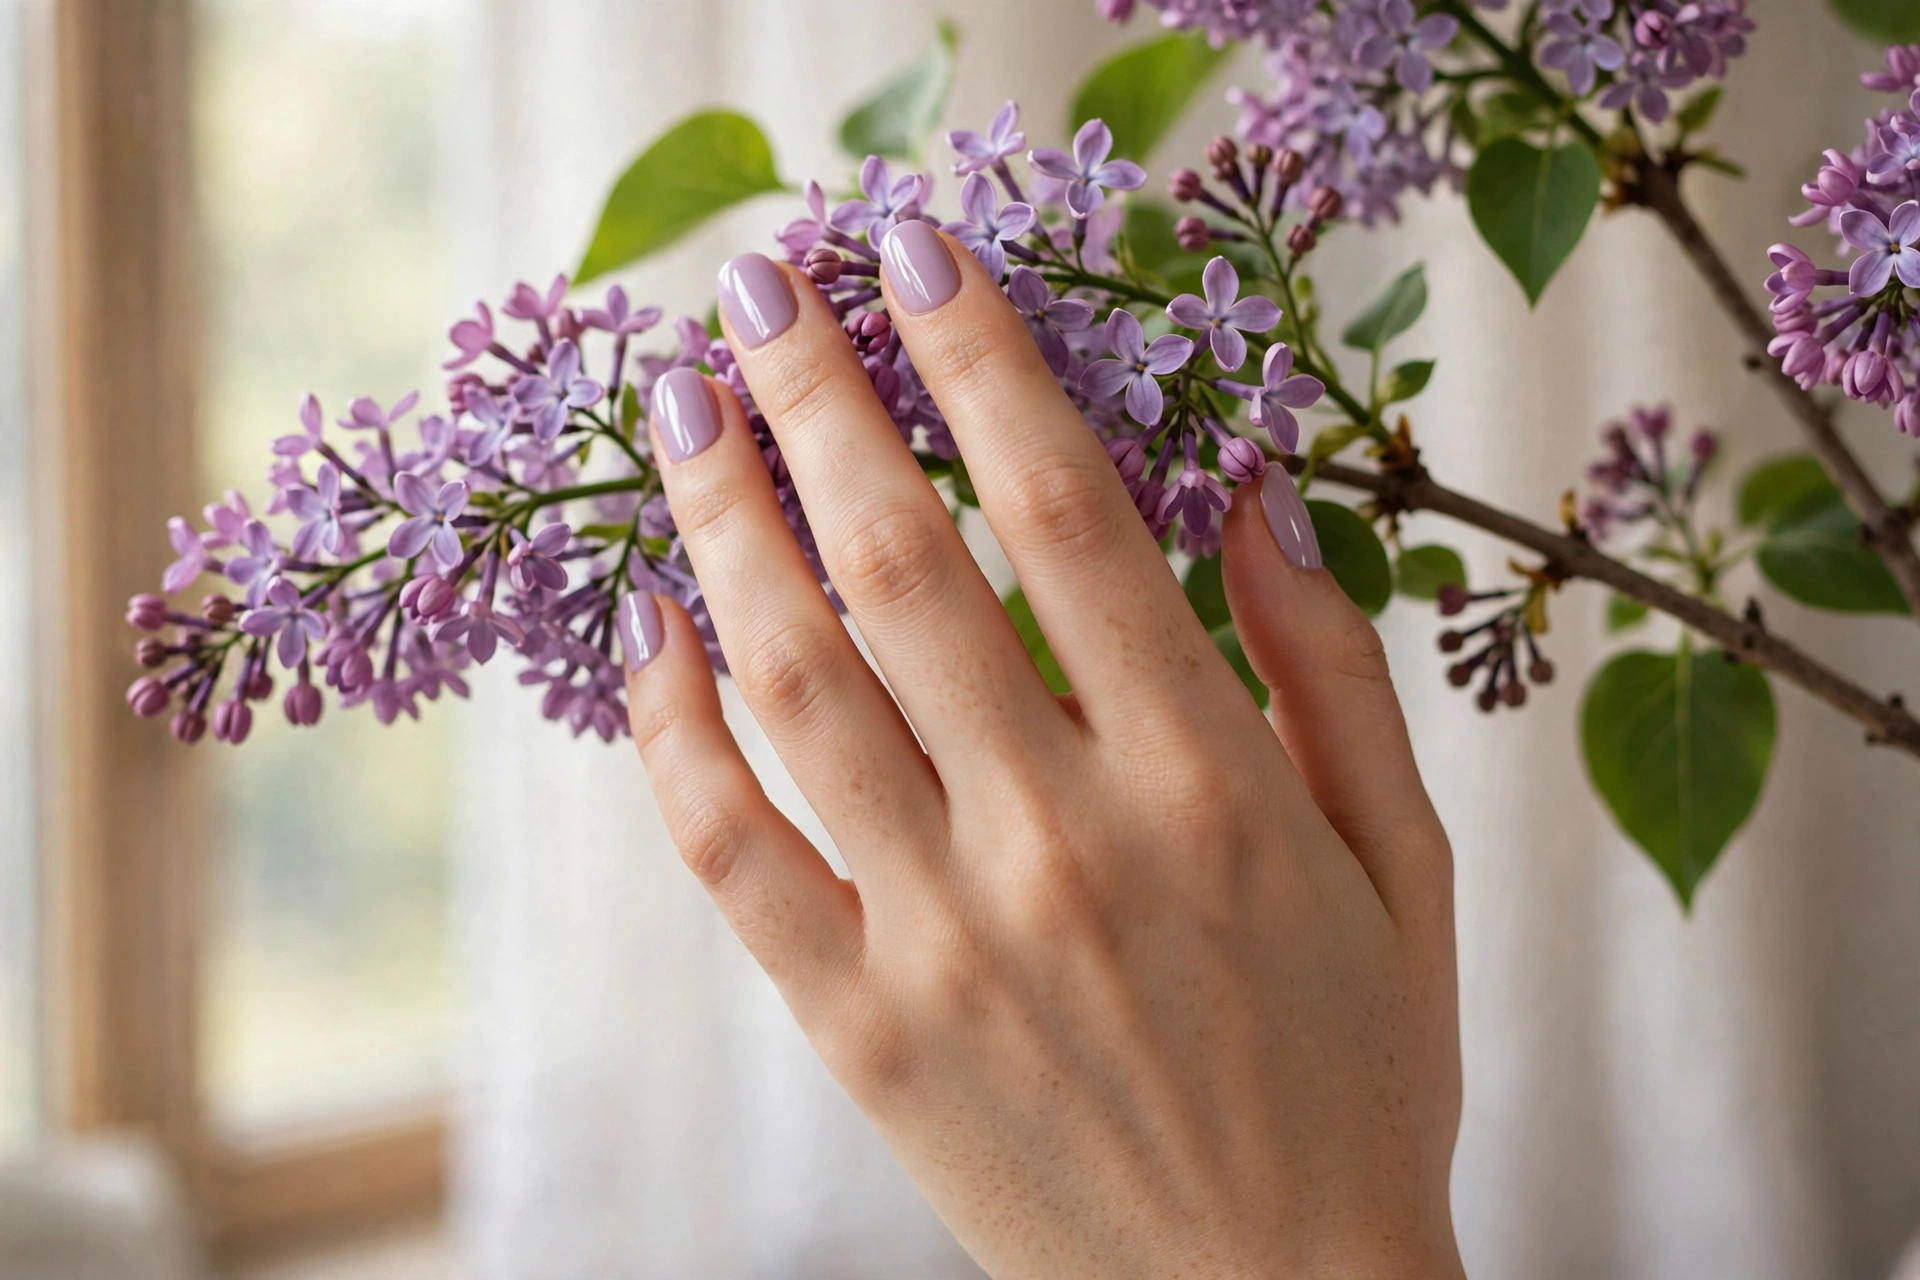
One solid lilac creme, worn glossy. Lilac sits in the sweet spot of cute color: colorful enough to be fun, muted enough for every day. It flatters cool and neutral skin tones especially well. Best on short squoval or almond nails for a neat, modern feel. DIY difficulty: beginner. Our purple nail designs cover the deeper end of this color family if you want to go bolder.
14. Candy French Tips
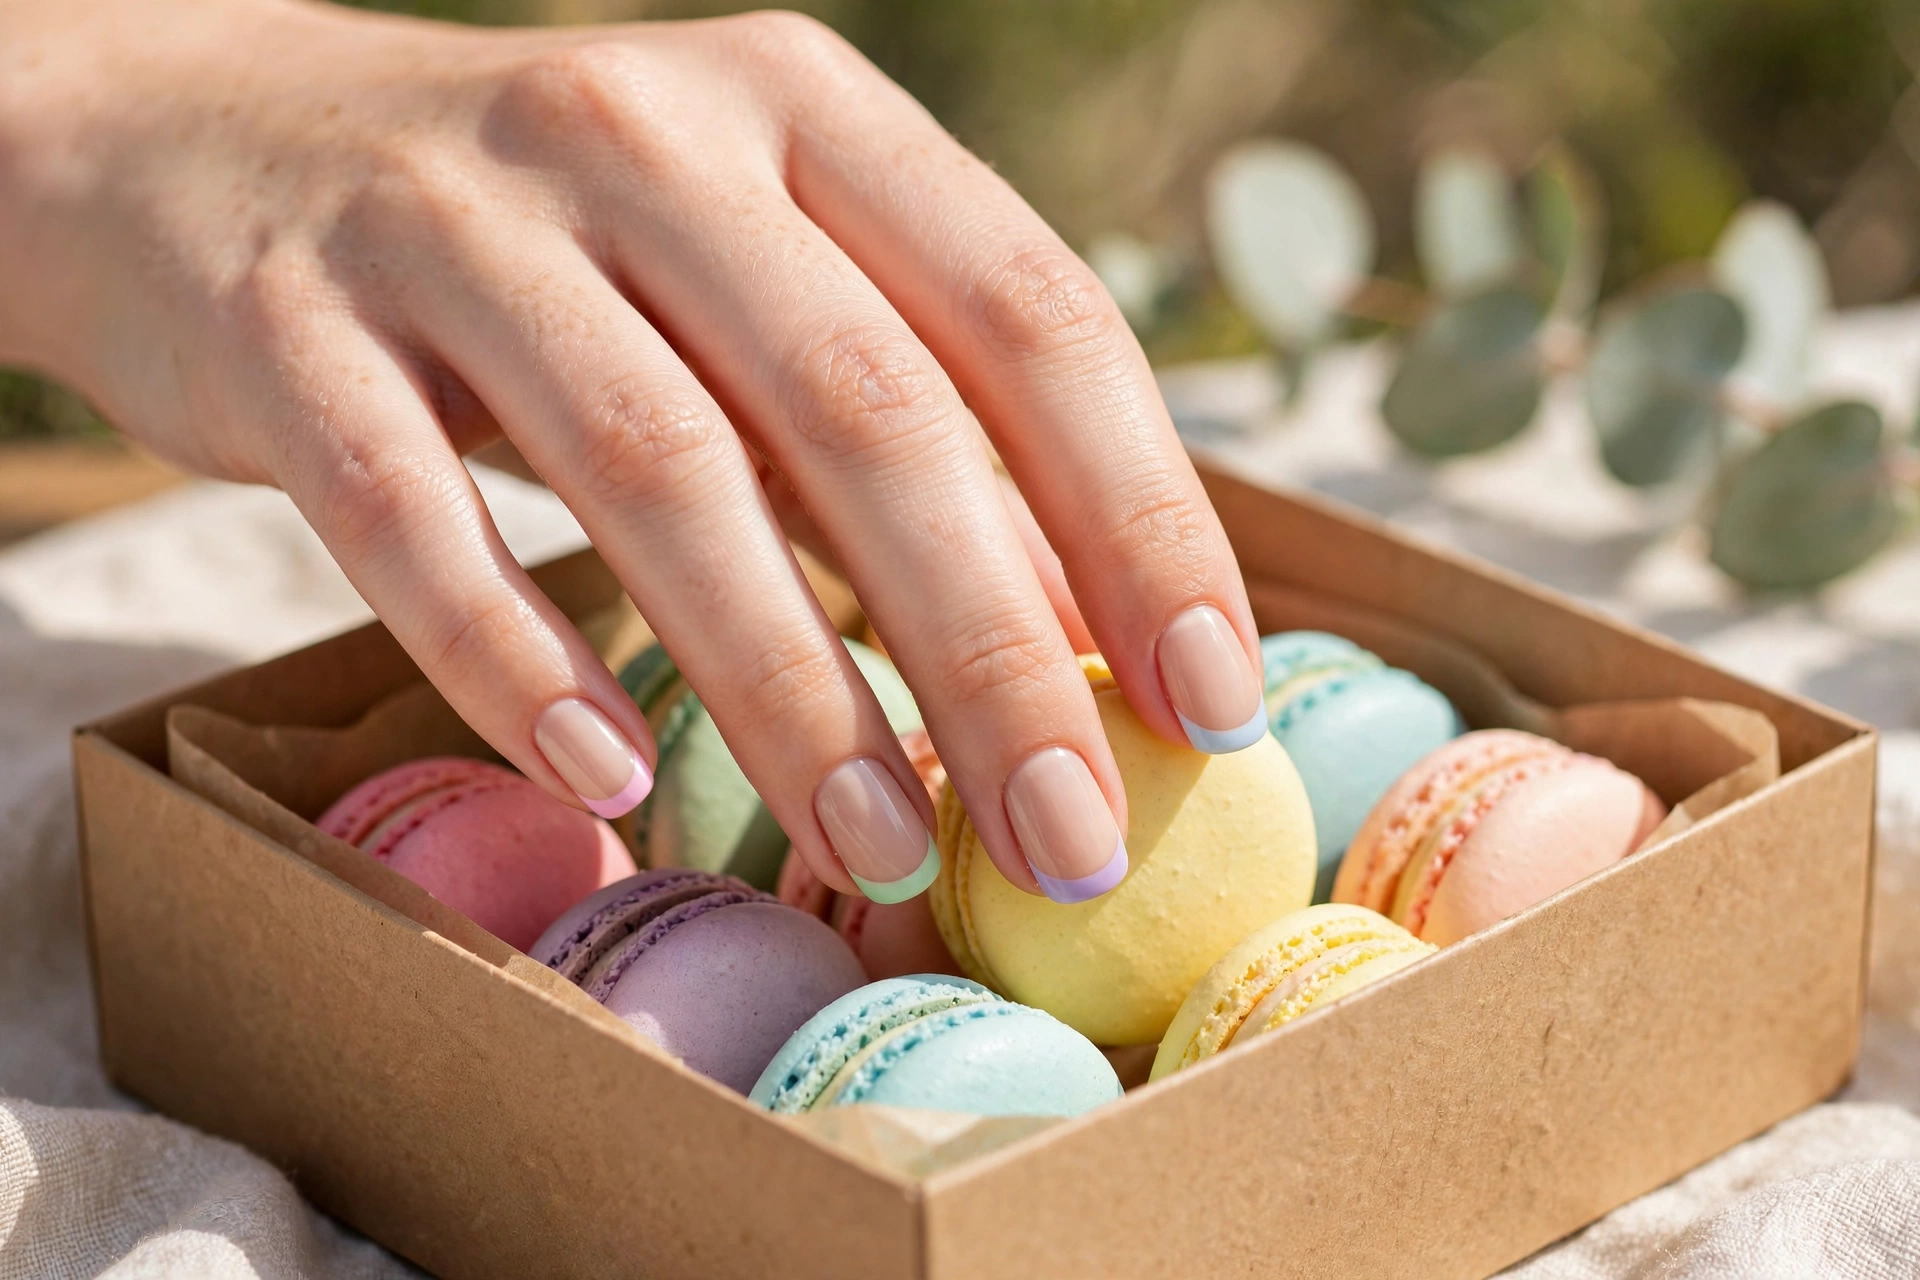
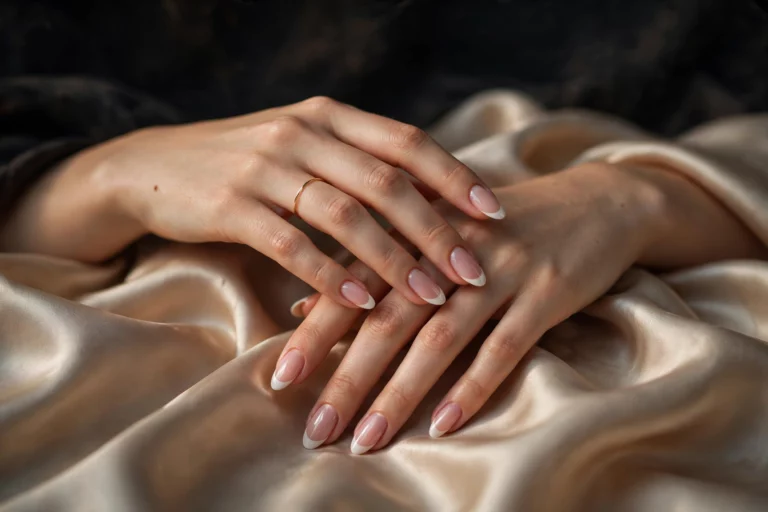
Classic French tips recolored in candy pastels, one shade per nail or a single pastel across all ten. The French shape keeps it polished while the pastel colors keep it playful. Best on medium almond or square nails, where the tip line has room to show. DIY difficulty: beginner to medium. A French tip guide sticker or a cleanup brush dipped in remover fixes wobbly lines in seconds.
Playful Details & 3D Cute
Texture takes cute into statement territory. Raised details, glassy jelly finishes, and tiny charms add a tactile element that flat art cannot match.
15. Puffy 3D Hearts
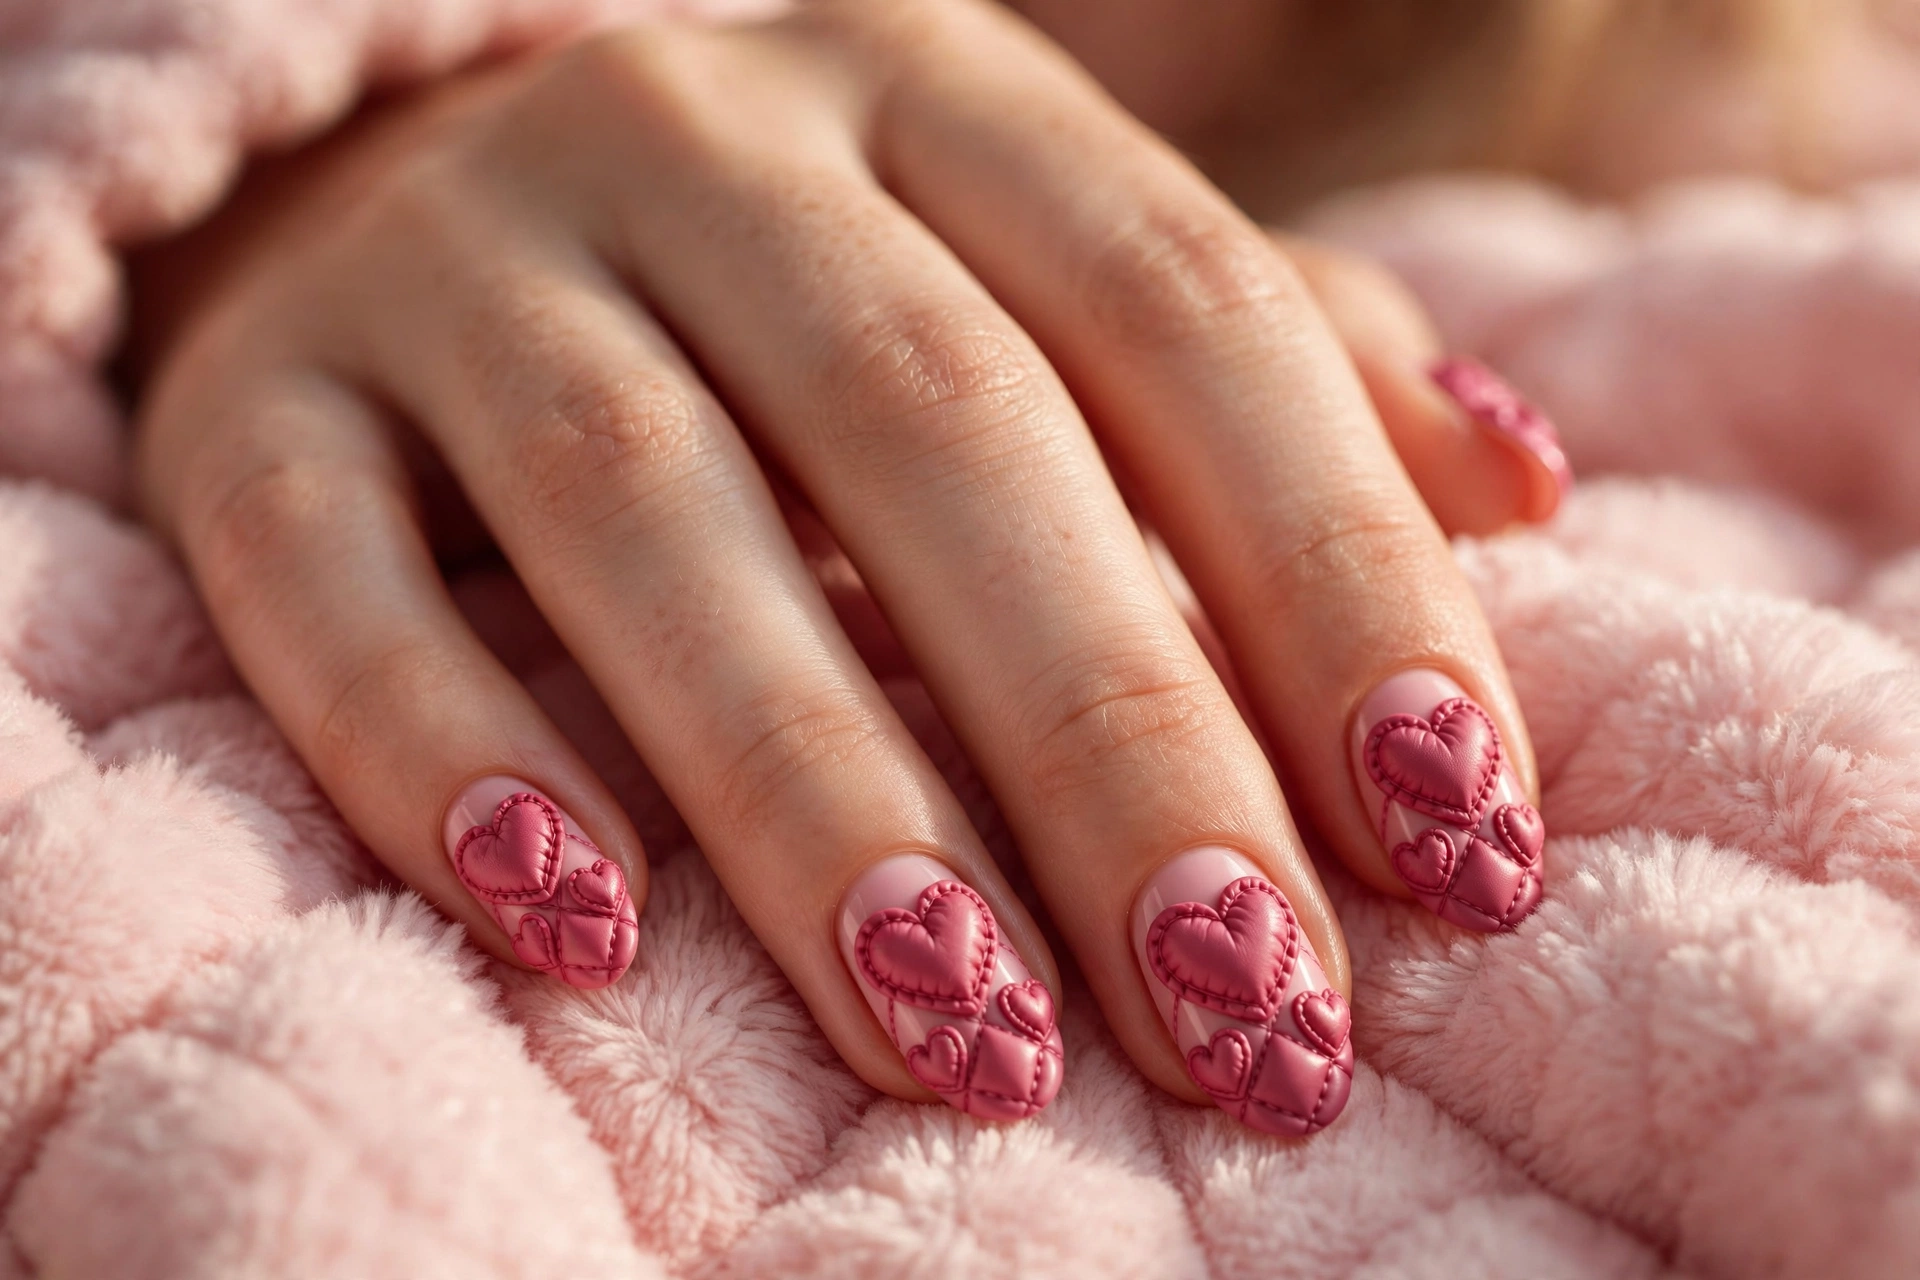
Raised hearts sculpted in builder gel over a pink base, giving a puffy, quilted effect. The dimension catches light and shadow, which makes the hearts look soft and touchable. Best on medium to long nails; 3D details need surface area and can overwhelm very short nails. DIY difficulty: medium. Sculpt with builder gel and cure between layers, or ask your tech for “puffy heart charms.” For more dimensional ideas, see our 3D nail designs. Wearability note: raised art can catch on hair and knitwear, so save this for occasions rather than everyday typing.
16. Jelly Gloss With Tiny Hearts
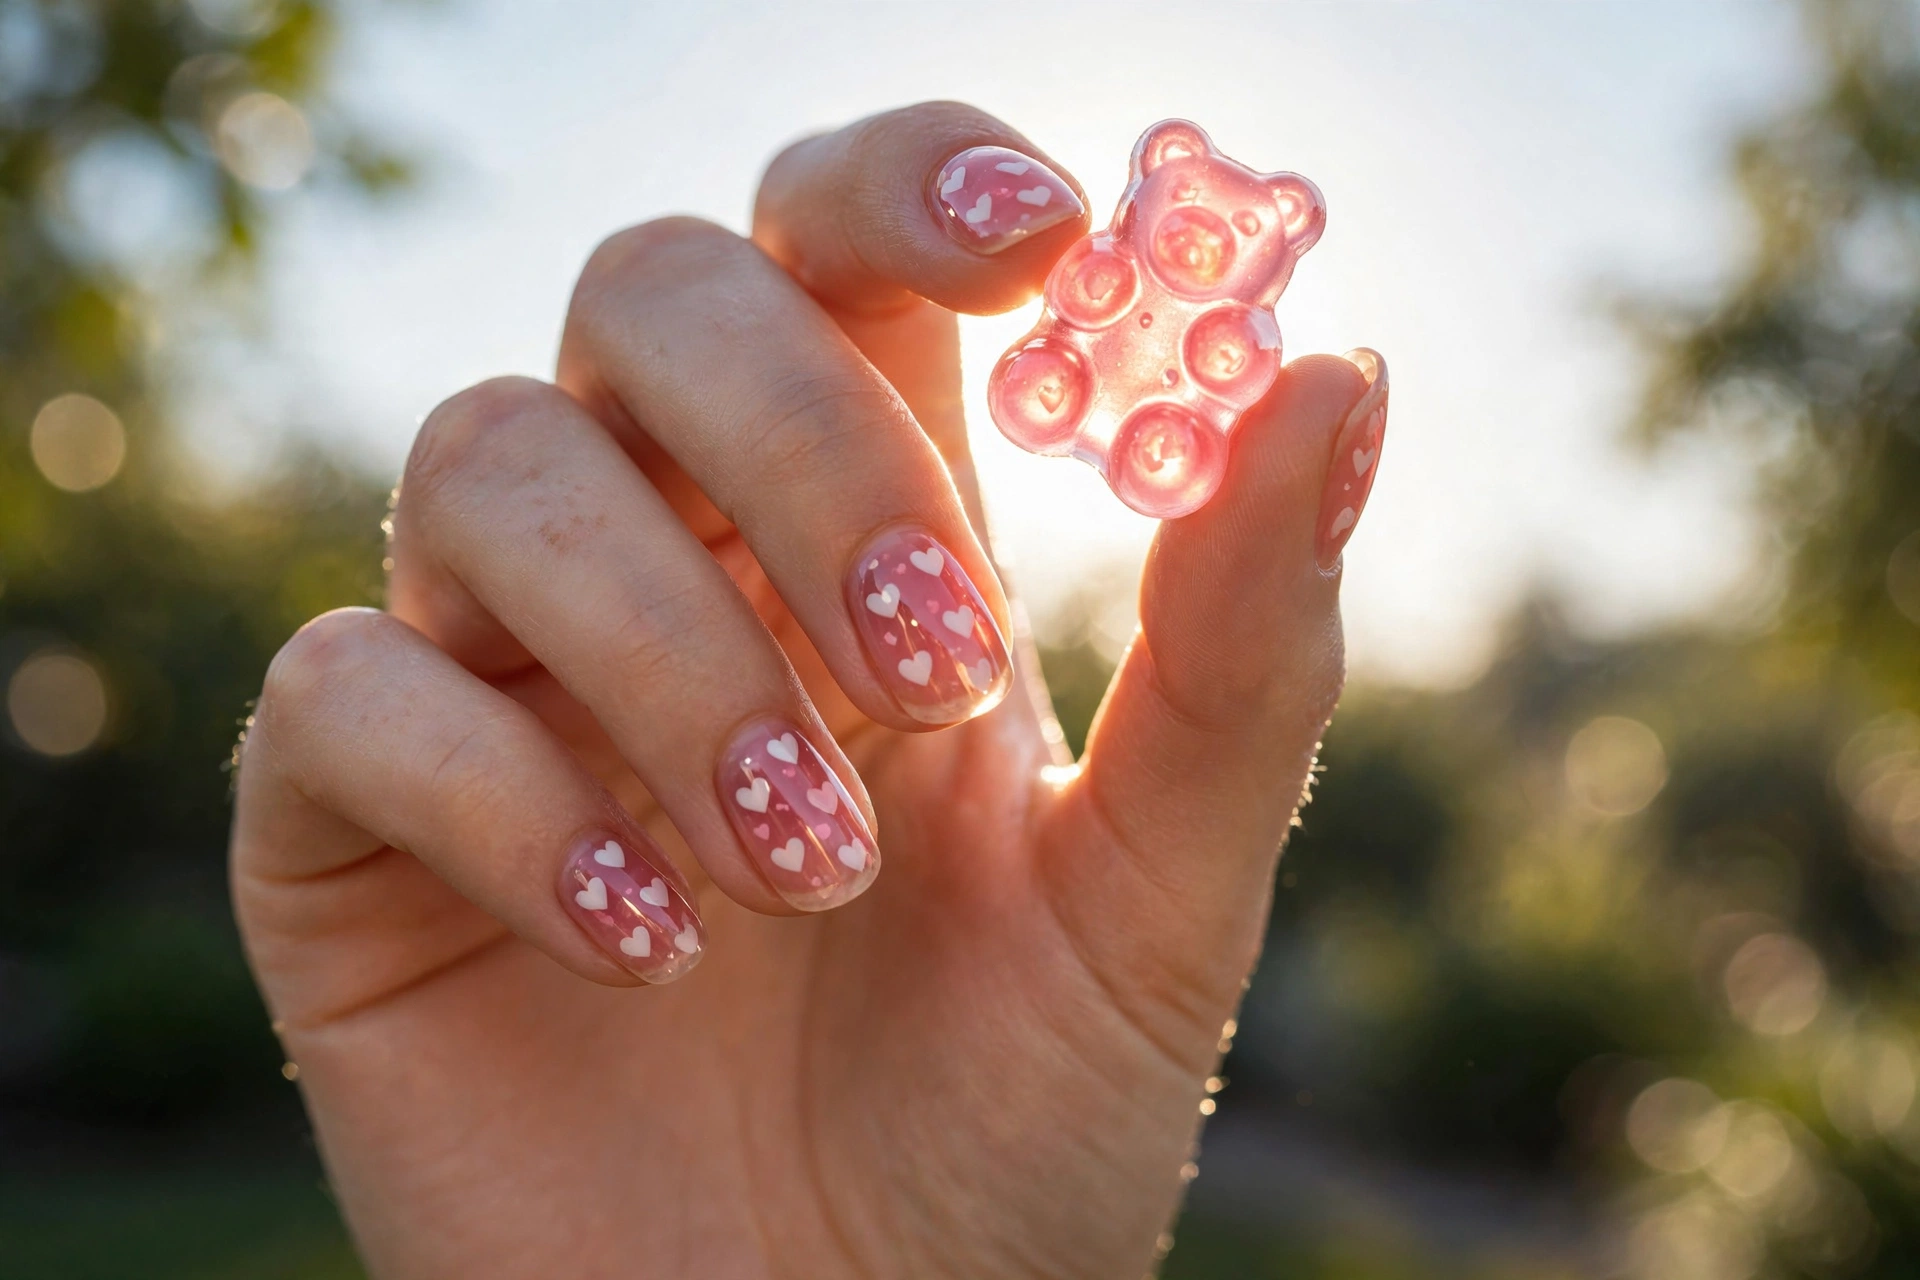
A translucent jelly pink with tiny white hearts suspended in the layers, finished ultra-glossy. Jelly nails look like candy, and the suspended hearts give them a snow-globe depth that flat polish cannot achieve. Best on medium almond or coffin nails, where the translucent layers have depth to show. DIY difficulty: medium. Layer sheer jelly polish, place mini decals between coats, and seal well. Our jelly nails guide explains the layering technique in detail.
17. Bow & Pearl Charm Accents
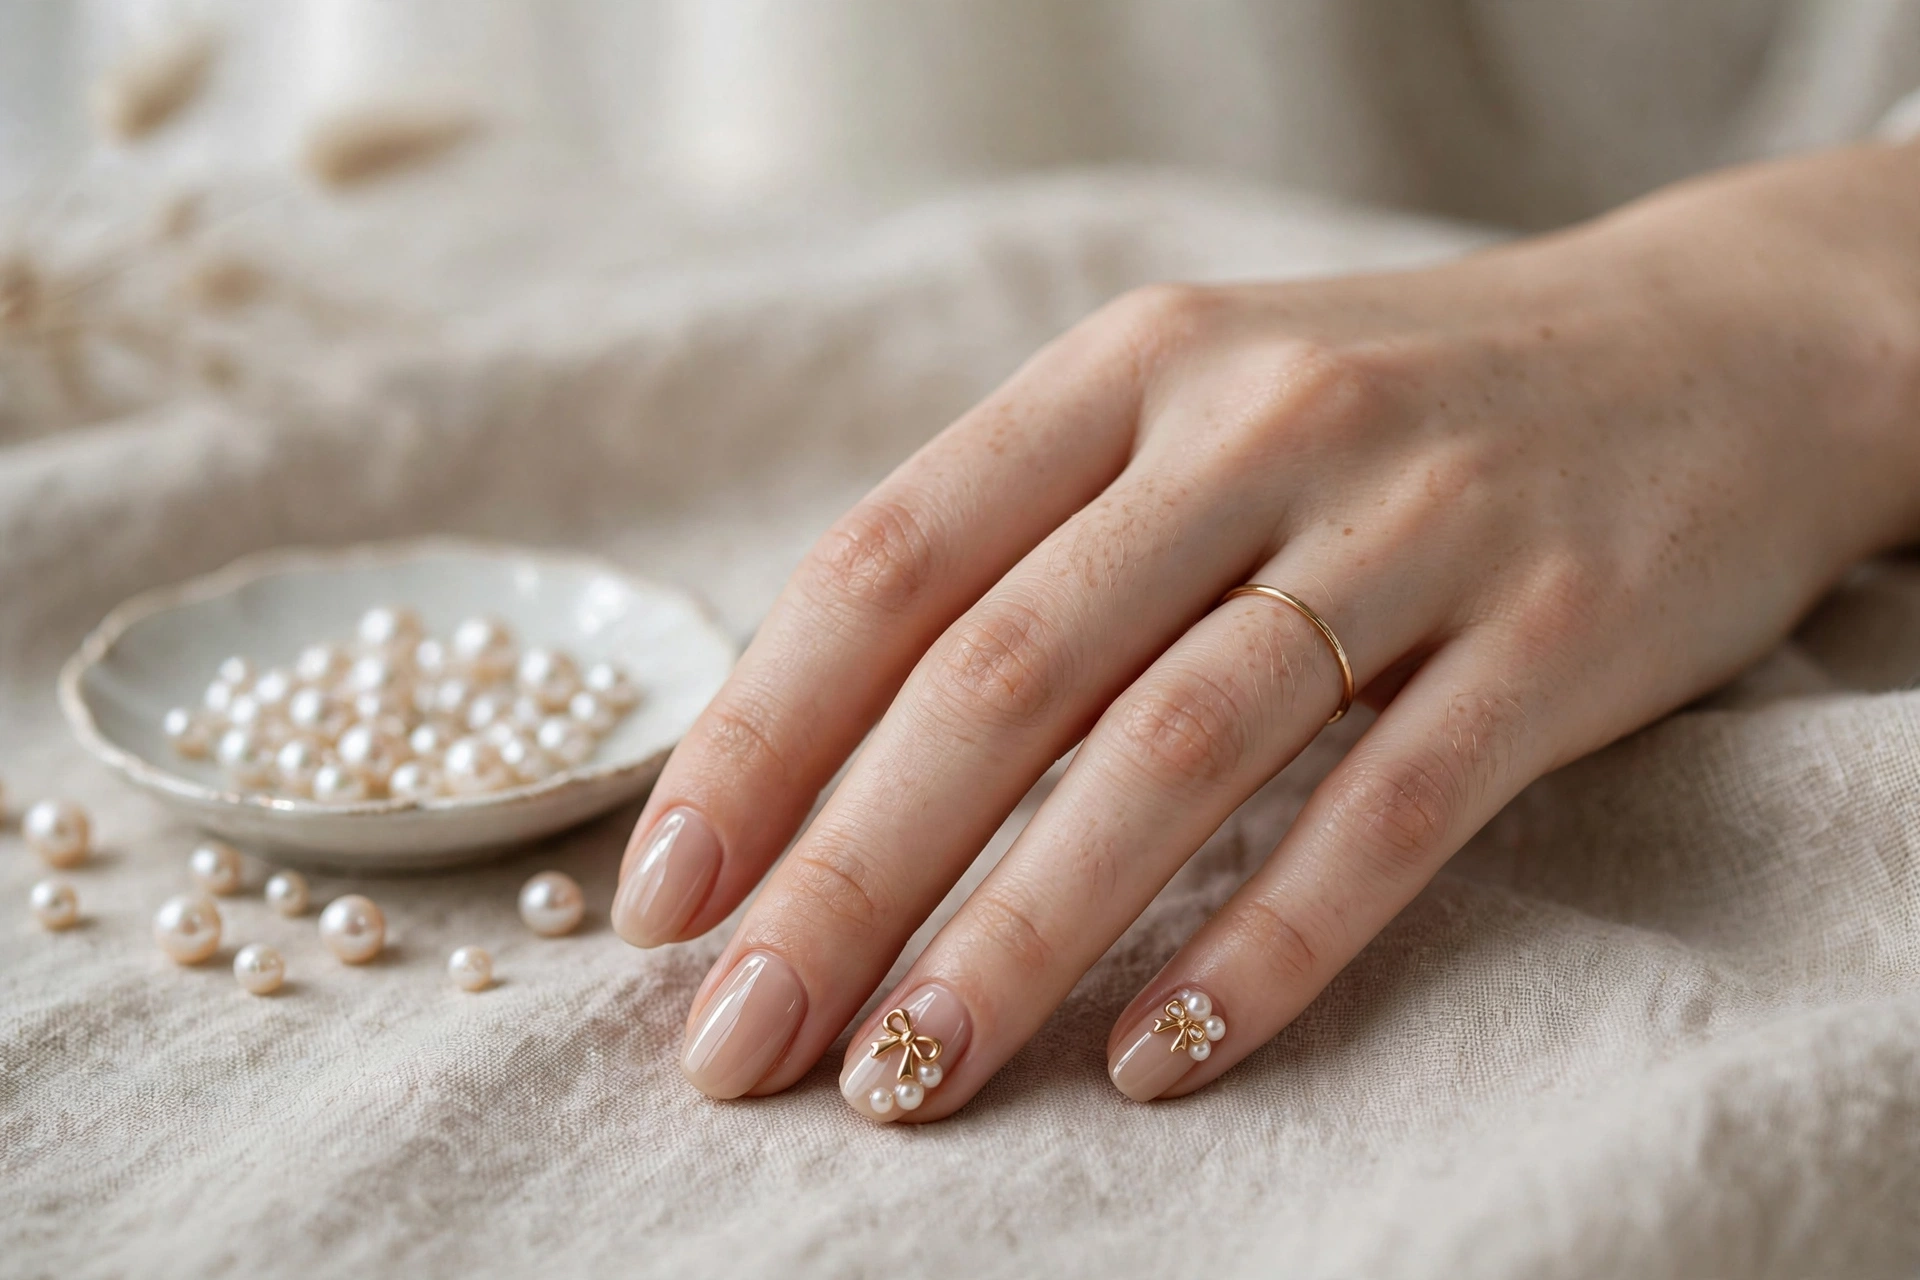
One or two accent nails carrying tiny metal bows and half-pearls on a nude base. Charms are the quickest route to a cute statement because the hardware does the visual work. Keep charms to two nails maximum; a full set of charms reads as costume. DIY difficulty: easy with nail glue, medium for long wear. Press charms into a bead of builder gel or strong nail glue, then float top coat around (not over) textured charms so they keep their detail. Our pearl nail designs show more ways to wear pearls.
18. Pastel Glitter Accents
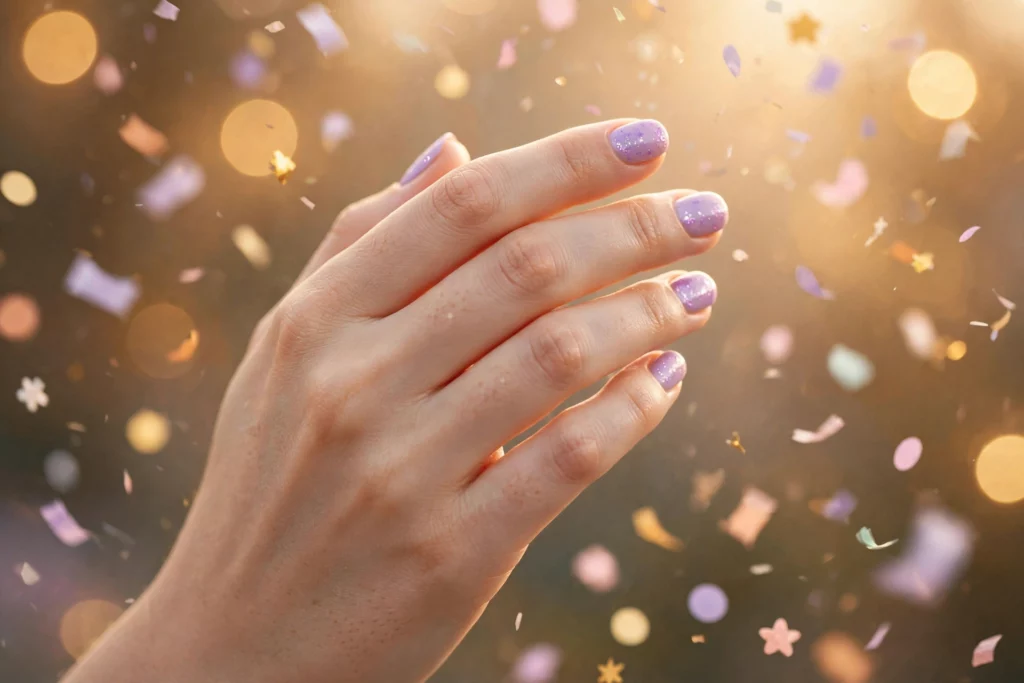
Fine pastel glitter on the ring fingers over a sheer pink base. Glitter is cute when the particles are fine and the colors stay pastel; chunky holographic glitter tips the same design into party territory. Best on any length. DIY difficulty: beginner. Sponge the glitter on for density rather than brushing, which drags particles thin. For the full sparkle spectrum, see our glitter nail designs.
Which Cute Style Fits Your Nails?
Match the cute vocabulary to your nail length and patience level. Short nails suit small flat art; longer nails can carry 3D details; pastels suit everyone.
| Cute style | Best nail length & shape | DIY difficulty | Why it works |
|---|---|---|---|
| Kawaii faces & characters | Short to medium; round or almond | Beginner to medium | Faces read as cute at any skill level; round shapes echo the characters |
| Tiny motifs | Short; round or squoval | Beginner | Small-scale art suits small canvases; one motif per nail looks intentional |
| Sweet pastels | Any length; any shape | Beginner | Color does the work; no art skills needed and endlessly wearable |
| Playful 3D & details | Medium to long; almond or coffin | Medium | Dimension adds wow factor but needs surface area and careful wear |
How to Do Cute Nail Art at Home
You need less equipment than you think. Most cute nail art comes down to three tools and one technique.
The essential kit: a dotting tool (a bobby pin or toothpick works), a thin nail art brush, and small decals or stickers for the designs you do not want to freehand. A good glossy top coat matters more than any tool; it levels tiny imperfections and makes colors look juicy.
The two-dot heart: place two dots of polish side by side, then drag downward through both with a toothpick while wet. Practice on paper first; five minutes of practice produces reliably cute hearts. Stars are easiest as stickers, and clouds are forgiving blobs with faces added after drying.
Make it last: cap the free edge with top coat, reapply top coat every two to three days, and wear gloves for dishes. Regular polish cute art lasts five to seven days this way; gel versions last two to three weeks.
Cute Nails FAQ
What is the best nail shape for cute designs?
Short round, almond, and squoval shapes suit cute designs best. Rounded shapes echo the soft proportions that read as cute, and shorter lengths keep small art looking intentional. Very long stilettos can still be cute, but the sharp silhouette fights the soft aesthetic.
How do you draw a tiny heart on nails?
Use the two-dot method: place two small dots of polish side by side, then drag a toothpick down through both while the polish is wet to form the point. It takes about five minutes of practice on paper to get consistent. Nail art stickers are a reliable backup.
Do cute nails look good on short nails?
Yes, most cute nail art is designed for short nails. Tiny motifs, faces, and pastel cremes all suit a small canvas, and one small detail per nail looks deliberate rather than sparse. Only 3D charms and layered jelly effects genuinely benefit from longer nails.
What nail colors look the cutest?
Pastels (baby pink, lavender, mint, baby blue), milky sheers, and soft white read as the cutest because they are light, fresh, and cheerful. That said, cute is mostly about scale and finish: tiny art in any color with a glossy top coat looks sweet.
How long does cute nail art last?
With regular polish and a good top coat, hand-painted cute art lasts five to seven days. Reapplying top coat every two to three days extends it. Gel polish versions last two to three weeks. 3D charms are the weak point; they can loosen within days if they snag, so seal their bases well.
Can I do cute nails at home without professional tools?
Yes. A toothpick replaces a dotting tool, a bobby pin makes larger dots, and tape or stickers handle lines and shapes. Start with dots, hearts, and daisies, which need no brushes. If freehand faces feel hard, character stickers sealed under top coat look convincingly hand-painted at conversation distance.
Are cute nail designs appropriate for work?
The pastel and micro-motif designs are office-friendly: a milky pink, a tiny heart near the cuticle, or pastel French tips read as polished, not childish. Save 3D charms, bright character faces, and glitter for weekends if your workplace is conservative.
How do I keep 3D nail charms from falling off?
Anchor charms in builder gel or strong nail glue rather than regular top coat, press them in while the medium is wet, and cure or dry fully. Float top coat around the charm’s base instead of over textured details. Even well-anchored charms last longer on nails that do not take hard knocks, so consider them a one-to-two-week look.