Cuticle Care 101: How to Get Clean, Healthy Cuticles
Your cuticles are the thin line of skin sealing the base of every nail, and they decide whether your hands look groomed or neglected before any polish goes on. Ignore them and even a perfect manicure looks unfinished. Attack them with nippers, though, and you can end up with infection, sore nail folds, and nails that grow in ridged.
This guide covers cuticle care the honest way: what cuticles actually do, the push-vs-cut question answered straight, a safe five-step routine you can do at home, how to rescue overgrown cuticles and hangnails, the tools worth owning (and how to use them safely), what to ask for at the salon, and the warning signs that mean you should stop and see a professional.
What Your Cuticles Actually Do
The short answer: your cuticle is a living seal that locks bacteria and moisture out of the nail matrix, where new nail cells are made. Protect it.
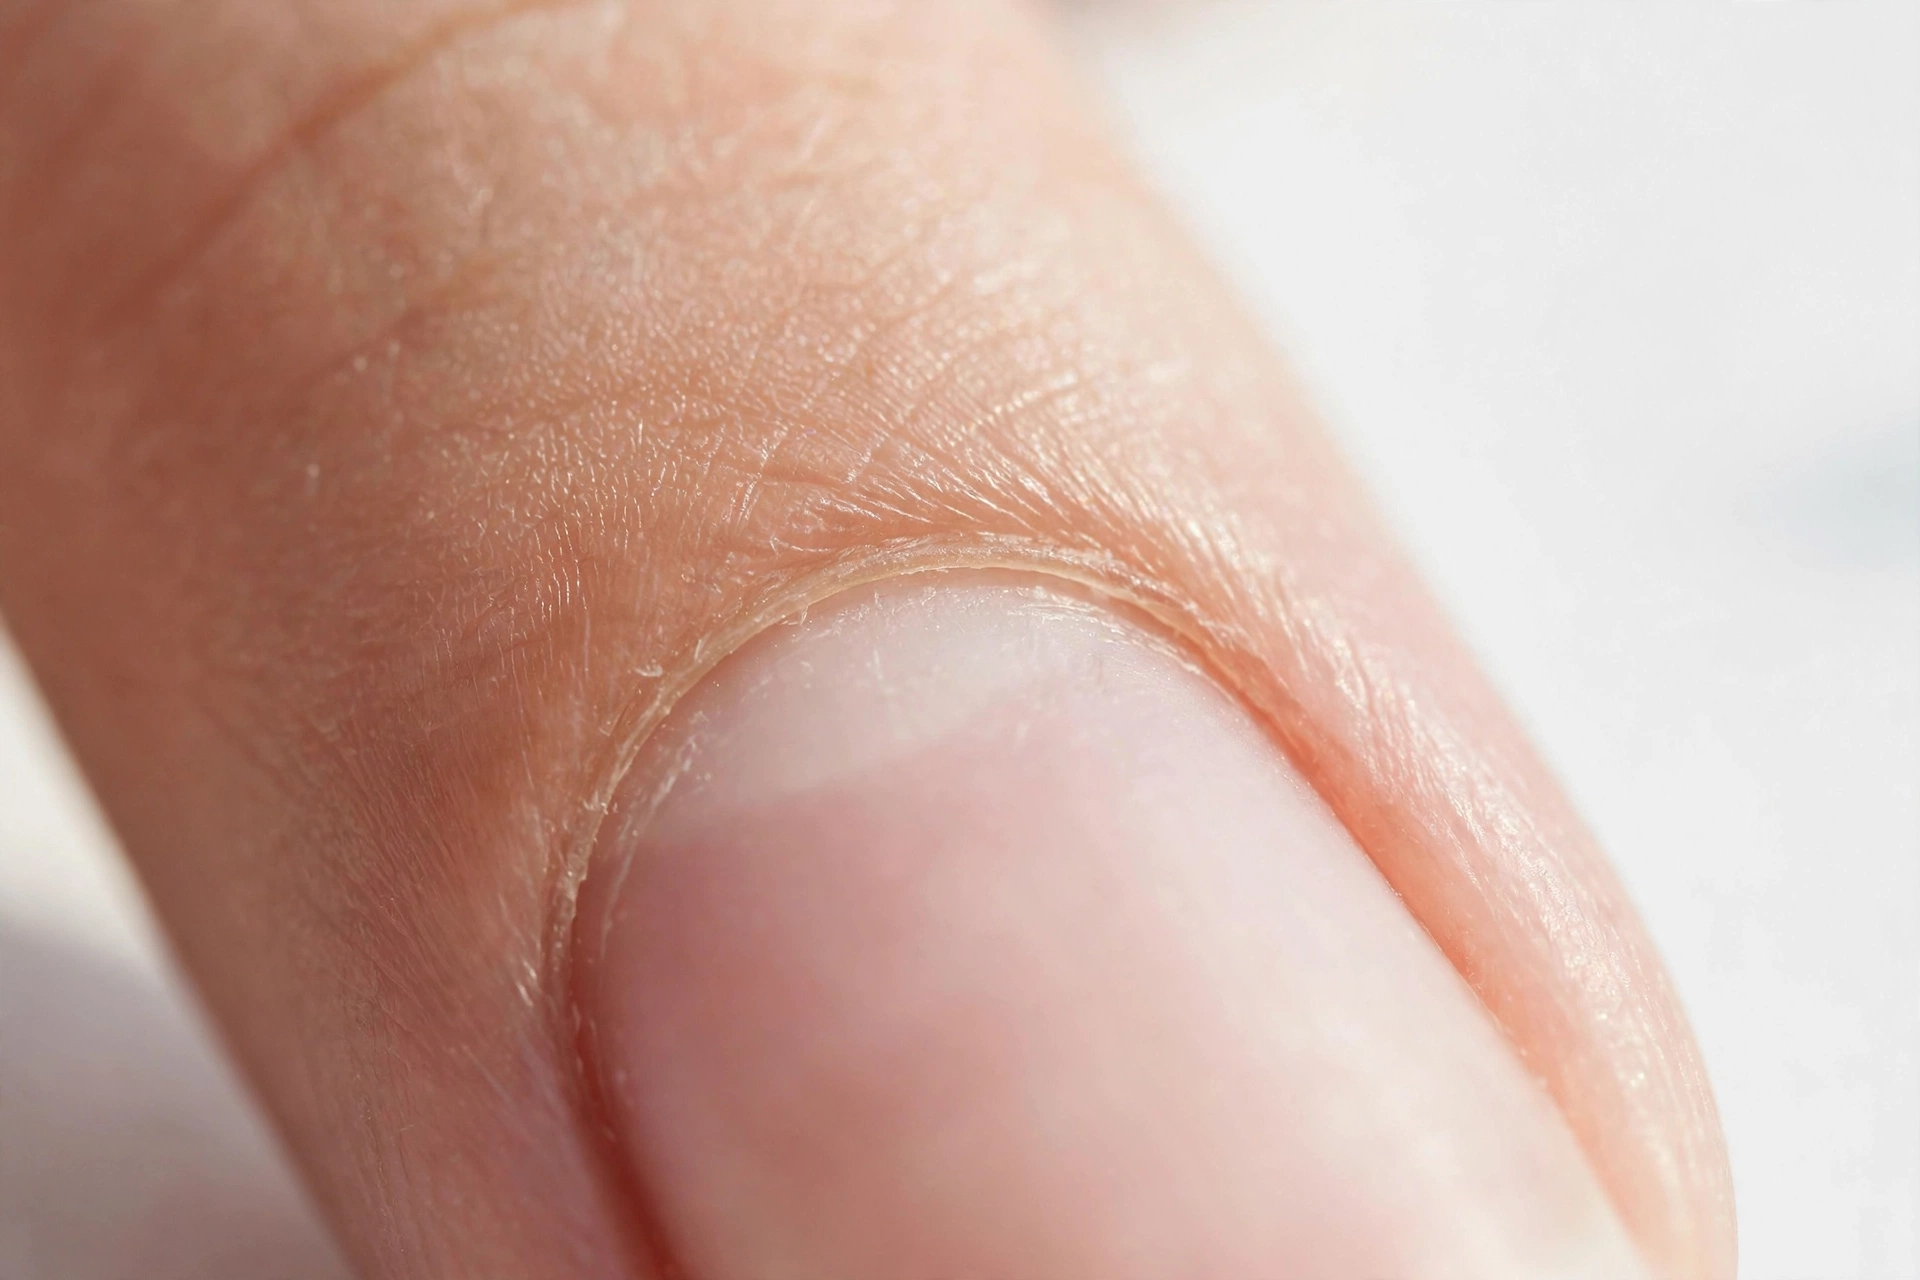
That crescent of skin at the base of each nail is the eponychium, the fold most people simply call “the cuticle.” It sits over the nail matrix, the pocket under the skin where your nail is built. As long as that seal is intact, germs and moisture can’t reach the soft growing tissue beneath it.
The ragged, whitish stuff that creeps onto the nail plate is different: it’s non-living dead skin. That is the only part you ever push back or tidy. Everything else, the pink, attached, sensitive skin, is living tissue doing a real job. When people say cuticles are “protective,” they mean the living seal, and breaking it is how painful nail-fold infections start.
Should You Cut Your Cuticles? The Honest Answer
The short answer: almost never. Push cuticles back; cut only skin that is already loose, white, and detached.
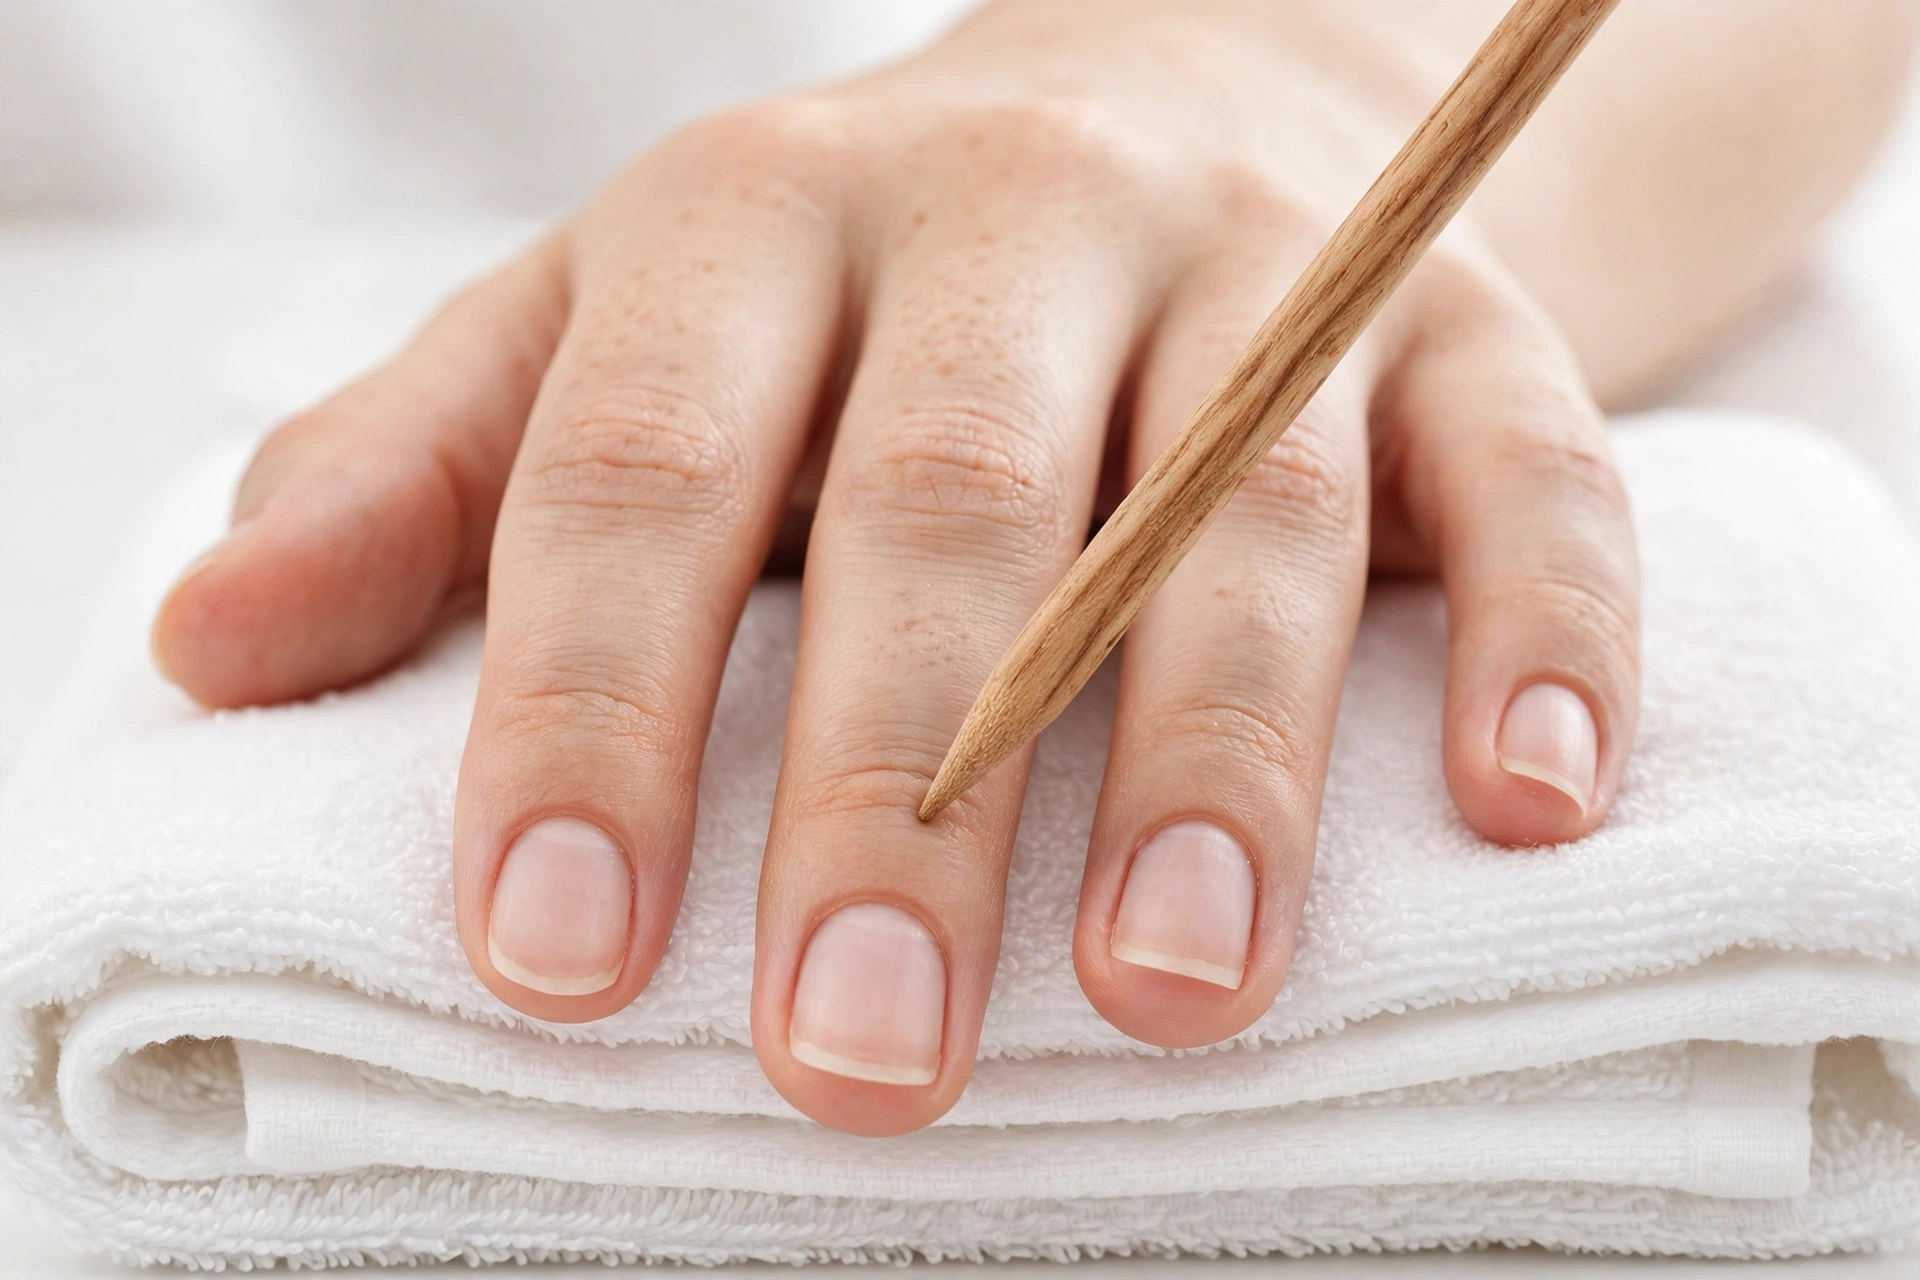
Pushing back means easing the dead skin that has crept onto the nail plate off the nail surface after softening. It is safe at home, it keeps the protective seal intact, and done weekly it gives you the clean look most people are really after when they reach for nippers.
Cutting means something narrower: snipping the loose, white flaps of dead skin that stand up after pushing. Living skin, pink, attached, tender, is never cut. Here is what over-cutting can actually do:
- Infection. Broken skin around the nail is an open door for bacteria and fungi, and the resulting infection of the nail fold is called paronychia: red, swollen, throbbing, sometimes pus-filled.
- Nail damage. The matrix sits just under that skin. Damage it and nails can grow in ridged, thin, or misshapen.
- Rougher regrowth. Cut cuticles don’t stay gone. They grow back uneven and often rougher than before, which tempts another round of cutting.
The clean, “no-cuticle” look you see in salon photos doesn’t come from cutting. It comes from consistent pushing and daily oil. That is the whole secret.
This isn’t just our opinion: dermatologists, including the American Academy of Dermatology, advise against cutting cuticles, because the cuticle seals the area where new nail forms — and cutting it opens a direct path for infection.
The Safe At-Home Cuticle Routine (5 Steps)
Cuticle Care: The Do vs Don’t Cheat Sheet
| Do | Don’t |
|---|---|
| Apply cuticle oil every day — one small drop per nail, massaged in | Cut living cuticle skin with nippers or scissors |
| Push cuticles back gently, only after softening (shower, soak, or oil) | Force or scrape dry, unsoftened cuticles |
| Seal in moisture with hand cream after every hand wash | Pick, bite, or tear hangnails |
| Wear gloves for dishes, cleaning, and cold weather | Buff the living skin around the nail aggressively |
| Rehydrate after every acetone soak or gel removal — never peel product off | Leave acetone-soaked nails bare afterward |
| Ask your salon tech to push back, not cut | Assume a tidy cuticle line needs nippers |
The Overnight Rescue: How to Heal Damaged Cuticles Fast
For badly cracked or peeling cuticles, the fastest home fix is an overnight occlusive treatment: oil, then thick cream, then a thin layer of petrolatum over the cracks, sealed under cotton gloves while you sleep.
During the day, cuticle oil alone evaporates or rubs off within an hour or two. At night, layering changes the math. Start with cuticle oil massaged into each nail, then a rich hand cream over the whole hand, then dab plain petrolatum (Vaseline works) or a thick balm directly onto any cracks or ragged edges. Petrolatum doesn’t moisturize by itself — it seals, trapping the oil and cream underneath so they can actually work for hours instead of minutes.
Pull on a pair of soft cotton gloves — cheap multipacks are fine — and leave everything on for at least 20 to 30 minutes, or overnight for the full effect. Keep a cuticle oil pen at your desk or in your bag for daytime: reapplying twice during the day keeps the overnight gains from unraveling.
Be honest with yourself about timelines. Minor cracks and flaking usually look noticeably better within 24 to 48 hours. Deep, painful fissures can take up to a week of nightly treatment. If a crack is oozing, the redness is spreading, or the area throbs, skip the home routine and see a professional — that is beyond what oil and gloves can fix.
The short answer: once a week, after a shower or a 5-minute warm soak, go in this order: soften, oil, push, tidy, moisturize. Ten minutes total.
This is also the foundation a lasting gel manicure sits on. Polish and gel grip cleanly only when dead skin is cleared off the nail plate, which is why proper cuticle prep is step one in our guide to doing gel nails at home.
Step 1 — Soften with a warm soak
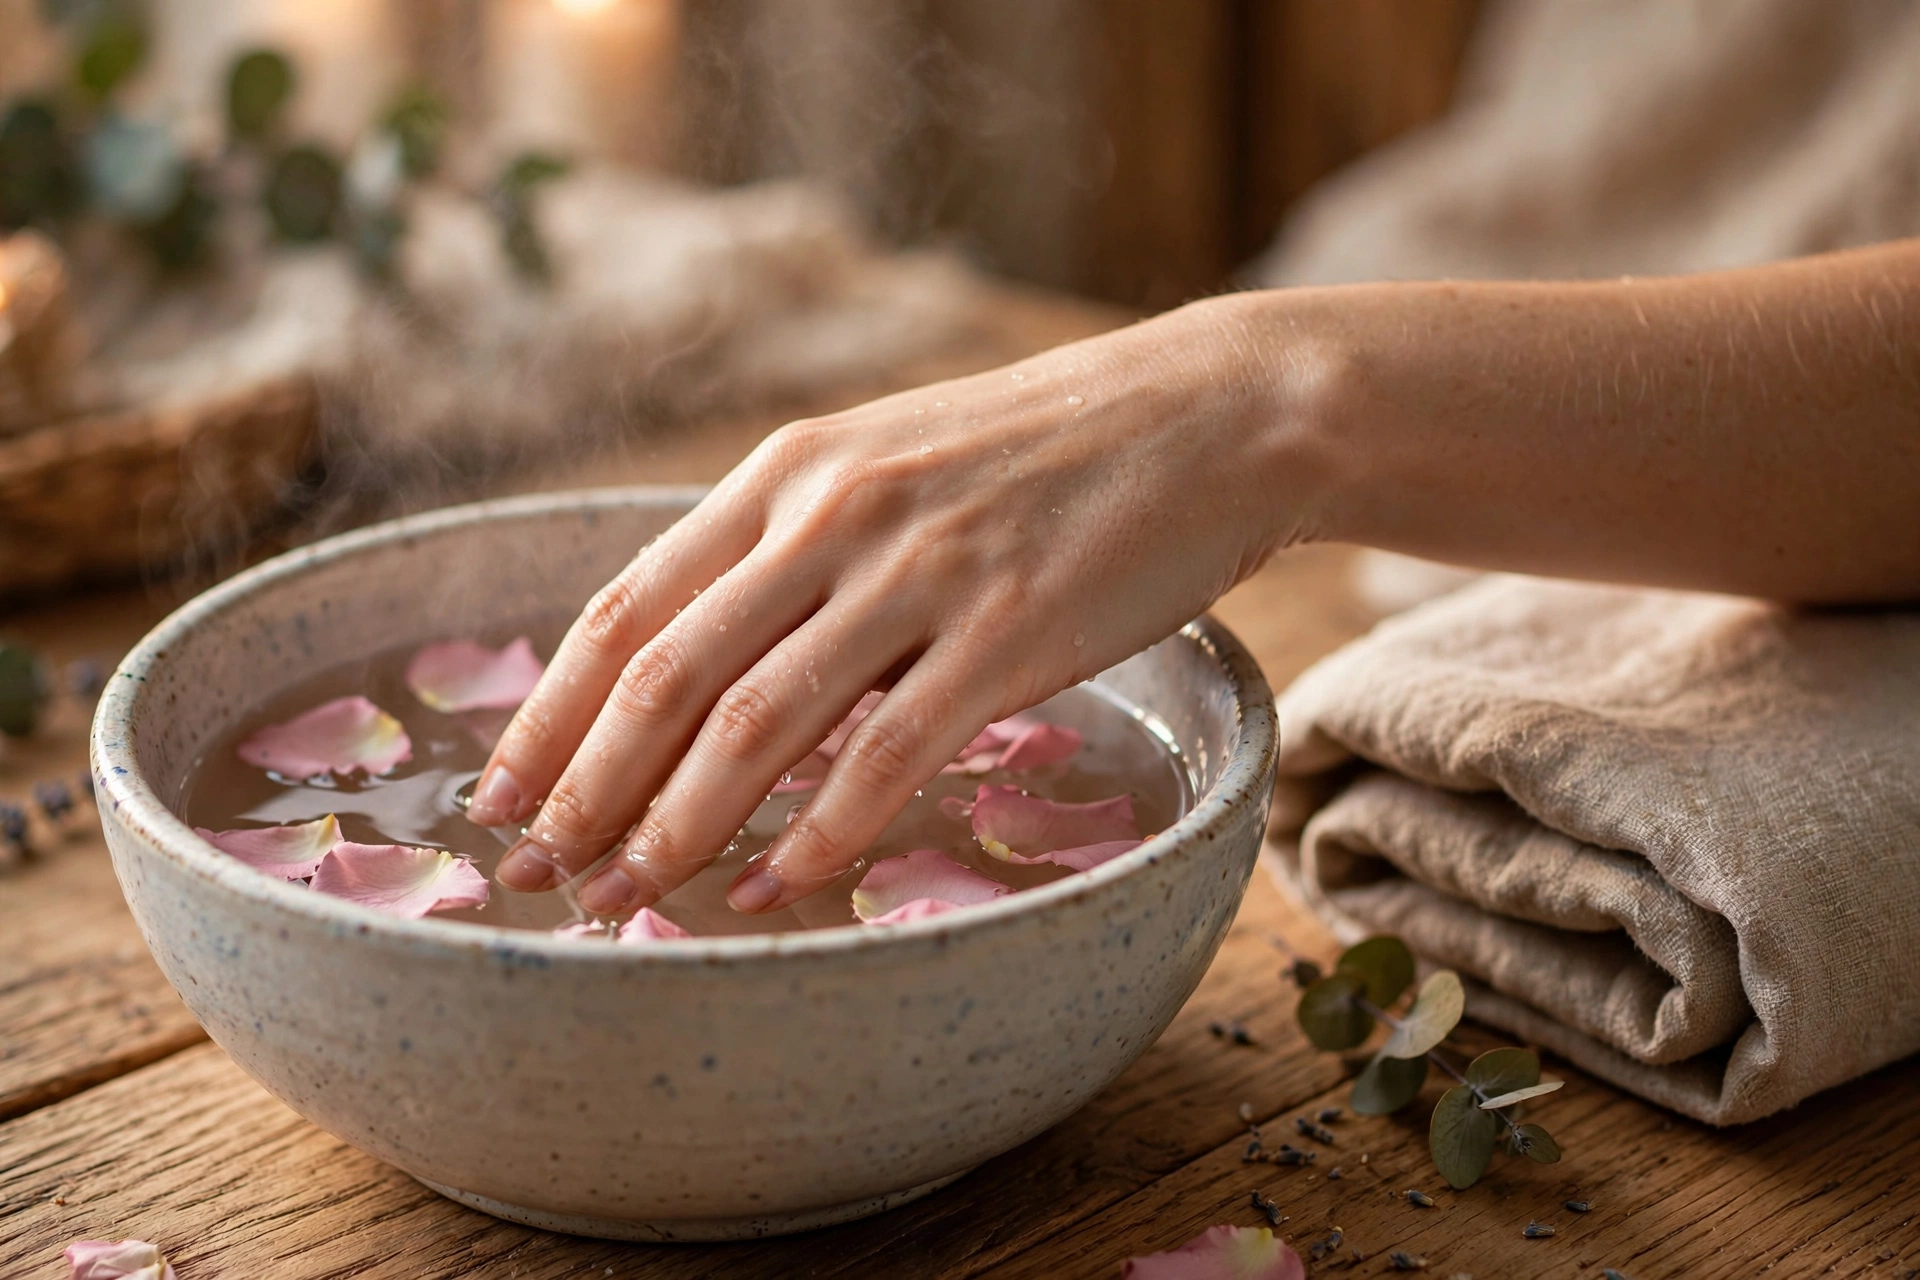
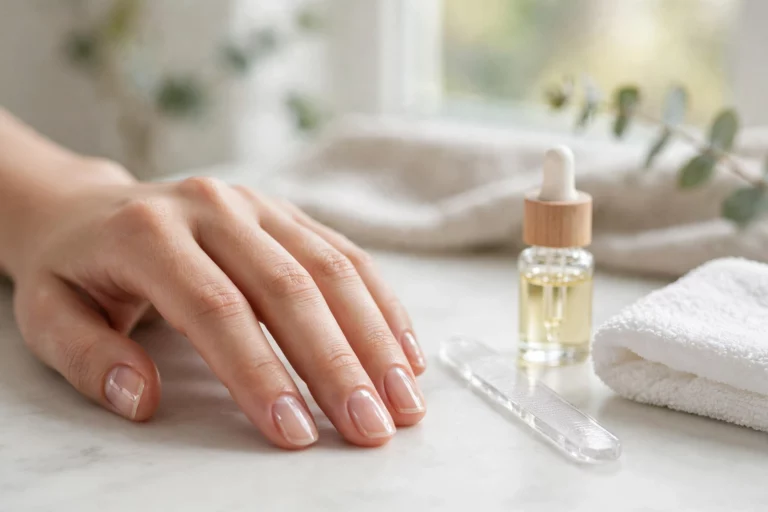
Soak your fingertips in warm (not hot) water for five to ten minutes, or do this right after a shower when your skin is already softened. Never work on dry cuticles. Dry skin tears instead of sliding, and tearing is how hangnails and ragged edges start. If you feel resistance at any later step, it means you need more soaking, not more pressure.
Step 2 — Work in the oil
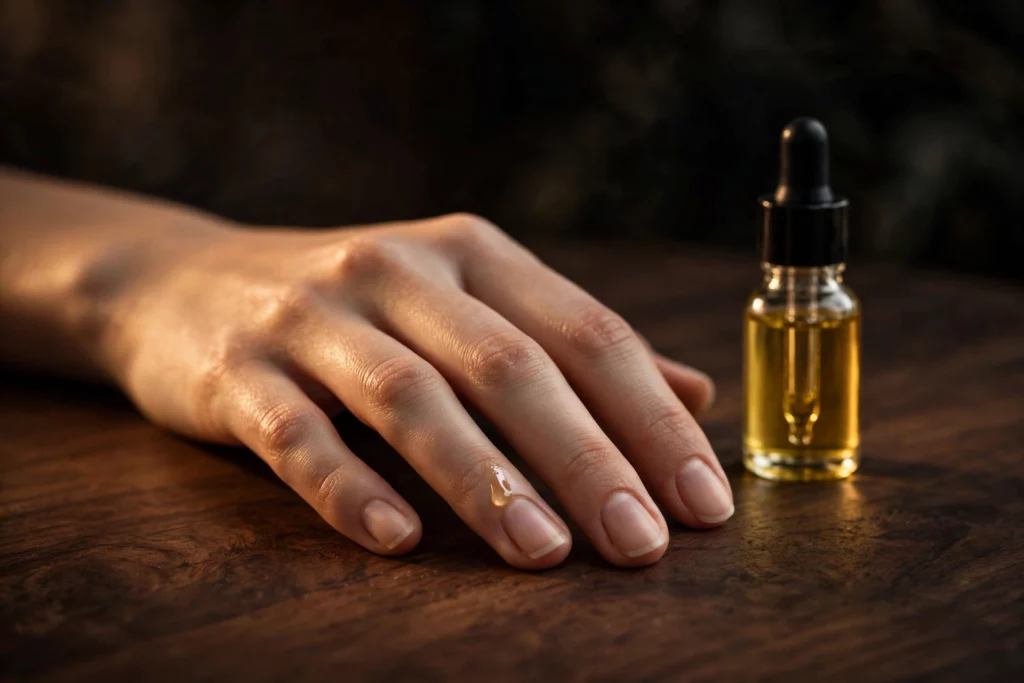
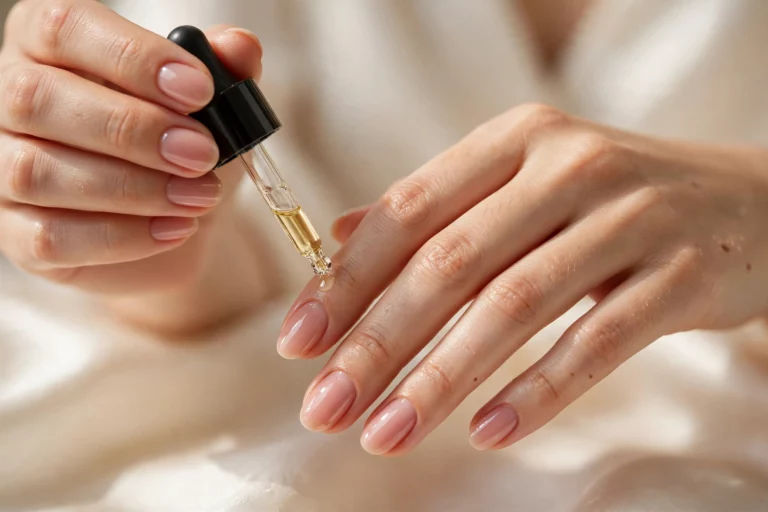
Place a drop of cuticle oil on each nail base and let it sit for a minute or two. Look for oils built on jojoba, vitamin E, or almond oil; they absorb well and keep the dead skin supple. The oil loosens the dead skin’s grip on the nail plate so the pusher glides instead of dragging.
Step 3 — Push back, gently
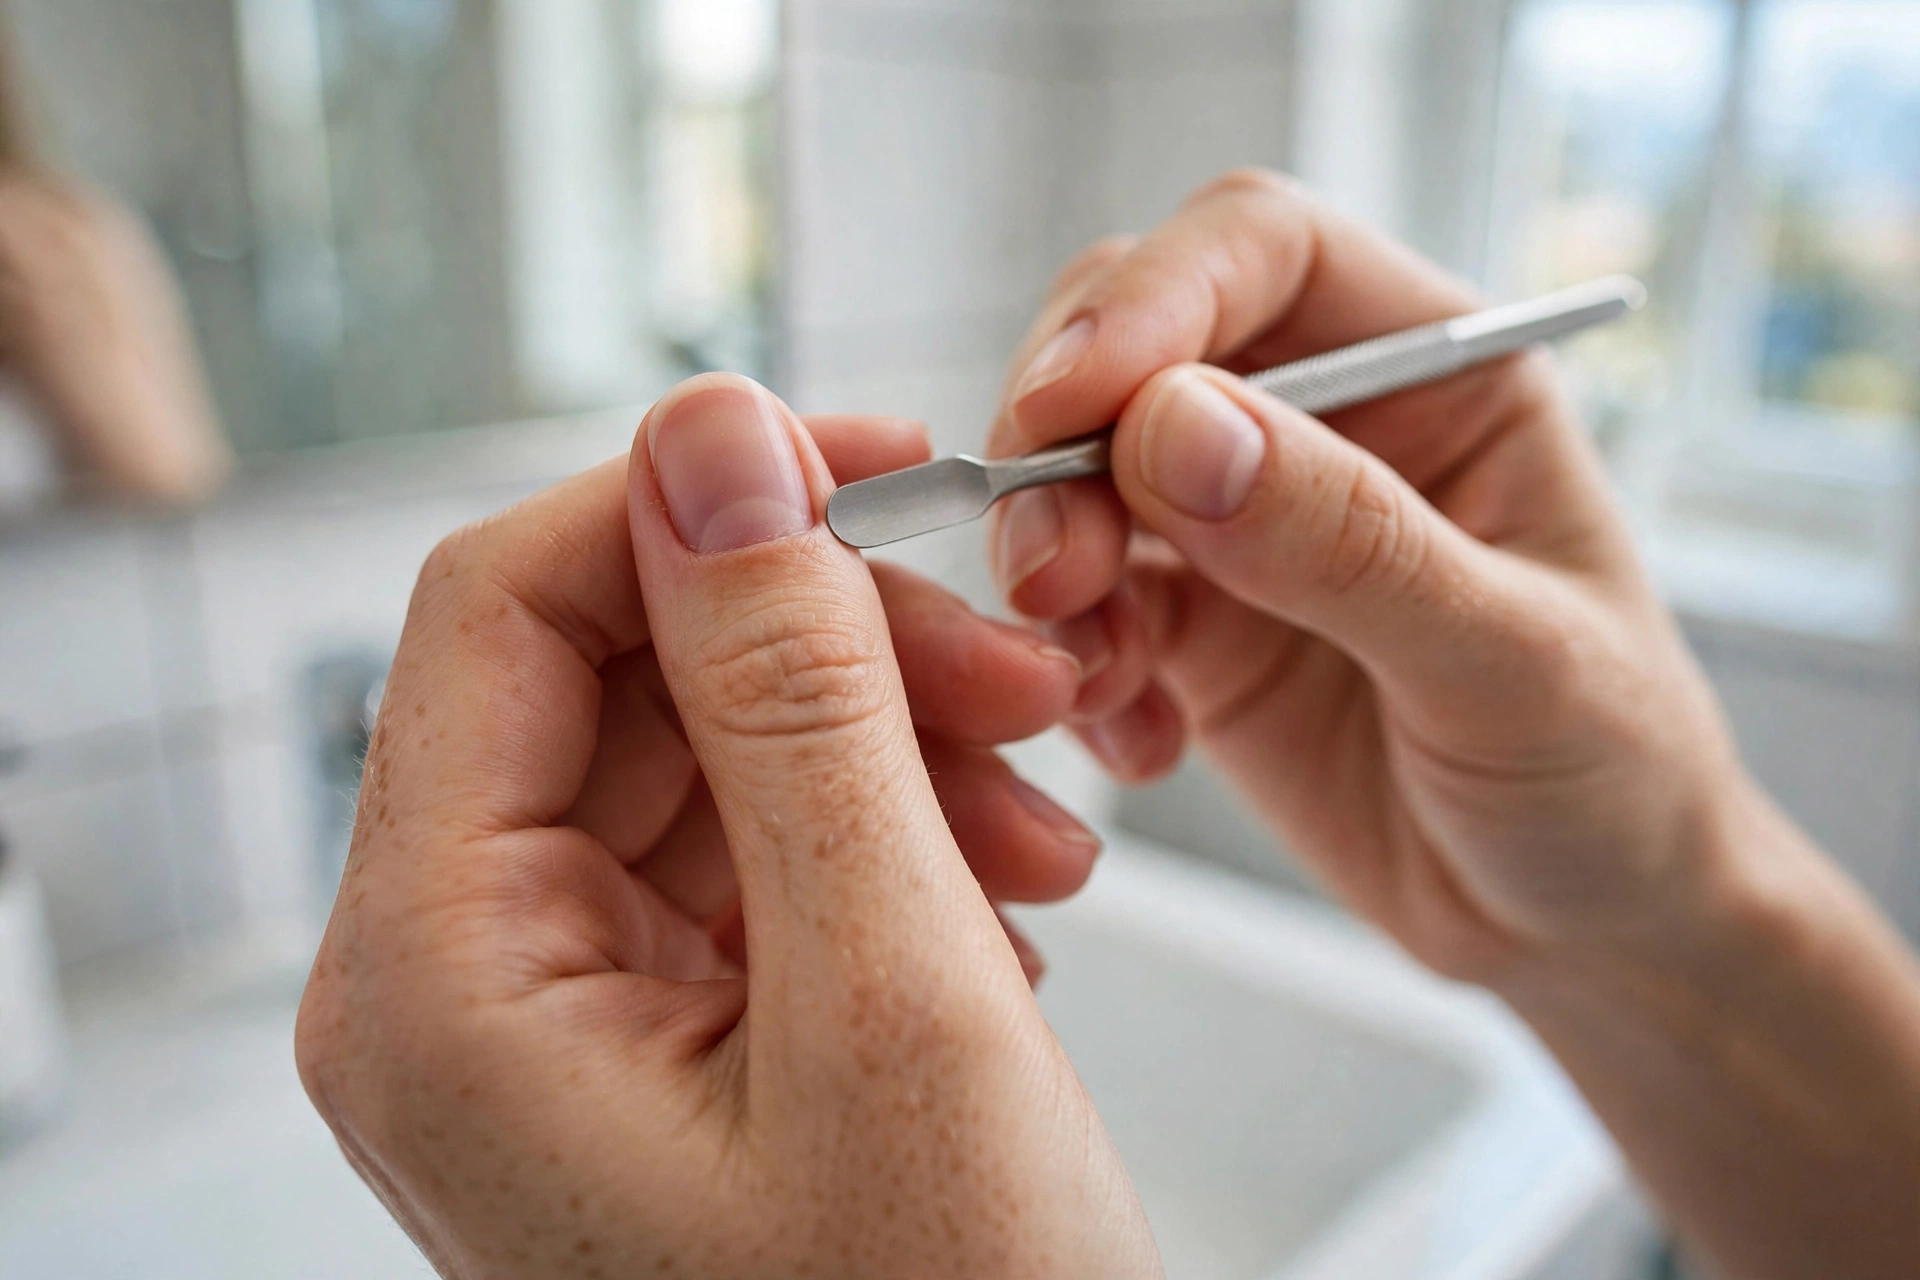
Use an orangewood stick or a rubber-tipped or flat metal pusher at a low angle, with small gentle strokes from the sides toward the center, then back toward the base. You should feel almost no resistance. Never dig, scrape hard, or force skin that won’t move; if it catches, go back to soaking. For beginners, orangewood sticks are the most forgiving option because they can’t scrape the nail surface the way metal can.
Step 4 — Tidy only what’s loose
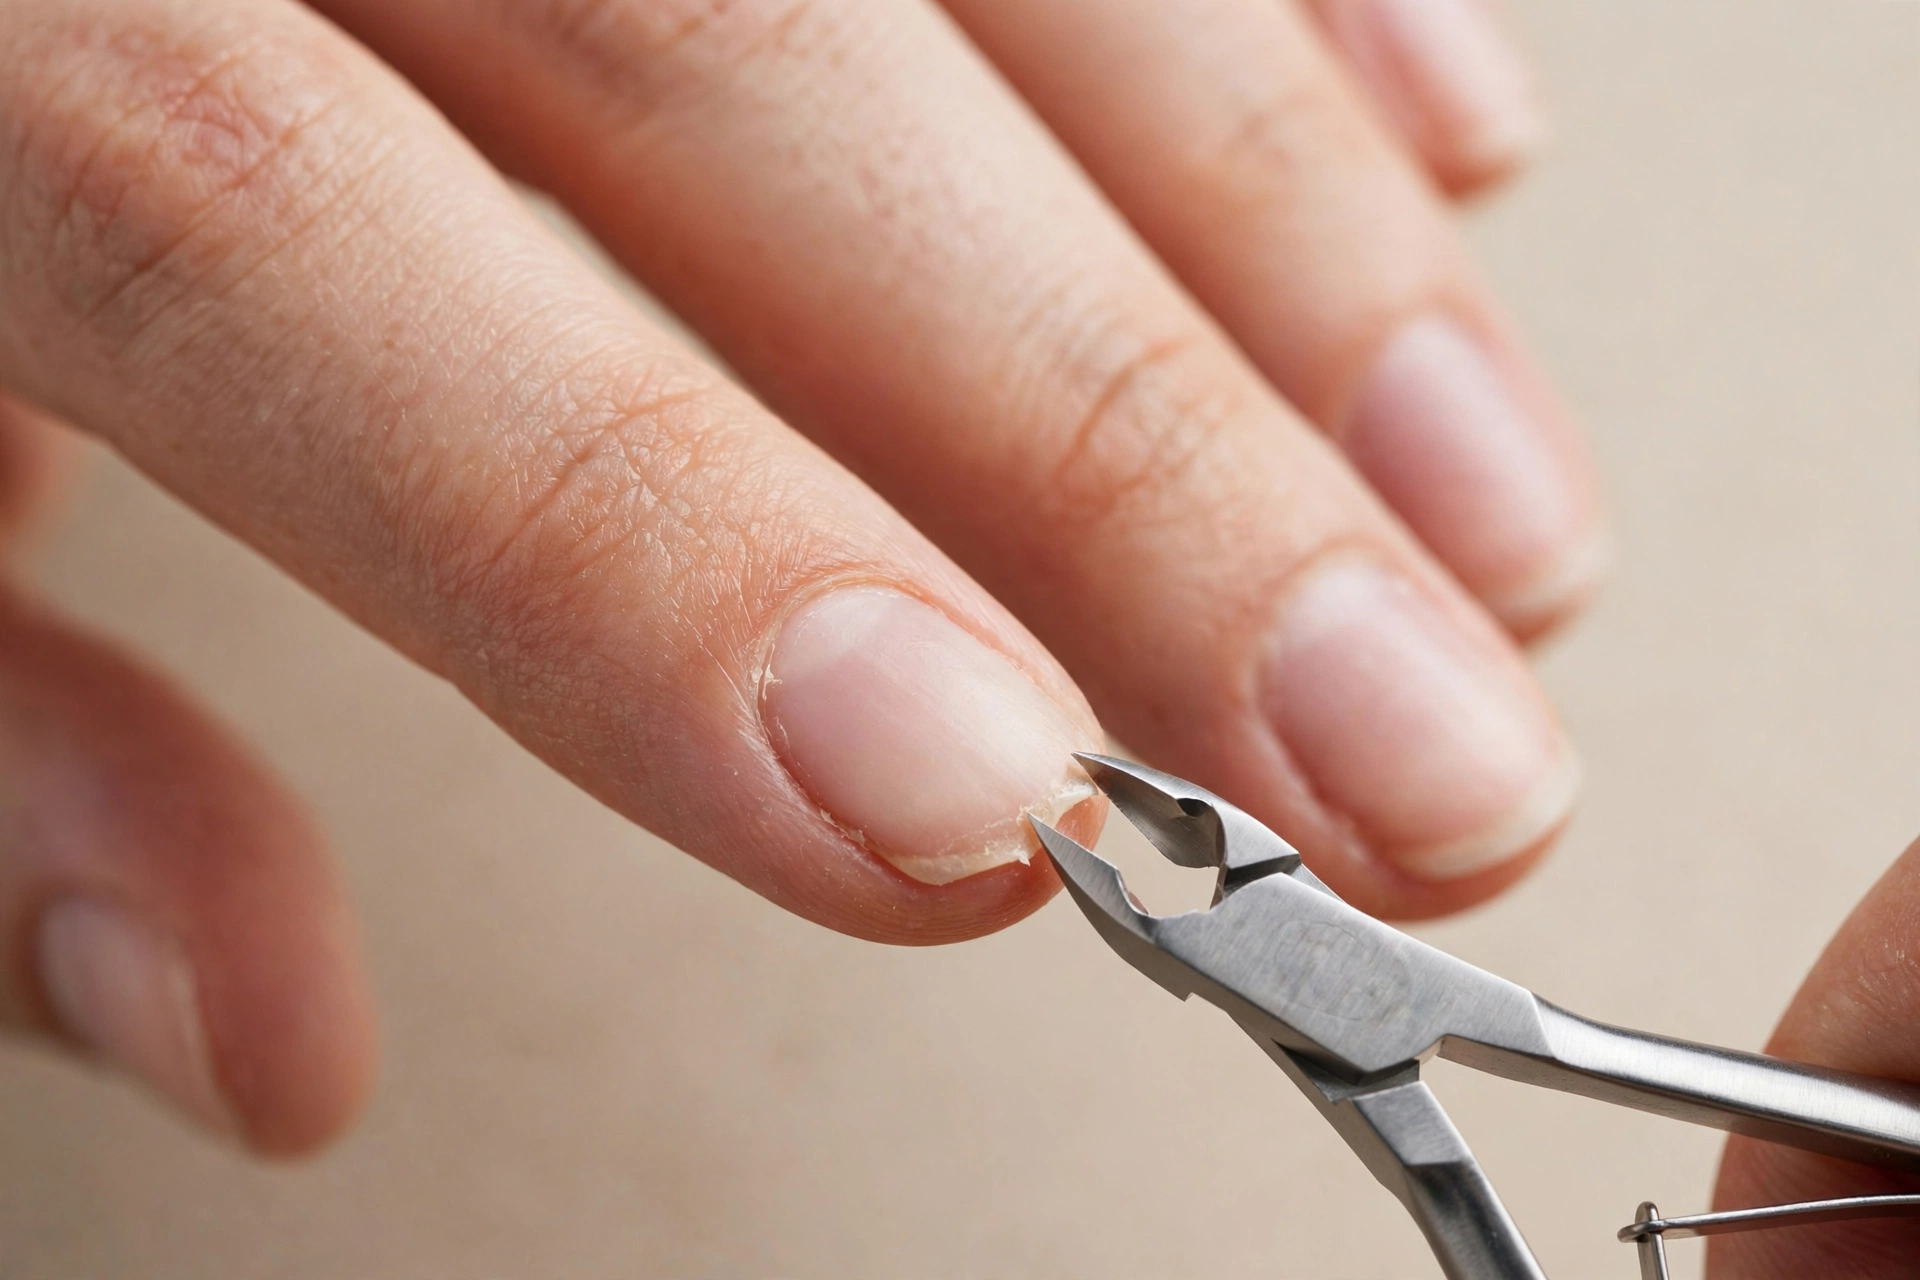
After pushing, you’ll often see thin white flaps of dead skin standing up. Those, and only those, get nipped. Use clean nippers, wiped with rubbing alcohol before and after, and snip close to the base of each loose flap. If a piece is still attached or the skin looks pink underneath, leave it. If nothing is lifting, skip this step entirely; most weeks there is nothing to cut.
Step 5 — Seal in moisture

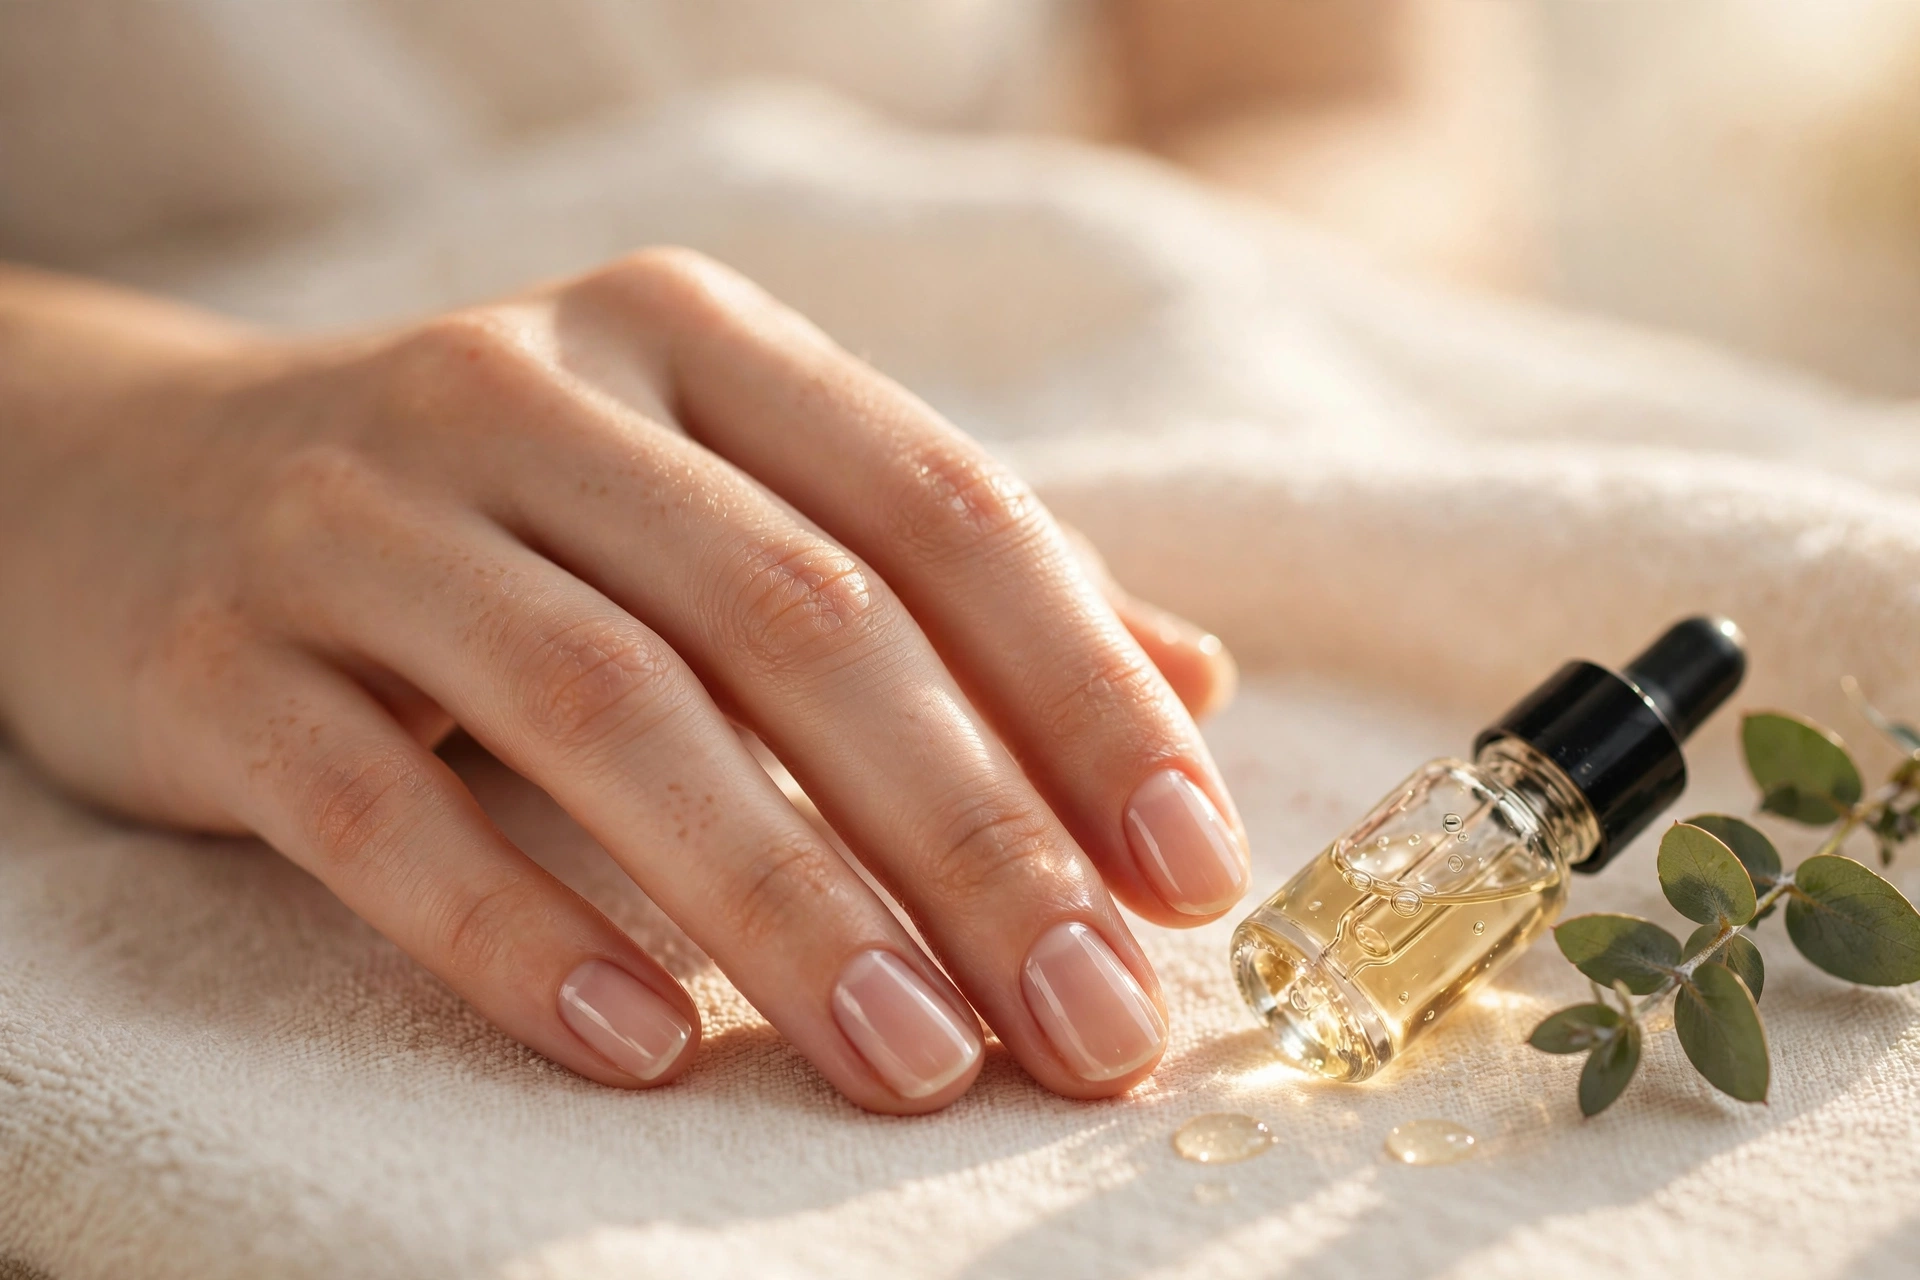
Massage oil into each cuticle for about thirty seconds per nail, then follow with hand cream over the whole hand. This last step matters more than all the others put together: cuticles stay neat between routines only if they stay moisturized. Make the oil a daily habit and the weekly routine a quick tidy-up instead of a rescue mission.
Step 6 — Exfoliate Gently, Once or Twice a Week
Dead, flaky buildup around the nail doesn’t need nippers — it needs a soft washcloth. Once or twice a week, gently rub around each nail with a damp washcloth, or use a mild exfoliant made for the nail area. What you must never do is aggressively buff the living skin: that thin skin is the seal, and thinning it invites exactly the ragged edges you’re trying to fix.
One encouraging note: cuticles respond to consistency. Gentle weekly push-back trains them to lie flat over a few weeks — most people see a visibly neater nail line within a month.
Rescuing Overgrown or Neglected Cuticles
The short answer: don’t try to fix months of neglect in one aggressive session. Oil nightly and push a little every few days; most cuticles are under control within two weeks.
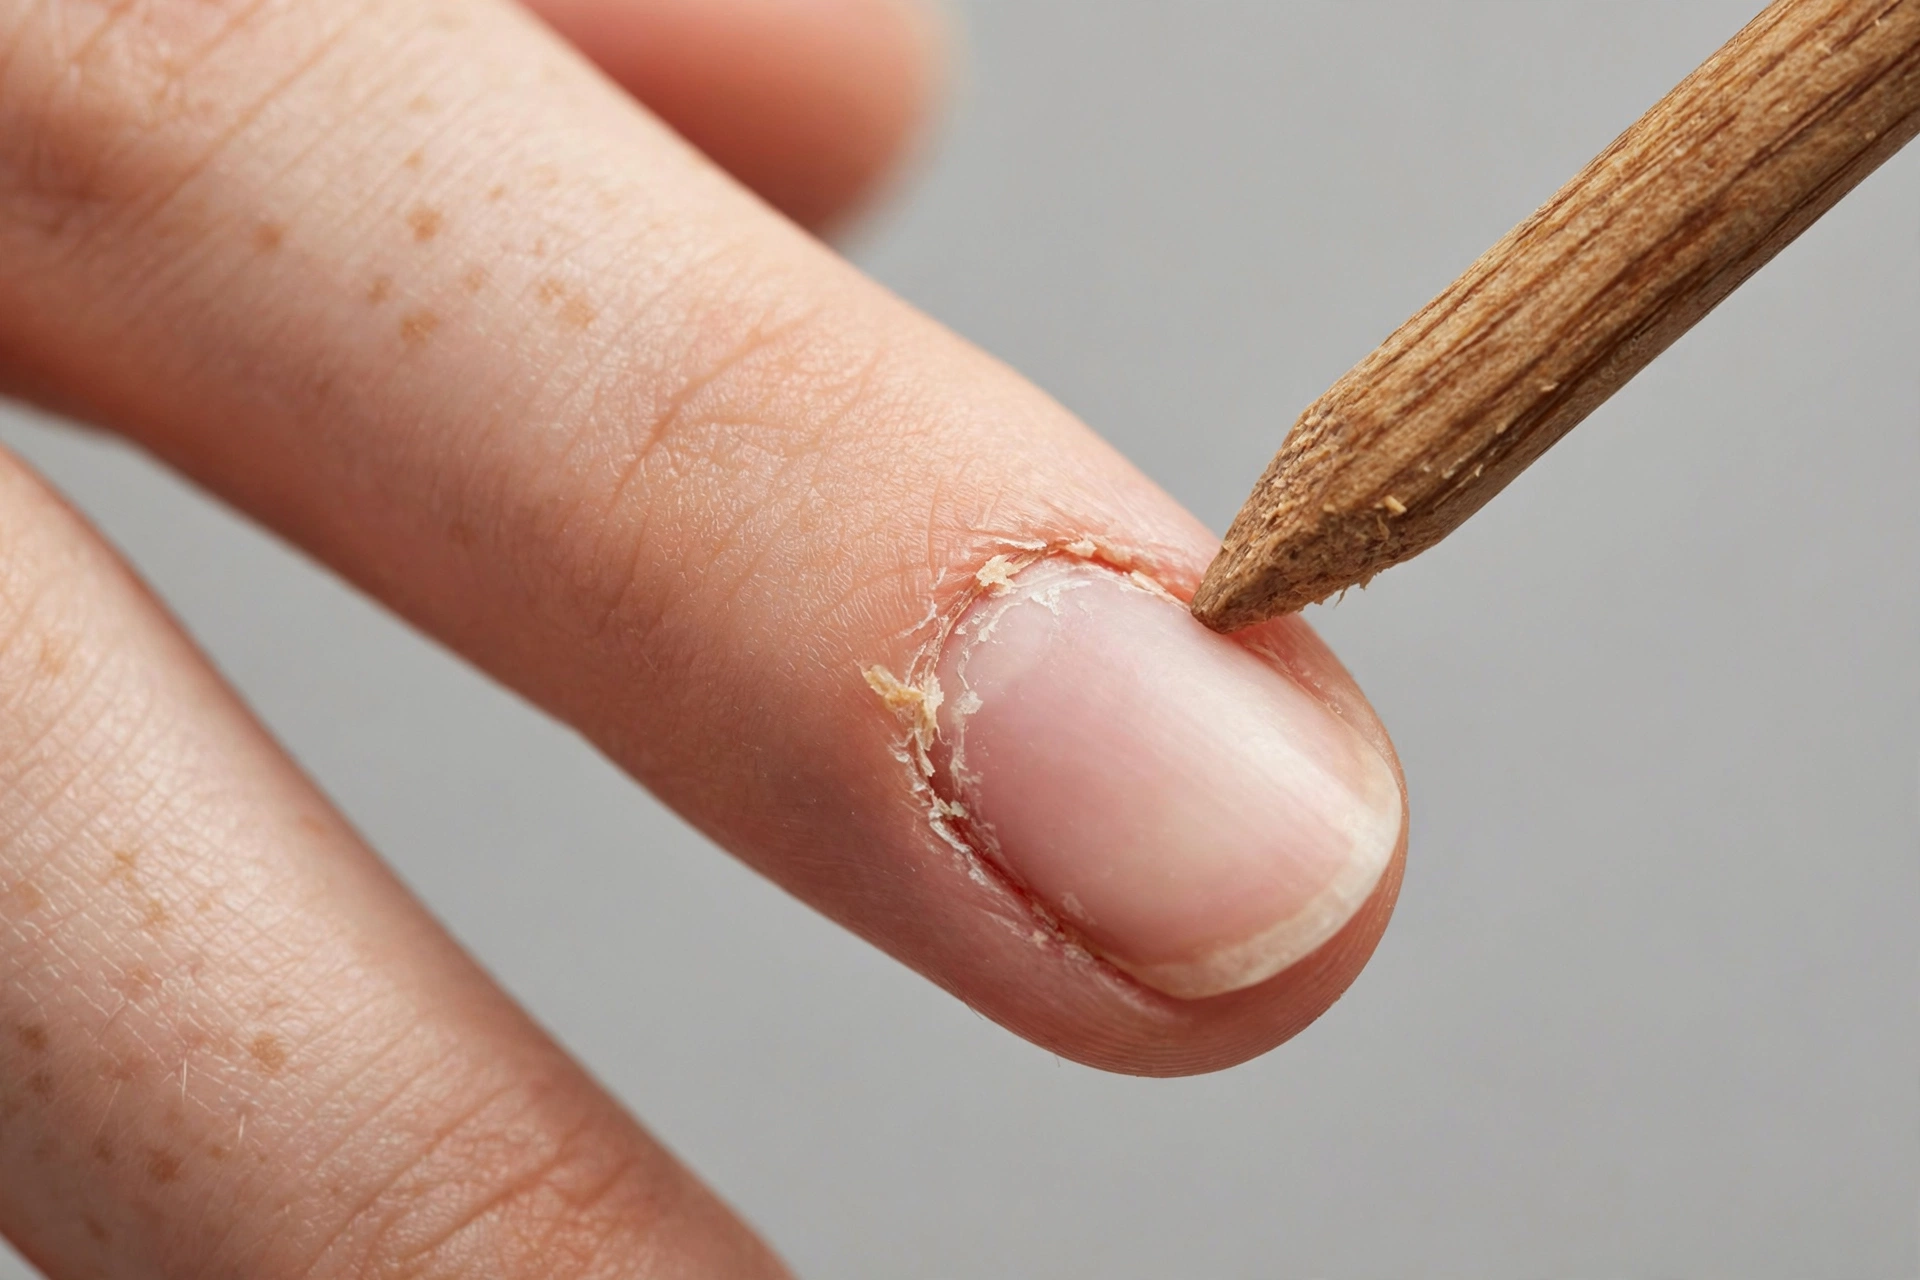
Overgrown cuticles are dead skin that has been creeping onto the nail plate for weeks, often dry and stuck down tight. The rescue plan is slow and boring, which is why it works:
- Massage cuticle oil into every nail base each night before bed.
- After each shower, gently push the softened cuticles back a millimeter or two. No forcing.
- Do the full soak-and-push routine twice a week.
- Resist cutting the thick band. It is tempting, and it is exactly what sets you back.
Within two weeks the dead skin releases, the visible nail bed lengthens, and the ragged edge turns into a smooth line. Neat cuticles are also the fastest way to make short nails look longer, which is one reason tidy nail beds matter so much in our round nail designs for short, practical nails.
One more thing worth knowing: if your cuticles overgrow no matter how consistent your care is, skin conditions like psoriasis or eczema around the nail can drive it — that’s a dermatologist conversation, not a routine problem. And the same push-don’t-cut rule applies to toenails. Feet live in a higher-germ environment (shoes, socks, floors), so be extra conservative there: push back gently after a shower, never cut.
Hangnails: What to Do (and What Never to Do)
The short answer: clip the loose piece with clean nippers. Never pull it, never bite it.
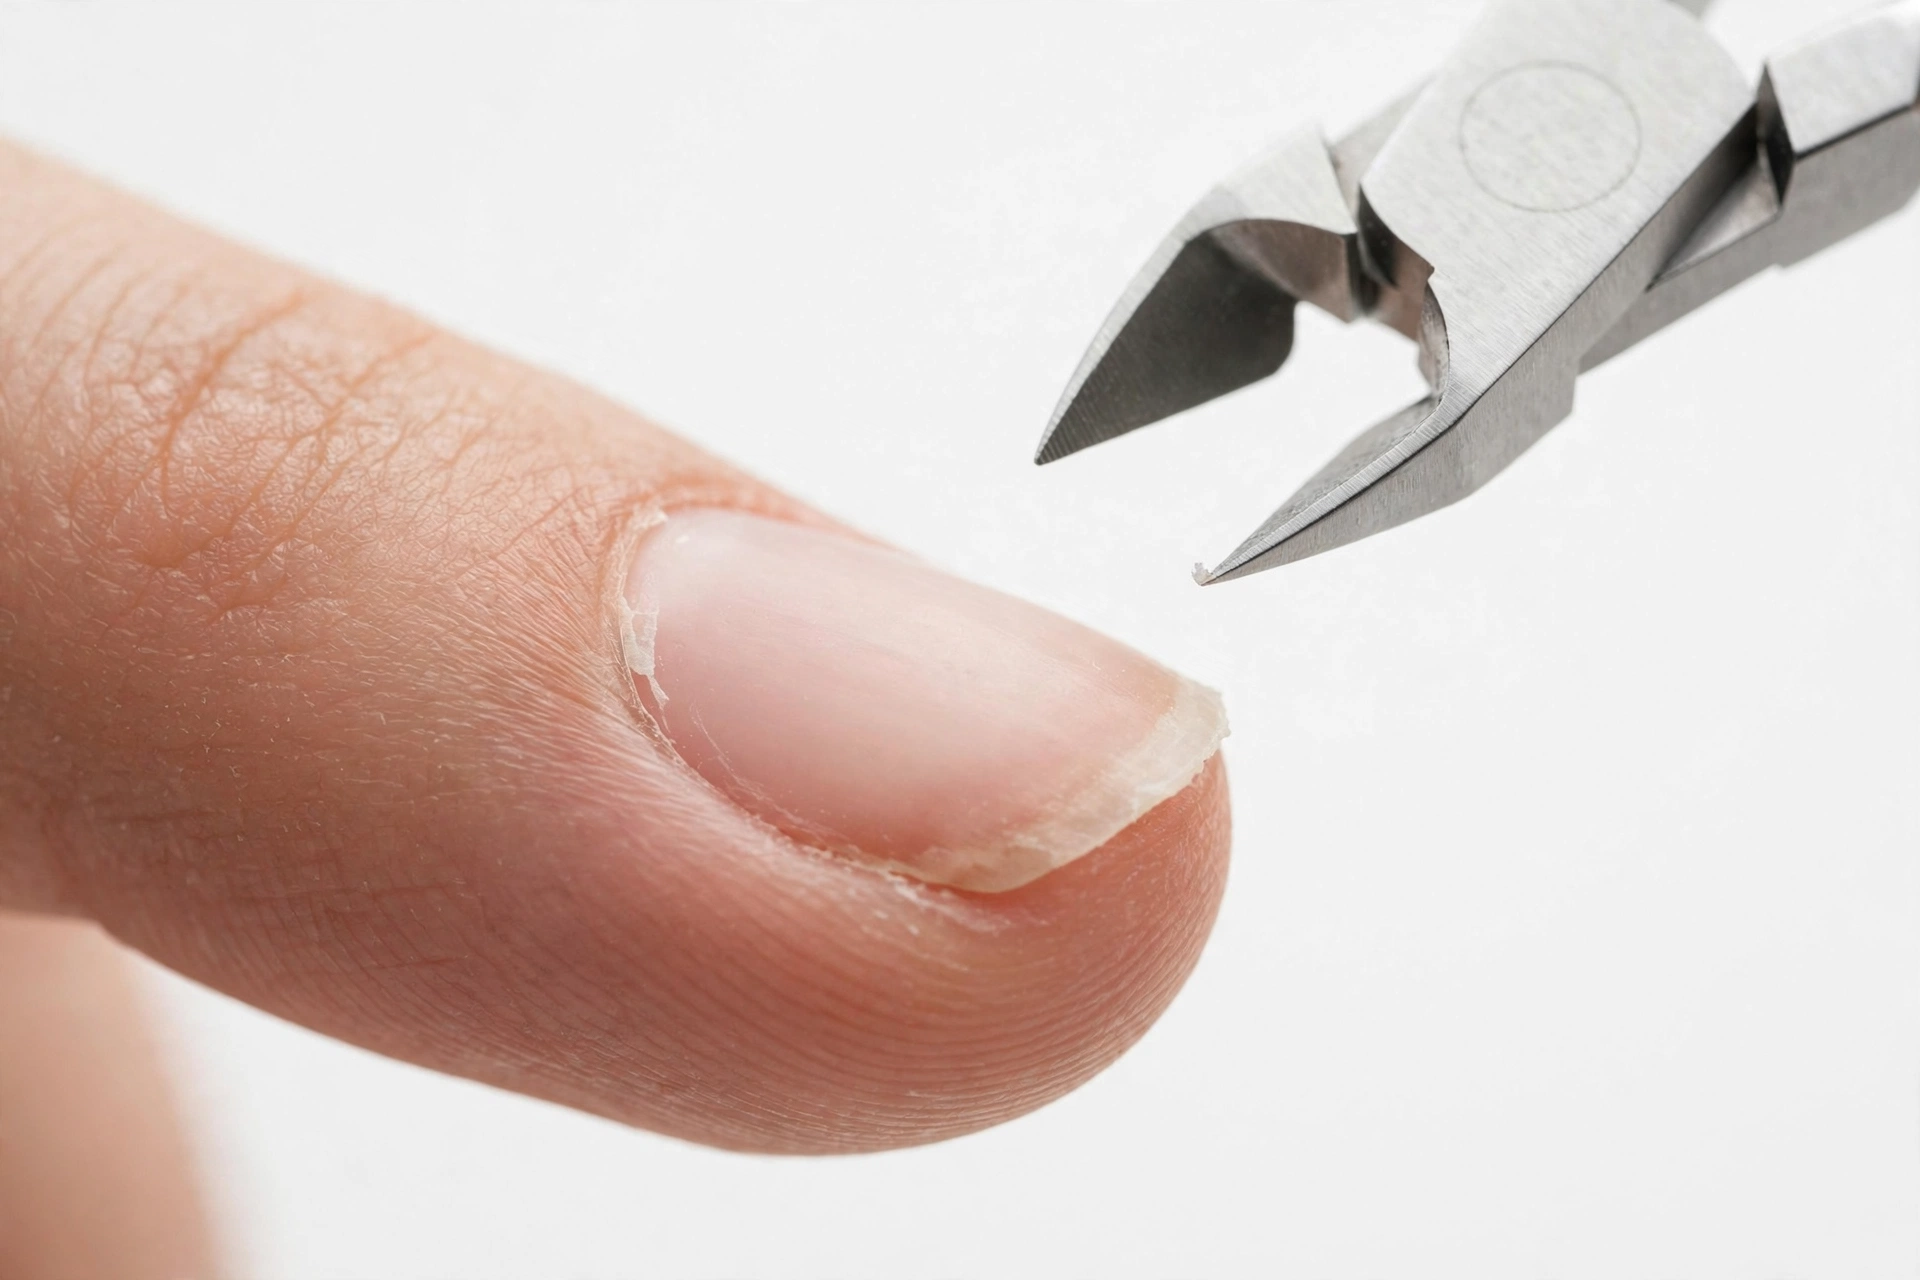
A hangnail is a torn strip of dry skin at the side of the nail, not part of the nail itself. Soften the area with warm water or oil, then clip only the loose tip as close to its base as you can without touching attached skin. If it bleeds, dab on a little antiseptic and cover it with a small bandage so it doesn’t catch and tear further.
Pulling or biting a hangnail rips into living skin and is one of the most common causes of nail-fold infections. Hangnails are a dryness signal: if you get them often, your cuticles need daily oil, not more trimming.
The Only Cuticle Tools You Actually Need
The short answer: orangewood sticks, a pusher, nippers, cuticle oil, and hand cream. Everything else is optional.
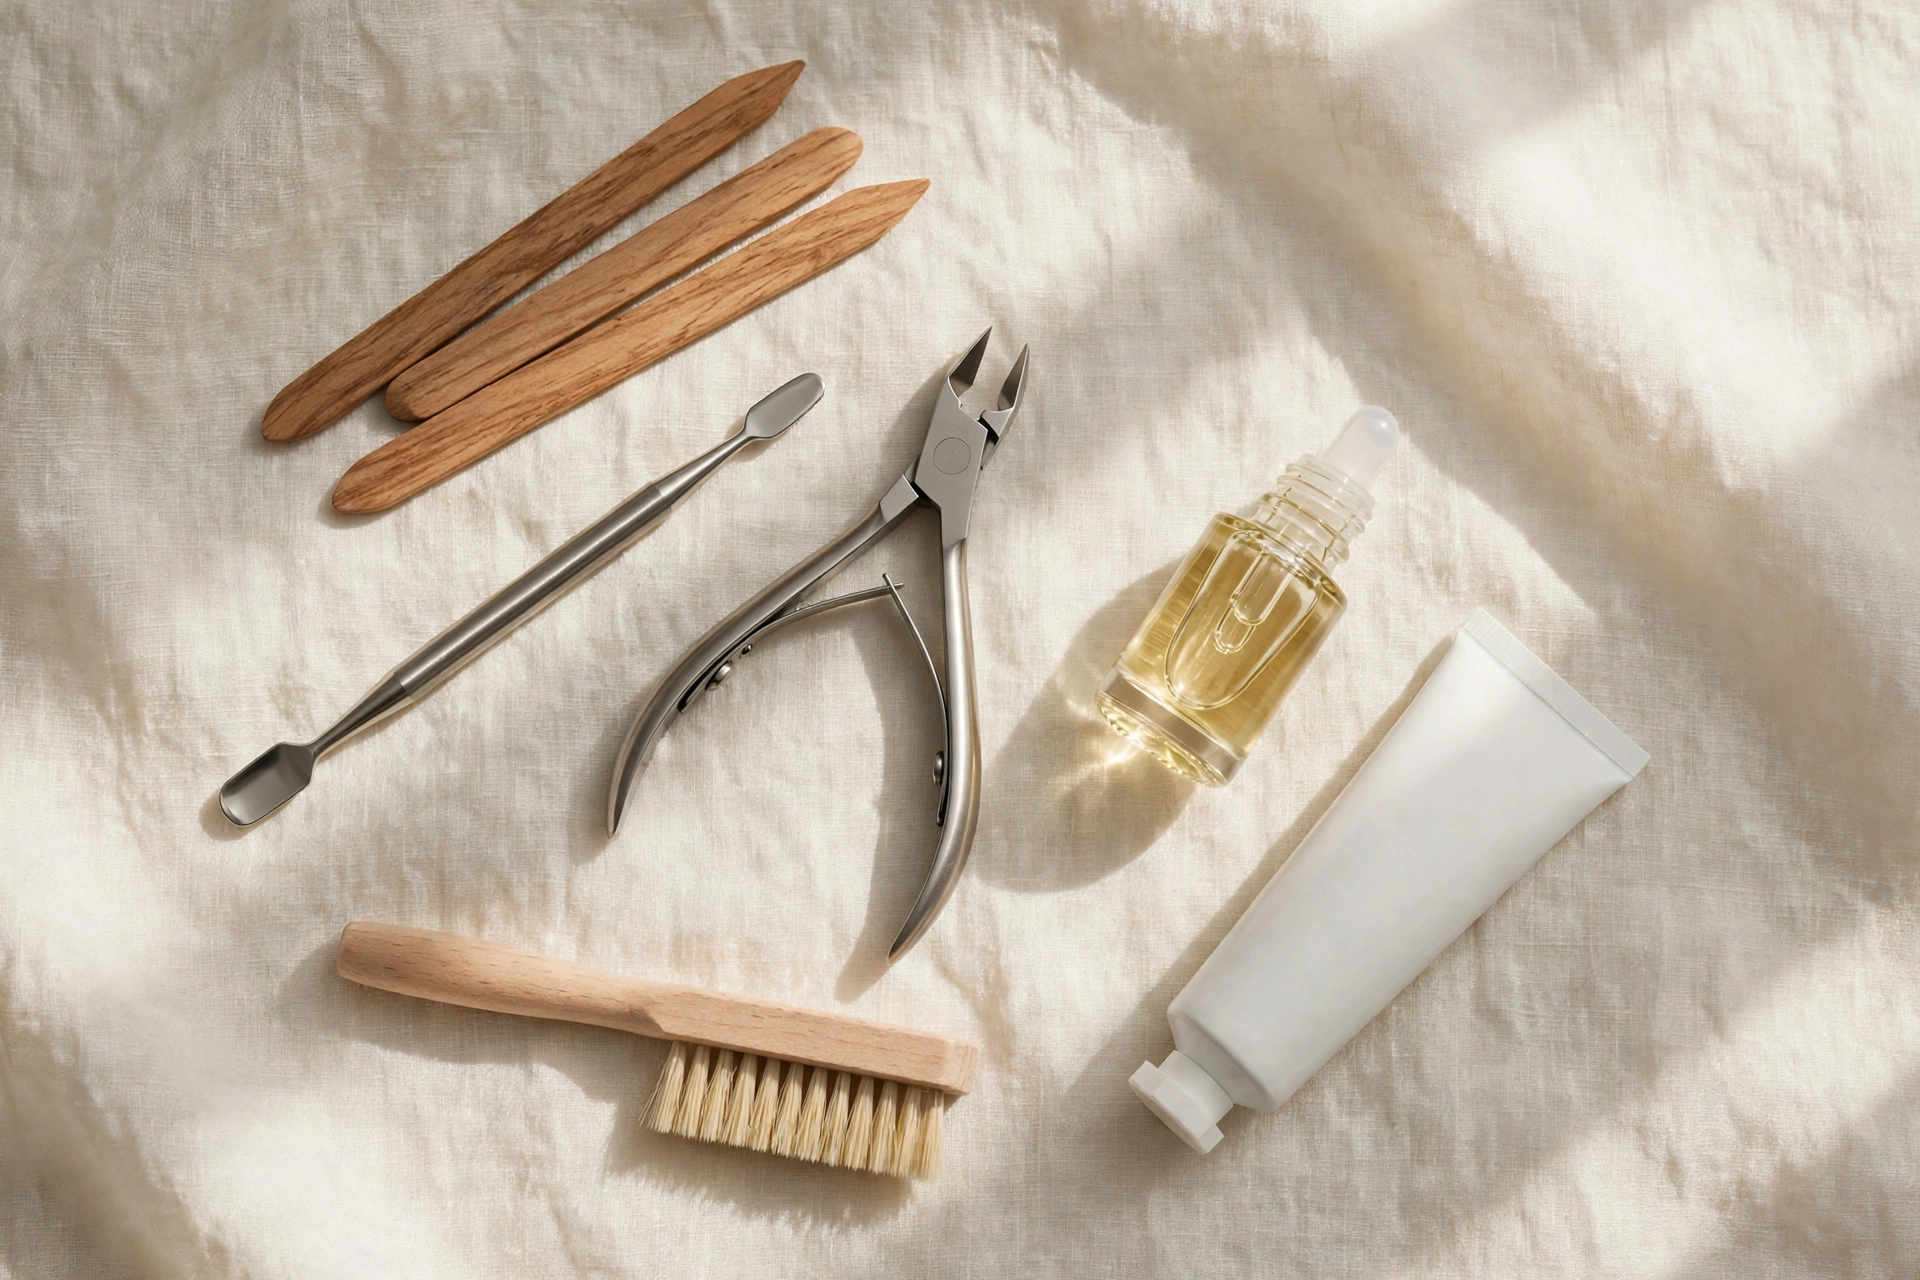
| Tool | What it’s for | How to use it safely |
|---|---|---|
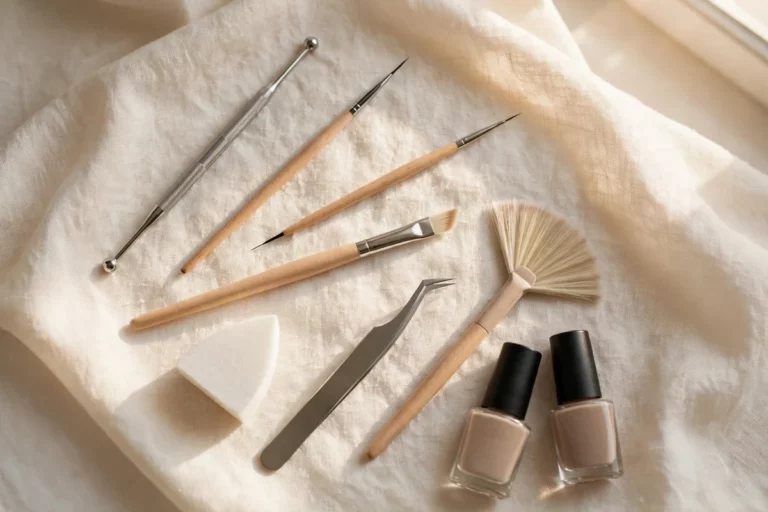
| Orangewood sticks | Gently pushing back softened cuticles | Use the slanted end at a low angle; disposable, so use a fresh one each session |
| Metal or rubber-tipped pusher | Pushing back and clearing dead skin off the nail plate | Low angle, light pressure, never dig into the nail fold |
| Cuticle nippers | Snipping loose, lifted dead skin only | Wipe with rubbing alcohol before and after; never cut pink or attached skin |
| Cuticle oil | Daily moisture and softening before pushing | Look for jojoba, vitamin E, or almond oil bases; apply daily, massage in |
| Cuticle remover gel | Softening stubborn dead skin chemically | Follow the time on the label (usually 1-3 minutes), then rinse; not for daily use |
| Hand cream | Sealing moisture over the whole hand | Apply after oil, especially after washing hands or wet work |
| Soft nail brush | Cleaning under and around nails | Gentle scrubbing only; never scrape at the cuticle line |
You don’t need brand names, just the right ingredients and clean, sharp tools. A fine-grit nail file rounds out the kit for shaping the free edge; our nail shapes guide shows which shapes suit short and long nails.
What to look for in a cuticle oil: a jojoba or vitamin E base — jojoba’s small molecules actually penetrate the nail plate instead of sitting on top — and a brush-pen applicator you’ll realistically use during the day. For stubborn, stuck-on buildup, a cuticle remover gel used exactly per its directions, then rinsed off and always followed by oil, beats scraping every time.
7 Habits That Quietly Ruin Your Cuticles
The short answer: most cuticle damage comes from everyday habits, not from skipping your routine.
Doing the routine but still peeling? The routine is rarely the problem — one of these culprits usually is. The most common: washing your hands constantly without re-moisturizing afterward, heavy alcohol-based hand sanitizer use, acetone soaks or polish remover with no oil or cream after, and simply not using enough product often enough. One drop of oil once a day won’t undo eight hours of dry air and hand washing.
- Picking or biting the skin around your nails. Creates tiny tears that invite infection and start the ragged-skin cycle.
- Pulling hangnails. Rips living skin; always clip instead.
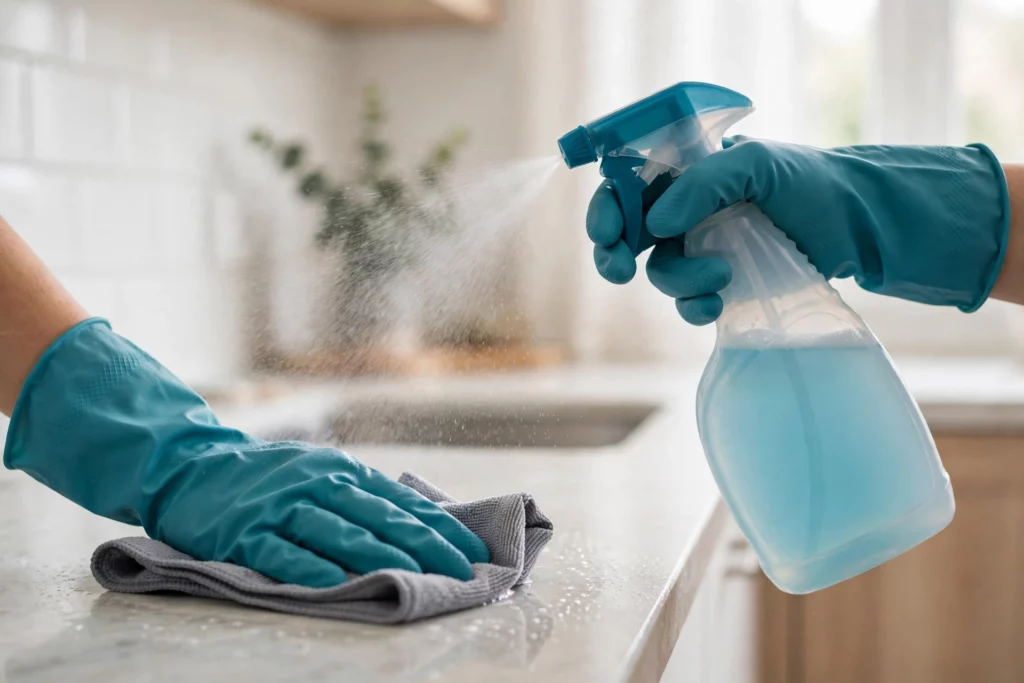
- Cleaning or washing dishes bare-handed. Detergents strip the oils that keep cuticles flexible. Wear cotton-lined rubber gloves for wet work.
- Very hot water and harsh soaps without moisturizing after. Both dry out the nail fold fast; reapply hand cream every time.
- Pushing back dry, unsoftened cuticles. Tearing guaranteed. Soak or shower first, always.
- Acetone-based remover without rehydrating. Acetone dehydrates cuticles as well as polish; oil your nails right after every removal.
- Cutting living skin with dull or shared nippers. Dull blades crush instead of cutting, and shared tools carry bacteria. Keep your own set sharp and sanitized.
Infection Warning Signs: When to Stop and See a Professional
The short answer: redness, swelling, warmth, throbbing pain, or pus around a nail means the skin barrier is broken. Stop home care and get it looked at.
An infected nail fold (paronychia) usually announces itself clearly: the skin around one nail turns red and puffy, feels warm and tender, and may throb or develop a pocket of pus. See a doctor or dermatologist rather than trying to treat it yourself, and don’t cut or squeeze the area. This is especially important if you have diabetes or circulation problems, where even a small nail infection can turn serious quickly.
A damaged cuticle seal can also let fungus in, which shows up weeks later as thickening or discoloration of the nail. If a nail starts changing color or lifting after a cuticle injury, that is a professional visit too.
What to Ask Your Salon to Do (and Not Do)
The short answer: ask for “push back and tidy the dead skin only,” and ask them not to cut into the living cuticle.
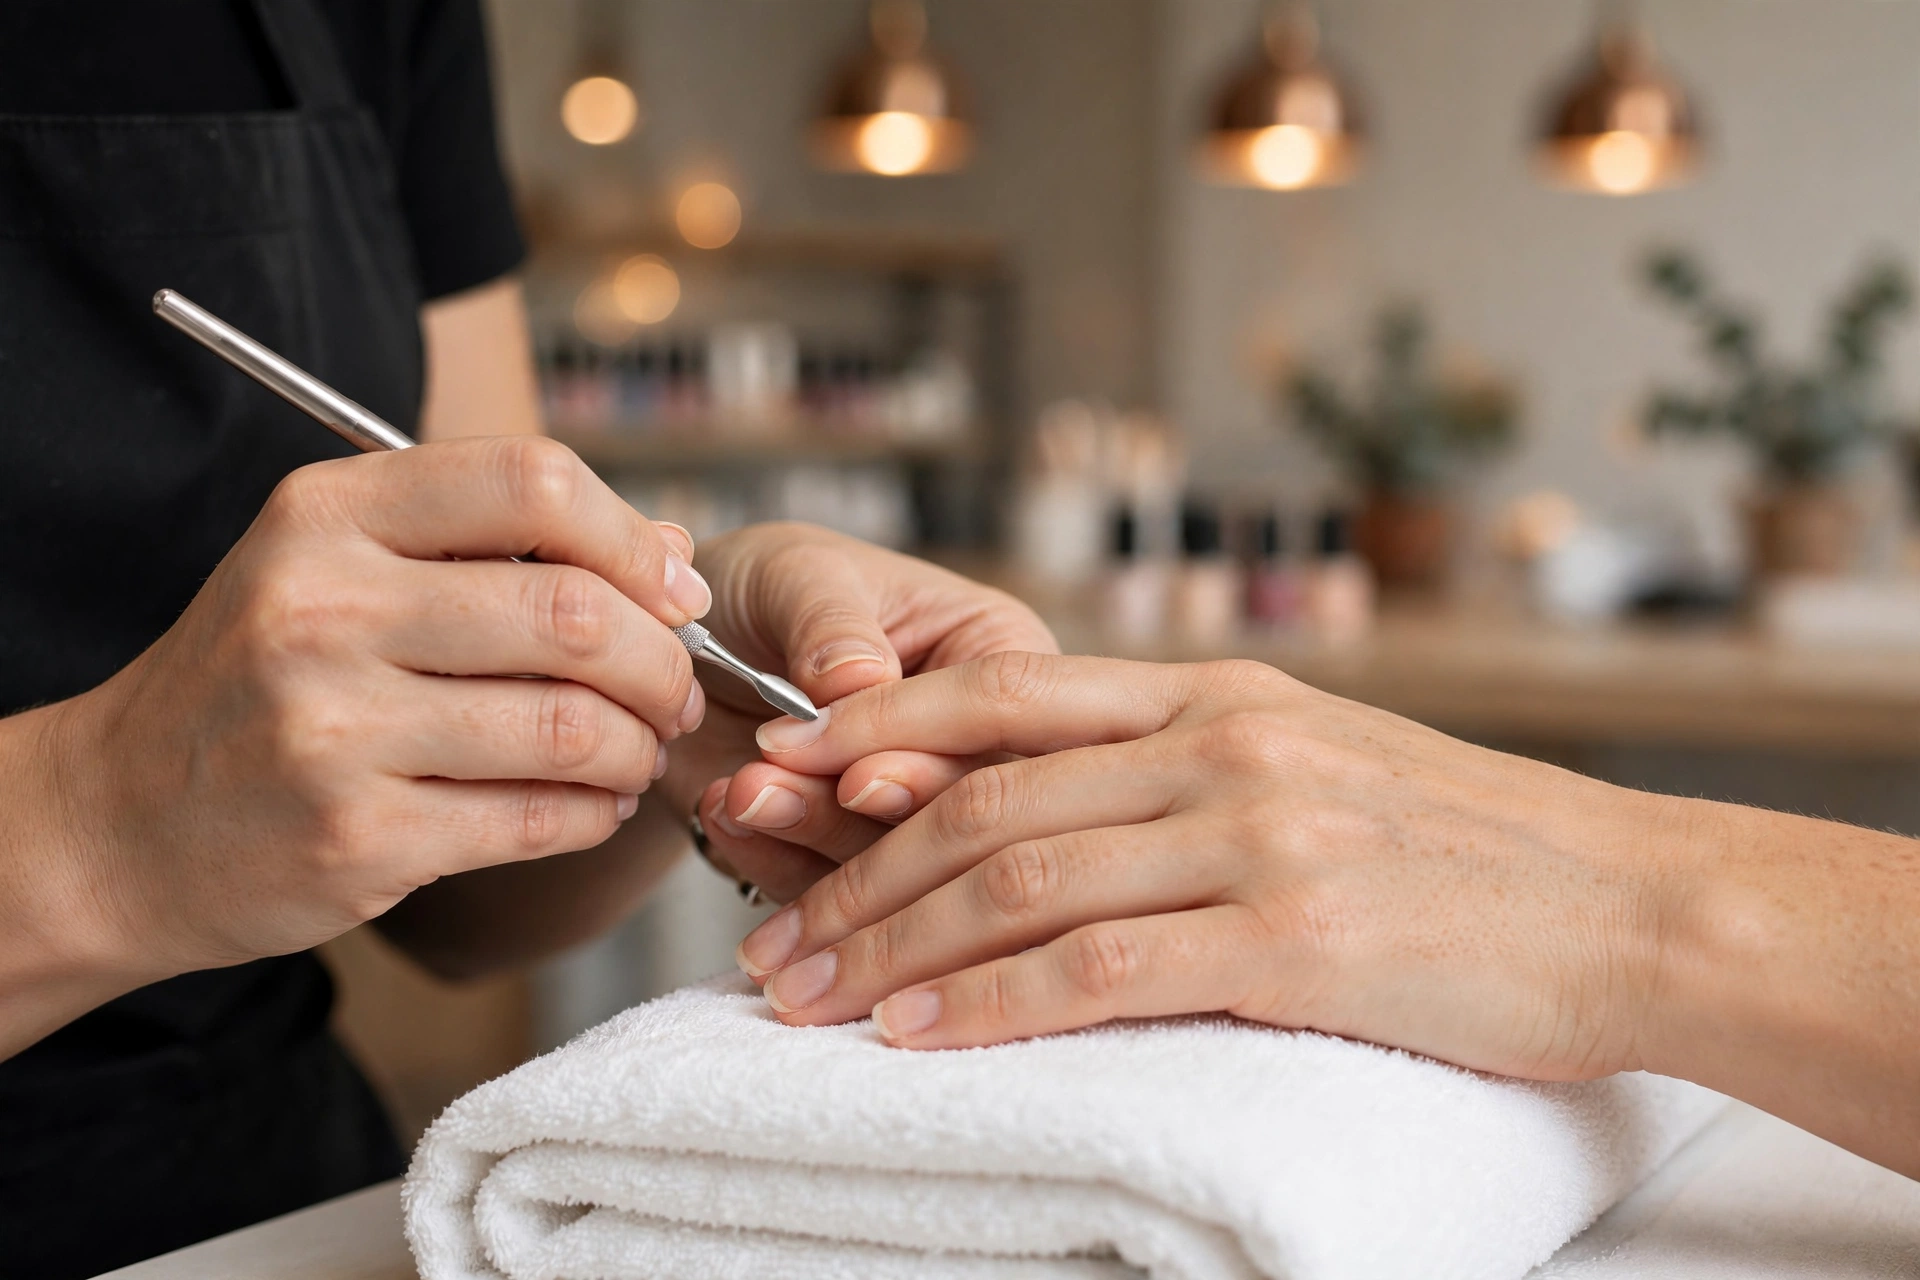
Do ask for: cuticles pushed back after proper softening, nipping of loose dead skin only, tools that are sanitized in front of you (or bring your own nippers), and an oil massage to finish.
Don’t ask for: deep cutting for that ultra-clean “no-cuticle” look, aggressive scraping with metal tools, or having living cuticle skin cut to make nails look longer. A good technician tidies only the dead tissue; if someone reaches for nippers before softening your cuticles, speak up or find another salon.
Nourish From Within
No food fixes cuticles overnight, but steady nutrition supports everything your routine is doing — nails are built from protein, and deficiencies show up as weak, peeling nails.
Biotin gets the most attention, and the evidence for supplements is genuinely mixed — food first is the honest advice. Eggs, nuts, oily fish like salmon, lentils, and leafy greens cover biotin, zinc, iron, and the omega fatty acids your nails are built from. Drink enough water, too: chronically dry skin and cuticles often track with low overall hydration.
What diet can’t do: it won’t make nails grow faster than your biology allows, and it won’t rescue cuticles you’re still cutting or picking. Think of it as the foundation under the routine, not a replacement for it.
Cuticle Care FAQs
How often should you push back your cuticles?
Once a week, after a shower or a warm soak, is enough for most people. Daily cuticle oil matters more than frequency of pushing; moisturized cuticles barely need pushing at all.
Is it bad to cut your cuticles?
Cutting living cuticle skin is bad: it breaks the protective seal, risks infection, and leads to rougher regrowth. Snipping only the loose, white, detached flaps of dead skin is fine and is the one safe use for cuticle nippers.
Can cuticle oil make your nails grow faster?
No product speeds up nail growth; nails grow from the matrix under the skin at their own pace. What oil does is keep the cuticle seal healthy and the surrounding skin flexible, so nails grow in smoother and break less, which is why oiled nails look like they grow better.
What is the white flaky stuff that lifts off after pushing?
That is dead keratin, the same kind of skin cells as the rest of your cuticle buildup, which had stuck itself to the nail plate. It is exactly what pushing is meant to remove. Wipe it away gently with the stick or a damp cloth.
Can I use olive oil or coconut oil instead of cuticle oil?
Yes. Any clean oil softens cuticles. Dedicated cuticle oils usually use jojoba, vitamin E, or sweet almond oil because they absorb quickly without feeling greasy, but olive or coconut oil from the kitchen works fine in a pinch.
Why do my cuticles hurt after a manicure?
Soreness usually means living skin was cut or pushed too aggressively. Mild tenderness should fade within a day; if you see redness, swelling, or bleeding that doesn’t stop, treat it as a break in the skin: keep it clean, apply antiseptic, and watch for infection signs.
Do cuticles grow back thicker if you cut them?
They don’t grow back thicker in any biological sense, but cutting living skin heals as rough, uneven scar-like tissue that feels thicker and looks worse, which is why cut cuticles seem to come back harder than before.
What’s the difference between the cuticle and the eponychium?
Strictly speaking, the cuticle is the thin layer of dead tissue stuck to the nail plate, and the eponychium is the living skin fold at the nail’s base. Most nail guides, including this one, use “cuticle” loosely for the whole area, but the distinction matters for one rule: dead tissue can be pushed or tidied, living tissue is never cut.