How to Make Your Manicure Last Longer: 12 Pro Tips
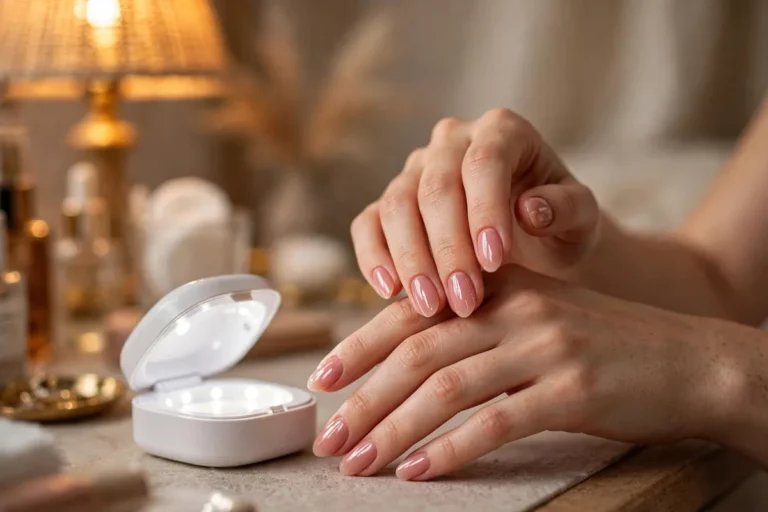
A manicure that chips on day two is almost never the polish’s fault. In most cases, wear time comes down to preparation, application technique, and how you treat your nails in the days after. Below are 12 genuine pro tips that show how to make your manicure last longer — from the prep step most people get backwards, to the two-minute habit that reseals everything.
How Long Should Each Type Last?
| Manicure type | Realistic wear |
|---|---|
| Regular polish (done well) | 7–10 days |
| Gel manicure | 2–3 weeks |
| Builder gel (BIAB) | 3–5 weeks |
If your regular polish dies on day 3, the problem is prep and sealing, not the polish — the tips below close that gap.
Does Base Coat Really Make a Difference?
Yes — base coat is the single biggest factor in how long polish lasts. It grips the nail plate on one side and the color on the other, fills ridges so color lays smooth, and blocks dark pigments from staining the nail.
There are two main types worth knowing. Ridge-filling base coats smooth uneven nails and give color a level surface. Rubberized (sometimes called sticky or bonding) base coats stay slightly tacky and hold polish through more wear — the better pick if your manicures chip early.
Application matters as much as the bottle: one thin layer, cap the free edge with it just like color, and let it go tacky — not fully dry, not wet — before your first color coat. Skip it and you’re asking color to bond directly to a smooth, oily nail plate, which is exactly why polish peels off in sheets.
12 Pro Tips for a Longer-Lasting Manicure
1. Skip the Pre-Manicure Soak
Skipping the water soak before polish is the single biggest prep upgrade most people can make. Nails absorb water and swell; as they dry and shrink back, the fresh polish film loosens — which is why polish so often lifts at the cuticle line first. Nail techs recommend a brush-on cuticle softener left for a minute or two instead. It softens cuticles without changing the nail plate’s shape.
2. Wipe the Nail Plate With Rubbing Alcohol
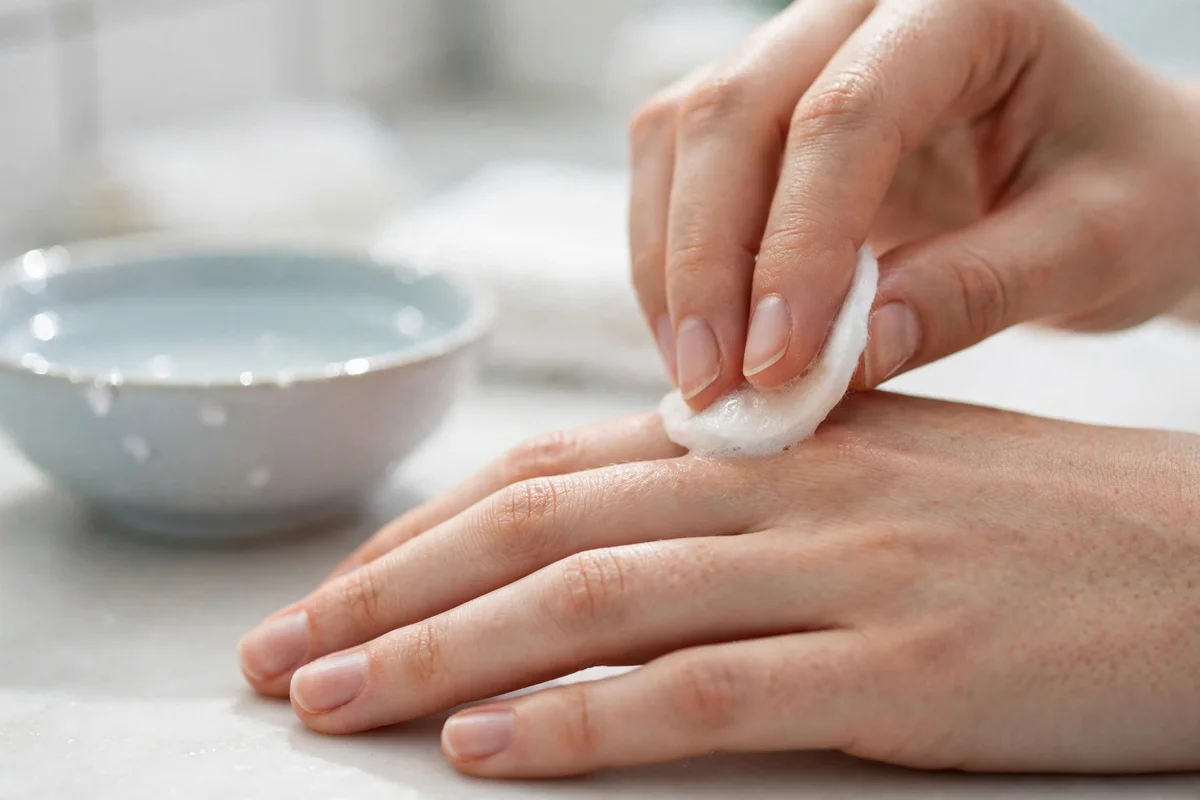
Even clean-looking nails carry an invisible film of natural oil, lotion, or cuticle softener — and polish can’t grip a slippery surface. Right before your base coat, wipe each nail with a lint-free pad dampened with rubbing alcohol or pure acetone. Let it evaporate for about 30 seconds, then start painting while the plate is still squeaky-clean.
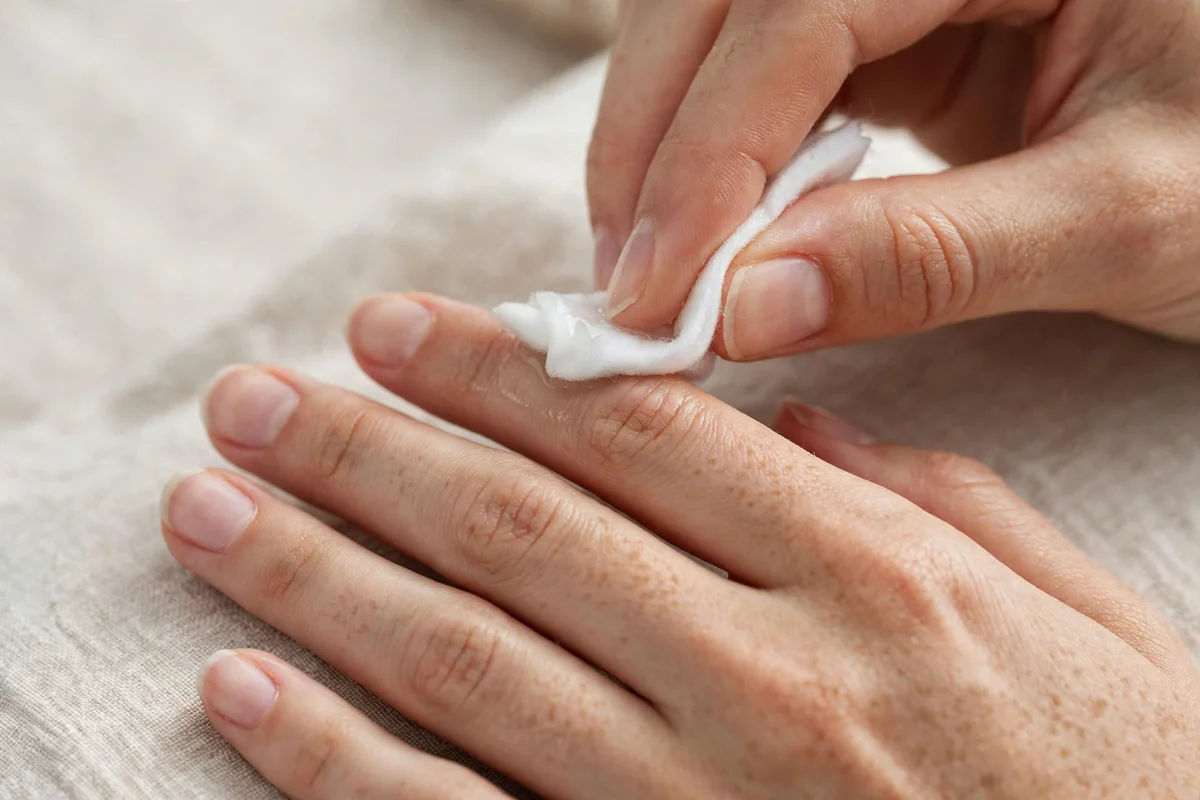
Once you’ve wiped, keep your hands off everything — don’t touch your face, hair, or lotion before base coat goes on. Skin oils undo the wipe in seconds.
3. Push Cuticles Back — Never Cut Them
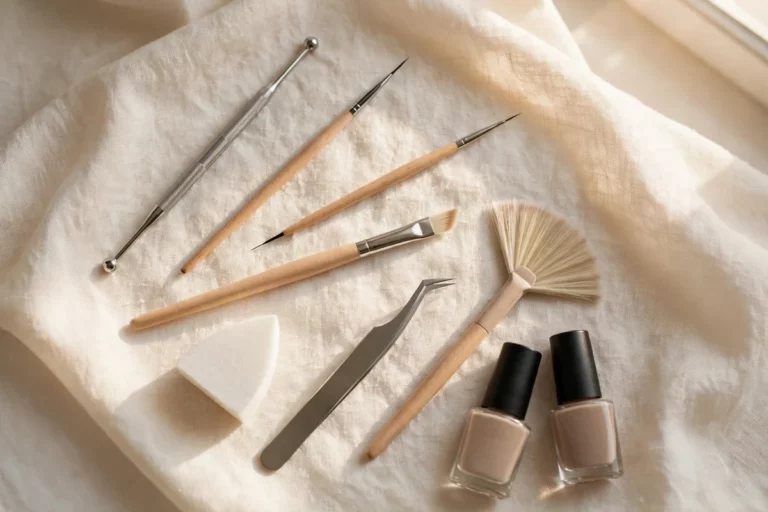
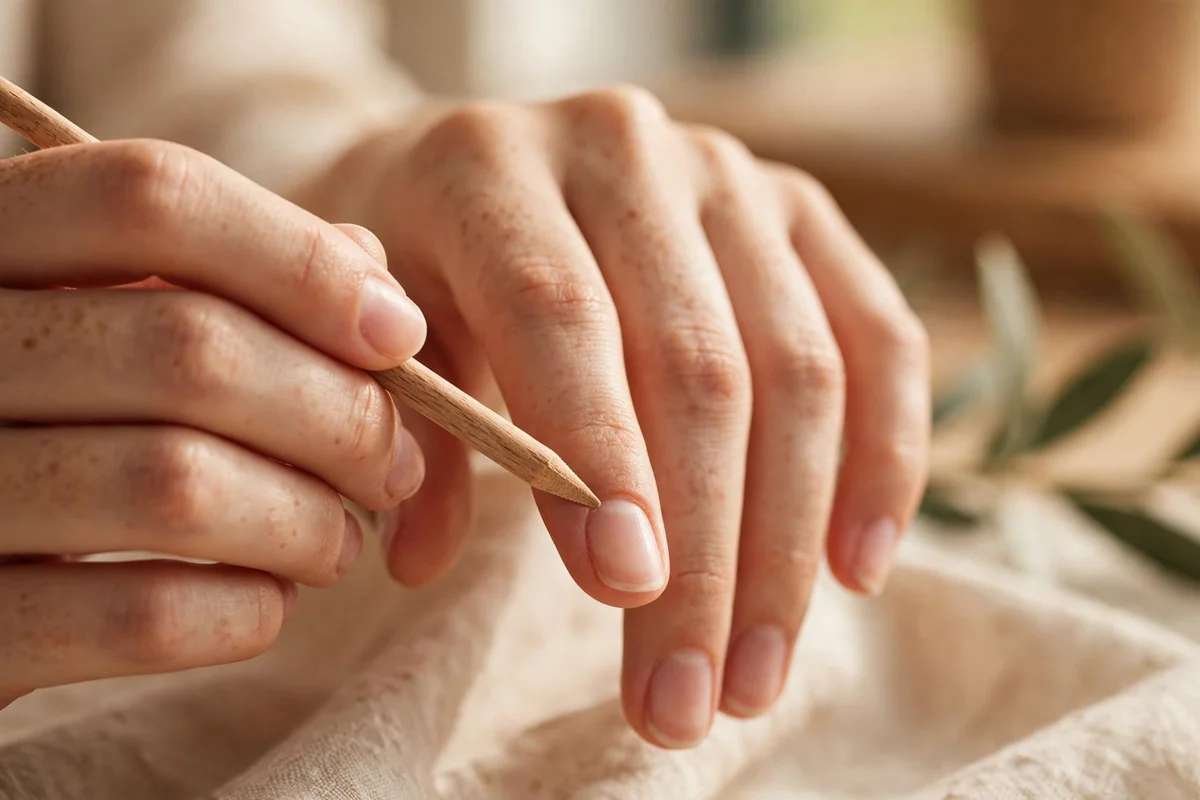
Pushing cuticles back with an orangewood stick after softener gives polish a clean edge to meet. Cutting them, by contrast, risks nicks and infection, and they grow back ragged. Equally important: keep polish off the skin itself. Any lacquer that floods the cuticle or sidewalls creates a lift line — once it separates there, the whole film starts to peel.
4. Apply Thin Coats, Not Thick Ones
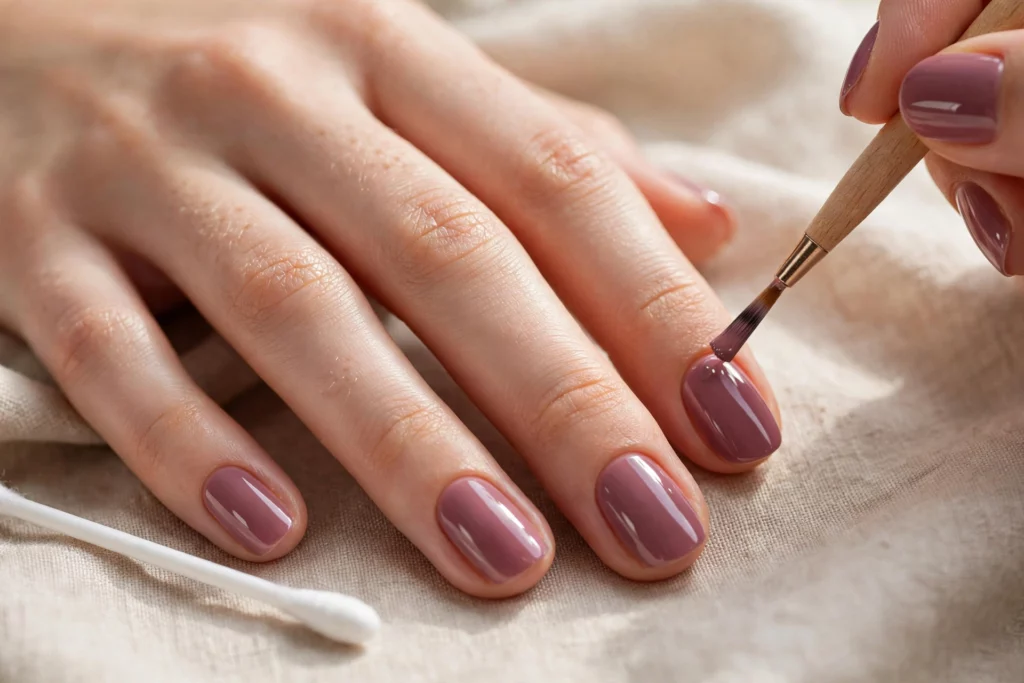
Two or three thin coats of color will outlast one thick coat every time. Thick layers take longer to dry, stay soft underneath, trap air bubbles, and shrink as solvents evaporate — leaving a film that dents and chips. Wipe most of the polish off the brush before each stroke and aim for three smooth passes per nail: center, then each side.
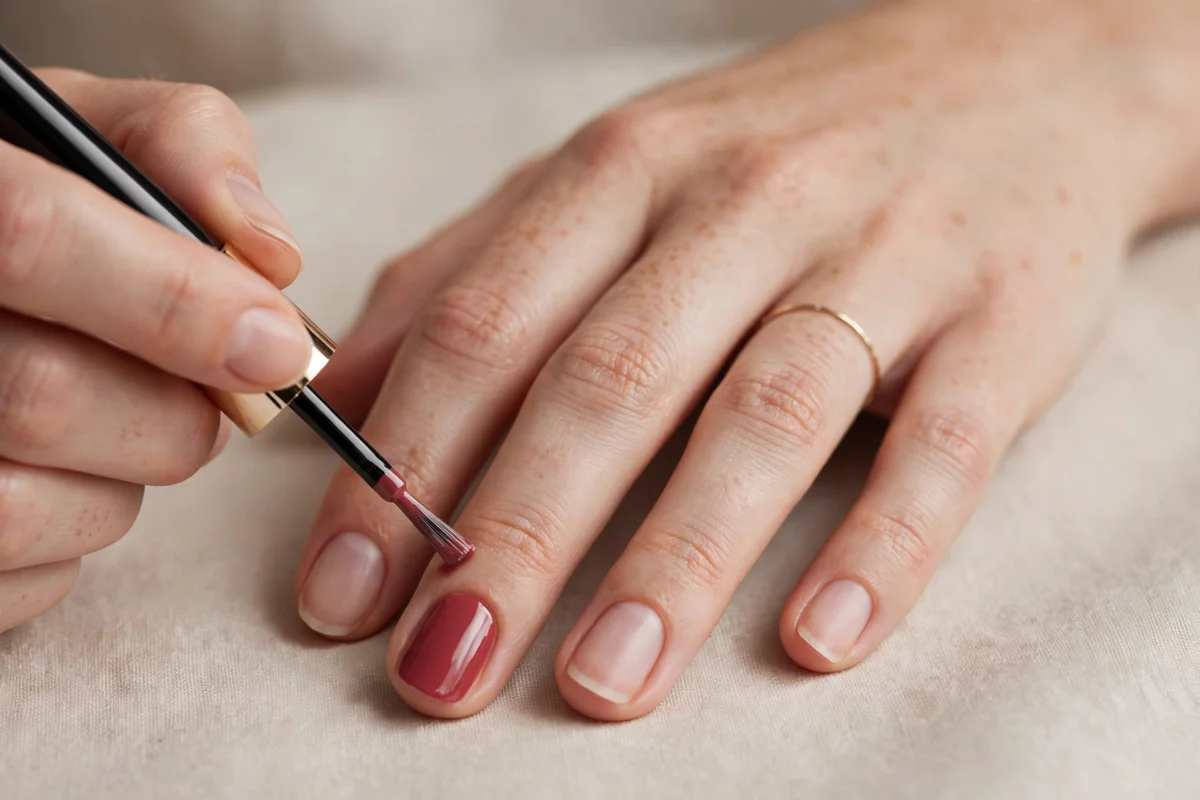
Wipe excess polish off the brush on the bottle neck first, use three strokes per nail (center, then each side), and leave a hairline gap at the cuticle instead of flooding it — polish sitting on skin always lifts.
5. Cap the Free Edge With Every Layer
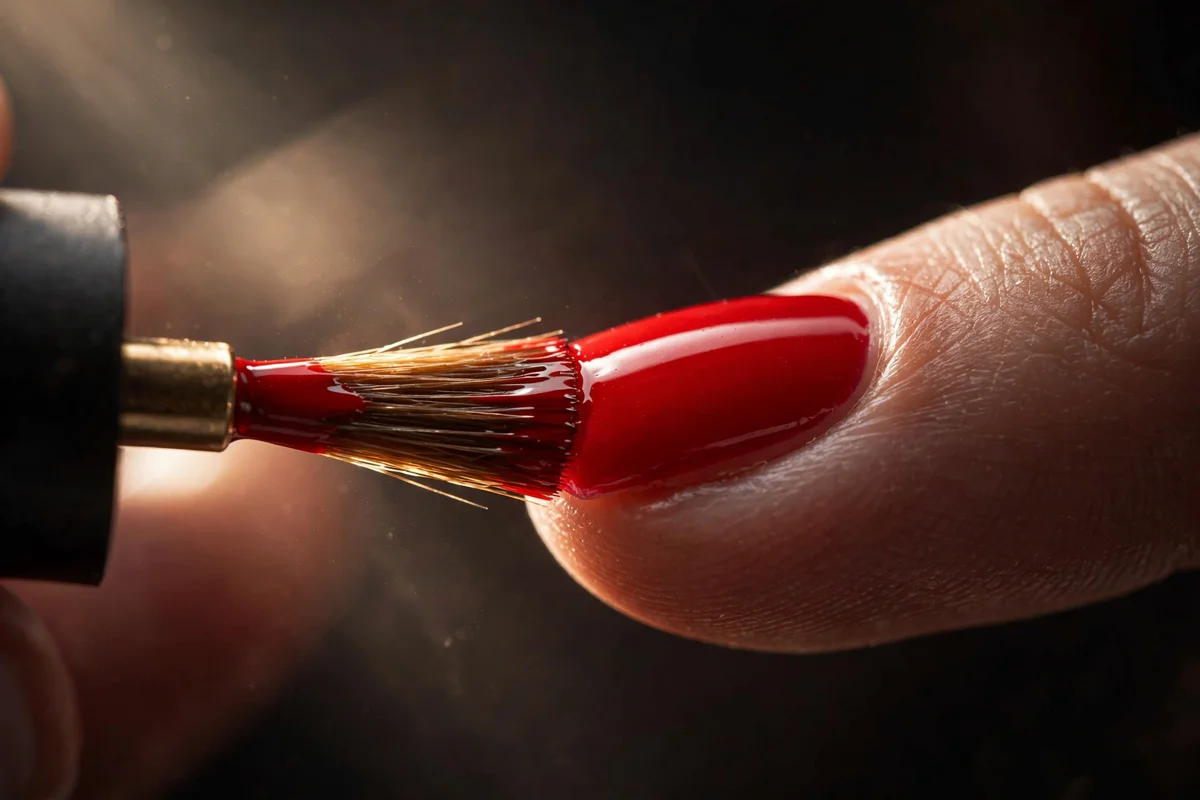
Most chips start at the tip, because the exposed front edge of the polish film catches on everything. After painting each nail, run the brush lightly across the very tip edge — base coat, color, and top coat alike. This wraps and seals the vulnerable front line. Wipe excess off the brush first so it doesn’t pool under the tip.
6. Give Each Coat Two to Three Minutes
Polishes need a couple of minutes between coats so solvents can escape before the next layer traps them. Rush it and you’ll get bubbling, denting, and a film that never fully hardens. Don’t try to speed things up with cold air — it can cause bubbling too. Plan for the whole manicure to take about an hour, and avoid hot water and heavy chores for a few hours after.
7. Re-Seal With Top Coat Every Other Day
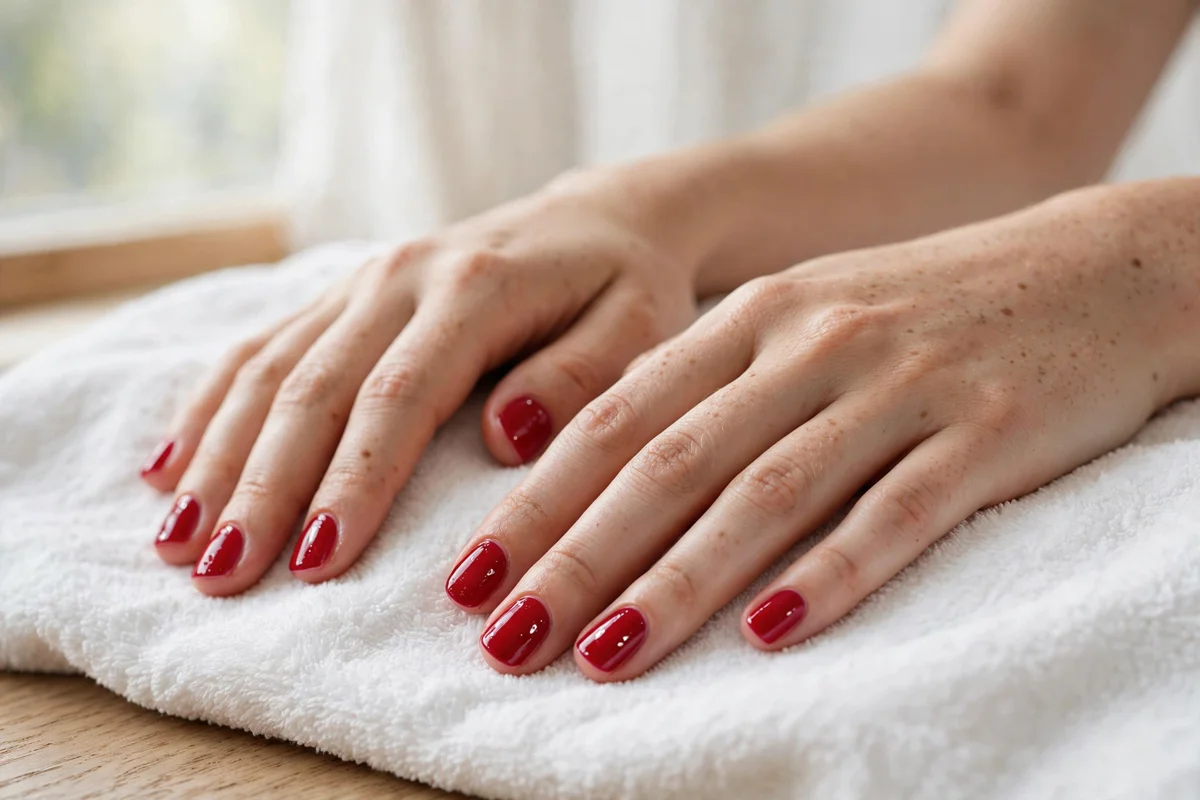
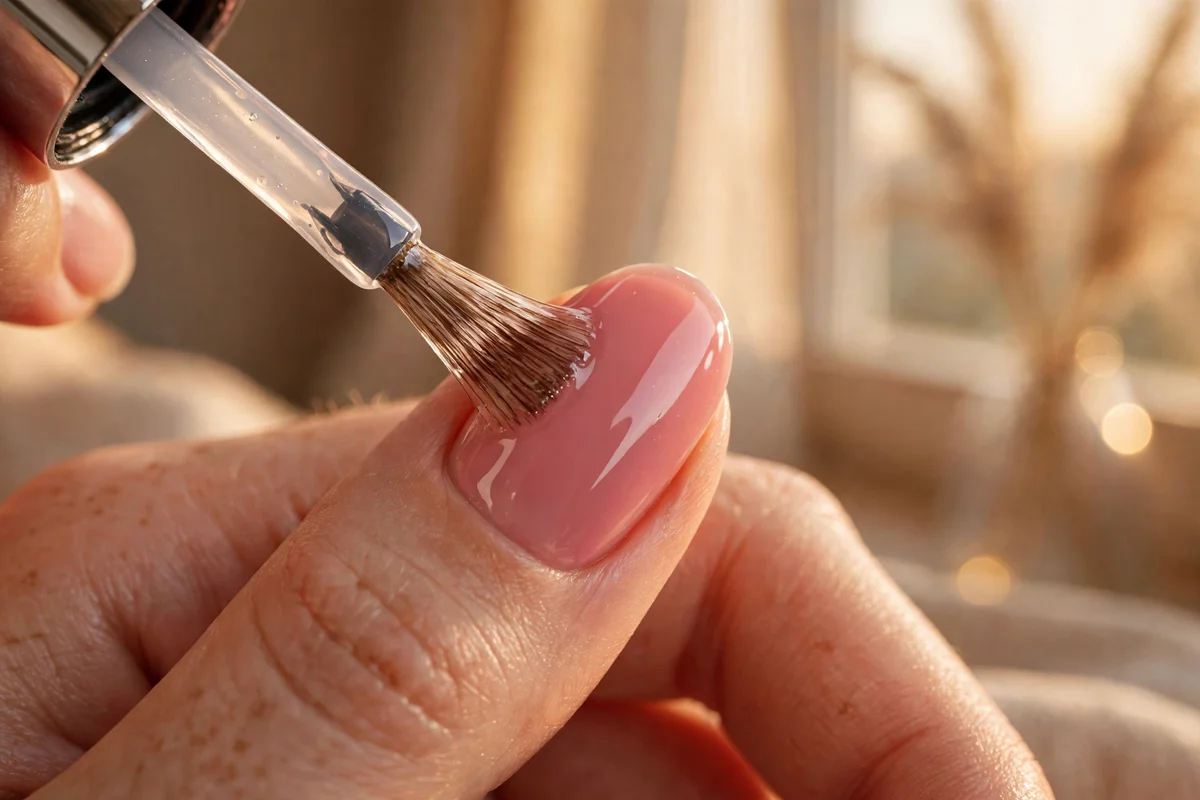
A manicure’s protective top layer wears down with daily life. Brushing on a thin fresh layer of top coat every other day renews the seal and brings back the shine — cap the free edge again while you’re at it. This two-minute refresh is how a five-day manicure stretches into a ten-day one.
8. Wear Gloves for Wet and Chemical Work
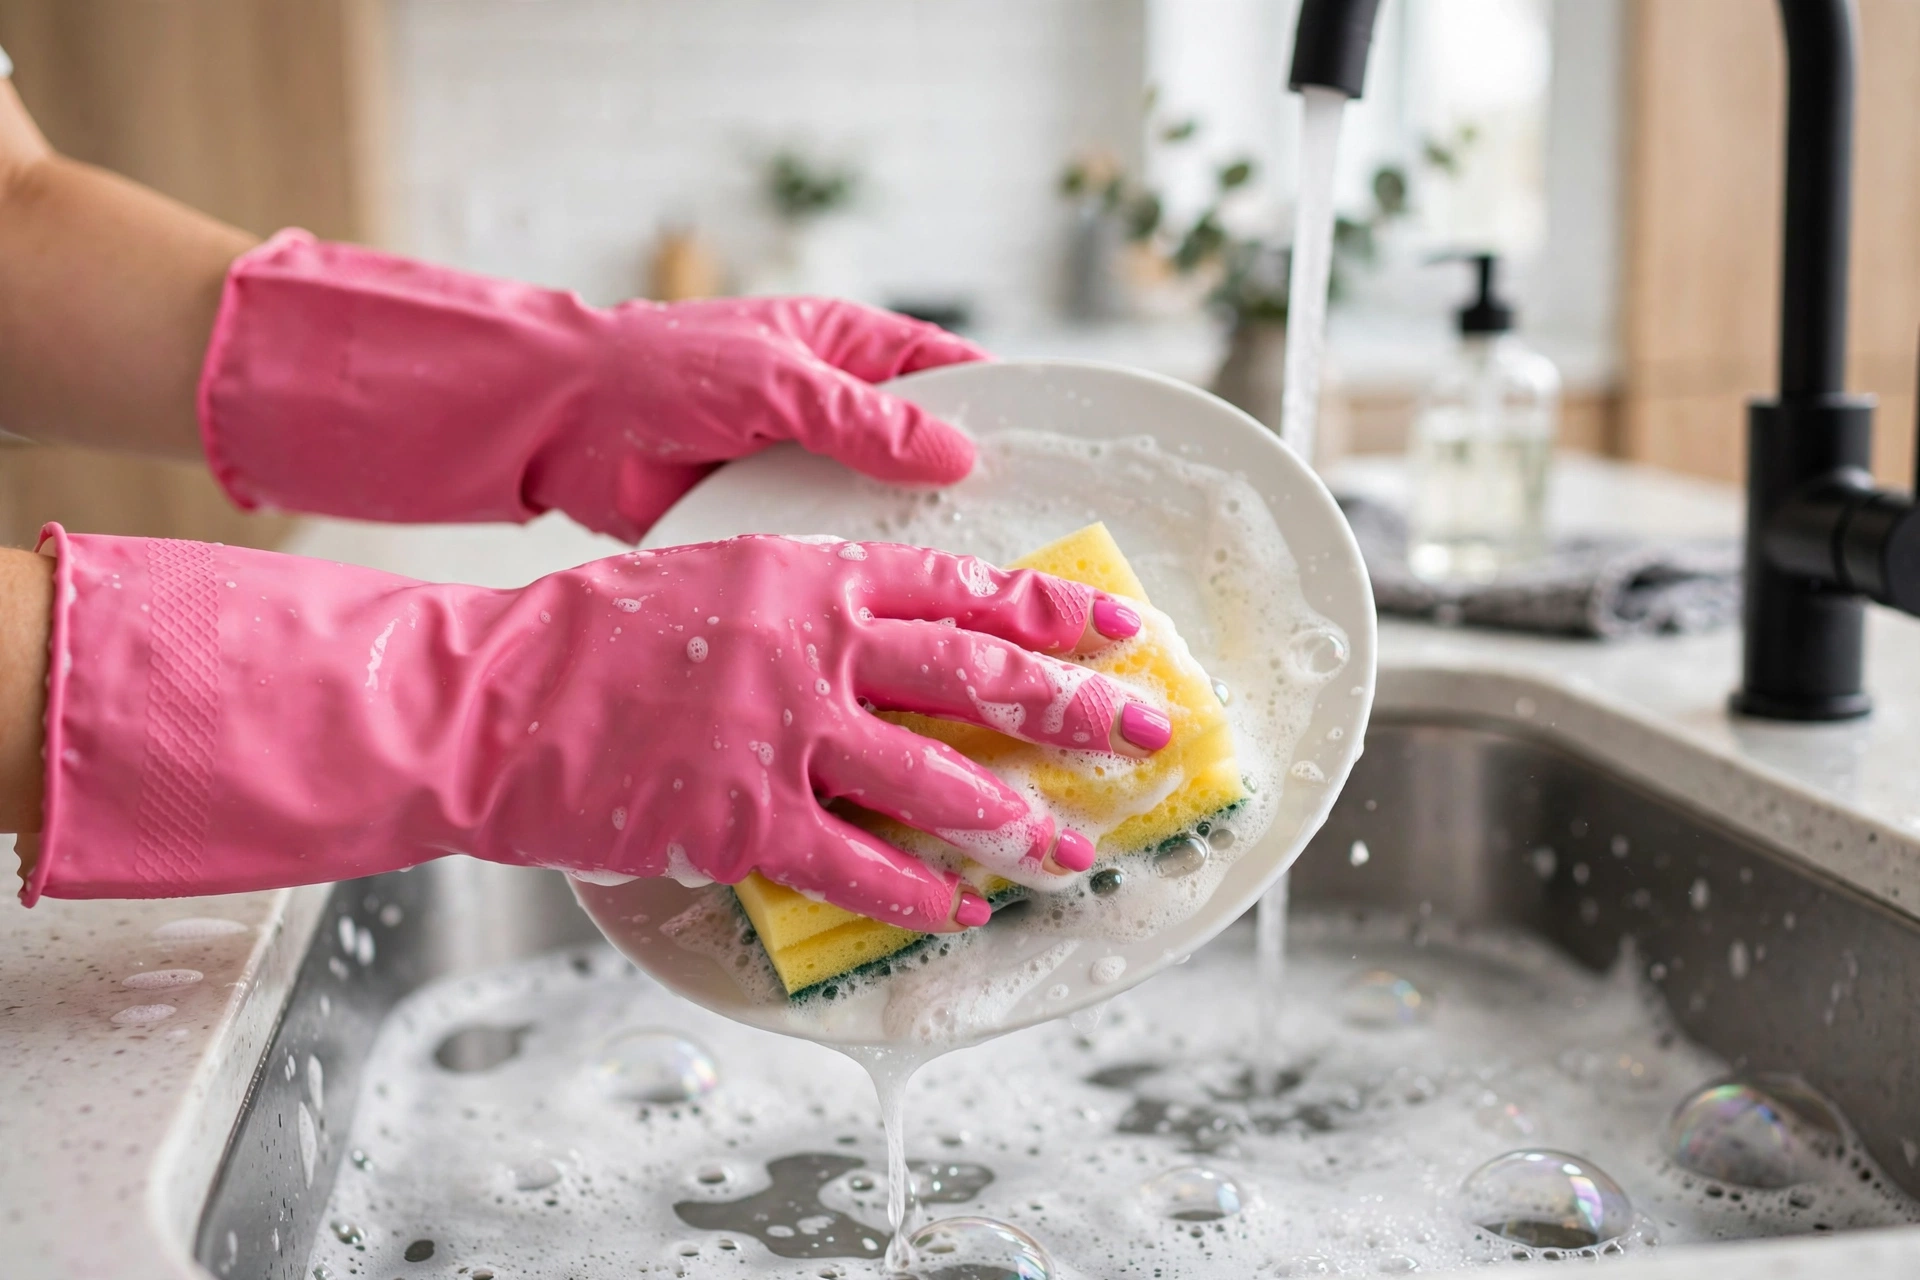
Long dishwashing sessions, cleaning with detergents, and even repeated cold-water rinses are brutal on polish: water makes the nail expand and contract, while chemicals dissolve the polish film. Keep a pair of rubber gloves under the sink and wear them for dishes, bathroom cleaning, and gardening. It’s the cheapest longevity insurance there is.
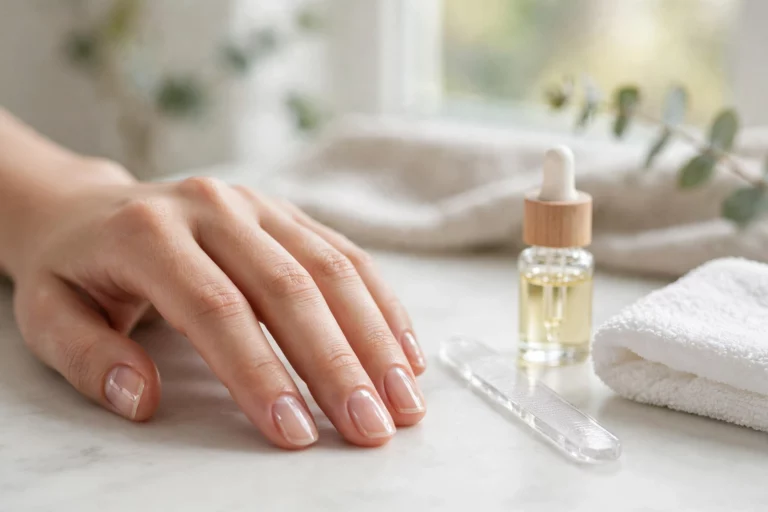
9. Oil Your Cuticles Every Night
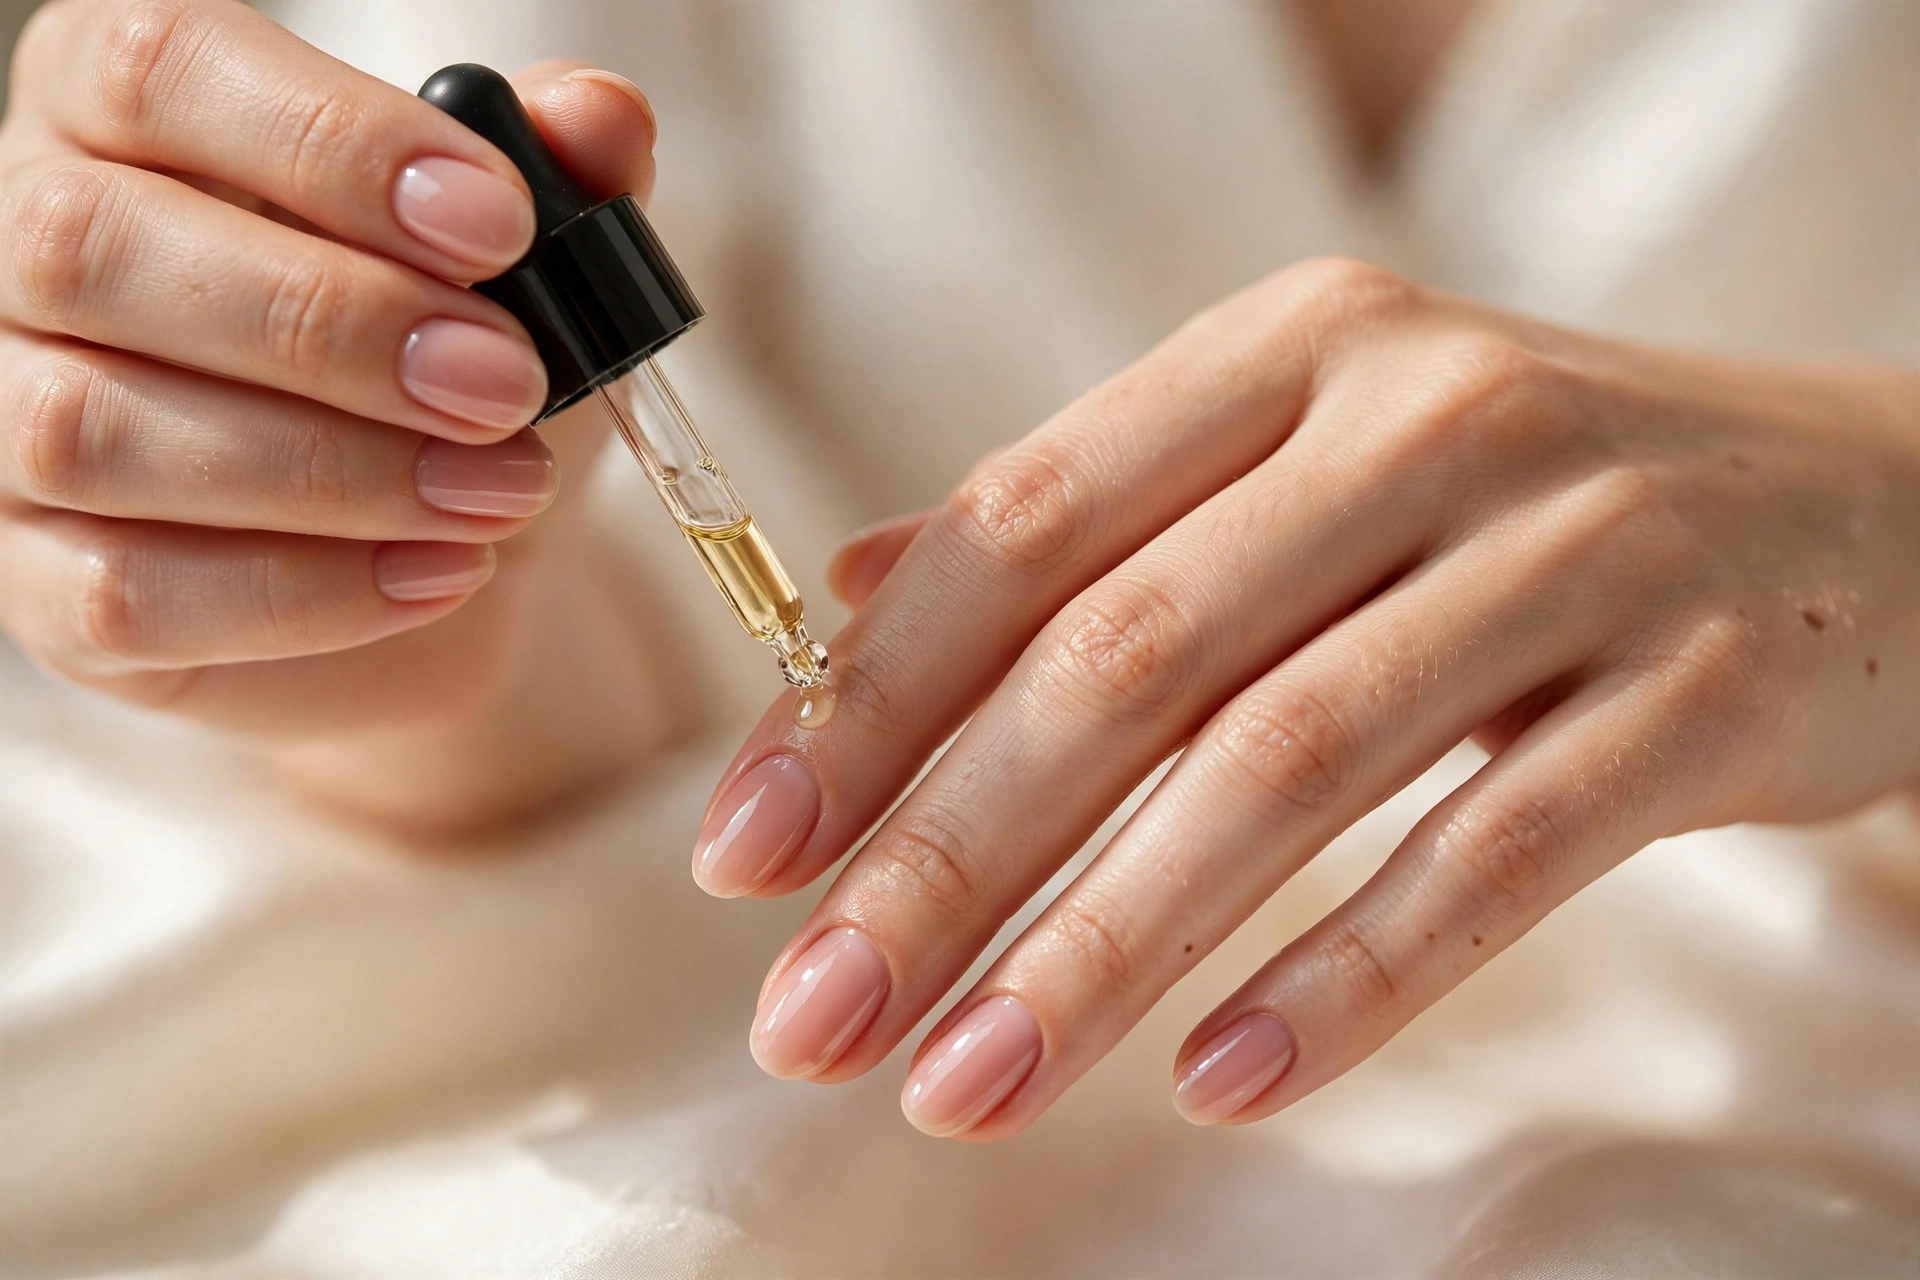
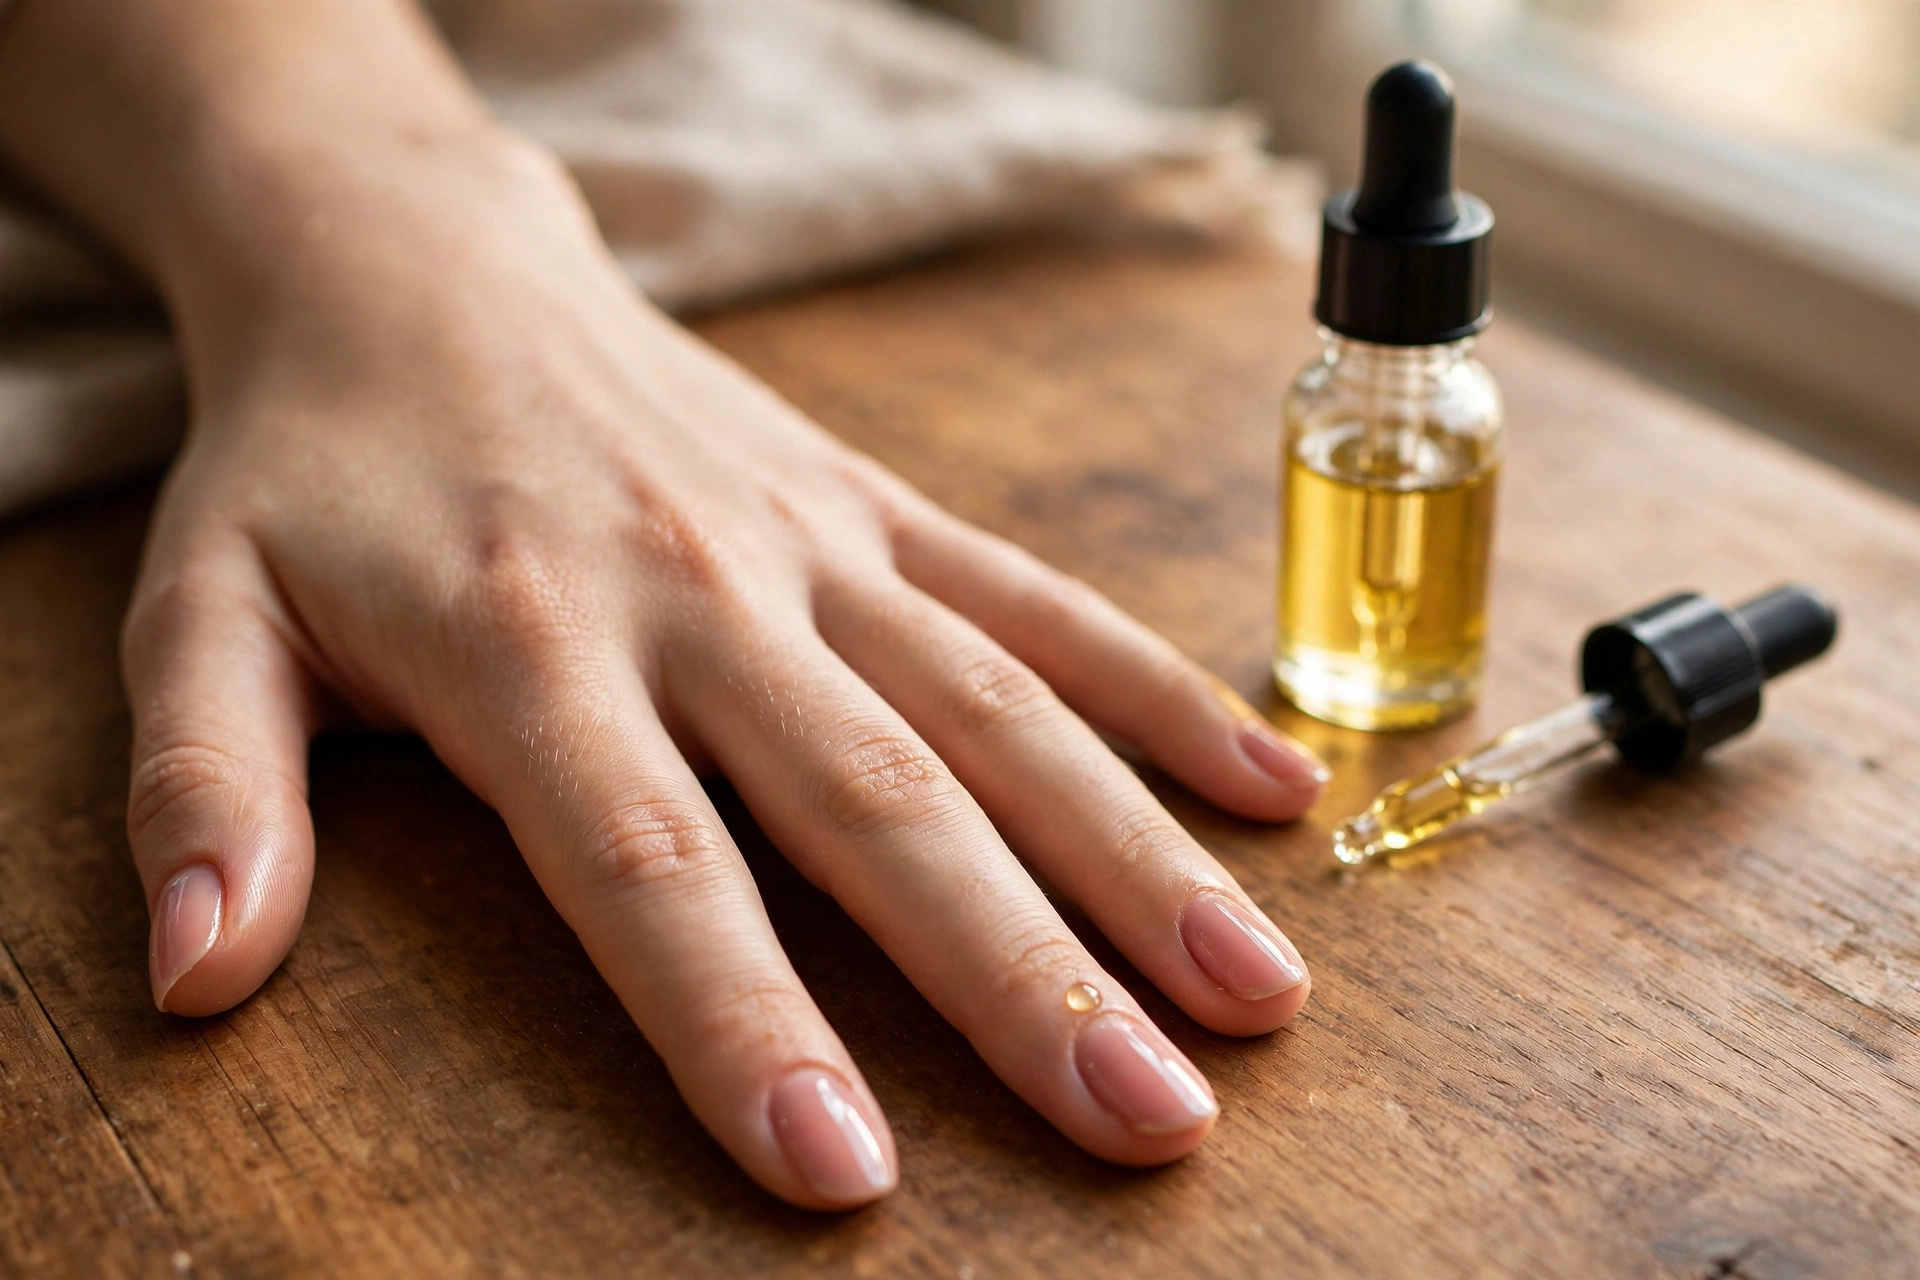
Dehydrated nails turn brittle, and brittle nails chip. Massaging a drop or two of cuticle oil into each nail bed before sleep keeps the plate flexible and stops the polish from lifting at the cuticle edge as the skin dries out. Keep the bottle on your nightstand so the habit sticks — oil at night, never right before polishing.
10. File in One Direction and Pick a Forgiving Shape
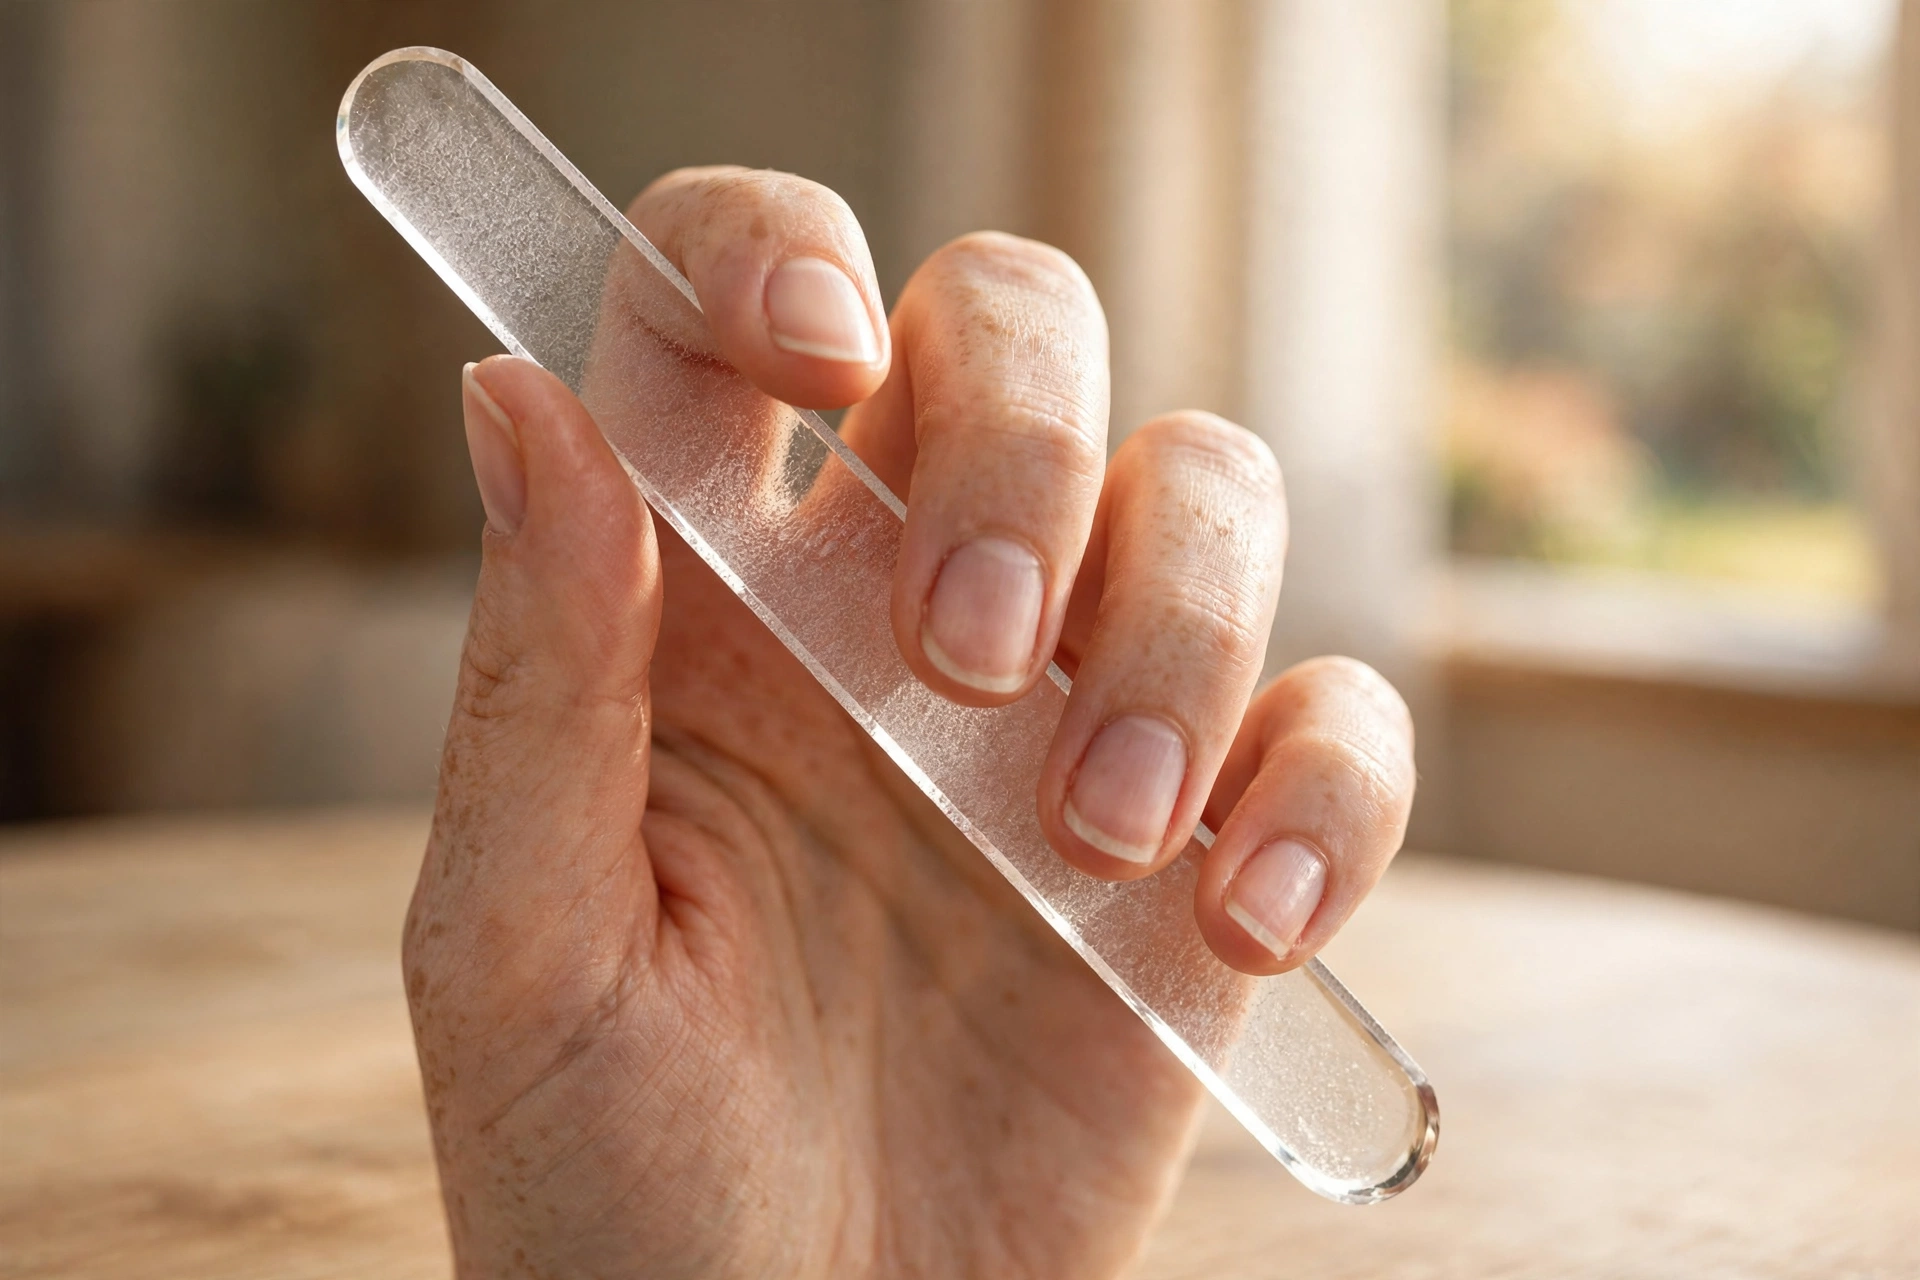
Sawing a file back and forth creates microscopic tears in the nail edge that later become splits and breaks. File in one direction only, with a fine-grit or glass file. Shape matters too: rounded and oval nails have no sharp corners to catch on fabric or keyboards, so they outlast square and stiletto shapes. Our nail shapes guide breaks down which shapes wear best.
11. Use Your Fingertips, Not Your Nails
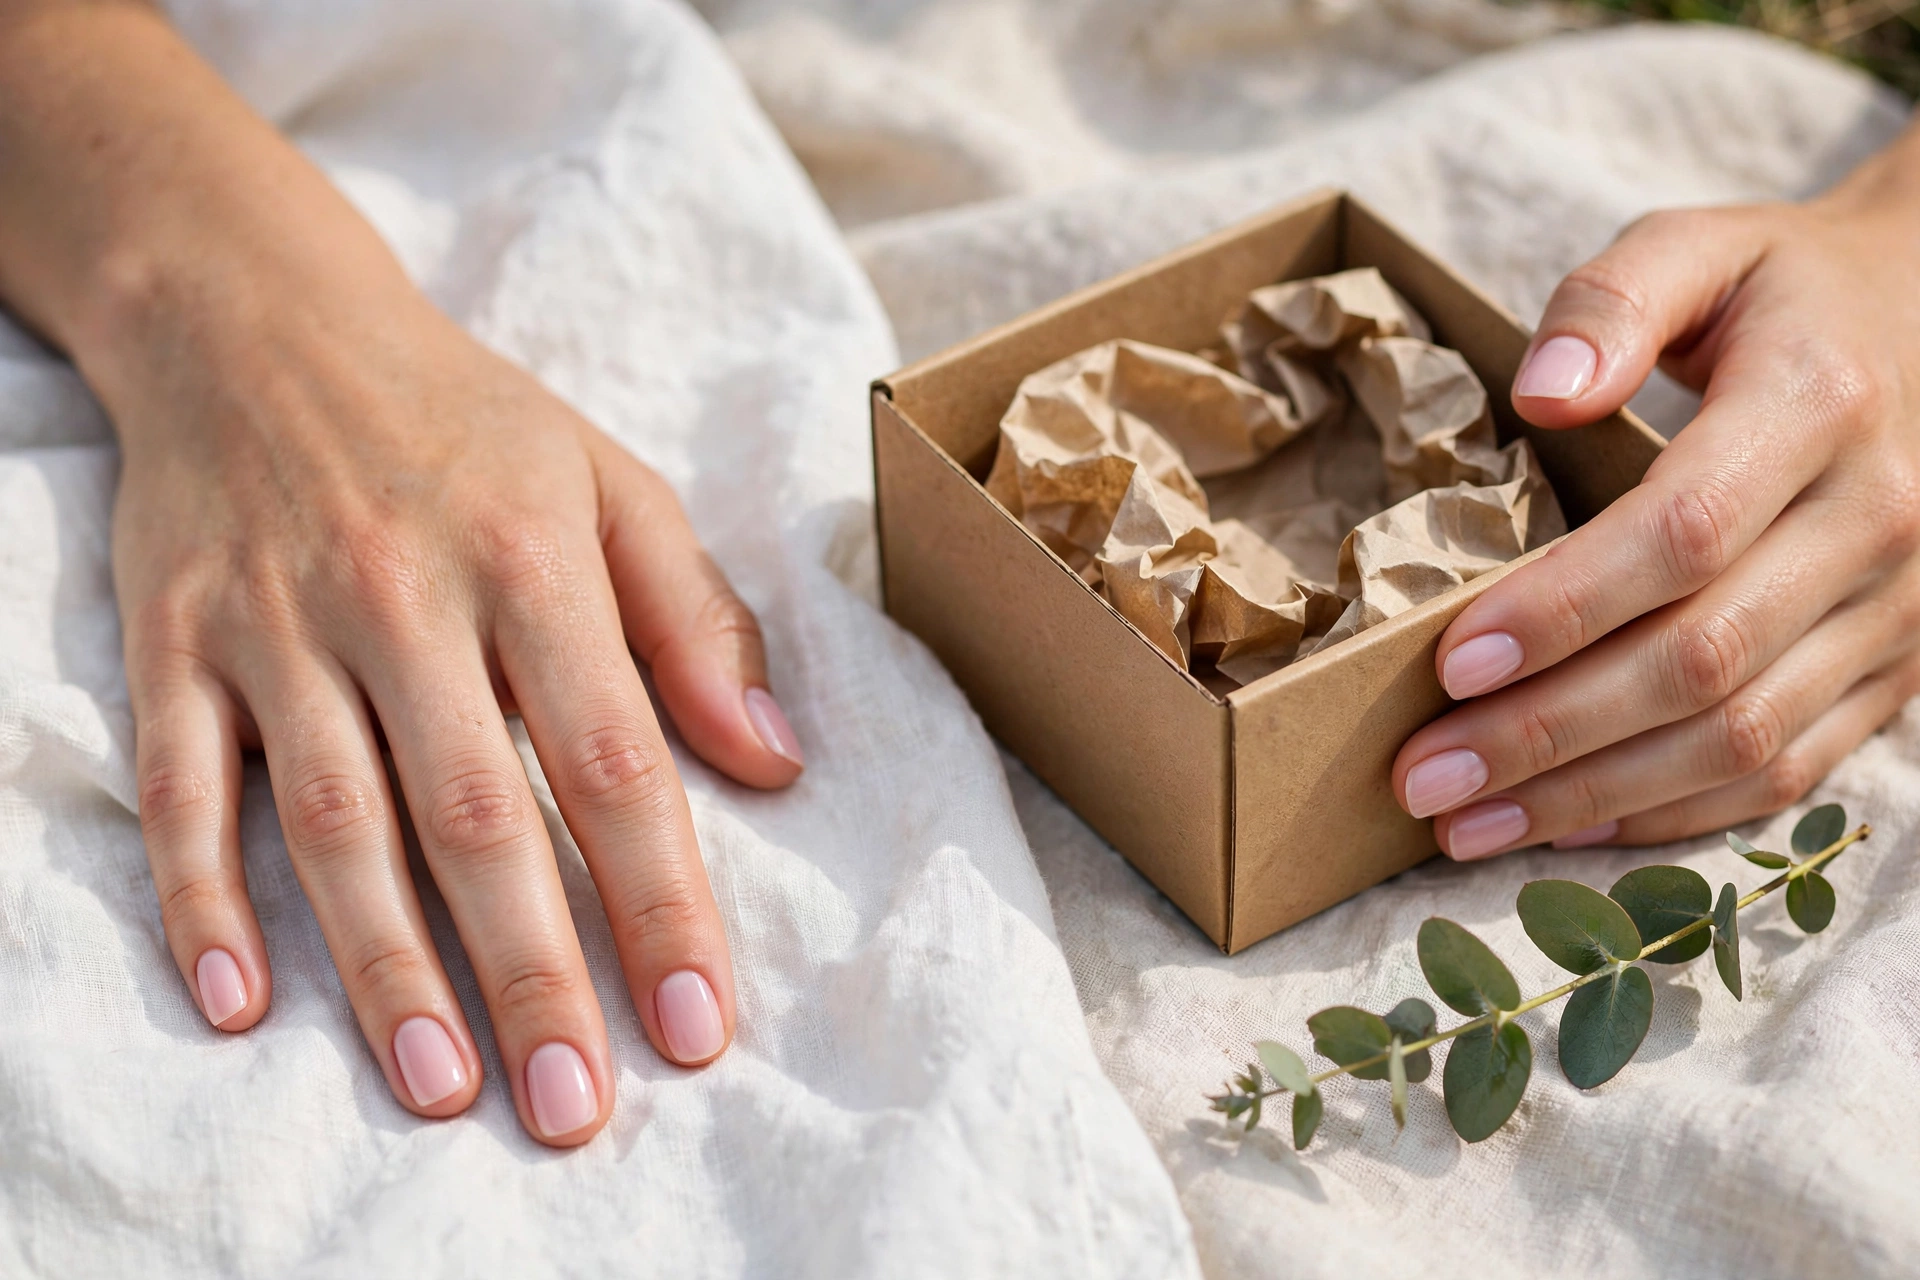
Opening cans, peeling stickers, scraping labels, and prying at packaging all flex the polish film until it cracks at the stress point. Make it a habit to use the pads of your fingertips for everyday prying and tapping instead of the nail edge. Keep a small tool or coin handy for the jobs you’d otherwise use your nails for.
Dermatologists back this one up — the American Academy of Dermatology lists “don’t use your nails as tools” among its core nail-care recommendations.
12. Fix Chips the Day They Happen
A tiny chip spreads if you ignore it — water and friction get under the broken edge and lift the film further. Spot-repair it instead of redoing everything: lightly buff the chipped area, dab color only onto the bare spot, let it dry, then run a thin top coat over the whole nail and cap the edge. Whatever you do, don’t peel: peeling rips up layers of the nail plate and weakens every future manicure.
Your Quick Manicure-Maintenance Habits
You don’t need all 12 tips every time. These five habits, done on a rhythm, carry most of the wear time:
| Habit | How Often | Why It Works |
|---|---|---|
| Alcohol wipe + push back cuticles | Every manicure | Polish grips a dry, oil-free plate and a clean cuticle edge |
| Cap the free edge | Every coat, every time | Seals the tip where almost all chips begin |
| Fresh layer of top coat | Every other day | Renews the protective seal and shine |
| Cuticle oil massage | Every night | Keeps the nail flexible so it bends instead of chipping |
| Rubber gloves | Every wet or chemical chore | Stops water and detergents from attacking the polish film |
If you wear gel, adjust three things: oil your cuticles daily — dry cuticles are the number one cause of gel lifting at the edges. Never file or press down gel edges; that breaks the seal and invites lifting. Apply a gel-compatible top coat around day 7 to refresh the seal. And give your nails a real break between long gel runs — back-to-back sets for months thin the nail plate. See our full gel nails at home guide.
Stronger nails start in the kitchen, not the bottle. Biotin-rich foods — eggs, nuts, salmon, leafy greens — support the keratin your nails are built from. Supplements are a doctor conversation, not a DIY one: get the medical okay before starting biotin or anything else.
What Kills a Manicure: Mistakes to Avoid
- Shaking the polish bottle. Shaking whips air bubbles into the lacquer, which dry into weak spots. Roll the bottle gently between your palms to mix it instead.
- Polishing over hand cream or oil. Moisturizer under the base coat is the classic cause of polish peeling off in whole sheets. Do nails first, moisturize after.
- Flooding the cuticle. Polish on skin always lifts and drags the film up with it. Wipe mistakes with an angled brush dipped in remover before they dry.
- Speed-drying with heat. Hair dryers and hand dryers disturb the film and can cause bubbling. Patience is the only shortcut that works.
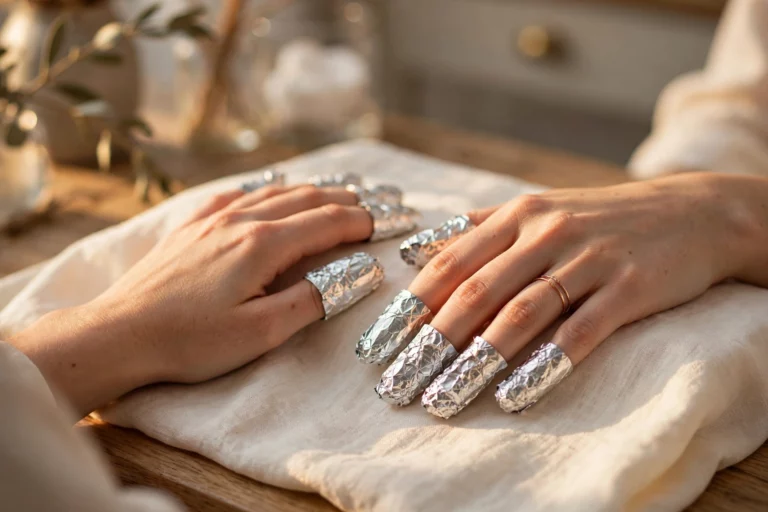
- Picking or peeling polish off. It feels satisfying, but peeling takes layers of your nail plate with it. A weakened plate means every future manicure fails faster. Soak off instead — if you’re wearing gel, our gel nails at home guide covers safe removal.
- Old, thickened polish chips faster no matter what you do — toss it, or thin it with proper polish thinner (never nail polish remover, which ruins the formula).
Frequently Asked Questions
How long should a regular manicure last?
A well-prepped regular polish manicure typically wears 5 to 7 days before noticeable chips appear, and gel polish wears about two weeks. After that point, some wear at the tips is normal regardless of how carefully you applied it — that’s what the top-coat refresh is for.
Why does my polish peel off in sheets?
Sheets of polish peeling off usually mean the film never bonded to the nail: oil or moisture was trapped under the base coat, the base coat was skipped, the nails were soaked before painting, or polish flooded the cuticle. The fix is prep — alcohol wipe, no soak, thin coats, sealed edges — not a different brand of polish.
Does cuticle oil ruin nail polish?
No — it’s one of the best things you can do for wear time. Oil keeps the nail plate flexible so it bends instead of chipping, and it stops the polish from lifting at the cuticle edge as the skin dries. Just apply it at night, never right before painting, so no residue sits under the base coat.
Can I reapply top coat over a matte manicure?
Only with a matte top coat. A regular glossy top coat will turn a matte finish shiny and uneven, and it can disturb the matte layer. Keep a matte top coat on hand if you wear matte looks, and refresh it the same way — every other day.
Why do my nails chip the day after a manicure?
Day-two chipping is almost always a prep or application problem: moisture or oil under the film, coats applied too thick, or the free edge left unsealed. Salon manis chip early for the same reasons, especially if the salon soaked your hands first. Run through tips 1 through 6 above and the problem usually disappears.
Do I need to let my nails “breathe” between manicures?
Nails are made of keratin — dead tissue — so they don’t need air. A short break between manicures is still useful when nails feel dry, thin, or brittle, because it gives you a window to oil and strengthen them. But you don’t need a break for the nails’ sake if they’re healthy.
Does base coat really make a difference?
Yes. Base coat gives the color something to grip, prevents darker shades from staining the nail, and adds a flexible layer that absorbs everyday knocks. Skipping it is one of the most common reasons a manicure fails early. If your nails are weak or peeling, a strengthening base coat adds extra support.
My nails are weak and peeling — will any of this still work?
Yes, with adjustments. Keep nails shorter — length multiplies the leverage that snaps weak nails. Use a strengthening base coat (look for nylon or keratin fibers on the label), and limit acetone exposure by removing polish promptly instead of letting it sit half-peeled for days. If nails are splitting deeply, pitting, or discolored, that’s beyond cosmetics — see a dermatologist, since those can signal conditions polish can’t fix.