
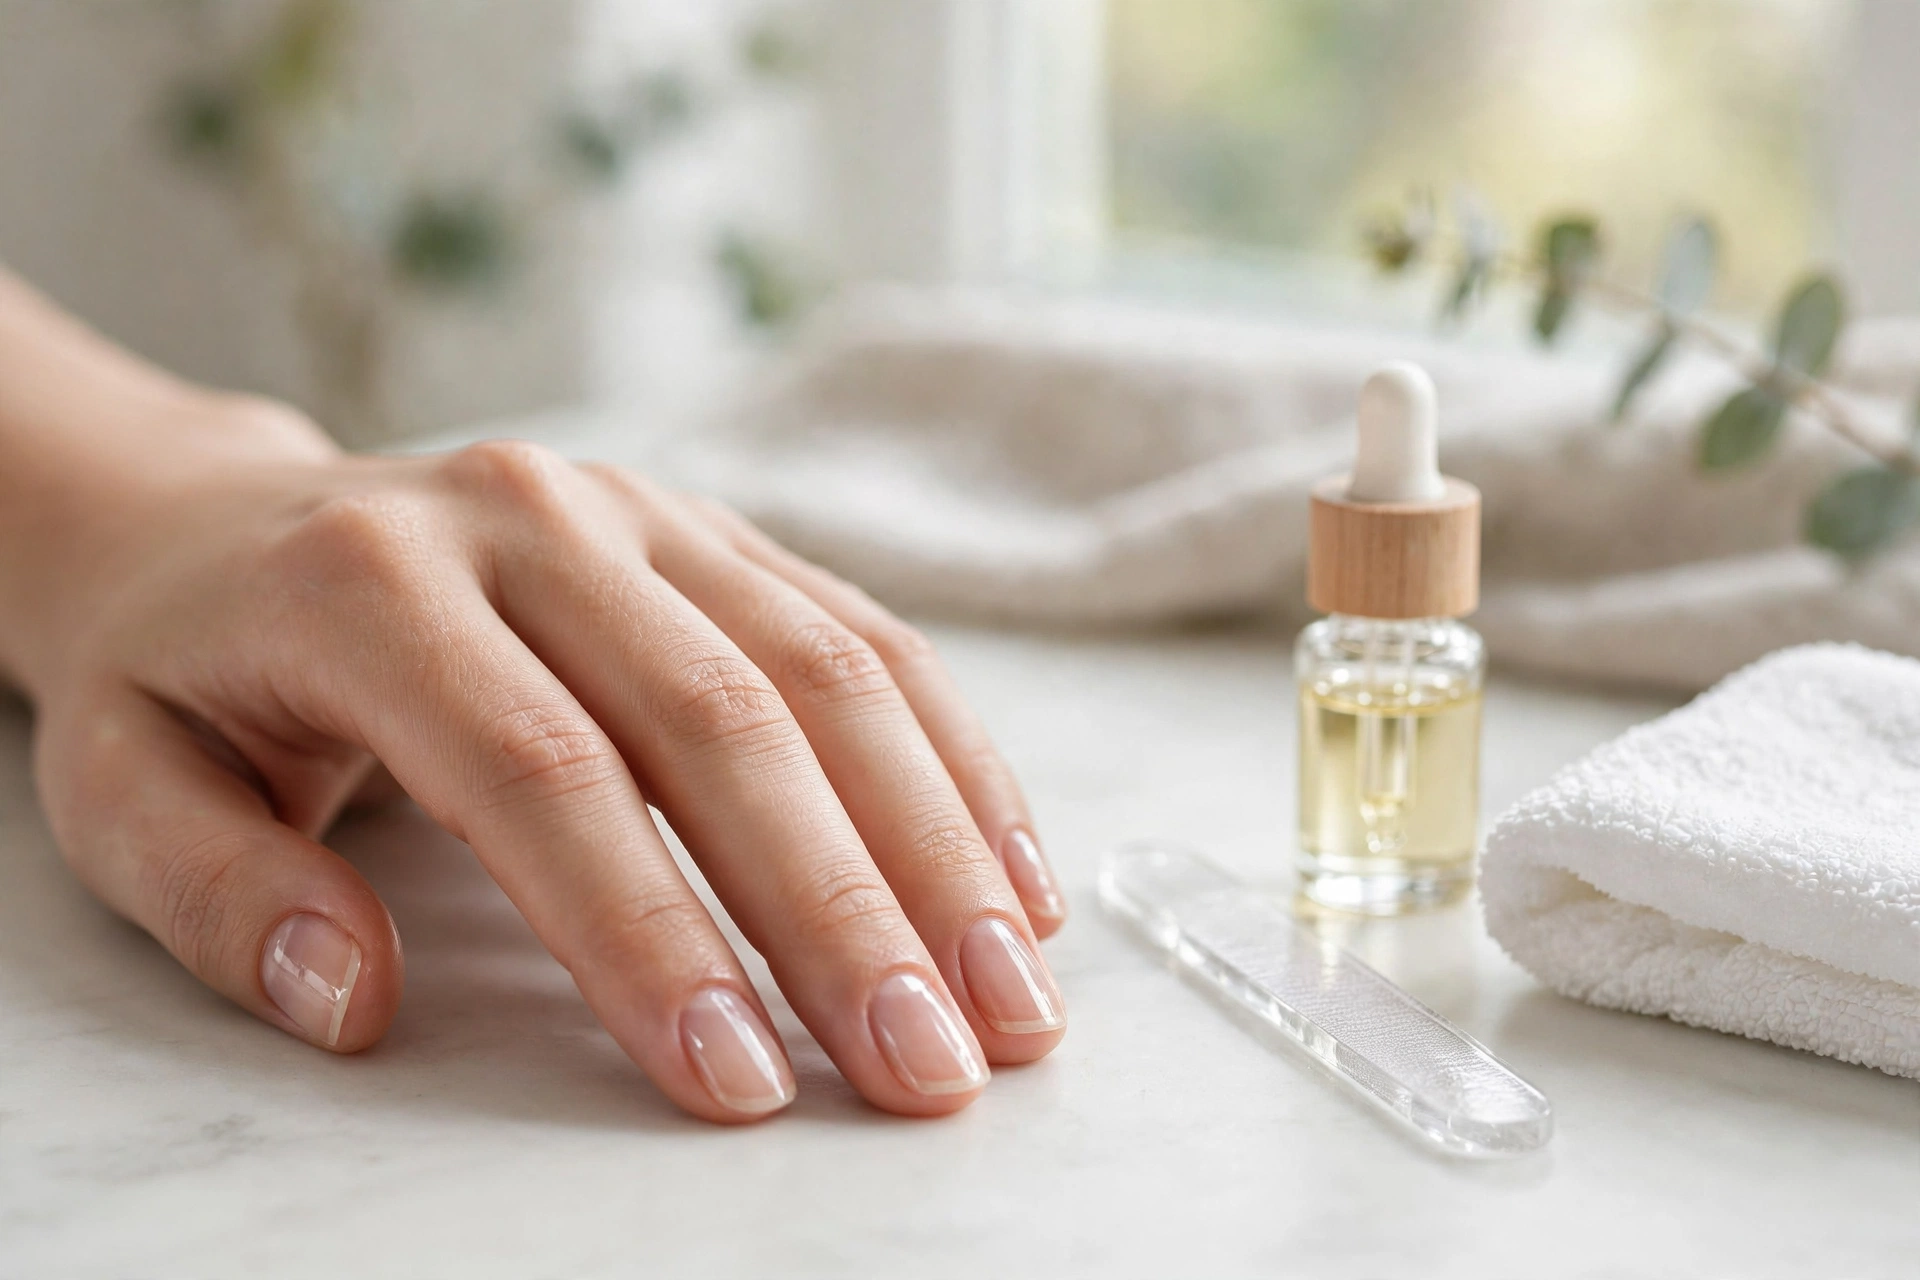
The Ultimate Nail Care Routine for Healthy Nails
A good nail care routine is simpler than the beauty industry makes it sound. Keep nails clean and protected, add moisture every day, file instead of tearing, and trim on a regular schedule — done consistently, that covers almost everything. This guide lays out exactly what to do daily, weekly, and monthly, which products actually earn their shelf space, how to read your nails’ warning signs, and when a problem belongs in a dermatologist’s office rather than a blog post.
What a Nail Care Routine Can (and Can’t) Do
A routine keeps the nail you have flexible and resistant to breakage; it can’t rebuild the nail overnight. Each nail is a plate of keratin grown by the matrix hidden under your cuticle, and fingernails grow only about 3 millimeters a month. That means a damaged tip takes months to grow out — patience is part of the routine. What consistent care does change quickly is flexibility: dry nails snap, hydrated nails bend, and bending survives daily life far better than snapping does. One myth worth retiring: nails don’t “need to breathe.” The plate is already dead keratin. Polish-free breaks still help, but for a practical reason — they cut your exposure to removers and solvents, not because the nail was holding its breath.
The Daily Nail Care Routine (About Five Minutes)
Daily care is two habits: moisturize, and protect. Everything else is weekly or monthly.
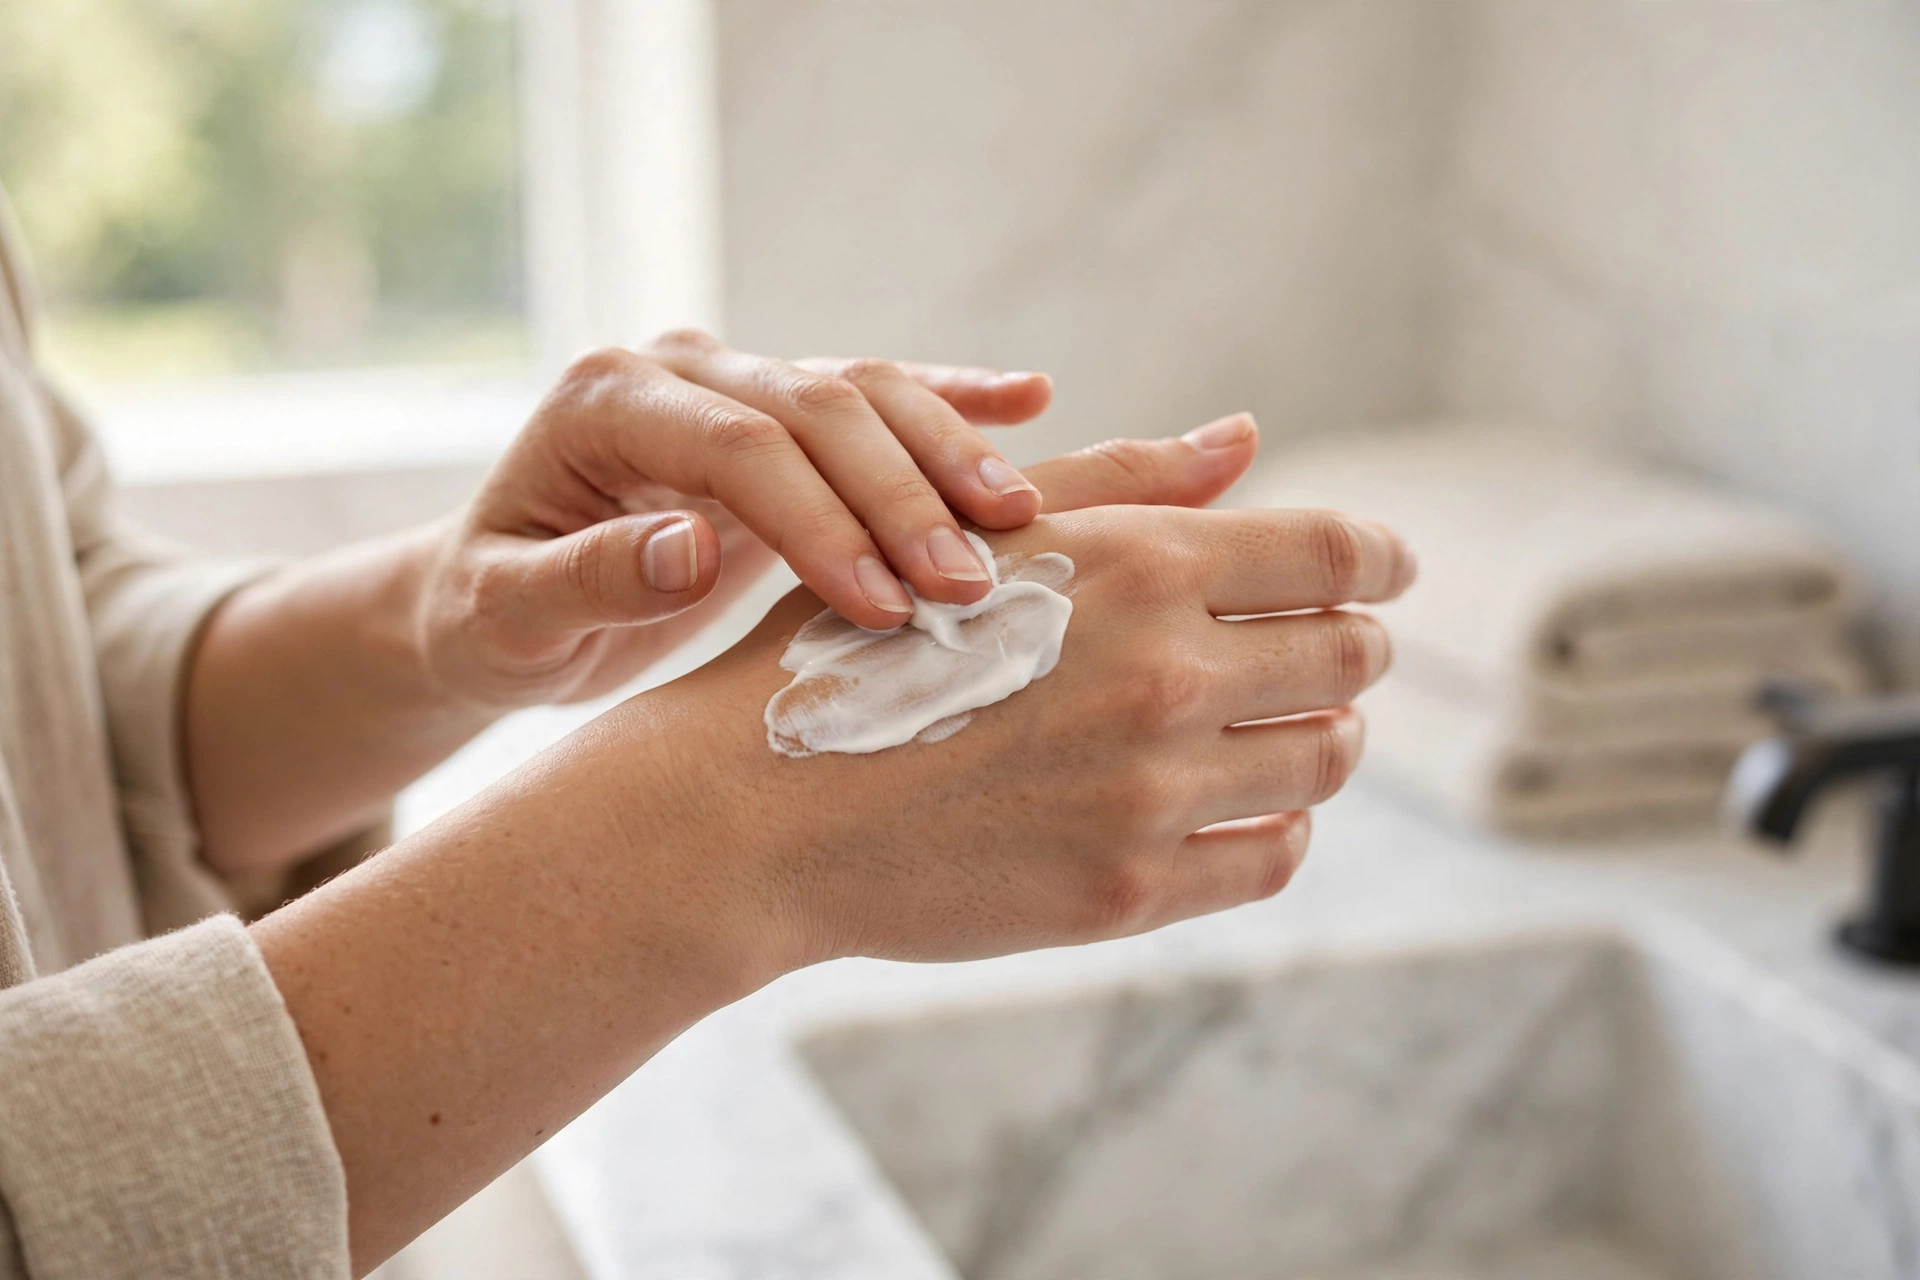
Morning: moisturize after washing
After you wash your hands in the morning, massage hand cream into your hands and work it into the nails and cuticles too. This is the single most repeated piece of dermatologist advice on nails, and it survives repetition because it works: skin around the nail dries out fastest, and dry skin cracks, snags, and becomes a hangnail. Keep a tube of cream at the sink where you’ll actually use it.
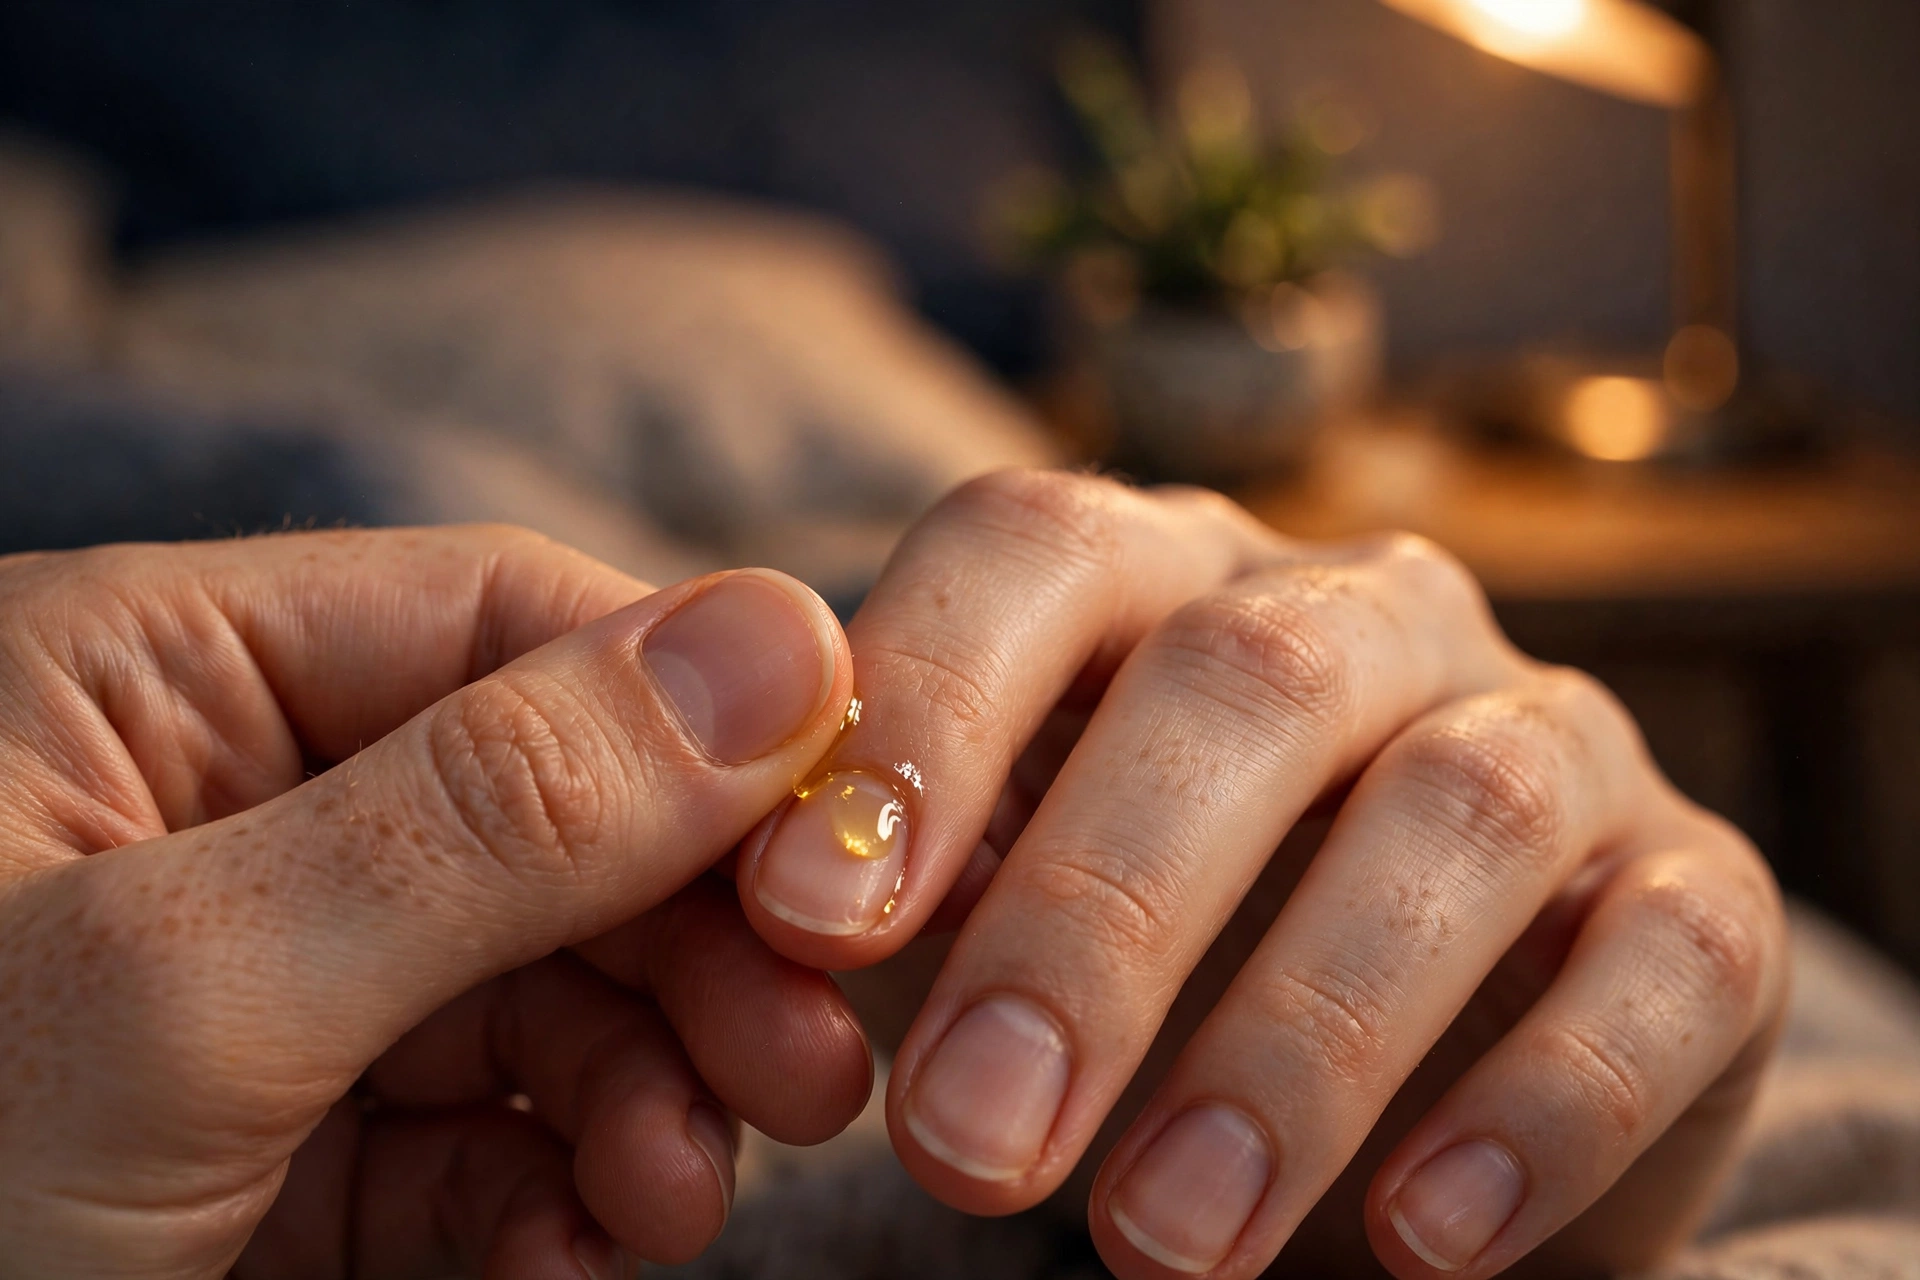
Evening: one drop of cuticle oil per nail
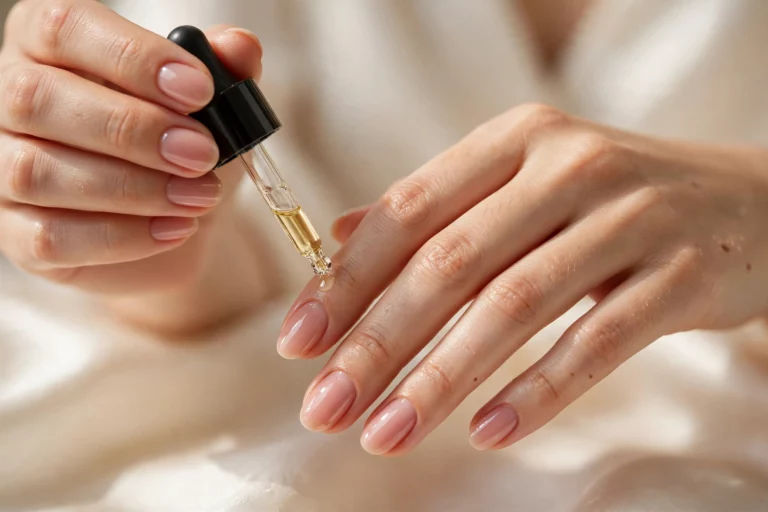
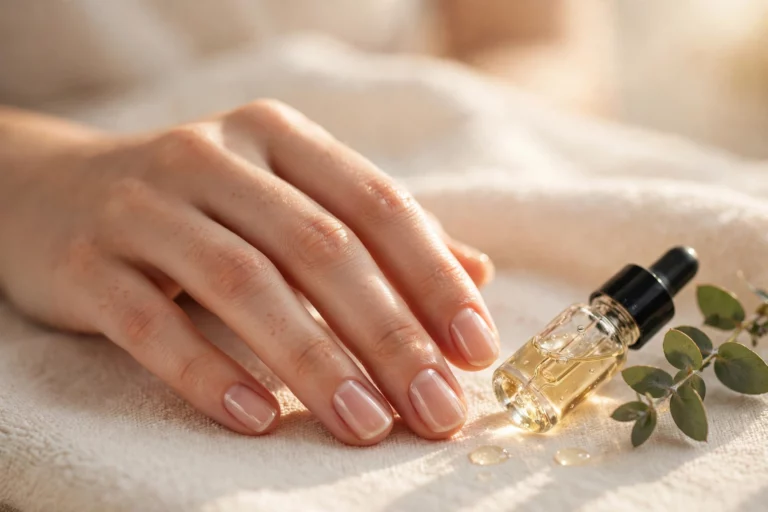
Before bed, put a drop of cuticle oil on each nail and massage it into the nail and the surrounding skin — about thirty seconds per hand. Night is the best time because the oil gets hours to work without handwashing interrupting it. This small habit does more for peeling and brittleness than any emergency treatment, because it prevents the problem instead of repairing it.
All day: protect like you mean it
Wear cotton-lined rubber gloves for dishes, cleaning, and gardening. Two things happen without them: prolonged water exposure makes nails swell and then contract as they dry, which is a direct cause of peeling layers, and detergents and chemicals strip the natural oils that keep nails flexible. Equally important: stop using your nails as tools. Opening cans, scraping stickers, and prying things apart puts leverage exactly where the nail is weakest — the free edge — and one bad tear undoes weeks of care.
Winter and hand sanitizer are the two quietest nail-killers: cold air and alcohol both strip moisture fast, so double down on oil and cream in winter and after every sanitizer use.
The Weekly Nail Care Routine (About 20 Minutes)
One short session a week keeps length, shape, and edges under control. Do it after a shower or hand soak, when nails are slightly softened but not waterlogged.
1. Clean under the nails
Wash with warm water and mild soap, then use a soft nail brush to gently clean under the free edge. Skip hard metal tools under the nail — they separate the nail from the bed and invite infection.
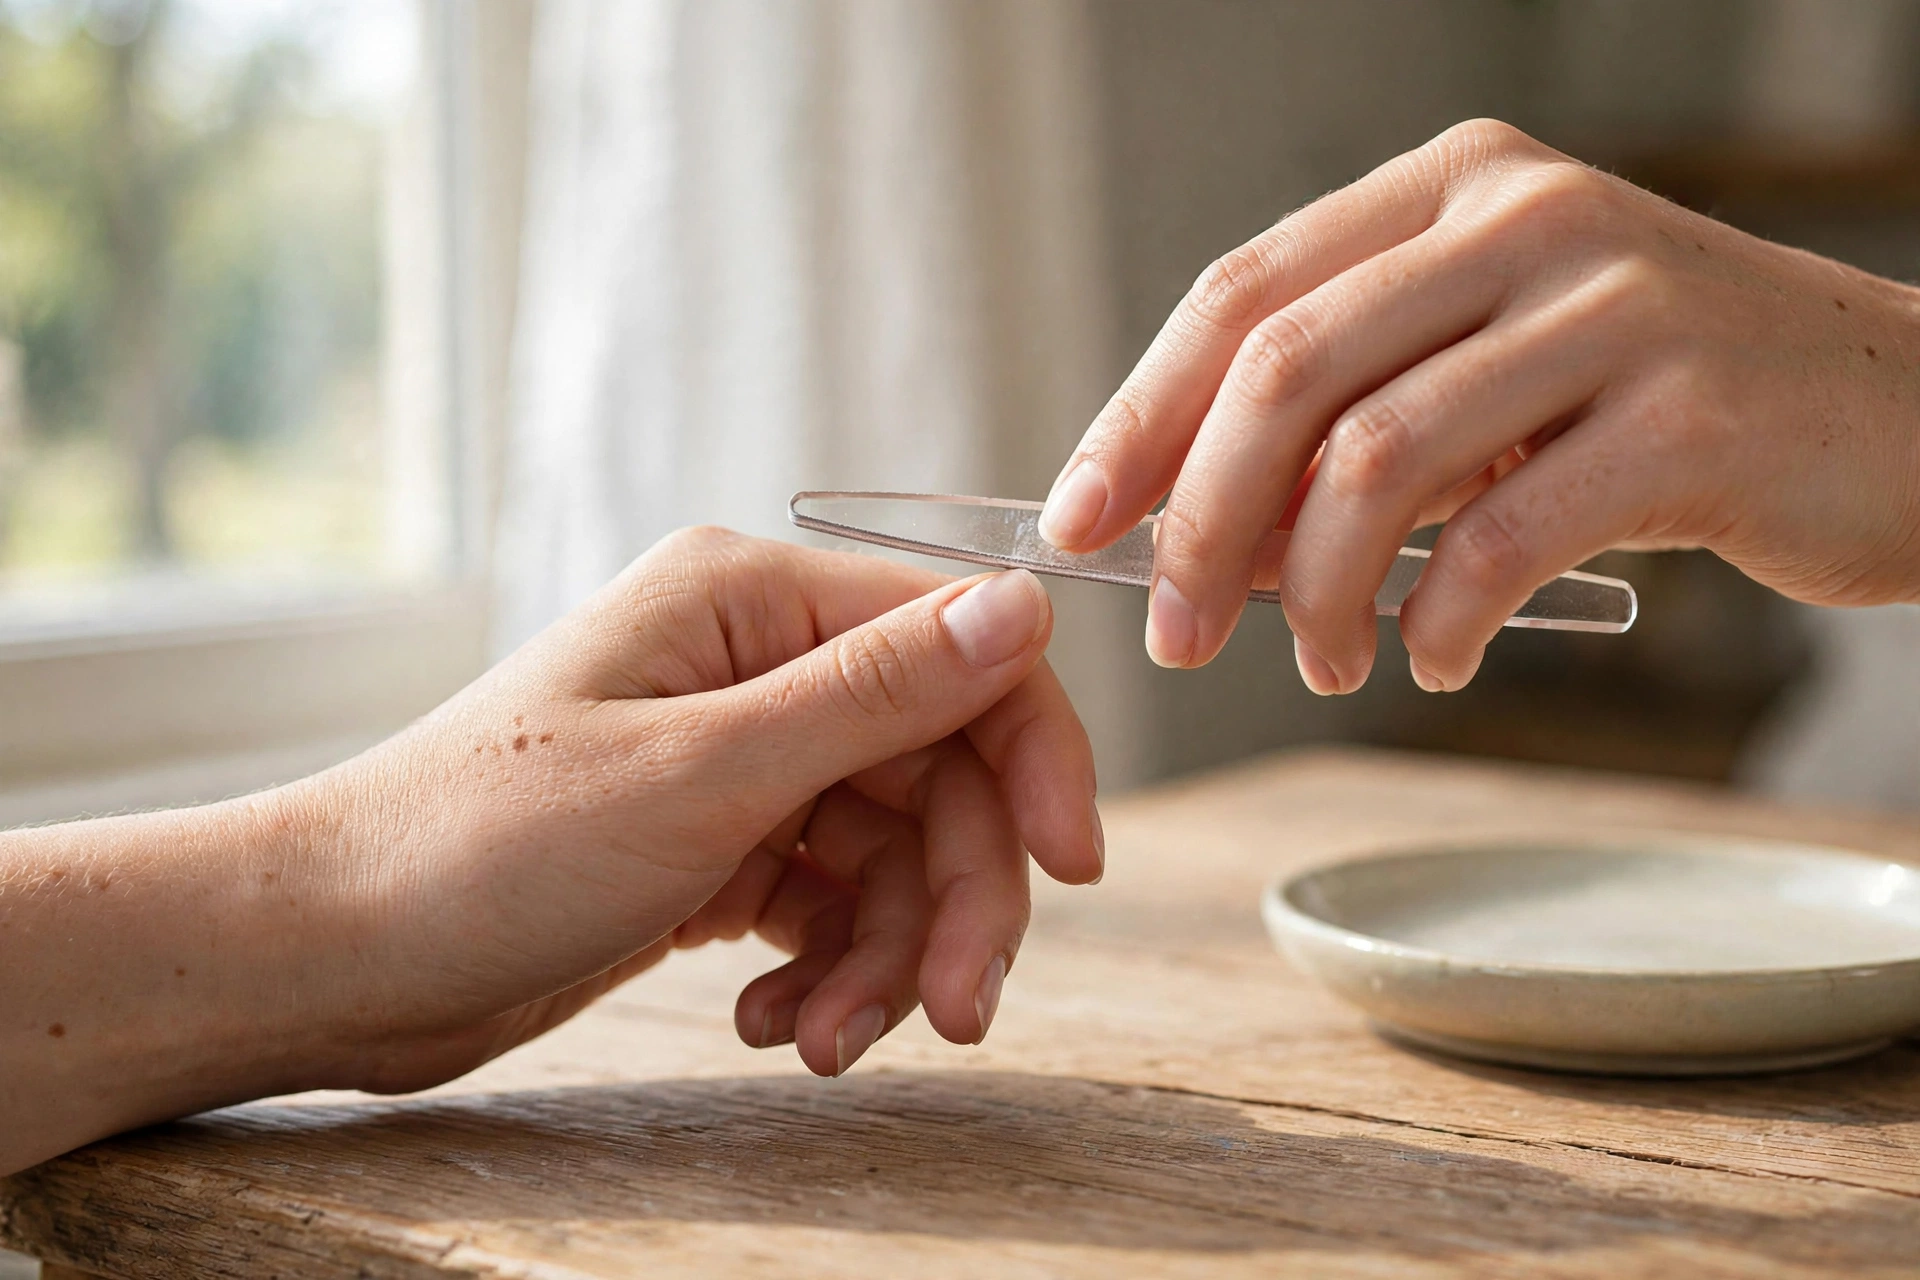
2. Trim, then file
Clip to your preferred length with sharp nail clippers, cutting straight across, then shape the edges with a file. File in one direction only, moving from the sides toward the center — sawing back and forth frays the free edge and starts the splits you’re trying to prevent. A glass file or a fine-grit file (180 or higher) seals the edge instead of roughening it. If you’re still deciding on a shape, our nail shape guide walks through what suits different hands and lengths.
3. Soften and push back cuticles
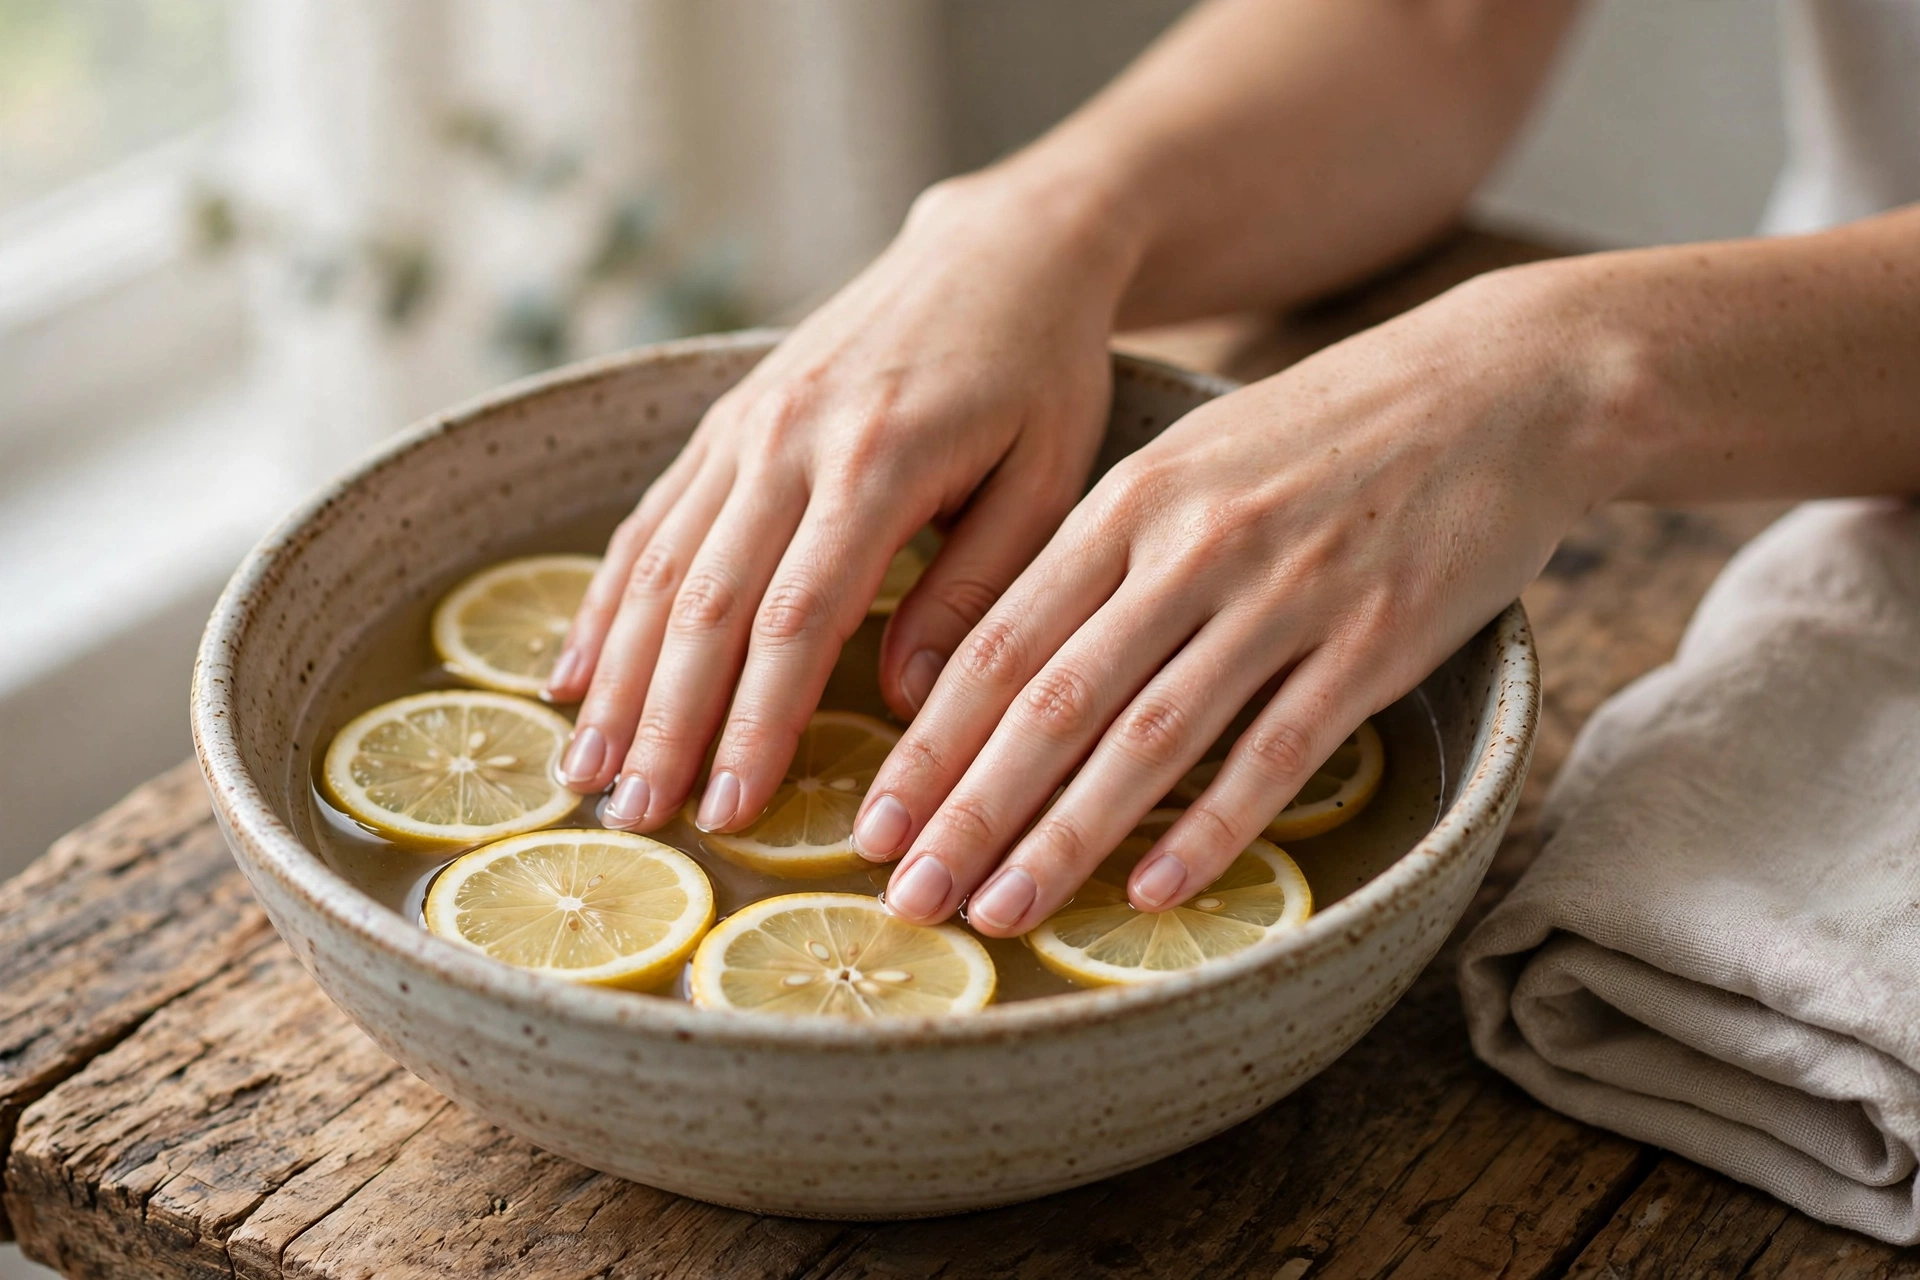
Soak fingertips in warm water for a few minutes, then gently push back the cuticles with an orangewood stick or a soft rubber-tipped pusher. Never cut living cuticle skin, and never dig under it — you’ll see why in the fundamentals section below.
4. Exfoliate hands lightly
A mild sugar scrub or even a damp washcloth buffed over your hands removes dead skin around the nails and helps moisturizer absorb better afterward. Keep it gentle; the goal is smoother skin, not a deep peel.
5. Finish with oil
End every weekly session the same way you end every evening: cuticle oil, massaged in. Weekly care creates tiny micro-abrasions in the skin around the nails no matter how careful you are, and oil is what calms them down.
Toenails follow the same rules with one adjustment: trim straight across and never dig at the corners — curved cuts invite ingrown nails, and feet are a higher-germ zone than hands.
The Monthly Reset (About 30 Minutes)
Once a month, step back and look at your nails with fresh eyes. The monthly reset is an honest check-in, not a spa ritual.
Assess length honestly
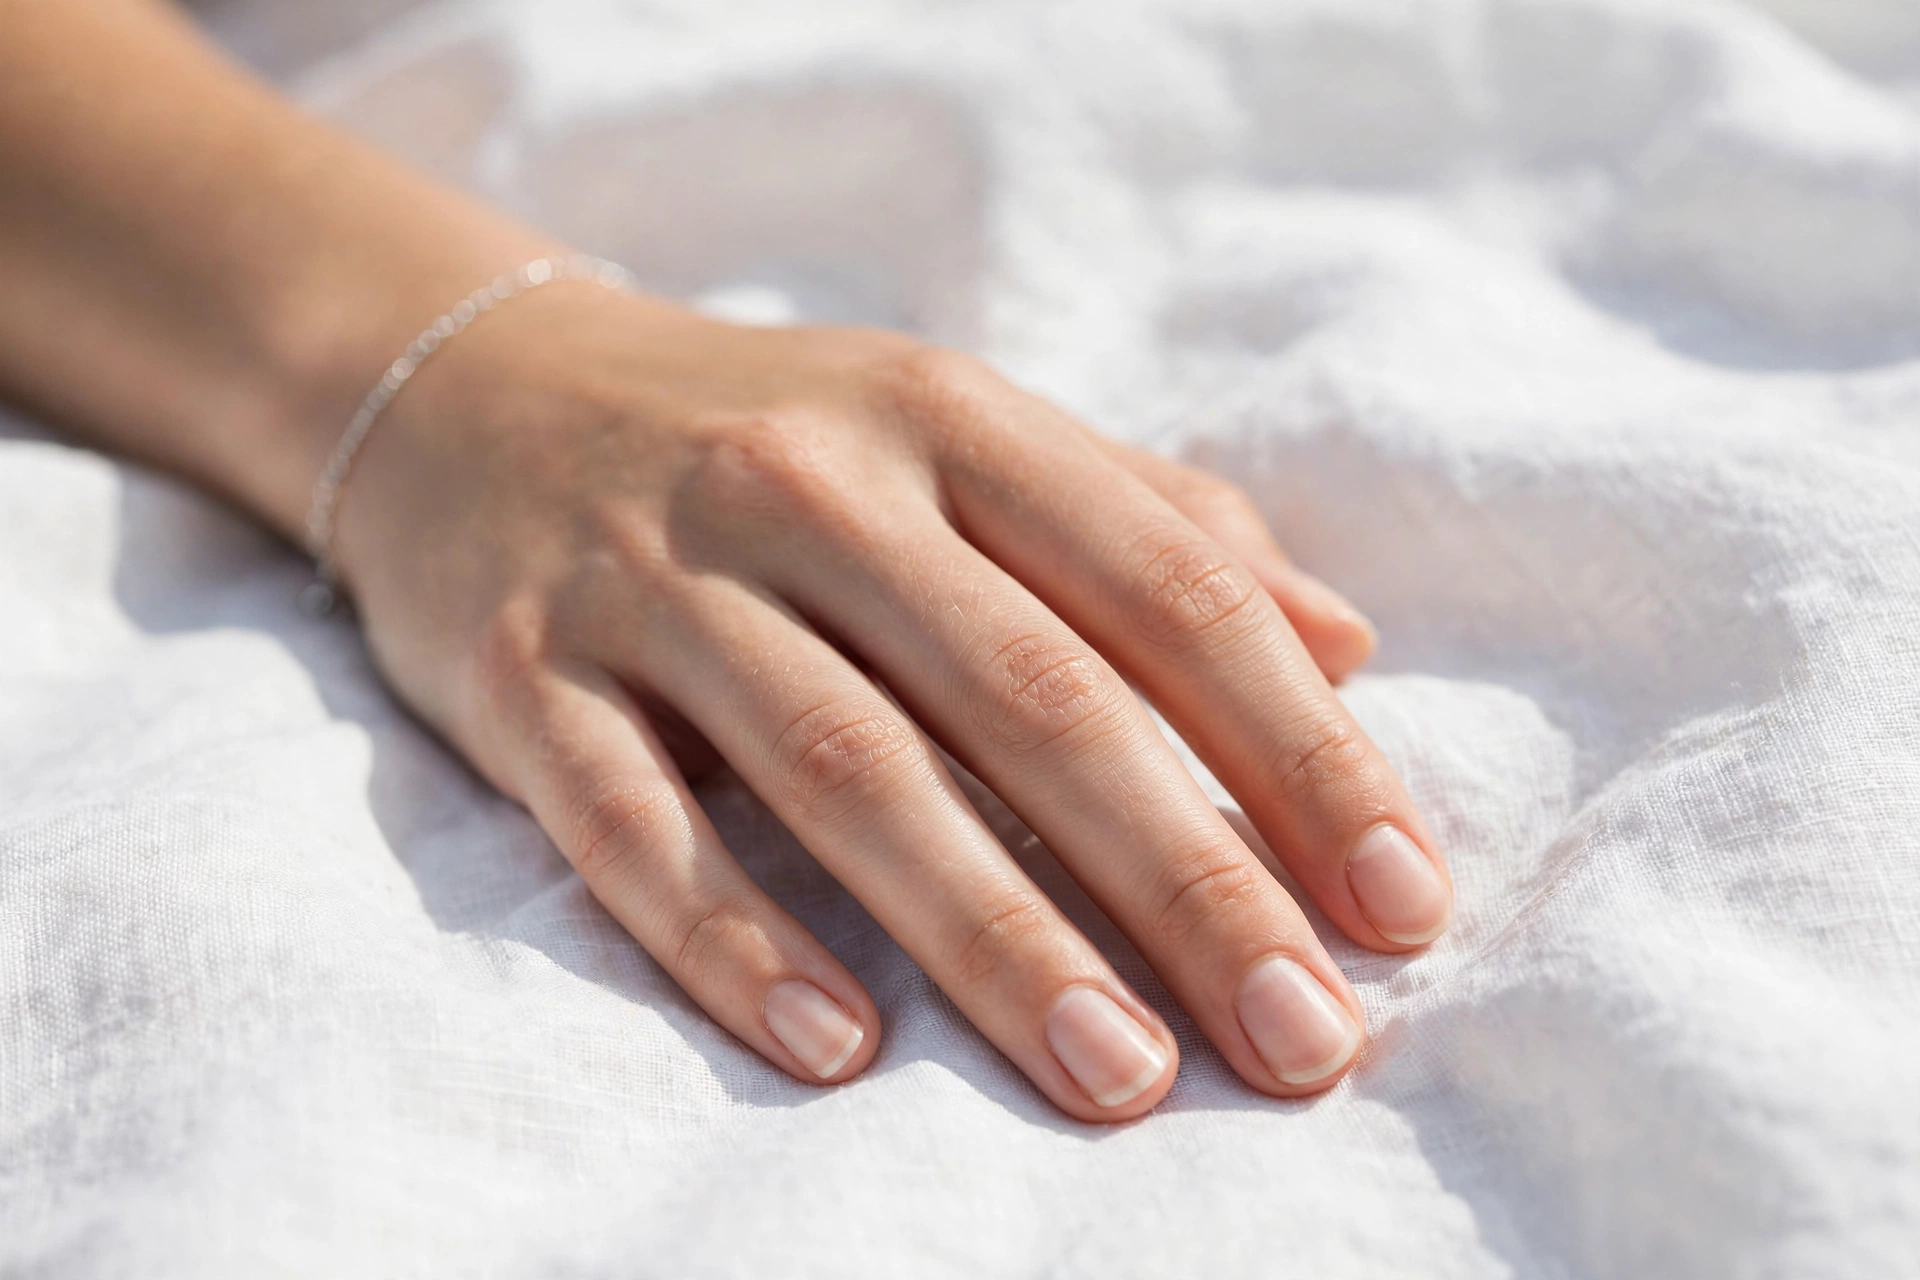
Look at each nail and ask whether the length is earning its keep. Longer nails carry more leverage, so they break more. If you’ve had repeated breaks or splits this month, go shorter for a while — shorter nails are less prone to breaking because there are fewer exposed edges to tear and less surface area soaking up water and chemicals. You can always grow them out again once they’re consistently strong. Bare nails can look intentional in the meantime; our natural nail designs roundup has ideas that work on a fresh, short canvas.
Fix damage properly
Re-file any snags or rough edges immediately rather than waiting for them to catch on something and tear deeper. If a nail has a deep split, trim below the split — trying to “save” it usually ends with a worse break.
Give polish wearers a break
If you wear polish constantly, take one polish-free week each month. It’s not about breathing (see above); it’s about reducing two real problems: staining from dark pigments, which fades on its own during the break, and repeated exposure to removers, which dry the plate out.
Deep-moisture session (optional)
Once a month, warm a small bowl of jojoba or olive oil and soak your fingertips for five to ten minutes, then massage the excess into your hands. This is the at-home version of the oil bath some salons offer, and it’s genuinely pleasant — but treat it as a bonus, not the core of the routine. The daily oil habit matters more.
Check your tools
Look at your clippers and files. Dull clippers crush the nail instead of cutting it, which causes tiny cracks at the edge. Sanitize metal tools with soap and water and let them dry fully; toss worn-out files and buffers. Cheap tools are fine — dull tools are not.
The Damage Recovery Plan
Badly damaged nails recover on a timeline, not overnight: trim back, pause enhancements, protect with a strengthening base, oil twice daily, and don’t buff until they’re sound again.
The sequence:
- Trim back honestly. Length is leverage — the longer the nail, the more every bump bends and splits it. Go short until the damage grows out.
- Pause gel and acrylic. Enhancements on compromised nails trap problems underneath. Give the nail plate a clear run.
- One strengthening base coat. Look for formulas with nylon or keratin fibers — they add structure while the nail rebuilds.
- Cuticle oil twice a day. Morning and night, massaged in. Consistency beats quantity.
- No buffing. Buffing thins an already thin plate. Leave the surface alone until new, healthy nail has grown in.
The timeline: you’ll see real improvement in 6 to 8 weeks; full regrowth of a fingernail takes 3 to 6 months (nails grow about 3 mm a month). Monthly photos keep you honest about progress — the mirror lies, the camera doesn’t.
The Four Fundamentals Worth Getting Right
Daily, weekly, and monthly schedules are the skeleton. These four ideas are the reasoning underneath — understand them and the routine makes sense on its own.
Know Your Nail Anatomy (30-Second Version)
Five parts matter for care decisions: the plate (the hard visible nail), the bed (the skin underneath it), the matrix (the growth factory hidden under the cuticle), the cuticle (the seal over the matrix), and the lunula (the pale half-moon — visible matrix).
Why this matters: the matrix is where every nail problem starts and where damage is permanent — injure it and the nail grows out deformed. The cuticle exists to seal and protect the matrix, which is exactly why cutting it is risky. Filing shapes the dead plate (safe); digging at the cuticle threatens the living factory (not safe). Once you see the nail as a system, most “rules” stop being rules and start being obvious.
1. Hydration: oil for the nail, cream for the skin
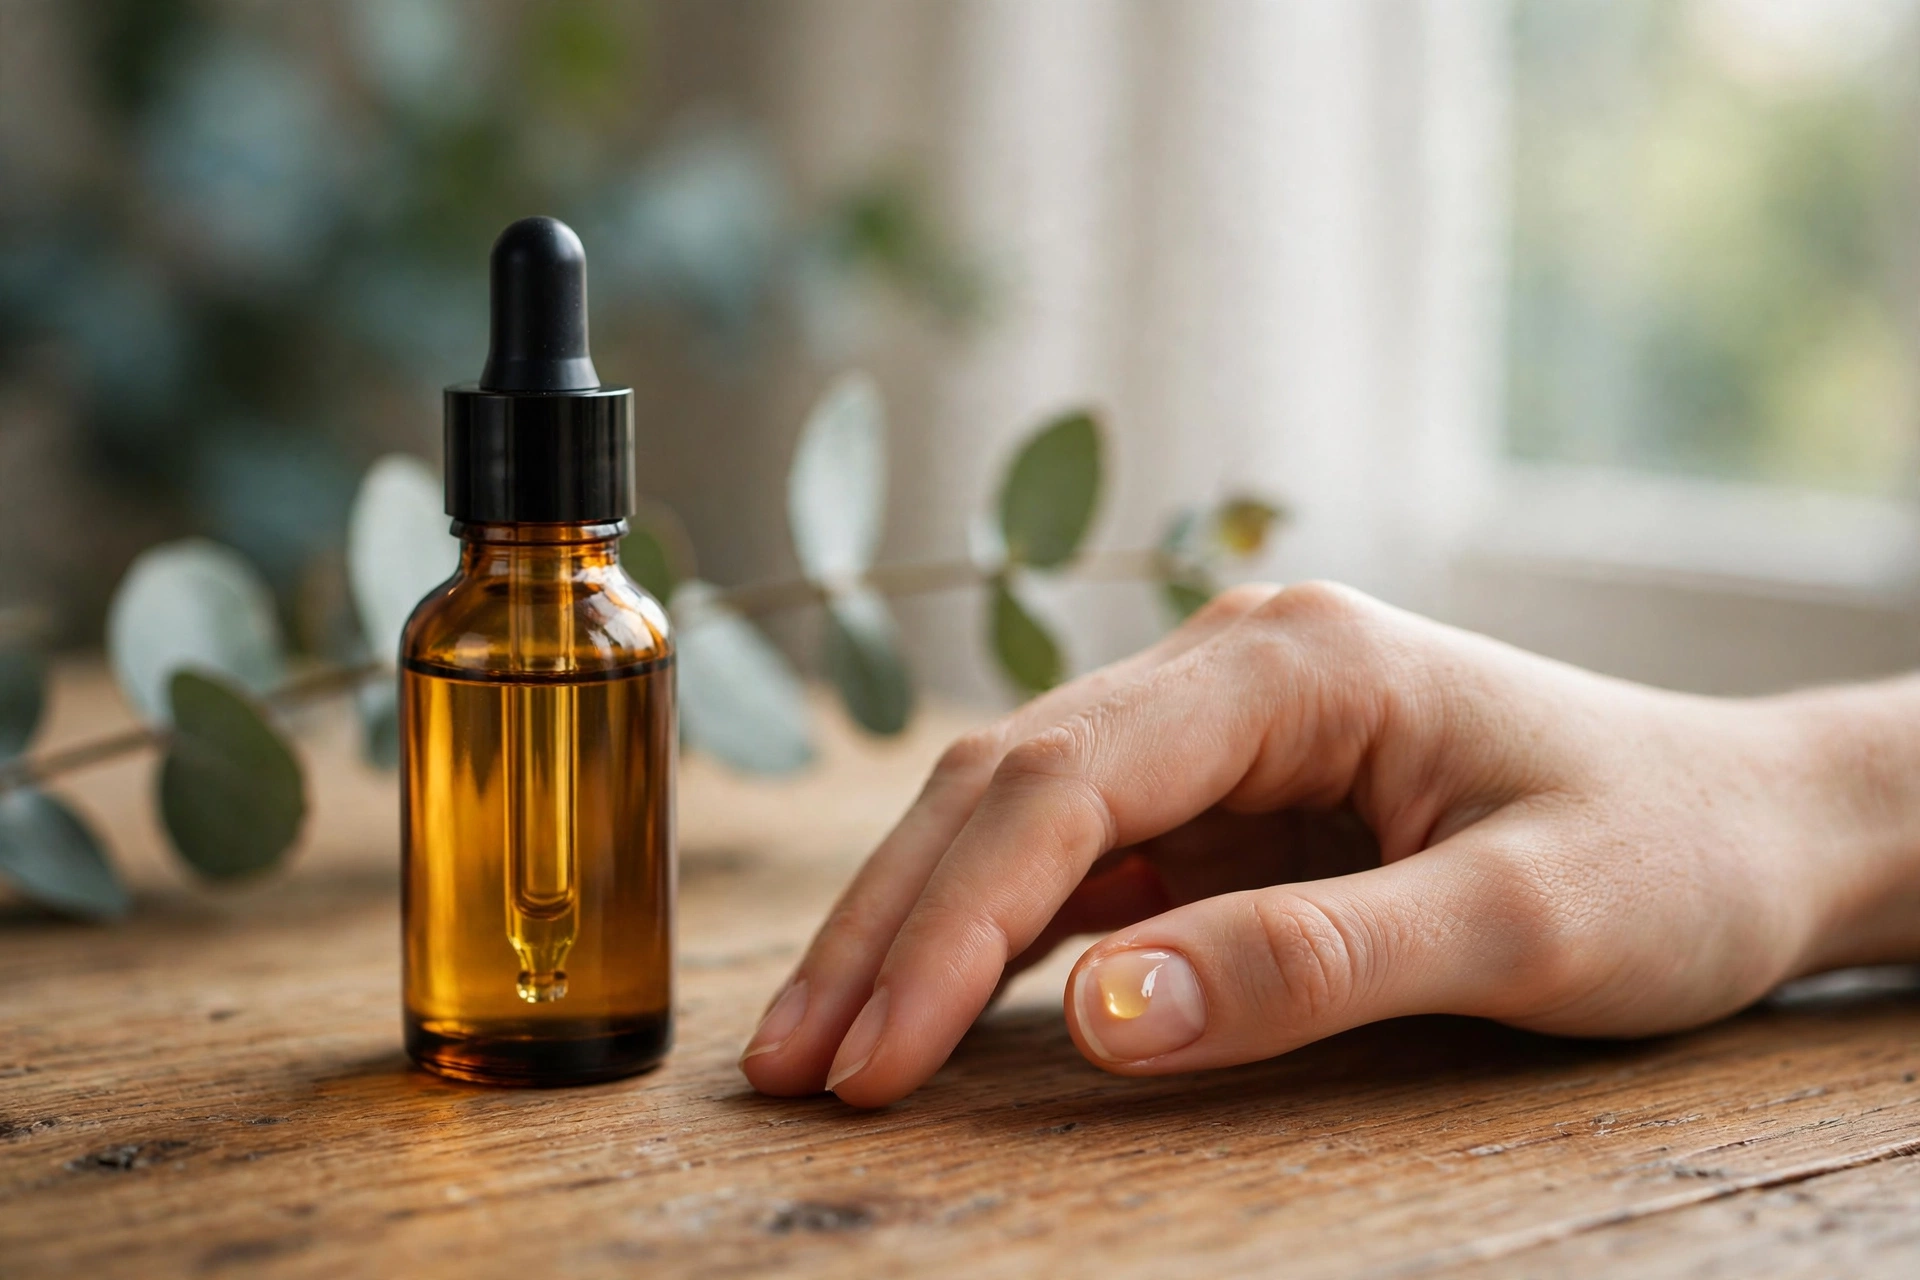
Oils like jojoba and vitamin E can penetrate the surface of the nail plate, which is why cuticle oil genuinely reduces brittleness instead of just sitting on top. Hand creams, meanwhile, mostly protect the skin around the nail — the cuticles, the sidewalls, the knuckles. You need both jobs done, so use both products: oil on the nail itself, cream over the whole hand. Apply oil first, let it sink in for a minute, then layer cream over it.
2. Filing: one direction, fine grit, dry nails
The mechanics of filing matter more than the file. Back-and-forth sawing frays the layers of the free edge, and frayed edges split — so always file in one direction, sides toward center. Use a fine grit (180 or higher) or a glass file, which seals as it shapes. And file nails when they’re dry, not right after a long soak: waterlogged nails are more flexible but also more fragile under the file.
3. Cuticles: a living seal, not dead skin
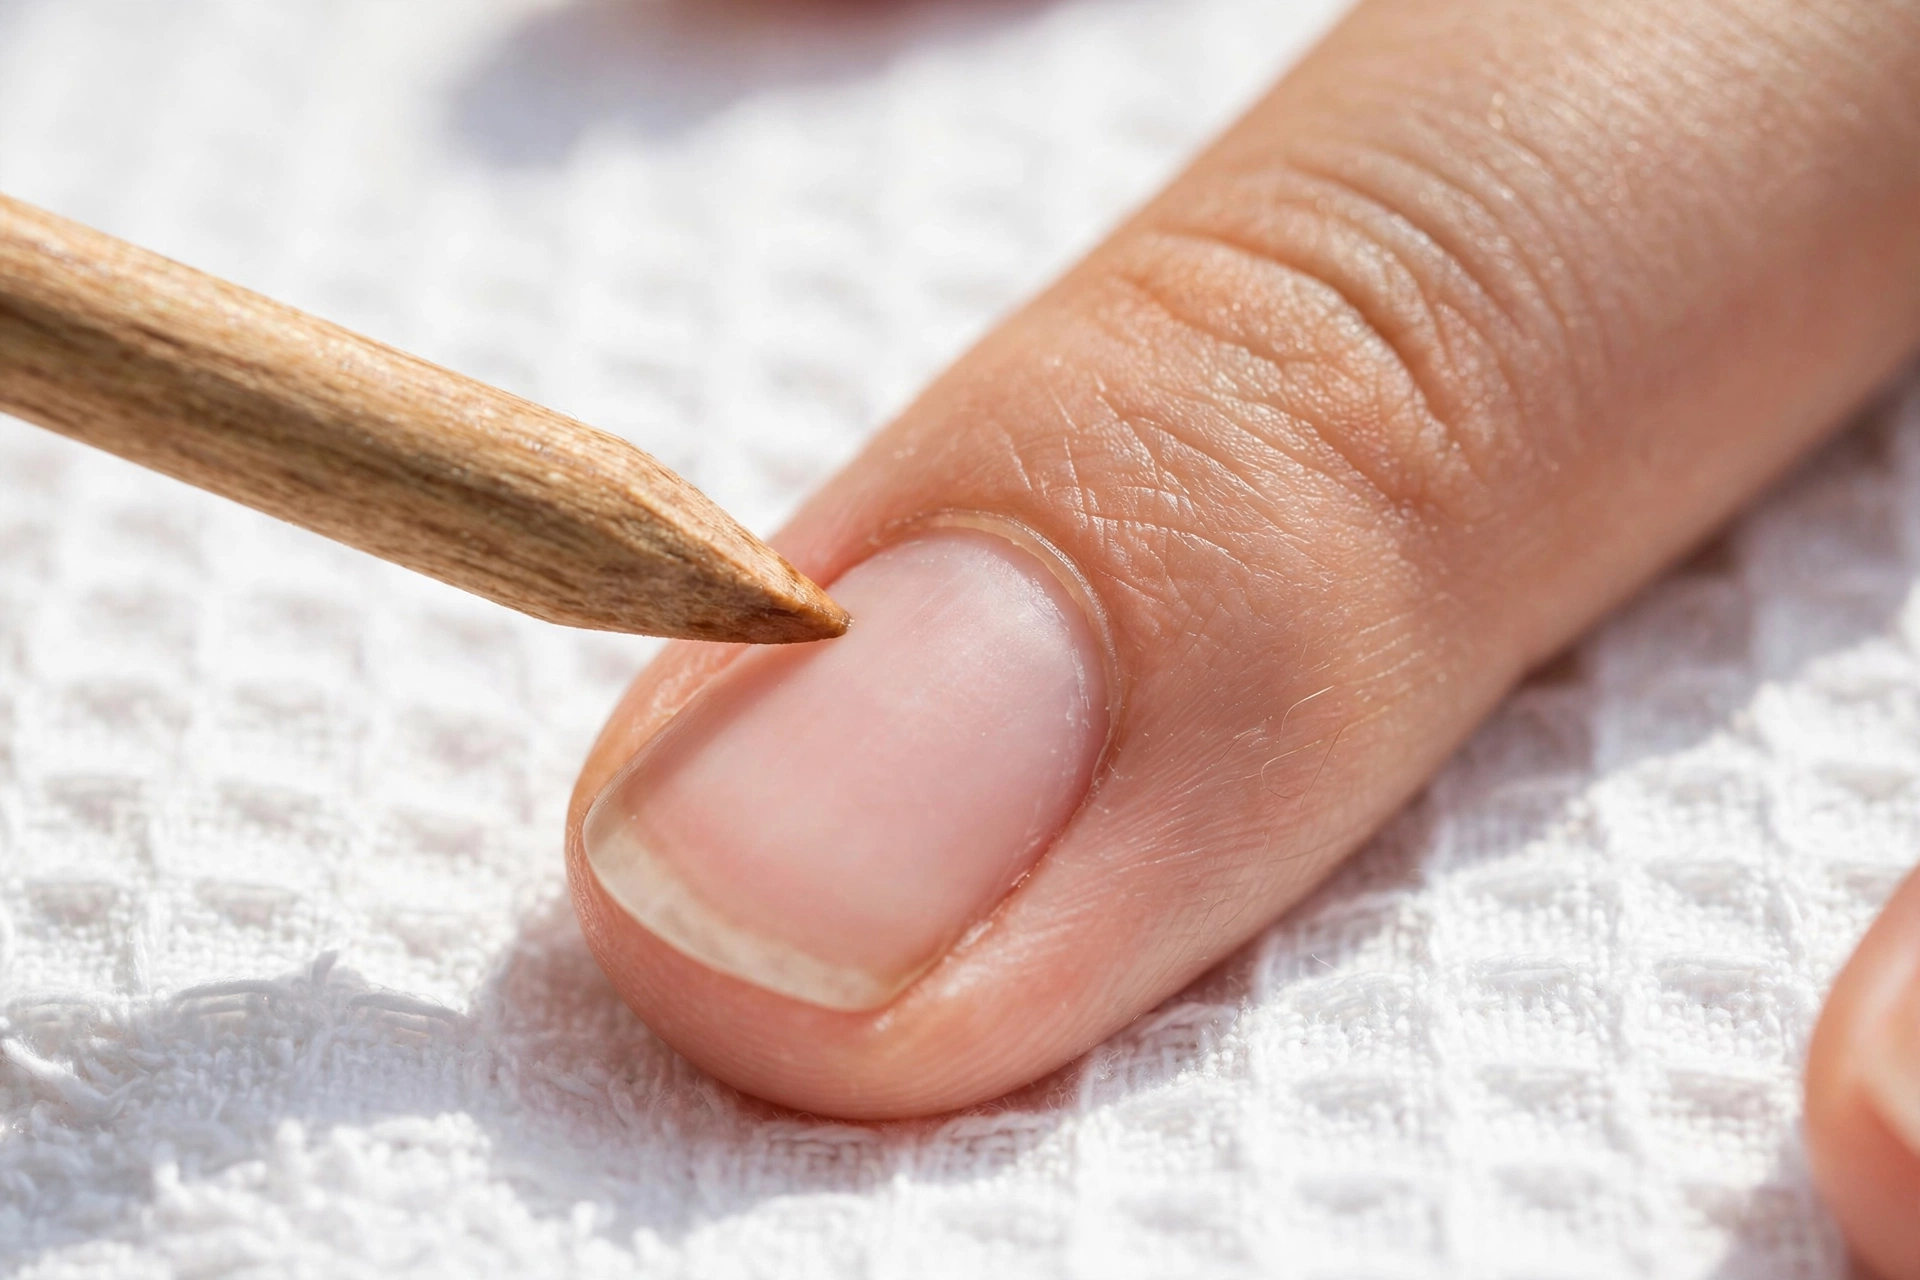
The cuticle is living skin that seals the nail matrix — the growth factory — away from bacteria and fungus. Cutting it breaks that seal. The consequences aren’t theoretical: an open cuticle invites infection, and damage to the matrix can grow out as permanent ridges or grooves in the nail. This is why manicurists and dermatologists alike say to push cuticles back gently after softening them, never cut them. The only thing worth trimming is a loose hangnail — cut it cleanly at the base with sanitized nippers instead of pulling it, since pulling tears living skin and hurts for days.
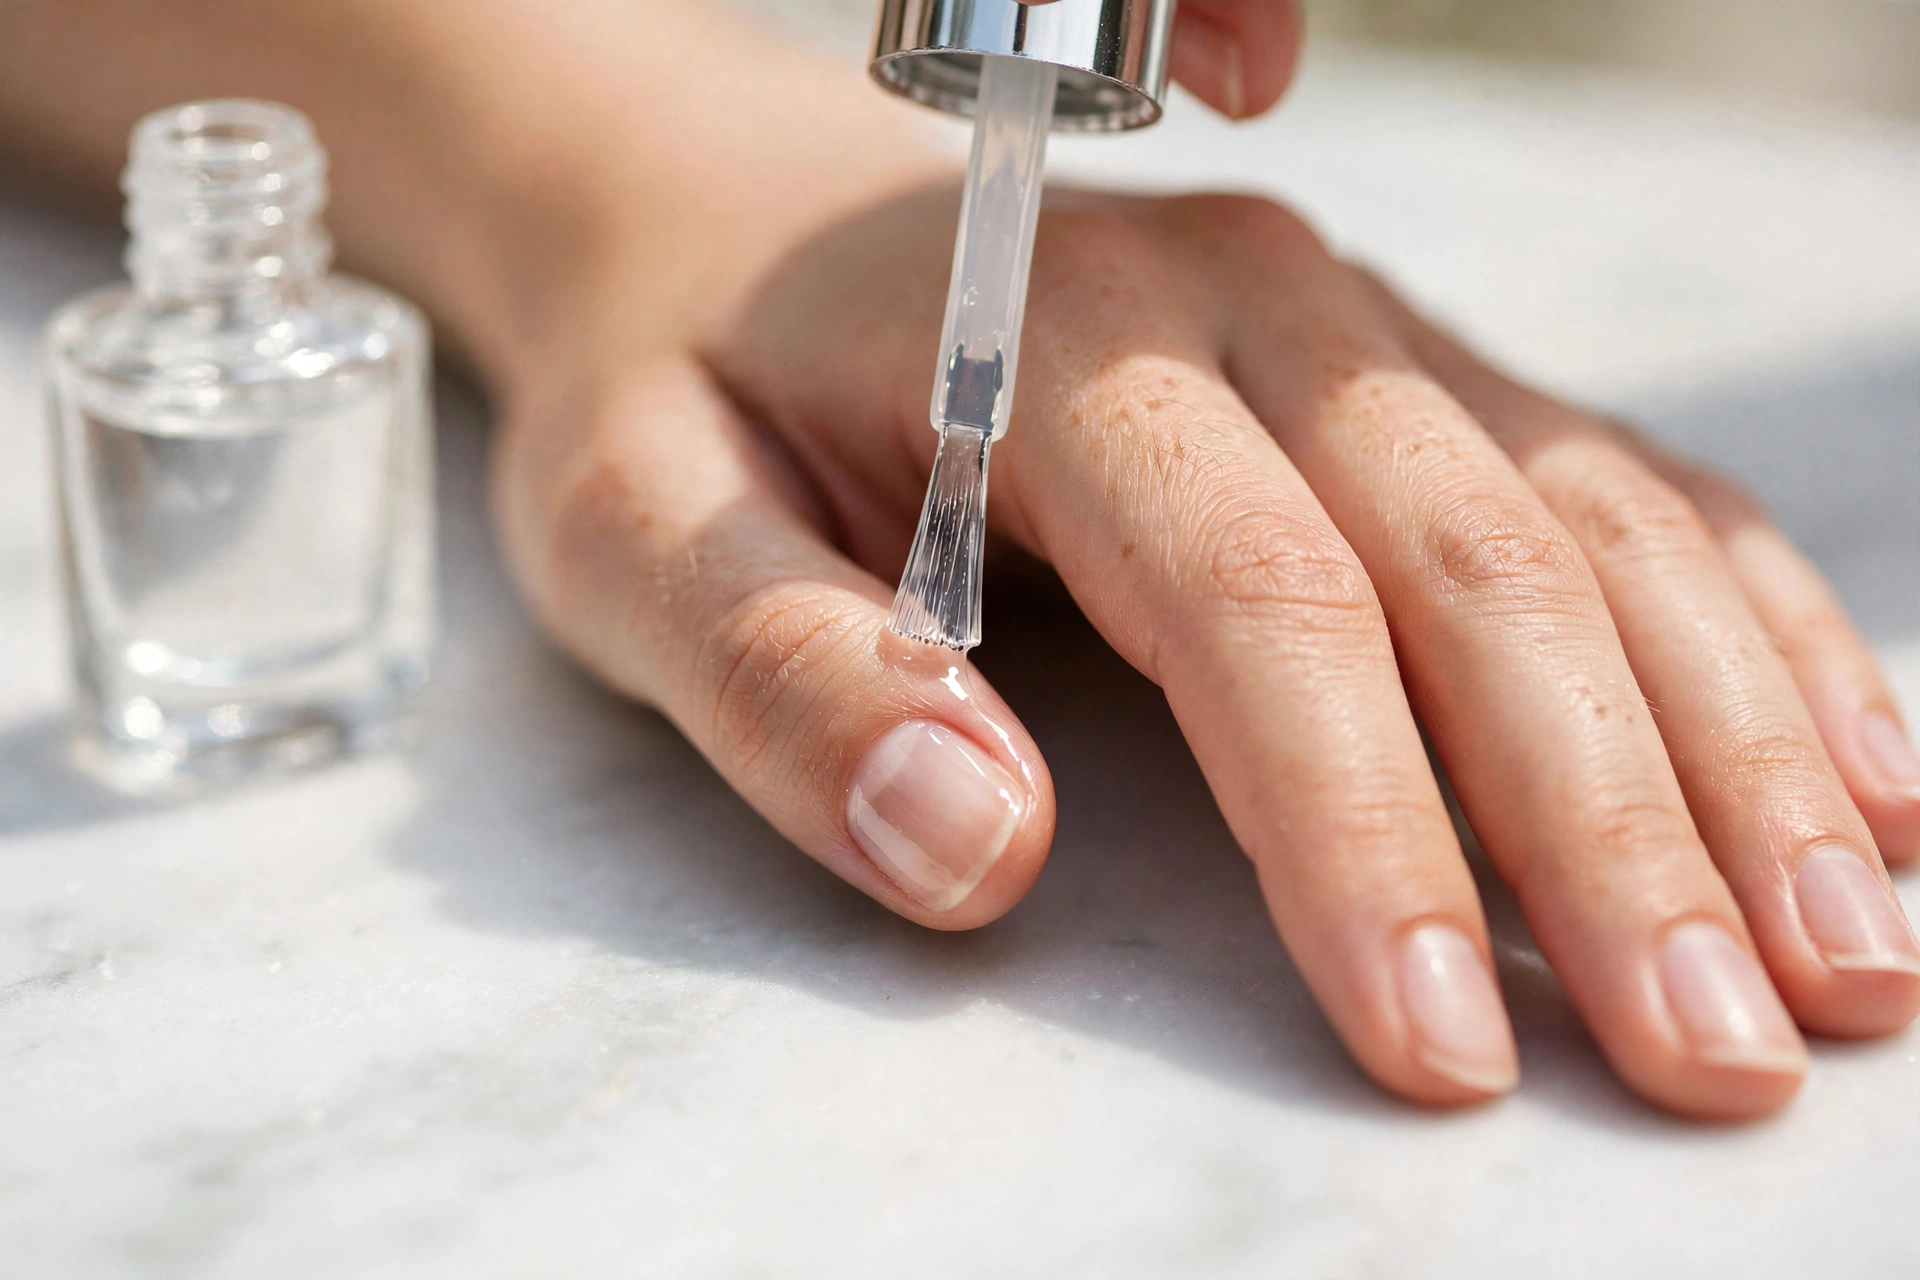
4. Strengthening: hard is not always strong
Nail strengtheners temporarily harden soft, bendy nails — useful as a short course when nails won’t hold any length. But there’s a tipping point: over-hardened nails become brittle and break more, not less. If your strengthener makes nails feel stiff or they start snapping cleanly instead of bending, stop using it and go back to oil-only care for a few weeks. Strength is flexibility plus thickness, not maximum hardness. Some hardeners contain formaldehyde, which is effective but can irritate the surrounding skin with frequent use — follow the product’s directions rather than layering it on daily for months.
Eating for Stronger Nails
Diet won’t transform your nails in a week, but nails are built from keratin — a protein — and chronic gaps in protein, iron, zinc, or hydration show up as weak, peeling, slow-growing nails.
Protein comes first. Eggs, fish, poultry, lentils, and dairy give your body the amino acids keratin is made from. You don’t need exotic superfoods; consistent, adequate protein at meals matters more than any single ingredient.
Iron and zinc support the growth process. Red meat, spinach, lentils, pumpkin seeds, and chickpeas cover both. Pale, spoon-shaped, or unusually brittle nails can signal iron deficiency — worth a blood test before reaching for supplements.
Biotin is the famous one, and honesty requires the caveat: the evidence for biotin supplements is mixed, and high doses can interfere with lab tests. Food sources — eggs, nuts, salmon, sweet potatoes — are the safe, no-downside route.
Water is the quiet one. Chronically dry cuticles and flaky nail edges often track with low overall hydration. Nothing fancy: steady water through the day beats any “hydrating” product applied on top of a dehydrated body.
What food can’t do: it won’t make nails grow faster than your biology allows — fingernails grow about 3 millimeters a month, and that’s the speed limit — and it won’t fix damage you’re still causing with harsh removers or picking. Diet is the foundation; the routine on this page is the structure.
Reading Your Nails: Common Problems and What to Do
Most nail problems trace back to moisture imbalance or mechanical damage, and most are fixable with the routine above. Here’s how to read the common ones.
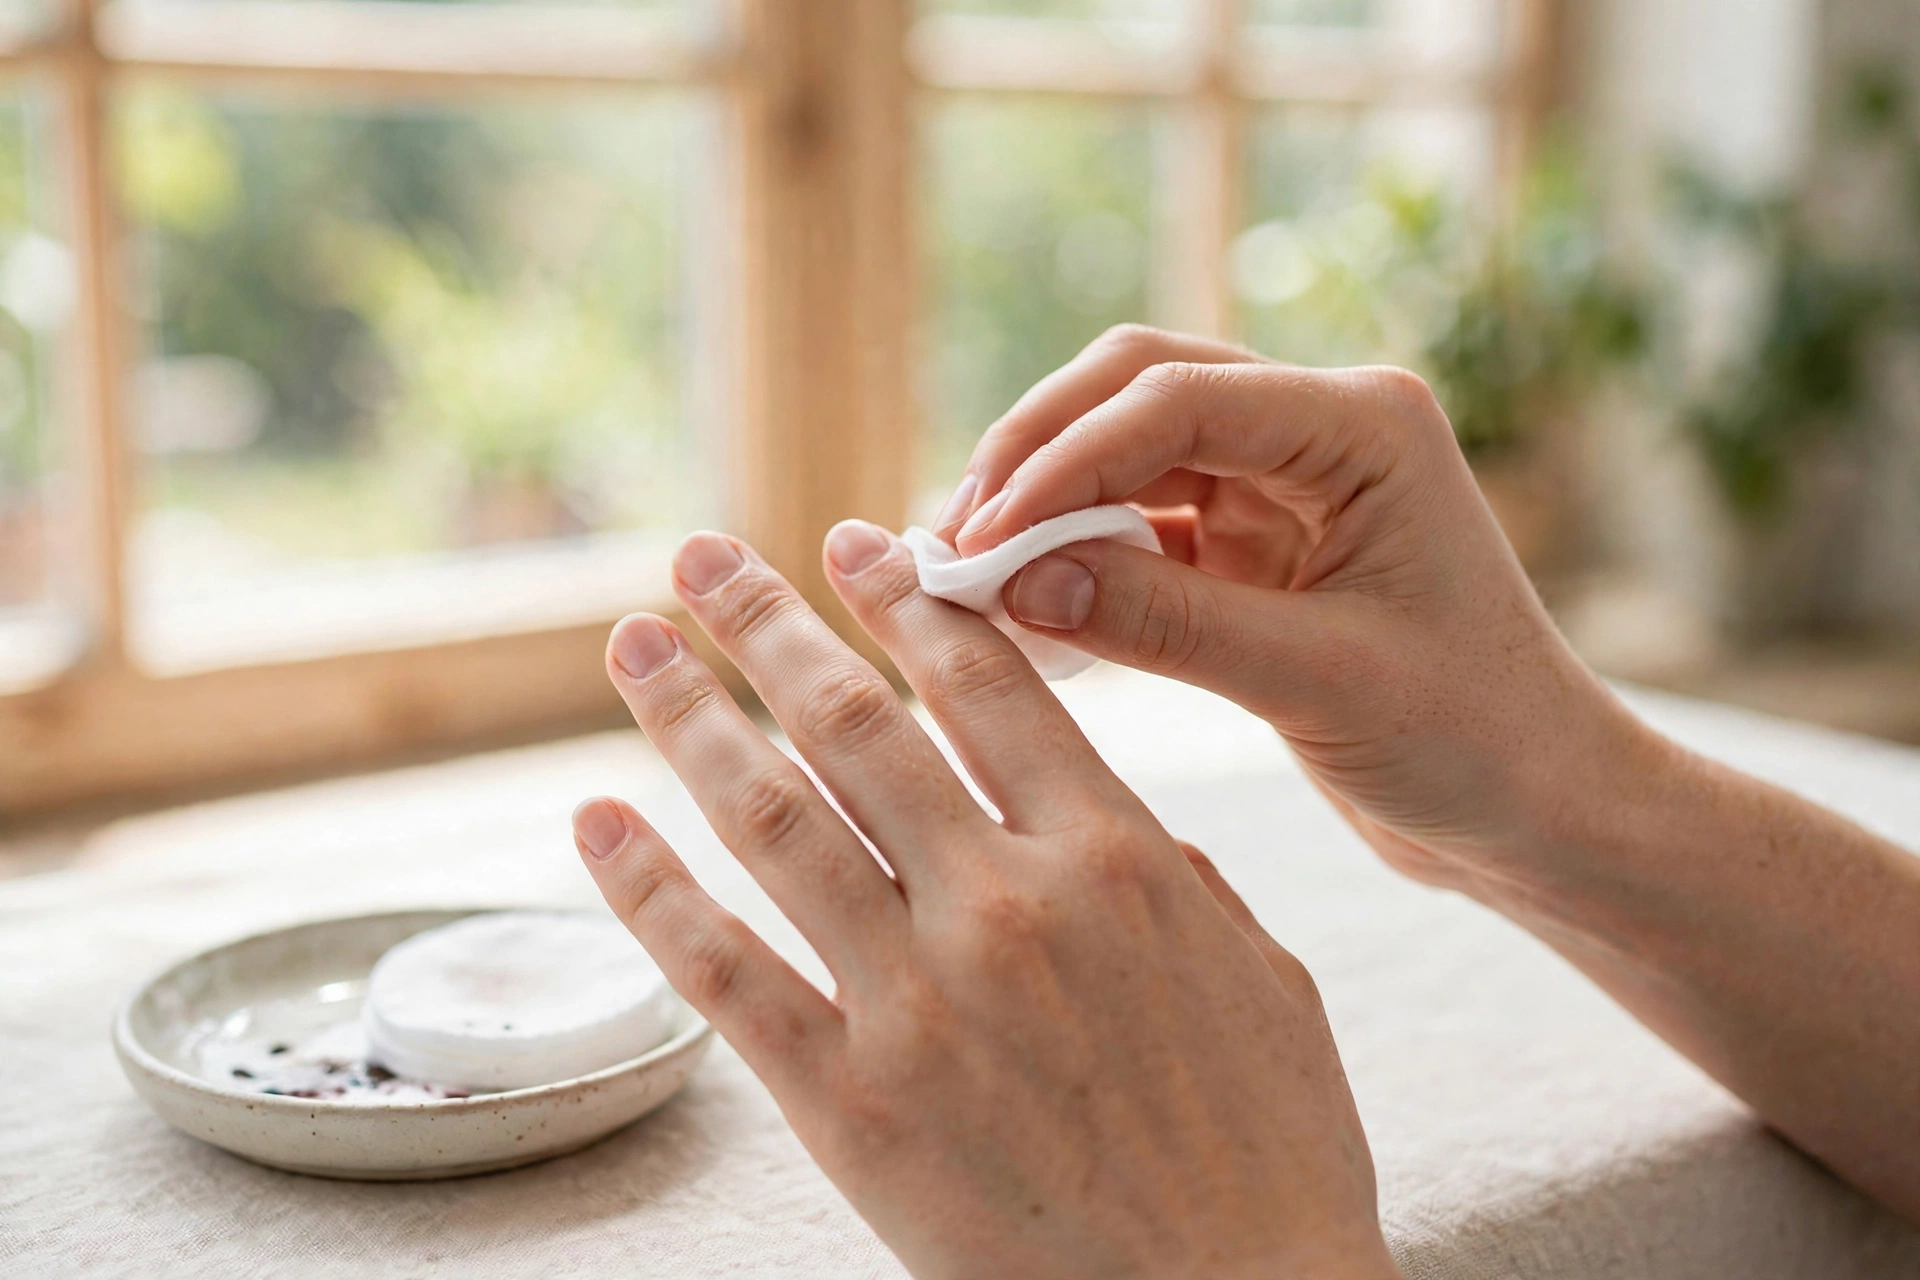
Peeling layers
The nail plate is made of layers, and they separate when the nail repeatedly swells and dries out, gets filed in the wrong direction, or meets too much acetone. Fix it by keeping nails short while they recover, oiling daily, and filing correctly. The peeled tips won’t re-fuse — you have to grow them out and protect the new nail.
Breakage and snags
Catch rough edges early. Keep a small file in your bag and smooth any snag the moment you notice it, before it catches on fabric and tears deeper. Repeated breakage on the same nail usually means that nail wants to be shorter.
Yellowing
Usually staining from dark polish pigments, and it fades during a polish-free break. A base coat under dark shades prevents it. (Smoking also yellows nails, and no amount of routine fixes that one.)
White spots
Small white spots are usually minor bumps to the matrix while the nail was forming — the equivalent of a bruise that grew out with the nail. Harmless, and they disappear on their own. Widespread white discoloration is different and worth mentioning to a doctor.
Ridges
Fine vertical ridges are usually just part of aging, like skin texture changing over time. Horizontal dents across the nail (called Beau’s lines) can appear after illness, stress, or injury to the matrix — they grow out, but if they appear on many nails without an obvious cause, mention it to your doctor.
When to see a dermatologist
See a board-certified dermatologist — not a salon, not a blog — if you notice any of these: a dark streak that appears or widens under the nail, a nail lifting away from the nail bed, thickening, crumbling, or persistent discoloration that suggests a fungal infection, or swelling, redness, and pain around the nail. If you have diabetes or poor circulation, take nail problems seriously and get them checked promptly, because nail infections can affect your overall health. One honest rule: if something looks wrong and doesn’t improve over a few weeks of proper care, that is exactly what dermatologists are for.
This matches professional guidance: the American Academy of Dermatology’s nail-care recommendations cover the same ground — moisturize, don’t cut cuticles, don’t use nails as tools, and see a dermatologist for persistent problems.
Caring for Nails Under Polish, Gel, and Acrylic
Enhancements aren’t the enemy of nail health — the damage usually comes from removal and from skipping recovery. Follow these rules and your nails can stay healthy under regular polish, gel, or acrylic.
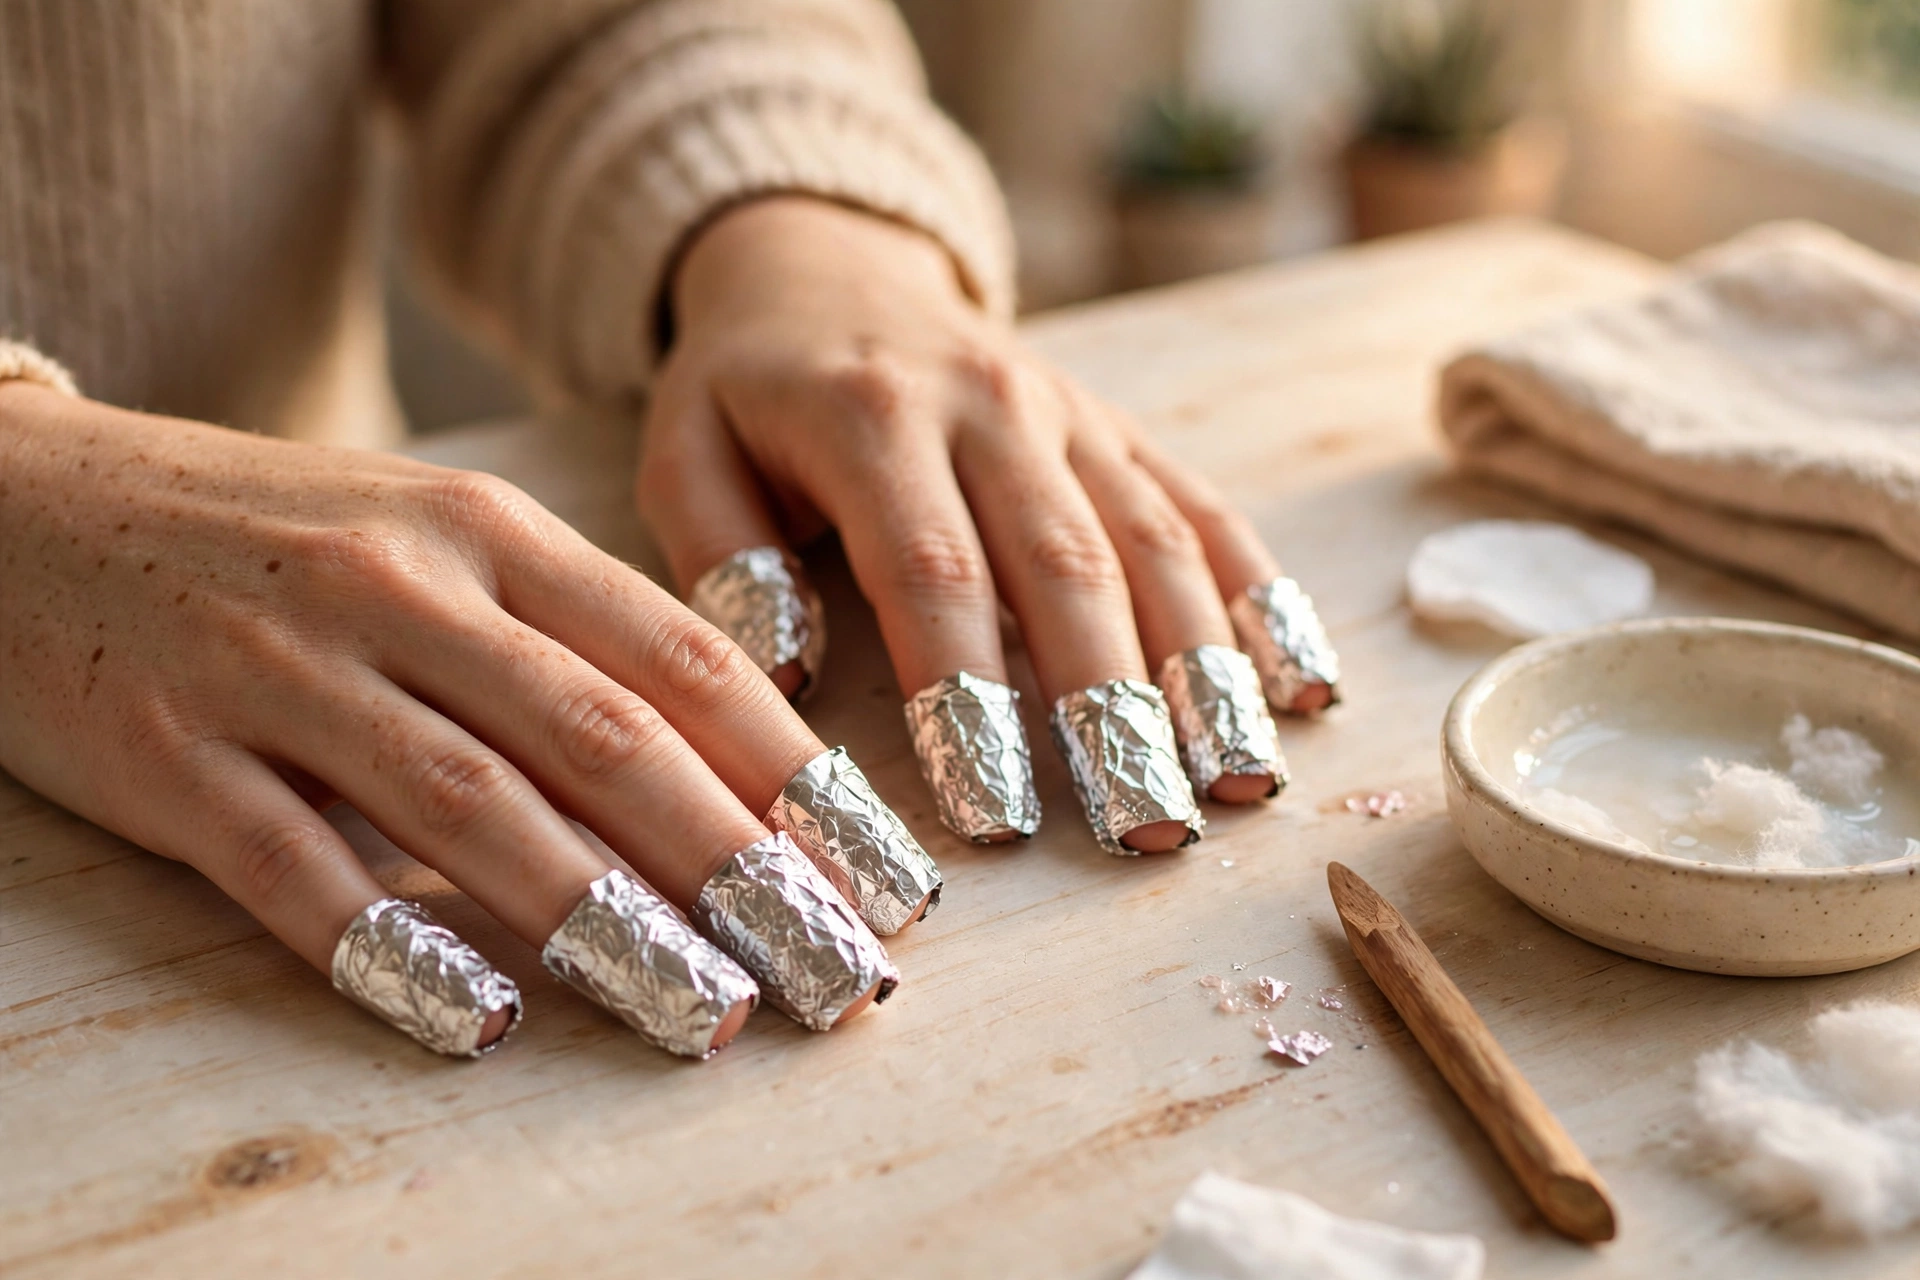
Remove properly, every time
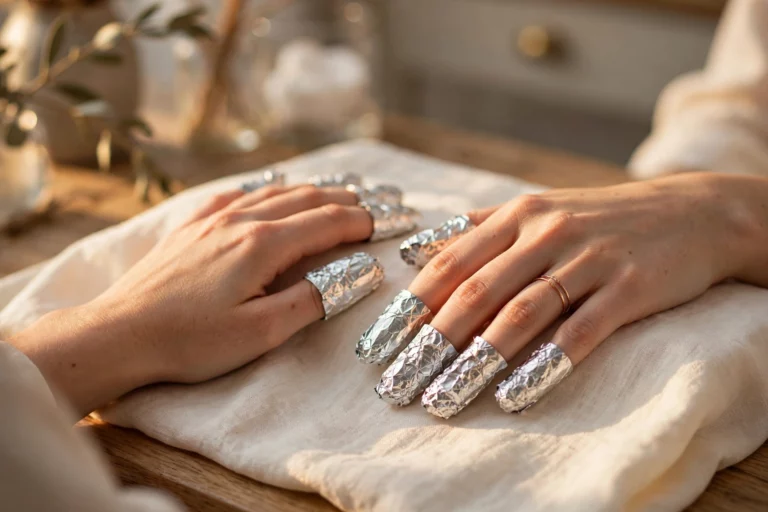
Soak off gel and acrylic with acetone (foil-wrapped cotton, 10 to 15 minutes), then push the softened product off gently. Never peel, pick, or force it — peeling rips off layers of the nail plate along with the product, and that’s the damage people blame on gel itself. Rehydrate with cuticle oil immediately after any acetone exposure, since acetone strips natural oils aggressively.
Schedule breaks
Take regular breaks between sets of gel or acrylic to let the nail plate recover. During a break, keep nails short, oil daily, and skip the strengthener — the nail needs moisture more than hardness right now. Our at-home gel guide covers safe application and removal in full detail if you do your own.
Watch for lifting and trapped moisture
If an enhancement lifts at the edge, don’t ignore it — the gap traps moisture and can harbor bacterial or fungal growth, sometimes visible as a greenish tint under the nail. Have lifted product removed and redone rather than living with it. Persistent discoloration under any enhancement deserves a dermatologist’s look, not a cover-up with more polish.
Salon Visits: When They’re Worth It and How to Choose Well
Go to a salon when the problem is beyond home care — ingrown nails, lifting or separation from the nail bed, suspected fungus — and choose one that sterilizes tools between clients and opens fresh files for you.
When pro beats DIY: ingrown toenails, nails lifting away from the bed, greenish or dark discoloration, or anything painful and getting worse. These need trained eyes (and sometimes a doctor), not a home kit.
How to vet a salon: ask whether metal tools are sterilized between clients (not just wiped), whether files and buffers are single-use, and whether they push cuticles back instead of cutting. A good technician welcomes these questions; a defensive reaction tells you plenty.
At-home vs salon, honestly: a careful home routine handles most of nail health. Salons earn their money on precision shaping, long-wear enhancements, and problems you shouldn’t touch yourself. There’s no shame in either lane — the mistake is using the wrong one for the job.
The Products That Actually Matter
Eight items. Everything else in the nail aisle is optional.
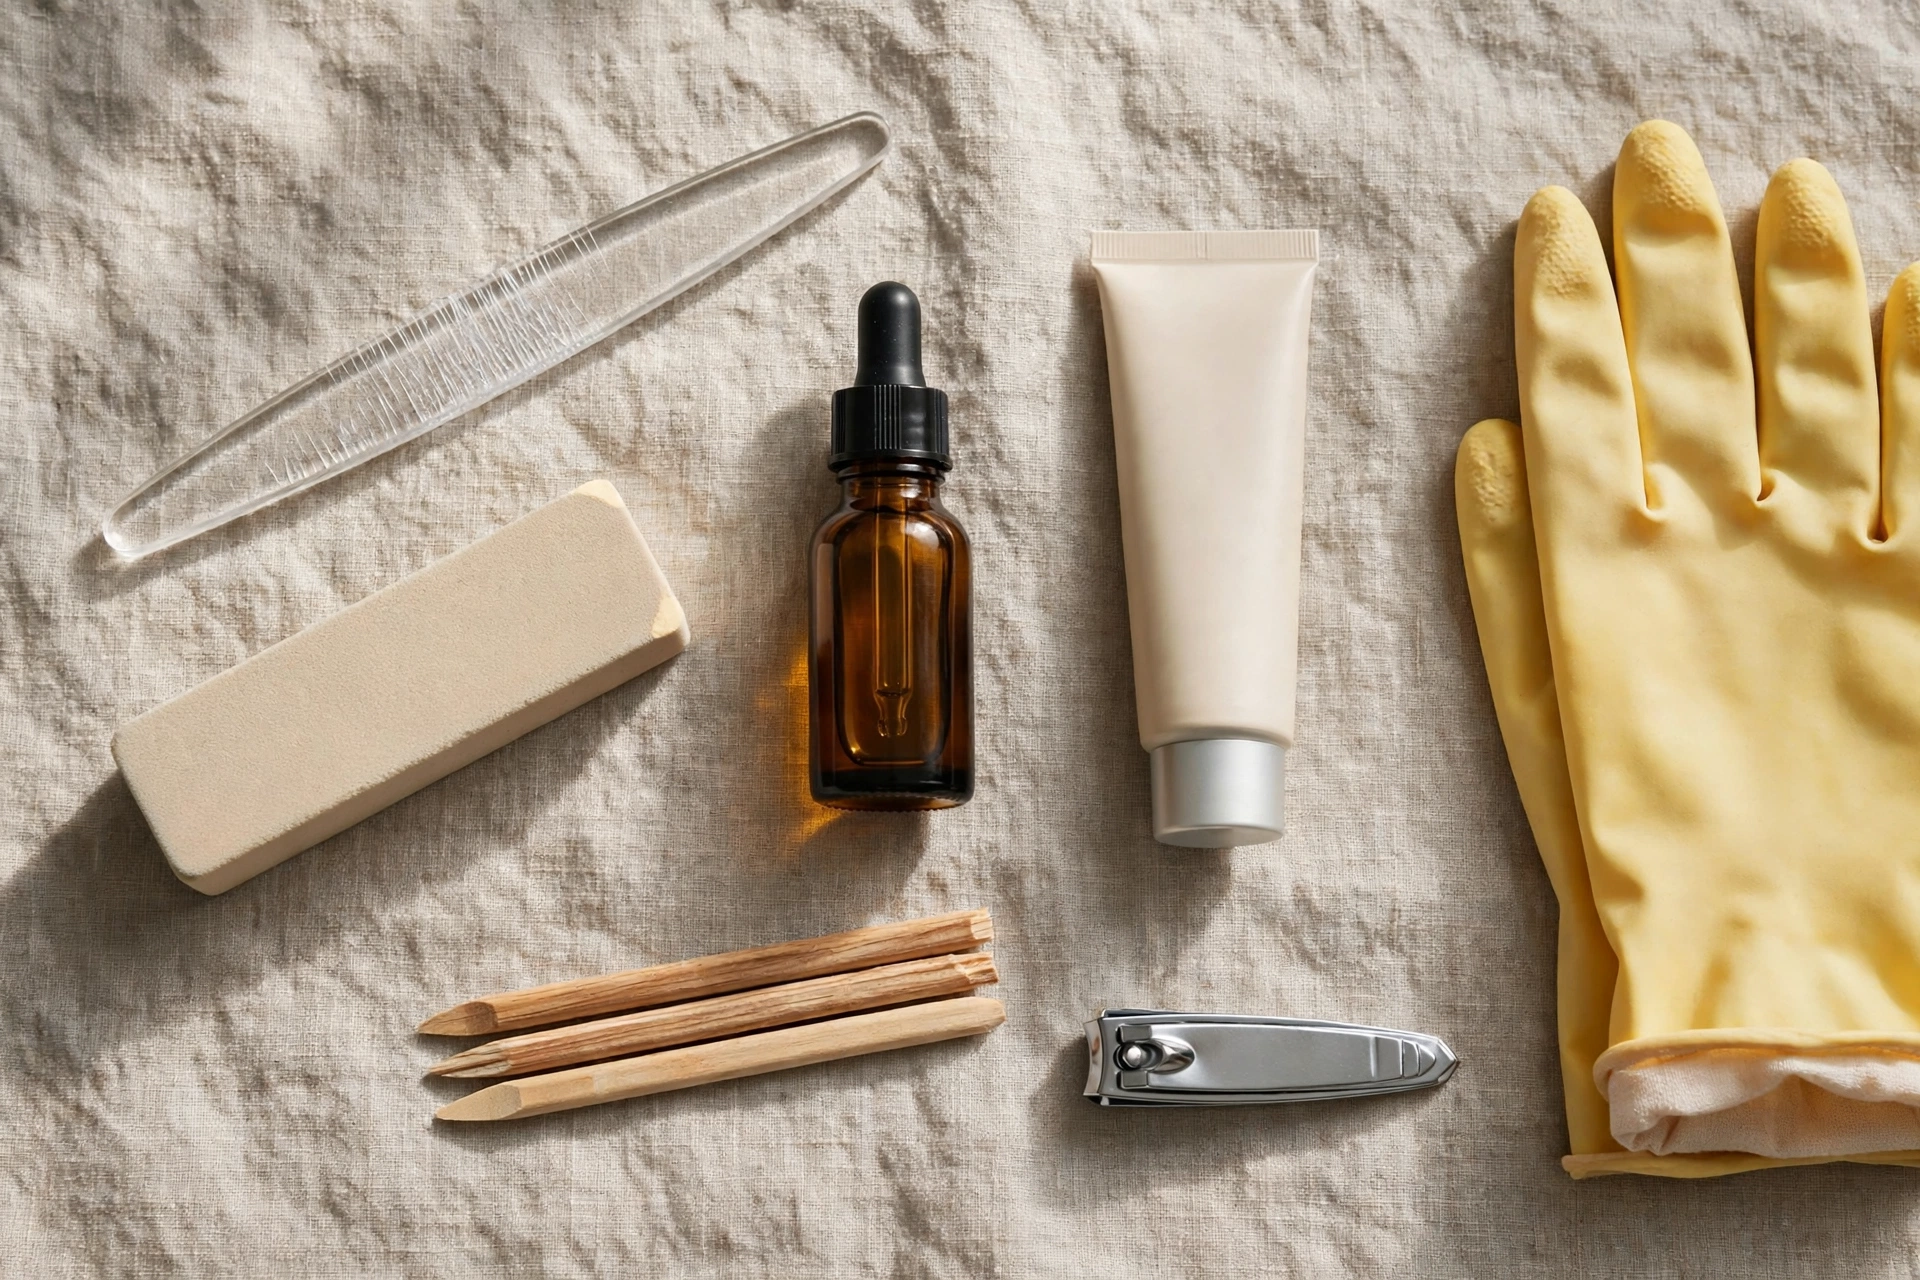
| Product | What it actually does | What to look for |
|---|---|---|
| Cuticle oil | Penetrates the nail plate and surrounding skin, adding the flexibility that prevents peeling and brittleness | Jojoba or vitamin E based; a dropper bottle lasts months. Use daily, evenings best. |
| Hand cream | Protects the skin around the nail — cuticles, sidewalls, knuckles — from drying and cracking | Thick formulas with shea butter or ceramides. Apply after every handwash. |
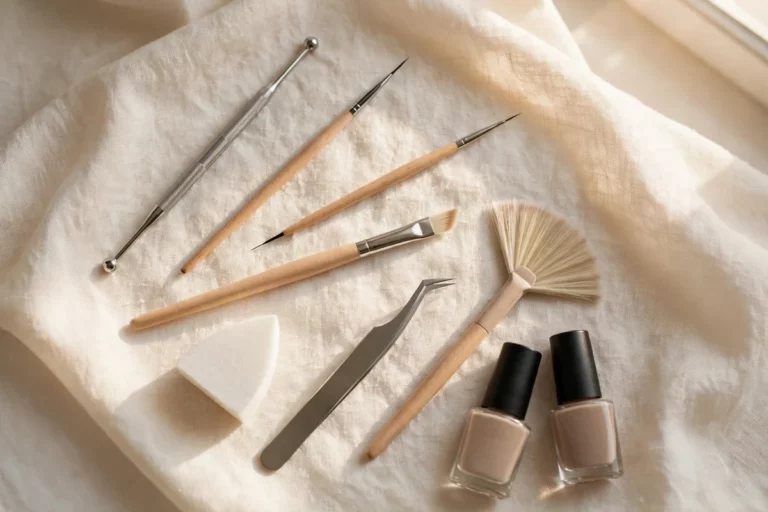
| Glass nail file | Shapes and smooths the free edge gently, sealing it against splits | Use in one direction on dry nails. Gentler than coarse emery boards for regular use. |
| Buffer block | Smooths surface ridges for an even look and better polish hold | Use lightly and infrequently — aggressive buffing thins the plate. Monthly at most. |
| Non-acetone remover | Dissolves regular polish with less drying than acetone | Your everyday remover. Save acetone for gel soak-offs only. |
| Nail strengthener | Temporarily hardens soft, bendy nails so they can hold length | A short course, not a lifestyle. Stop when nails feel stiff; overuse causes brittleness. |
| Orangewood stick or soft pusher | Pushes back softened cuticles without cutting living skin | Cheap and disposable — replace regularly. Never use it to dig under the nail. |
| Cotton-lined rubber gloves | Keeps water, detergents, and chemicals off your nails during chores | Cotton lining matters — unlined rubber makes hands sweat and defeats the purpose. This is arguably the single most protective product on the list. |
Frequently Asked Questions
How often should I apply cuticle oil?
Daily is the honest answer — ideally in the evening so it works undisturbed overnight. If daily feels unrealistic, aim for most evenings; occasional use still beats none, but consistency is what changes nail flexibility.
Should I cut my cuticles?
No. The cuticle is living skin that seals your nail’s growth area away from bacteria and fungus. Cut it and you open that seal to infection, and matrix damage can grow out as permanent ridges. Push cuticles back gently after a warm soak instead.
Does biotin actually strengthen nails?
Some research suggests biotin supplements may help weak or brittle fingernails, but the evidence is limited — and biotin can interfere with certain lab tests. Talk to your doctor or pharmacist before starting it rather than self-prescribing from a blog.
Why do my nails keep peeling in layers?
The usual causes, in order: repeated water exposure without gloves, filing back and forth instead of in one direction, and overuse of acetone-based remover. Shorten the nails while they recover, oil daily, fix the technique, and the new growth will come in solid.
How long until my nails look healthier?
Nails grow about 3 millimeters a month, so a fully damaged tip needs several months to grow out completely. You’ll feel the difference sooner — flexibility and fewer snags often improve within a few weeks of daily oiling and proper filing.
Can I wear nail polish all the time?
Yes, as long as removal is gentle and you take occasional breaks. Polish itself doesn’t damage nails; harsh removers and peeling polish off do. One polish-free week a month reduces staining and chemical exposure, which is the real reason breaks help.
Do I need expensive nail care products?
No. A glass file, a bottle of jojoba-based cuticle oil, a decent hand cream, and cotton-lined gloves cost very little and cover nearly the entire routine. Consistency with basic products beats sporadic use of premium ones every time.
What should I eat for stronger nails?
Prioritize protein (eggs, fish, lentils), iron and zinc (spinach, red meat, pumpkin seeds, chickpeas), biotin from food (eggs, nuts, salmon), and steady hydration. Supplements — especially biotin — deserve a doctor’s input first, since high doses can interfere with lab tests.
Are salon manicures safe for my nails?
They can be, with the right salon. Look for sterilized tools, single-use files, and technicians who push cuticles back rather than cutting. Skip salons that drill natural nails aggressively or reuse porous tools — and give nails a break between long runs of gel or acrylic.
2 Comments