
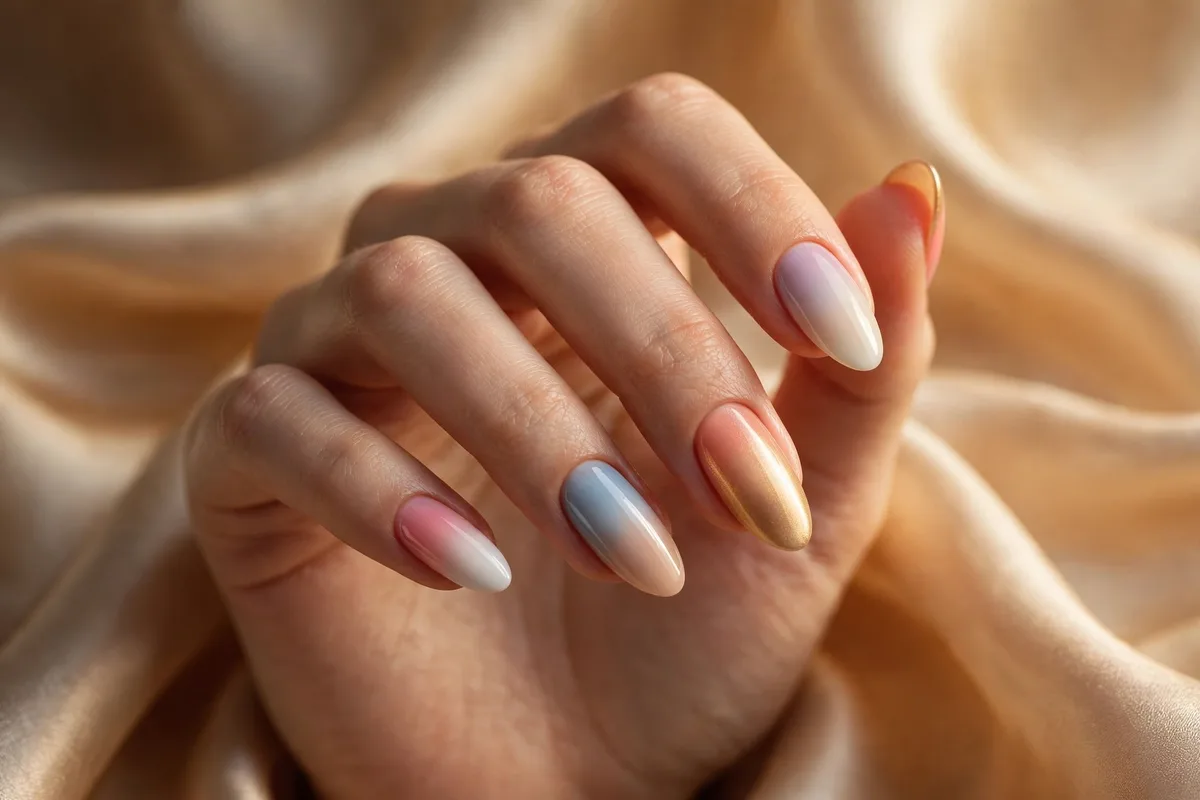
16 Ombre Nail Designs (Gradient Manis for Every Color)
Ombre nails, also called gradient nails, are a manicure where two or more colors melt seamlessly into each other across the nail, with no visible line between them. The name comes from the French word for “shaded,” and the look has stayed a salon staple for over a decade because it flatters almost every nail length and shape.
Below are 16 ombre nail designs organized by ombre style, so you can skip straight to the look you want: quiet vertical fades, the bridal-famous babyboomer, glitter and shimmer gradients, or bold color melts. Every design has its own photo plus honest notes on shape, difficulty, and wearability, and further down you will find a real sponge technique tutorial with the mistakes that ruin most DIY gradients.
How to Do Ombre Nails at Home
Yes, you can do ombre nails yourself. A dense makeup sponge is the tool most nail techs reach for in the salon, and the technique works with regular polish and gel alike. Gel gives a smoother blend and longer wear, but regular polish is more forgiving while you learn.
The sponge gradient method, step by step
1. Prep and base. Push back cuticles, lightly buff, and apply base coat. Paint your nails with the lightest of your two colors and let it dry fully; this base is what peeks through and keeps the gradient opaque.
2. Load the sponge. On a flat, dense makeup sponge (wedge type, dampened and squeezed dry), paint two to three horizontal stripes of polish side by side: light color at the bottom, darker at the top, slightly overlapping in the middle.
3. Dab, don’t drag. Press the sponge straight onto the nail with a light bouncing motion, lifting straight up each time. Reapply polish to the sponge between nails so the gradient stays consistent.
4. Build in thin layers. Two to three sheer dabs beat one heavy one. Let each layer go tacky (a minute or two for regular polish) before the next, or the colors will smear instead of blend.
5. Clean the edges. Dip a small angled brush in acetone and trace around each nail to remove the overspray. This cleanup step is what makes a DIY gradient look salon-done.
6. Seal it twice. Two thin top coats smooth the slightly textured sponge finish into glass. The first coat can drag if you press hard, so float it on.
5 mistakes that ruin an ombre
Too much polish on the sponge floods the nail and kills the blend; reload lightly and often instead. One thick layer looks muddy where three thin dabs look seamless. A porous sponge leaves tiny bubble imprints, so use a dense wedge, not a bath sponge. Skipping edge cleanup is the single biggest giveaway of a DIY job. And using more than three colors in one gradient usually turns to brown where they meet; two colors blend cleanly.
The tools that actually matter
A pack of dense latex-free makeup sponges, liquid latex or simple tape to protect skin around the nail, a small angled cleanup brush with acetone, and a good top coat. That is the whole kit. If you plan to do gradients often, our nail shapes guide helps you pick the shape that shows a fade best; longer almond and coffin nails give the gradient the most room to blend.
Ombre Methods Compared
Sponge dabbing is the method this guide teaches, but it is not the only way to blend a gradient. For most people at home, the sponge wins on cost and forgiveness; the other methods have their place.
| Method | What it does best | Skill level | Cost |
|---|---|---|---|
| Sponge dabbing | Soft, cloudy blends with any polish type | Beginner | Low; a pack of makeup sponges |
| Dry-brush feathering | Quick salon blends, especially with gel | Intermediate | Low; just a flat brush |
| Airbrush | Flawless, ultra-smooth salon gradients | Advanced | High; machine plus training |
| Gradient press-ons | Instant ombre with zero technique | Beginner | Medium; per set |
Classic Vertical Fades
A vertical ombre runs from cuticle to tip, usually light at the base melting into a deeper color at the free edge. This is the most wearable ombre family and the easiest to do at home, since the fade follows the nail’s natural direction of growth.
1. Nude-to-Blush Everyday Fade
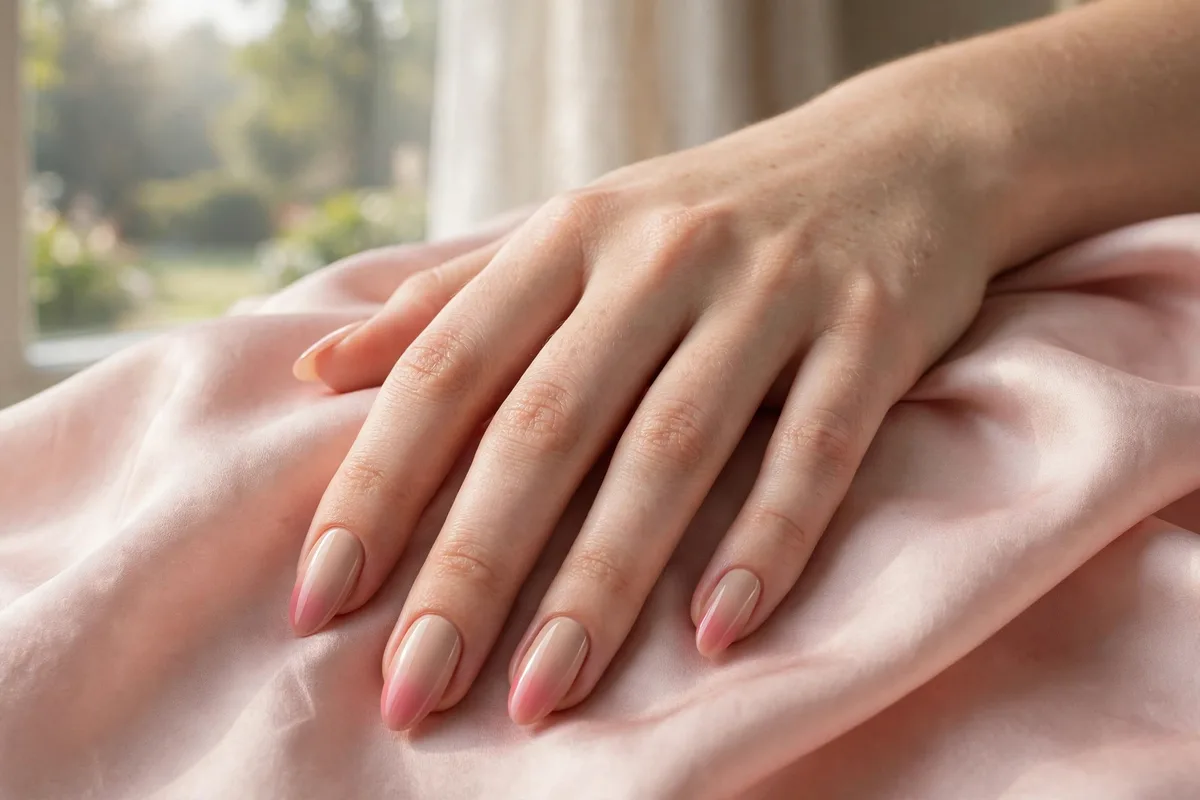
A natural beige nude at the cuticle melting into rosy blush pink at the tips. This is the ombre for people who want the technique without the commitment: from a distance it reads as a polished nude manicure, and the pink only shows up close.
Short to medium almond or oval nails keep it office-safe, and the light base color hides tip wear better than dark fades. Difficulty: easy, the most forgiving first gradient to try.
2. Icy Blue-to-Nude Fade
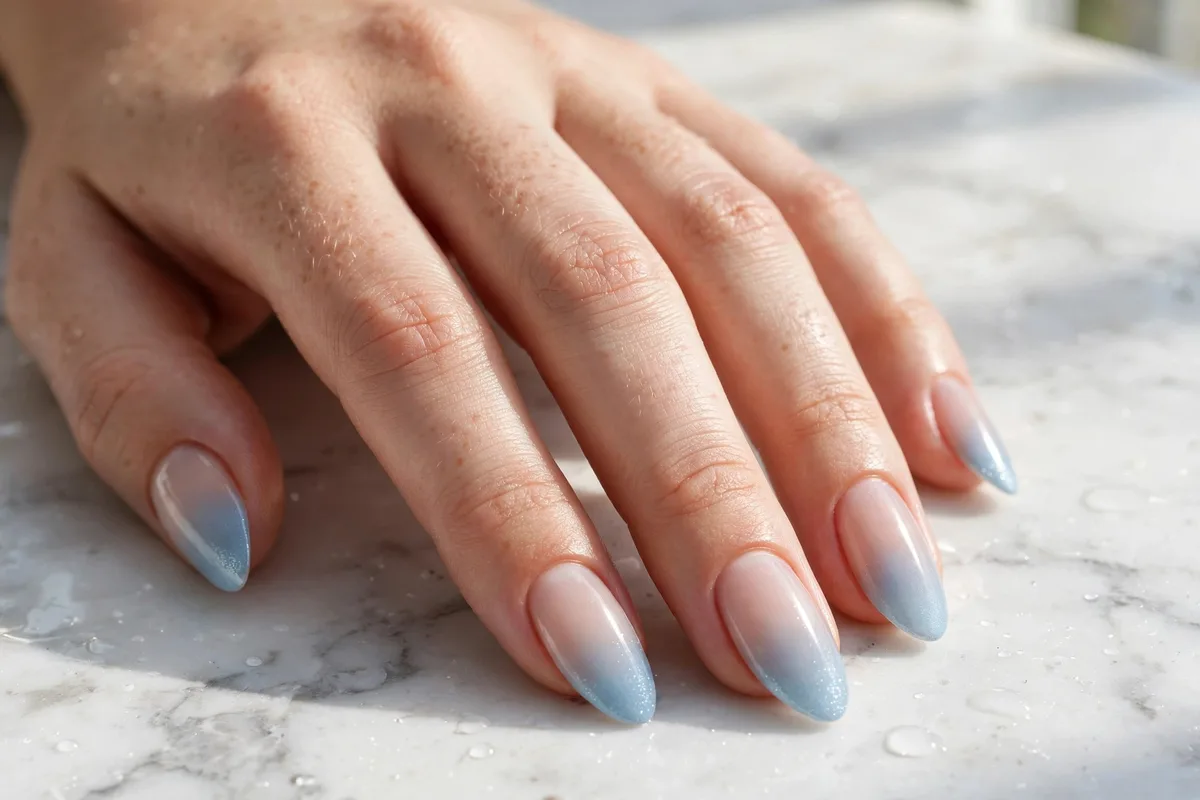
Sheer nude at the base melting into frosty icy blue tips. The cool finish looks expensive in winter light and works as a softer alternative to a full blue manicure.
Medium almond nails show the fade best; keep the blue concentrated on the outer third so the look stays frosty rather than frostbitten. If you love cool tones, our winter nail designs go deeper on icy finishes. Difficulty: easy to medium.
3. Mauve-to-Plum Dusk Fade
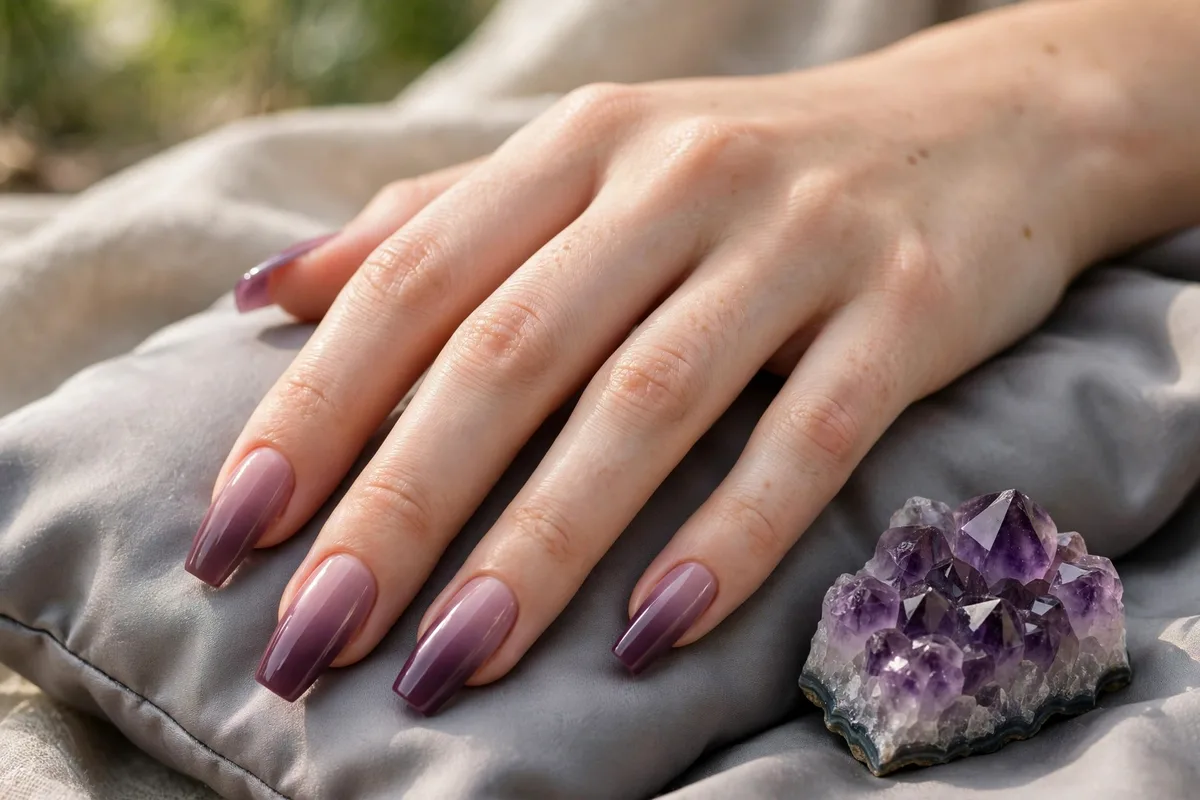
Dusty mauve at the cuticle deepening into rich plum at the tips, like the last minutes of daylight. This is the vertical fade for fall and evening, grown-up without going full dark.
Longer coffin or almond nails give the two tones room to transition; on short nails, keep the mauve section slim so the plum does not take over. Dark tips show chips at the free edge, so seal carefully. Difficulty: medium.
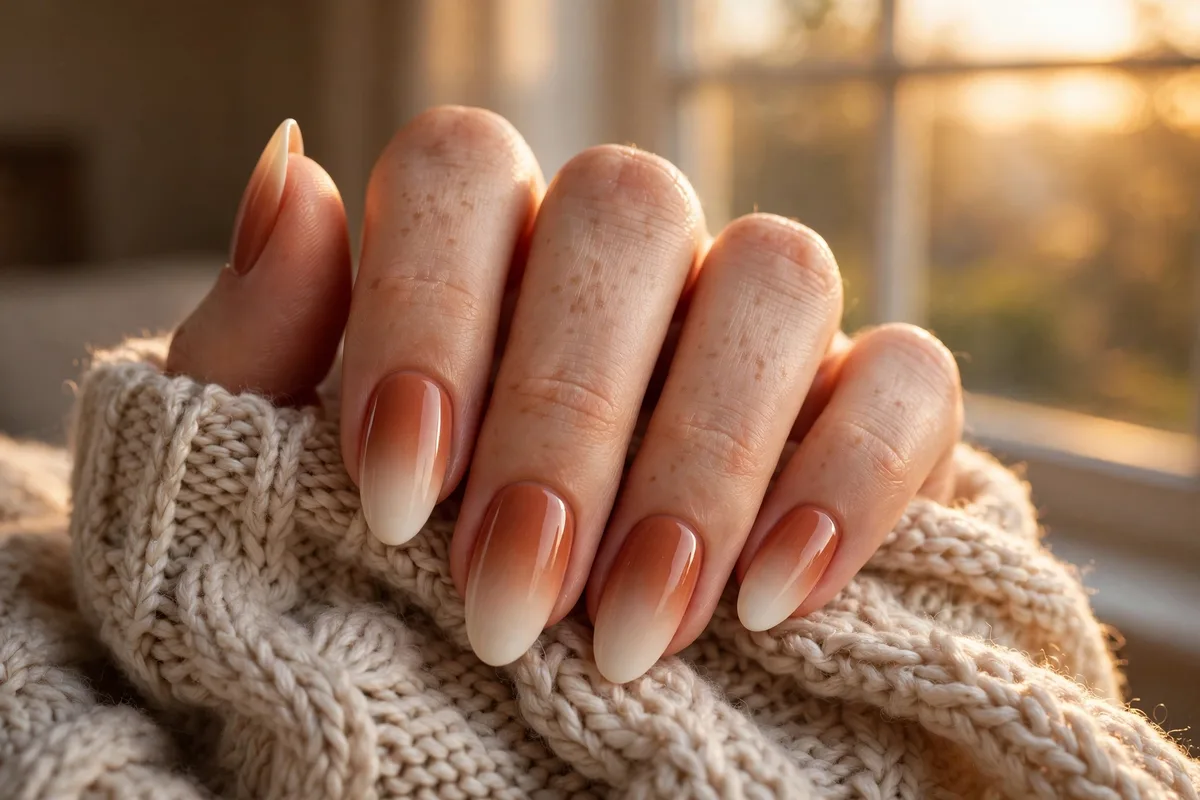
4. Terracotta-to-Cream Warm Fade
Warm terracotta at the base melting into creamy ivory tips. The earthy-to-light transition flatters warm skin tones and sits beautifully with gold jewelry.
Almond nails in a medium length carry this best. The cream tip section chips visibly, so this is a good candidate for gel if you want it to last the full two weeks. Difficulty: medium.
Babyboomer: The French Ombre
The babyboomer is ombre’s most famous member: a soft pink or nude base melting into white tips, like a French manicure with the harsh smile line airbrushed away. Brides love it because it photographs soft and elongates the fingers, but it works far beyond weddings.
5. Classic Babyboomer
Sheer pink at the cuticle fading into clean white tips, the bridal standard. The secret to a good babyboomer is restraint: the white should be a whisper at the tip, not a band, with the longest blend in the middle of the nail.
Almond or oval nails in any length work; this is the rare design that looks right on short nails too. In the salon, ask for it in gel or acrylic for the smoothest blend. Difficulty: medium at home, because white shows every imperfection.
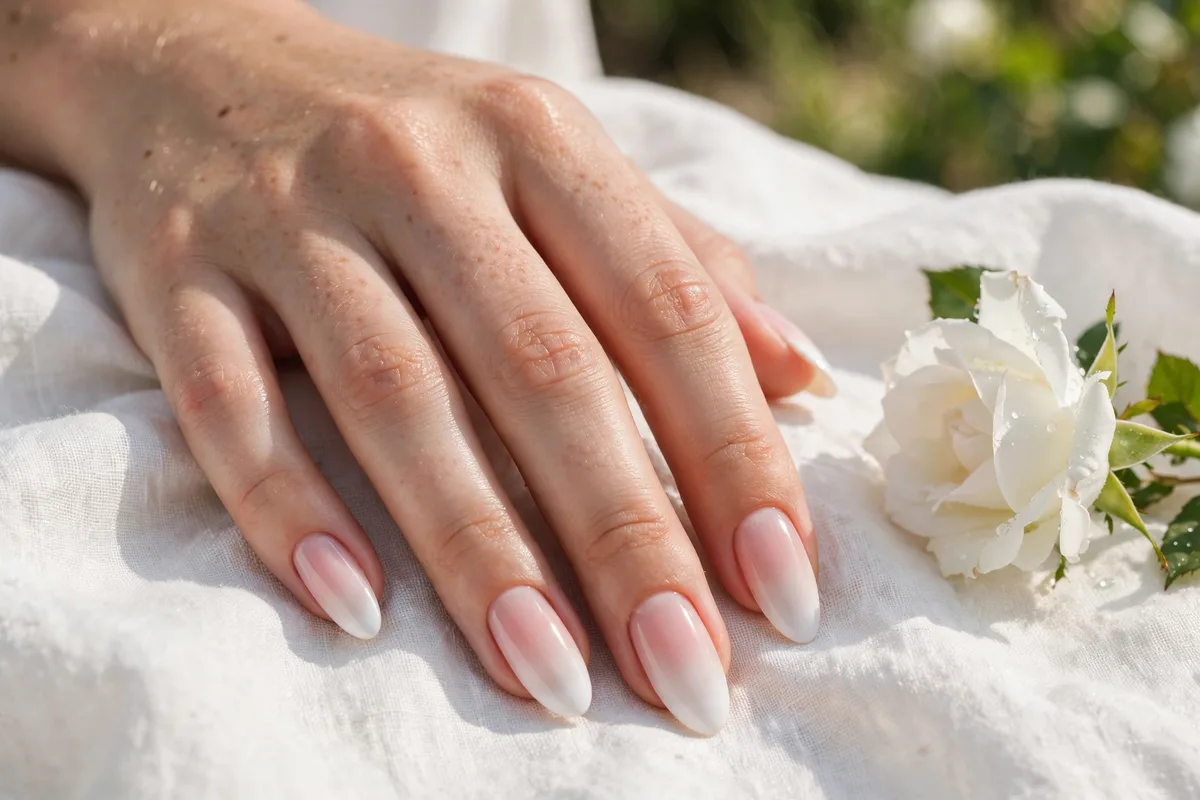
6. Apricot Babyboomer
The babyboomer shape with the white swapped for warm apricot, sheer nude melting into ripe peachy-orange tips. It keeps the soft French feel while adding actual color, and it is lovely on warm undertones.
Medium almond nails show the warm fade best. This is a genuinely easy DIY because the two tones are close enough that the blend forgives mistakes. Difficulty: easy.
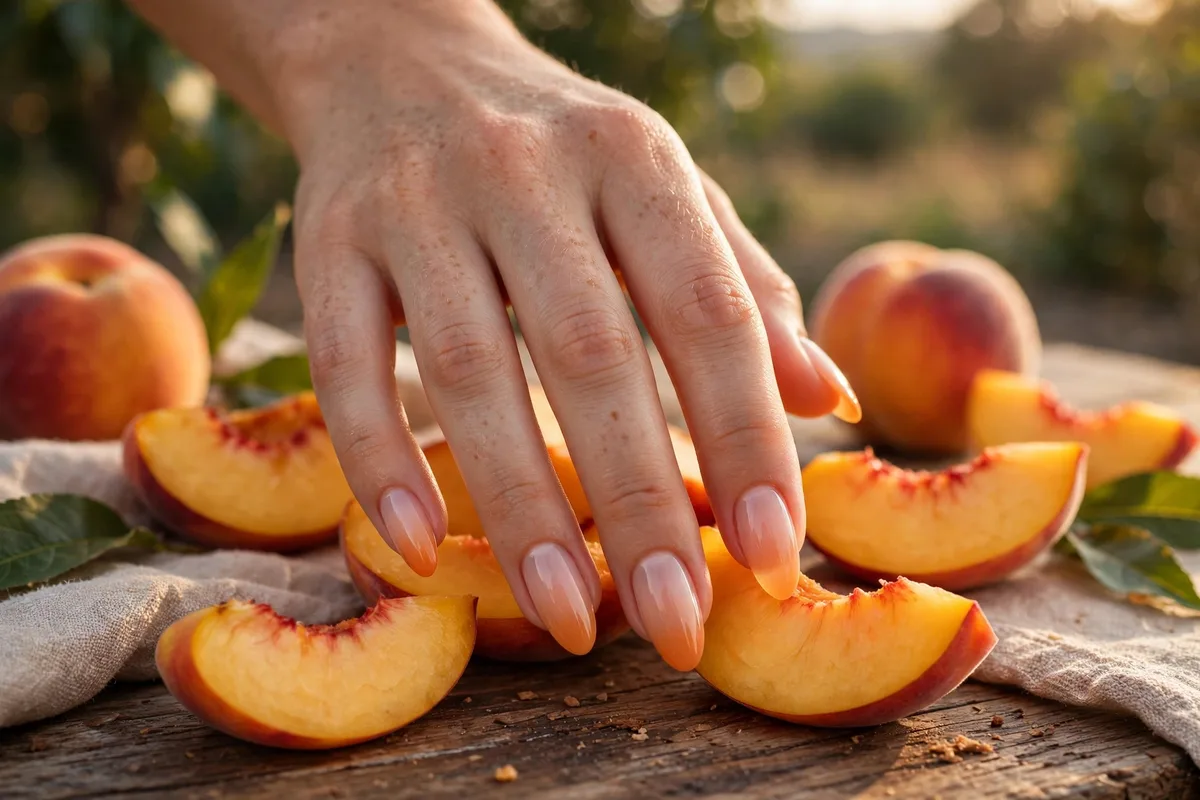
7. Glitter-Flecked Babyboomer
Pink melting into white tips with a dusting of fine silver glitter scattered across the fade. The glitter catches candlelight and evening light, which makes this the babyboomer to wear to events.
Apply the glitter while the white layer is still tacky so it embeds rather than sits on top, then seal with two top coats. Almond nails, medium length. Difficulty: easy to medium.
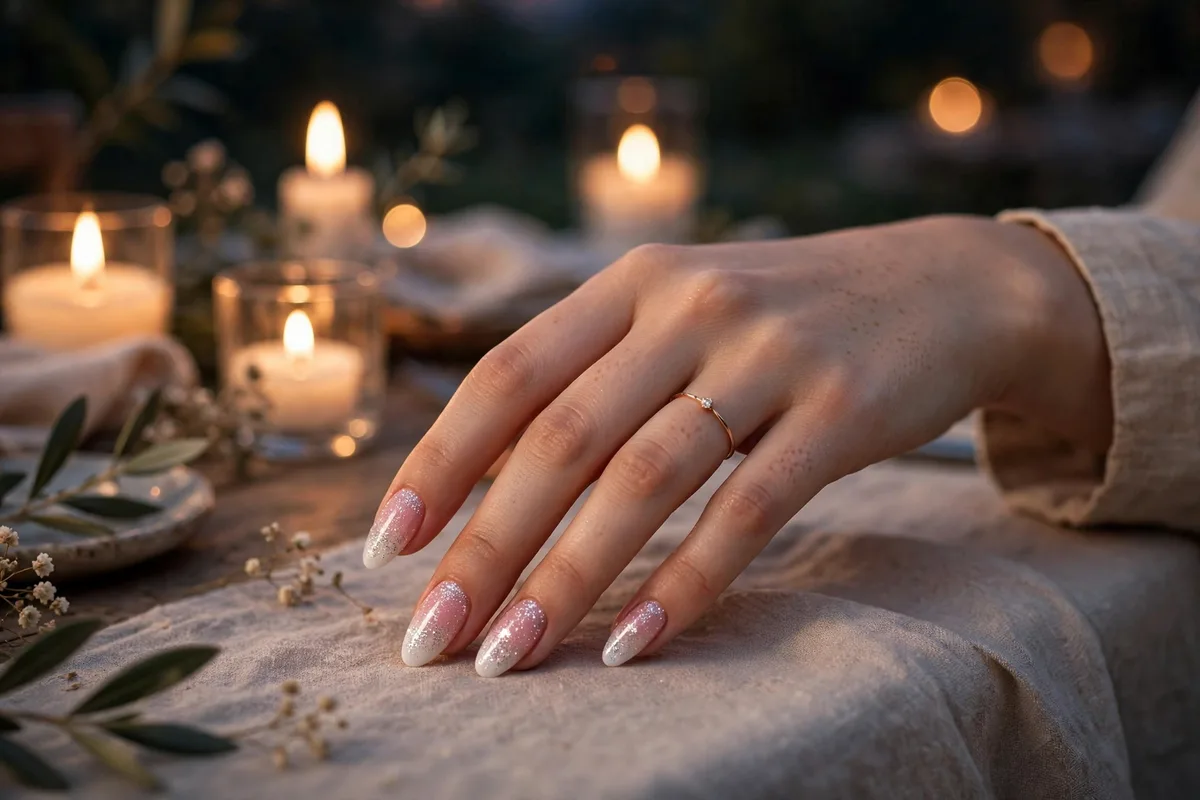
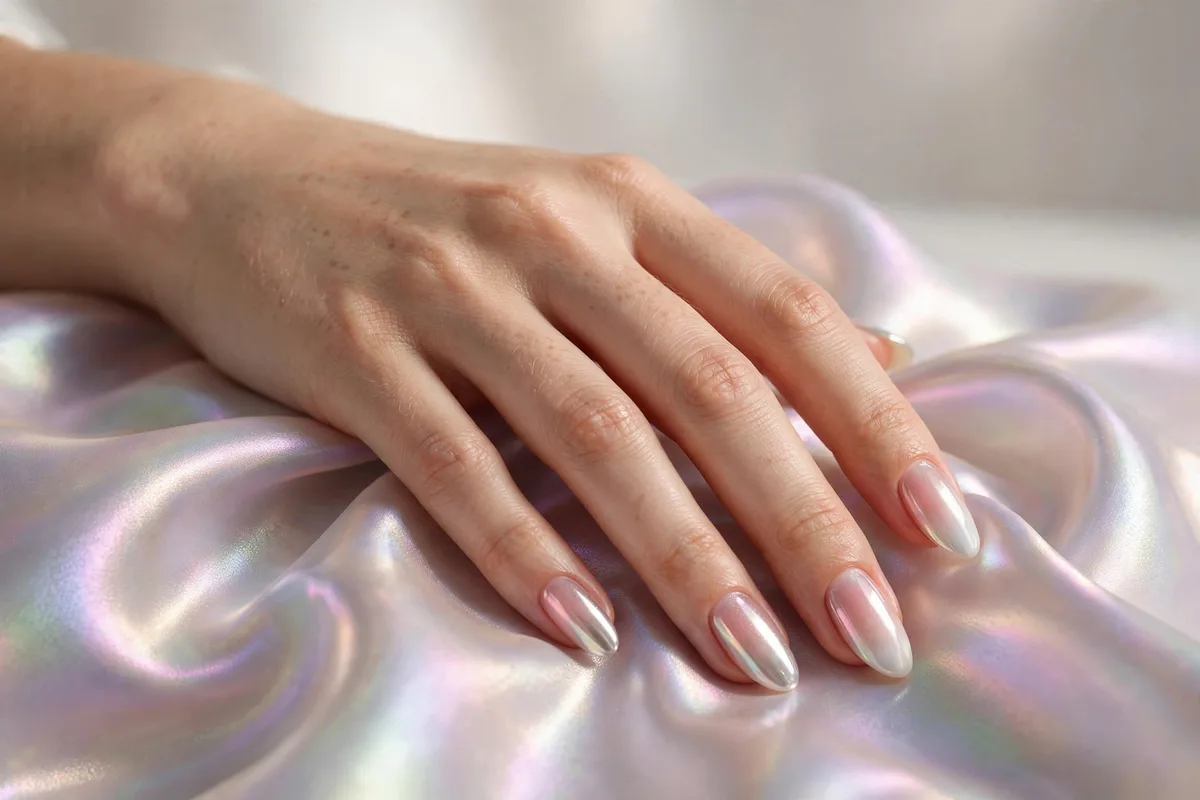
8. Glazed Chrome Babyboomer
Sheer pink melting into pearly white tips, finished with a glazed chrome sheen buffed over the whole nail. The chrome powder turns the classic babyboomer into something that looks lit from within.
Short to medium almond or squoval nails carry the glaze well; on very long nails the chrome can read frosty. At home, a chrome pen over the finished gradient is the simplest route. Difficulty: medium.
Glitter and Shimmer Ombre
Glitter ombre reverses the usual logic: instead of fading one color into another, you fade density, from a sheer base into packed sparkle at the tips. It is the most forgiving ombre of all, because glitter hides every imperfect blend underneath it.
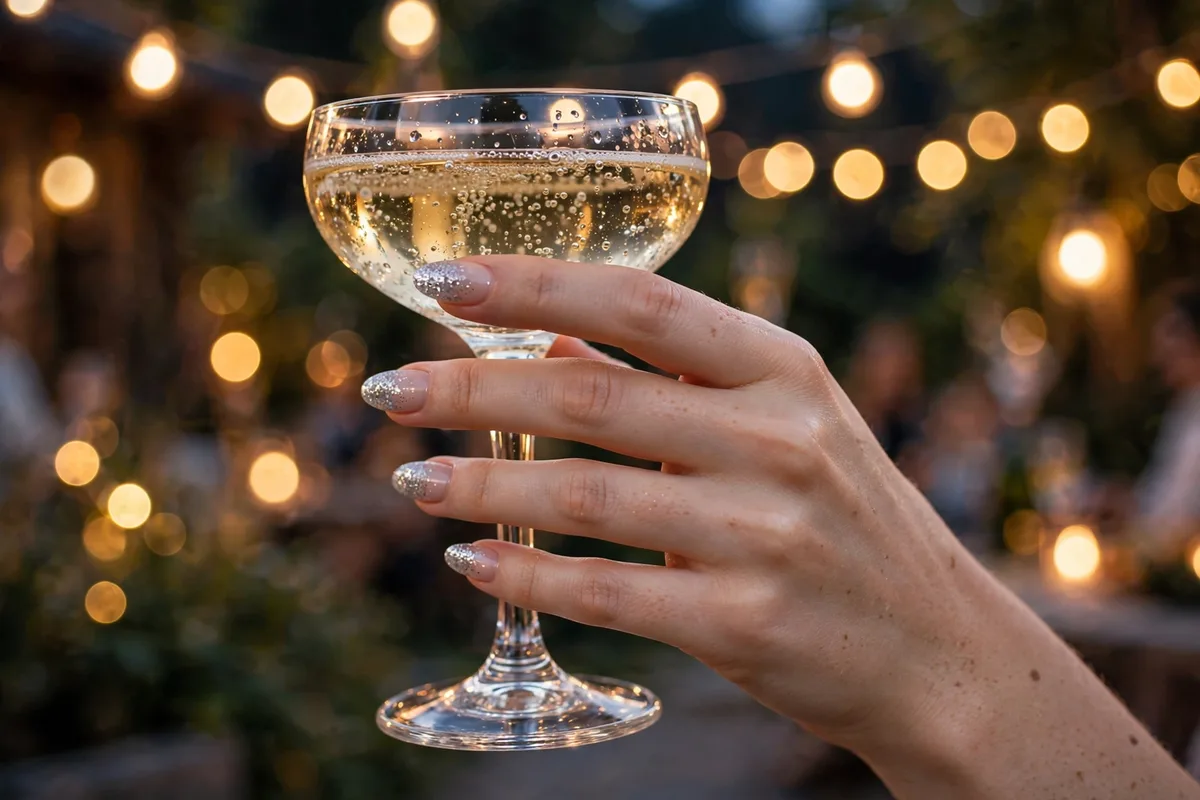
9. Silver Glitter Tip Fade
Sheer nude base melting into dense silver glitter at the tips. From across the room it reads as a sparkle French; up close you see the gradient doing the work.
Press the glitter on with the sponge in two passes for real density, and expect removal to take longer than a creme manicure. Almond nails, medium length. Difficulty: easy, the most beginner-friendly design in this guide.
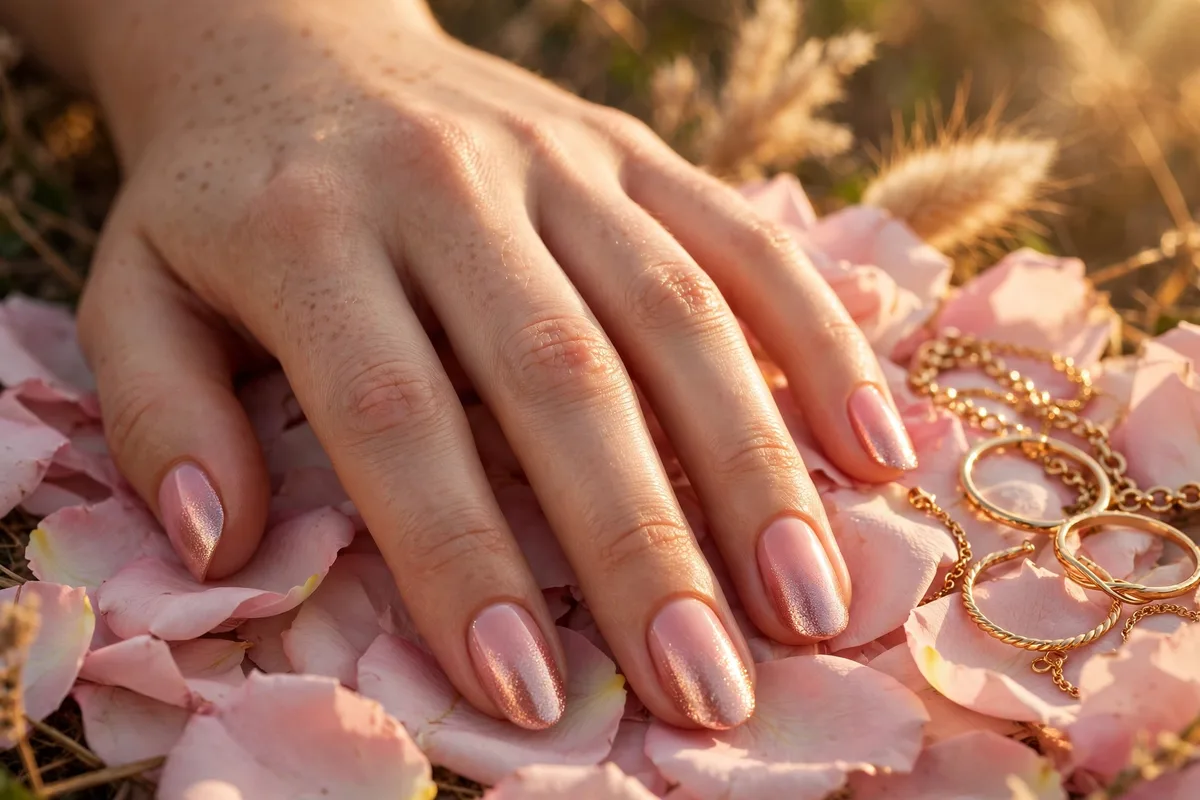
10. Rose-Gold Shimmer Melt
Soft blush pink melting into shimmering rose-gold metallic at the tips. Warmer and more romantic than silver glitter, and it pairs with both gold and rose-gold jewelry without clashing.
Oval or almond nails keep the shimmer elegant; this is a strong pick for date nights and holiday parties. Difficulty: easy.
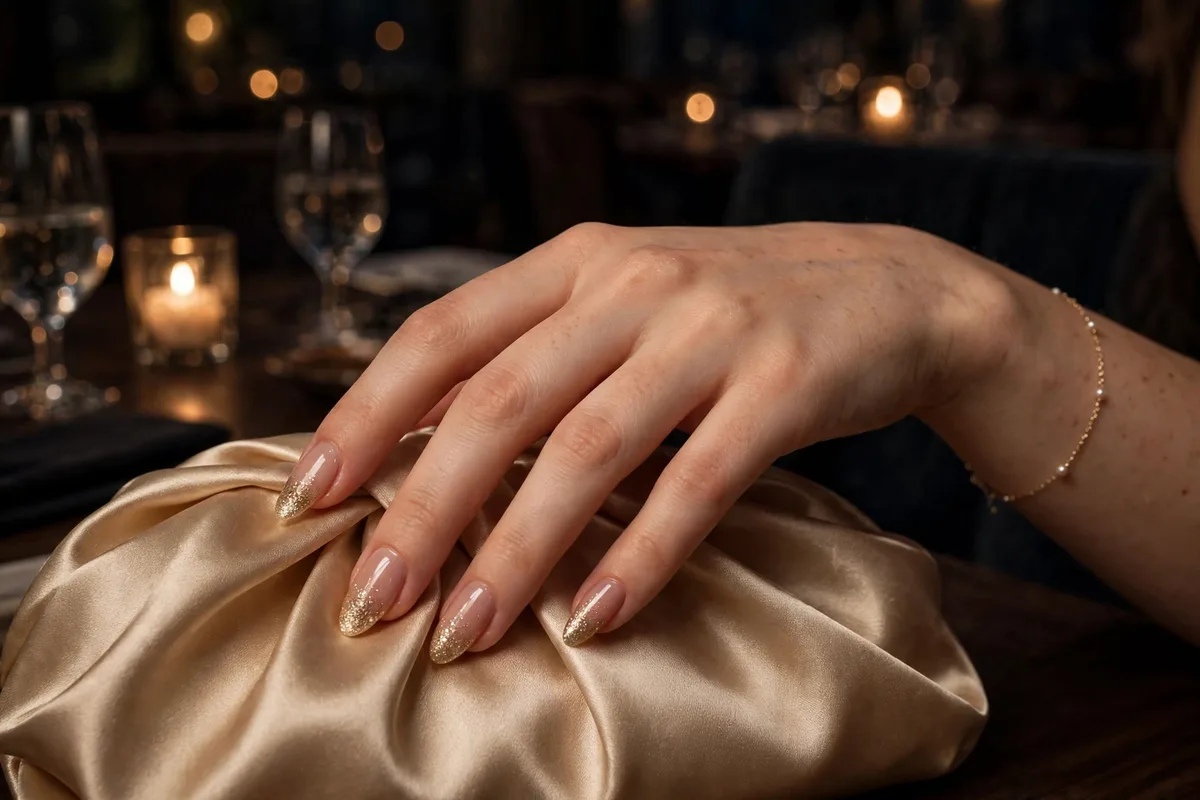
11. Champagne Glitter Fade
Warm sheer nude fading into fine champagne-gold glitter. Quieter than silver glitter but richer than a plain nude, it works for evenings when you want polish rather than party.
This is the glitter ombre most likely to pass in a conservative office, especially on shorter nails. Difficulty: easy.
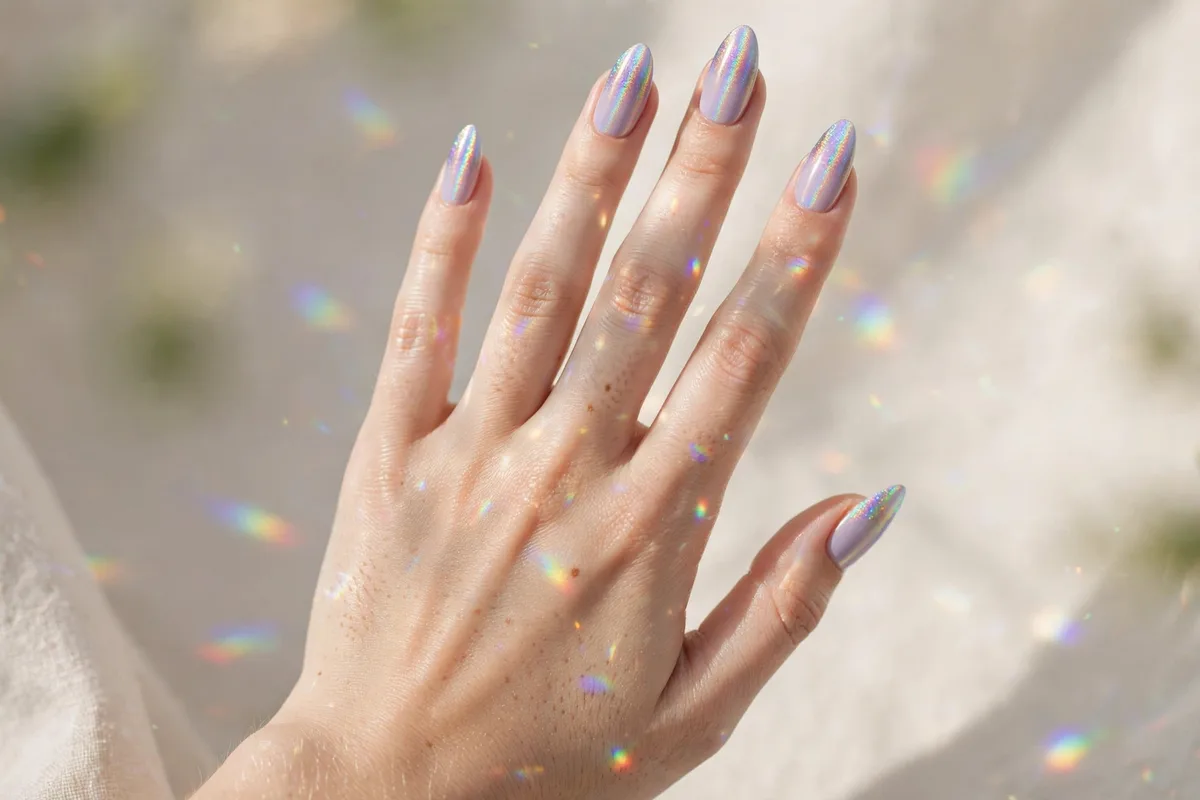
12. Holographic Prism Fade
Pale lavender melting into rainbow-iridescent holographic shimmer. Indoors it looks like a soft lilac gradient; in sunlight it throws tiny rainbows across the nail.
Holographic particles show best on a smooth, well-sealed surface, so take the time on base prep and double top coat. Almond nails, medium to long. Difficulty: medium.
Bold Color-Melt Ombre
Color melts skip the subtle fade and blend two or three saturated shades edge to edge, so the whole nail is color. These are statement gradients: louder, harder to blend cleanly, and the most fun in the guide.
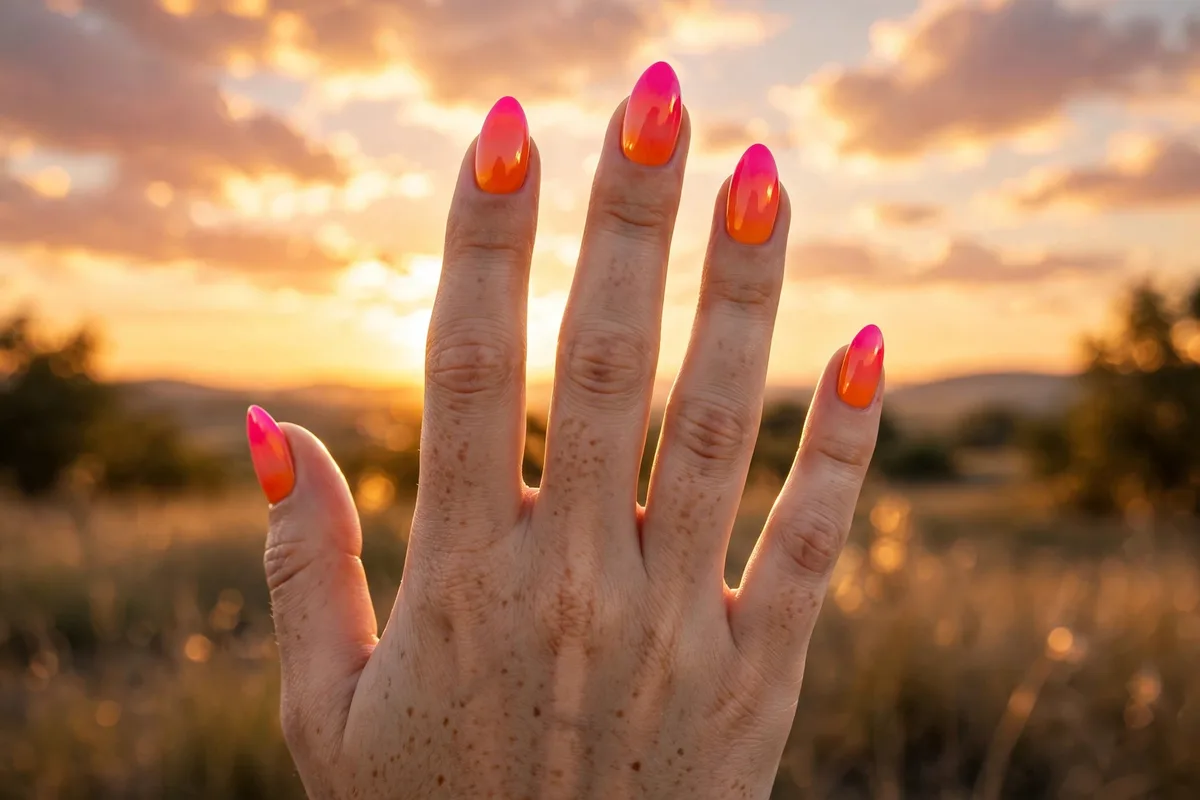
13. Sunset Orange-to-Pink Melt
Vivid orange melting through coral into hot pink across the nail, the exact palette of a summer sunset. This is the color melt that gets photographed, so wear it when the light is good.
Use three stripes on the sponge (orange, coral, pink) and keep the layers sheer to avoid muddiness where they meet. Long almond nails show the full spectrum best. Difficulty: medium to hard.
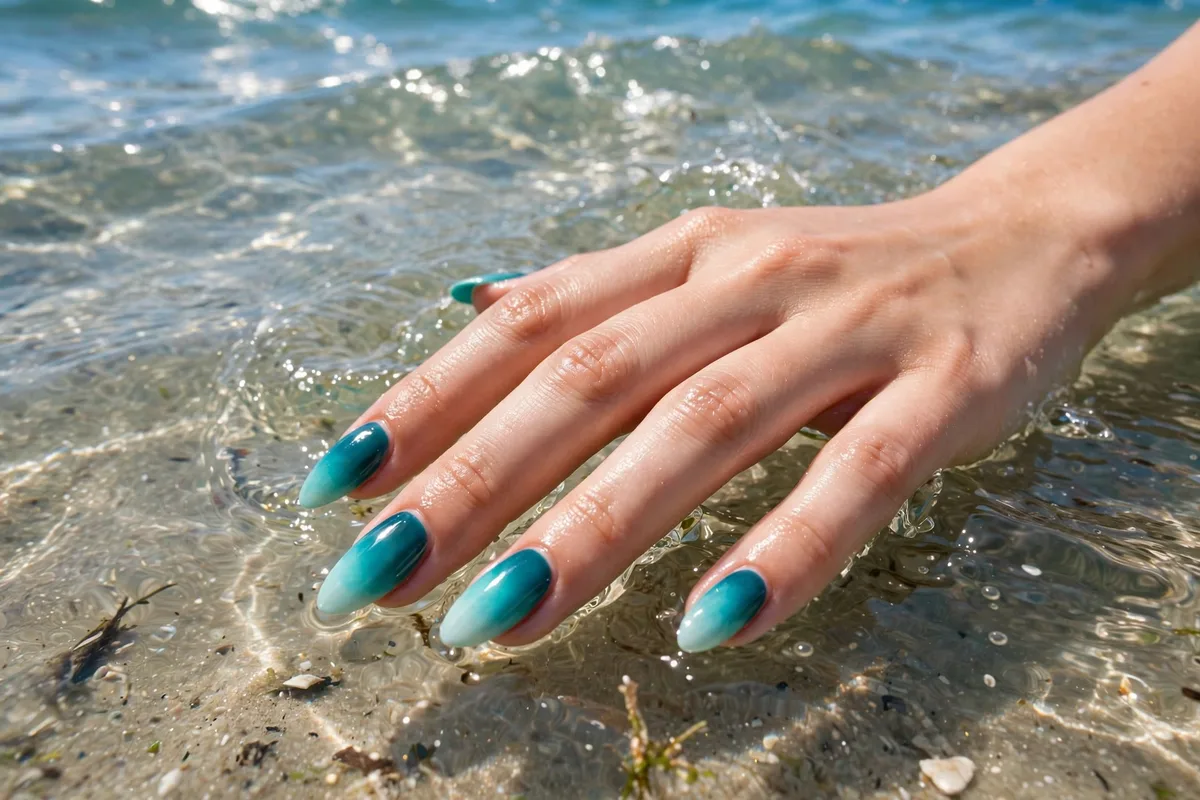
14. Mermaid Teal-to-Aqua Melt
Deep teal at the base melting through turquoise into pale aqua at the tips. Cool, saturated, and unmistakable, this is the bold gradient for people who love blue-green tones.
Medium to long almond or stiletto nails; the drama needs length. Gel is worth it here since saturated blues and teals stain and fade faster in regular polish. Difficulty: medium.
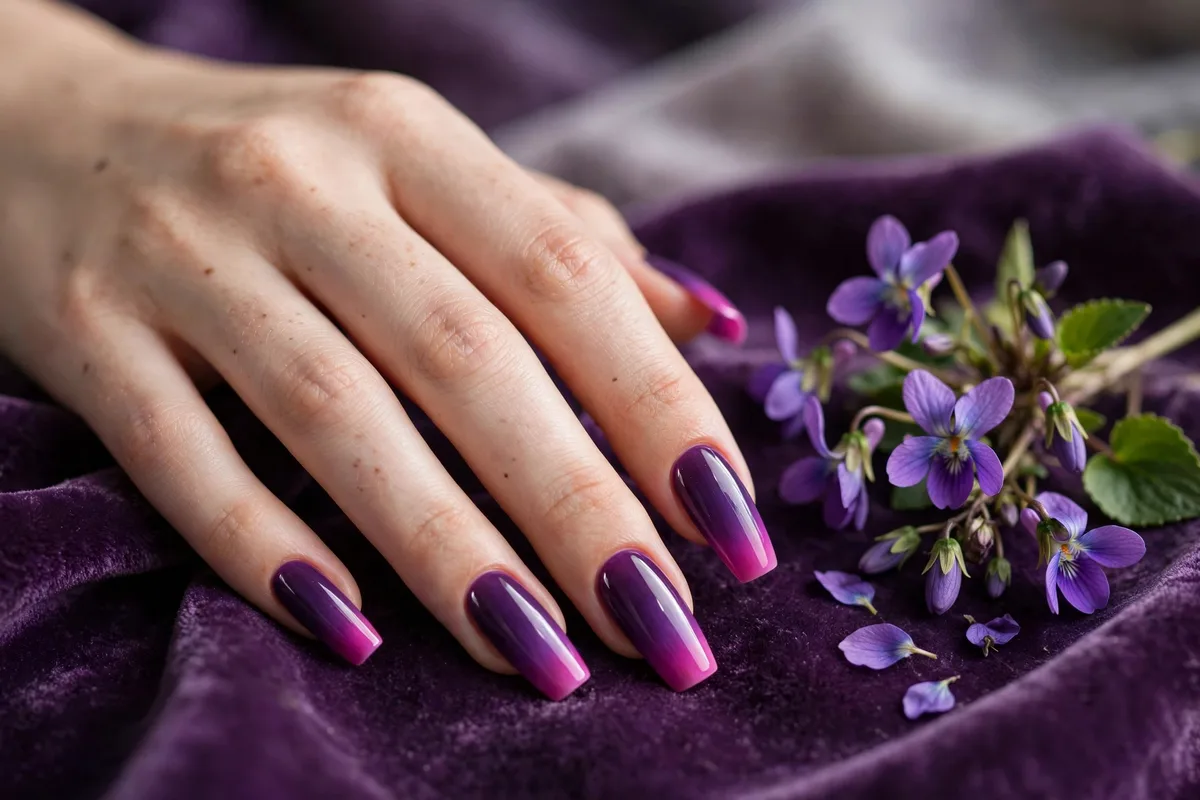
15. Violet-to-Magenta Melt
Deep violet at the cuticle melting into vivid magenta at the tips. The purple-to-pink transition is naturally smooth because the two shades share a base hue, which makes this the easiest bold melt to blend.
Long coffin nails give this melt its full runway; it also layers well with our purple nail designs if you want more ideas in this family. Difficulty: medium.
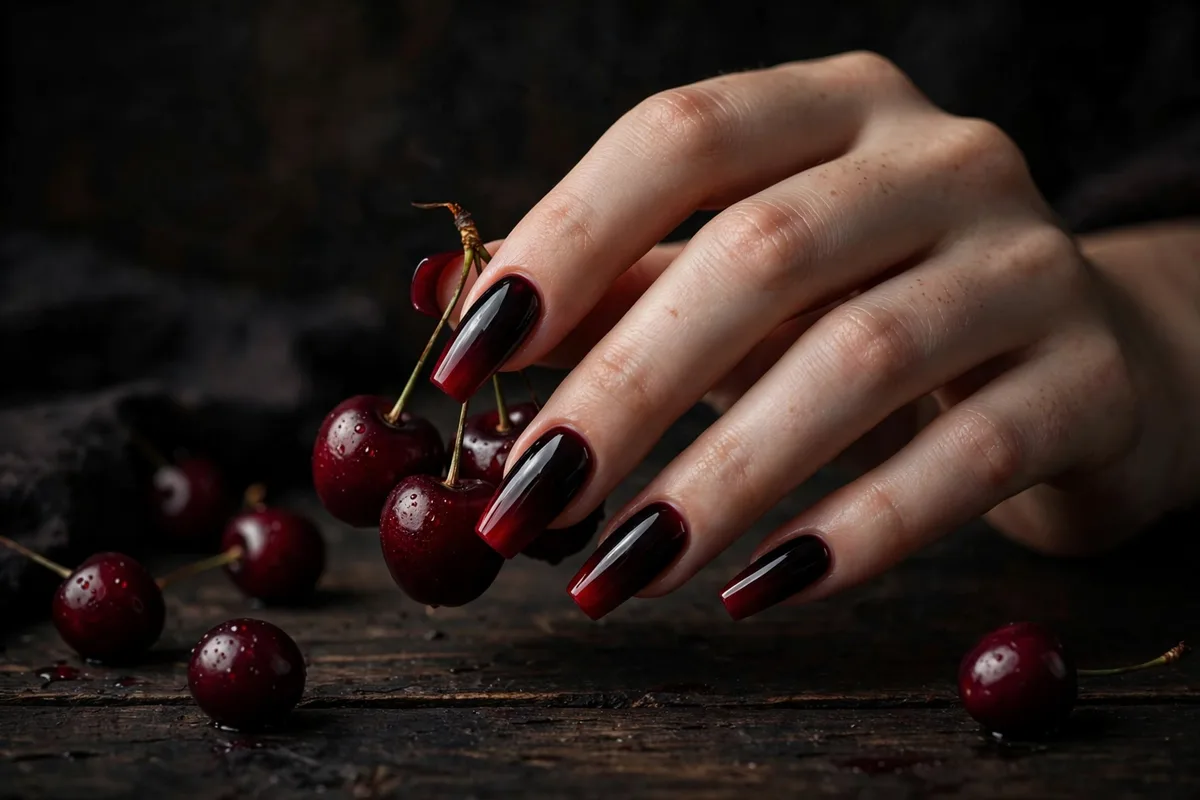
16. Black Cherry Root Fade
Near-black at the cuticle melting into deep cherry red at the tips, like the fruit it is named for. Dark, glossy, and a little dangerous, this is the bold melt for fall nights out.
This gradient grows out more gracefully than most because the dark base near the cuticle disguises regrowth. It pairs naturally with our Halloween nail designs for October. Difficulty: medium.
Ombre Nails FAQ
What are ombre nails?
Ombre nails, also called gradient nails, are a manicure where two or more colors blend seamlessly into each other across the nail with no visible line. The fade usually runs from the cuticle to the tip, but sideways and multi-color blends count as ombre too.
How do you do ombre nails with a sponge at home?
Paint stripes of your colors side by side on a dense, damp makeup sponge, then dab the sponge straight onto the nail with a light bouncing motion. Build the gradient in two to three thin layers, clean the edges with an acetone-dipped brush, and seal with two top coats. The full step-by-step is in the tutorial section above.
What is the difference between ombre nails and baby boomer nails?
Baby boomer nails are a specific type of ombre: a soft pink or nude base fading into white tips, like a blurred French manicure. All baby boomers are ombre nails, but not all ombre nails are baby boomers; ombre covers any color gradient, including bold multi-color melts.
What nail shape is best for ombre nails?
Almond and coffin shapes show gradients best because their length gives the colors room to blend. That said, the babyboomer and subtle nude fades look excellent on short oval and squoval nails too. Very short nails can carry ombre, but keep the color transition simple with two tones.
Can you do ombre nails with regular polish, or do you need gel?
Both work. Regular polish is more forgiving for beginners because you can wipe off mistakes and start over. Gel blends more smoothly and lasts two to three weeks without chipping, which matters for dark fades and glitter gradients that show wear quickly.
Why does my ombre look streaky or blotchy?
The usual causes are too much polish on the sponge, one thick layer instead of two or three thin dabs, or a porous sponge that leaves imprints. Reload the sponge lightly between nails, let each layer go tacky before the next, and use a dense wedge sponge rather than a bath sponge.
How long do ombre nails last?
With regular polish, expect five to seven days, similar to any manicure. Gel or acrylic ombre lasts two to three weeks. Light-based fades and babyboomers hide tip wear and regrowth better than dark or saturated gradients.
Do ombre nails grow out well?
Better than most nail art. Because the color near the cuticle is usually the lightest or sheerer tone, regrowth is less obvious than with a solid dark manicure. The black cherry root fade is the best grow-out in this guide since the dark base sits right at the cuticle.

5 Comments