17 Engagement Nail Ideas That Shine in Ring Photos
Engagement nails are a different job from wedding nails. The wedding is a planned event; the engagement is a surprise you’re photographed for within hours of it happening — the ring box shot, the announcement selfie, weeks of showing your hand to everyone you know. The best engagement nails photograph beautifully next to a ring, survive the surprise if you never saw it coming, and don’t fight the ring for attention. Below are 17 engagement nail ideas organized by their relationship to the ring: looks that let the ring lead, finishes that match its metal, sparkles that love a camera flash, and personal touches that make the photos yours. Every idea includes honest notes on shape, difficulty, and wearability.
Which Engagement Nail Matches Your Ring? Compare All 17
Start here: match the design to your ring’s metal, your nail length, and how much effort you want to put in. This table covers all 17 ideas at a glance.
| Design | Why it works with a ring | Best shape | DIY difficulty | Stays neat for |
|---|---|---|---|---|
| Classic White French | White tips frame any stone | Almond, oval | Medium | 5–7 days (gel: 2–3 weeks) |
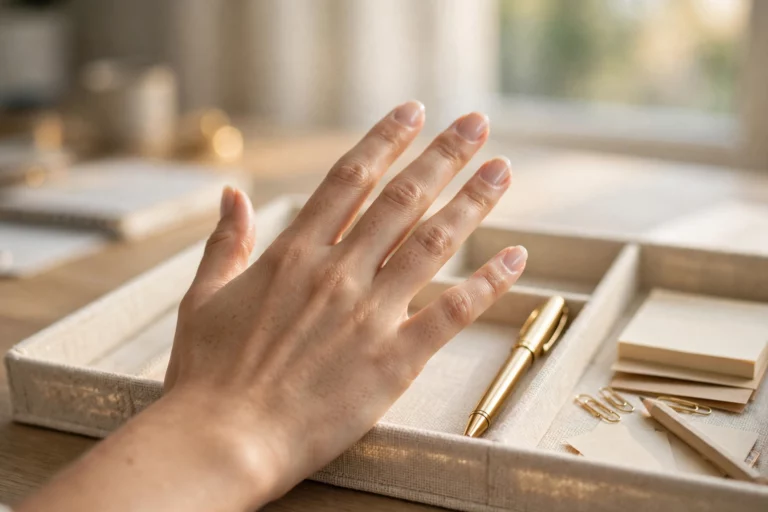
| Almond-Milk Sheer Nude | Low-contrast canvas, ring leads | Short oval, squoval | Easy | 4–5 days |
| Sheer Pink Glaze | Soft warmth flatters skin | Oval, almond | Easy | 4–5 days |
| Bare Nails, Glass Shine | Surprise-proof, always ready | Short oval | Easy | Indefinite with upkeep |
| Micro French | Modern restraint, ring the star | Oval, almond | Medium–hard | 5–7 days |
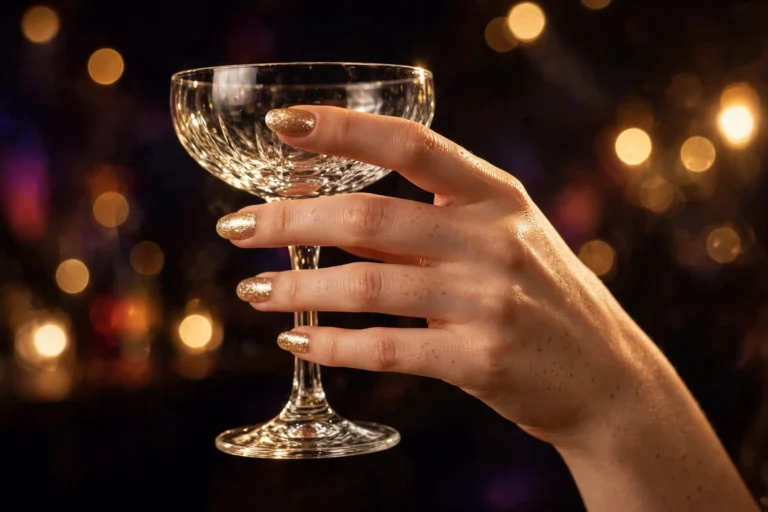
| Champagne-Gold Shimmer | Echoes a yellow-gold band | Almond, oval | Easy–medium | 5–7 days |
| Silver Pearl Chrome | Matches platinum and white gold | Oval, almond | Hard (salon or gel kit) | 2–3 weeks as gel |
| Rose-Gold Chrome | Pairs with rose-gold rings | Almond, coffin | Hard (salon or gel kit) | 2–3 weeks as gel |
| Mixed-Metal Foil | Bridges two-tone or stacked rings | Short almond, oval | Medium | 5–7 days |
| White Pearl Chrome | Catches flash like a stone | Almond, oval | Hard (salon or gel kit) | 2–3 weeks as gel |
| Crystal Accent on Ring Finger | Doubles the sparkle at the ring | Almond, oval | Easy–medium | 4–5 days (stone can snag) |
| Glazed-Donut Nude | Glossy glow reads expensive in photos | Almond, oval | Hard (salon or gel kit) | 2–3 weeks as gel |
| Champagne Cat-Eye | Moving light streak photographs alive | Almond, oval | Hard (magnet + gel) | 2–3 weeks as gel |
| Partner’s Initial | Personal, invisible to everyone else | Oval, almond | Medium (liner brush) | 4–5 days |
| Hidden “Something Blue” | A private wedding-tradition nod | Almond, oval | Easy–medium | 5–7 days |
| White Bow Accent | Sweet, photogenic, gift-wrap romance | Oval, almond | Easy–medium | 4–5 days |
| Birthstone Accent Nail | A color with meaning next to the ring | Almond, oval | Easy | 4–5 days |
Let the Ring Be the Star
The ring is the subject of every engagement photo; these five looks are the quiet frame around it. Low contrast, clean lines, nothing competing with the stone.
1. Classic White French
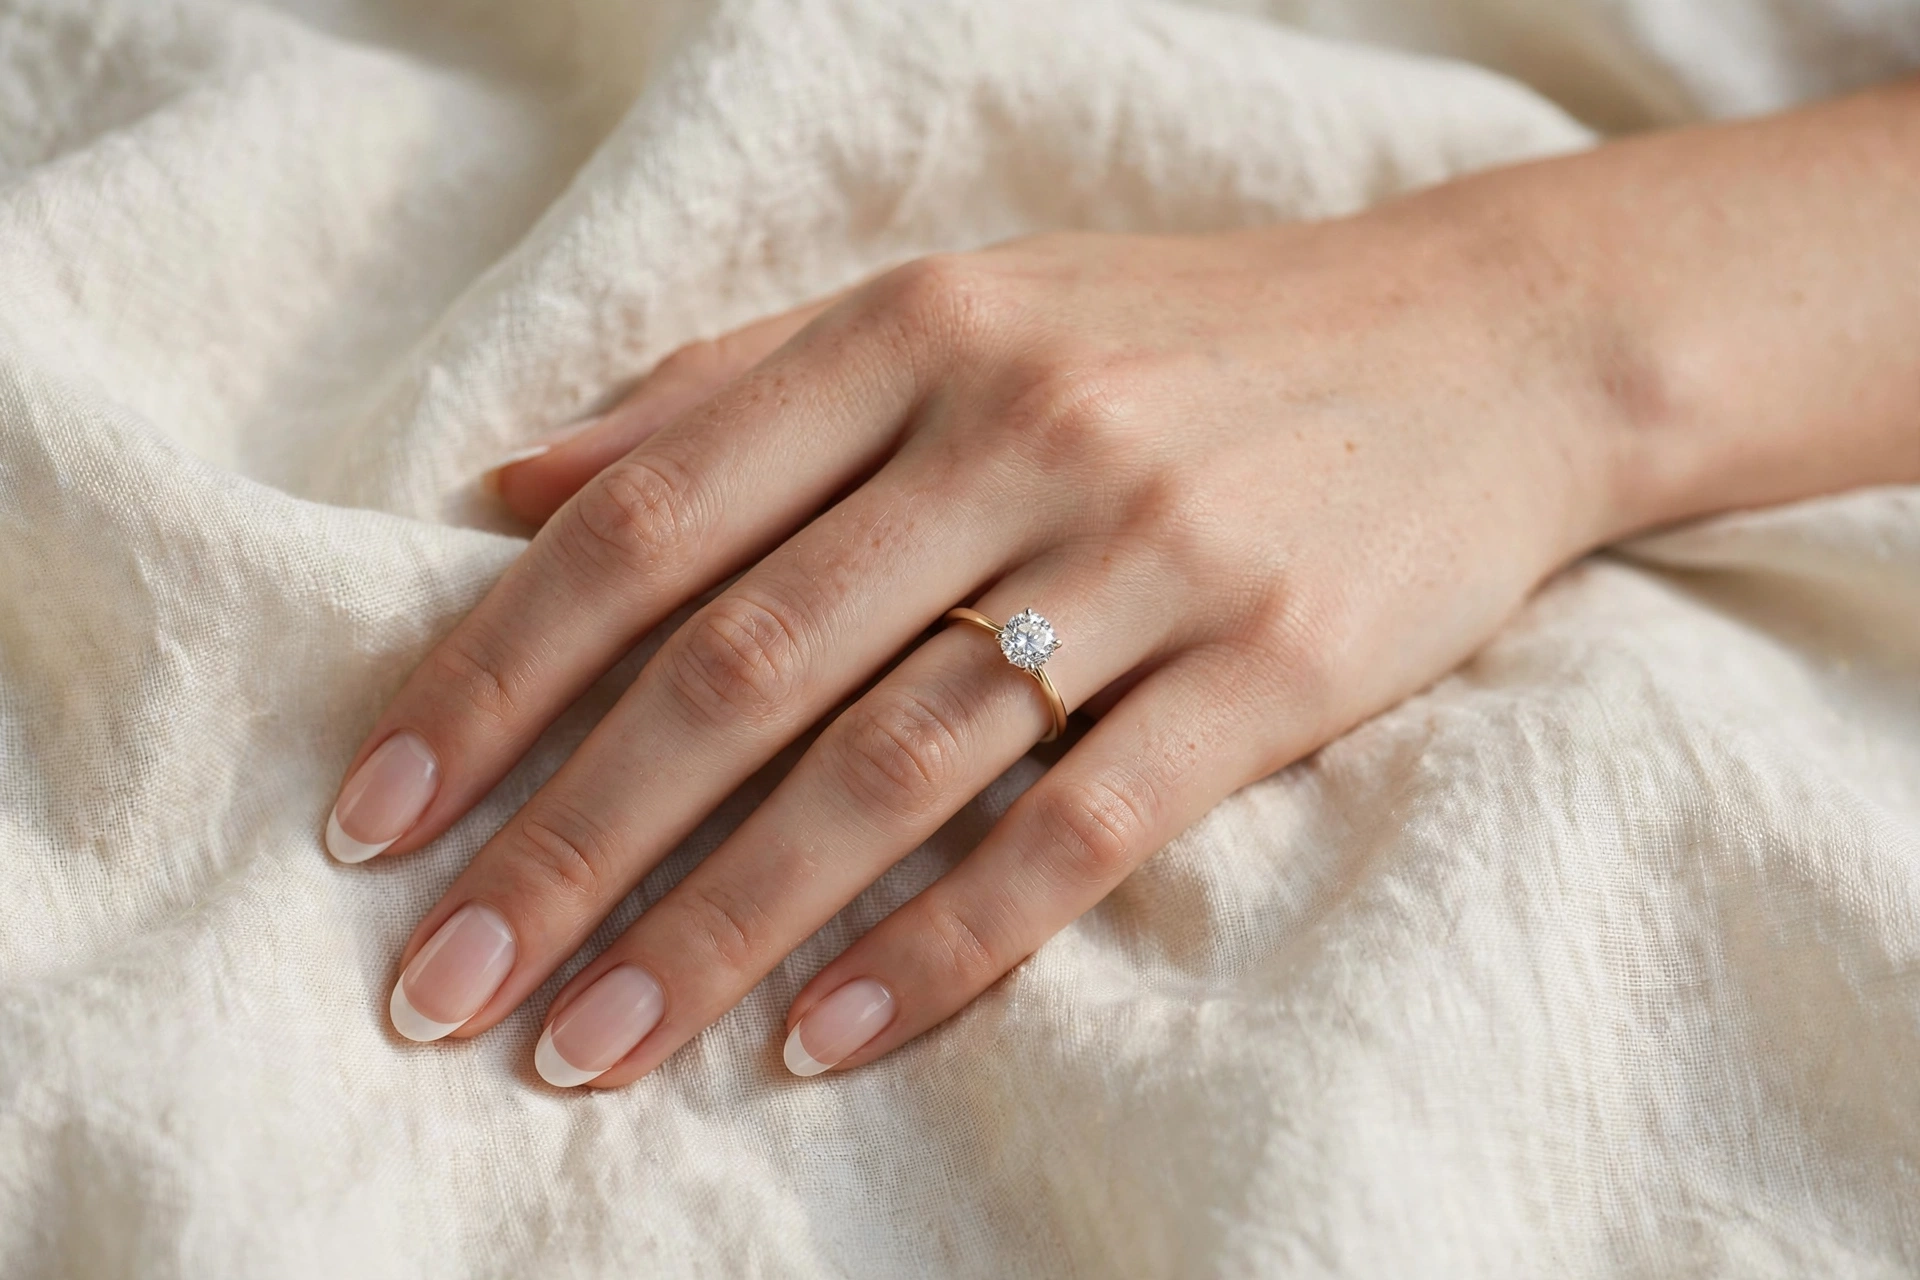
The engagement manicure against which all others are measured: crisp white tips over a sheer nude base. The white edge acts like a picture frame, drawing the eye to the ring finger, and it flatters every stone shape and metal. Ask for a medium smile line — tips that are too deep read dated, tips too thin disappear in photos. Medium almond or oval shapes suit it best. The honest tradeoff: white tips show chips faster than anything else, so get it in gel if proposal season is anywhere on the horizon, or schedule a touch-up the week of.
2. Almond-Milk Sheer Nude
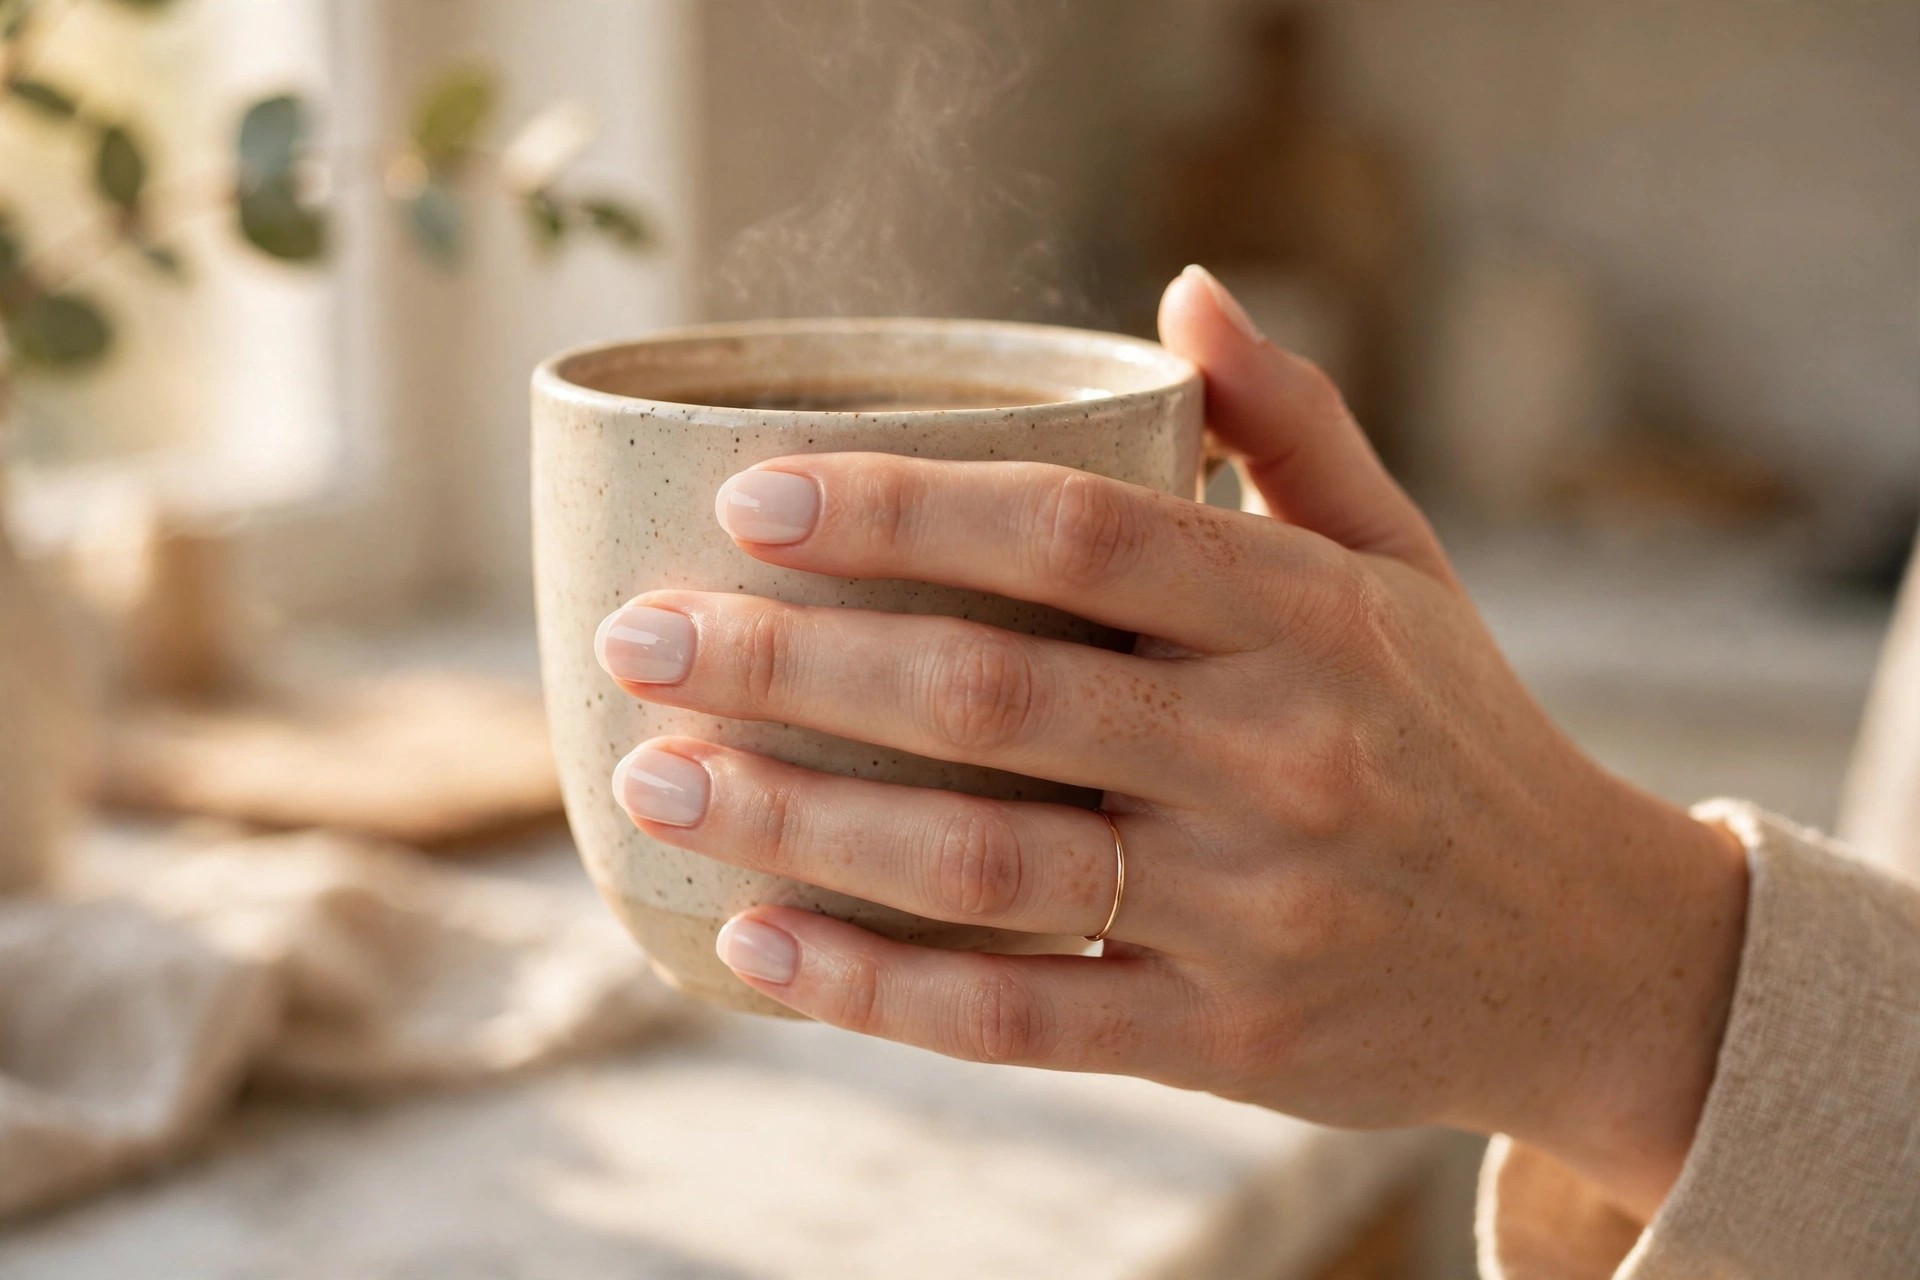
Two to three coats of a milky white-nude sheer that evens out the nail plate without ever looking “done.” Because it barely registers as polish, it never competes with the ring — the camera sees clean hands and one sparkling stone. It’s the most forgiving engagement choice: sheer finishes hide growth, chips show late, and a smudged application still looks fine. Short oval or squoval shapes keep it practical for daily life. Match the nude’s undertone to your skin — pink-milky for cool skin, warm-milky for warm — or the sheer can look grey. Our milky nail designs guide covers the full sheer spectrum if you want more shades.
3. Sheer Pink Glaze
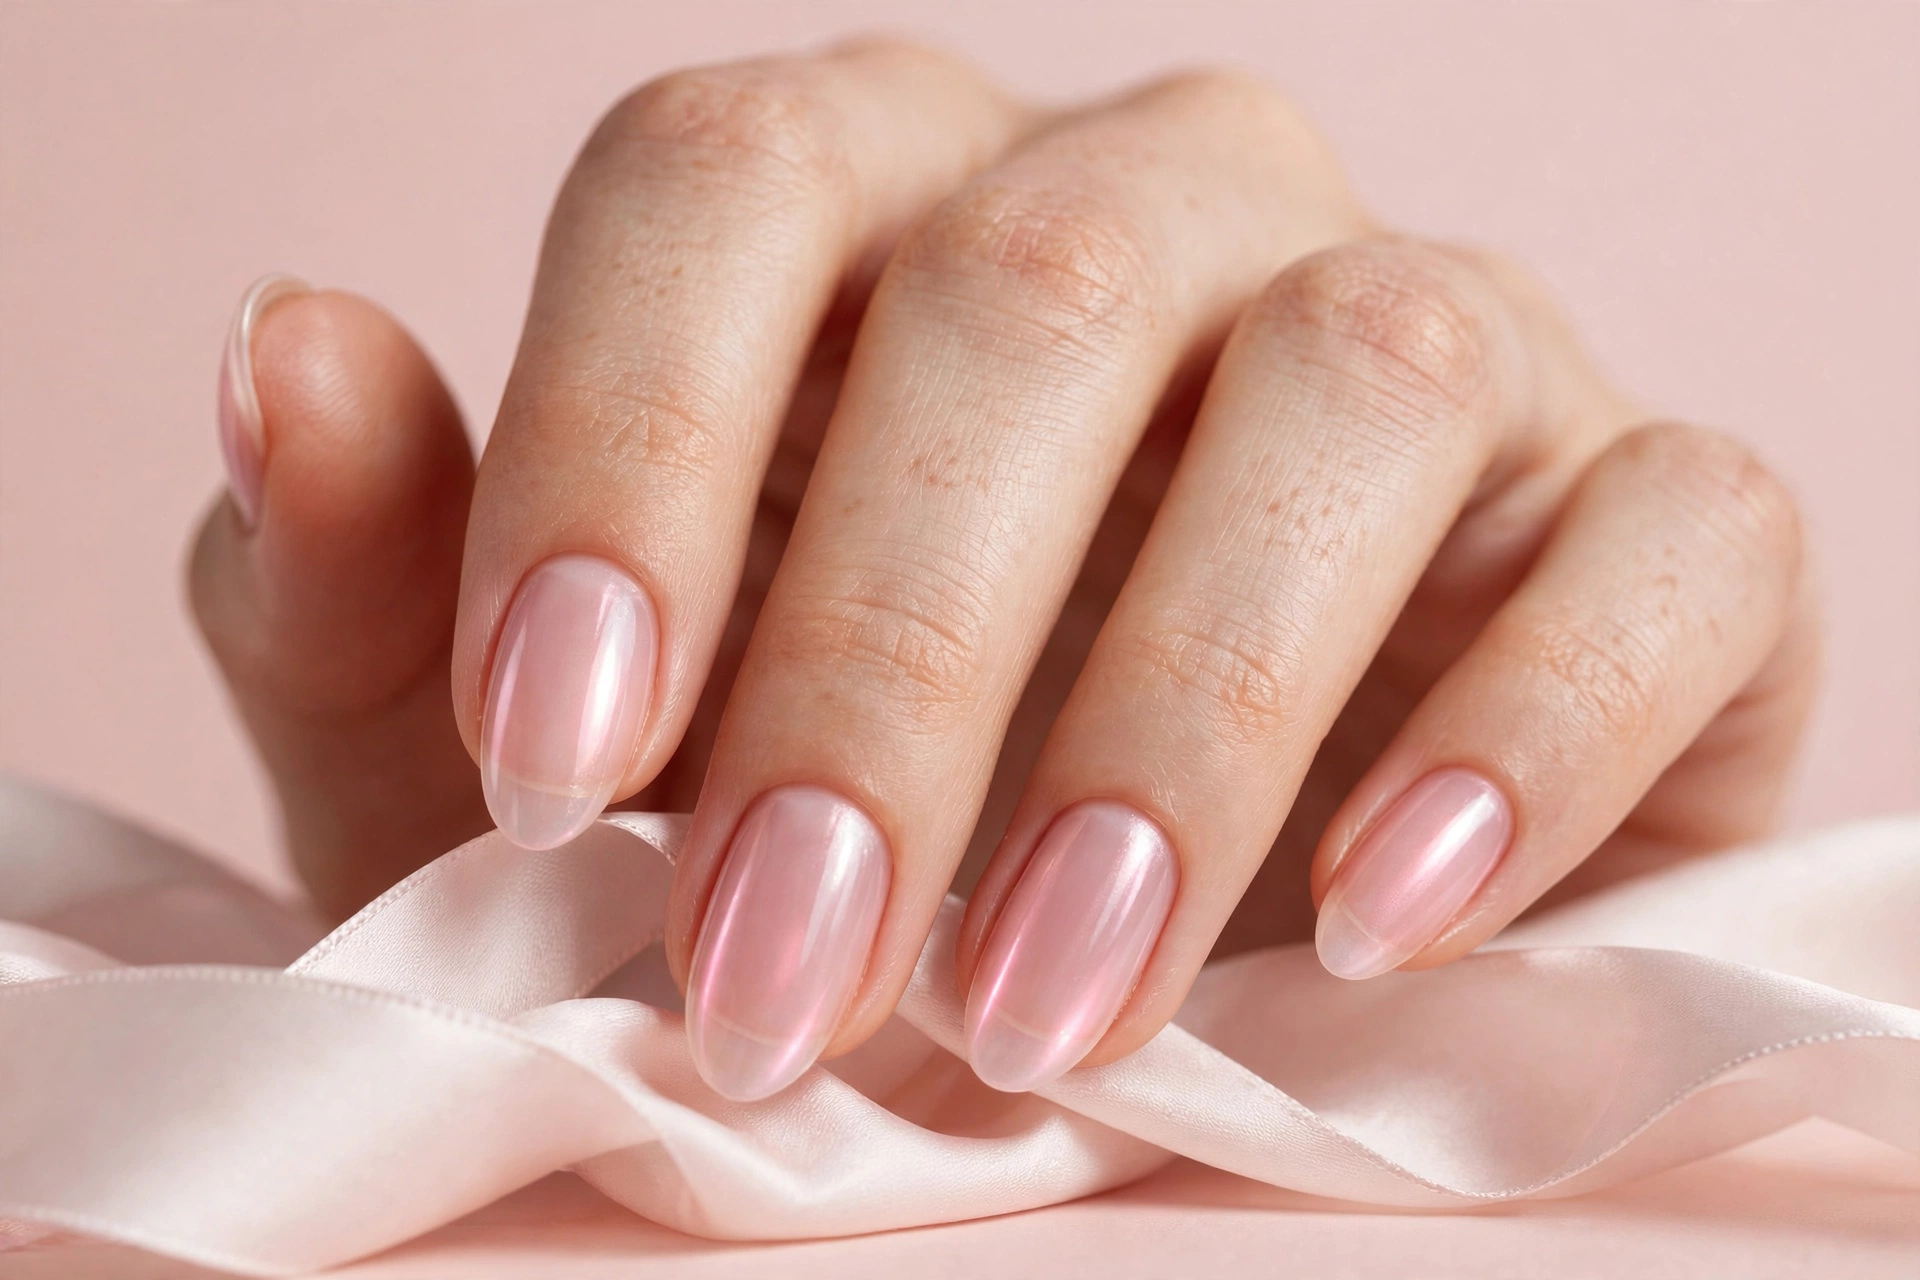
A translucent pink with a soft inner glow — like your natural nail, only healthier-looking. The pink warmth is flattering on most skin tones in flash photography, which tends to cool everything down. Layer one sheer coat for barely-there color or two for a rosy wash; keep it translucent on purpose, because opacity is what fights the ring. Oval or almond shapes suit the soft look. This is an easy DIY: sheers self-level well, and any streaks disappear under top coat.
4. Bare Nails With a Glass Shine
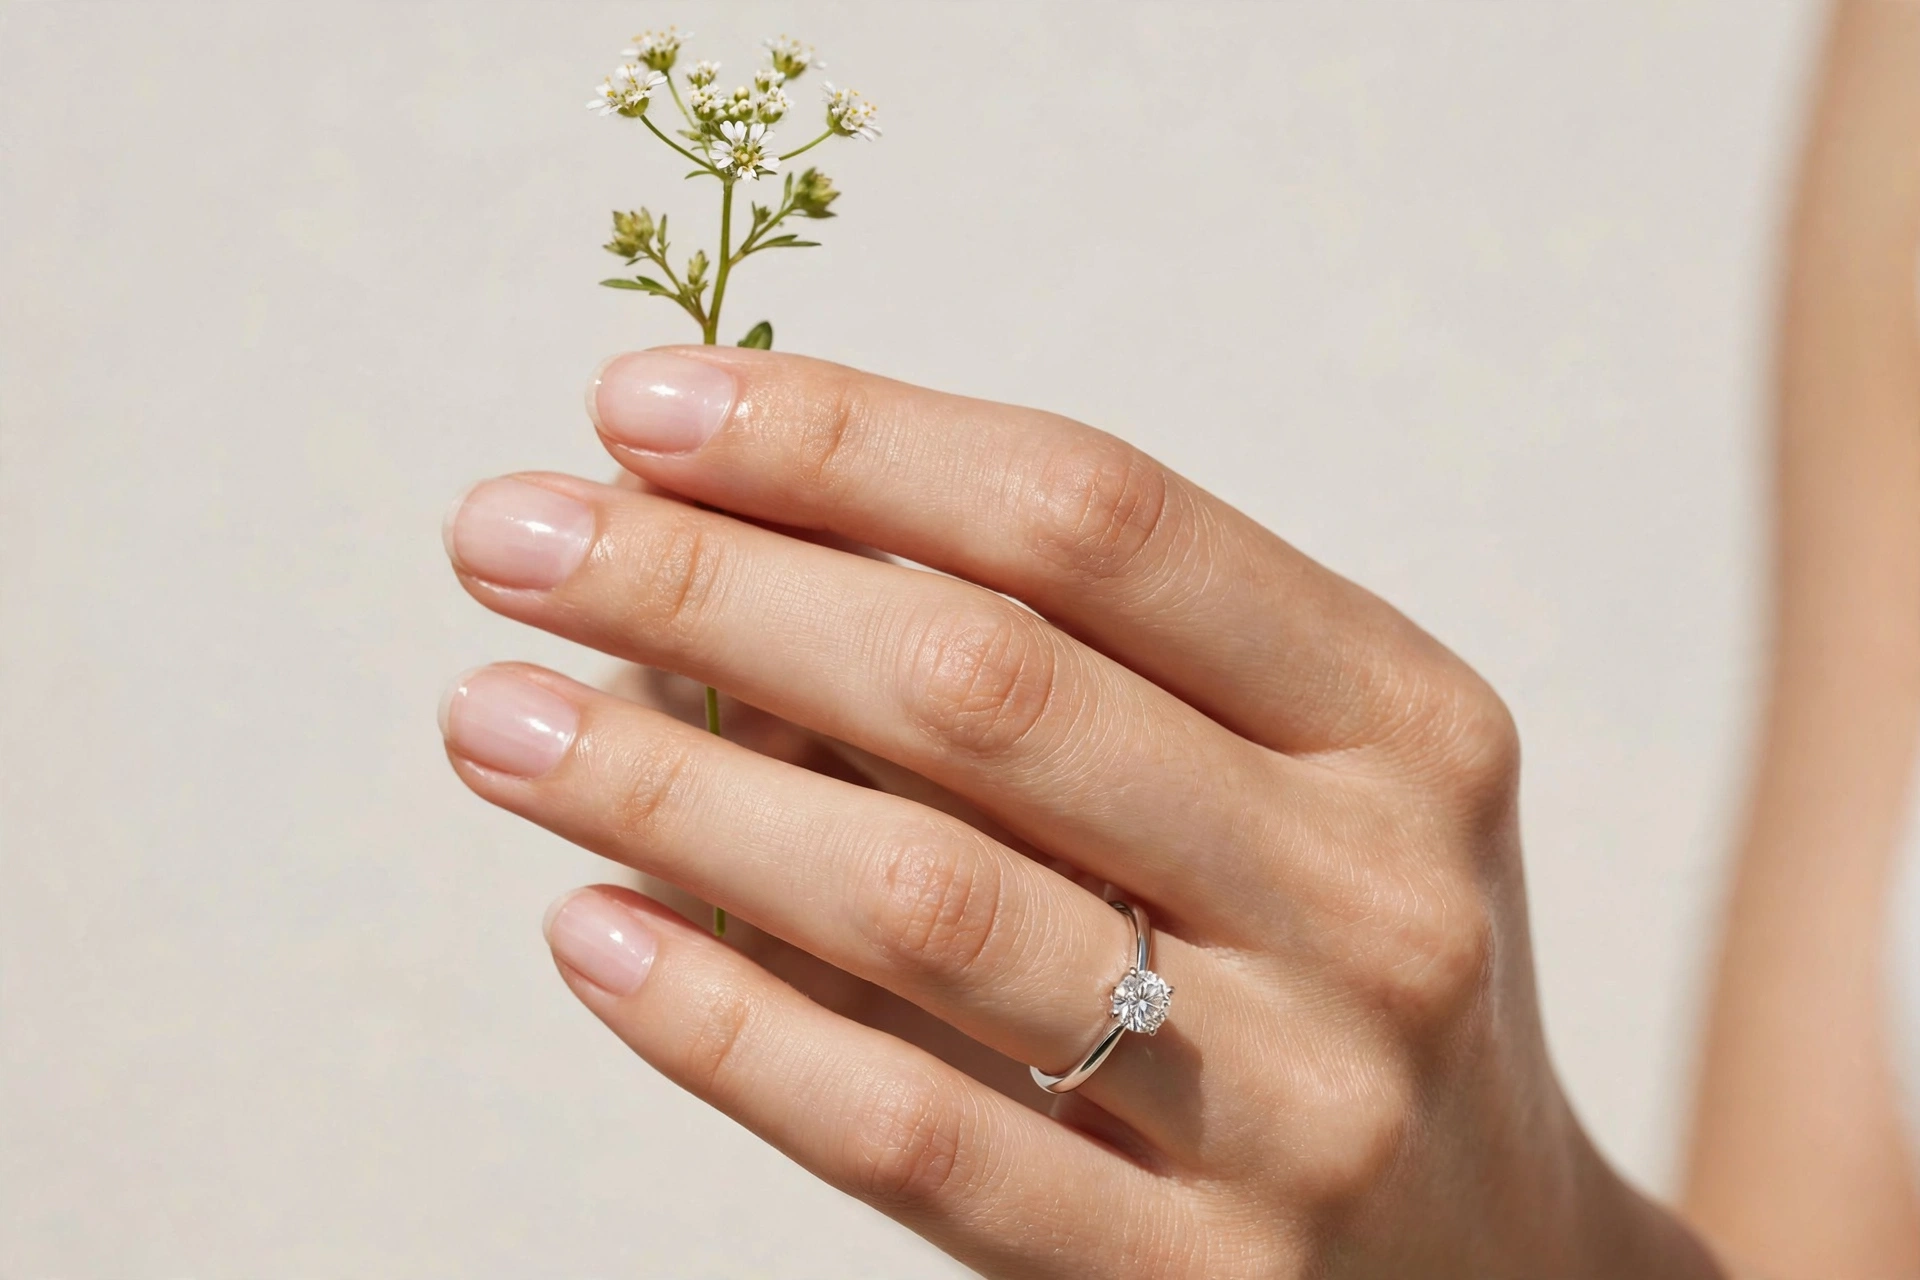
The surprise-proof option: perfectly shaped, buffed natural nails sealed with a clear high-gloss top coat. If you suspect a proposal is coming but don’t know when, this is the look that is always engagement-ready — no color to chip, no design to date the photos. The work is all in the prep: push back cuticles, file to one consistent shape (short oval is safest), buff the surface smooth, then two thin coats of a glassy top coat. It photographs beautifully because glossy bare nails read as healthy and expensive. Refresh the top coat every two to three days and your hands are proposal-ready indefinitely.
5. Micro French
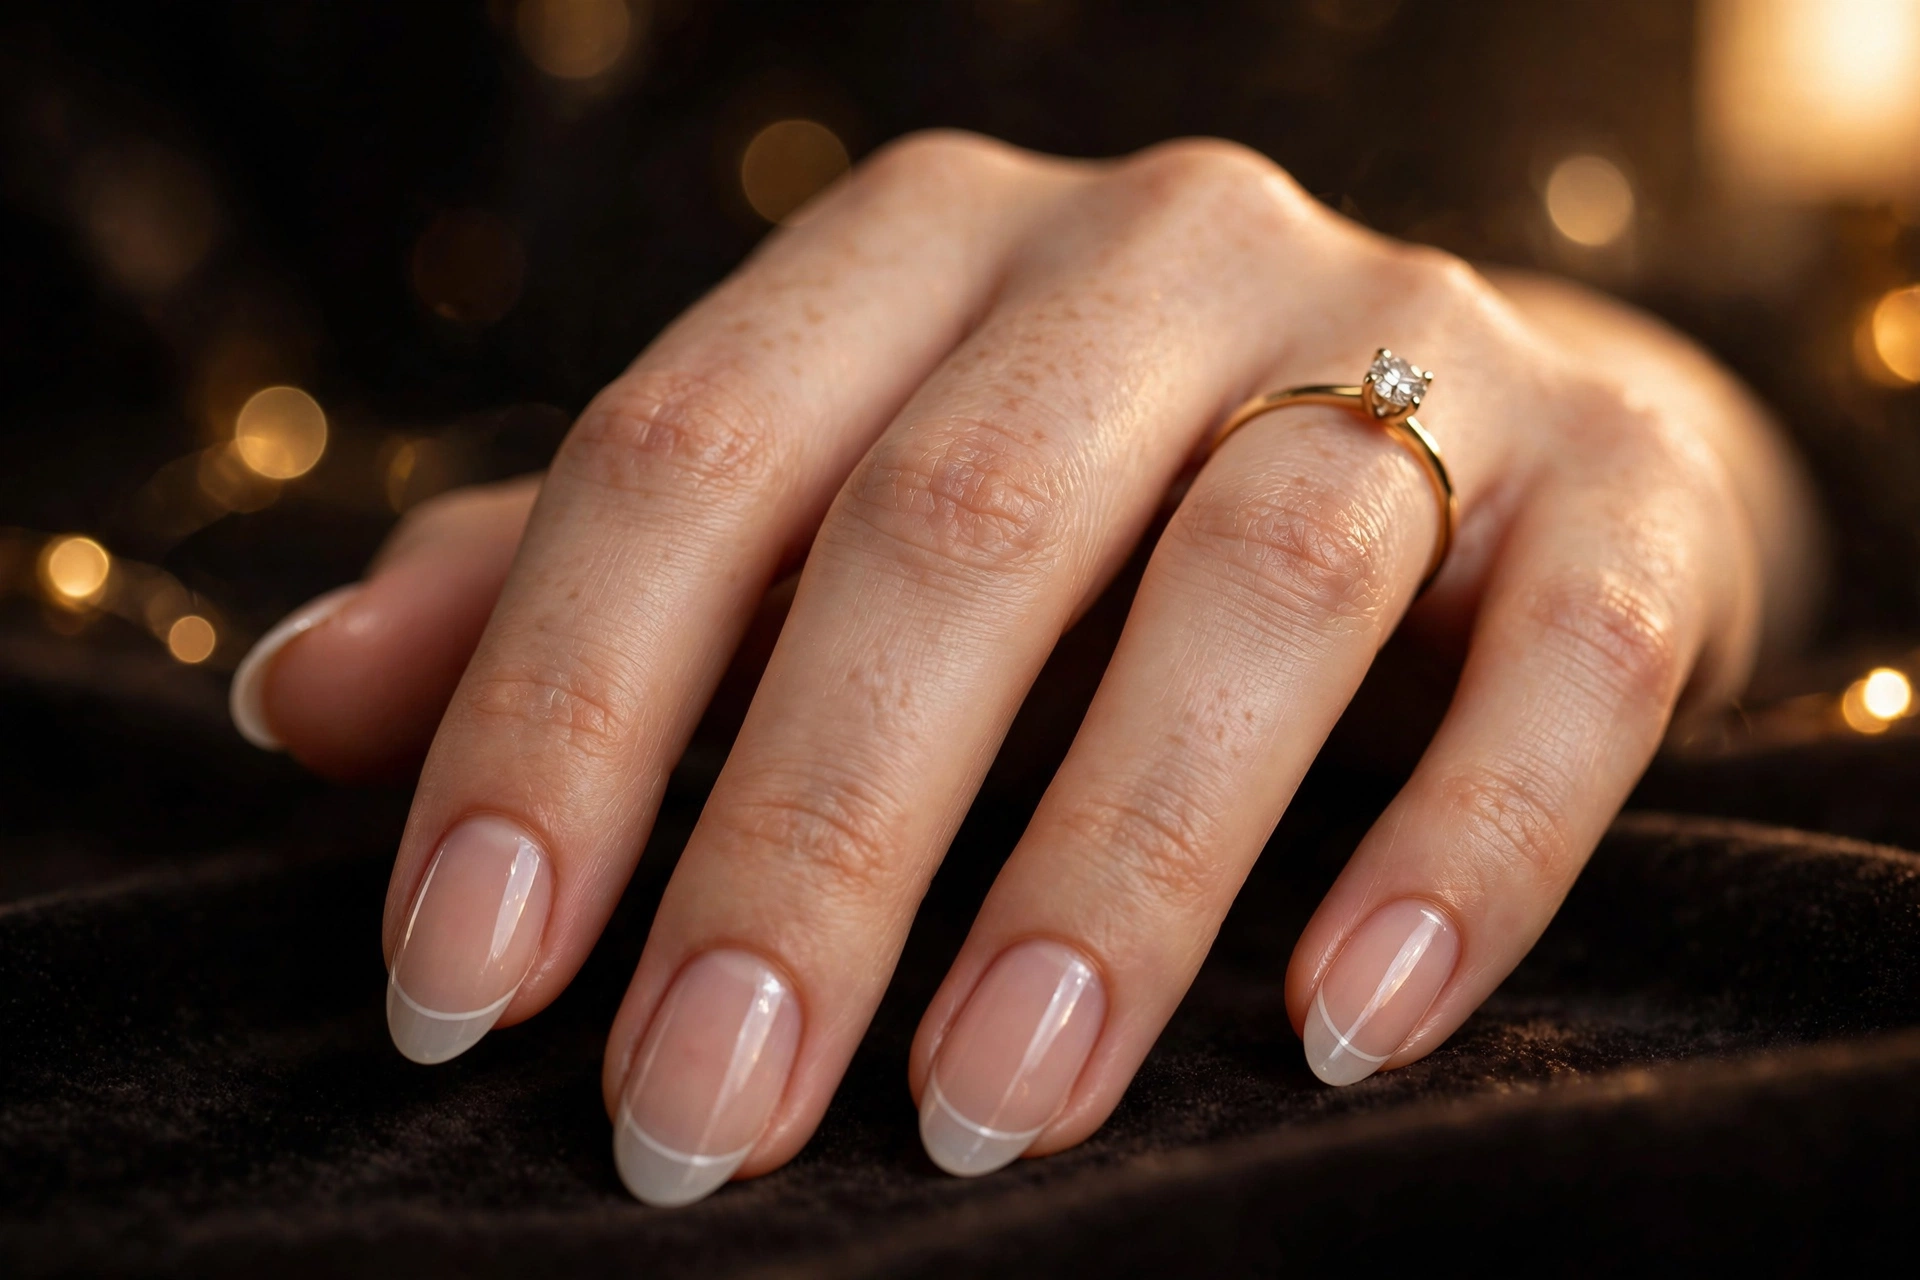
The classic French redrawn at a quarter of the usual width: a hairline white edge over a sheer nude base. It keeps the framing effect of the French without the formality — modern, delicate, and very much in step with current bridal trends. The catch is precision: at this scale every wobble in the smile line shows, so use a liner brush or nail guides and a steady hand, or leave this one to a tech. Oval and almond shapes suit it best. It wears like a sheer, so regrowth is invisible and chips show late.
Match Your Ring’s Metal
One of the simplest expert moves in engagement nails: echo the ring’s metal in your polish. Warm metals love warm finishes, cool metals love cool ones — and the pairing makes the ring look intentional in every photo.
6. Champagne-Gold Shimmer
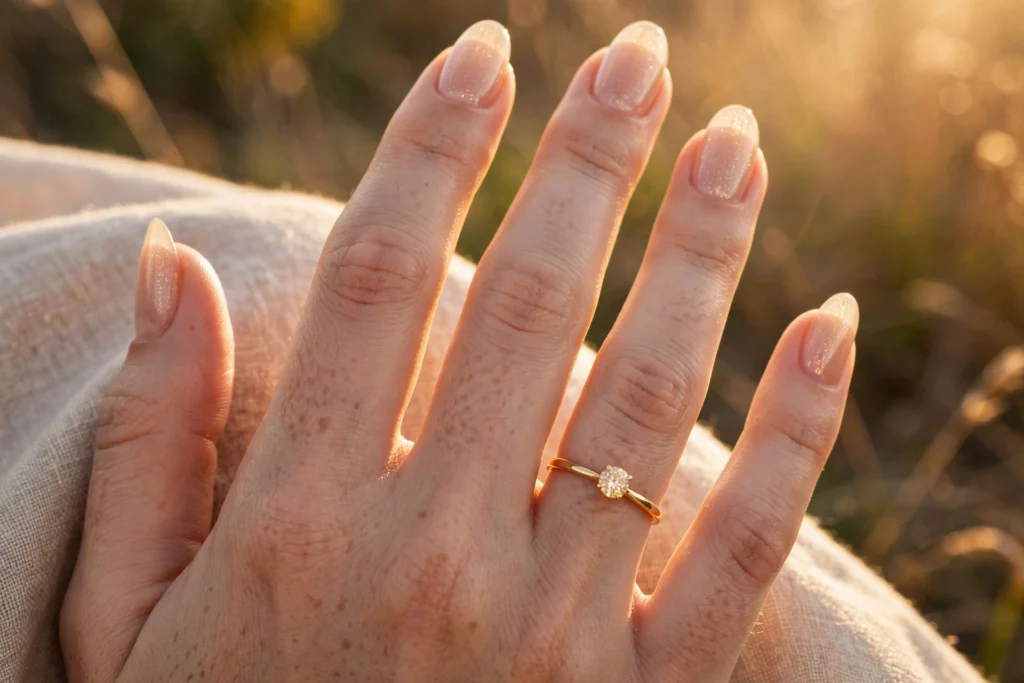
A warm champagne shimmer washed over a nude base, made for yellow-gold solitaires. The gold particles in the polish pick up the same light as the band, so the ring and nails read as one composition instead of two separate ideas. Apply one or two thin shimmer coats — too many and it goes opaque and loses the champagne effect. This is especially flattering on warm and medium skin tones. Almond or oval shapes keep it soft; keep it away from full mirror chrome, which can look costume-y in daylight announcement photos.
7. Silver Pearl Chrome
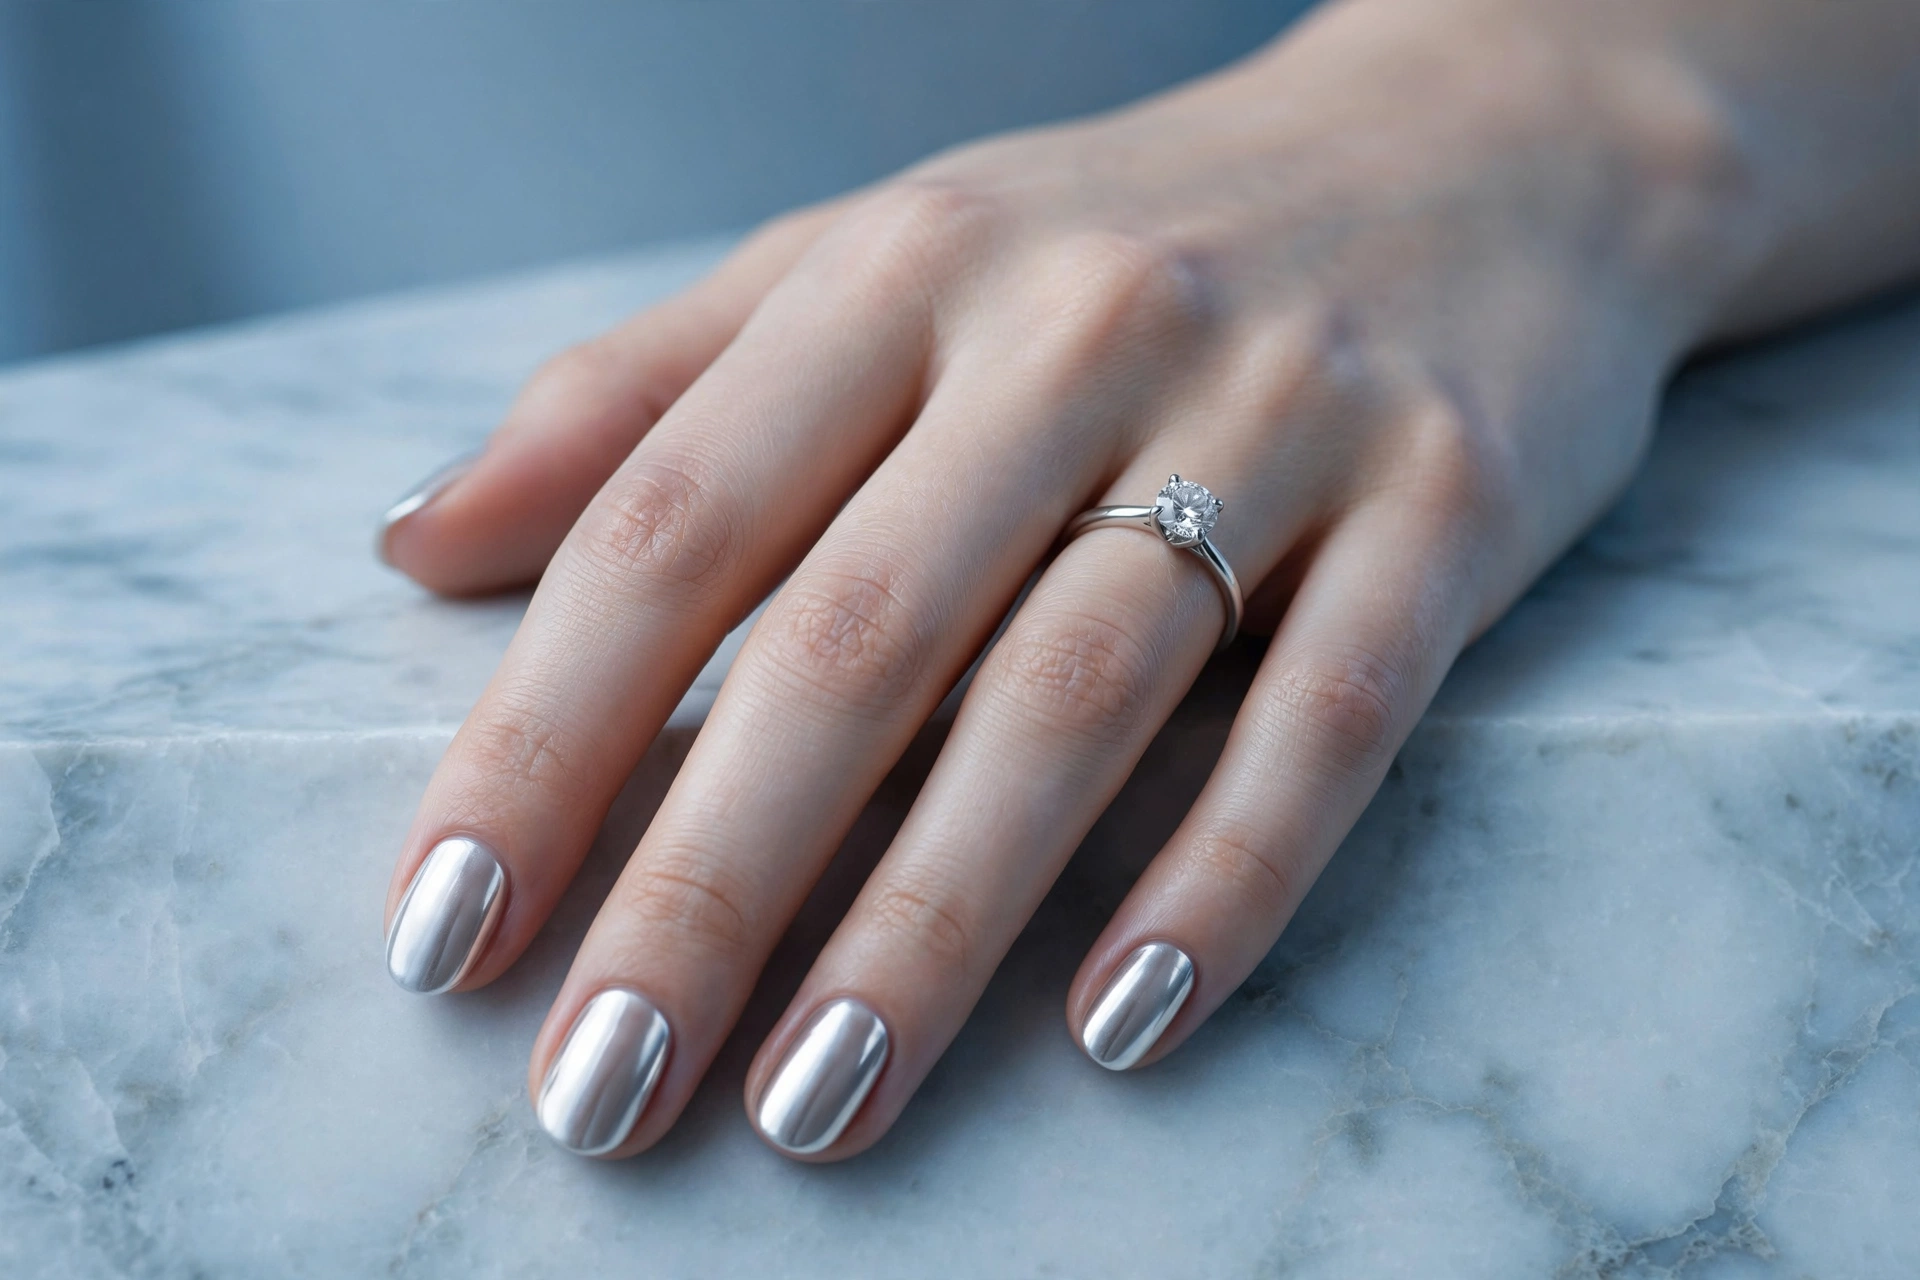
Cool, mirror-bright pearl chrome that sits naturally beside platinum and white-gold rings. Where yellow gold wants warmth, white metals want their cool echo — and the chrome’s reflectivity mimics the stone’s facets in photos. True chrome needs a cured gel layer to grip, so this is a salon visit or a gel-kit job, not a regular-polish DIY. Oval or almond shapes carry it best. One honest note: chrome shows fingerprints and edge wear fast, so book it within a week of any planned photo shoot. Our pearl nail designs collection covers the softer end of this finish family.
8. Rose-Gold Chrome
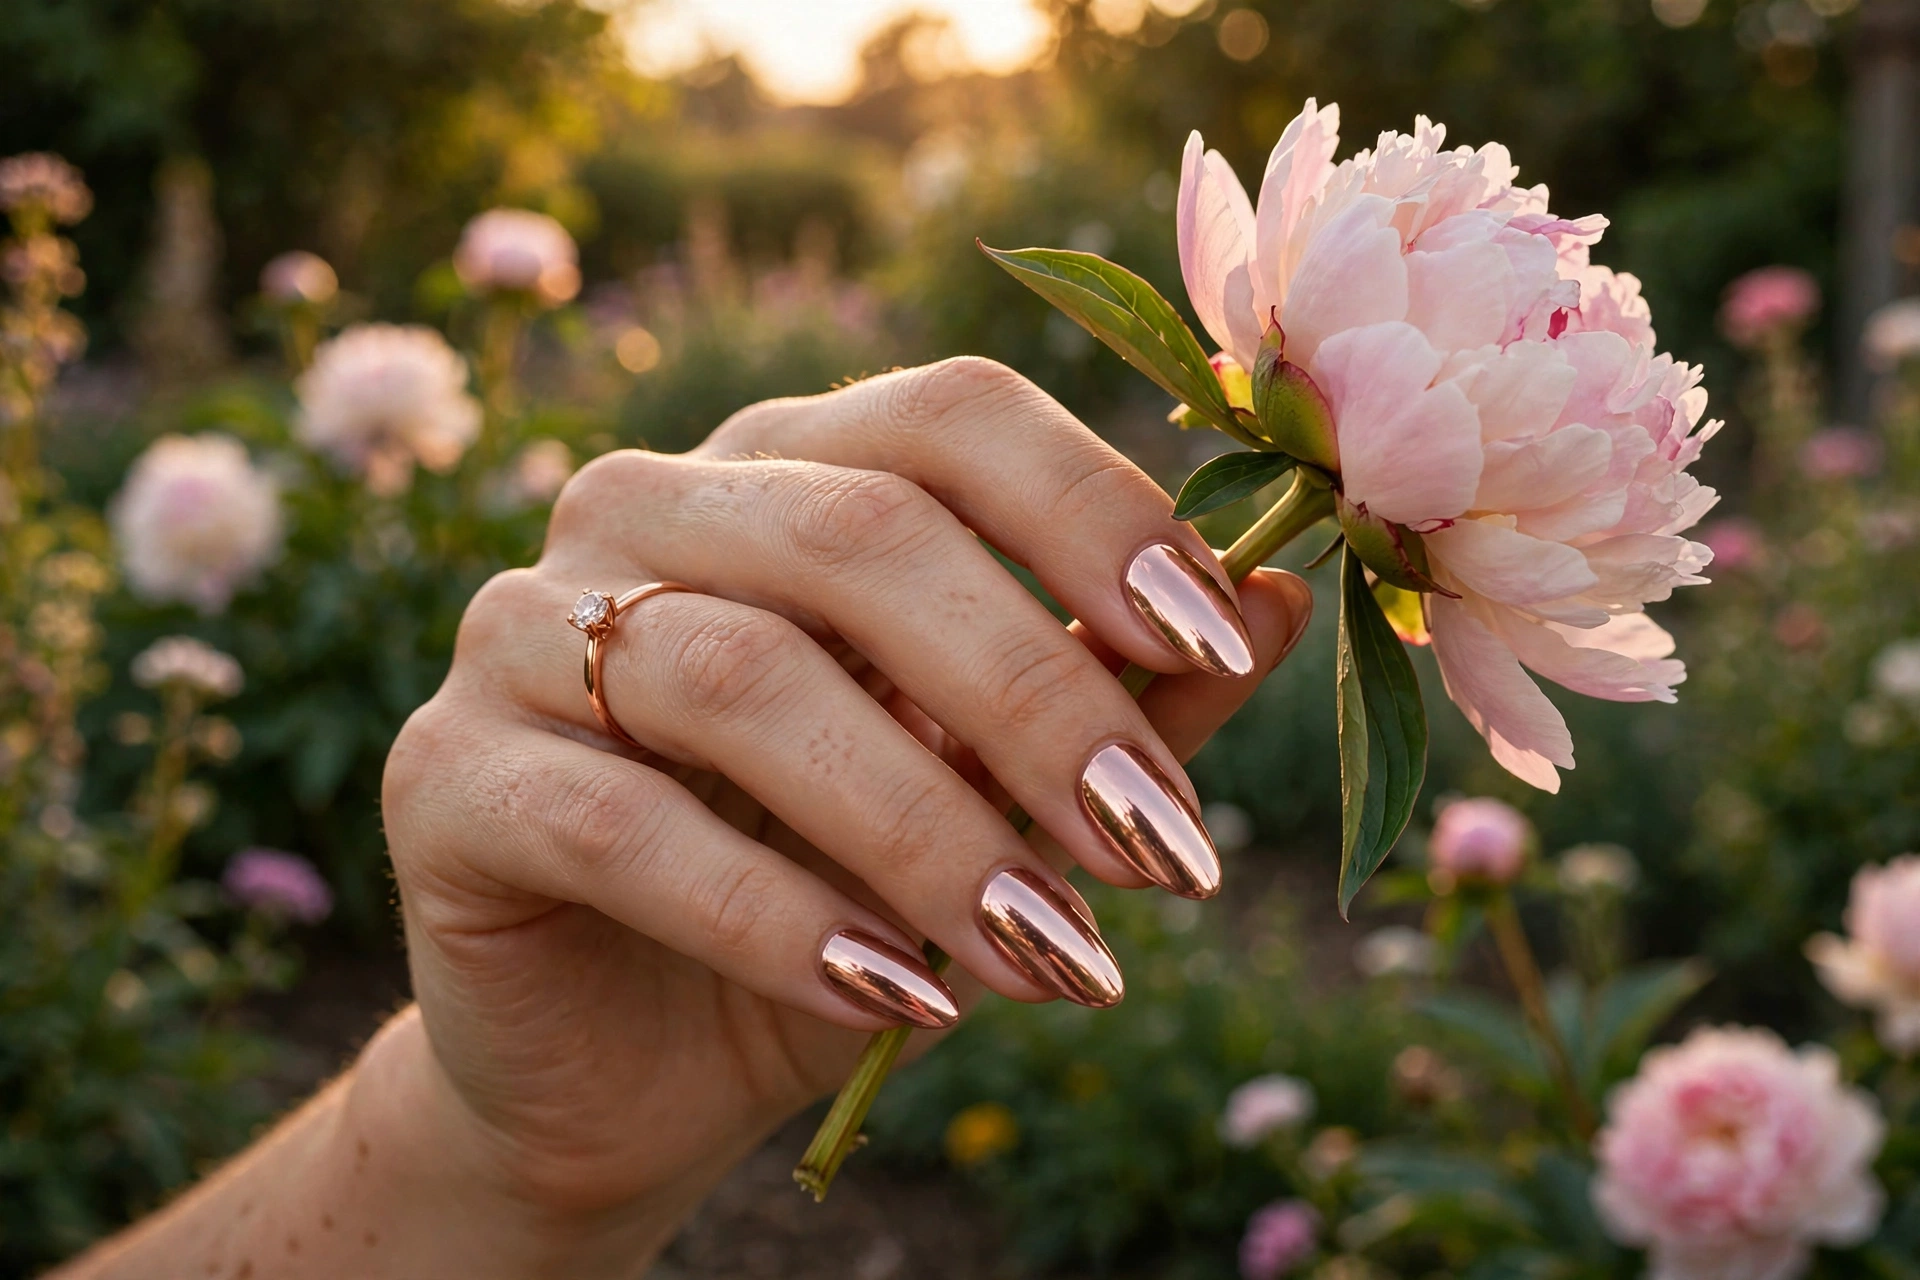
The romantic’s metal match: rose-gold chrome beside a rose-gold ring is the most cohesive pairing in this collection. The pink mirror finish flatters most skin tones and photographs with a warmth that white chrome lacks. Same technique reality as its silver sibling — chrome powder over cured gel, salon or kit — and long almond or coffin shapes maximize the mirror effect. If your ring is rose gold and you want the ring photo to look styled rather than accidental, this is the pick.
9. Mixed-Metal Foil on Nude
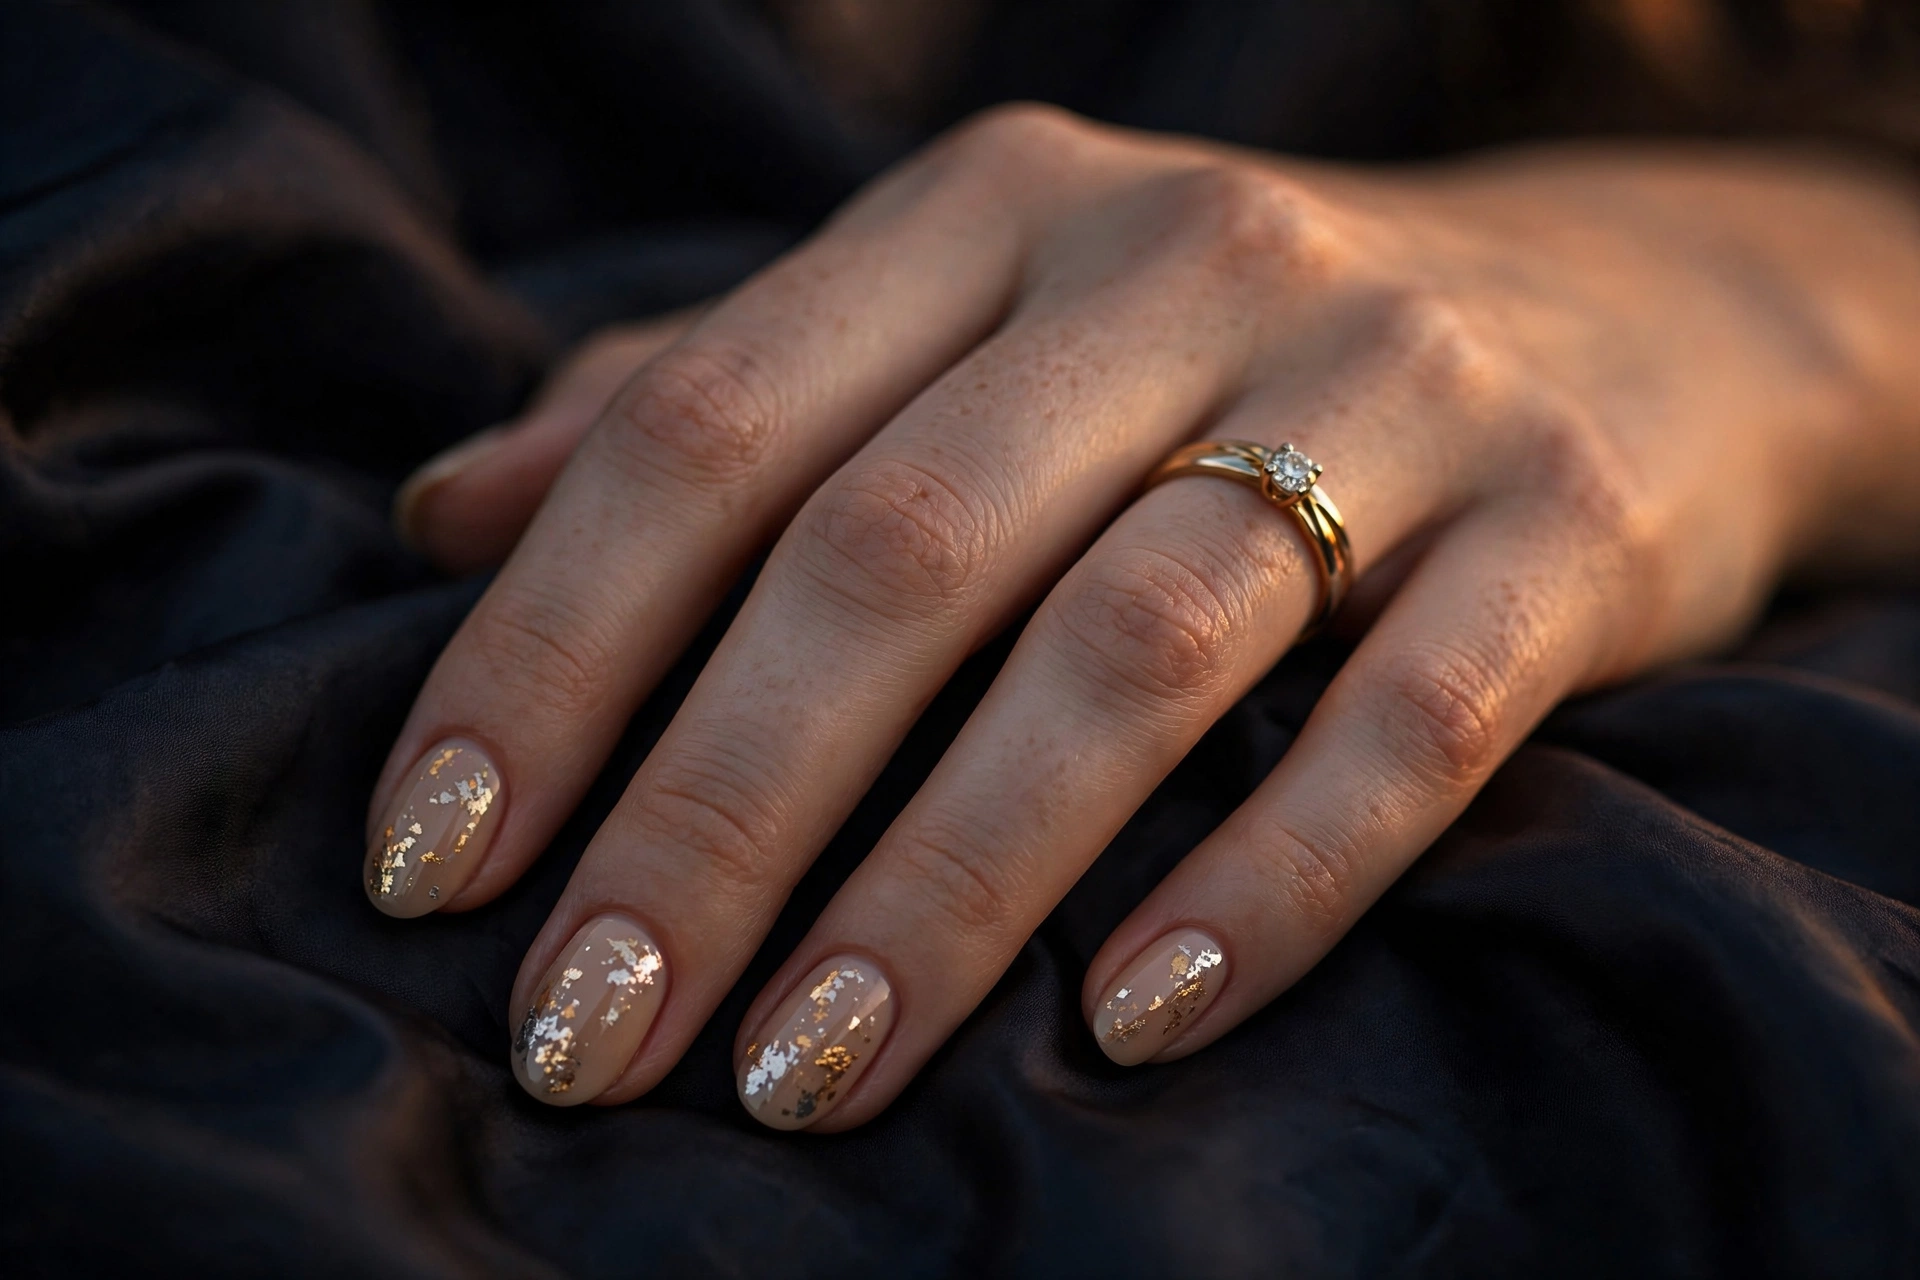
For two-tone rings, stacked bands, or the still-undecided: tiny gold and silver foil flakes scattered over a sheer nude base. The mixed metals bridge whatever the ring is doing instead of committing to one temperature. Apply foil flakes to the tacky layer of a nude gel or press them into wet regular polish, concentrating them toward the tips so the cuticle area stays clean and elegant. Short almond or oval nails keep the texture wearable. It’s forgiving to DIY because foil placement is meant to look random.
Match Your Ring’s Setting, Not Just Its Metal
Metal is only half of what your ring is doing visually. The setting — how much stone and structure sits on top of the band — decides how much manicure the ring can share a photo with. Busy ring, quiet nails; quiet ring, room to play.
Solitaire. One stone on a plain band is the most forgiving setting there is: almost anything in this collection works, because the ring’s simplicity leaves the nails free to carry a little more — a cat-eye, a crystal accent, a personal detail. If you want one of the livelier looks, a solitaire is your permission slip.
Halo and cluster settings. A halo already brings its own sparkle, with a ring of small stones framing the center one. Treat that sparkle as part of your manicure budget: skip crystals, foil, and glitter, and stay with the quiet end of the spectrum — sheer nudes, a micro French, or bare nails with a glass shine. Two sources of glitter side by side don’t double the effect; they halve it, because the eye can’t settle on either.
Three-stone and pavé bands. These spread sparkle along the finger instead of concentrating it, so they pair best with smooth, continuous finishes: a glaze, a pearl chrome, a clean French. Broken-up nail art — dots, initials, scattered foil — fights the band’s rhythm. One texture per hand is the rule.
Colored gemstones. A sapphire, emerald, or morganite center stone changes the color math. The safest pairing is a neutral sheer that lets the stone be the only color in the photo. If you want to echo the stone, do it at whisper volume: a birthstone-toned accent nail (idea 17) or your hidden something blue (idea 15), never a full set in a competing jewel tone. And match your metal temperature to the band as usual — colored stones sit in every metal, and the metal rule still applies underneath the color.
Vintage and detailed bands. Engraved, milgrain, and art-deco bands already read as decorative. Classic, simple manicures — French, sheer pink, soft oval shapes — respect the craftsmanship instead of arguing with it. Save the playful accents for plain bands.
Sparkle That Loves the Camera
Engagement announcements live on camera flashes and golden-hour light. These four finishes are built for it — reflective, luminous surfaces that catch light the way a stone does.
10. White Pearl Chrome
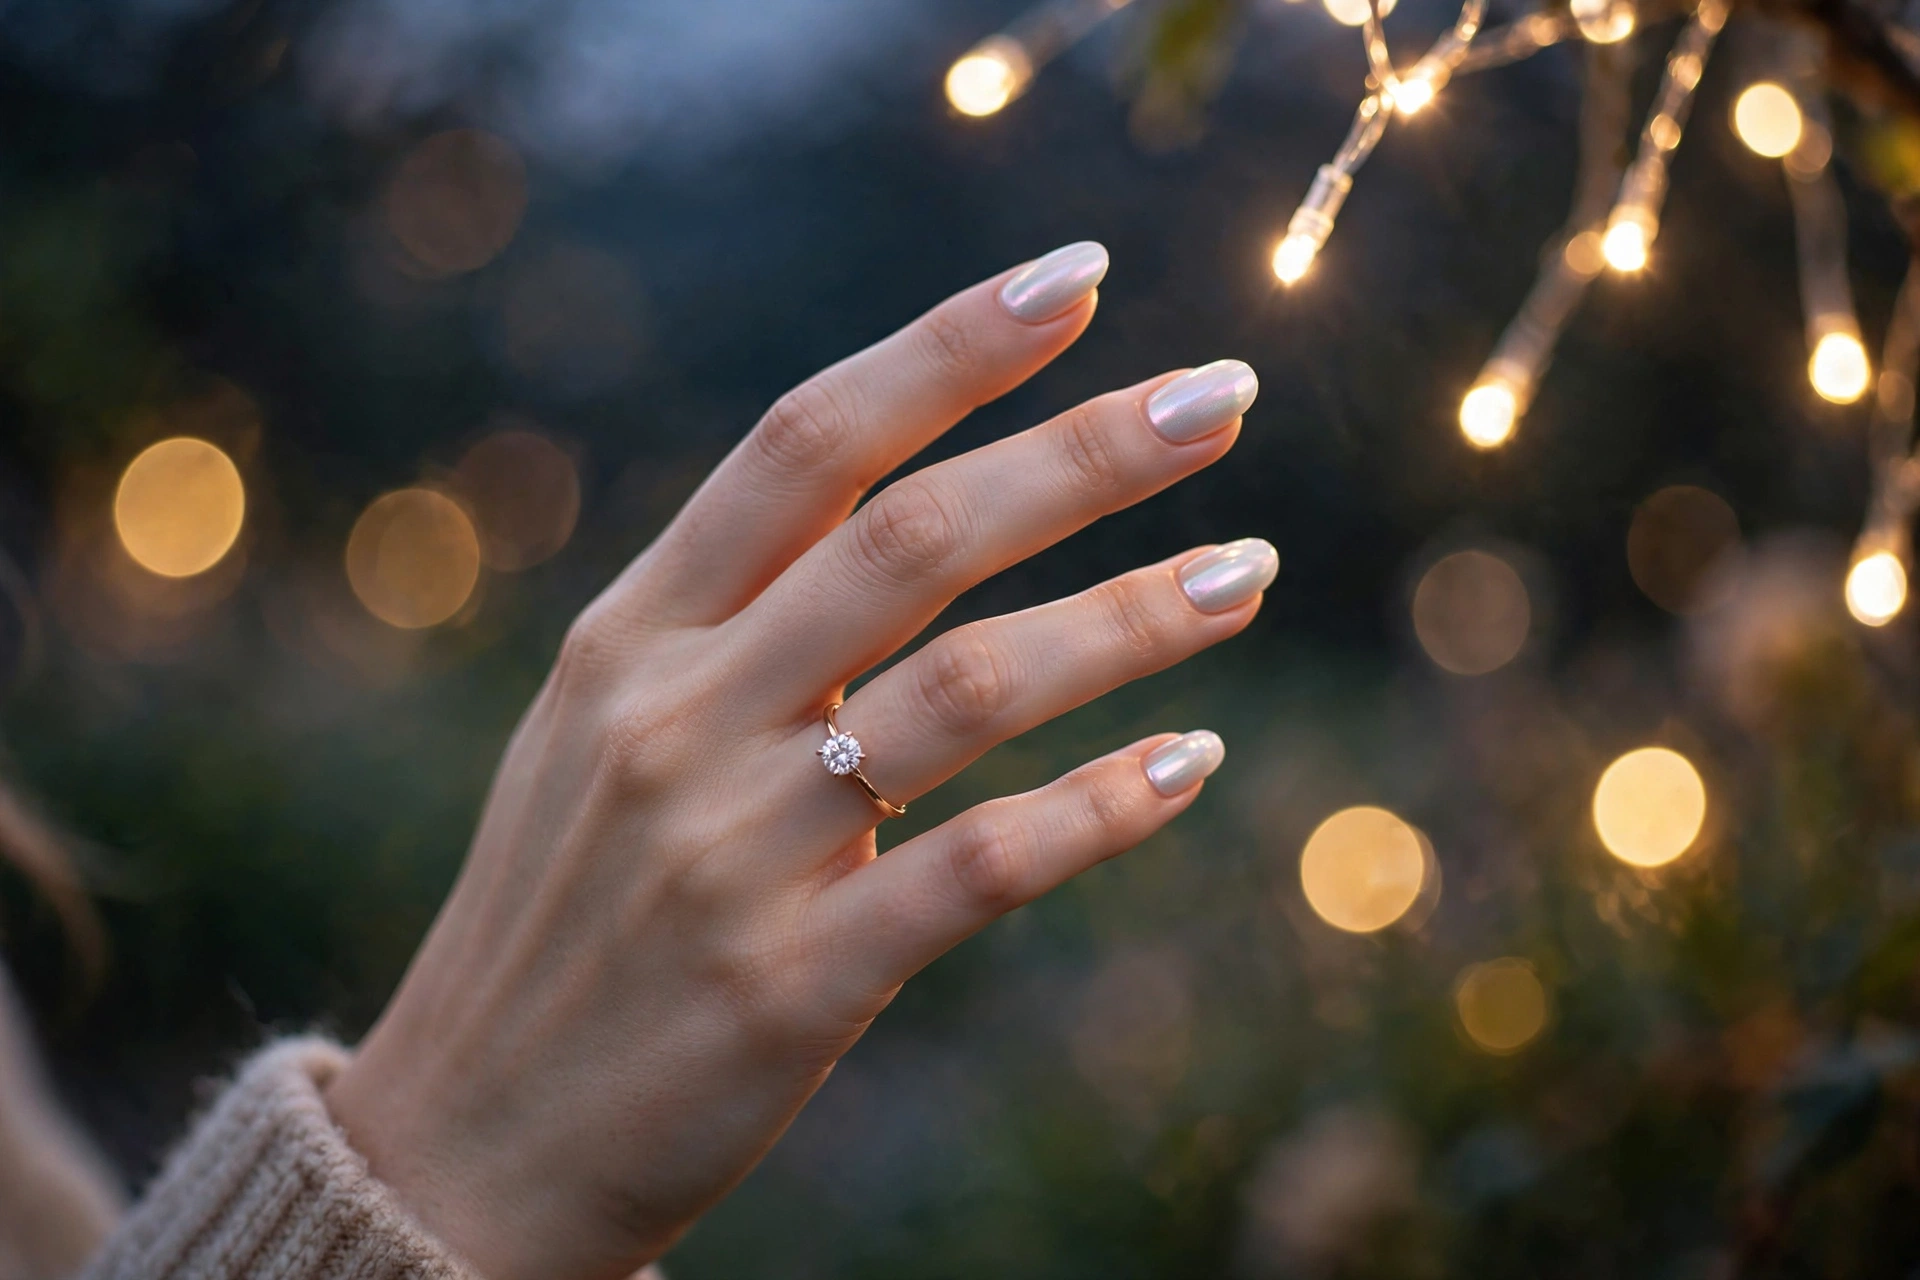
An iridescent white-chrome finish that glows rather than shines — the nail equivalent of candlelight. In flash photography it catches light softly instead of blowing out, which is exactly why it’s become the engagement-shoot favorite. It needs chrome powder over a cured gel base, so plan a salon visit; the effect is worth it if you have a proposal trip or engagement photoshoot on the calendar. Medium almond or oval shapes give the iridescence room to move. Book within a week of the photos: chrome’s mirror edge wears first at the tips.
11. Crystal Accent on the Ring Finger
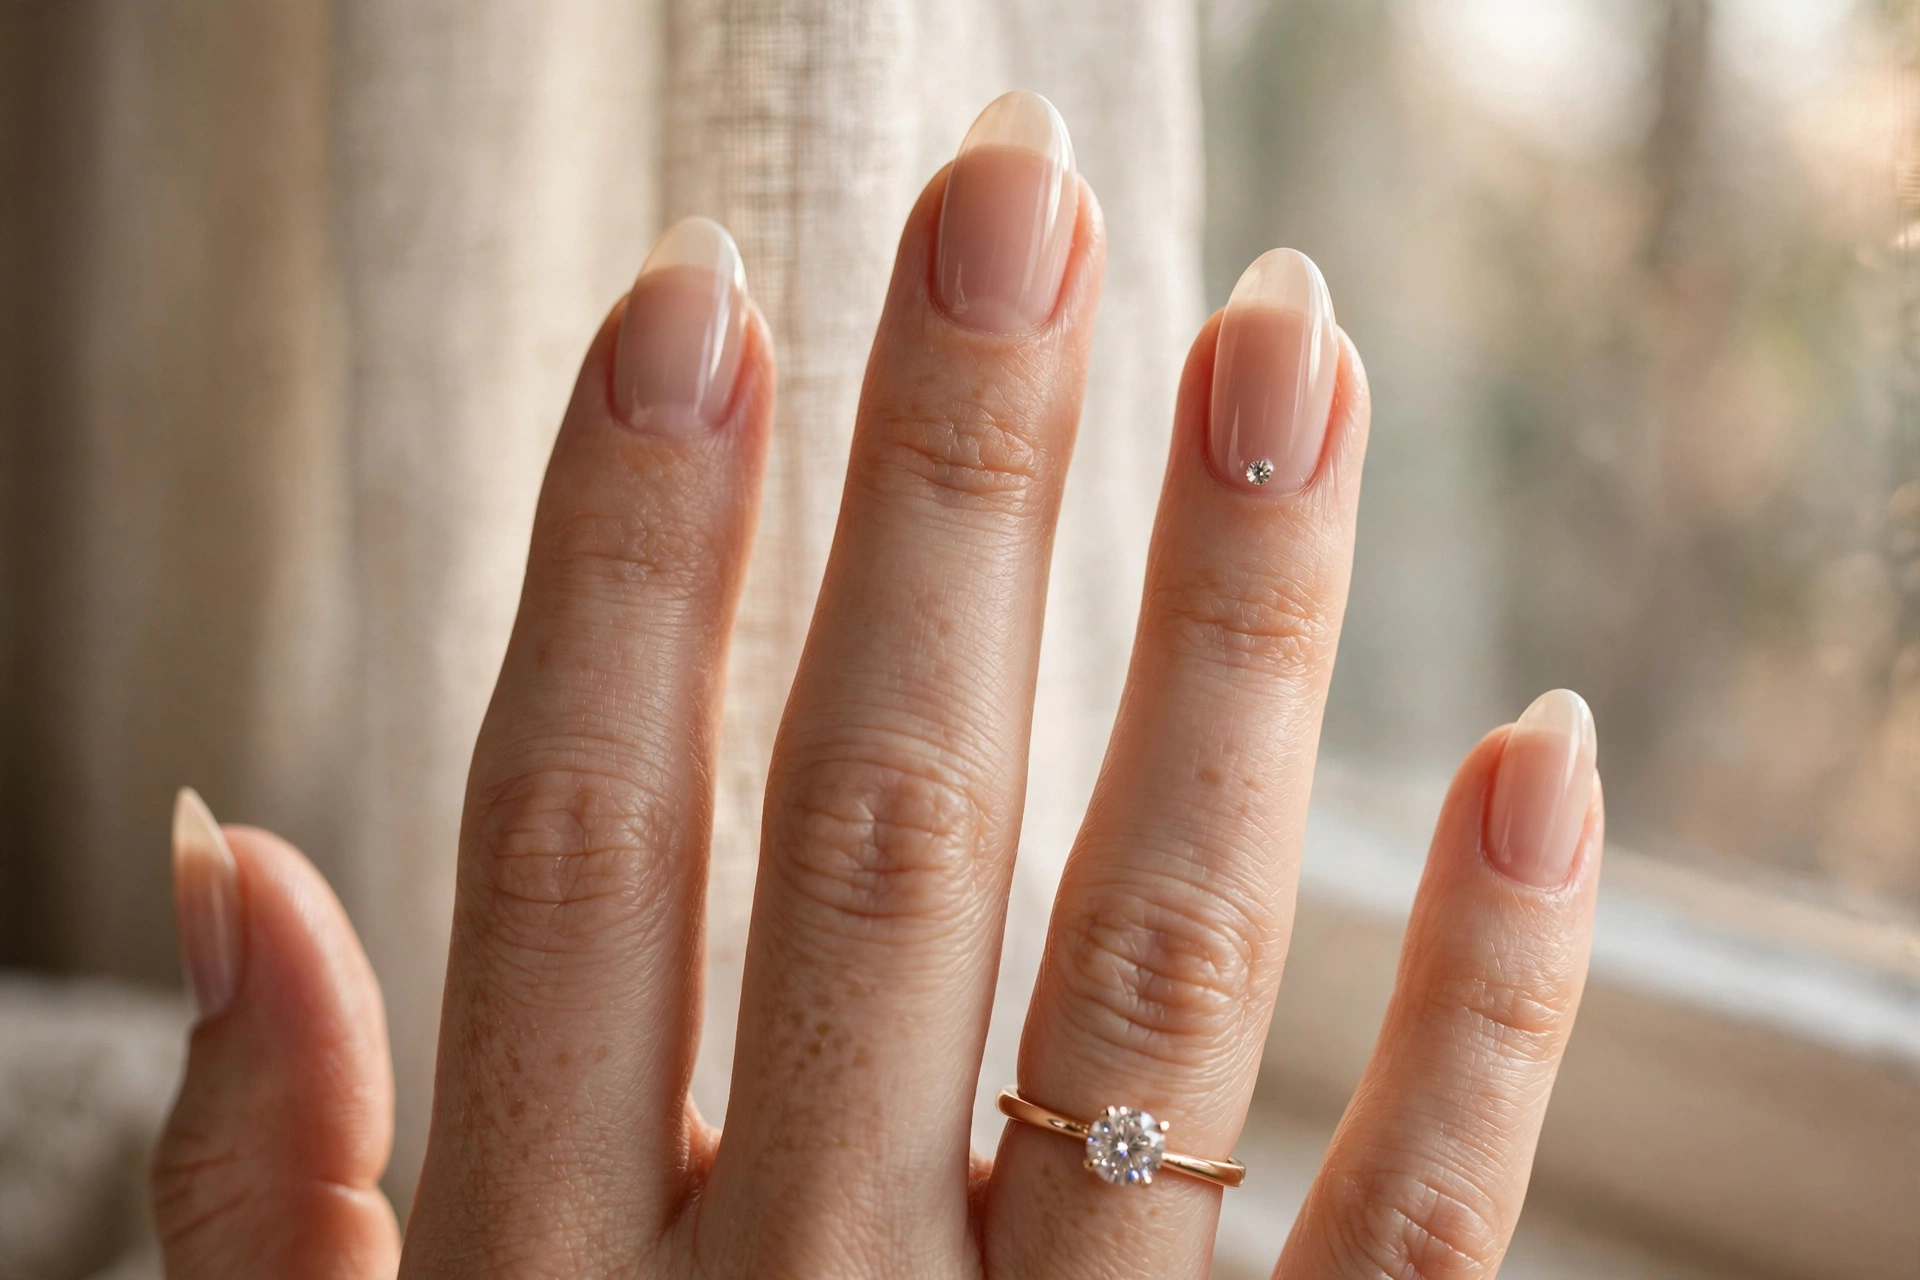
One tiny crystal rhinestone set at the base of the ring-finger nail, directly above the ring — a deliberate echo of the stone. Restraint is the whole trick: one stone, one nail, small enough to look like jewelry rather than decoration. Set it with a drop of nail glue or press it into wet gel and seal the edges with top coat so it survives handshakes and hugs. The stone can catch on hair and knitwear, so this is a short-term look — perfect for proposal week, not for a month. Keep the other nine nails plain sheer nude so the crystal reads as intentional.
12. Glazed-Donut Nude
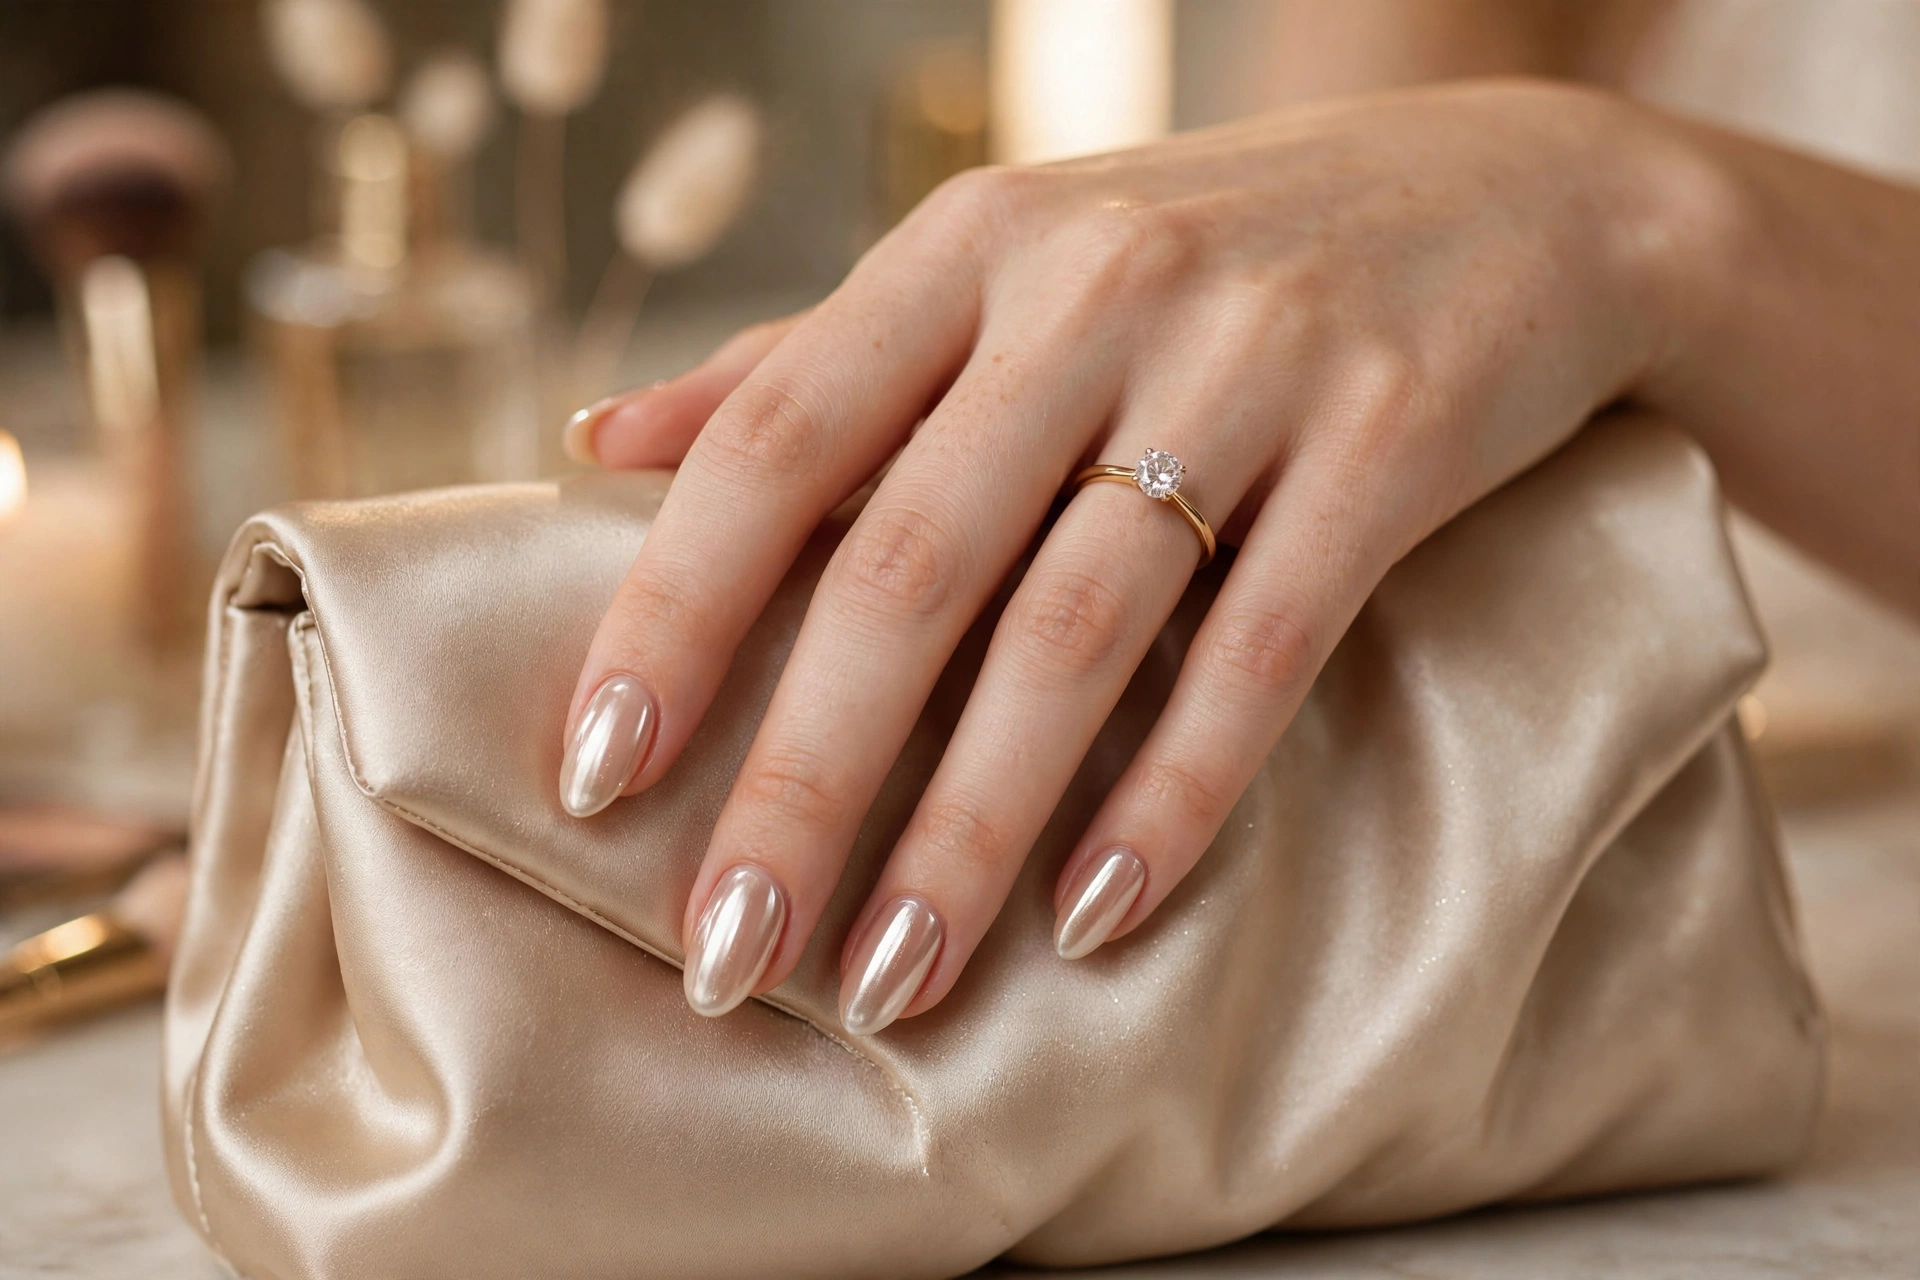
The viral glazed look in its most engagement-appropriate form: a sheer nude base with a chrome-glaze topper that gives nails a lit-from-within glow. It’s polished enough for announcement photos but neutral enough for the office the next morning — the reason so many newly engaged women land here. The glaze needs chrome powder over gel, so it’s a salon look unless you own a gel kit. Almond or oval shapes show the glaze best. If you love this finish, our glazed donut nail designs guide has the full color range.
13. Champagne Cat-Eye
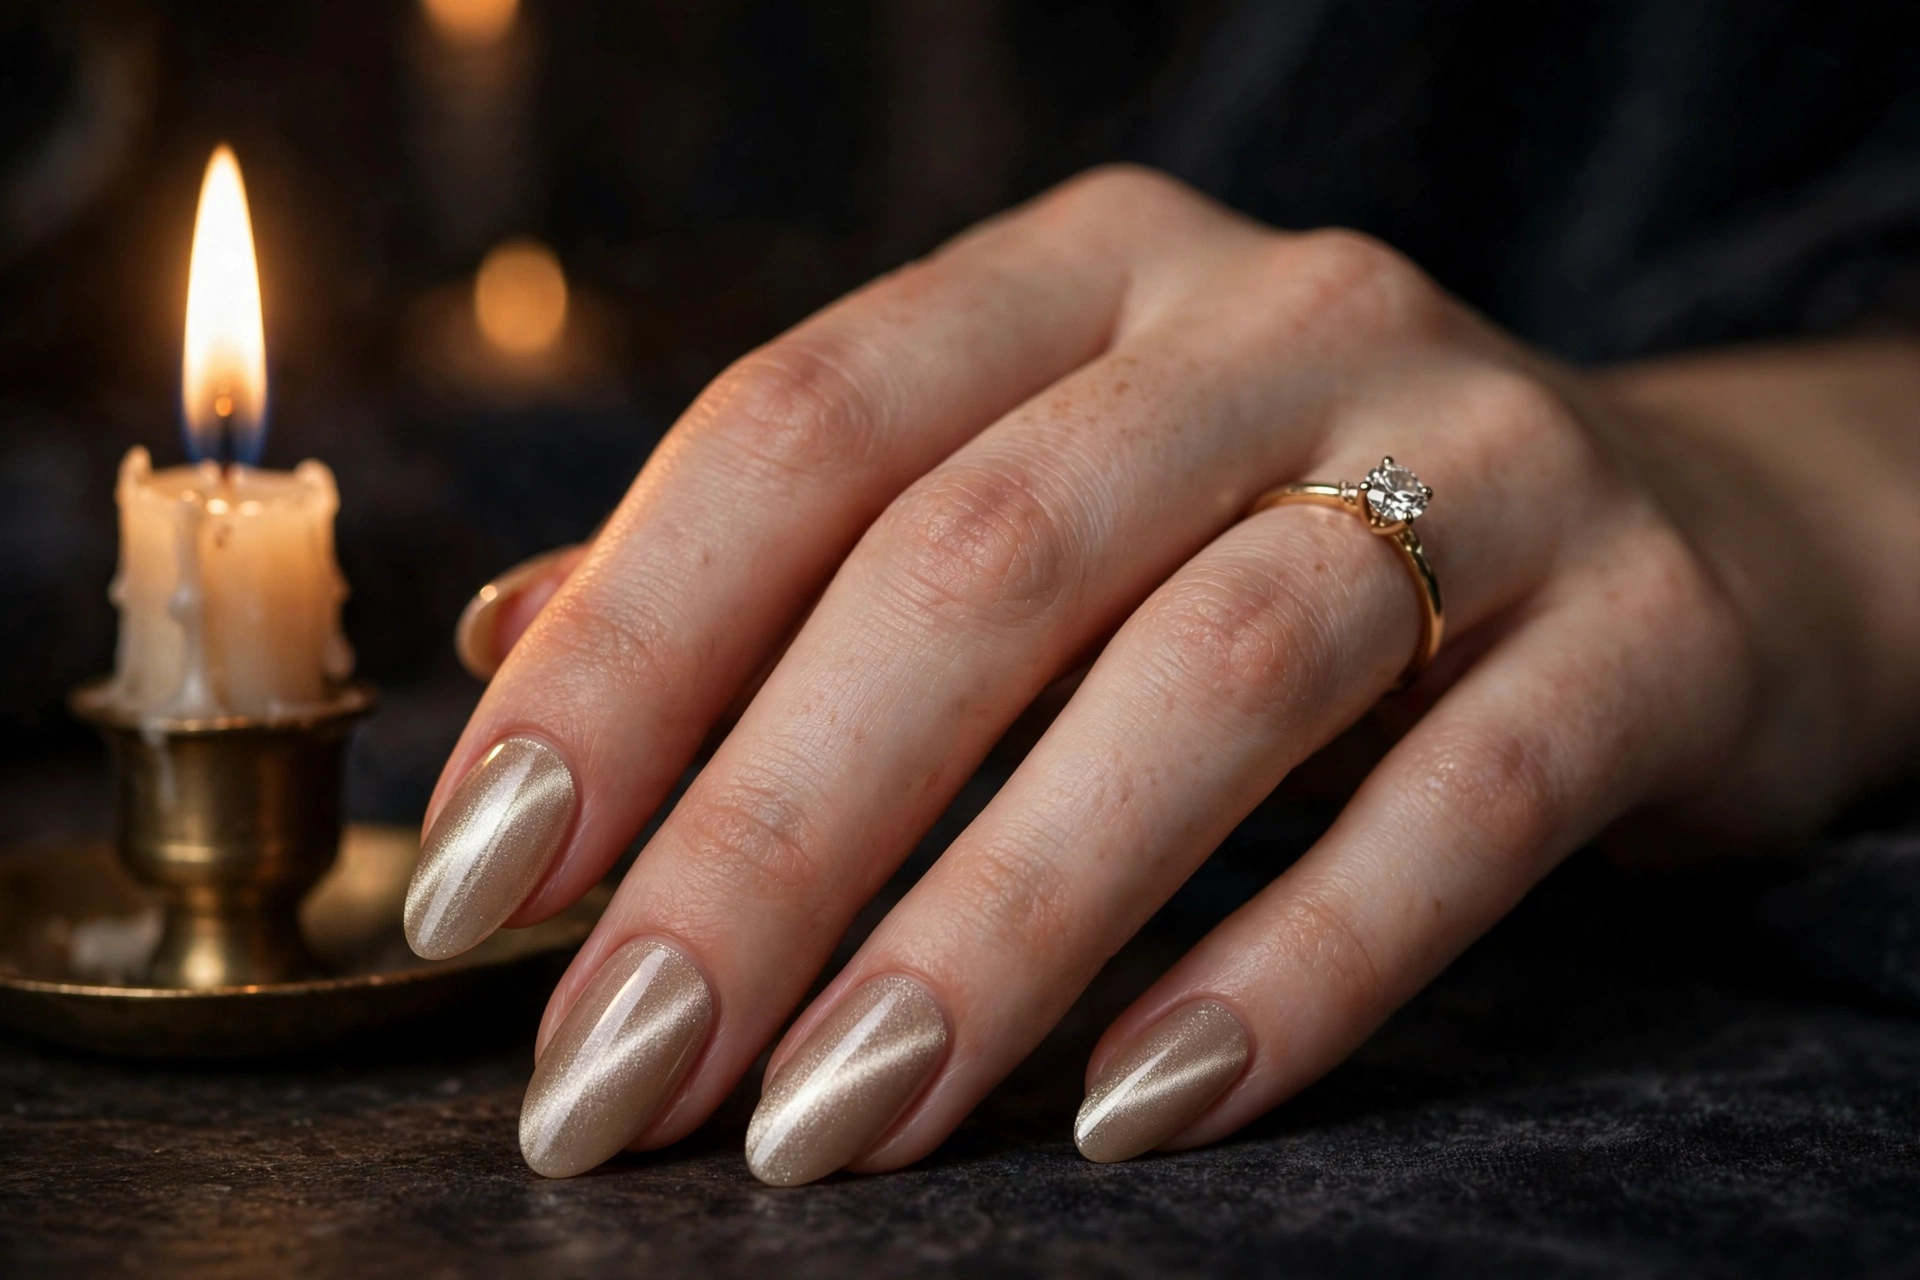
Magnetic cat-eye gel in champagne: a soft band of light that sweeps across the nail as you move your hand. In photos it reads as dimension rather than decoration — the nail looks alive instead of flat. The technique needs magnetic gel and a magnet held over each wet nail for about ten seconds, so this is a salon or gel-kit project. Medium almond or oval shapes give the light band room to travel. As gel it wears two to three weeks, which covers proposal, announcement, and the first round of celebrations.
Make It Personal
The ring is the headline, but these four ideas add a private detail only the two of you understand — the kind of thing that makes the ring photo unmistakably yours.
14. Your Partner’s Initial
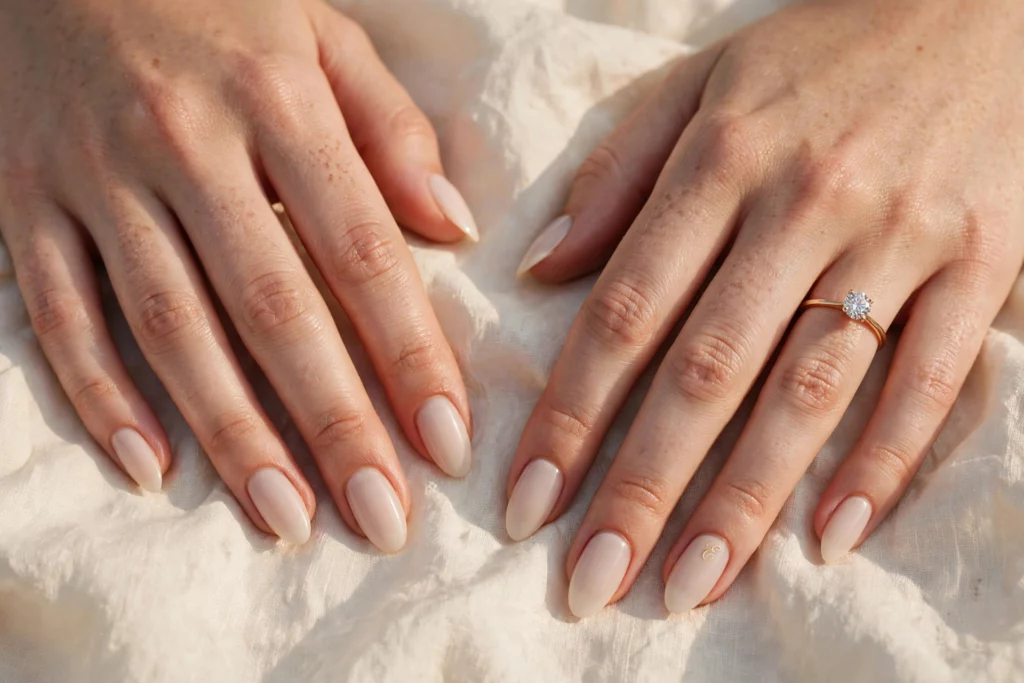
One tiny hand-painted script initial — your partner’s first name — in soft gold on the ring-finger nail over a milky nude base. It’s invisible in wide shots and completely charming in close-ups, which is the perfect ratio for a personal detail. Paint it with a fine liner brush in a loose script; if freehand letters scare you, a nail-art stamp or a tiny initial decal sealed under top coat works just as well. Keep it to the one nail — initials across all ten turn a love note into a monogram set.
15. A Hidden “Something Blue”
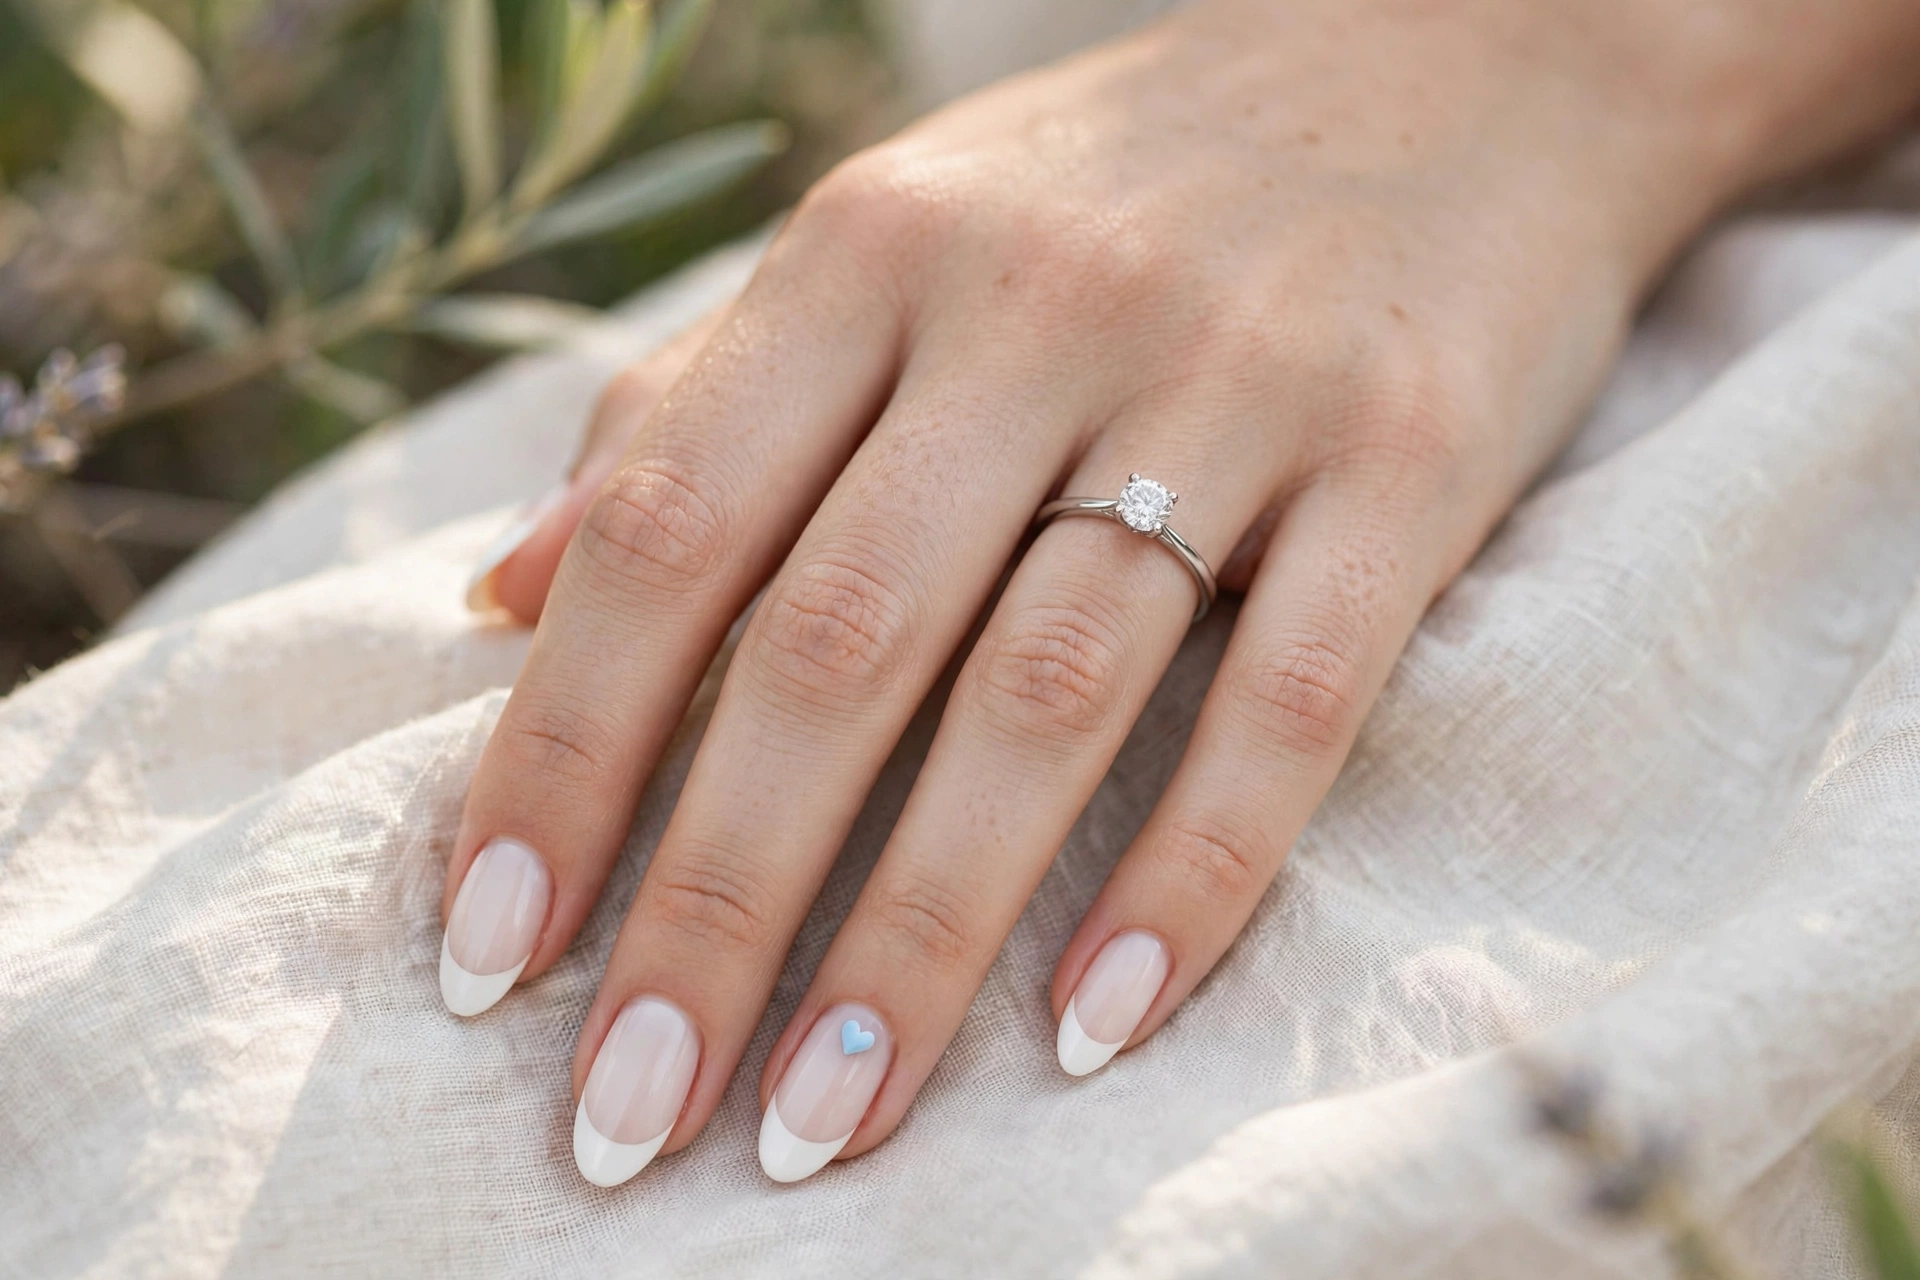
Borrow the wedding tradition early: one tiny baby-blue heart tucked at the base of the ring-finger nail, worn with a classic French or sheer nude. It reads as a sweet secret in the ring photo and doubles as your “something blue” when the wedding comes around. Paint the heart with a dotting tool — two small dots side by side, dragged to a point — and keep it no bigger than a third of the nail or it turns cartoonish. Oval or almond shapes suit it best. It’s an easy DIY that costs one bottle of blue polish.
16. White Bow Accent
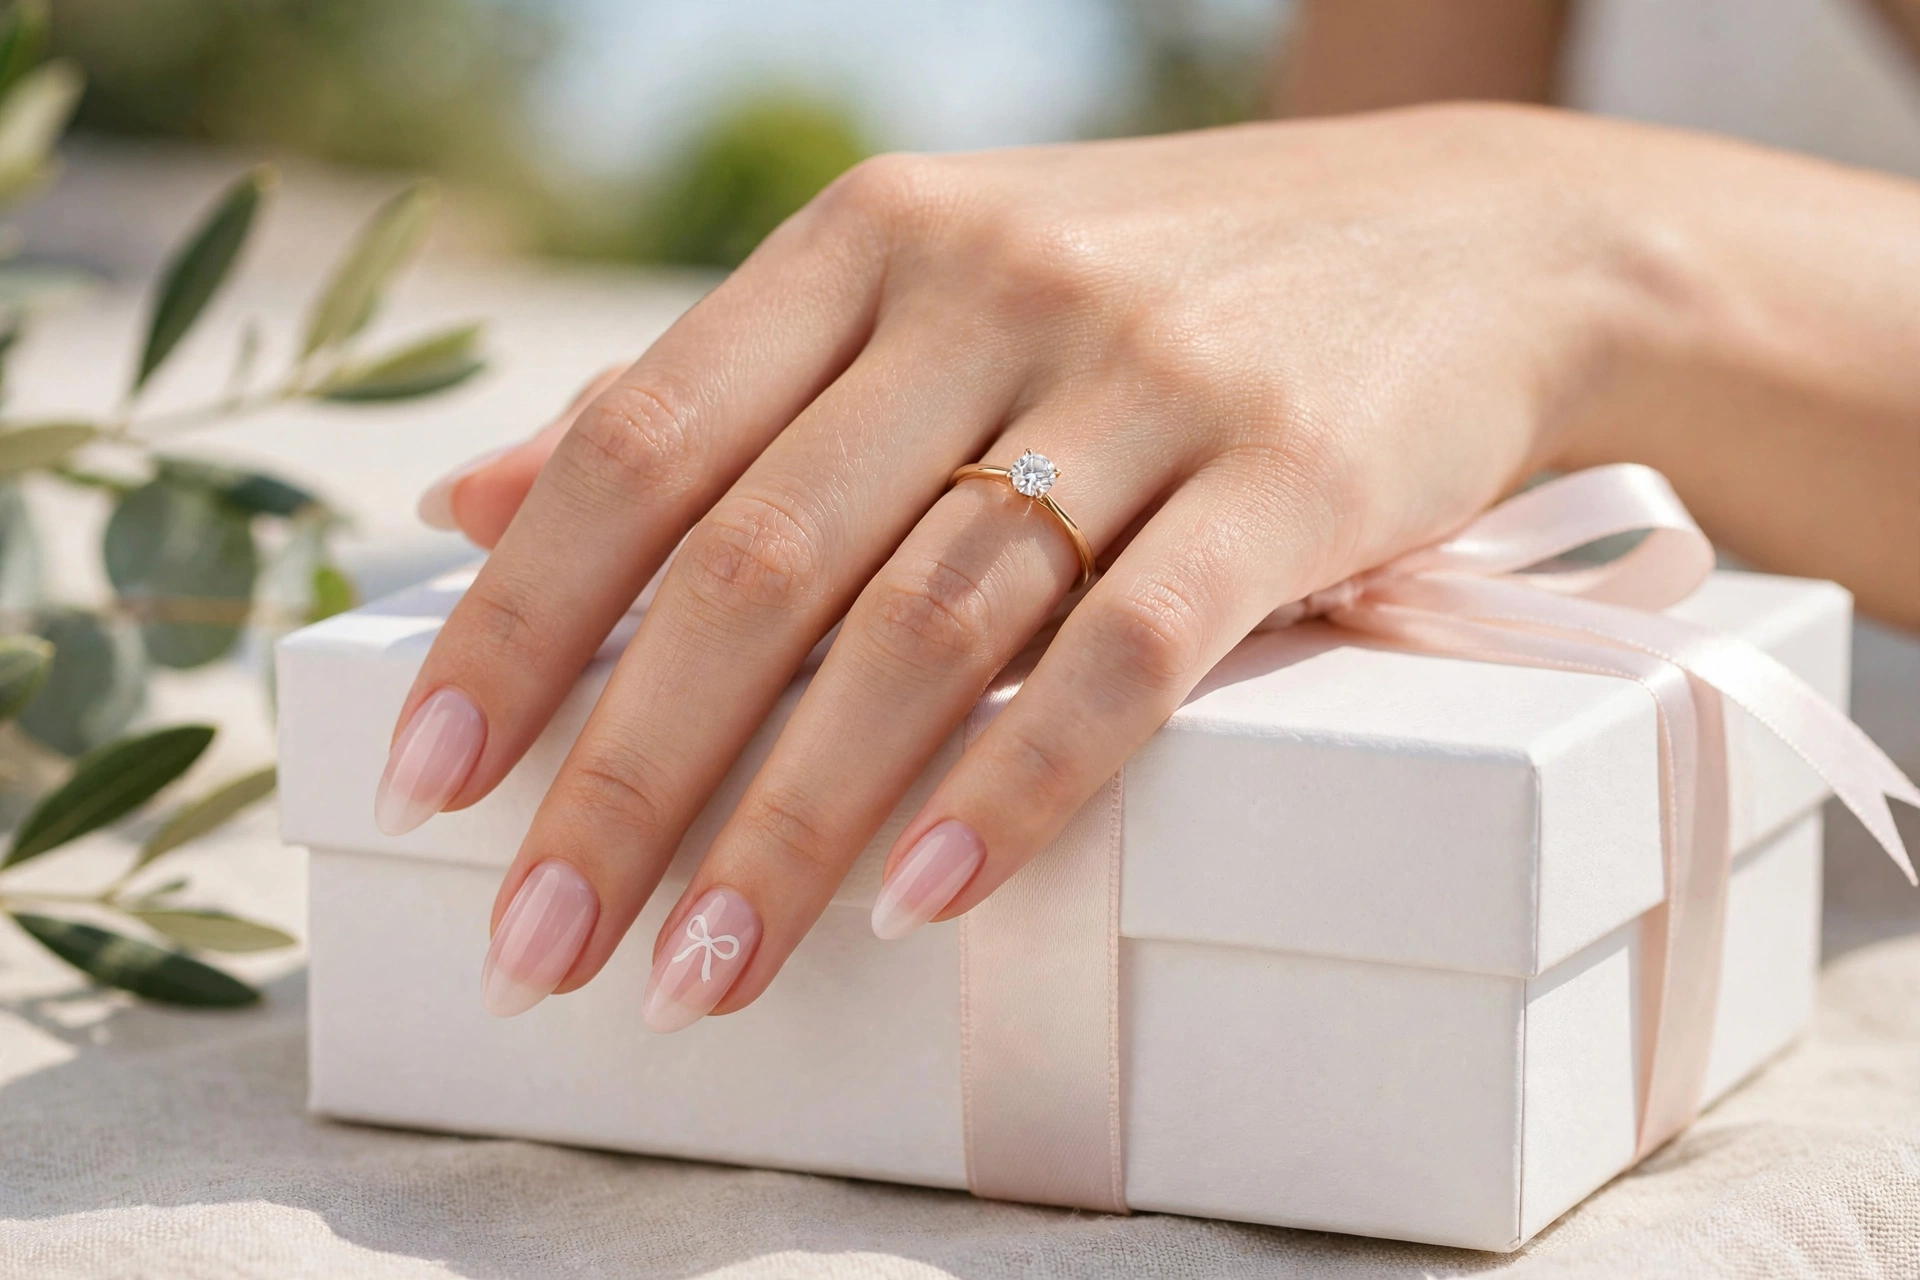
A single tiny white bow painted on the ring-finger nail over sheer pink — the gift-wrap metaphor made literal, and very photogenic. Draw it with a liner brush in two loops and a center knot, or stamp it for perfect symmetry. One bow only: restraint is what separates romantic from theme-party. Short to medium oval nails carry it best, and the sheer base means regrowth barely shows. Lovely for engagement-party nails, where the photos are close and celebratory.
17. Birthstone Accent Nail
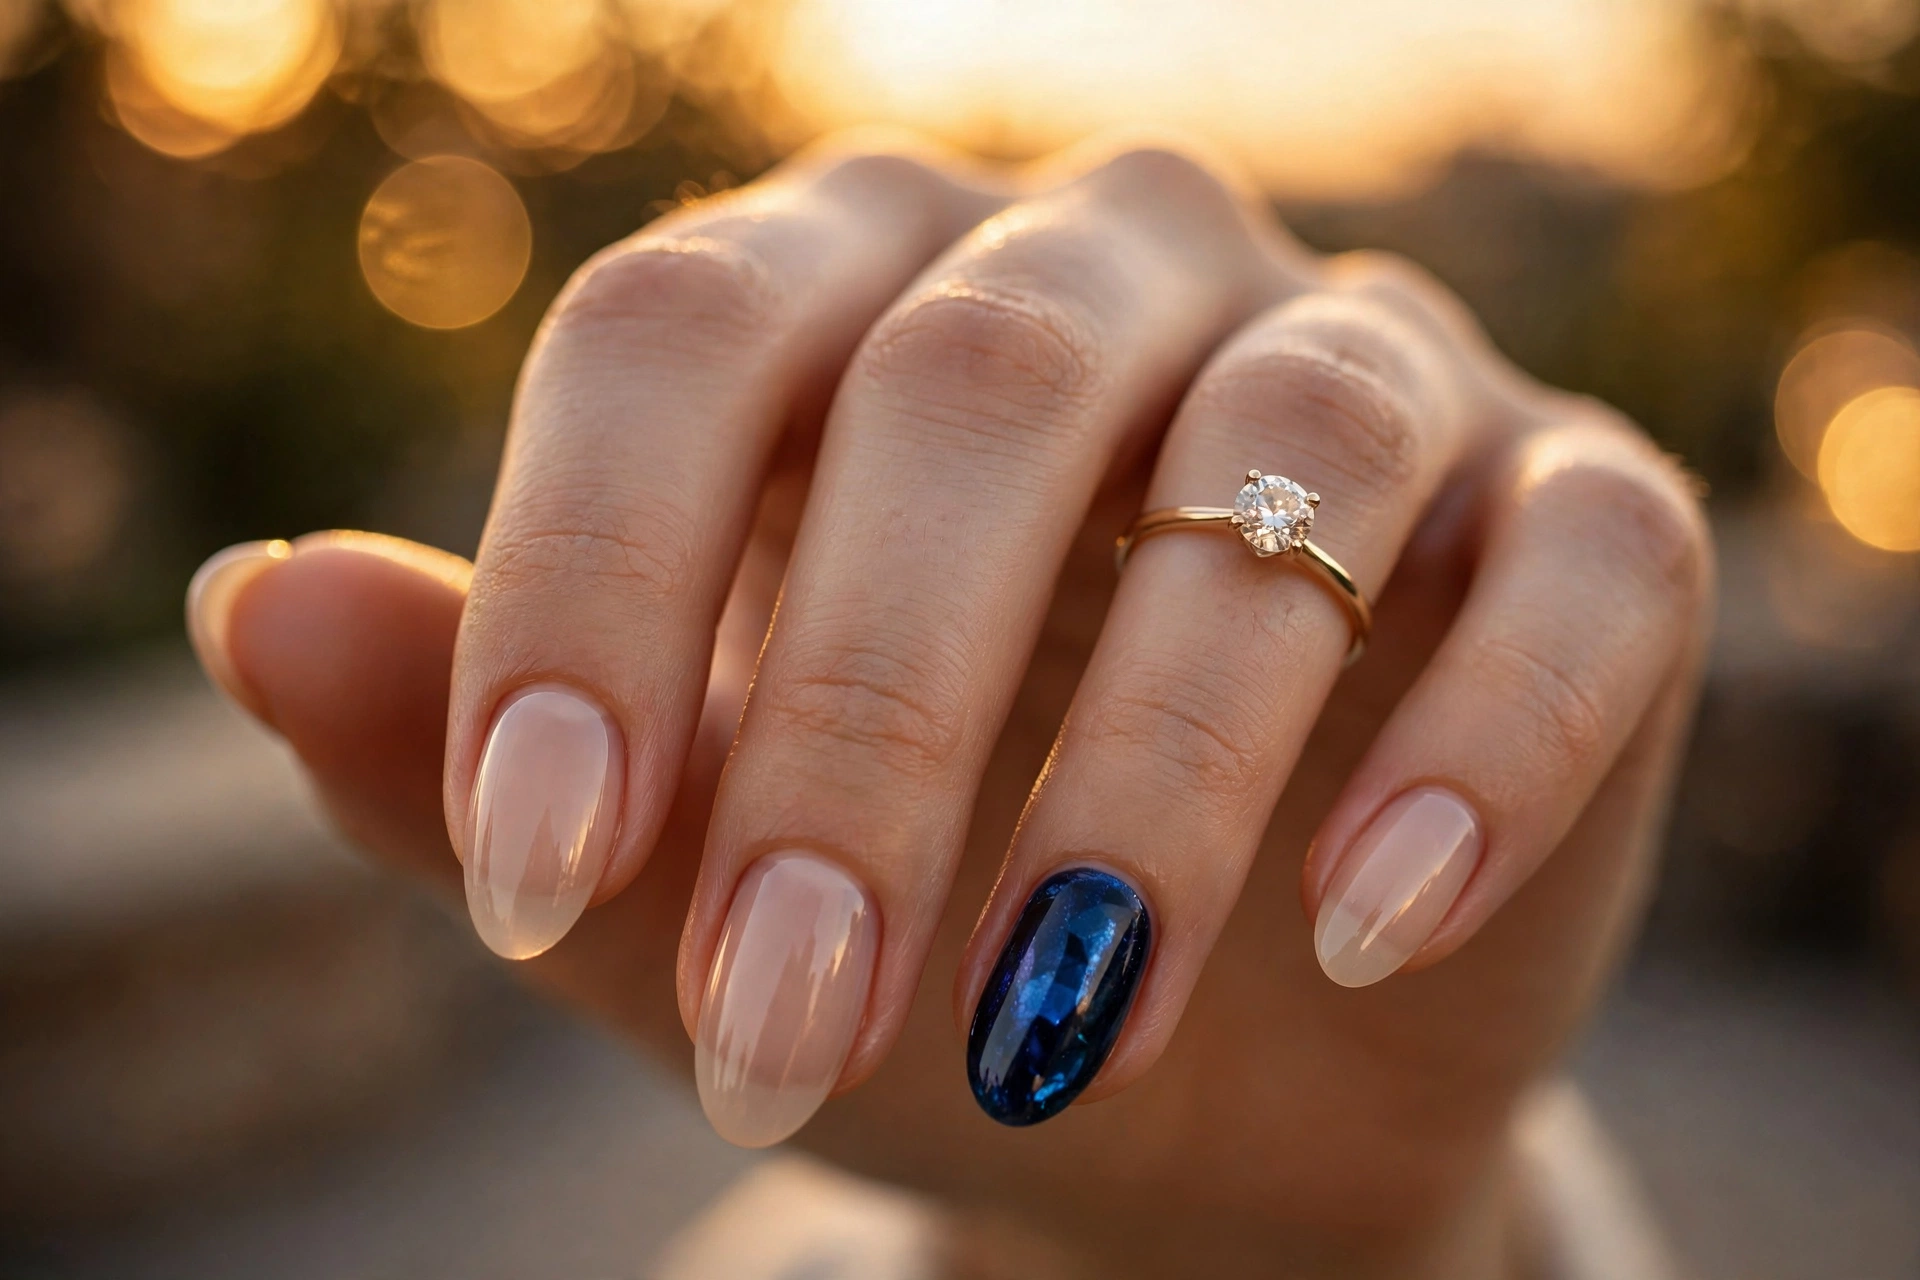
One accent nail in a deep gemstone tone — your birthstone, your partner’s, or the month you got engaged — worn on the ring finger beside an otherwise nude set. A sapphire, emerald, or amethyst accent adds real color to the ring photo without overwhelming it, and it gives every “which one is your birthstone?” conversation a head start. Keep the accent glossy and the other nails sheer so the color reads as jewelry, not as a mismatched manicure. Almond or oval shapes, medium length at most — long jewel tones cross into statement territory.
The Ring-Photo Hand Prep: Two Days Out to Ten Minutes Before
Ring photos are close-ups, and close-ups are honest. The difference between a manicure that photographs well and one that photographs beautifully is usually not the polish — it’s this routine around it.
Two days before. Start cuticle oil twice a day, morning and night. Hydrated cuticles stop looking ragged in macro shots faster than any other single change, and two days is enough to see it. If you’re booking a manicure, this is also the window: one to two days before photos, never the morning of, so there’s time to fix a smudge and let any redness from cuticle work settle. Our cuticle care guide covers the full routine if your cuticles need real rescue.
The night before. Do a gentle hand scrub or soak, push cuticles back softly after a shower — never cut them the night before photos, because nicks and tiny cuts are exactly what a close-up finds. Apply a rich hand cream before bed. If your manicure is regular polish, add a fresh layer of glossy top coat now; shine reads as “expensive” in photos more reliably than any design detail.
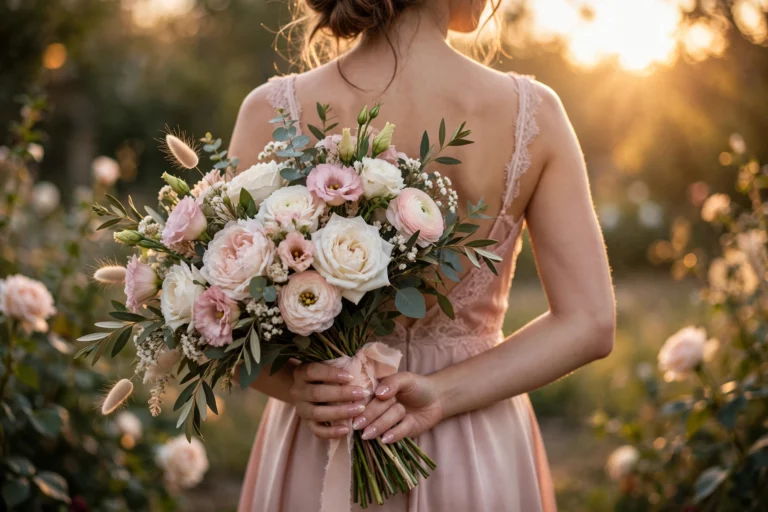
Ten minutes before the photos. Wash your hands, dry them fully, and massage in one drop of cuticle oil per hand, blotting any excess so skin looks hydrated, not greasy. Check the ring itself: a quick wipe with a soft cloth makes a stone sparkle the way it did in the store, and a dull ring makes even perfect nails look flat. Then relax your hand — stiff, splayed fingers photograph tense. Rest your hand lightly on a surface, or hold something soft (a bouquet stem, a coffee cup, your partner’s hand), and let the ring finger lead.
Five mistakes that show up in ring photos:
- Dry, lifted cuticles. The number-one close-up killer, and the cheapest to fix — oil, not clippers.
- A grown-out manicure. A visible gap at the cuticle dates the photo instantly. Within a week for regular polish, two for gel, or choose a sheer that hides growth.
- Competing sparkle. Glitter nails plus a halo ring plus a sequined outfit: pick one star per photo.
- Testing a brand-new design on the day. Untested colors can clash with your skin or the ring’s metal in ways you only see in the pictures.
- Skipping the top coat. Matte-by-accident nails make the whole hand look tired next to a polished stone. Gloss is the default for ring photos unless matte is a deliberate choice.
Gel, Regular Polish, or Press-Ons? Decide by How Much Warning You Have
Every idea in this guide can be worn three ways, and the right choice depends less on the design than on your timeline. Here is the honest tradeoff table:
| Format | Stays photo-ready for | Best when | The tradeoff |
|---|---|---|---|
| Gel (salon or home kit) | 2–3 weeks | You know roughly when it’s happening, or you want one manicure to cover proposal, announcement, and celebrations | Needs a salon slot or a home kit; removal takes a soak, not a wipe |
| Regular polish | 4–7 days | You do your own nails and can refresh them weekly | Chips show first and worst on white tips and dark colors; keep the bottle for touch-ups |
| Press-ons | 1–2 weeks per application | The proposal is a genuine surprise — or genuinely tomorrow | Fit is everything; a loose-feeling nail will make you fidget in every photo |
Press-ons deserve a fair hearing, because for engagement nails they solve the one problem polish can’t: timing. A quality set in a sheer nude or French design, kept in your drawer, turns a surprise proposal from a nail emergency into a ten-minute fix — apply them the night you get the feeling, or even the morning after the proposal, before the announcement photos start. Modern sets in almond and oval shapes are convincing in photos precisely because engagement designs are sheer and simple. Two honest cautions: practice once before it matters, because your first application will be your worst; and choose glue over adhesive tabs for anything you want to survive a week of handshakes, hugs, and champagne coupes.
If you already keep a standing manicure, gel is the low-effort answer — it’s why most of the wear times in the comparison table above stretch to two or three weeks in gel. Regular polish remains the best choice for the bare and sheer looks (ideas 2, 3, and 4), which are forgiving enough that a five-minute refresh beats a salon appointment. Match the format to your warning time, and any of the 17 will do its job.
Engagement Nails: Questions Readers Actually Ask
What color nails should I get for my engagement?
Sheer nudes, milky whites, and soft pinks are the safest engagement nail colors because they keep the ring as the visual focus. A classic white French is the traditional pick. If you want color, keep it to one accent nail or a metal-matching shimmer — full bold color competes with the stone in close-up photos.
Is a French ombre (baby boomer) a good engagement manicure?
It’s one of the best. A baby boomer fades a sheer pink or nude base into a soft white tip with no hard line, so it frames the ring like a classic French but photographs softer and more modern — and because there’s no crisp edge, the fade hides regrowth better than a standard French, which makes it ideal if your photos might happen a week or more after the appointment. It suits almond and oval shapes best and can be worn in gel for two to three weeks. Think of it as the relaxed sibling of ideas 1 and 5 in this guide.
What nail shape looks best with an engagement ring?
Almond and oval shapes flatter most hands next to a ring because they elongate the fingers and taper toward the stone. Short squoval works well if you prefer practical nails. Very long or square shapes can visually crowd a delicate solitaire, so keep the length medium at most for ring photos.
Should my nails be long or short for engagement photos?
Medium length photographs best — long enough to frame the ring elegantly, short enough to look natural. Short nails are completely fine and often look more modern; what matters more than length is neat shaping, pushed-back cuticles, and a glossy finish. Ragged cuticles show up in ring close-ups far more than length ever will.
Should my nails match my engagement ring’s metal?
Matching the metal’s temperature is a simple way to make the ring photo look styled: warm champagne and gold shimmers pair with yellow-gold rings, cool silver and pearl chromes pair with platinum and white gold, and rose-gold chrome pairs with rose-gold rings. Mixed-metal foil works if your ring is two-tone or you stack bands.
What nails go with a colored gemstone engagement ring?
Keep the nails neutral and let the stone be the only strong color in the photo — sheer nude, milky white, or a soft French works with sapphires, emeralds, rubies, and morganite alike. If you want to echo the stone, whisper it: one accent nail in a deep gemstone tone on the ring finger, or a tiny hidden detail, rather than a full set that competes with the ring. The metal-matching rule still applies to the band underneath the stone.
When should I get my nails done before the proposal?
If the proposal timing is known, book a manicure one to two days before so the polish is fresh but fully cured. Gel is the safer choice for a planned proposal because it won’t dent or chip during travel and celebrations. For the announcement photos that follow, a gel manicure done a week earlier still looks fresh.
Can I wear press-on nails for my engagement?
Yes — for a surprise proposal, press-ons may be the smartest option there is. A sheer nude or French set kept in a drawer can be applied in about ten minutes and photographs convincingly, because engagement designs are simple enough that nobody can tell in a picture. Apply with glue rather than adhesive tabs for a full week of wear, and do one practice run first: fit and filing are a skill, and your first attempt shouldn’t be the one in the photos.
What engagement nails should I wear if I don’t know when the proposal is coming?
Keep a surprise-proof baseline: short, neatly shaped nails in a sheer nude or bare with a glossy top coat. It photographs beautifully with any ring and never chips badly. Refresh the top coat every few days, and keep cuticle oil on your nightstand — hydrated cuticles are the real secret to photogenic hands.
What engagement nail colors flatter deeper skin tones?
The same families — sheers, nudes, and soft pinks — but the specific shade matters more. Choose nudes with warm, rich undertones (caramel, toffee, warm cocoa) rather than pale beiges, which can look ashy; a sheer with a golden or rosy warmth keeps the “your nails, healthier” effect. Champagne and gold shimmers are especially flattering against yellow-gold rings on deeper skin, and a milky sheer should be tested in daylight first: if it dries grey or chalky, go one shade warmer. The test that never fails is the ring test — hold the bottle beside your ring and your knuckle; the right nude makes both look richer.
Are engagement nails different from wedding nails?
Yes, in one important way: engagement nails have to survive a surprise. Wedding nails are booked for a known date; engagement nails may need to be photo-ready on zero notice. That’s why sheer, neutral, and low-maintenance looks dominate engagement advice, while wedding nails can afford bolder or more intricate designs planned weeks ahead. Our elegant nail designs collection is a good next stop once the wedding planning starts, and our nail shapes guide can help you pick the most flattering shape for your hand.